
RC Cars - Carisma GT24 with Tonka Toys bodyshell
Below you will find images of my Caris GT24 with Tonka Toys Beetle bodyshells.
Click on the images to see a larger version.
Carisma GT24 with Tonka Toys Bodyshell
Carisma GT24 mk1 and 1st Bodyshell
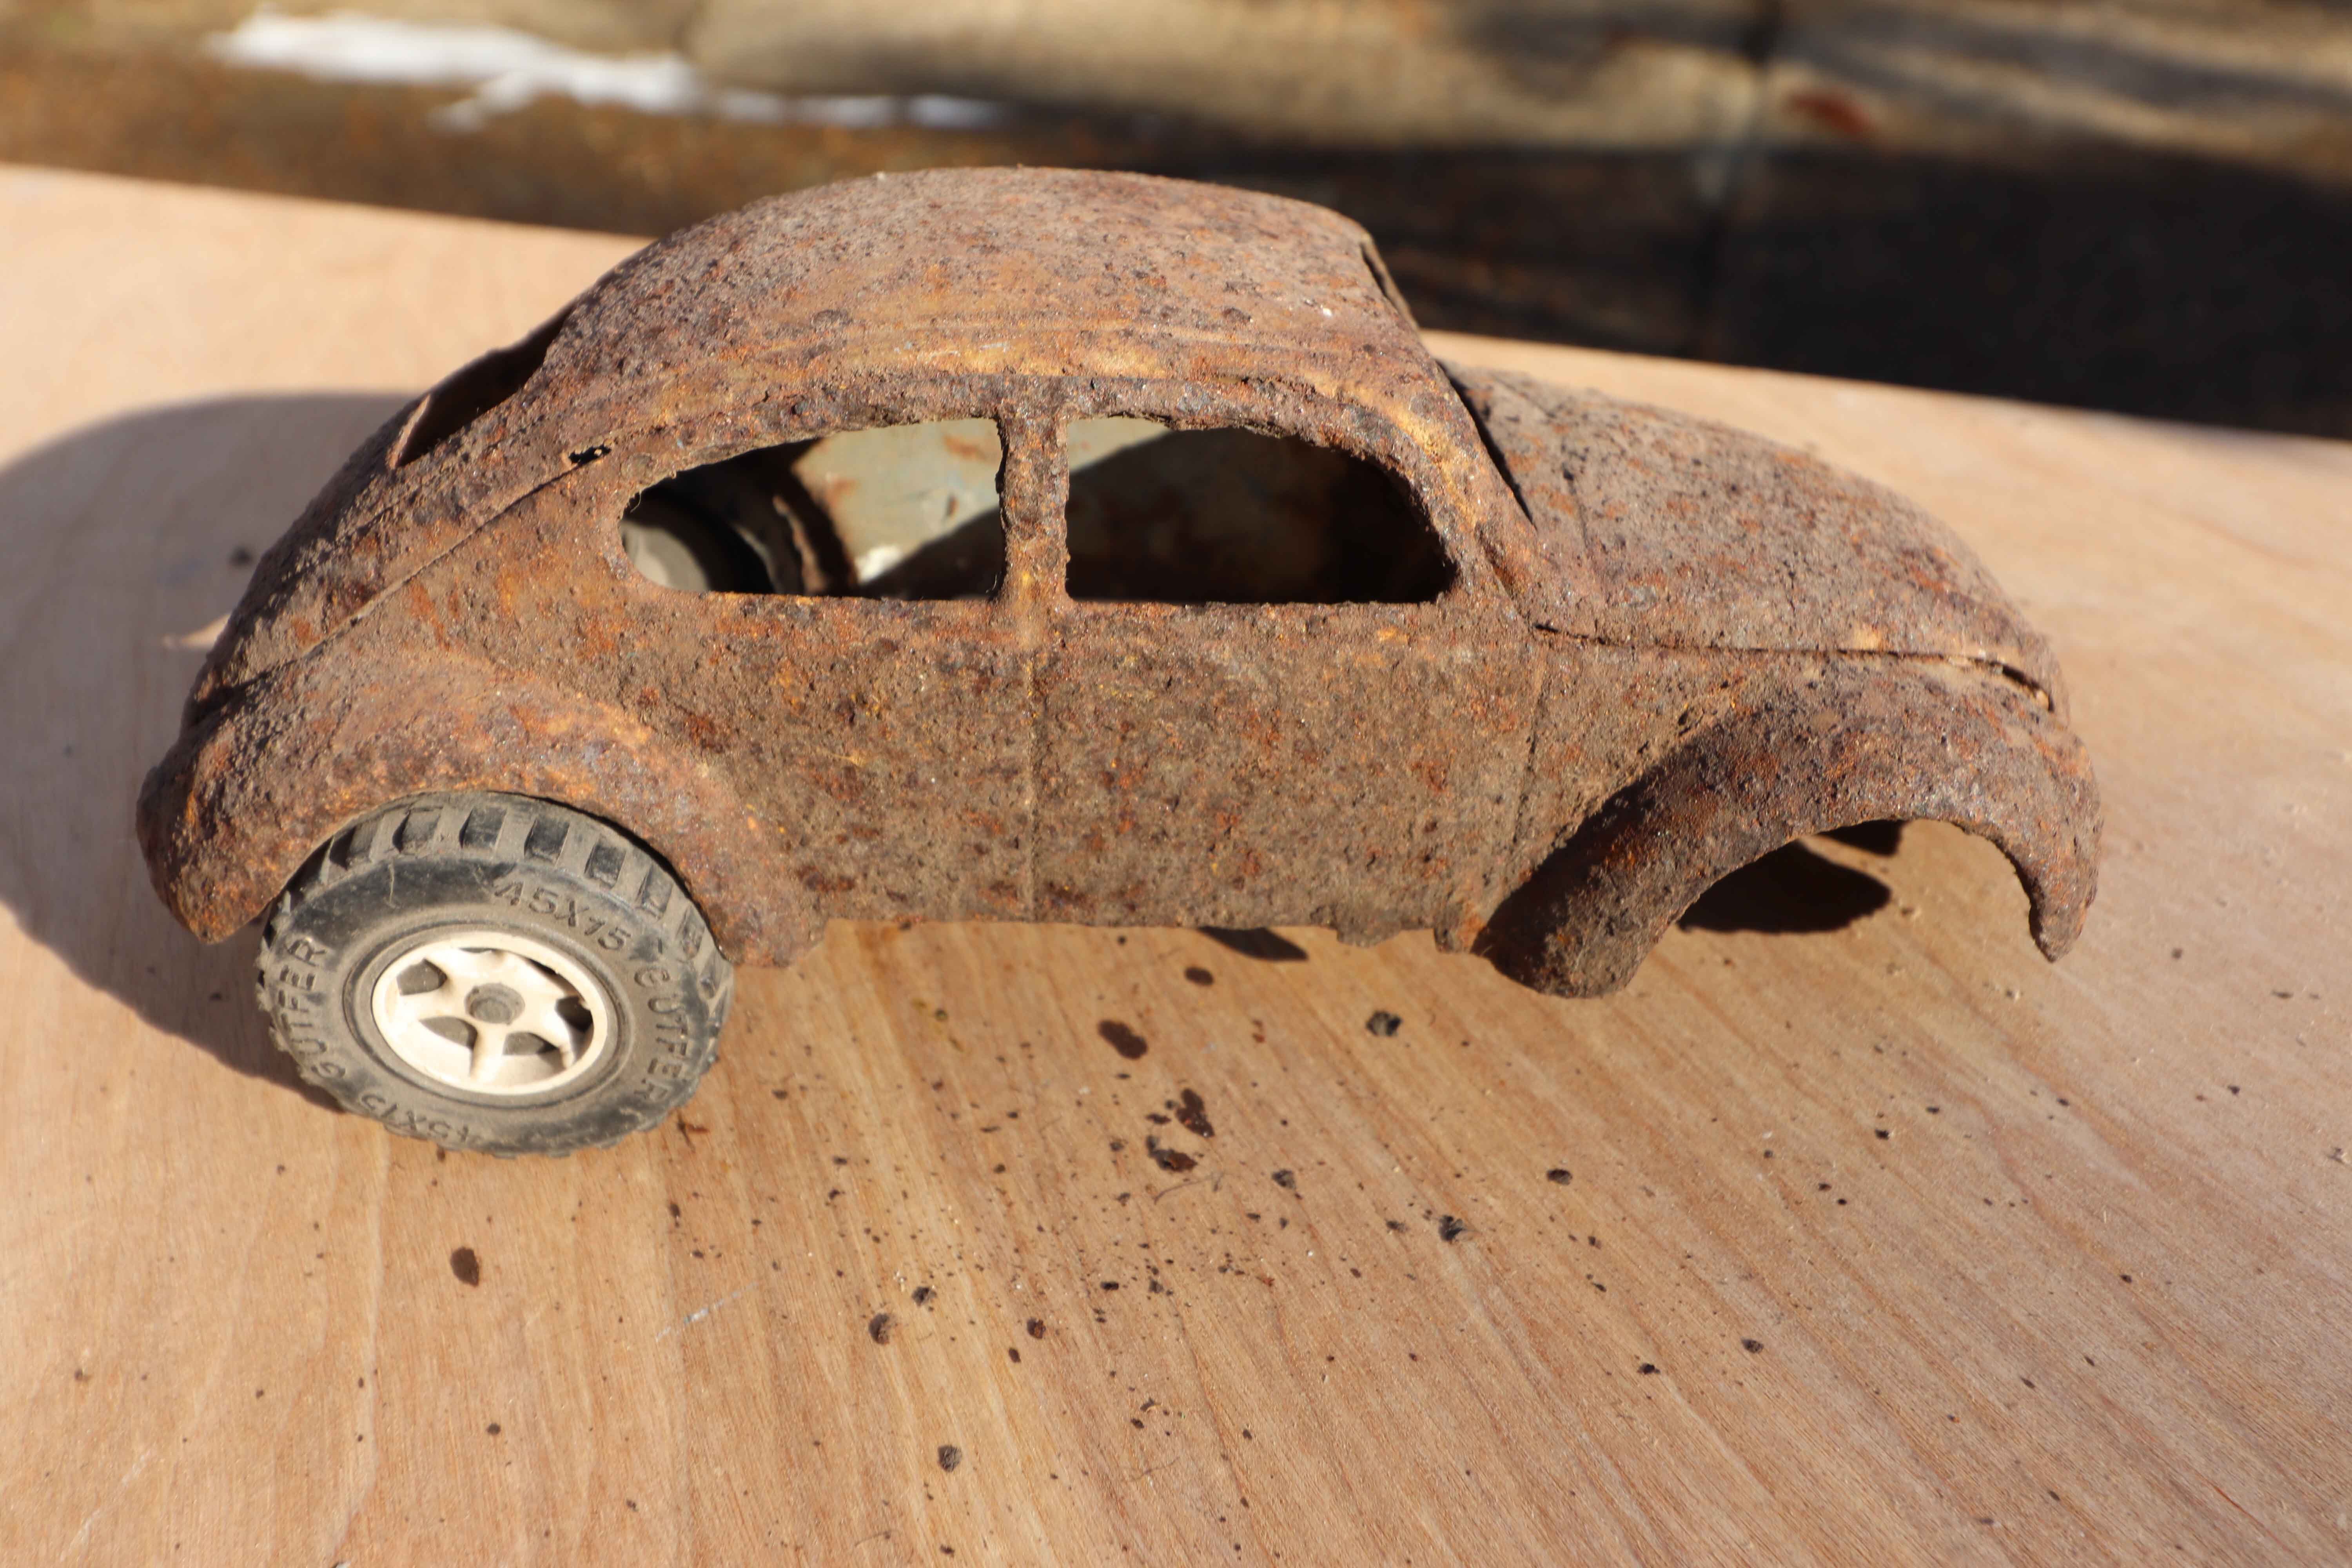
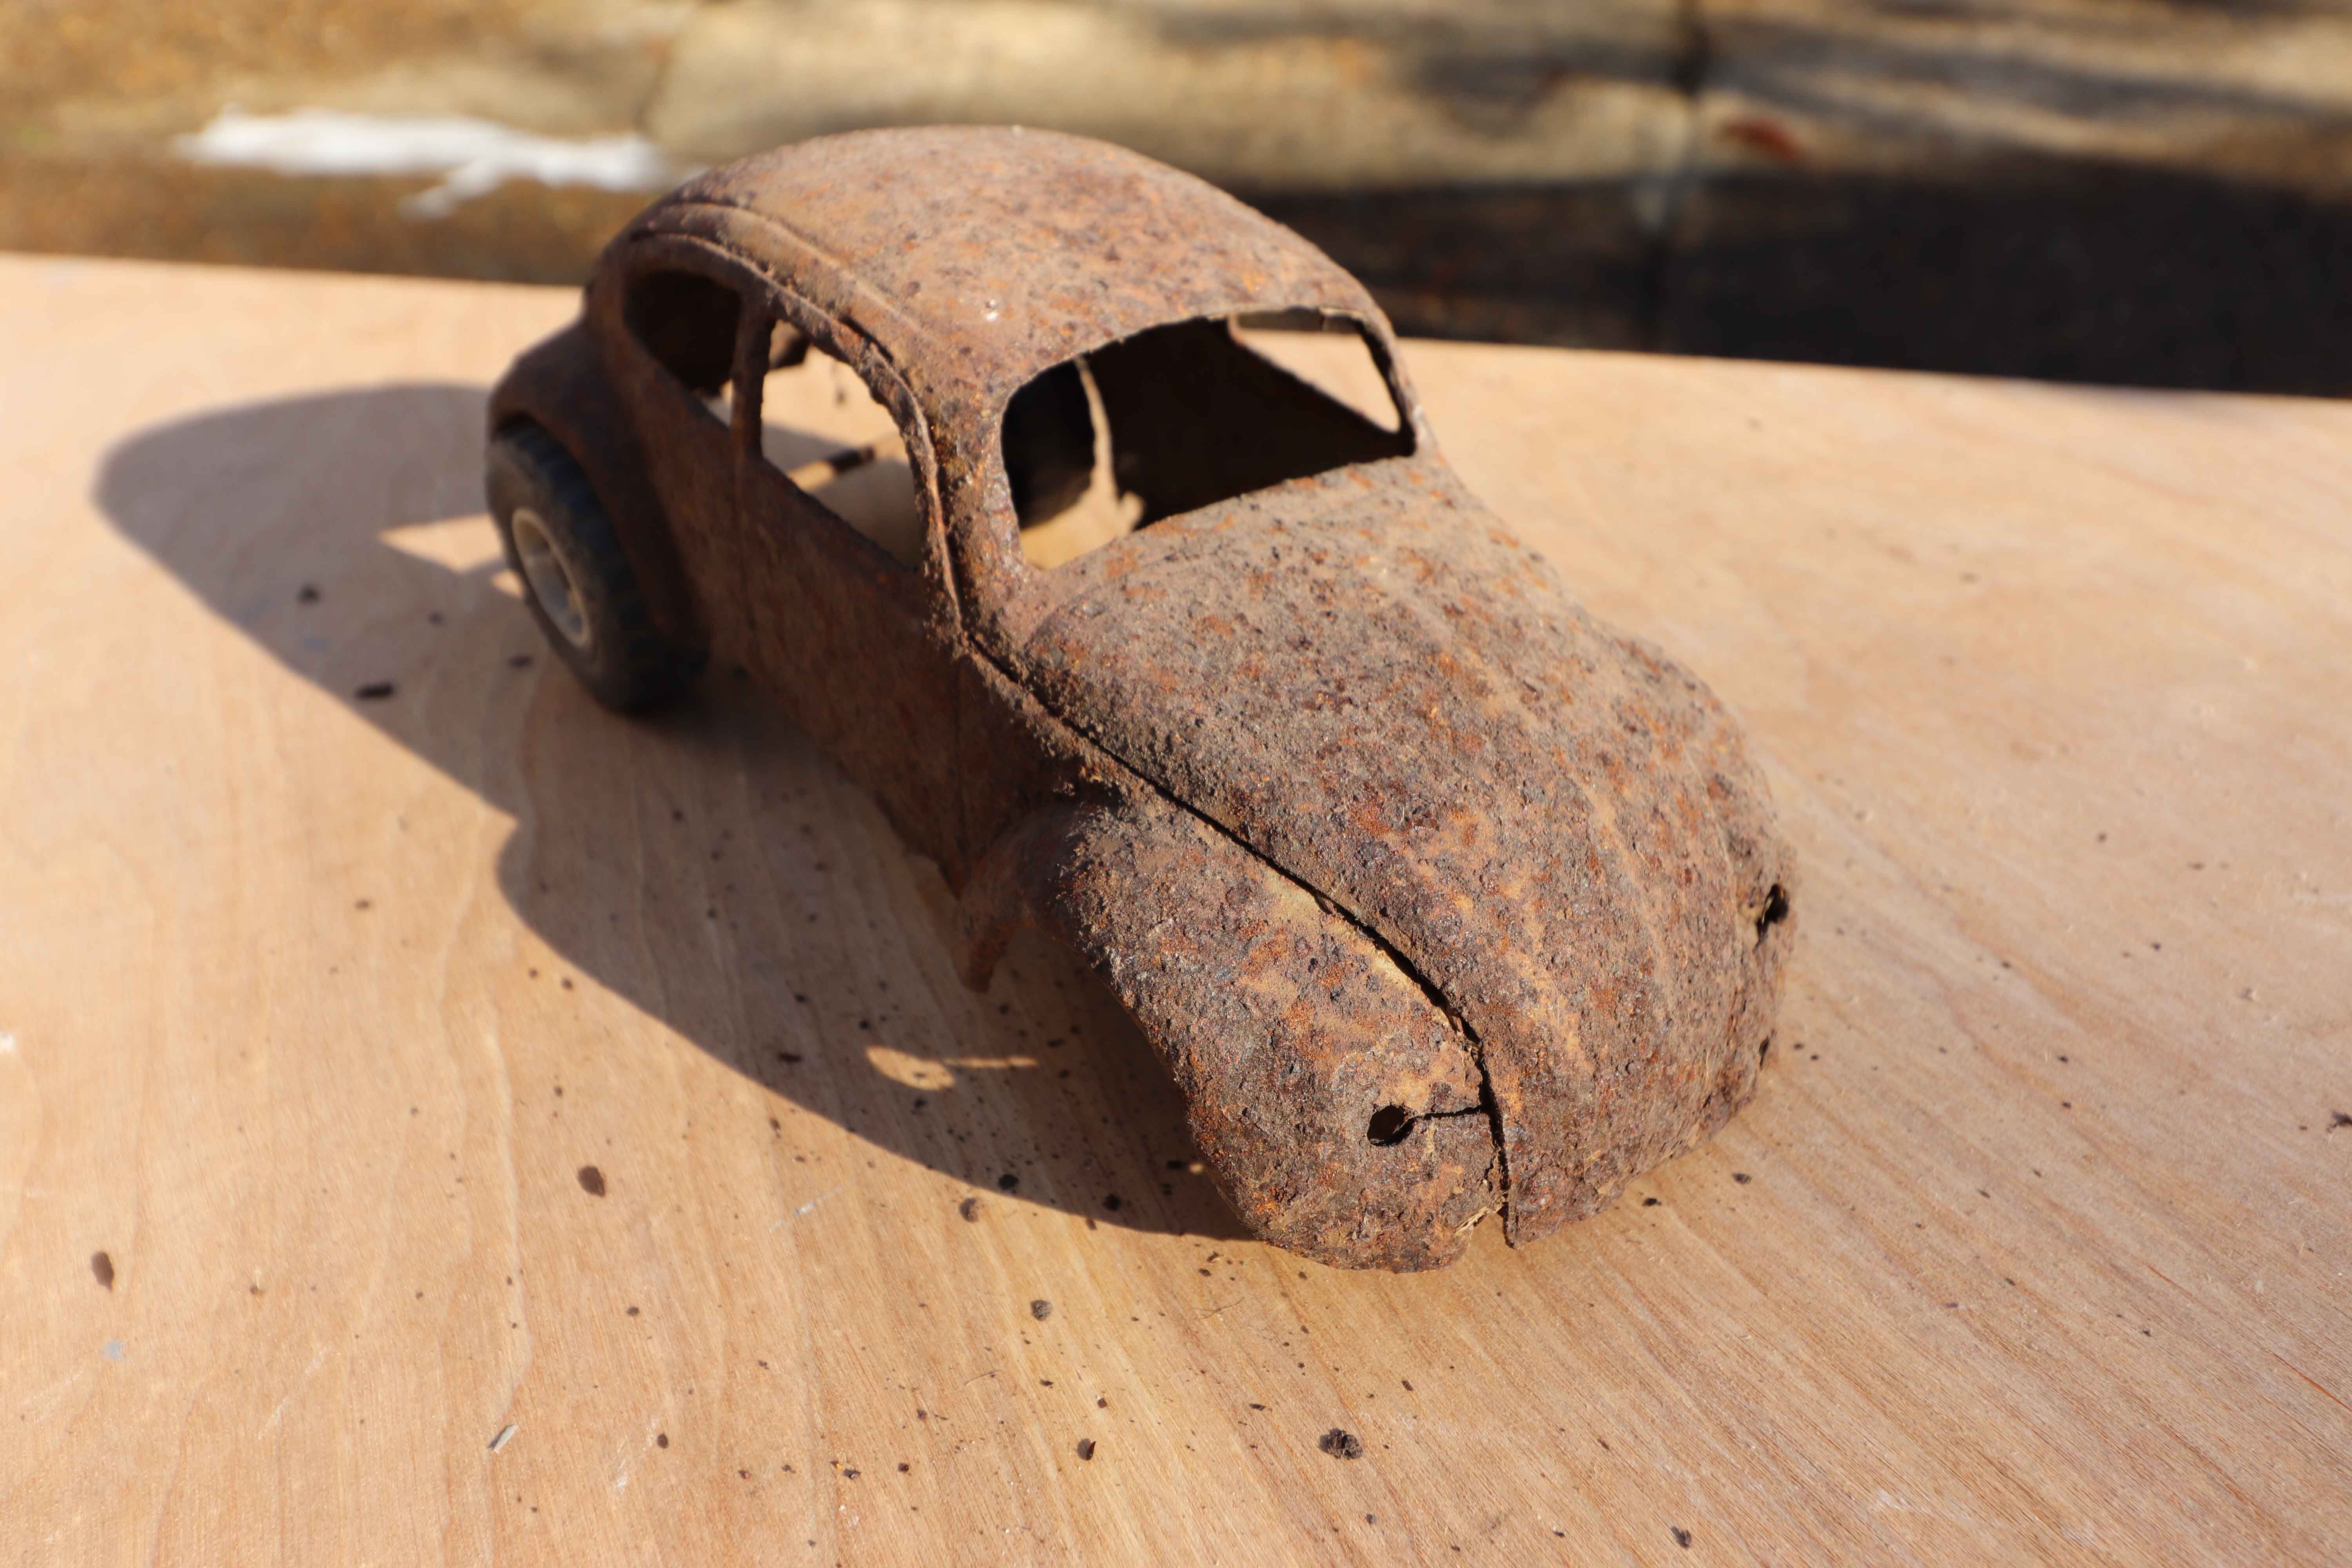
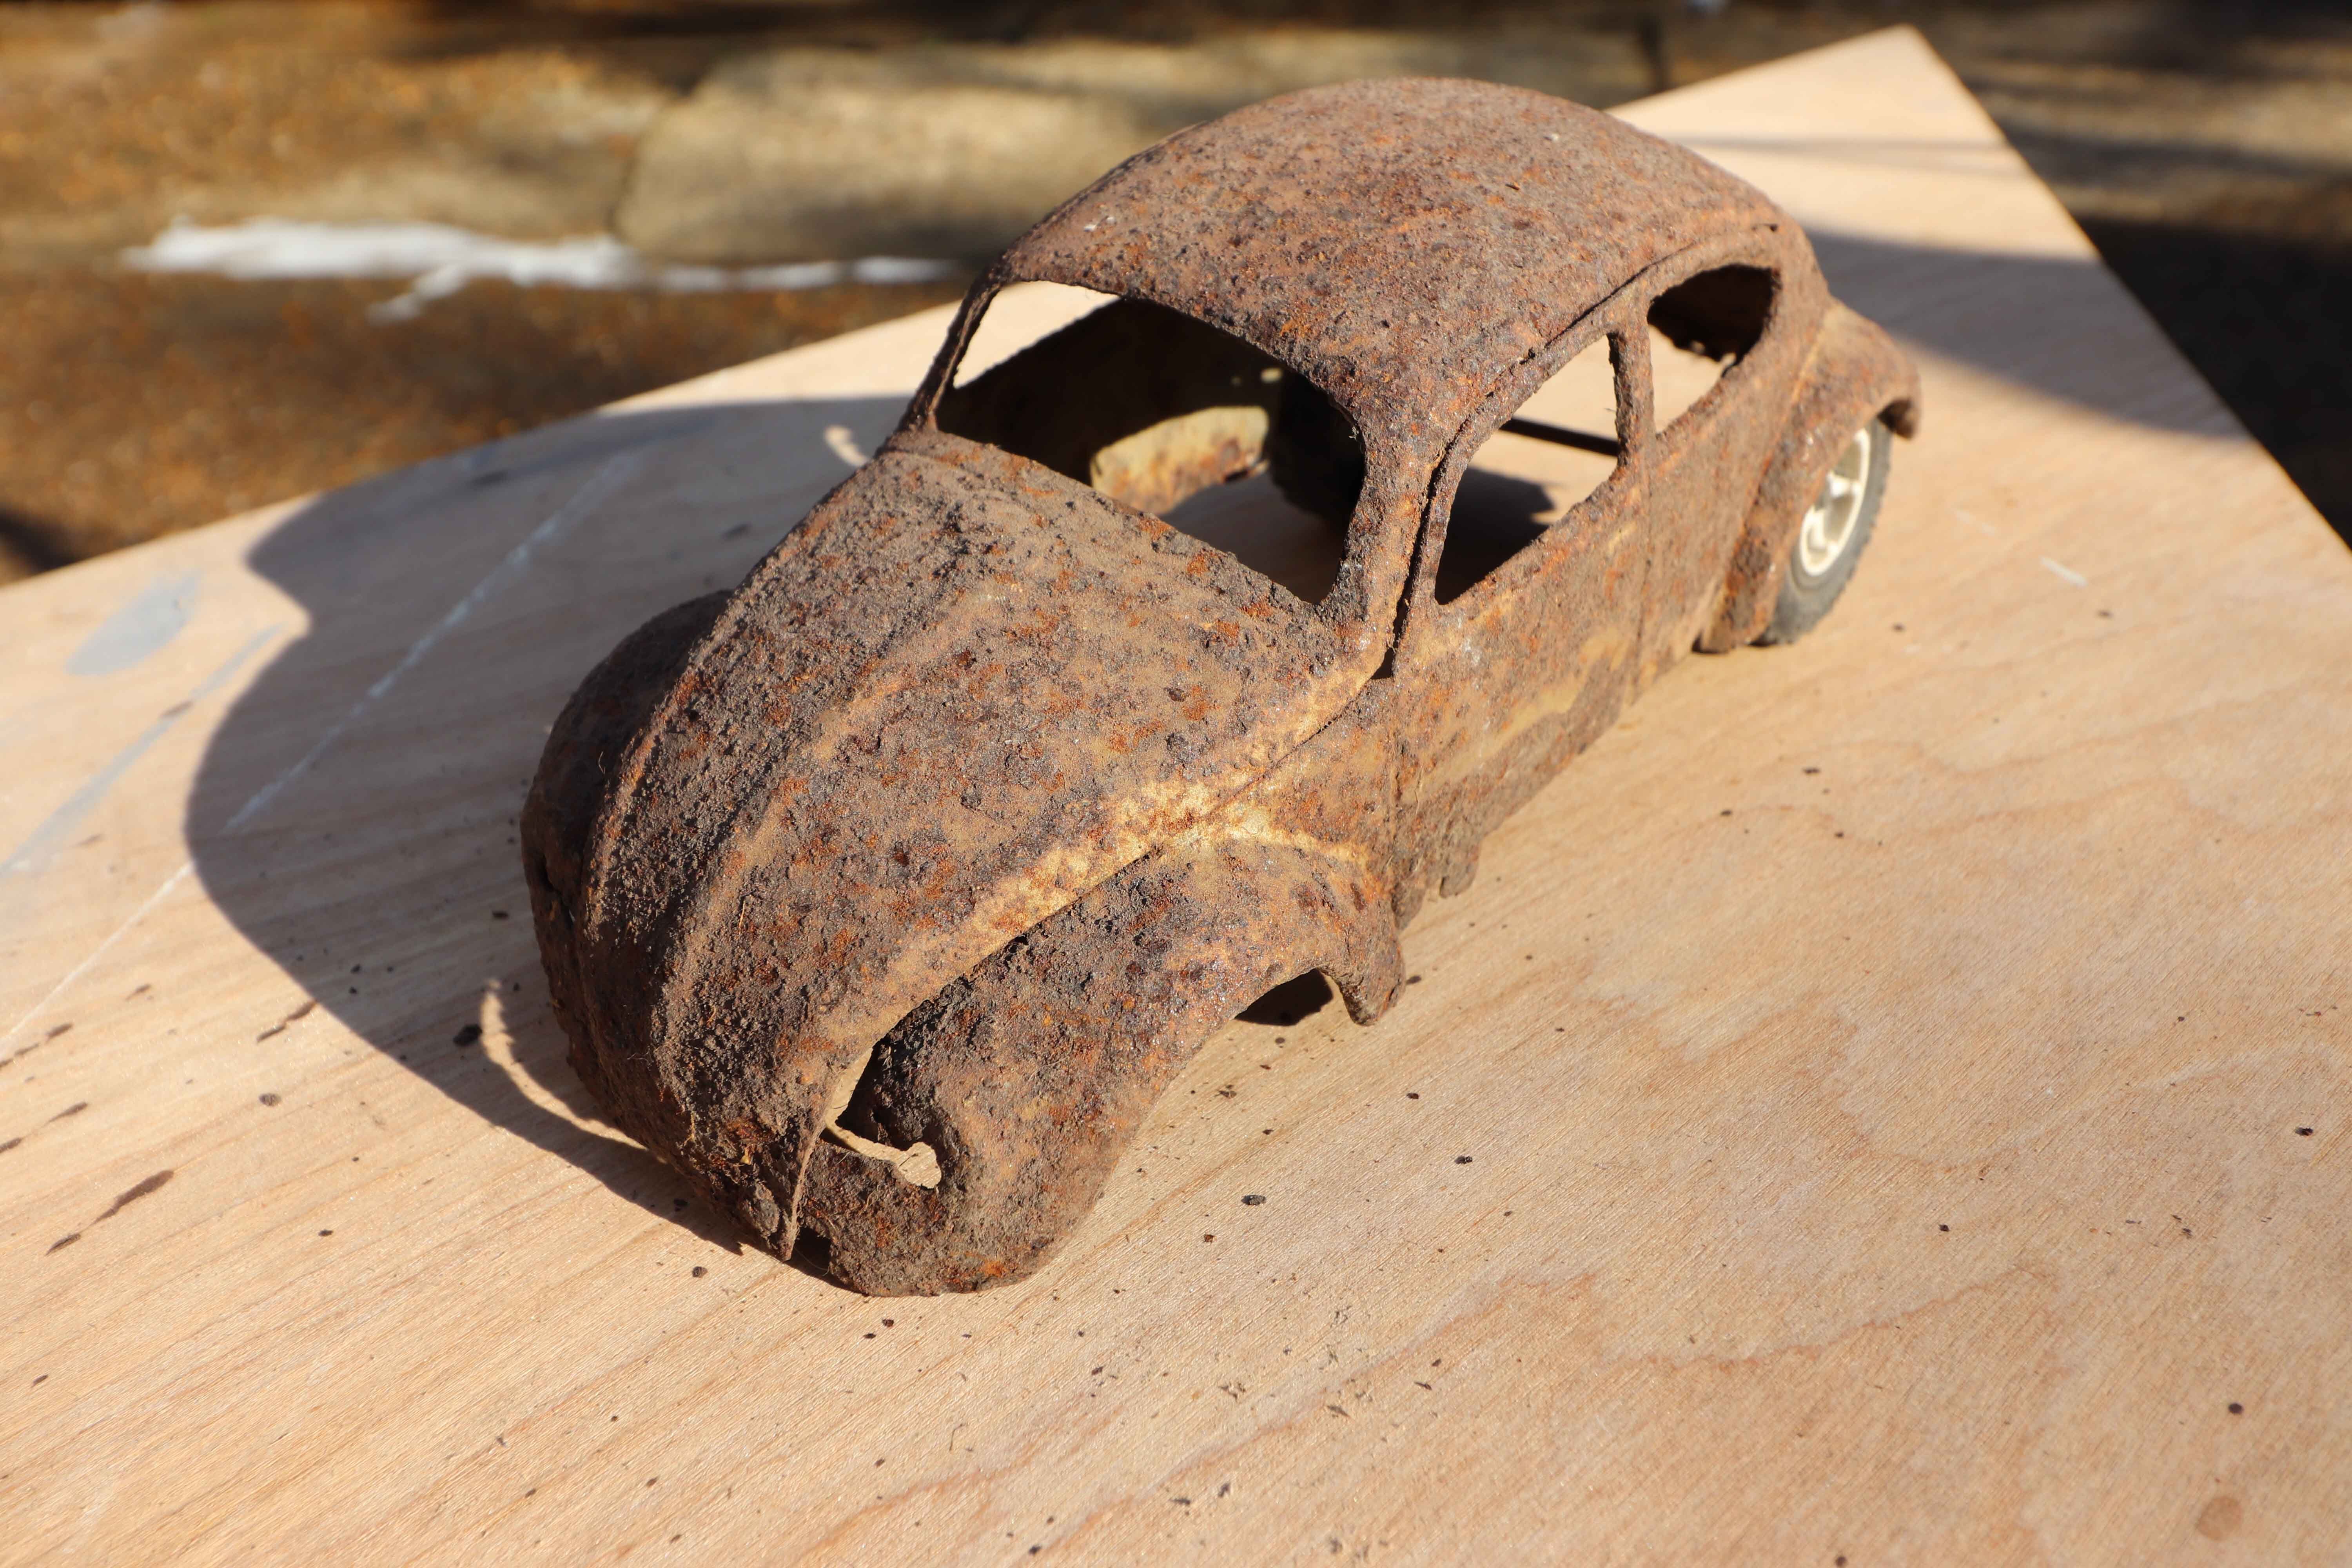
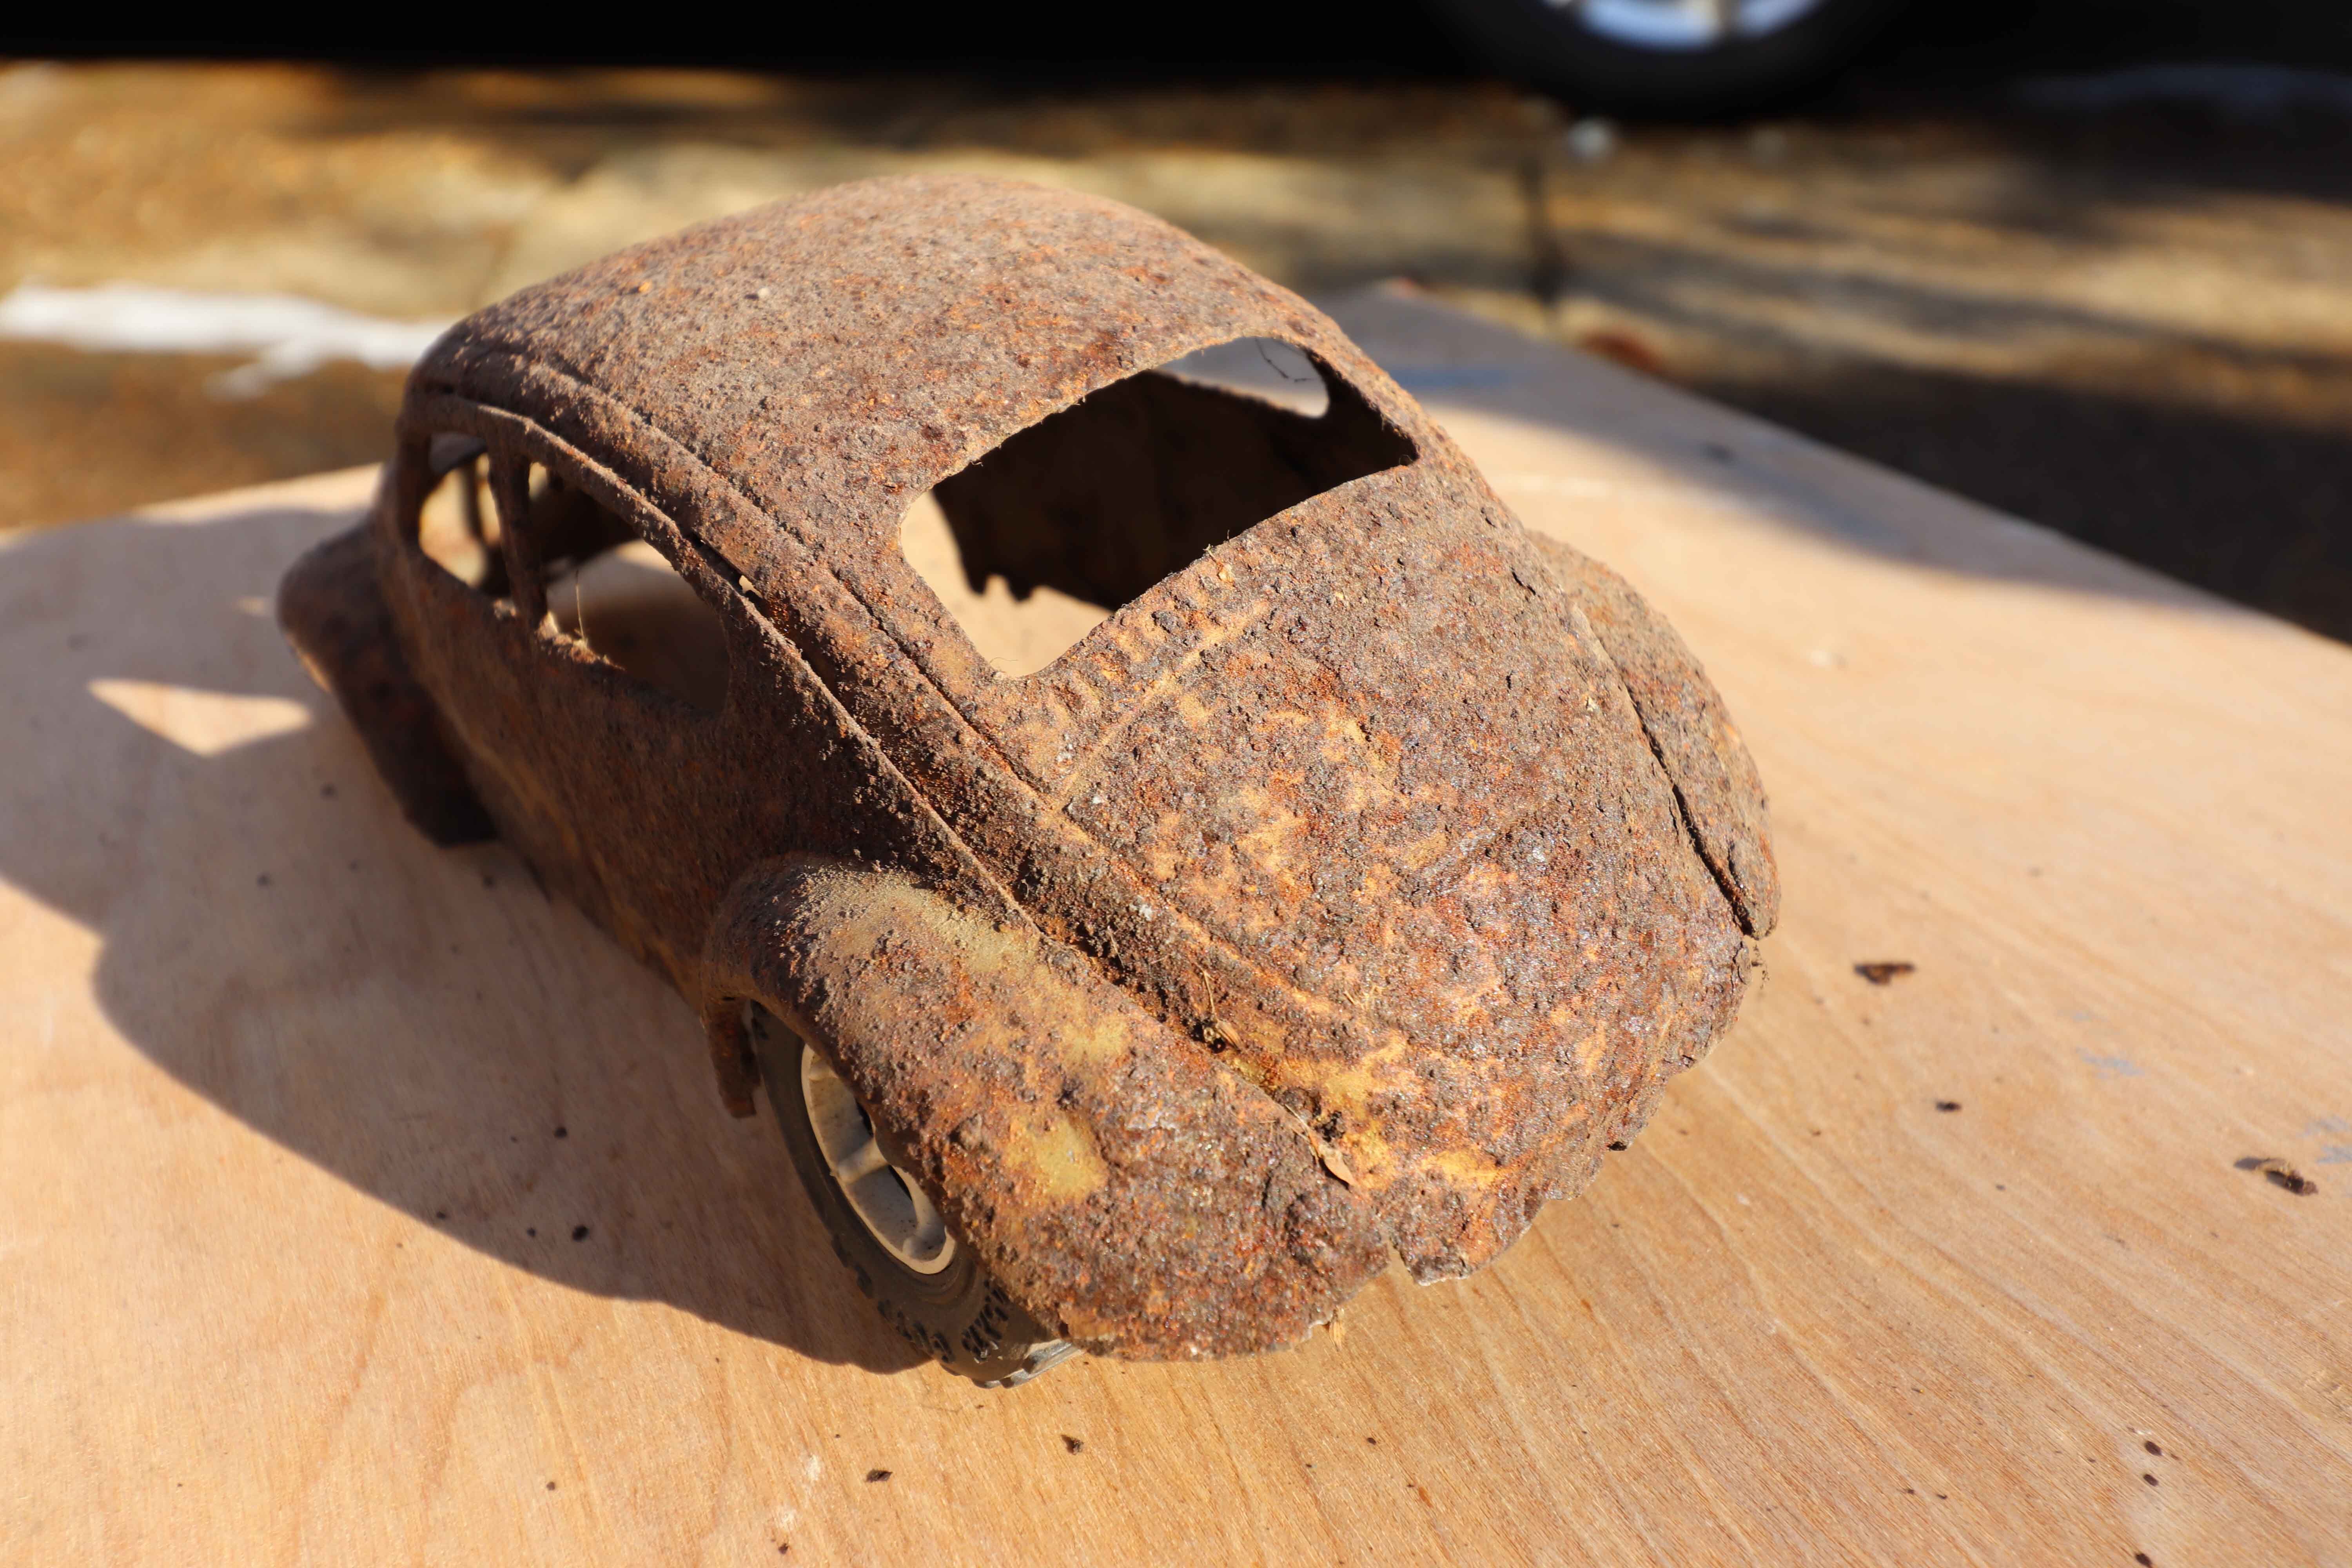
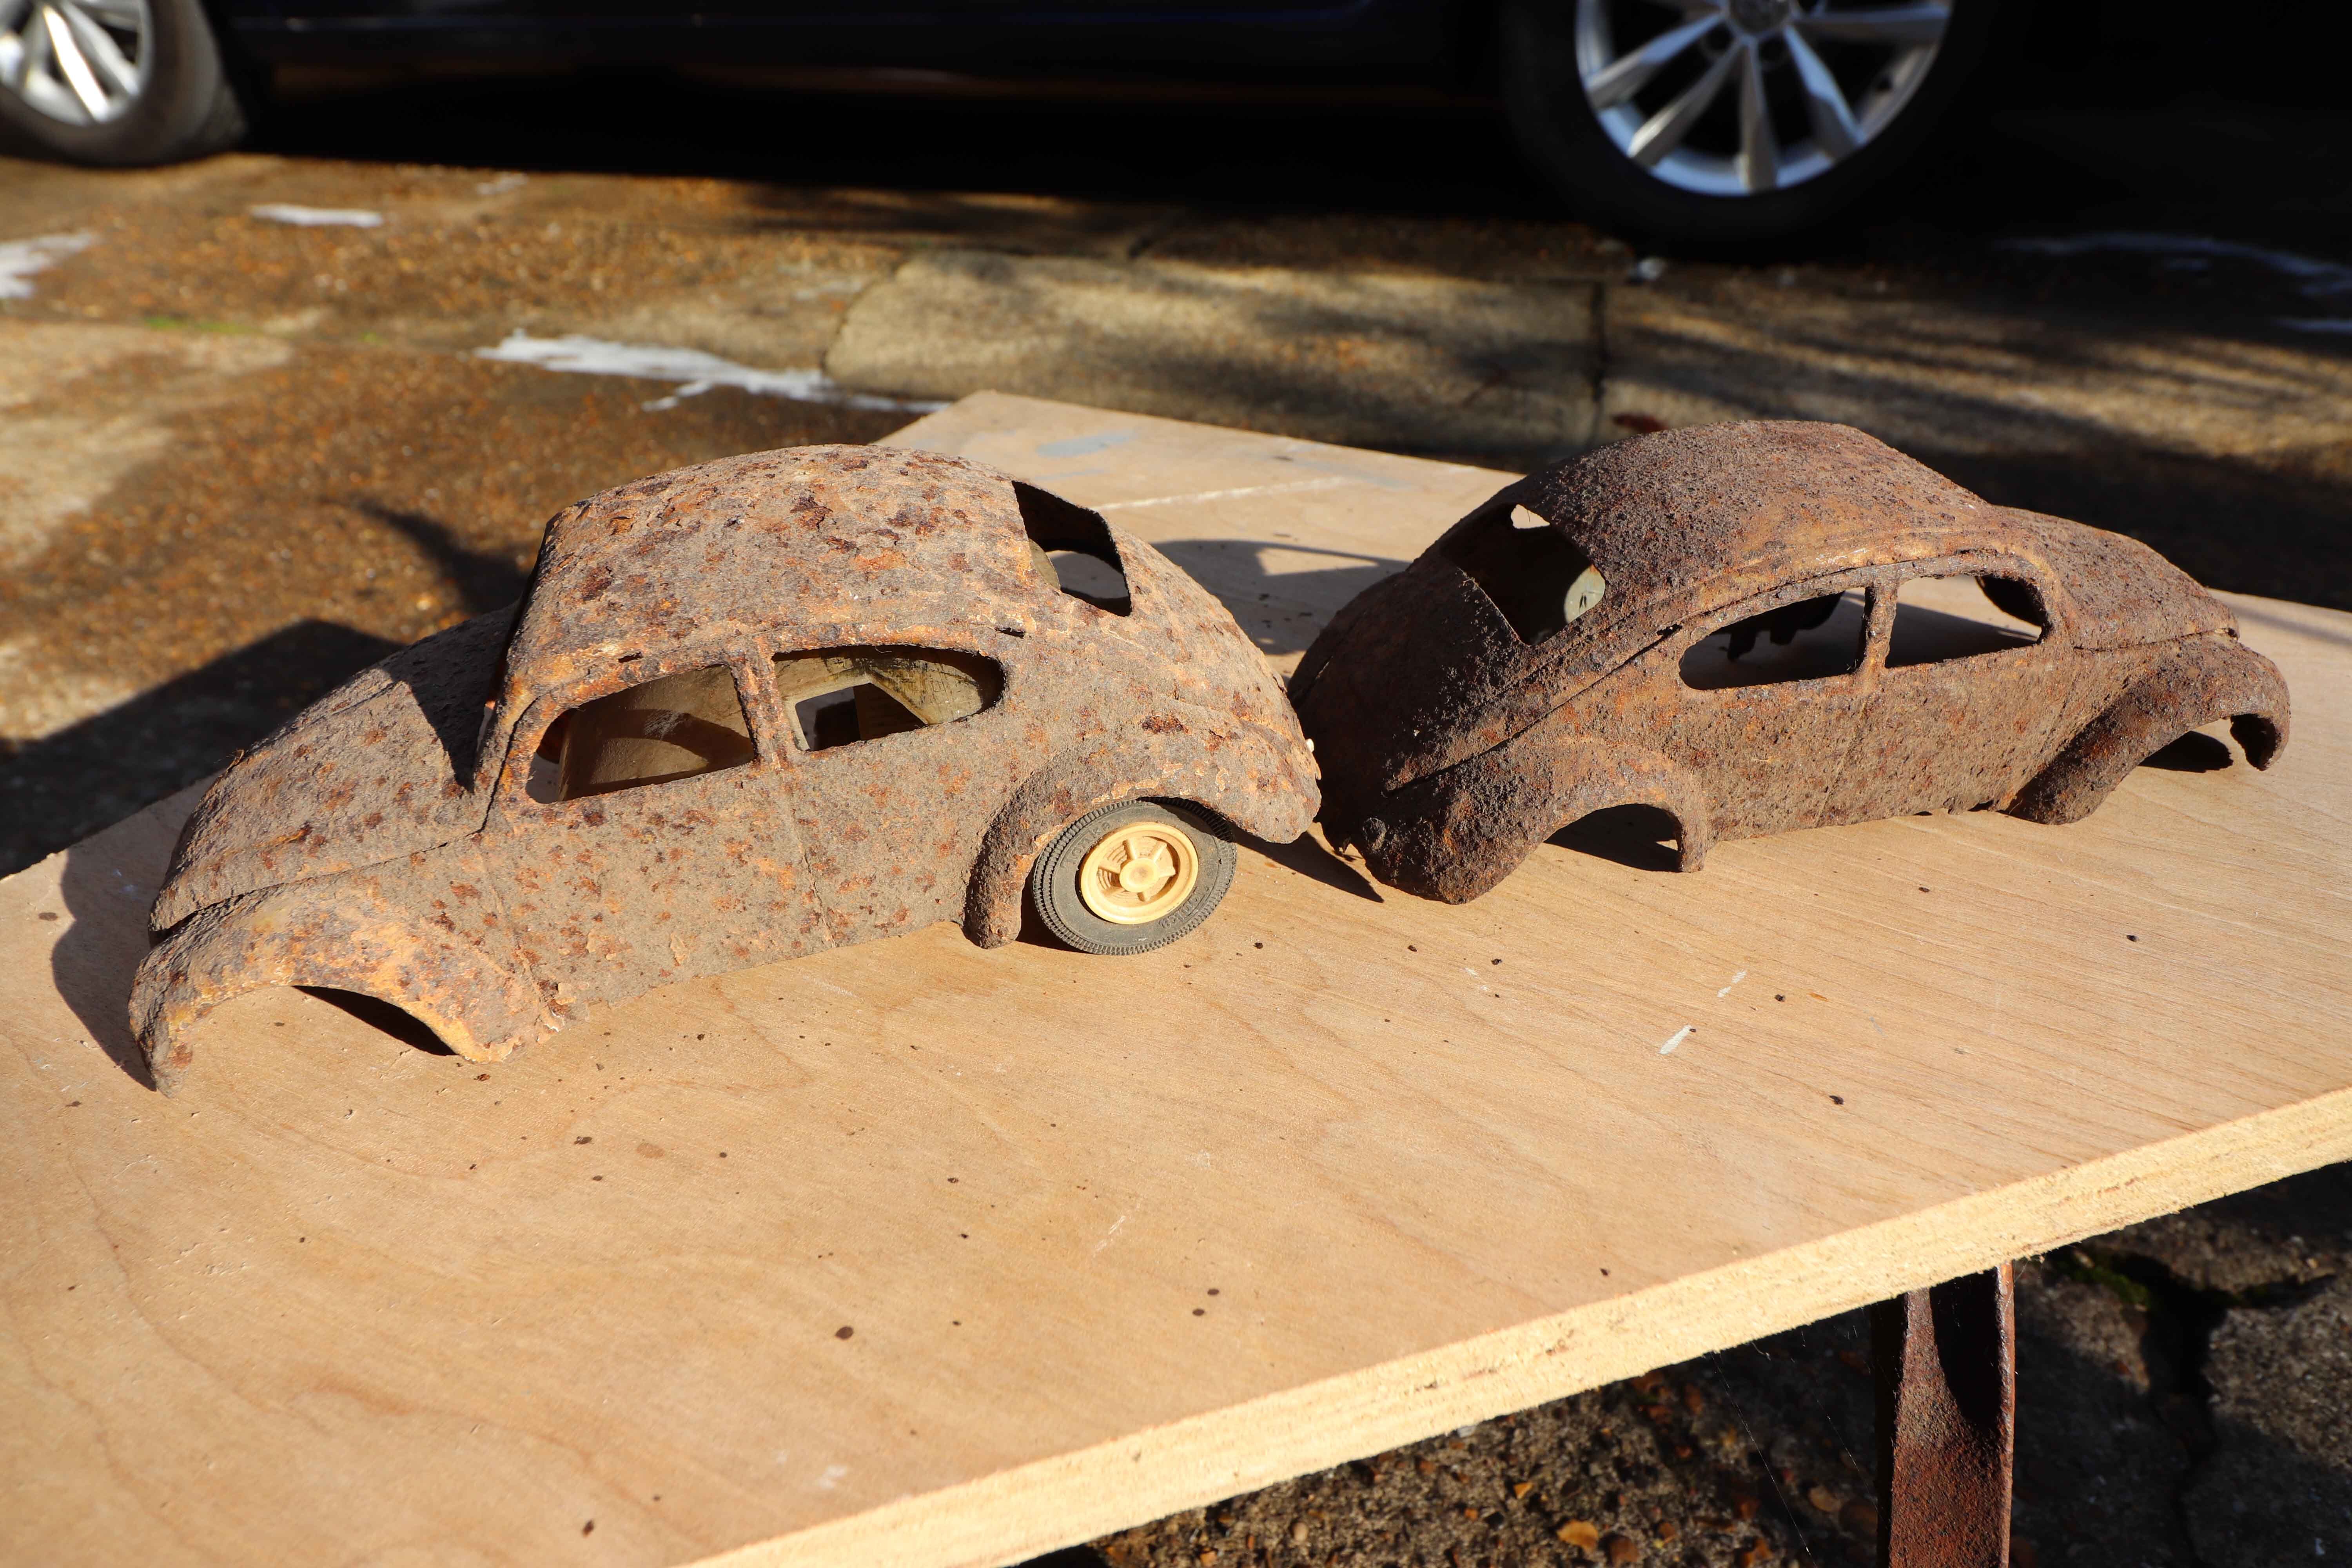
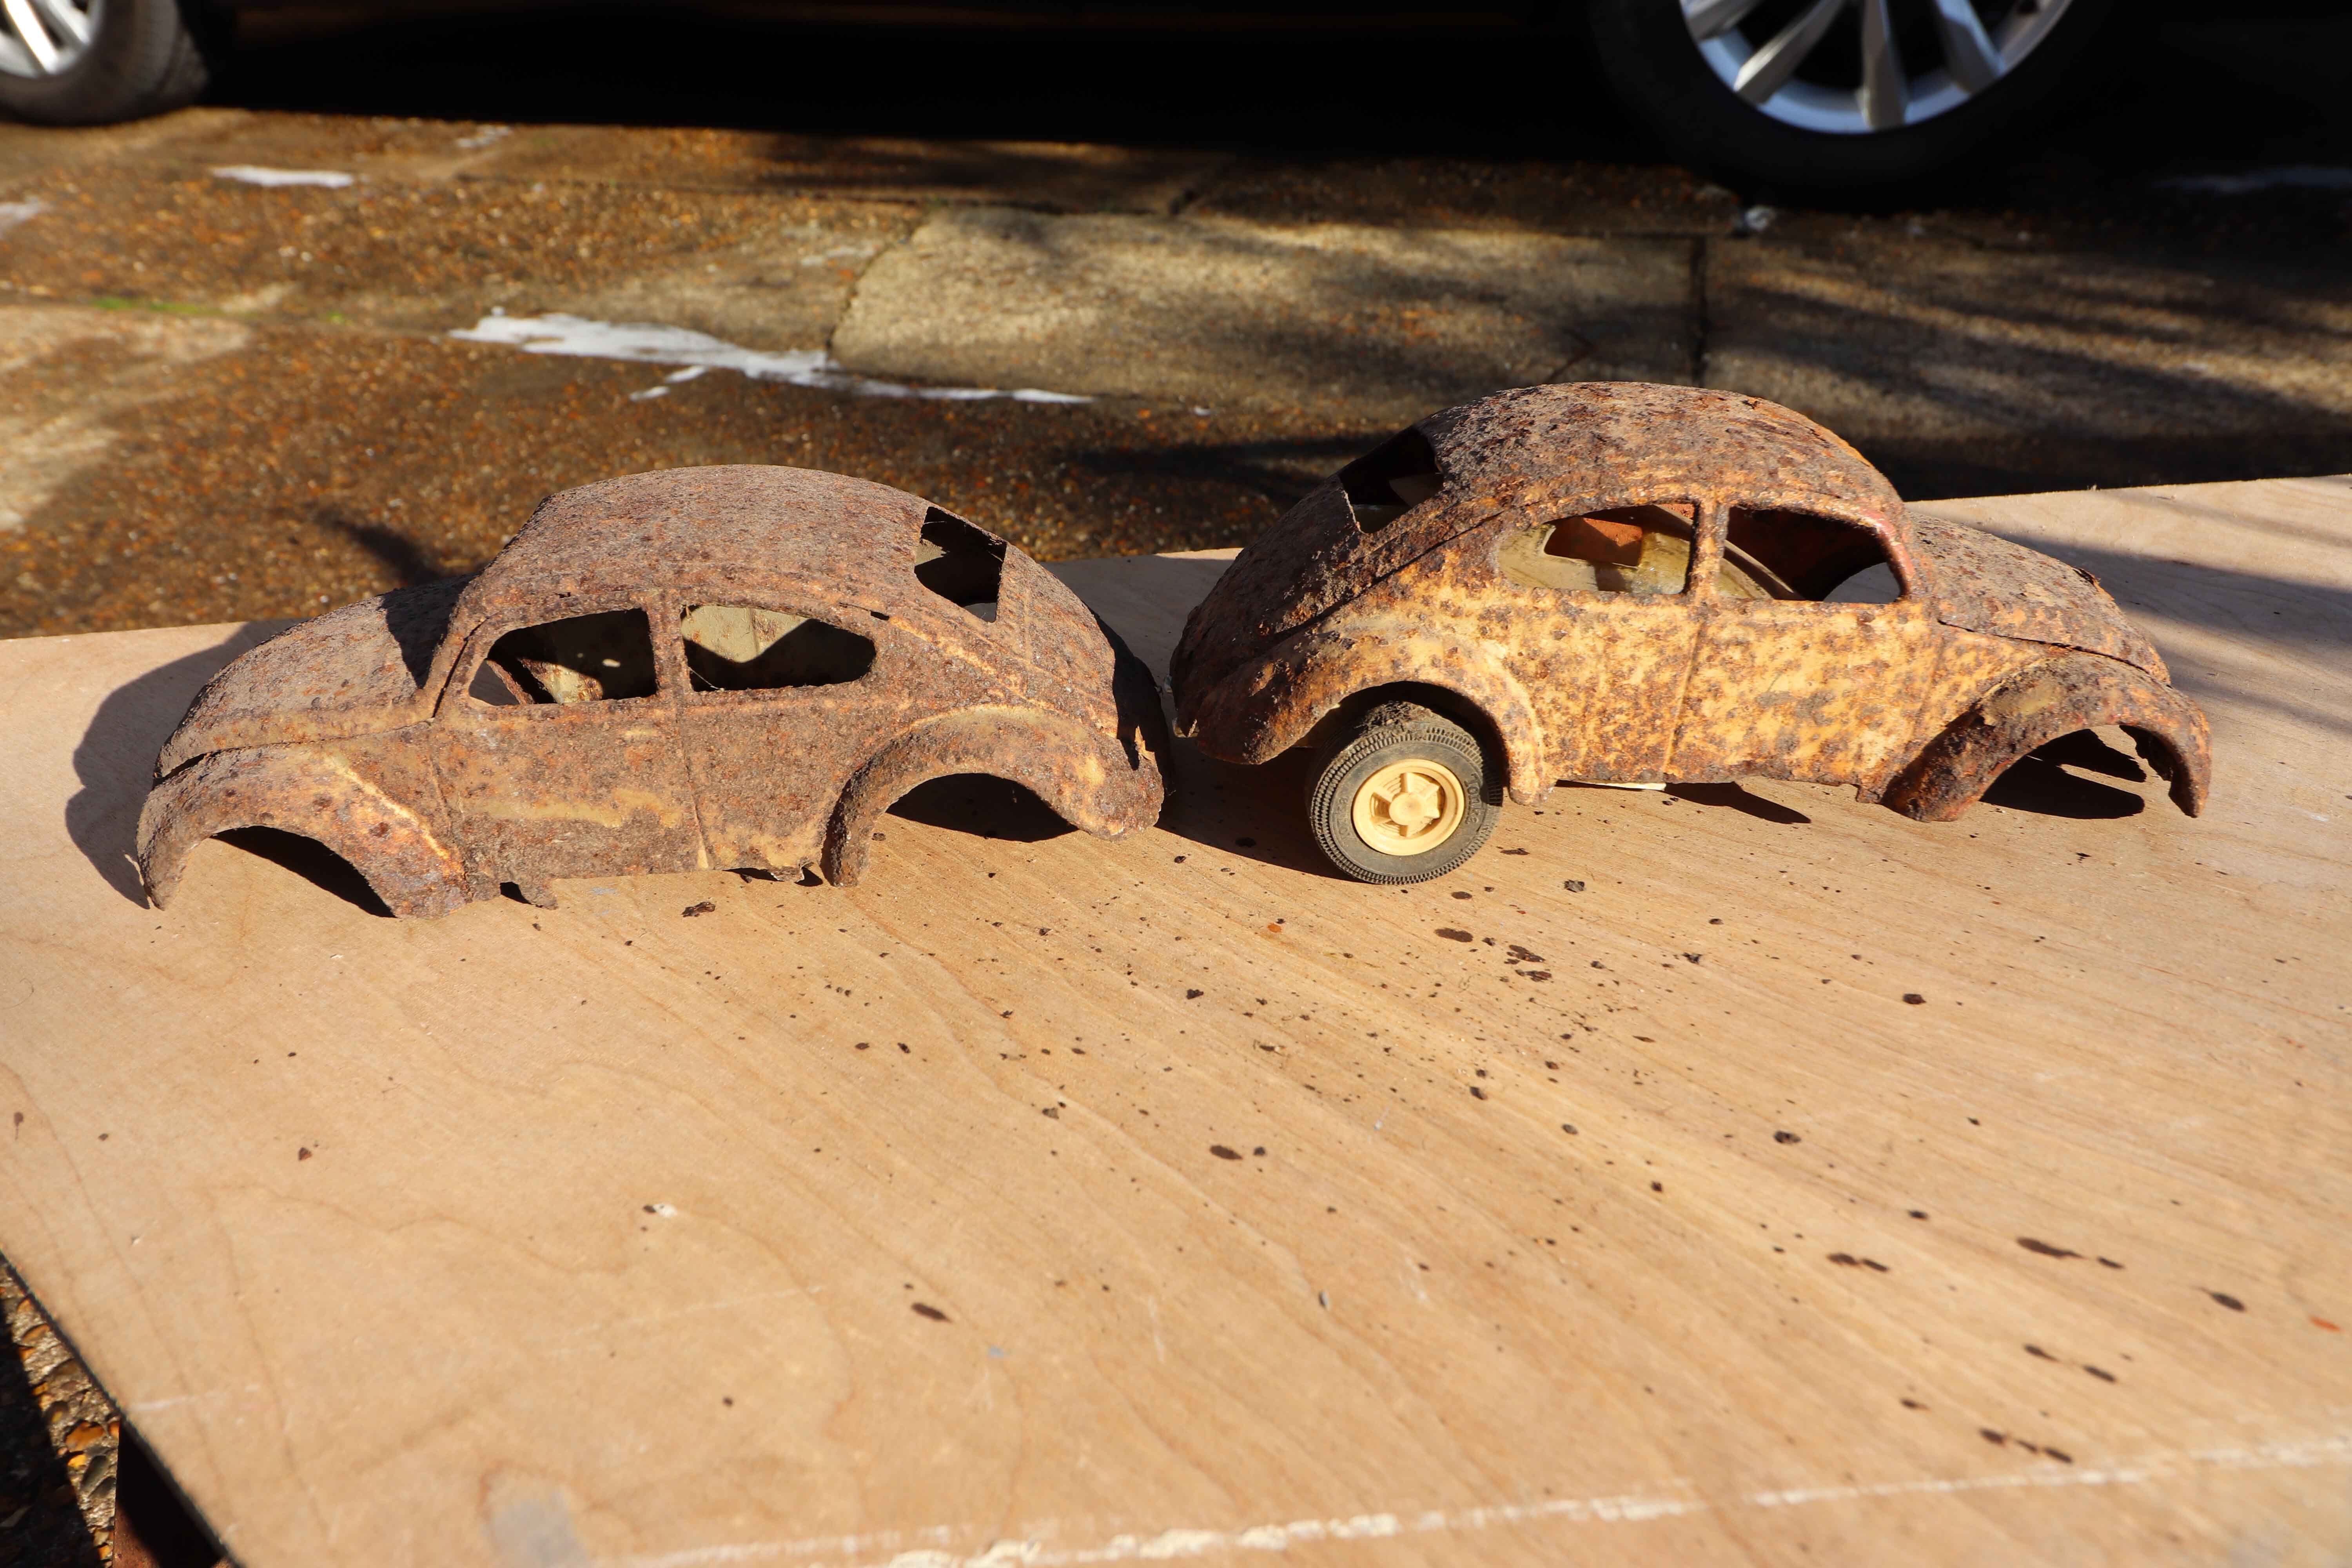
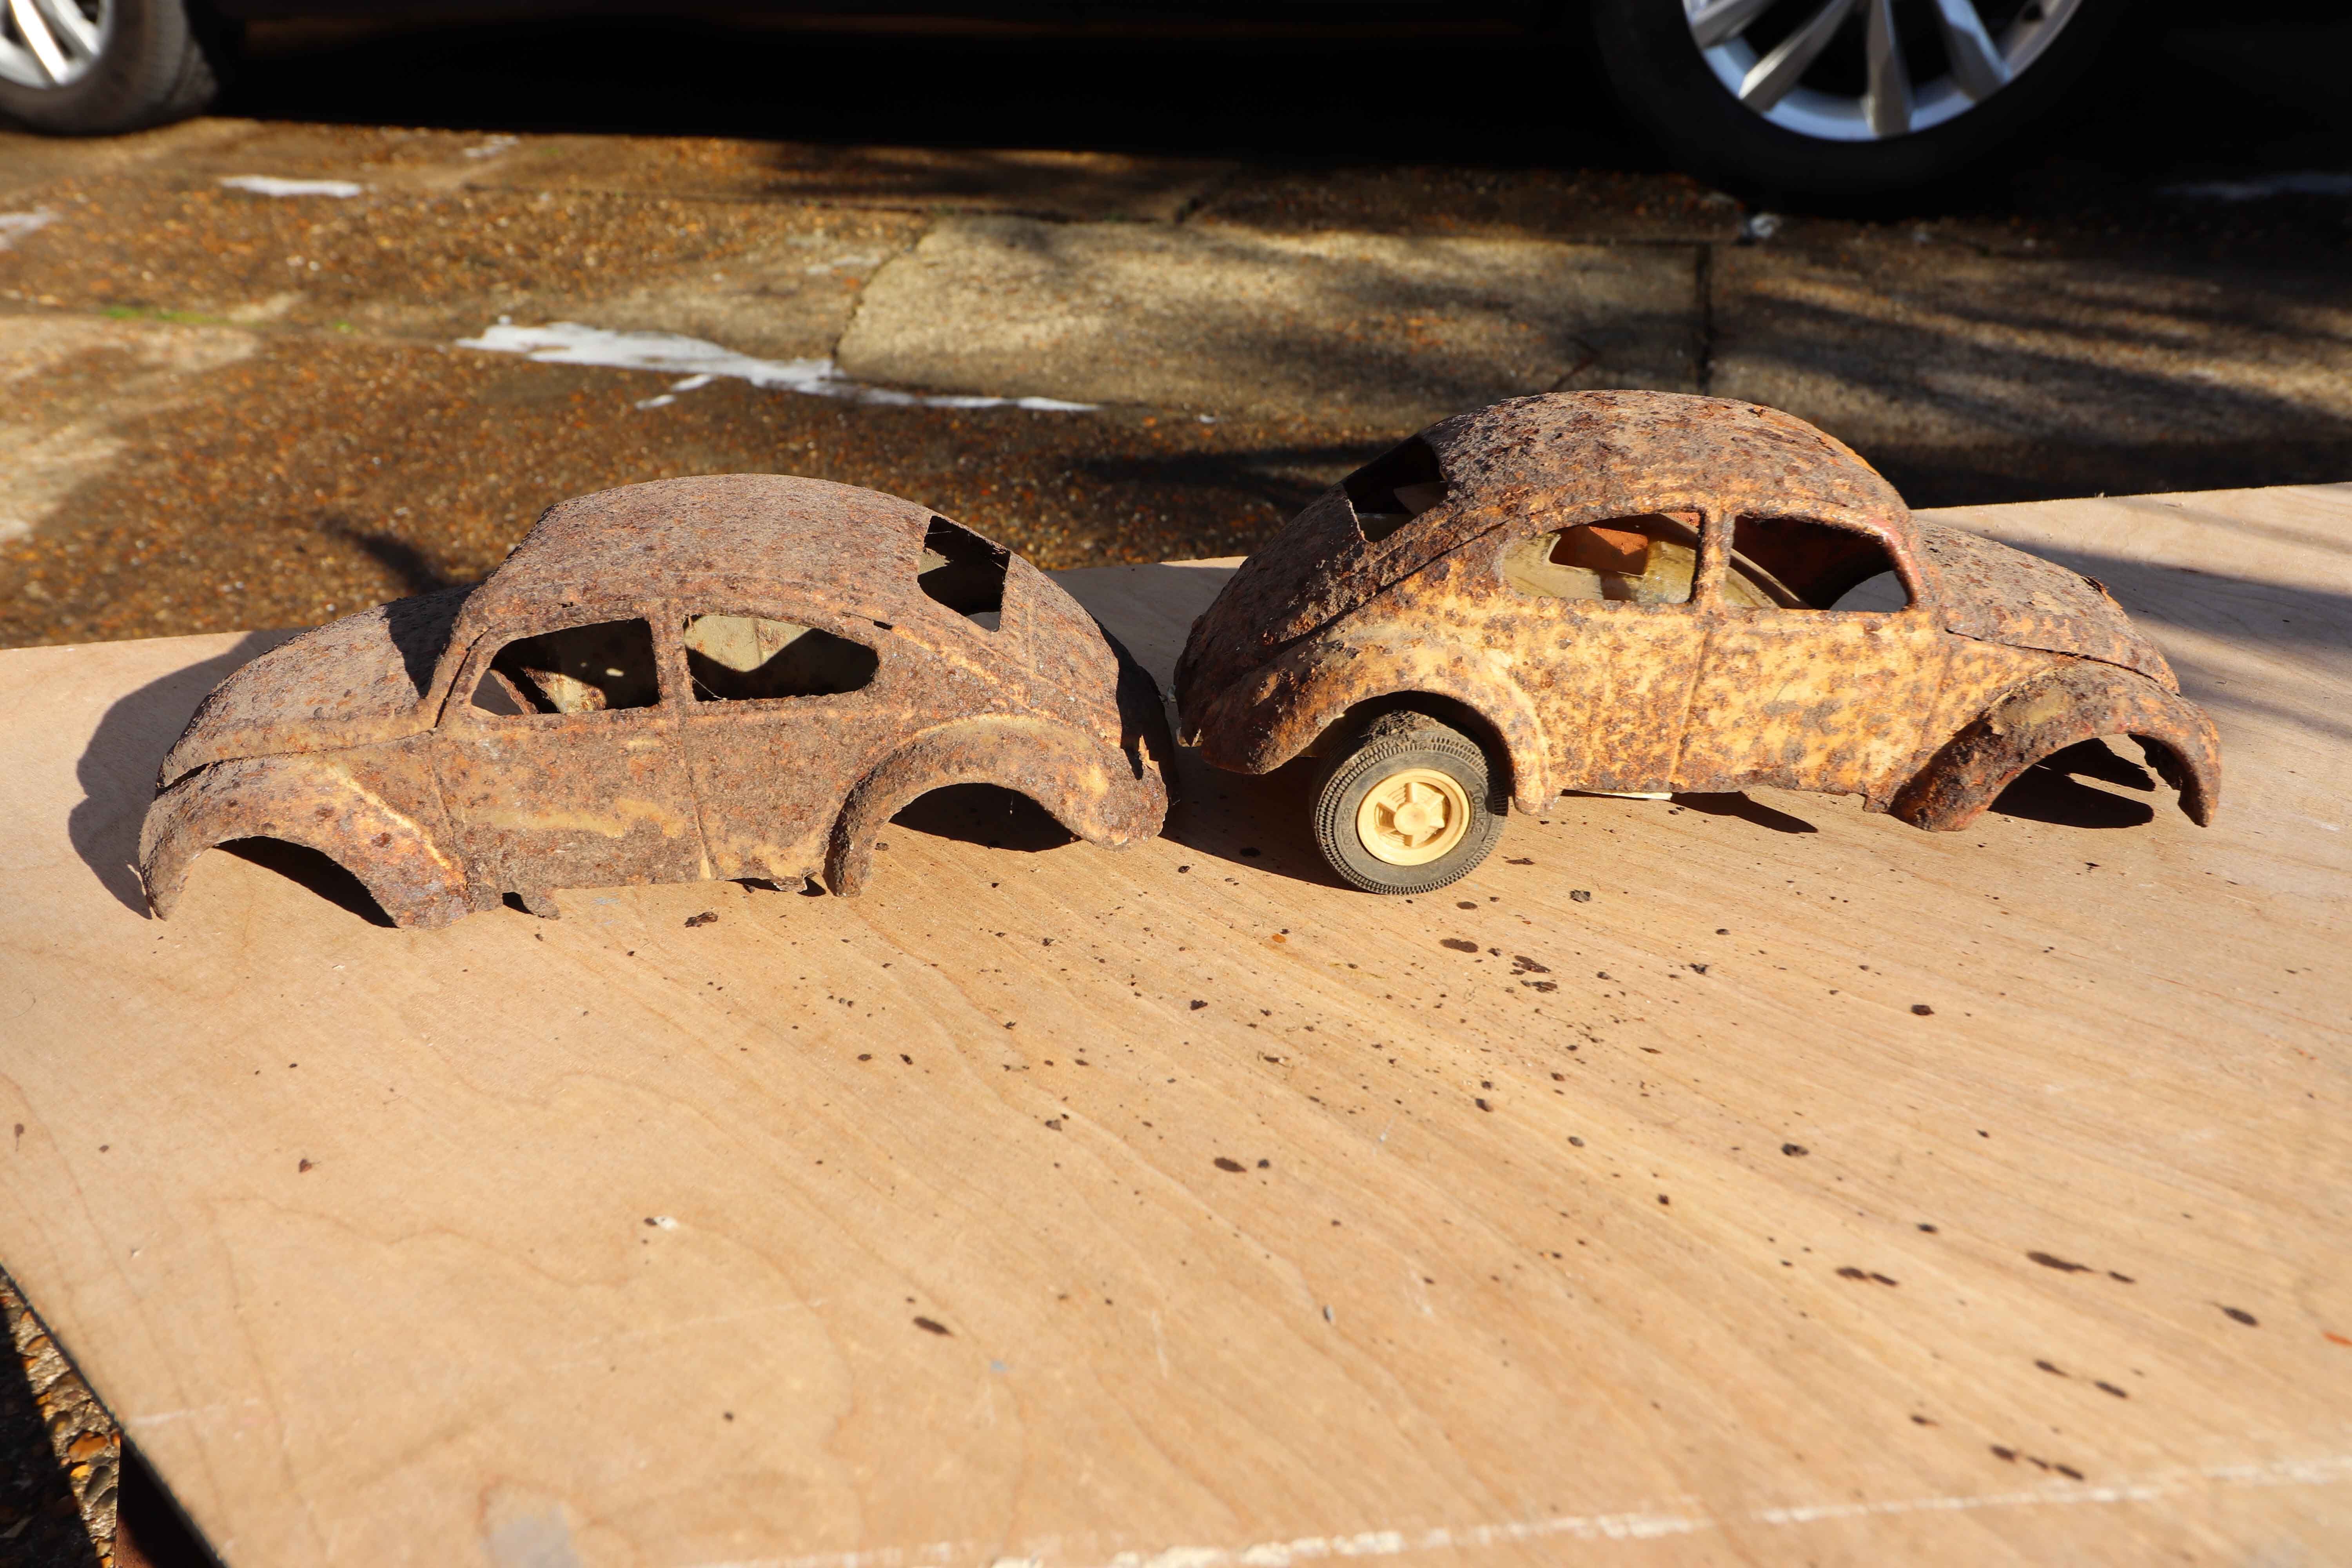
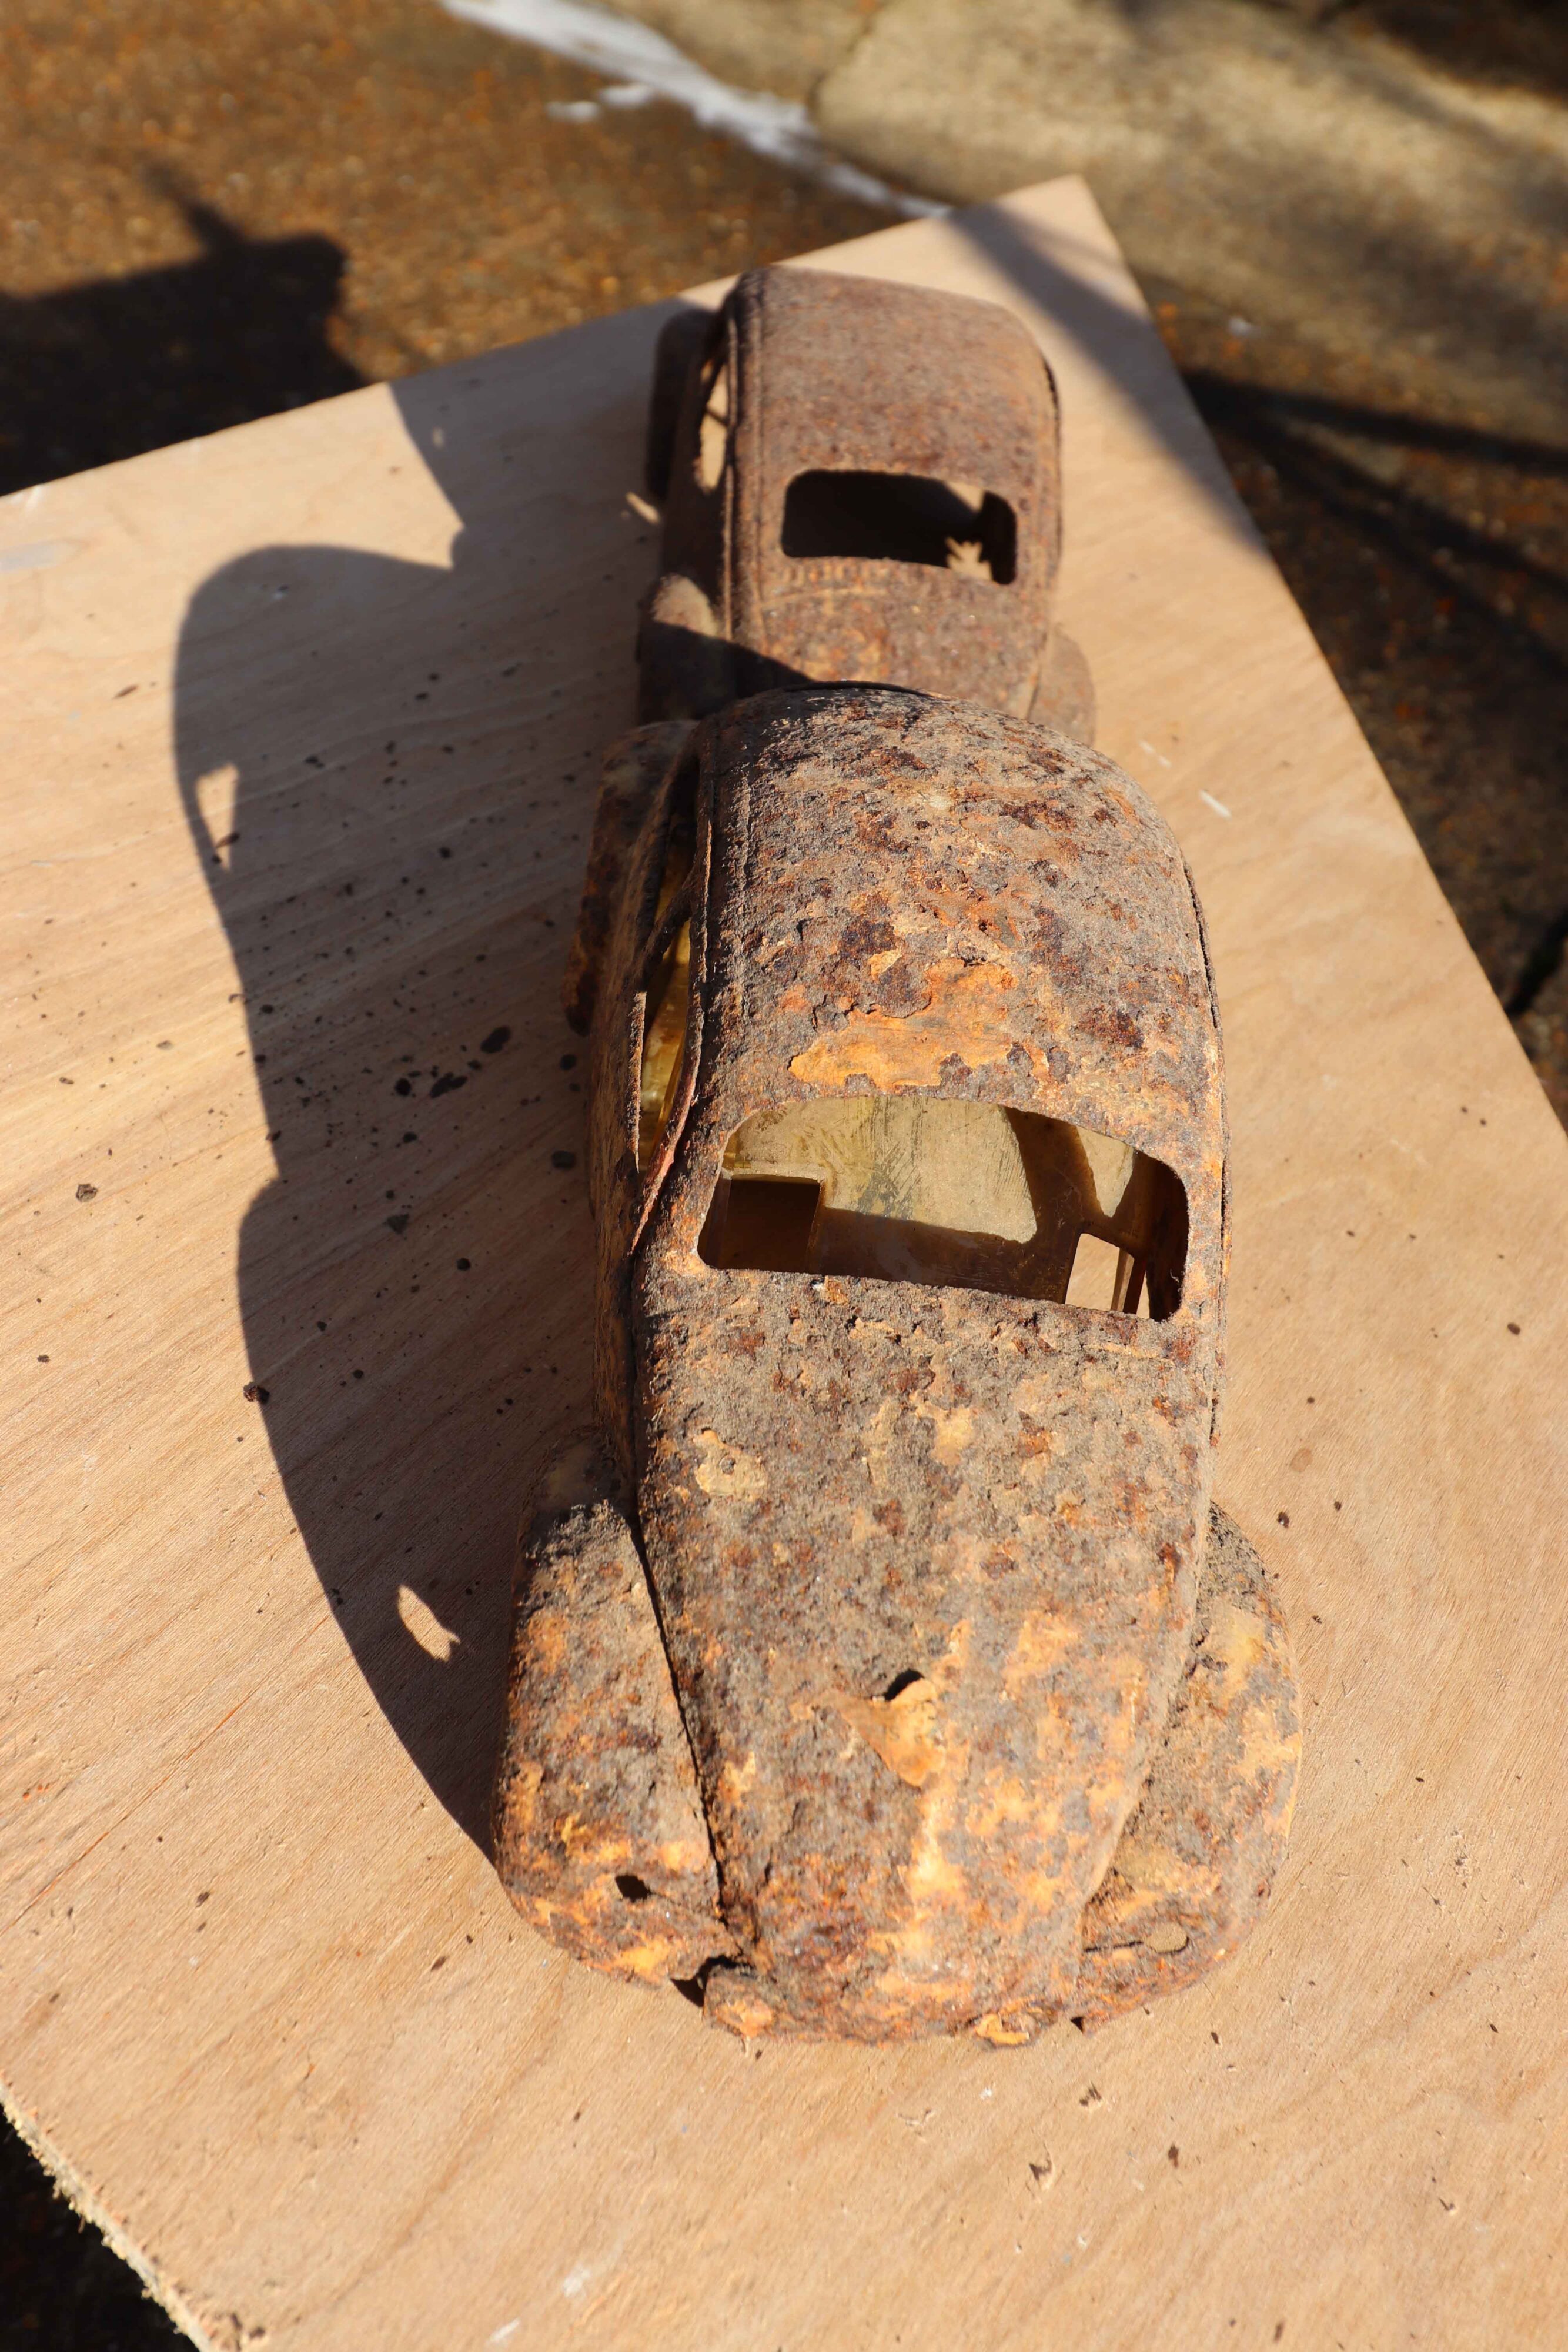
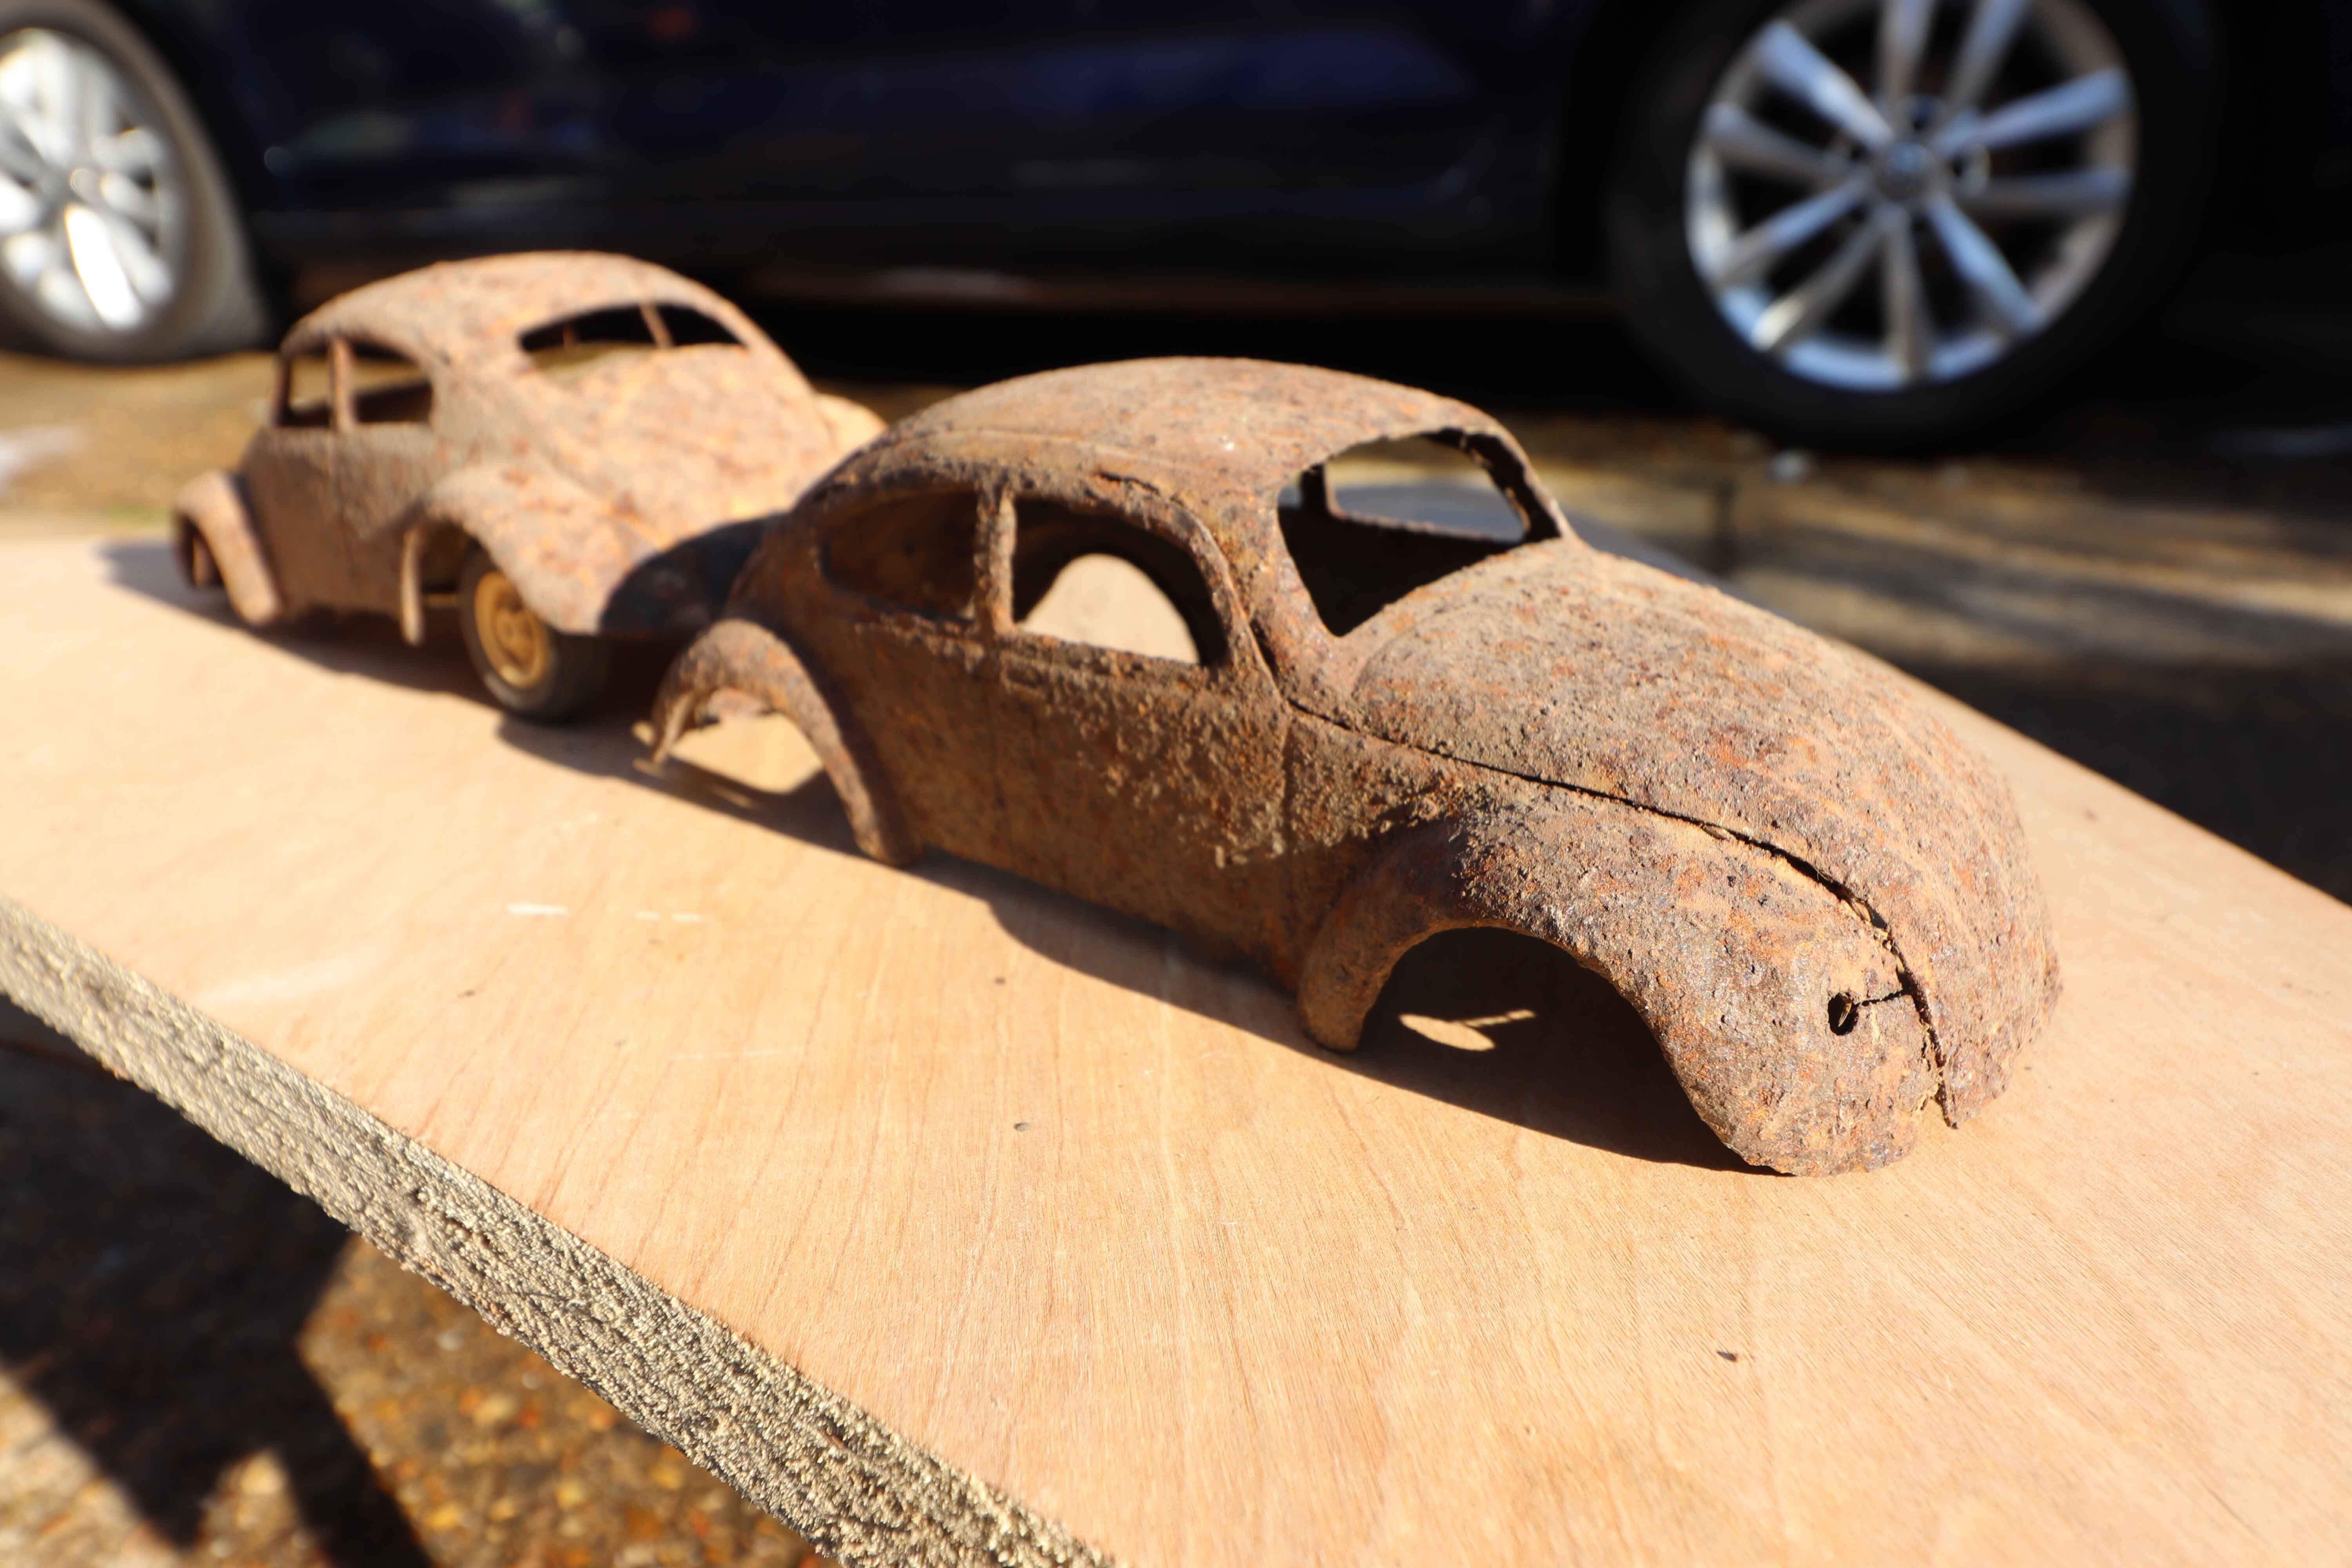
At the Volksworld Show 2025 (held at the South of England Show Ground, Ardingly) I purchased from the Swap Meet a pair of rather rusty Bodyshells, at the time I didn't know what they were from. Initially I though they were tin plate models but after a lot of research I found out that they were actually Tonka Toys Beetles (minus the chassis, wheels and interior). My initial plan was to restore as Tonka Toys Beetles (to which I already have a couple) but the spares market appears to be a little thin on the ground as I couldn't seem to find any parts and most complete or nearly complete cars were going for around £30, so I changed my plans and decided to make them as RC Cars.
I measured the bodyshell for length, width and wheelbase and the closest car I could find was the Carisma GT24, surpisingly the width matched the Tonka Beetle however the wheelbase was some 11mm short. I did some more research before proceeding studying photos, the chassis and spare parts until I was confident that I could extend the wheelbase. It was a voyage of discovery to be fair.
Throughout each stage of the restoration I have taken photos so you can see the transformation of the bodyshell from rusty scrap to a useable body.
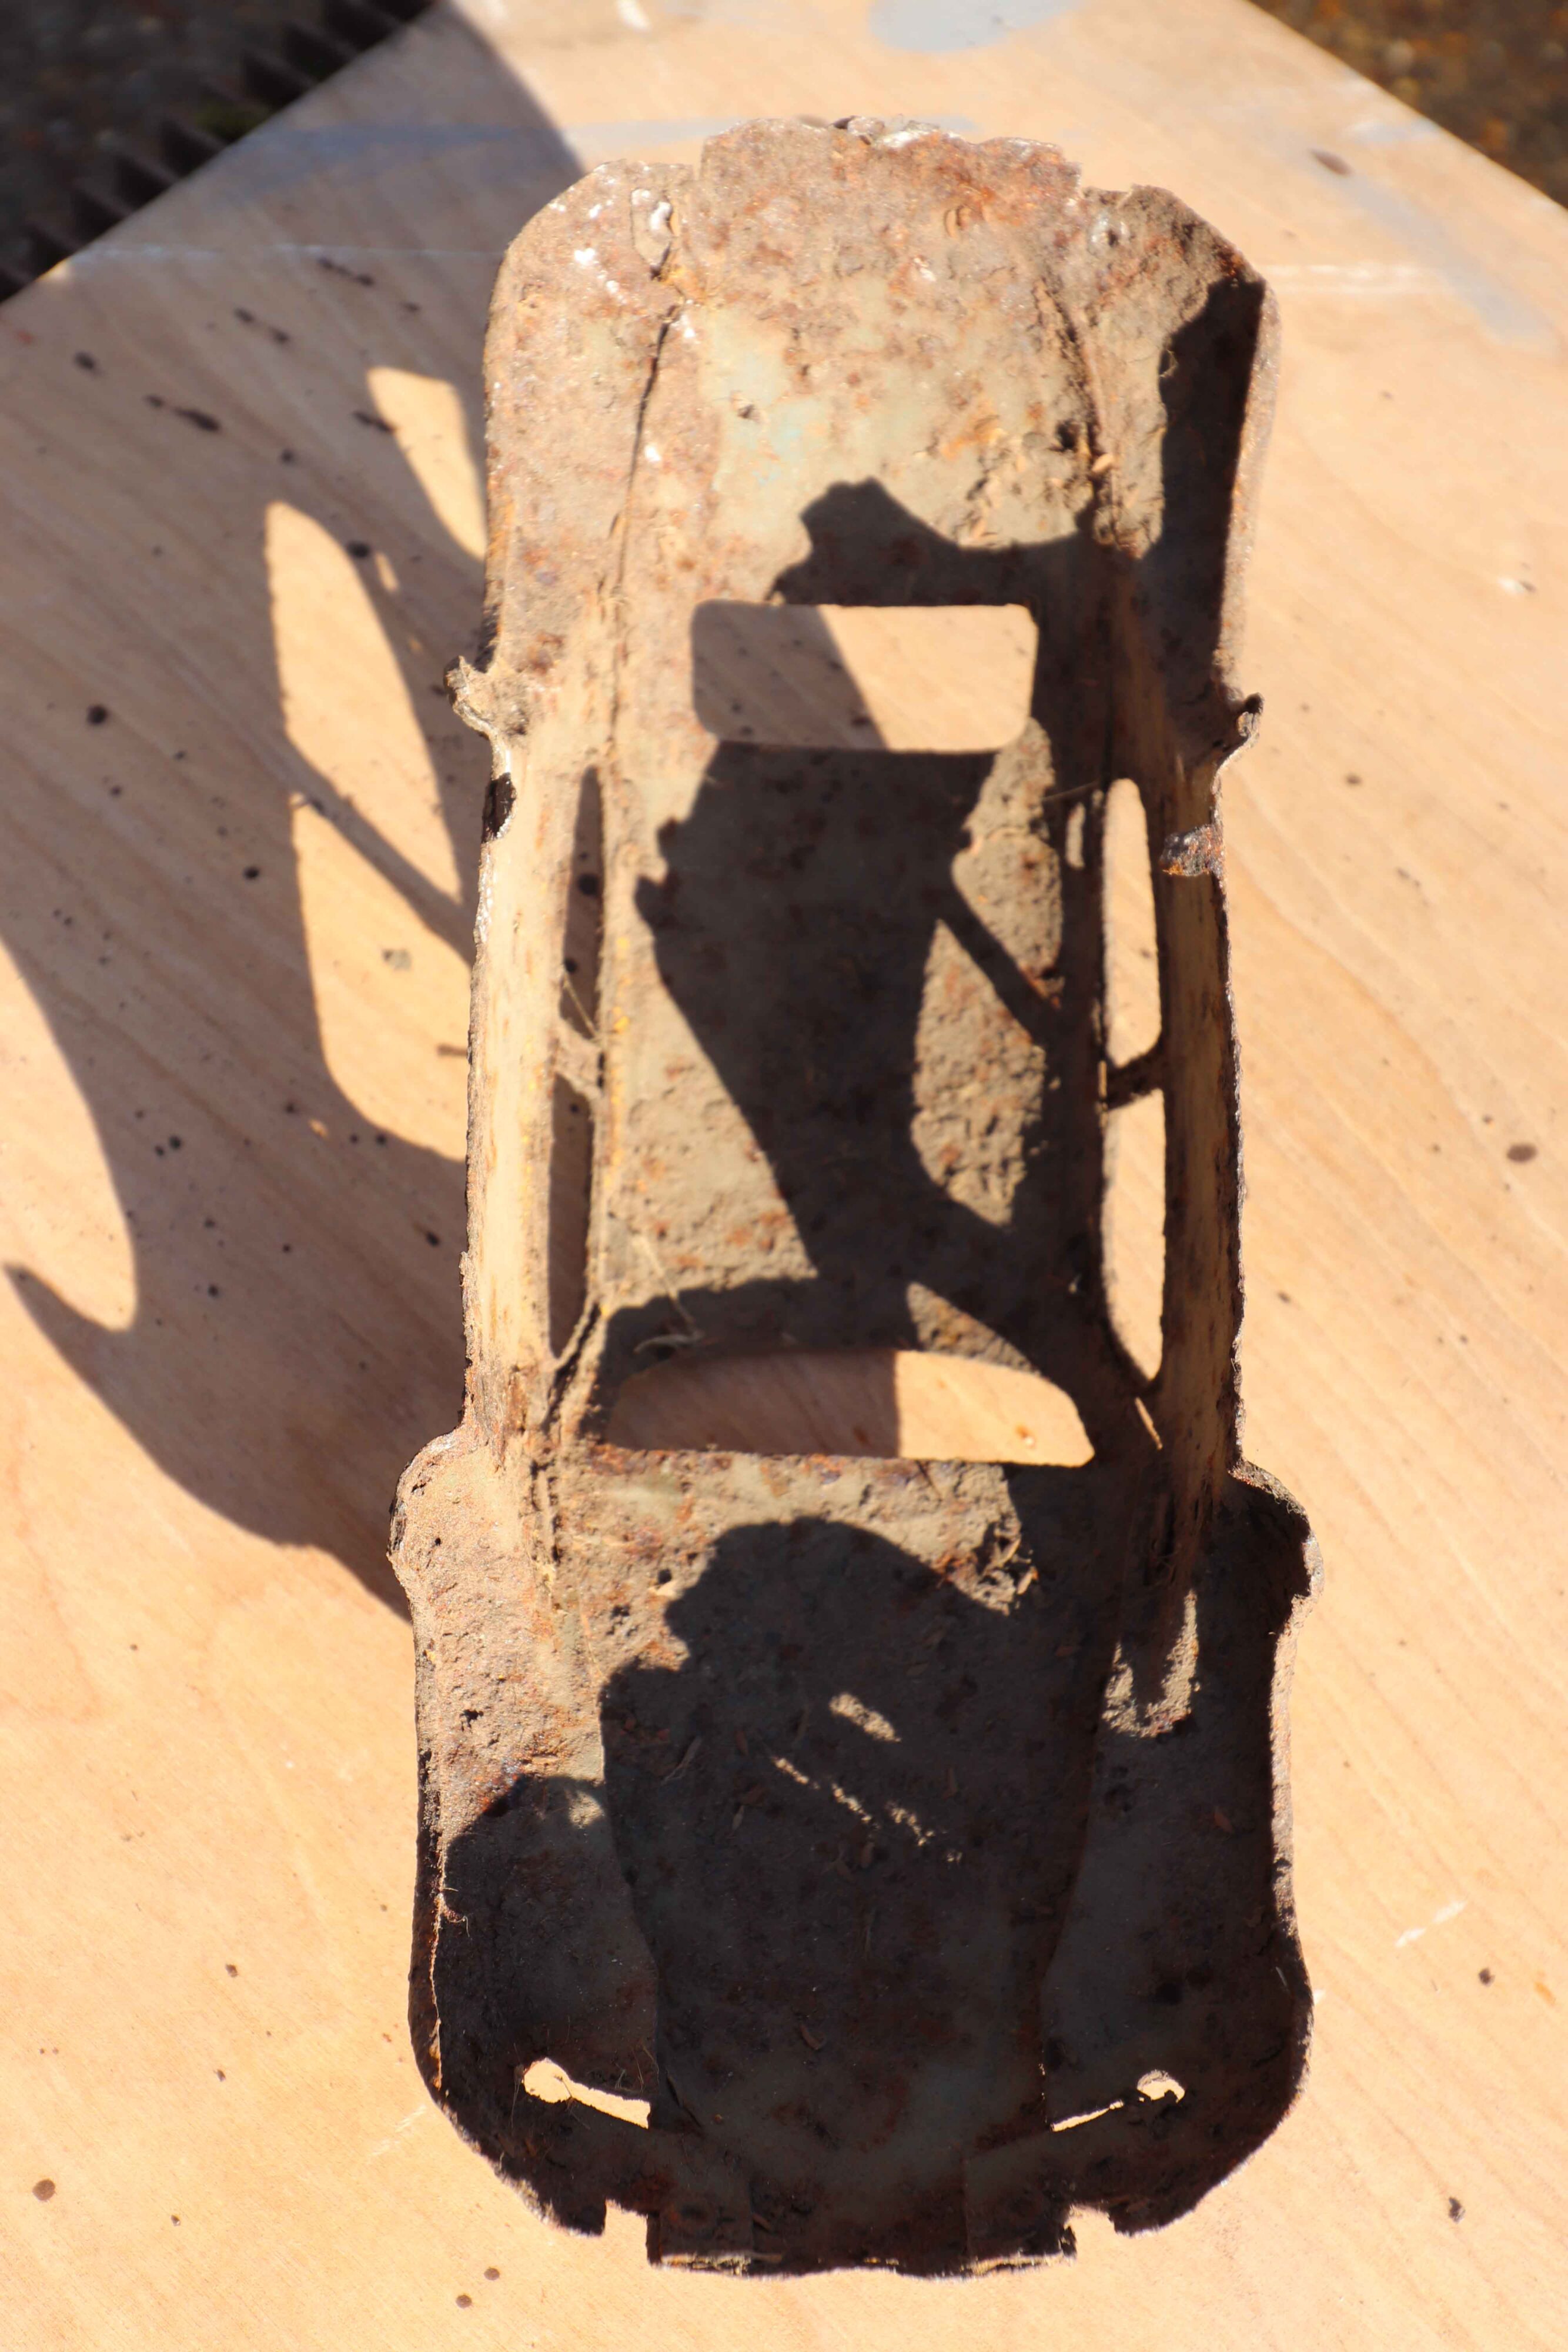
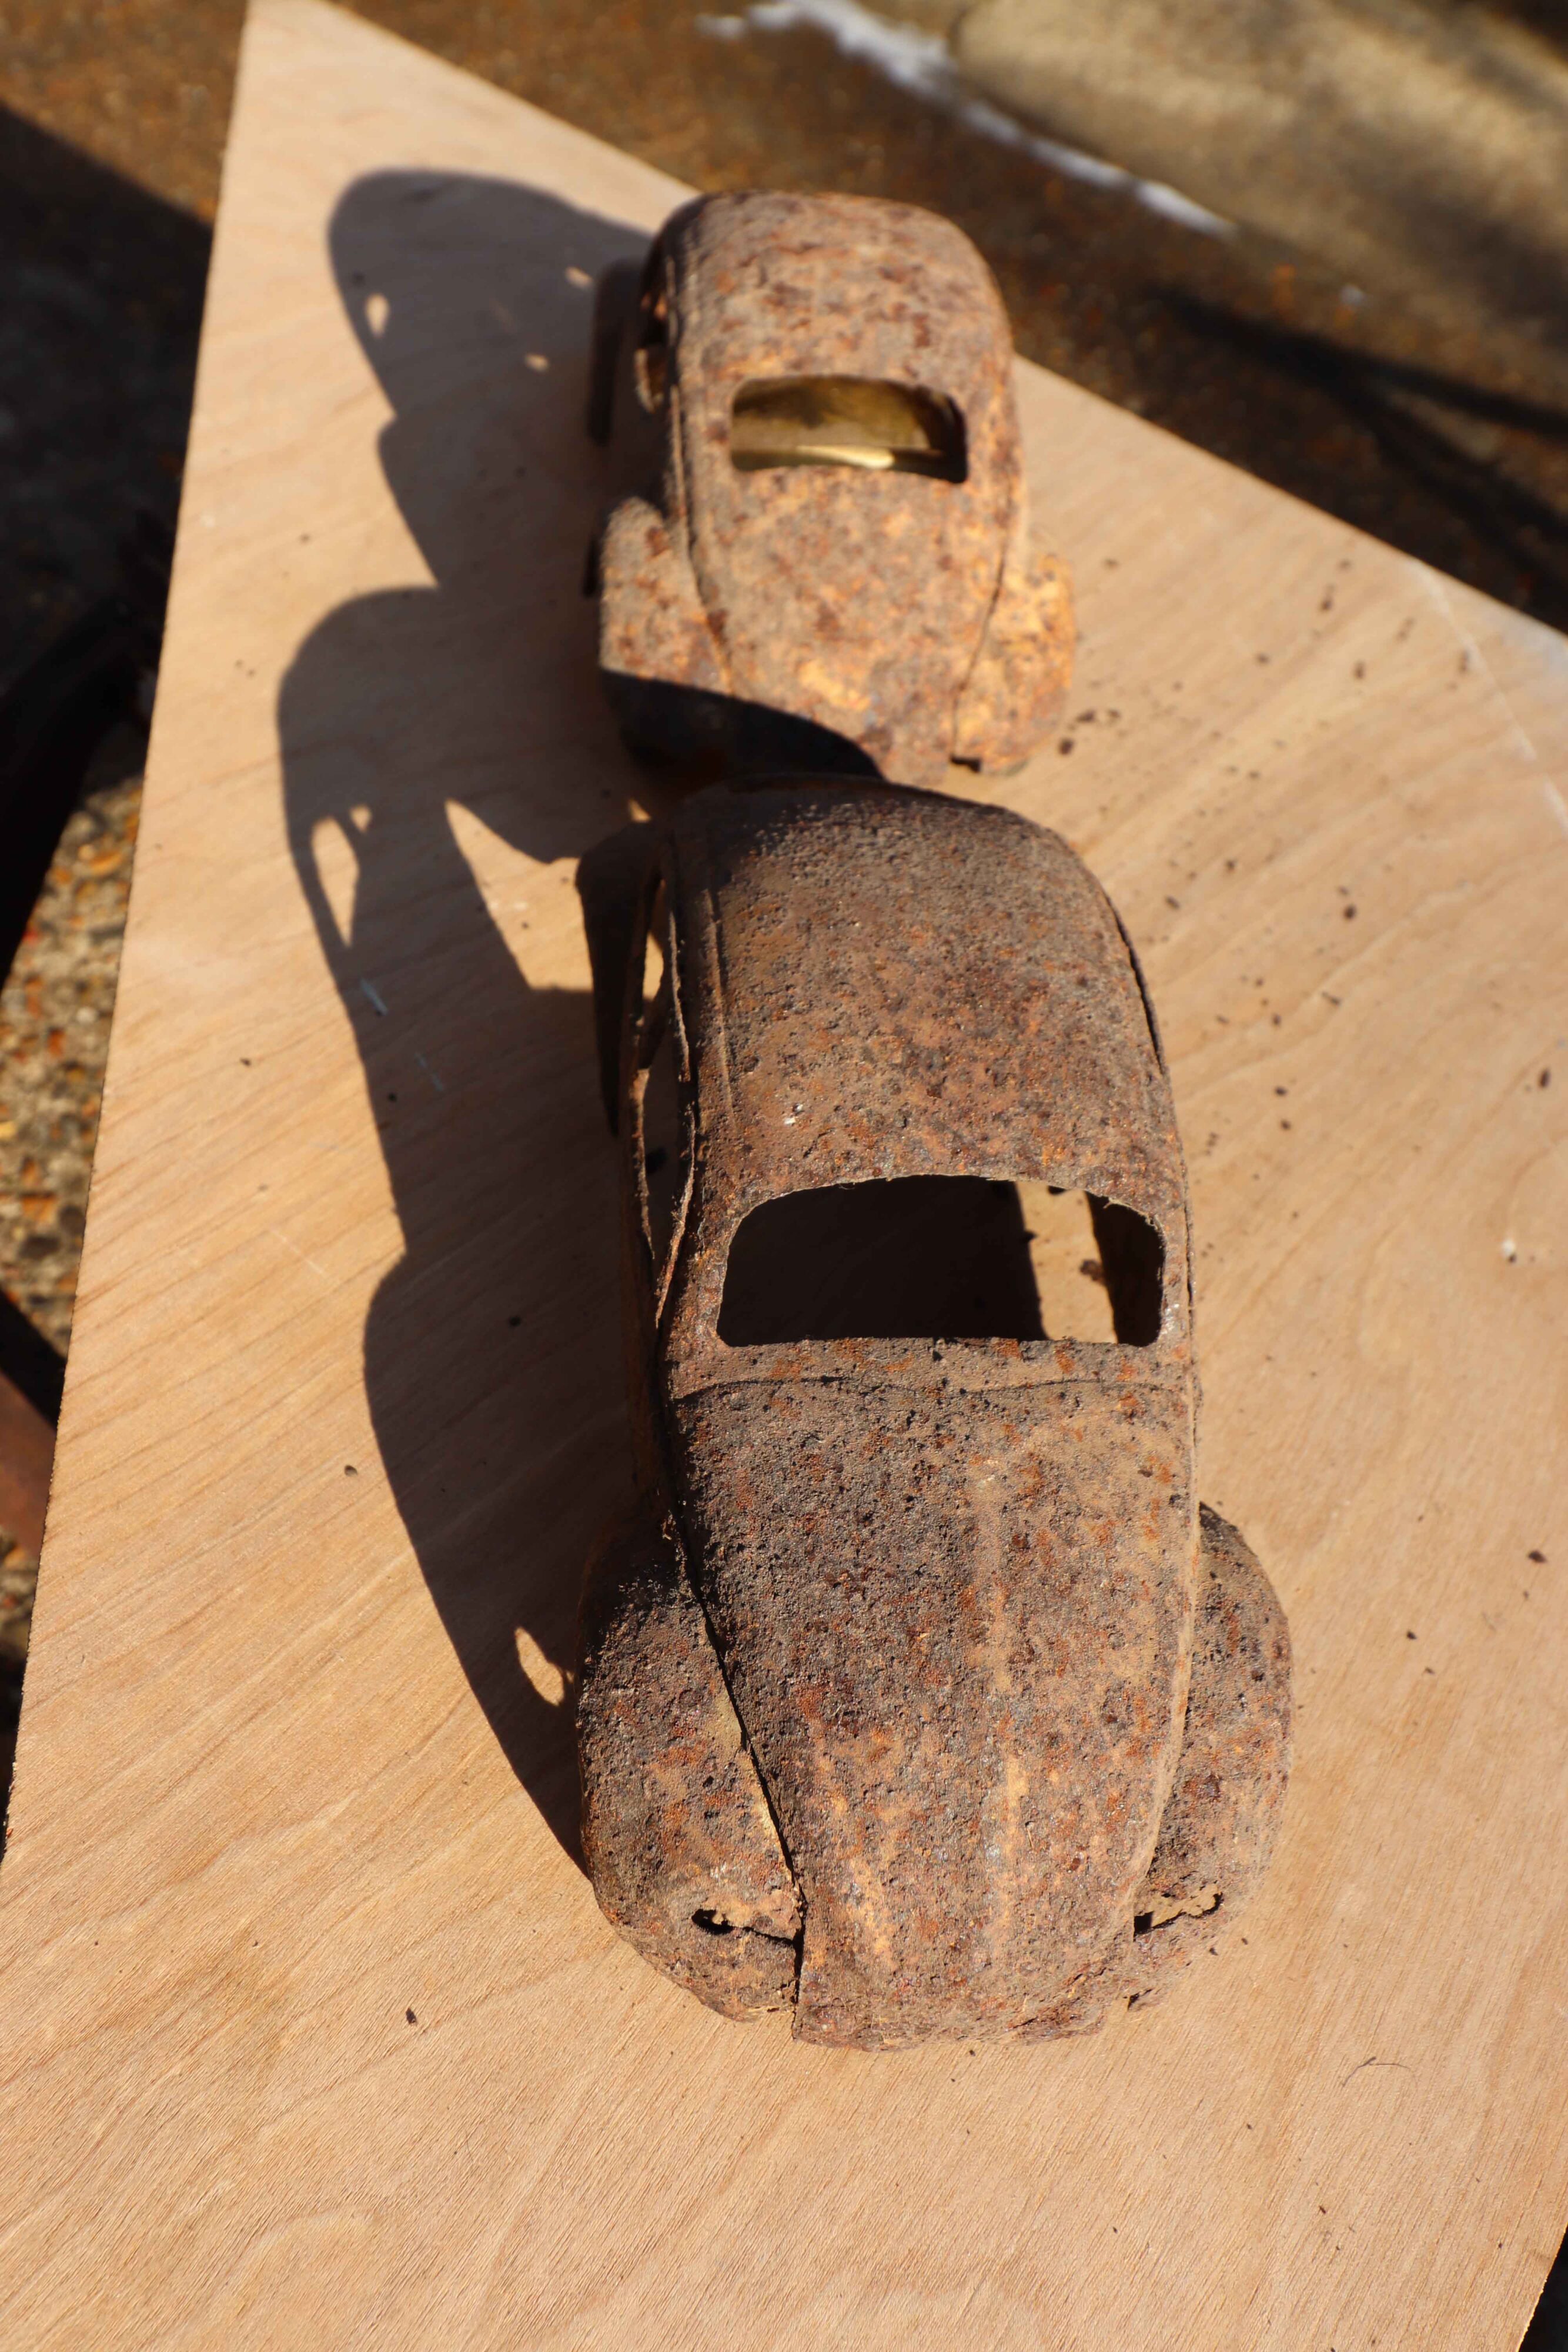
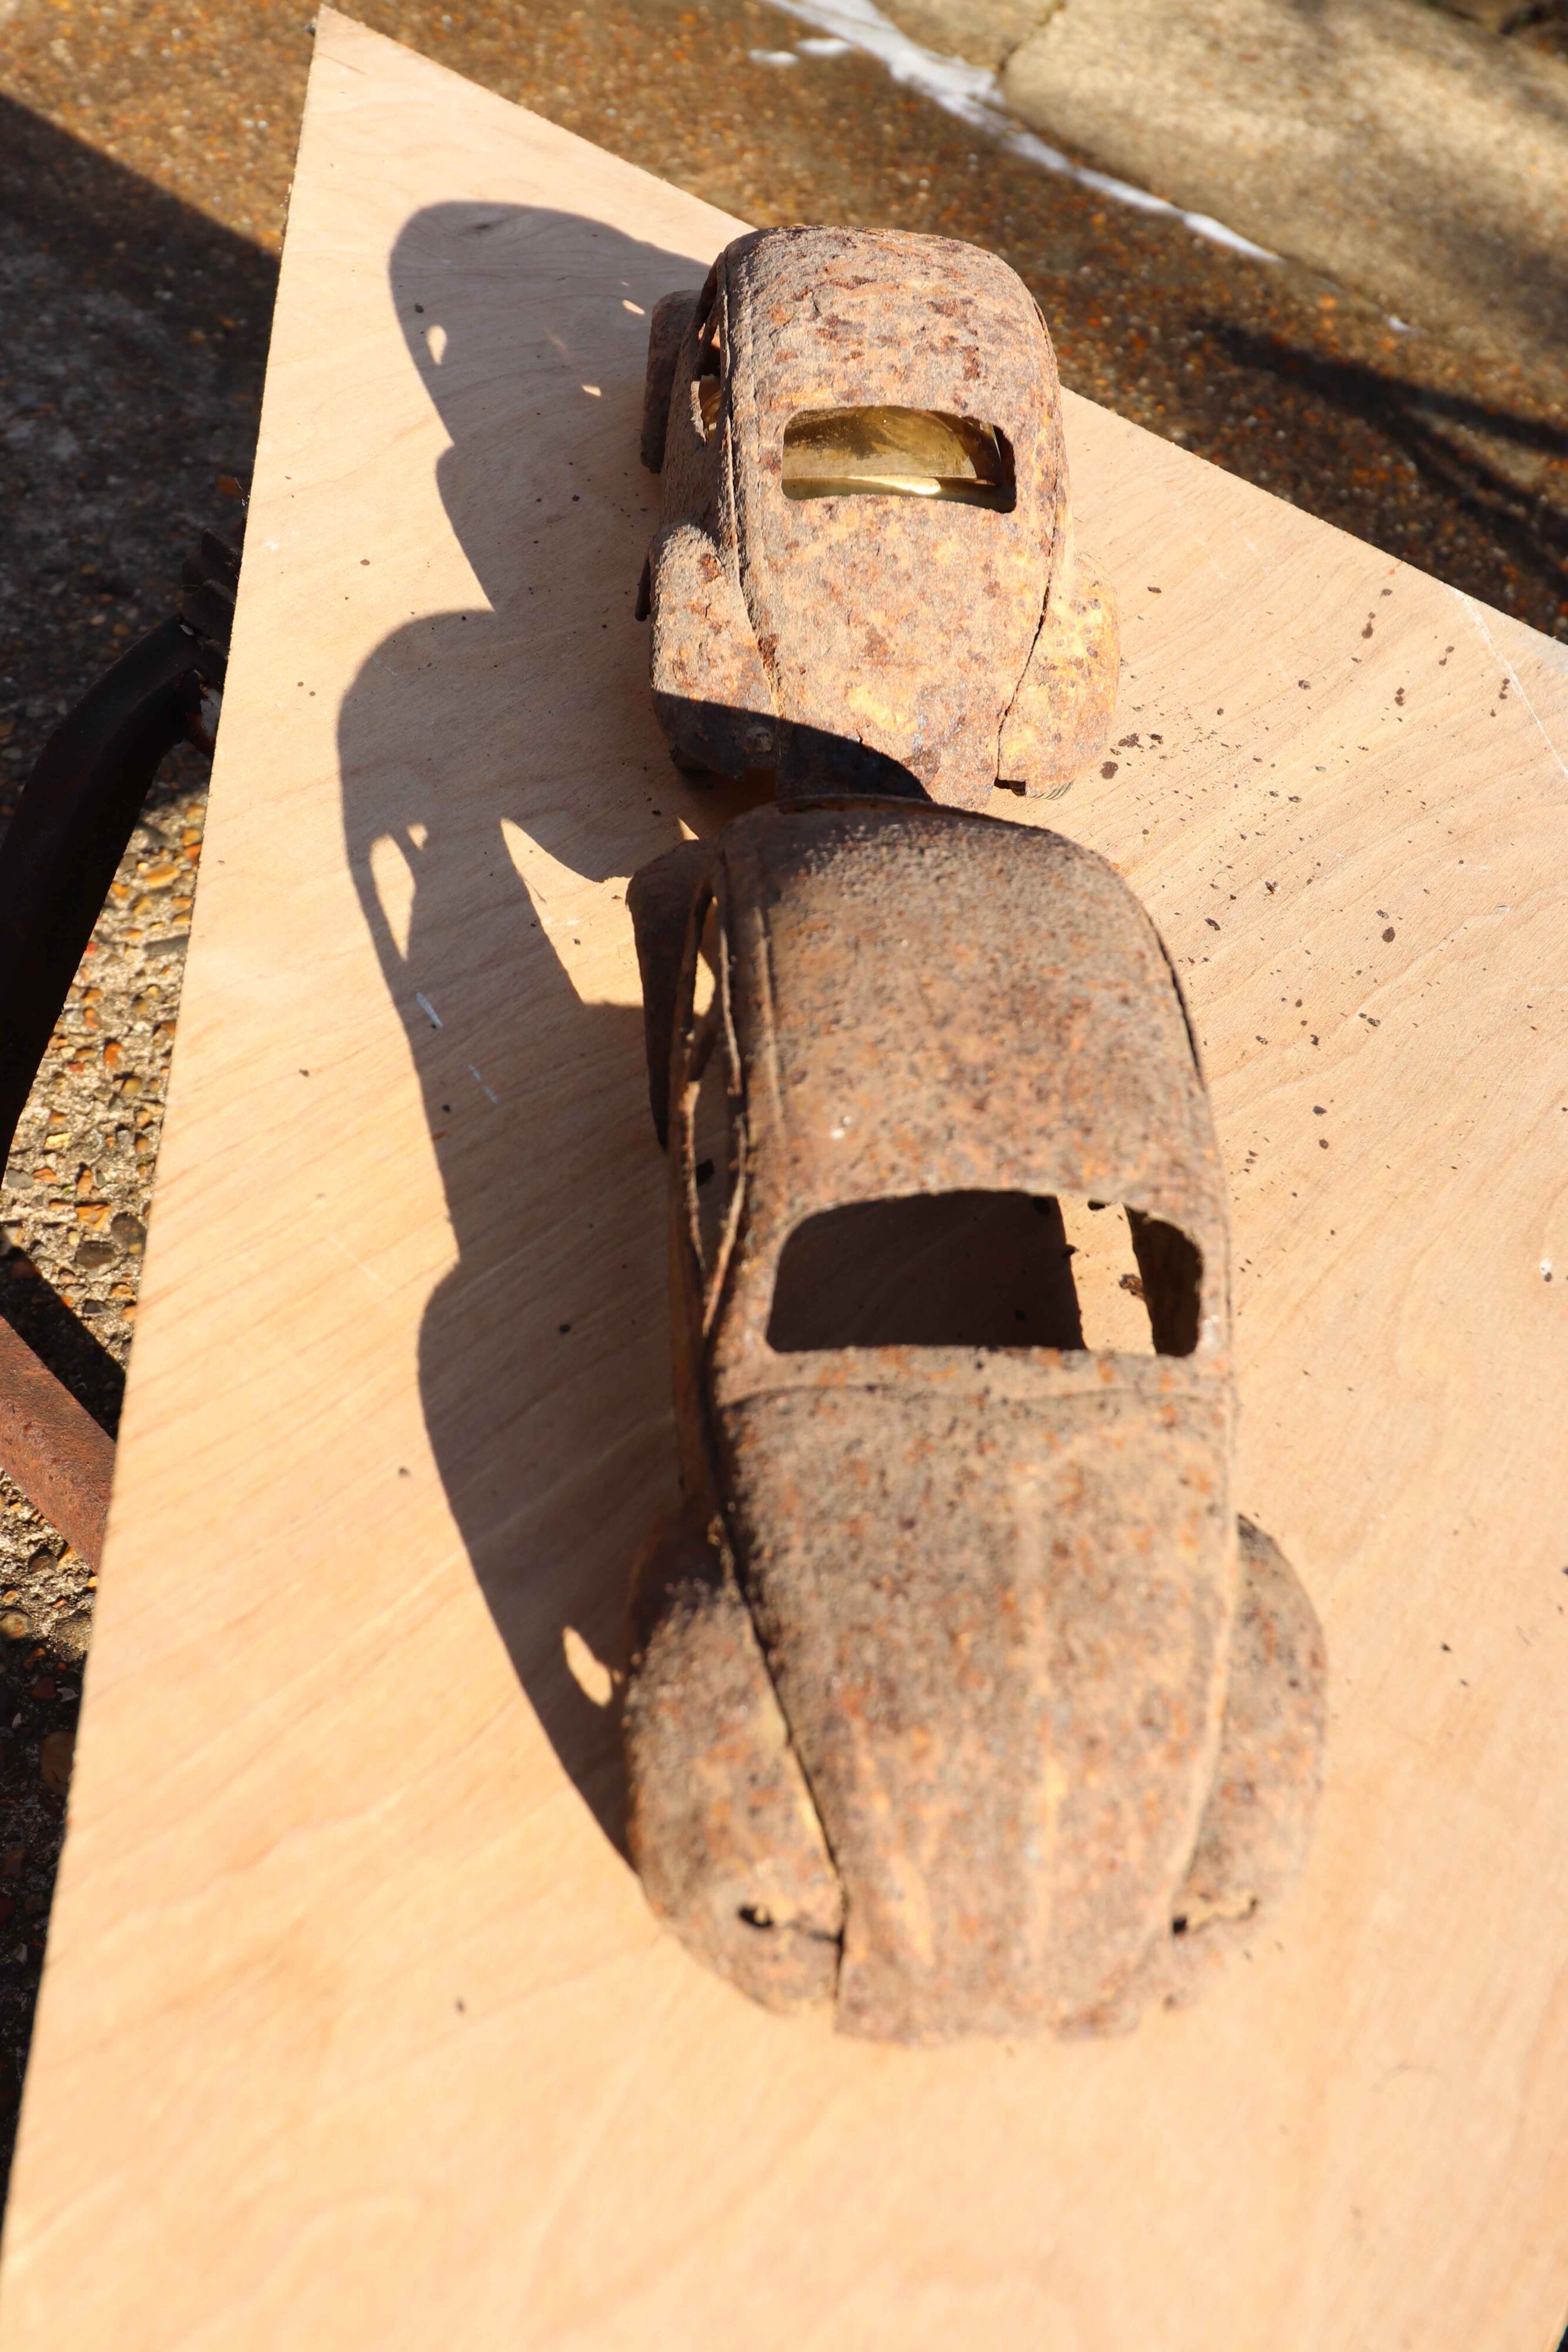
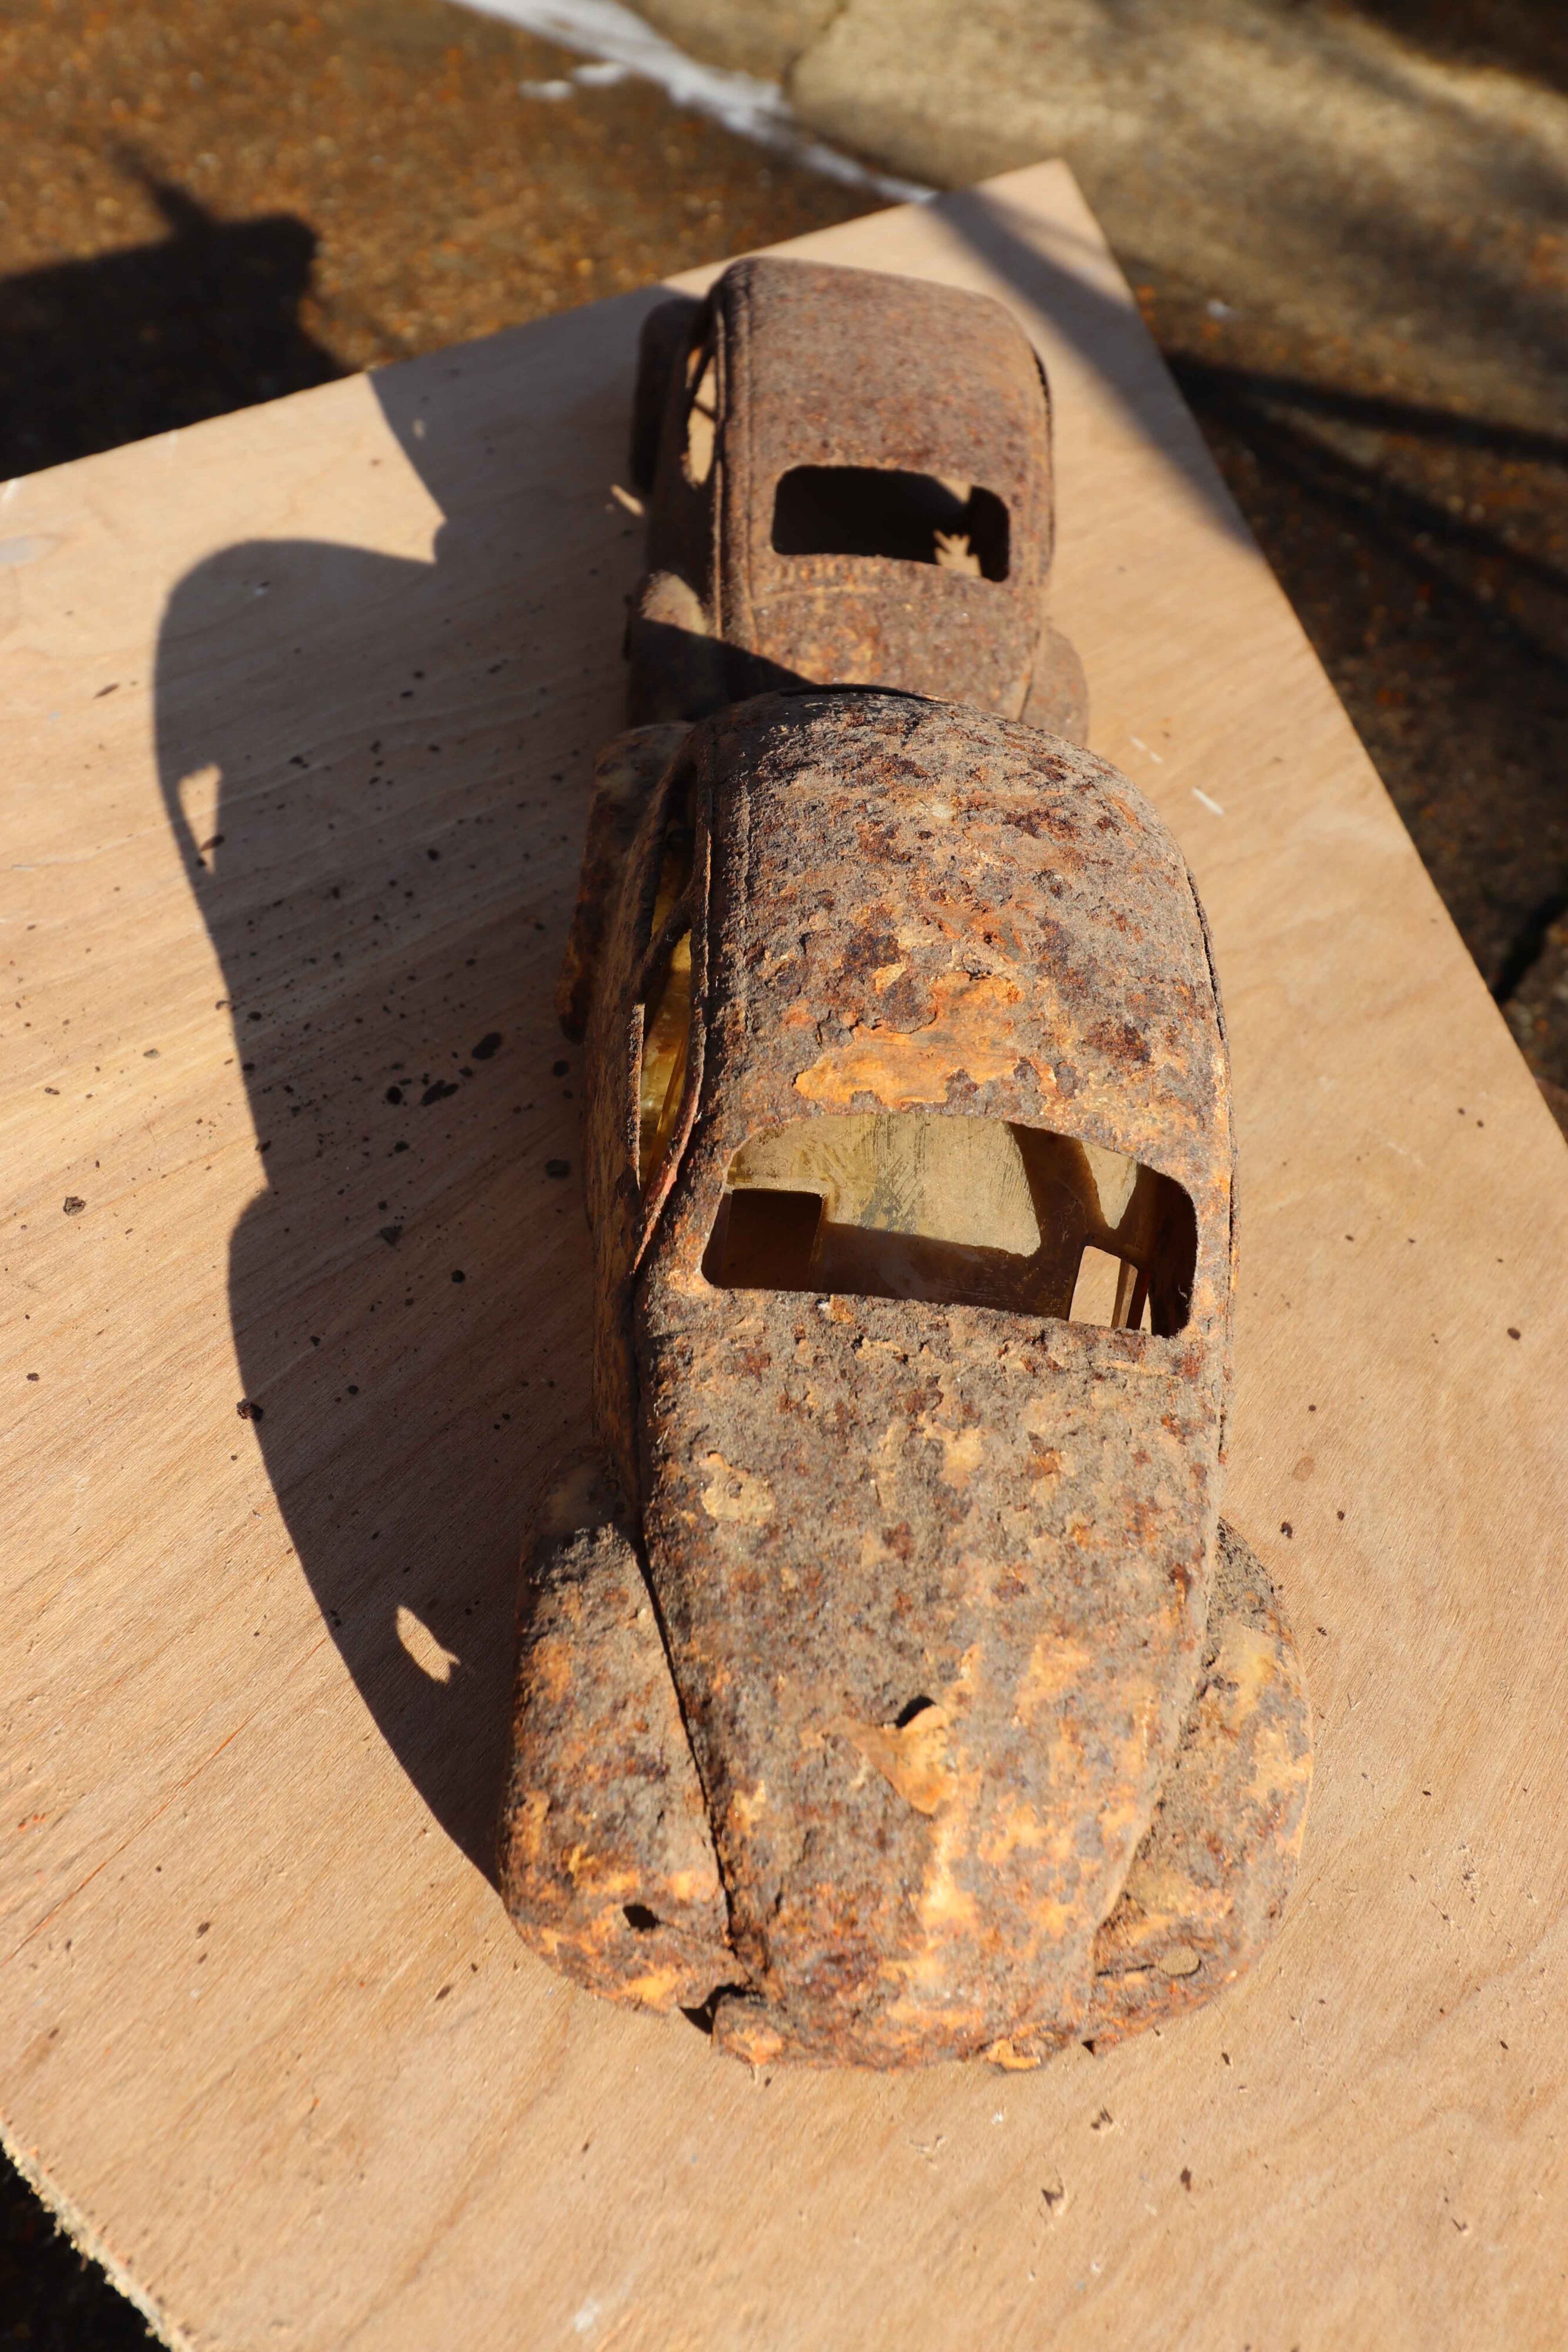
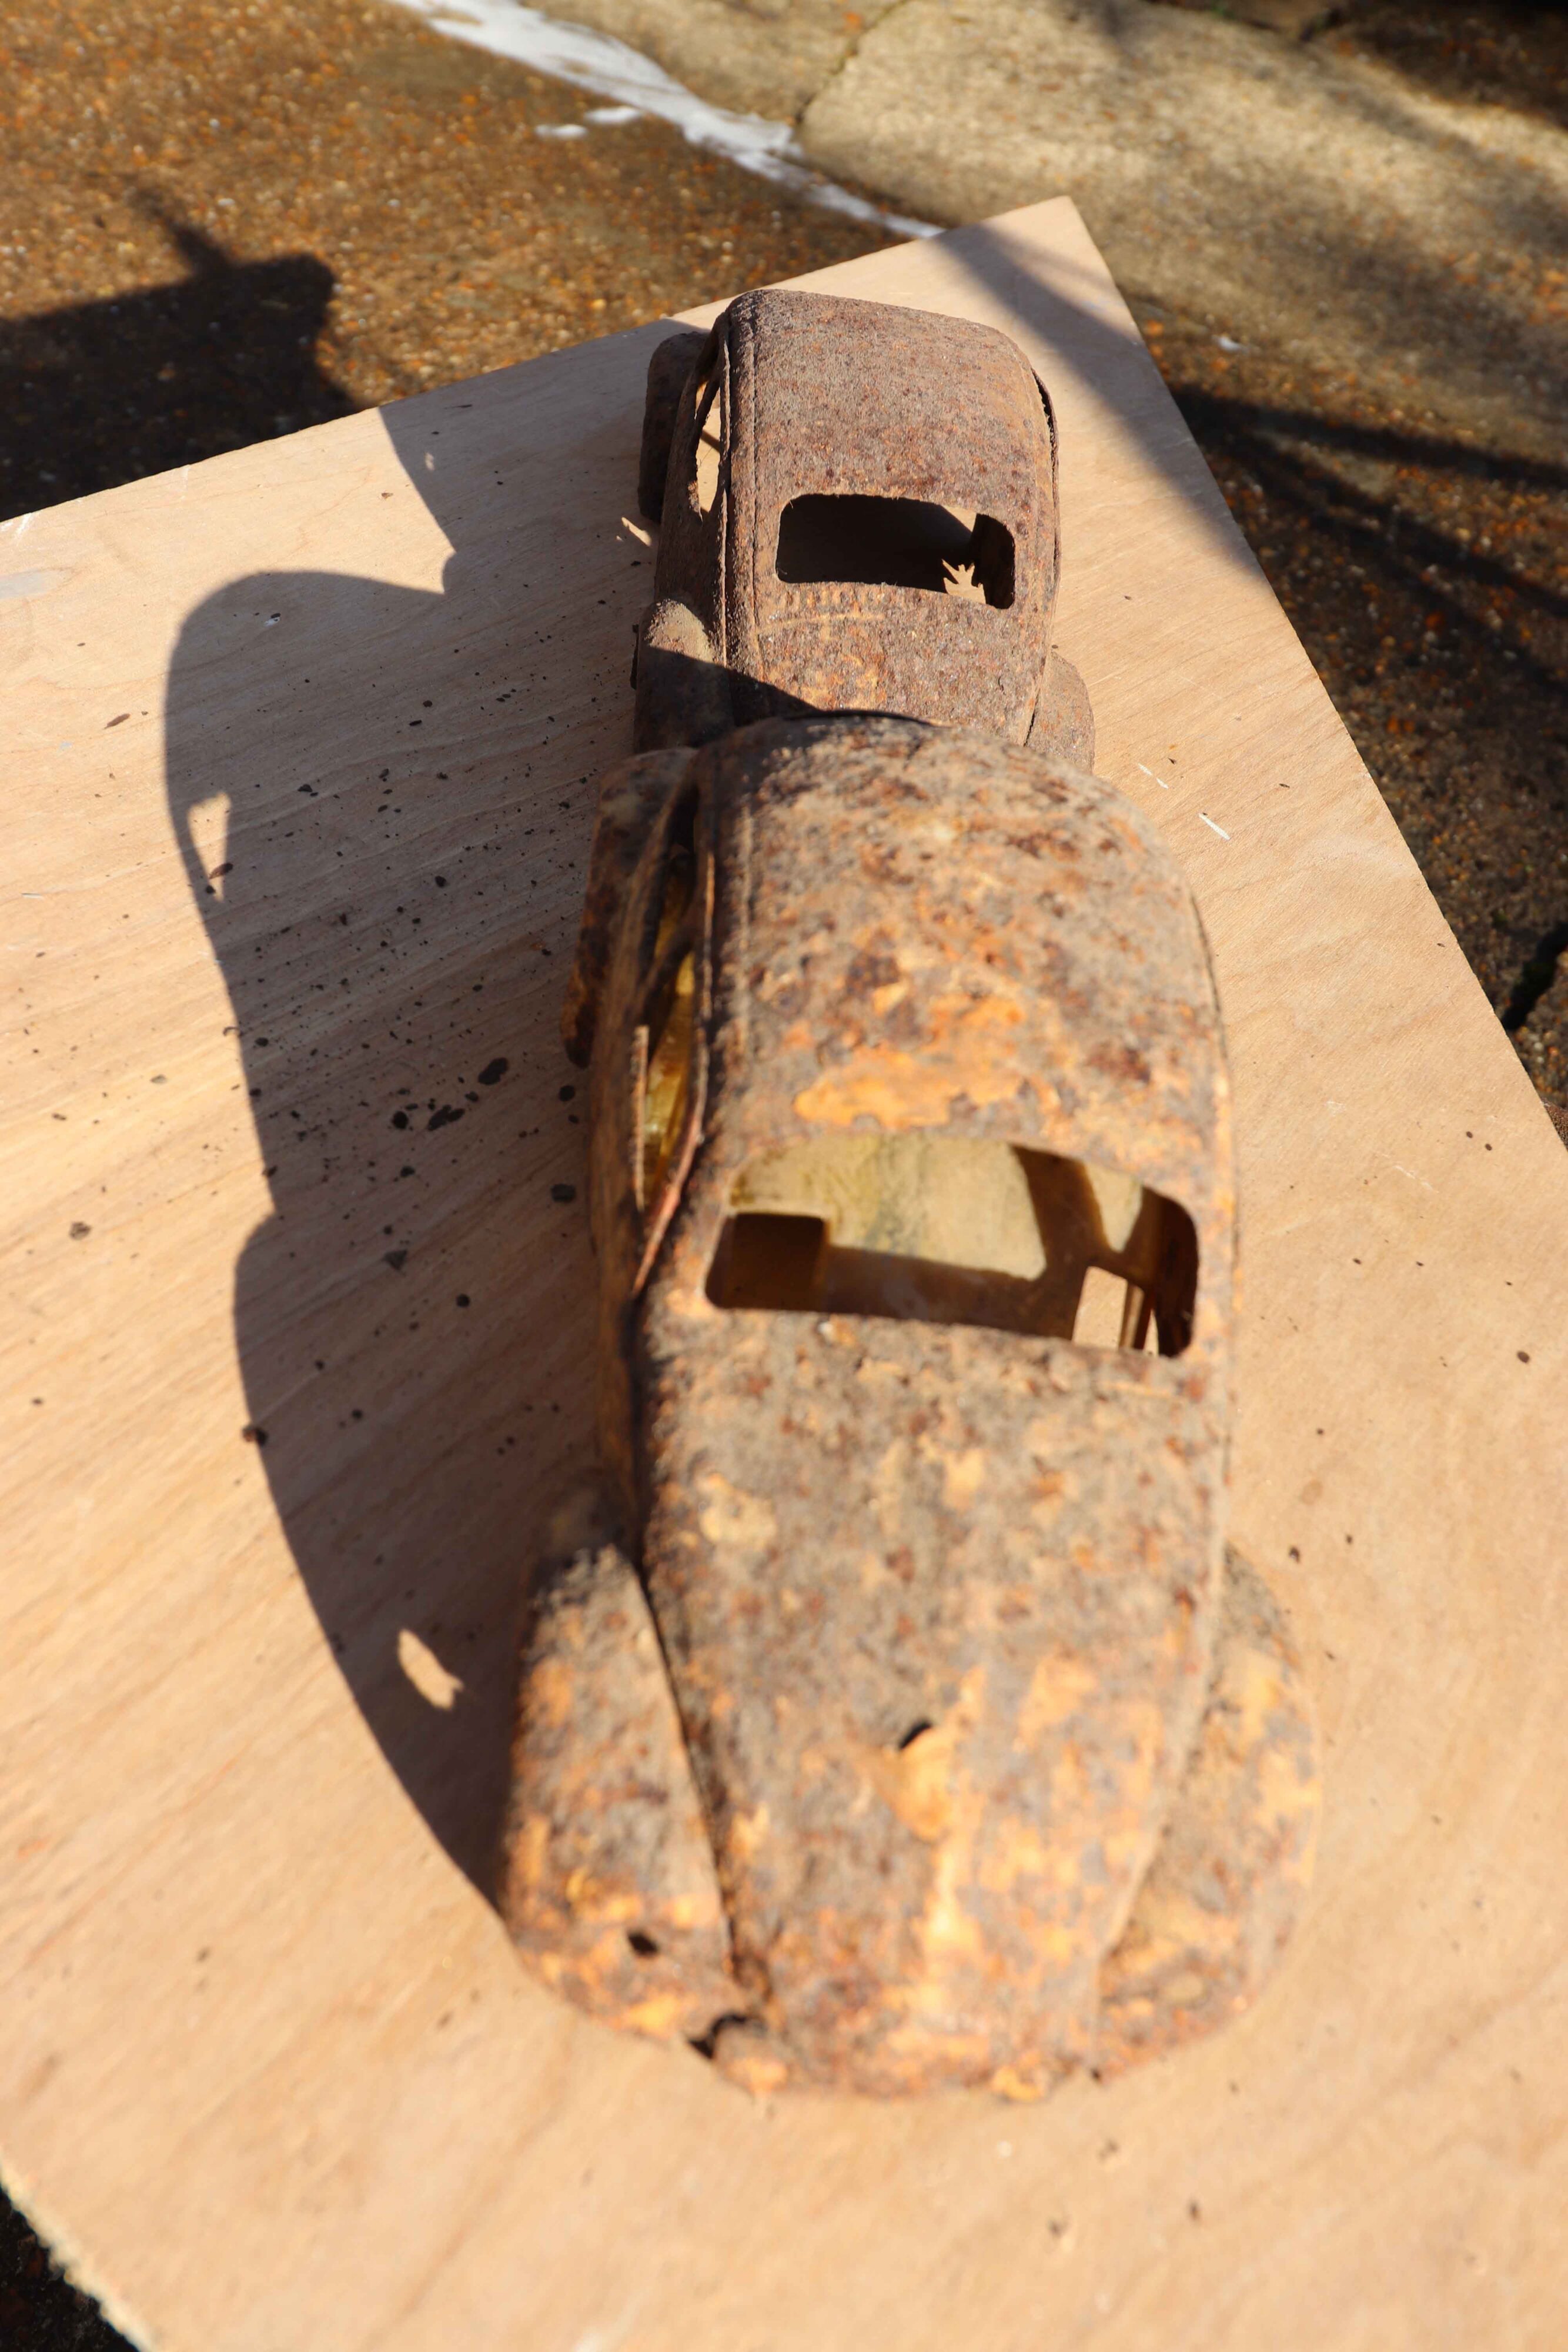
Stage 1. As purchased. This is how the bodyshell looks as purchased from the Swap Meet of the Volksworld Show. It is quite rusty and doesn't really look like much. I wasn't sure how it would turn out as I thought they were too far gone to reuse.




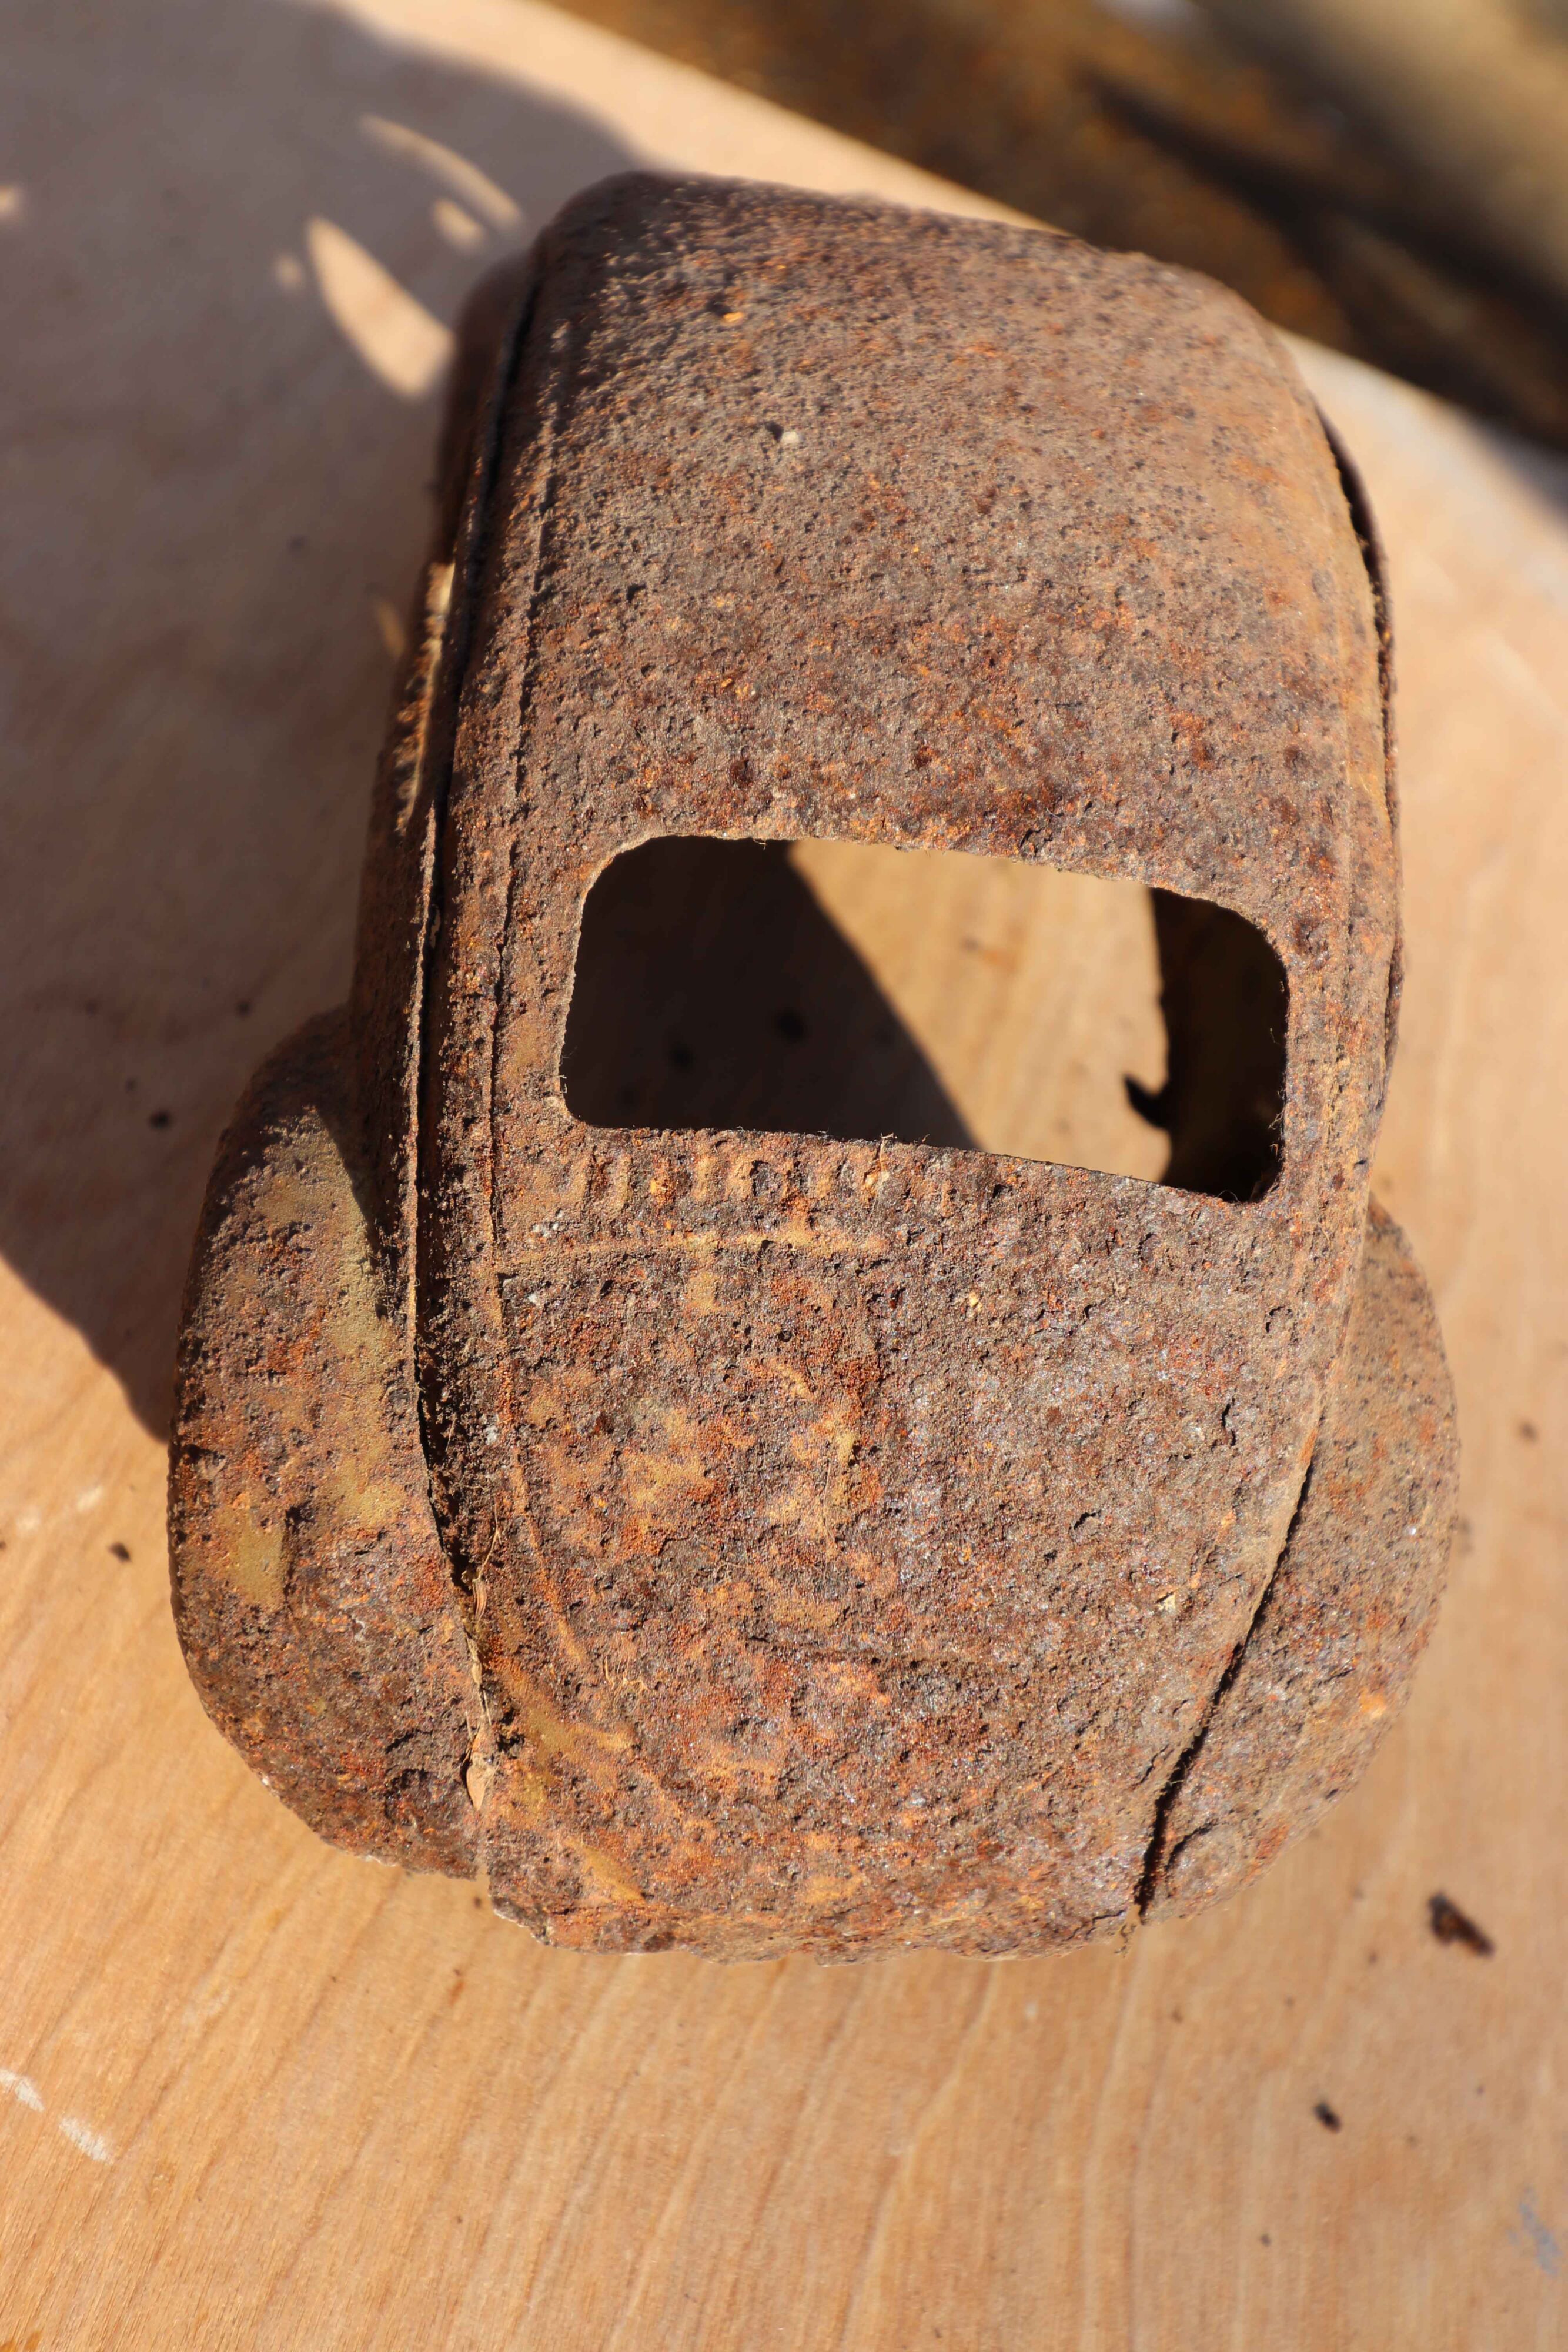
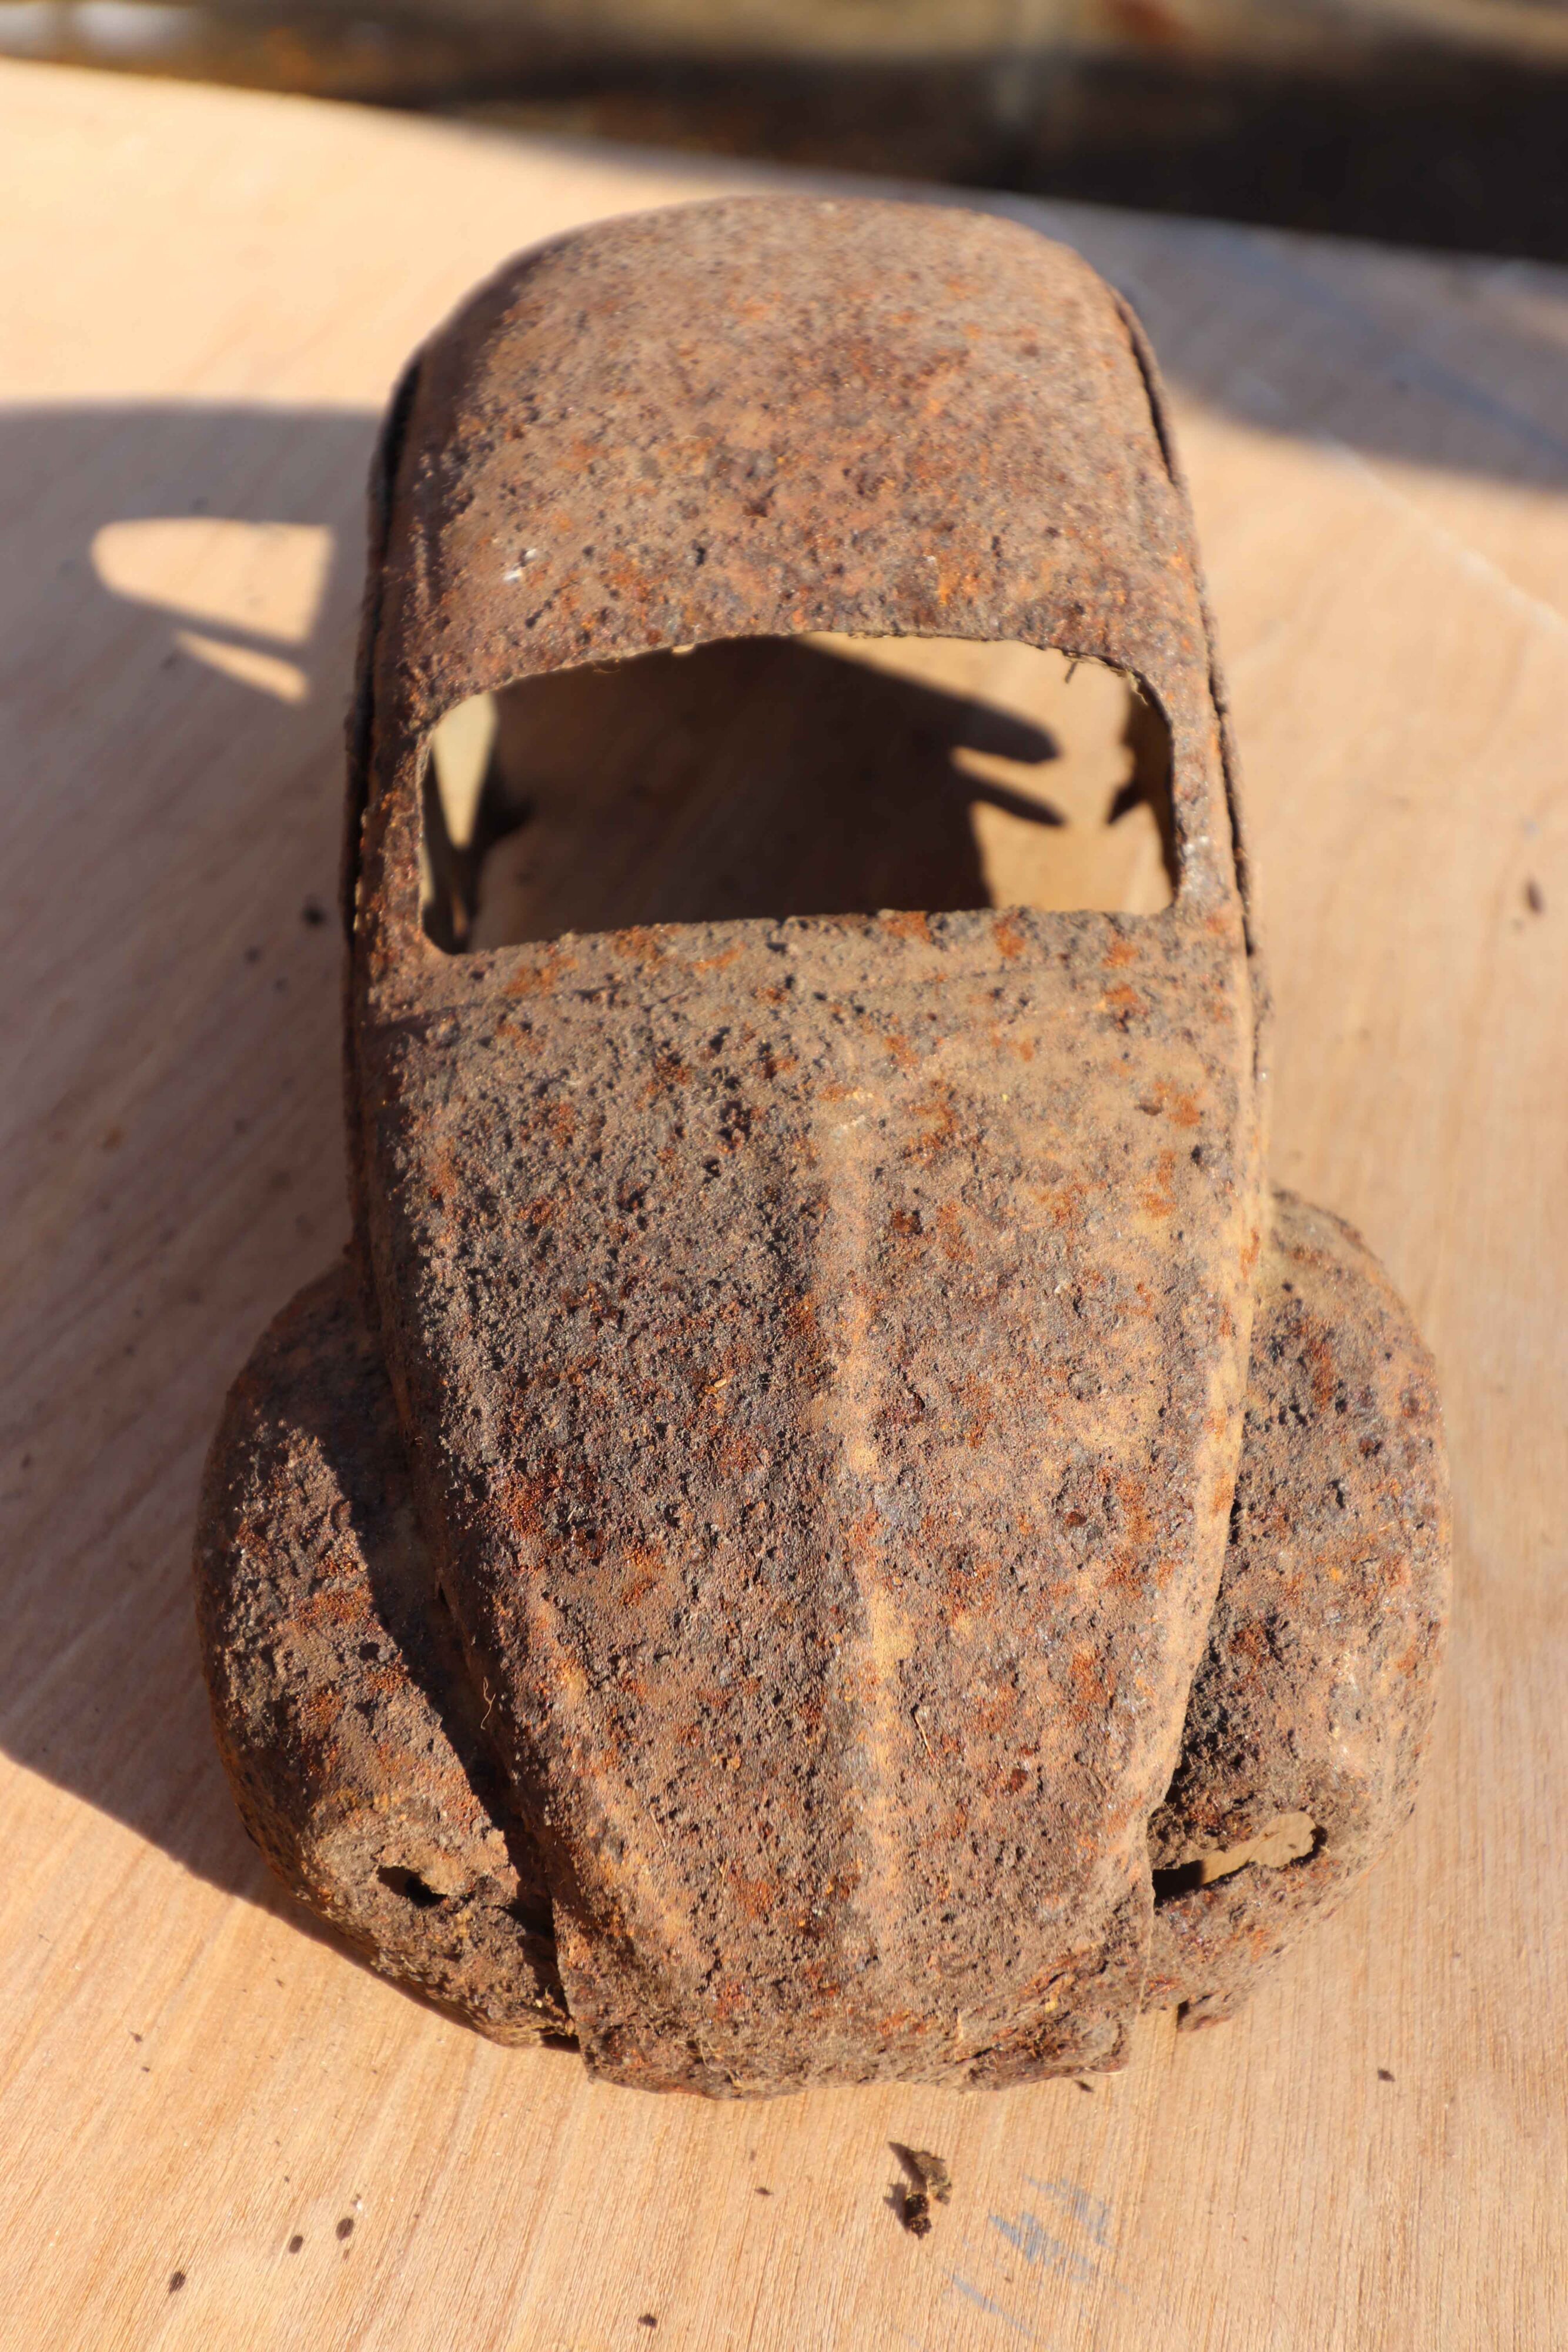

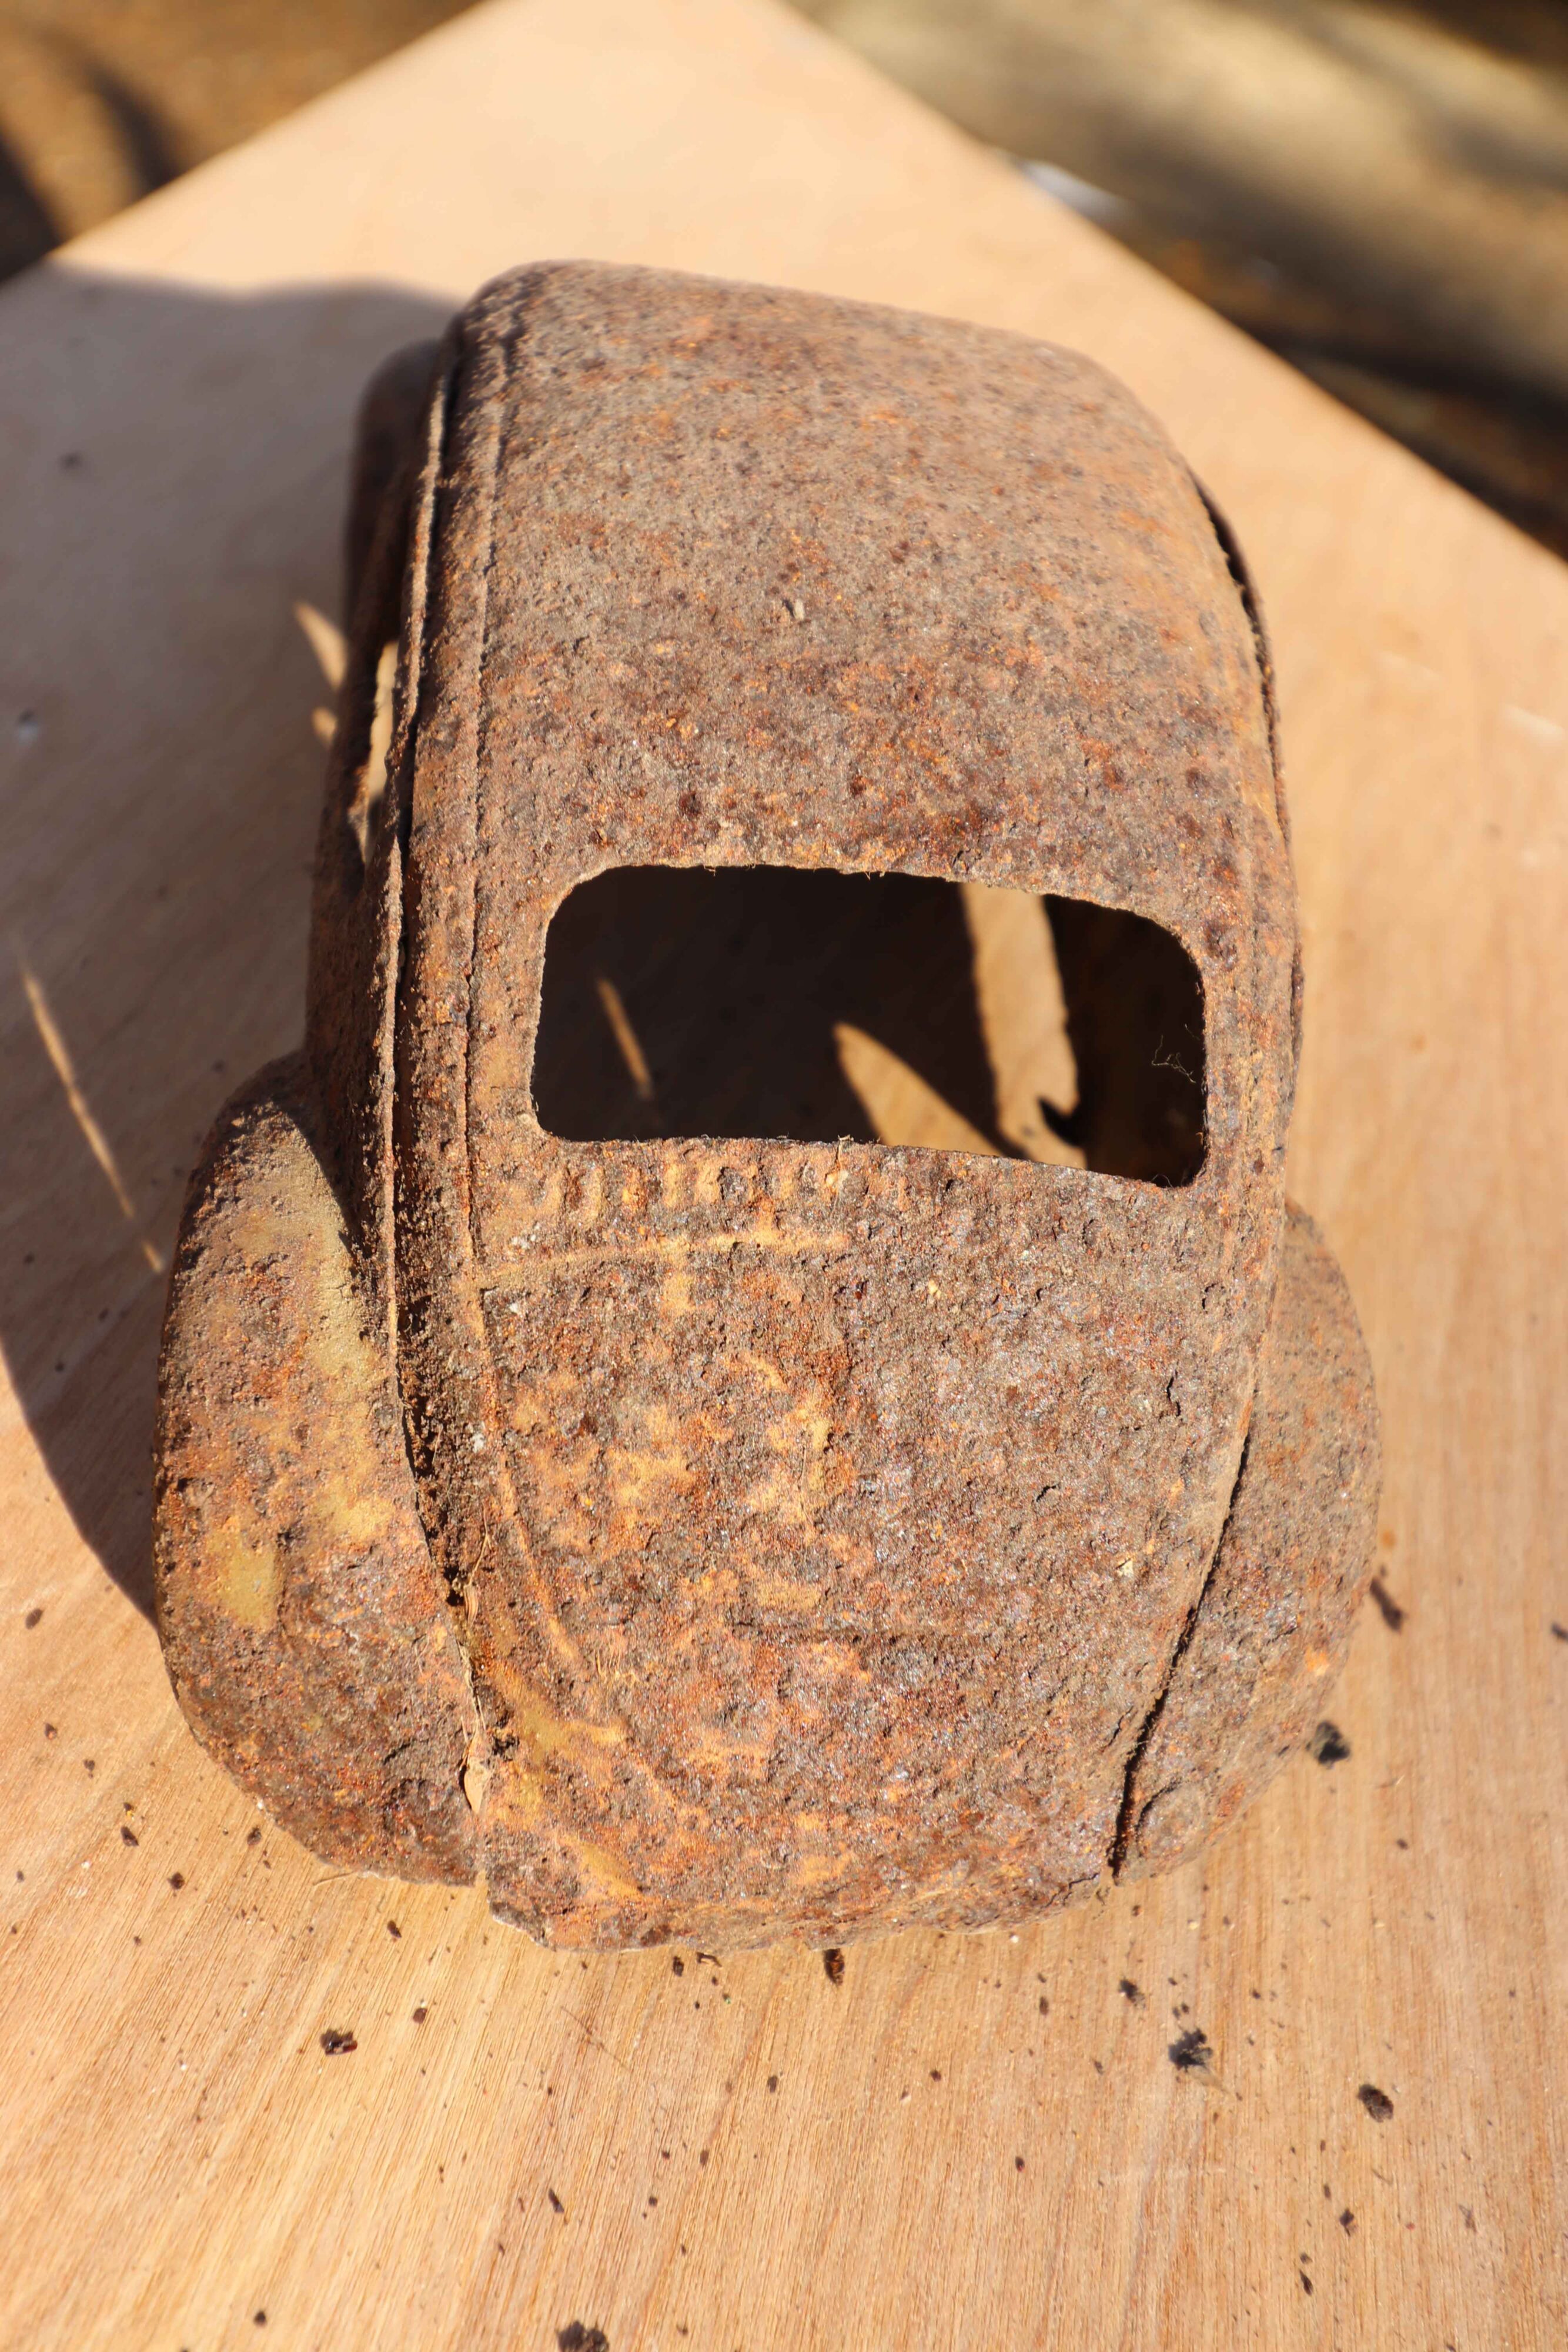


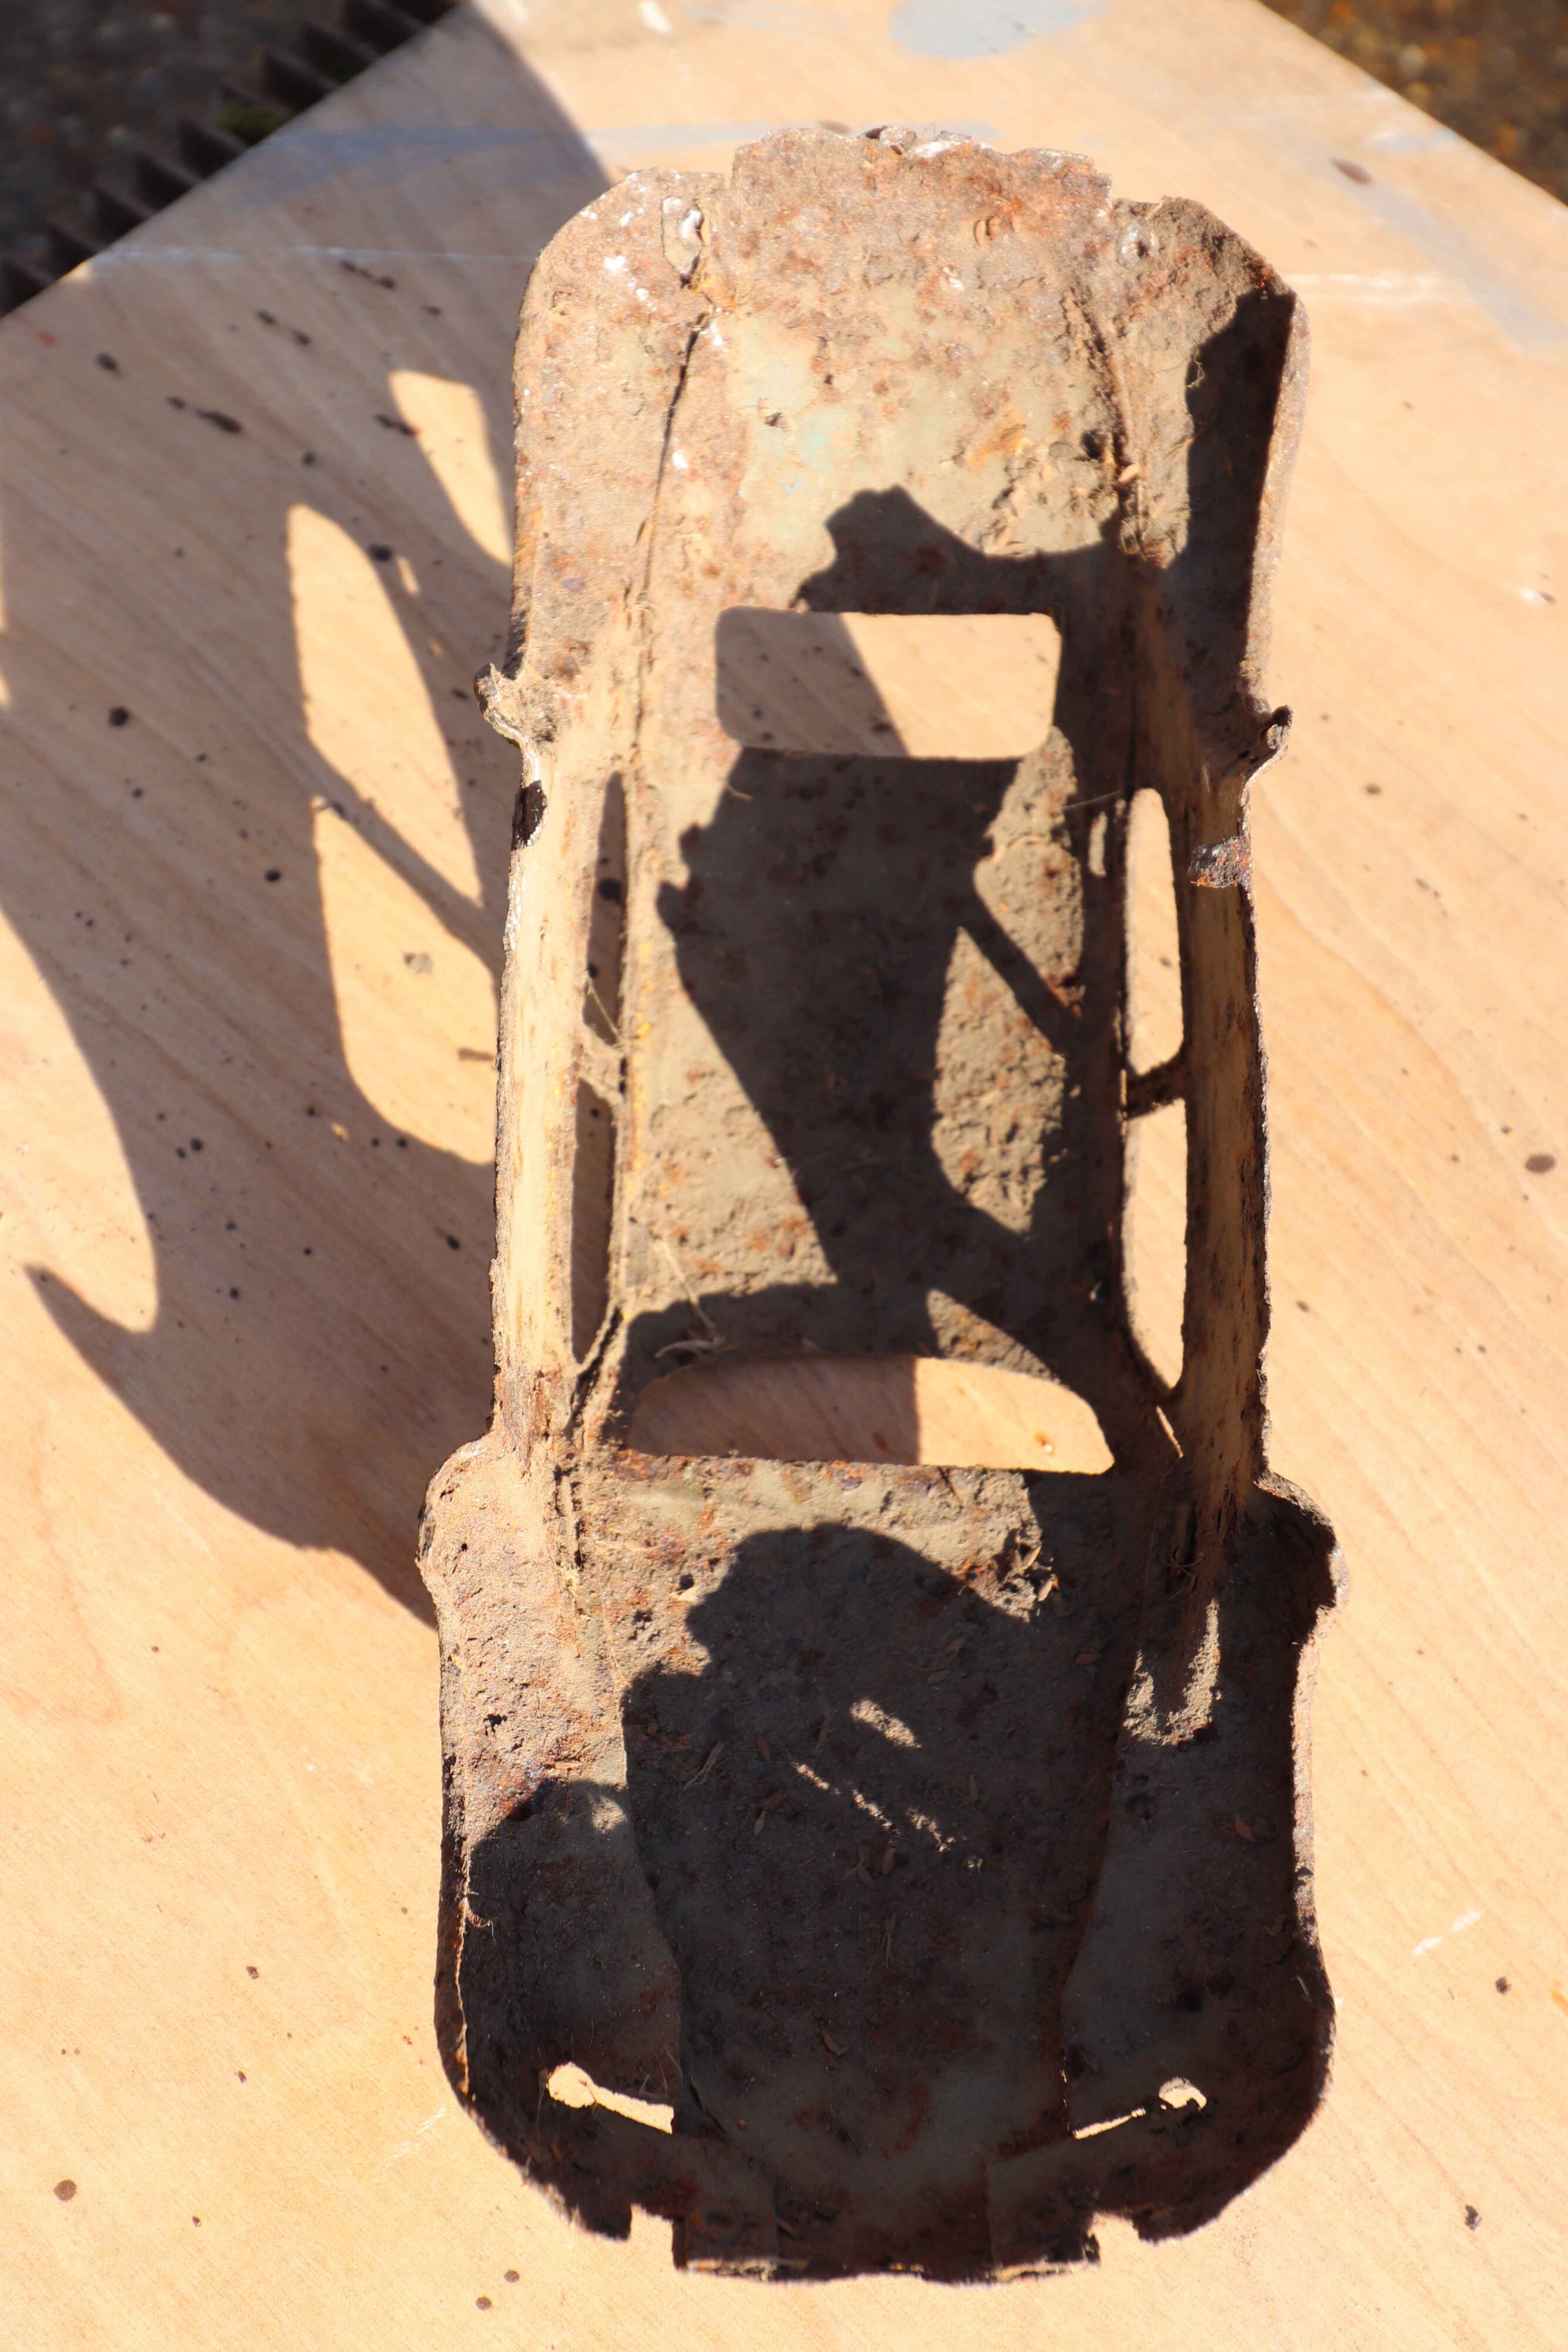


Stage 2. Surface Rust. The first point of call was to rub down the bodyshell. I started with sandpaper and a Dremel Rotary Tool with wire brush and sanding attachments. I got off as much rust as possible whilst trying not to damage the body any further. It is quite tricky to get in and around the inside of the windows, I had to be quite intuitive to get to the rust in these areas. It turns out the first bodyshell is a little bent and trying to straighten it will weaken it further so it has been left twisted. Once I was happy with the sanding and surface rust removal it was time to move onto Stage 2.
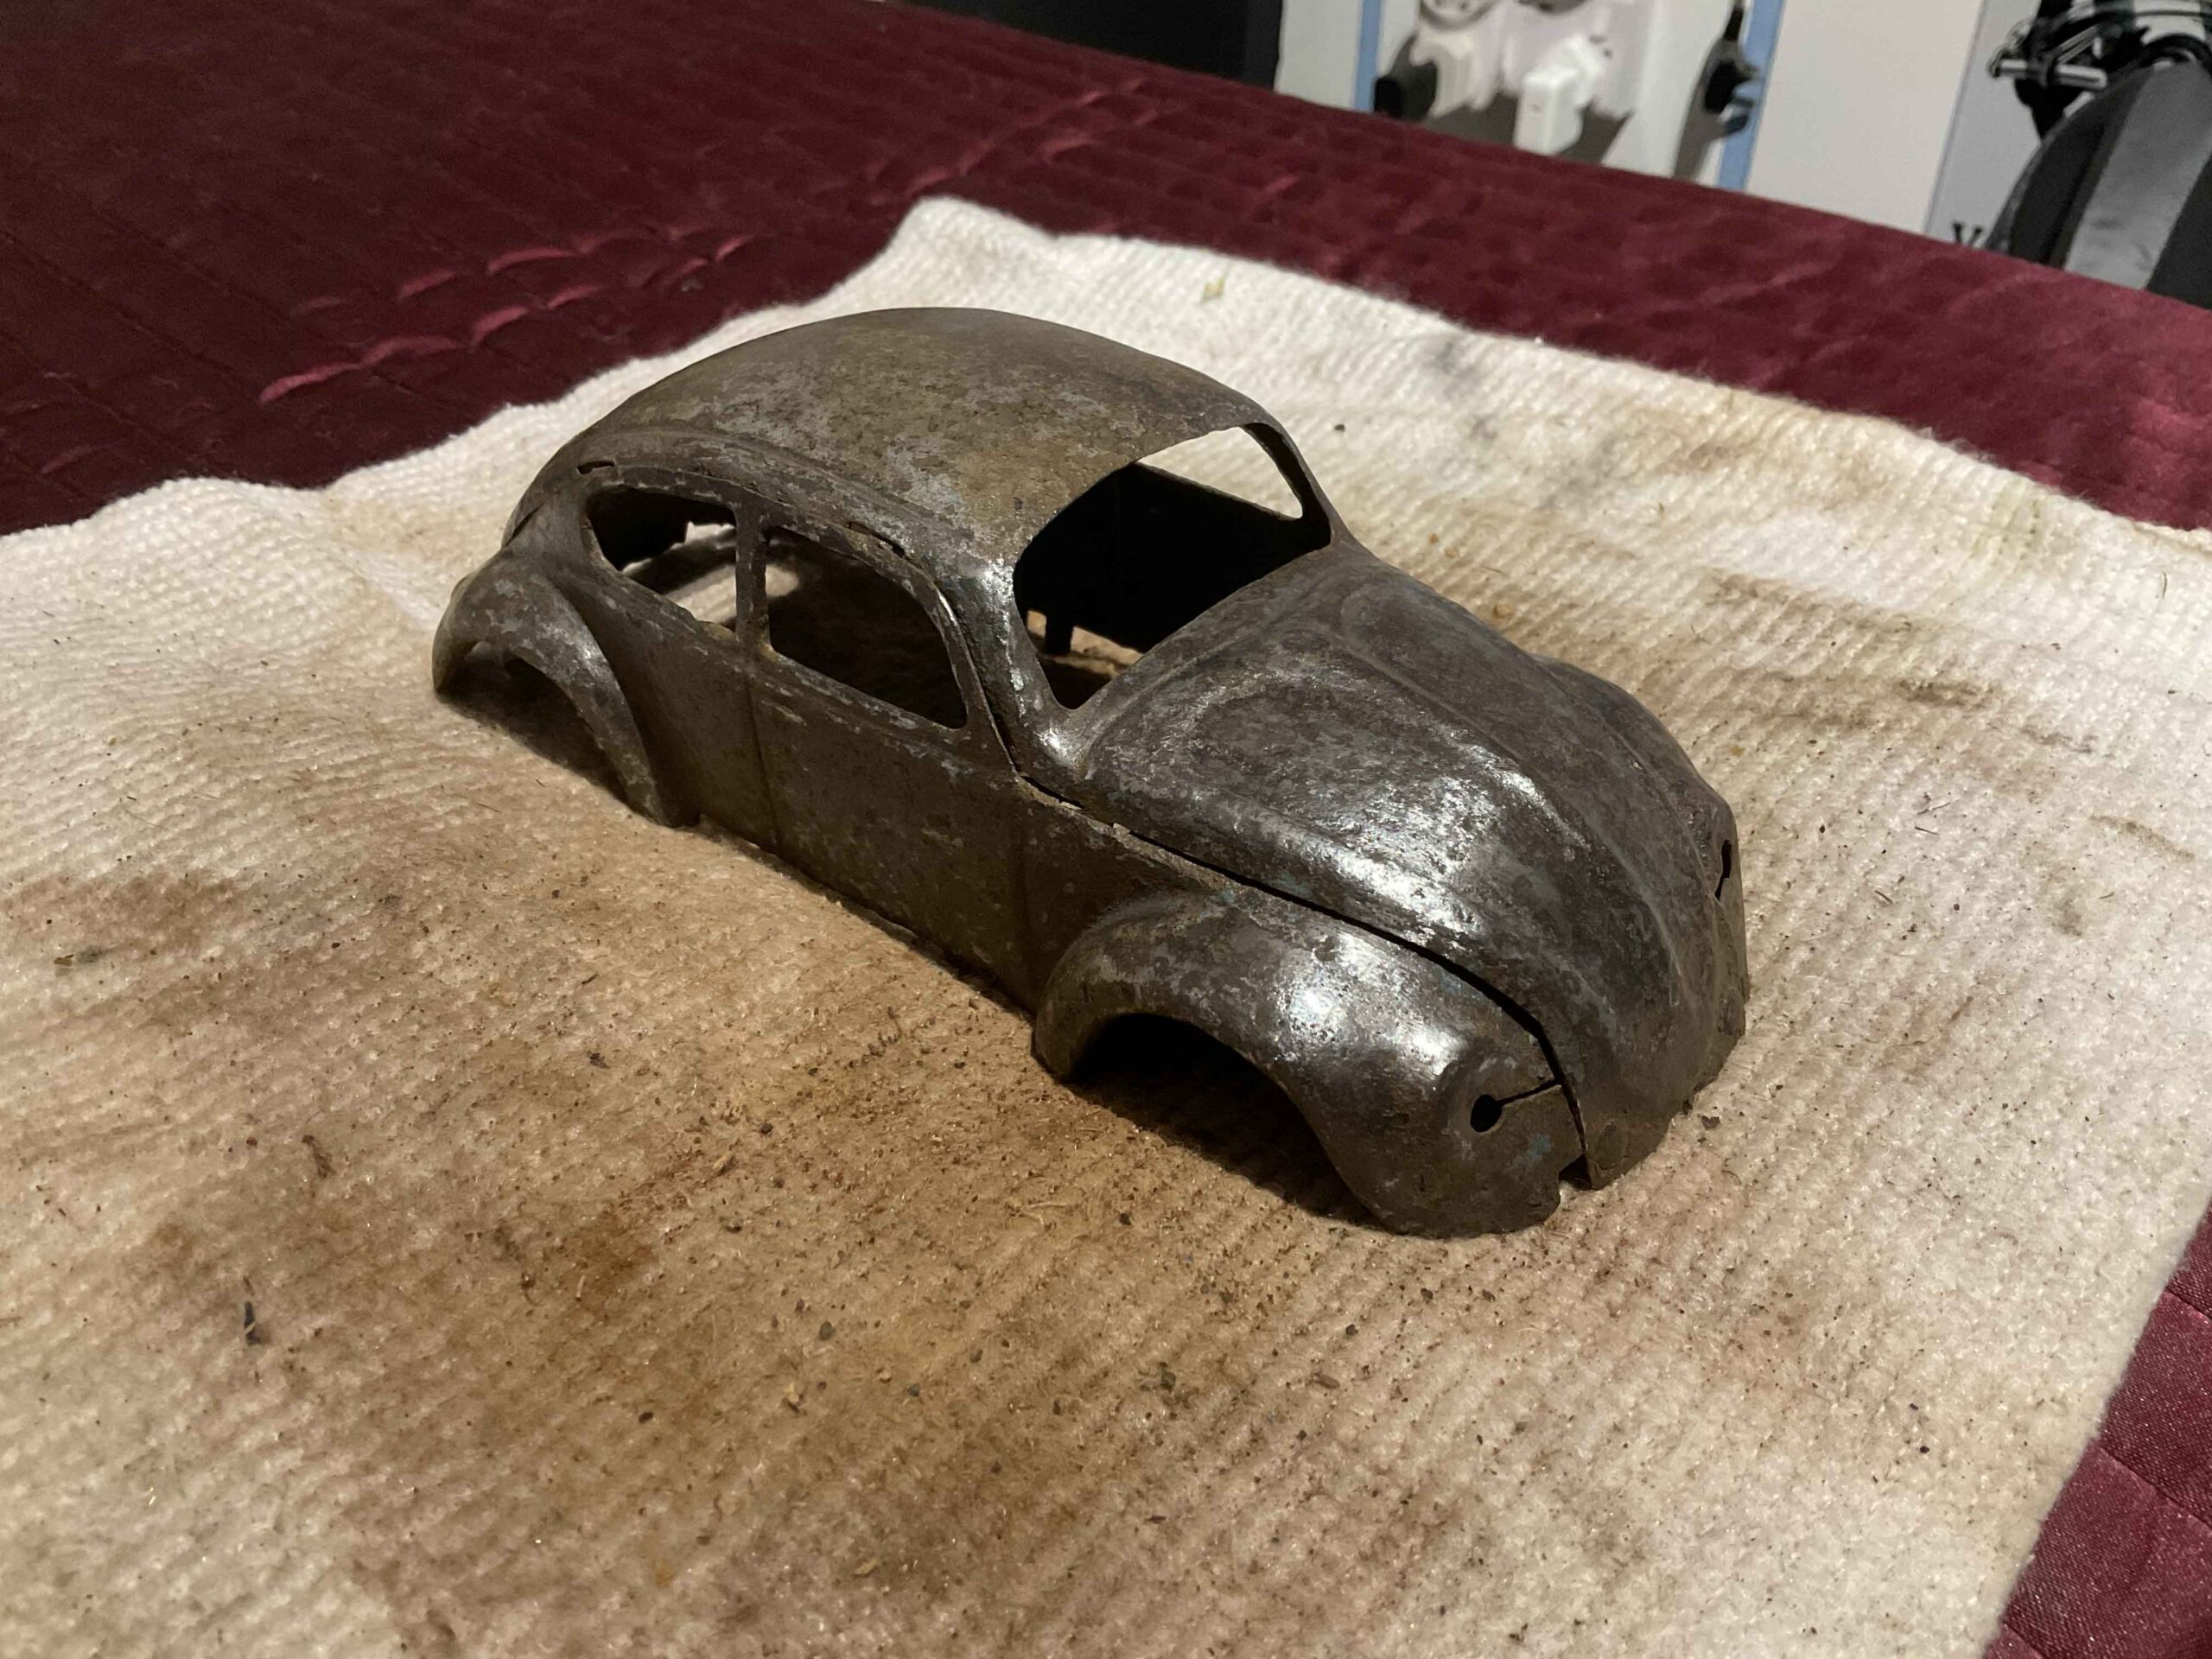
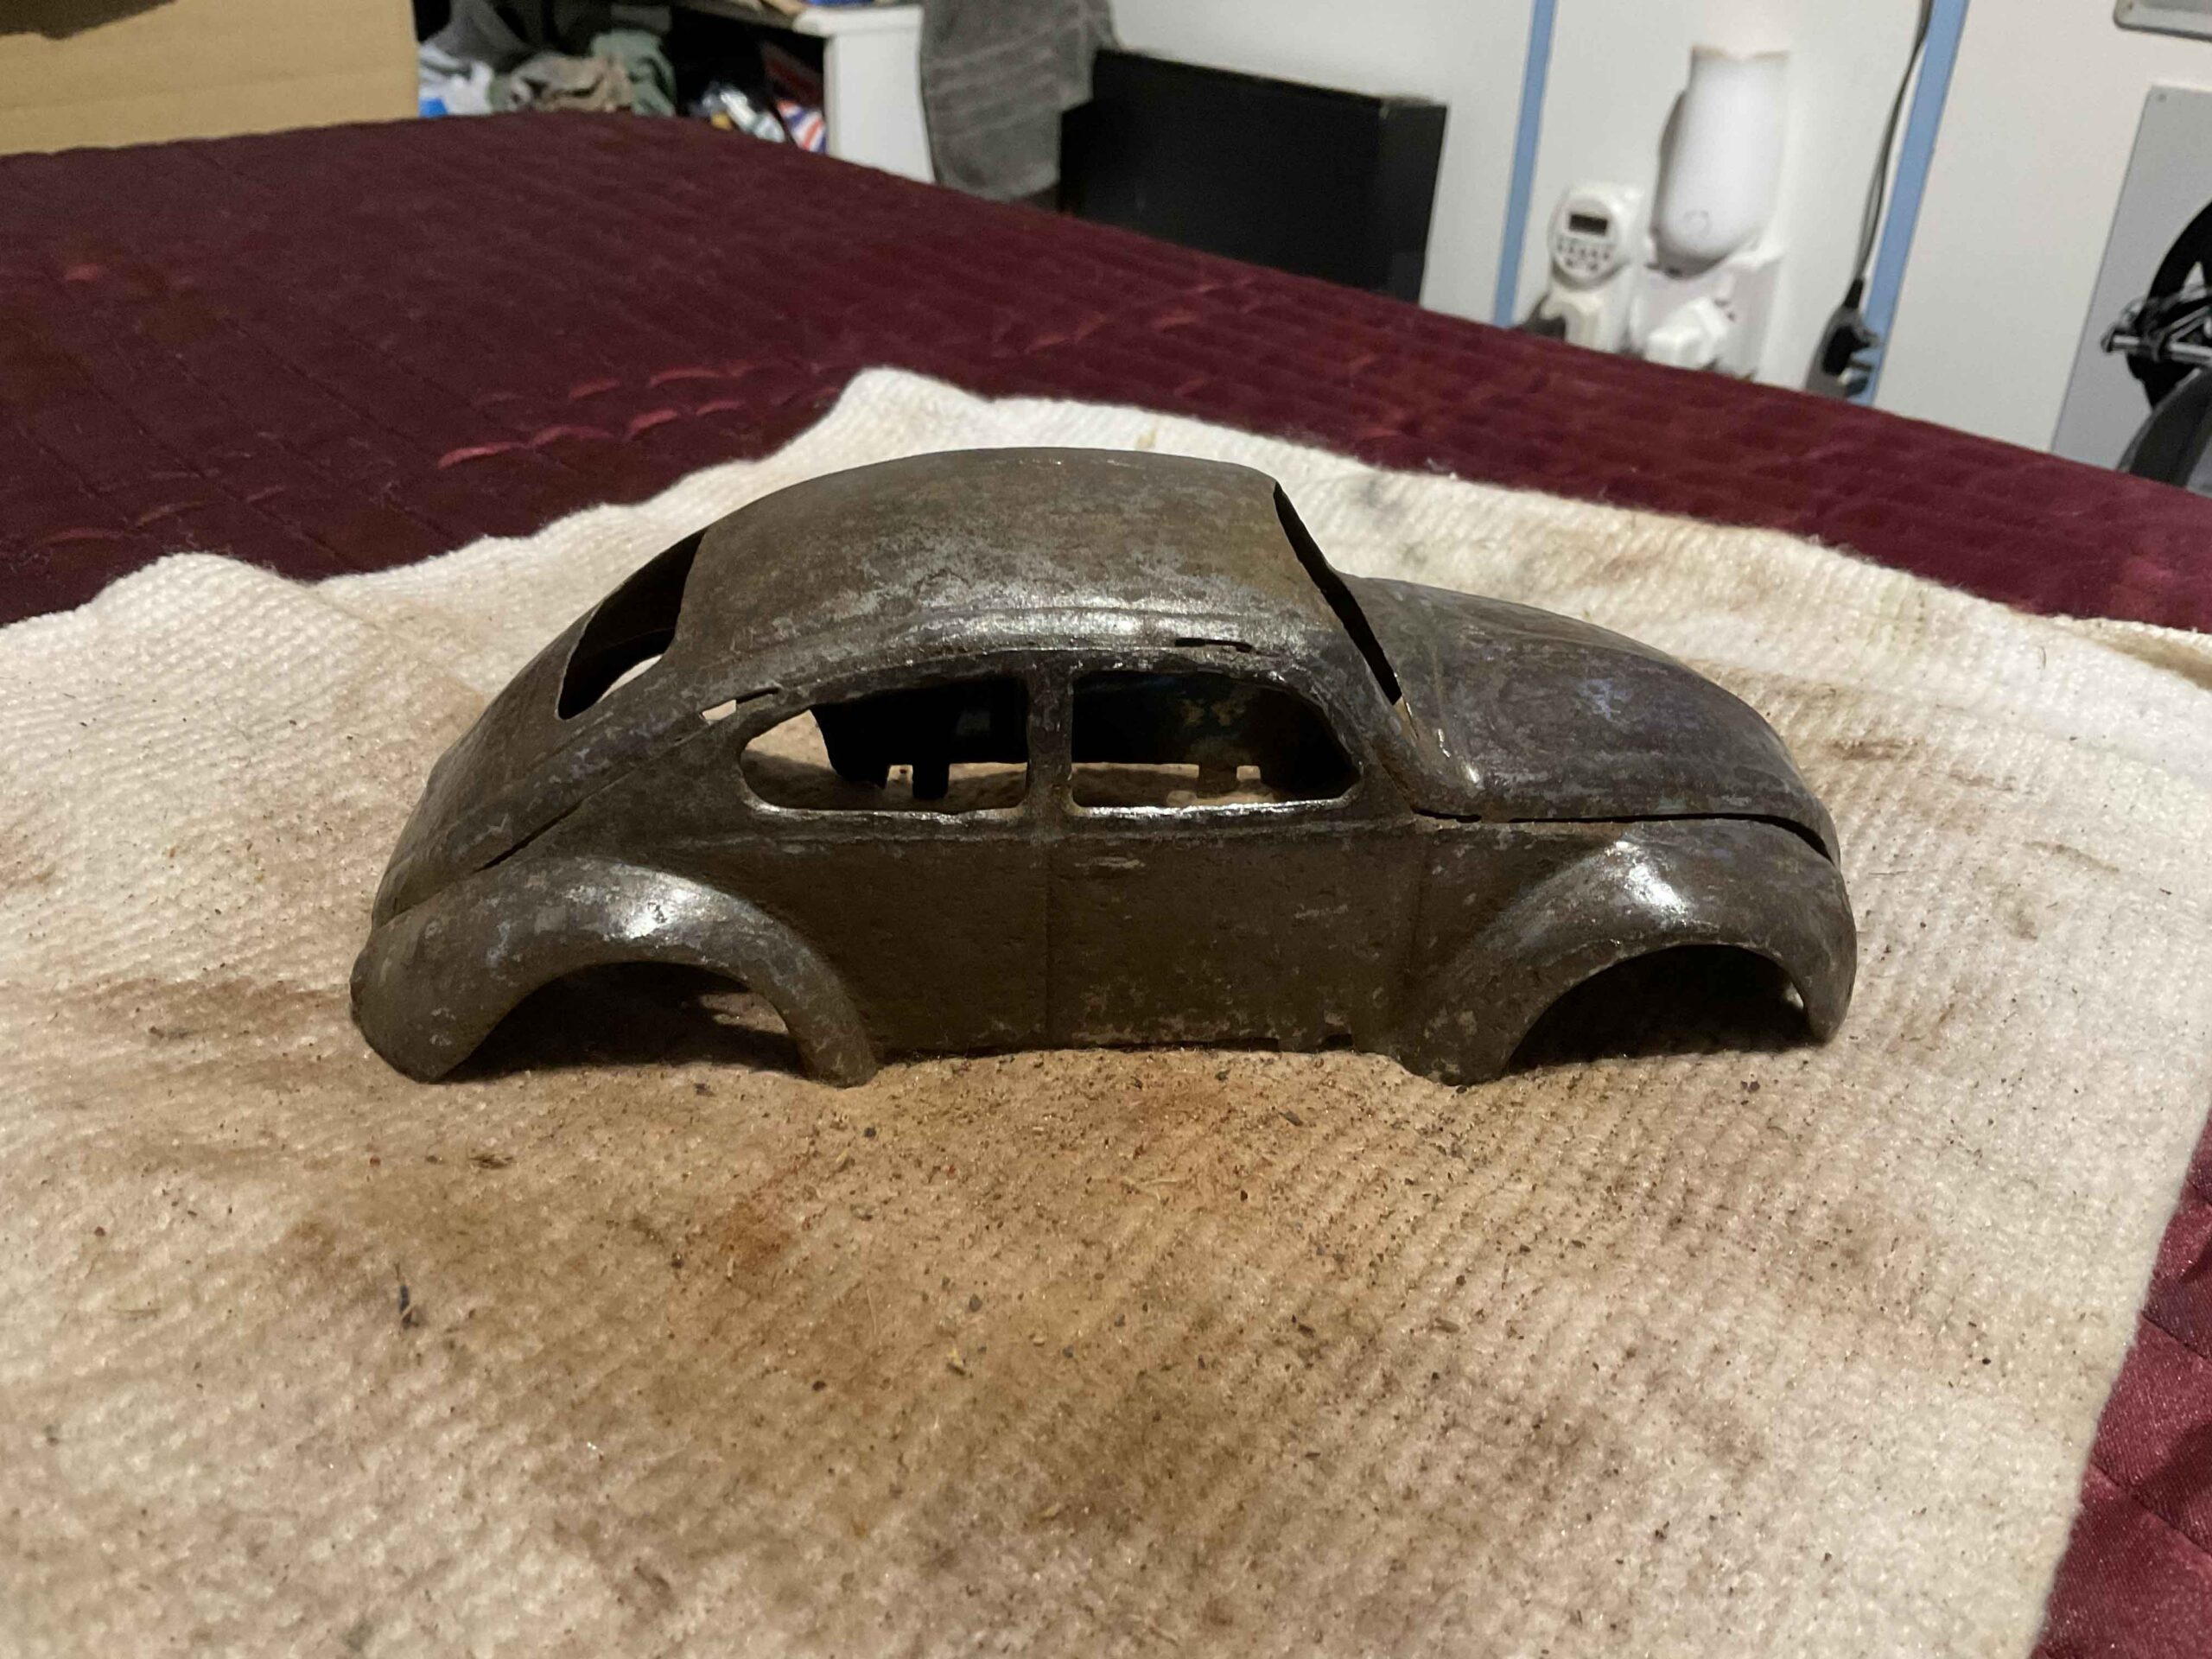

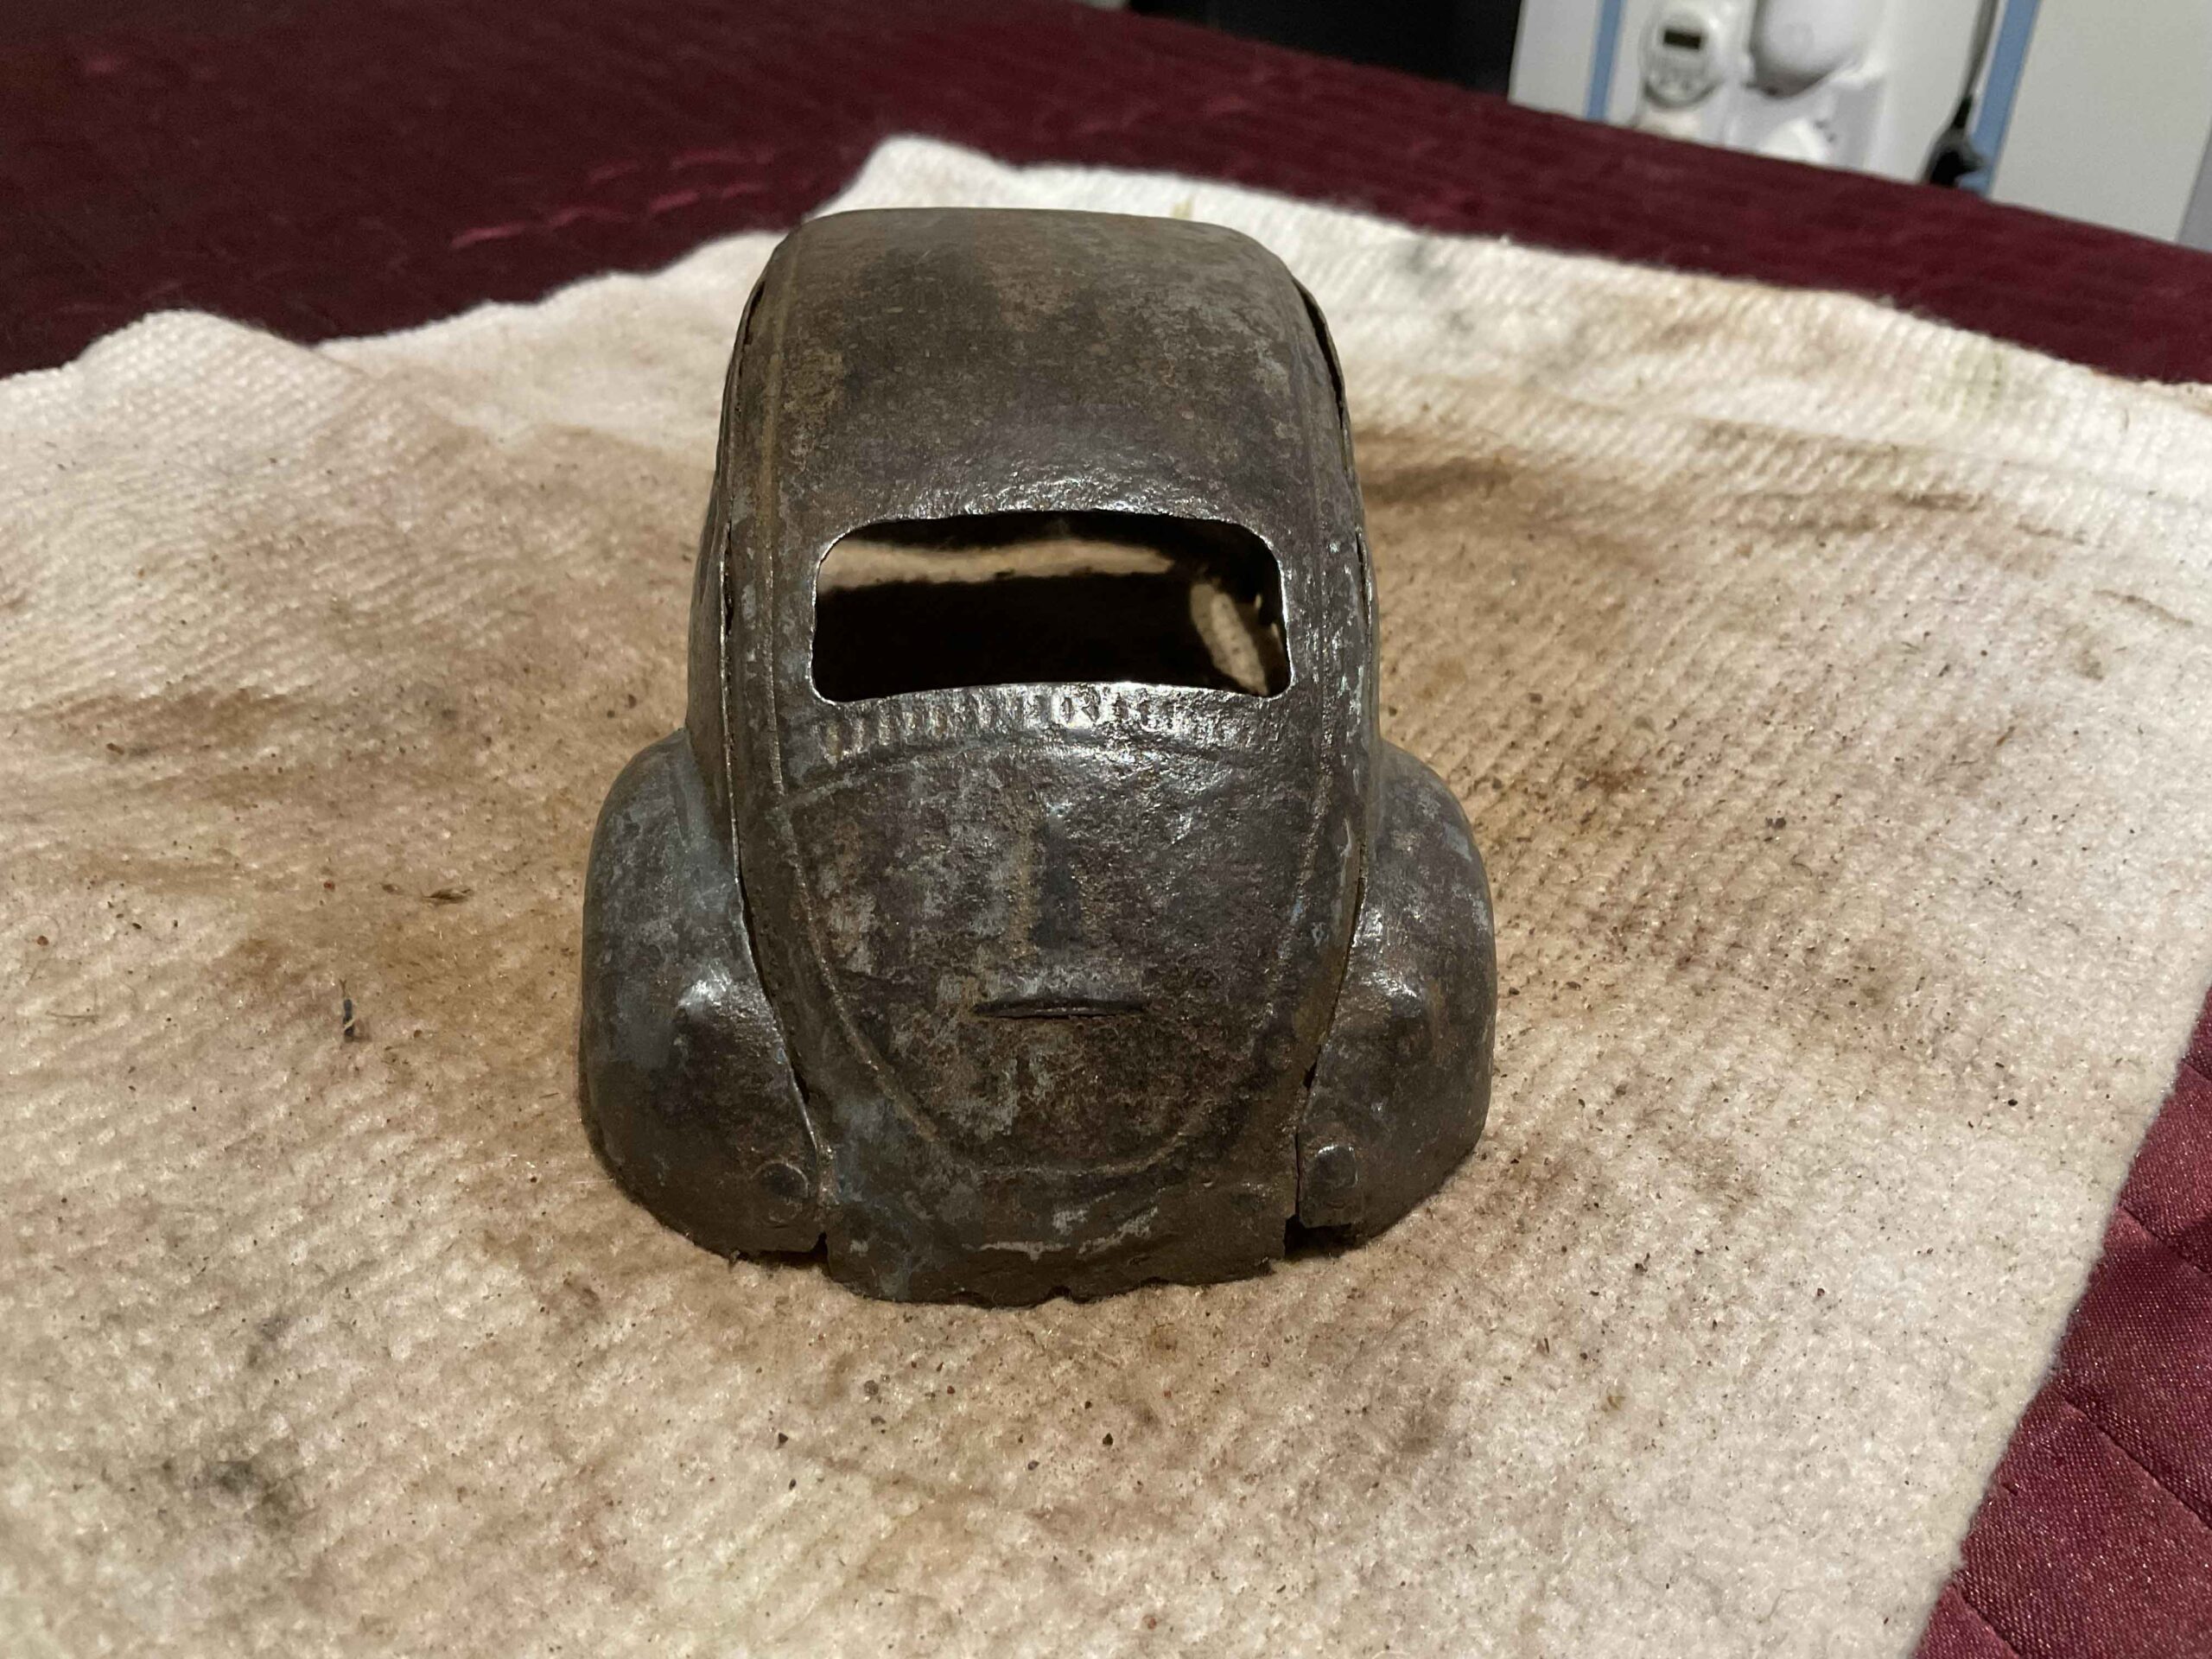
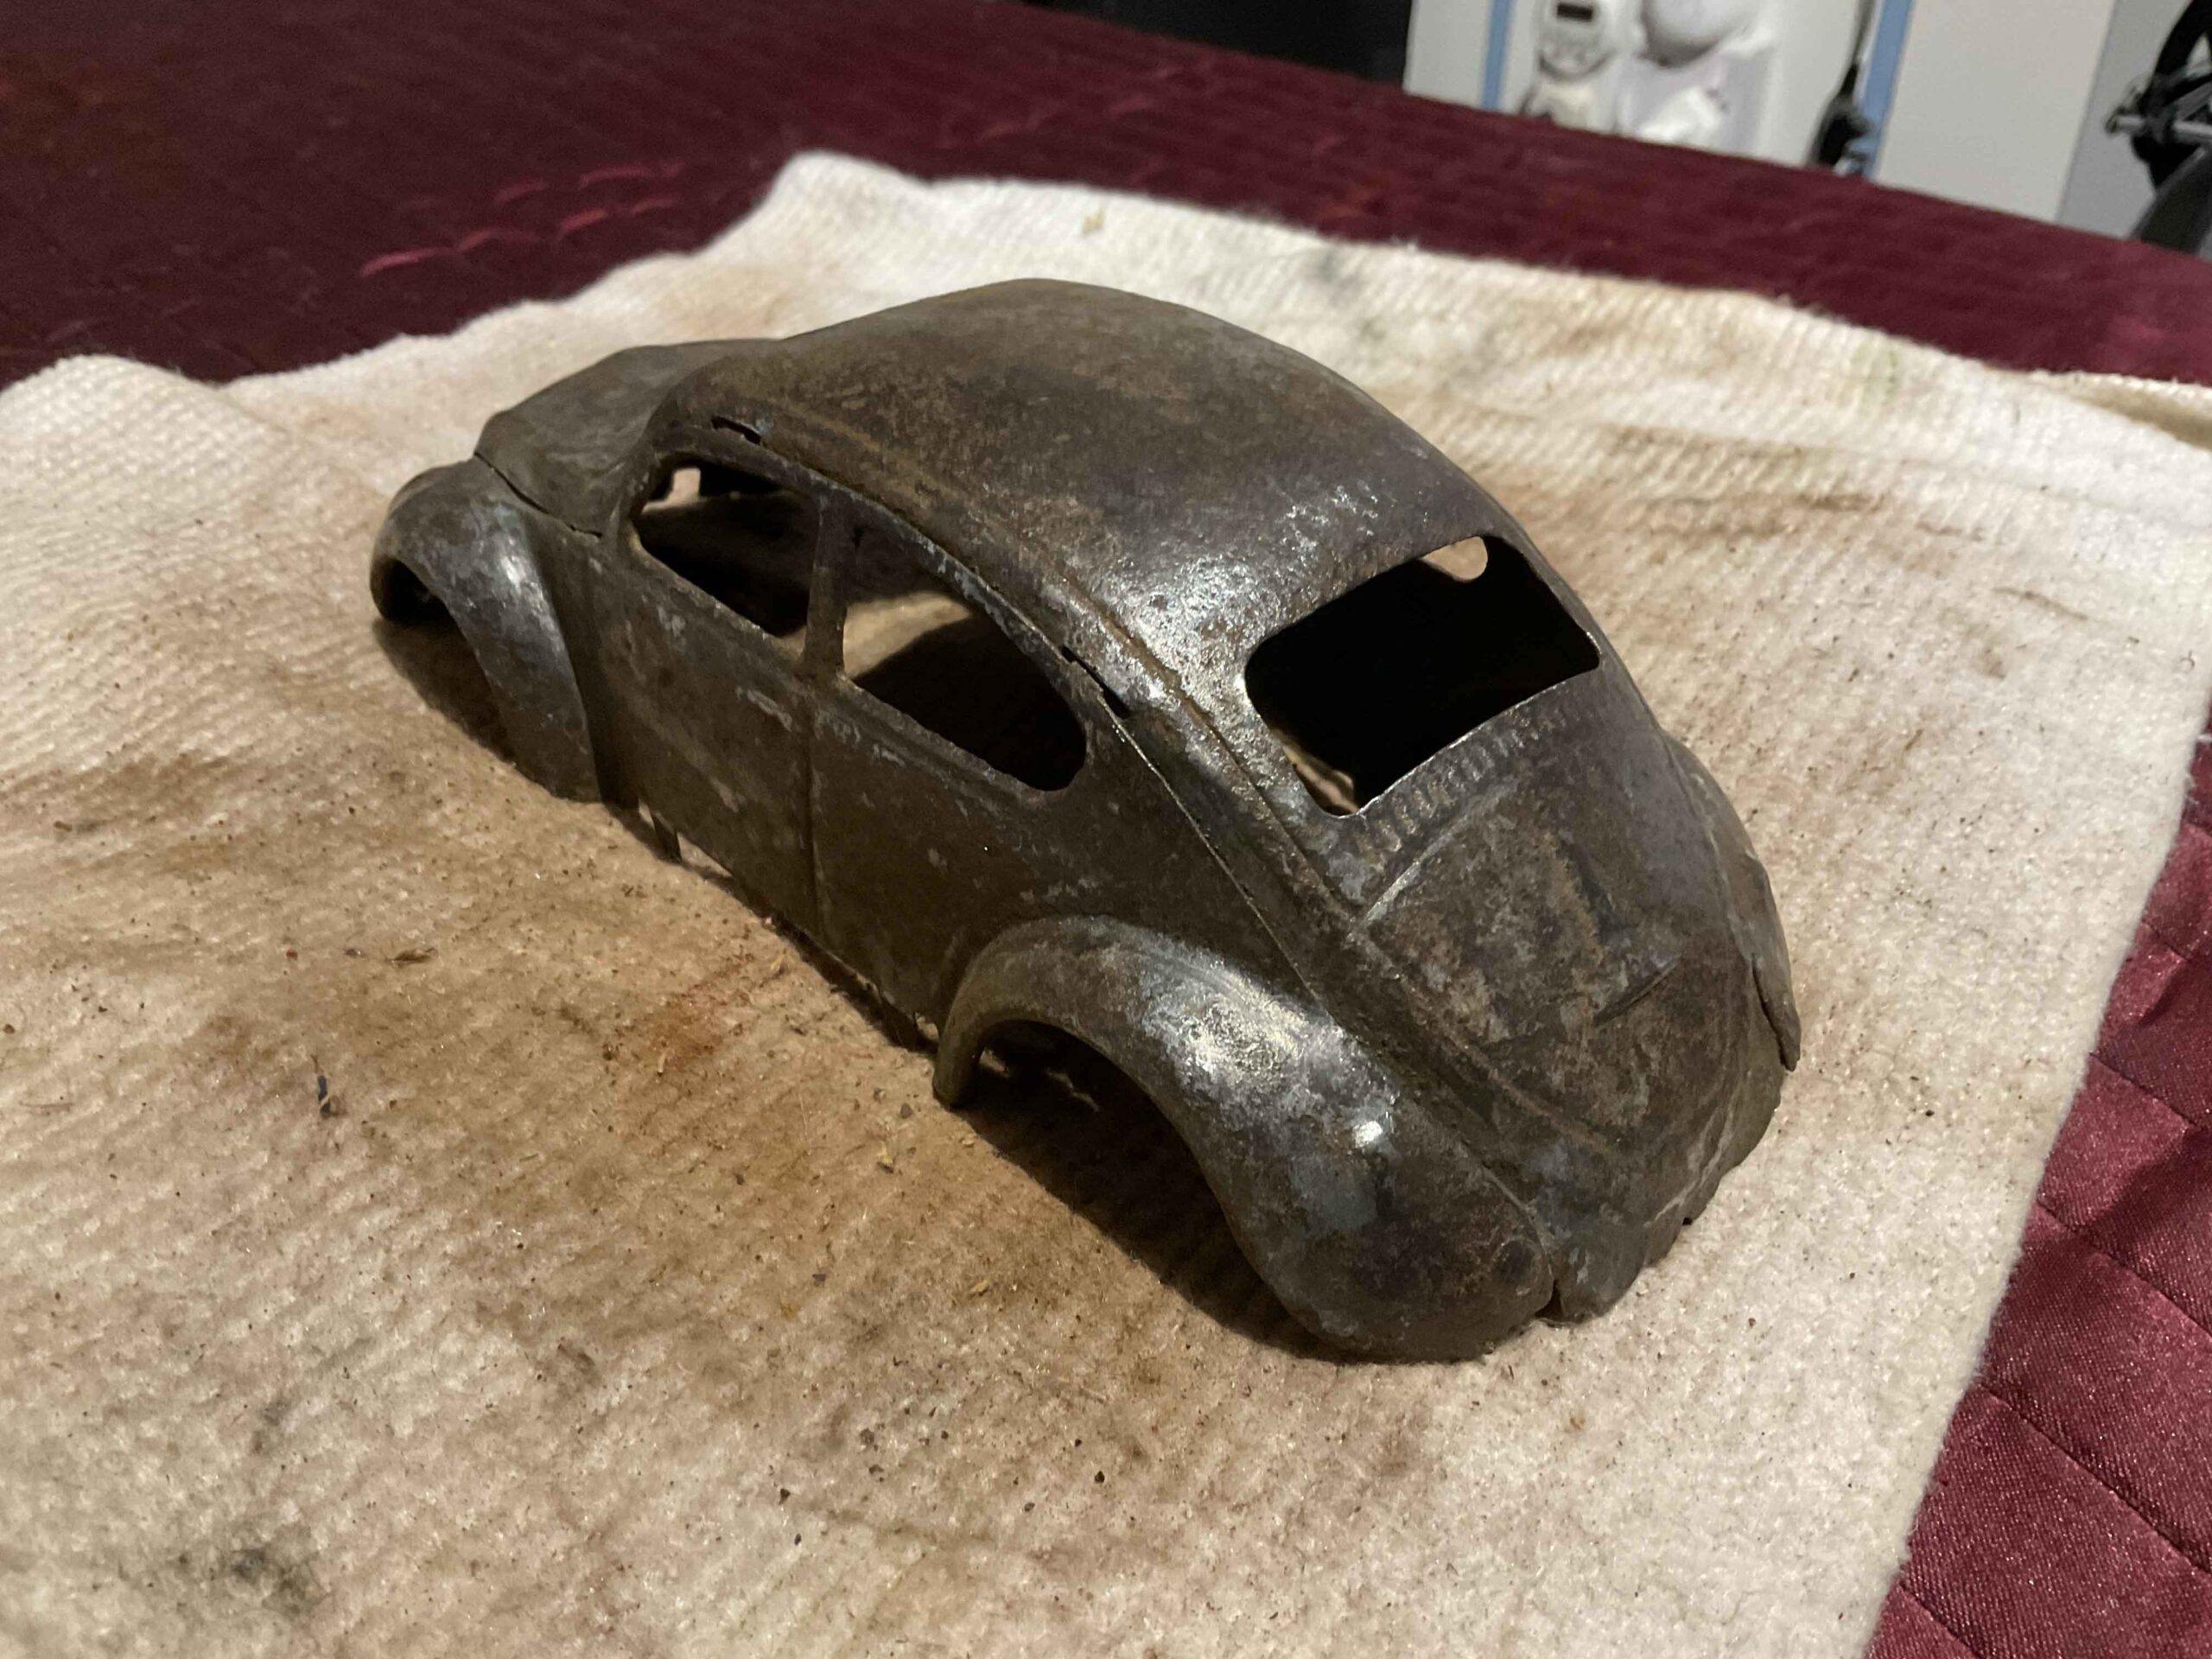
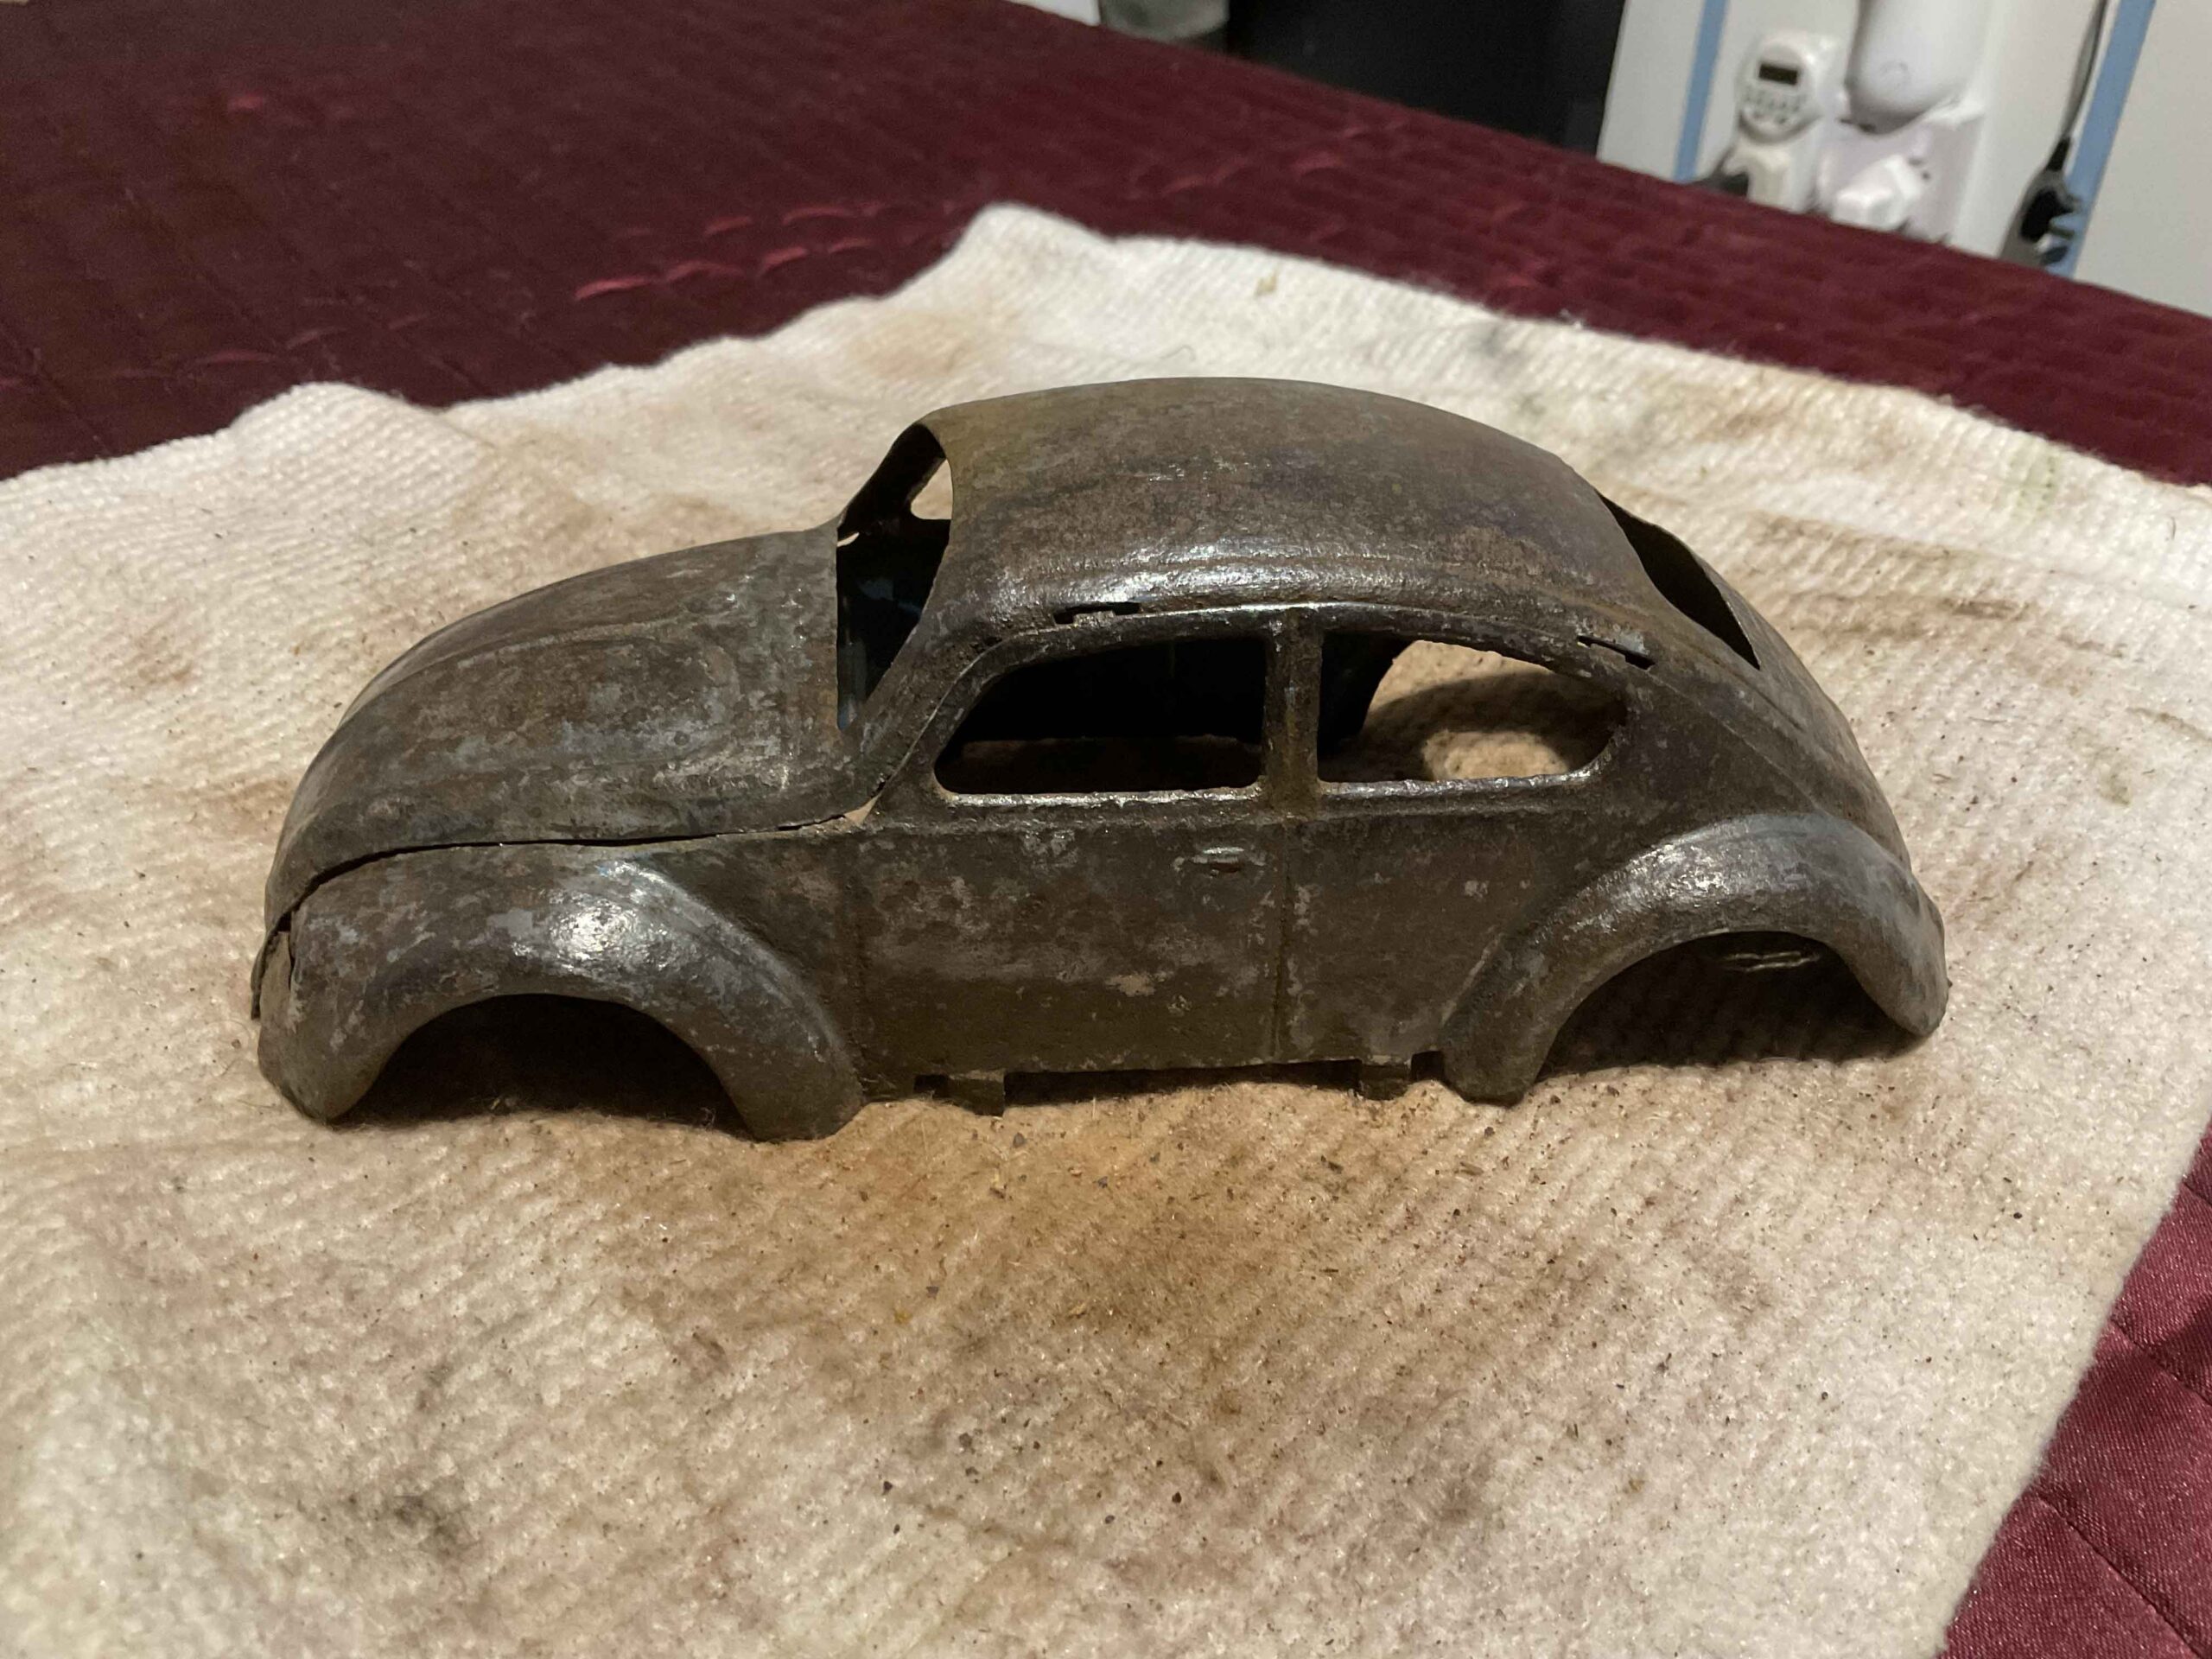
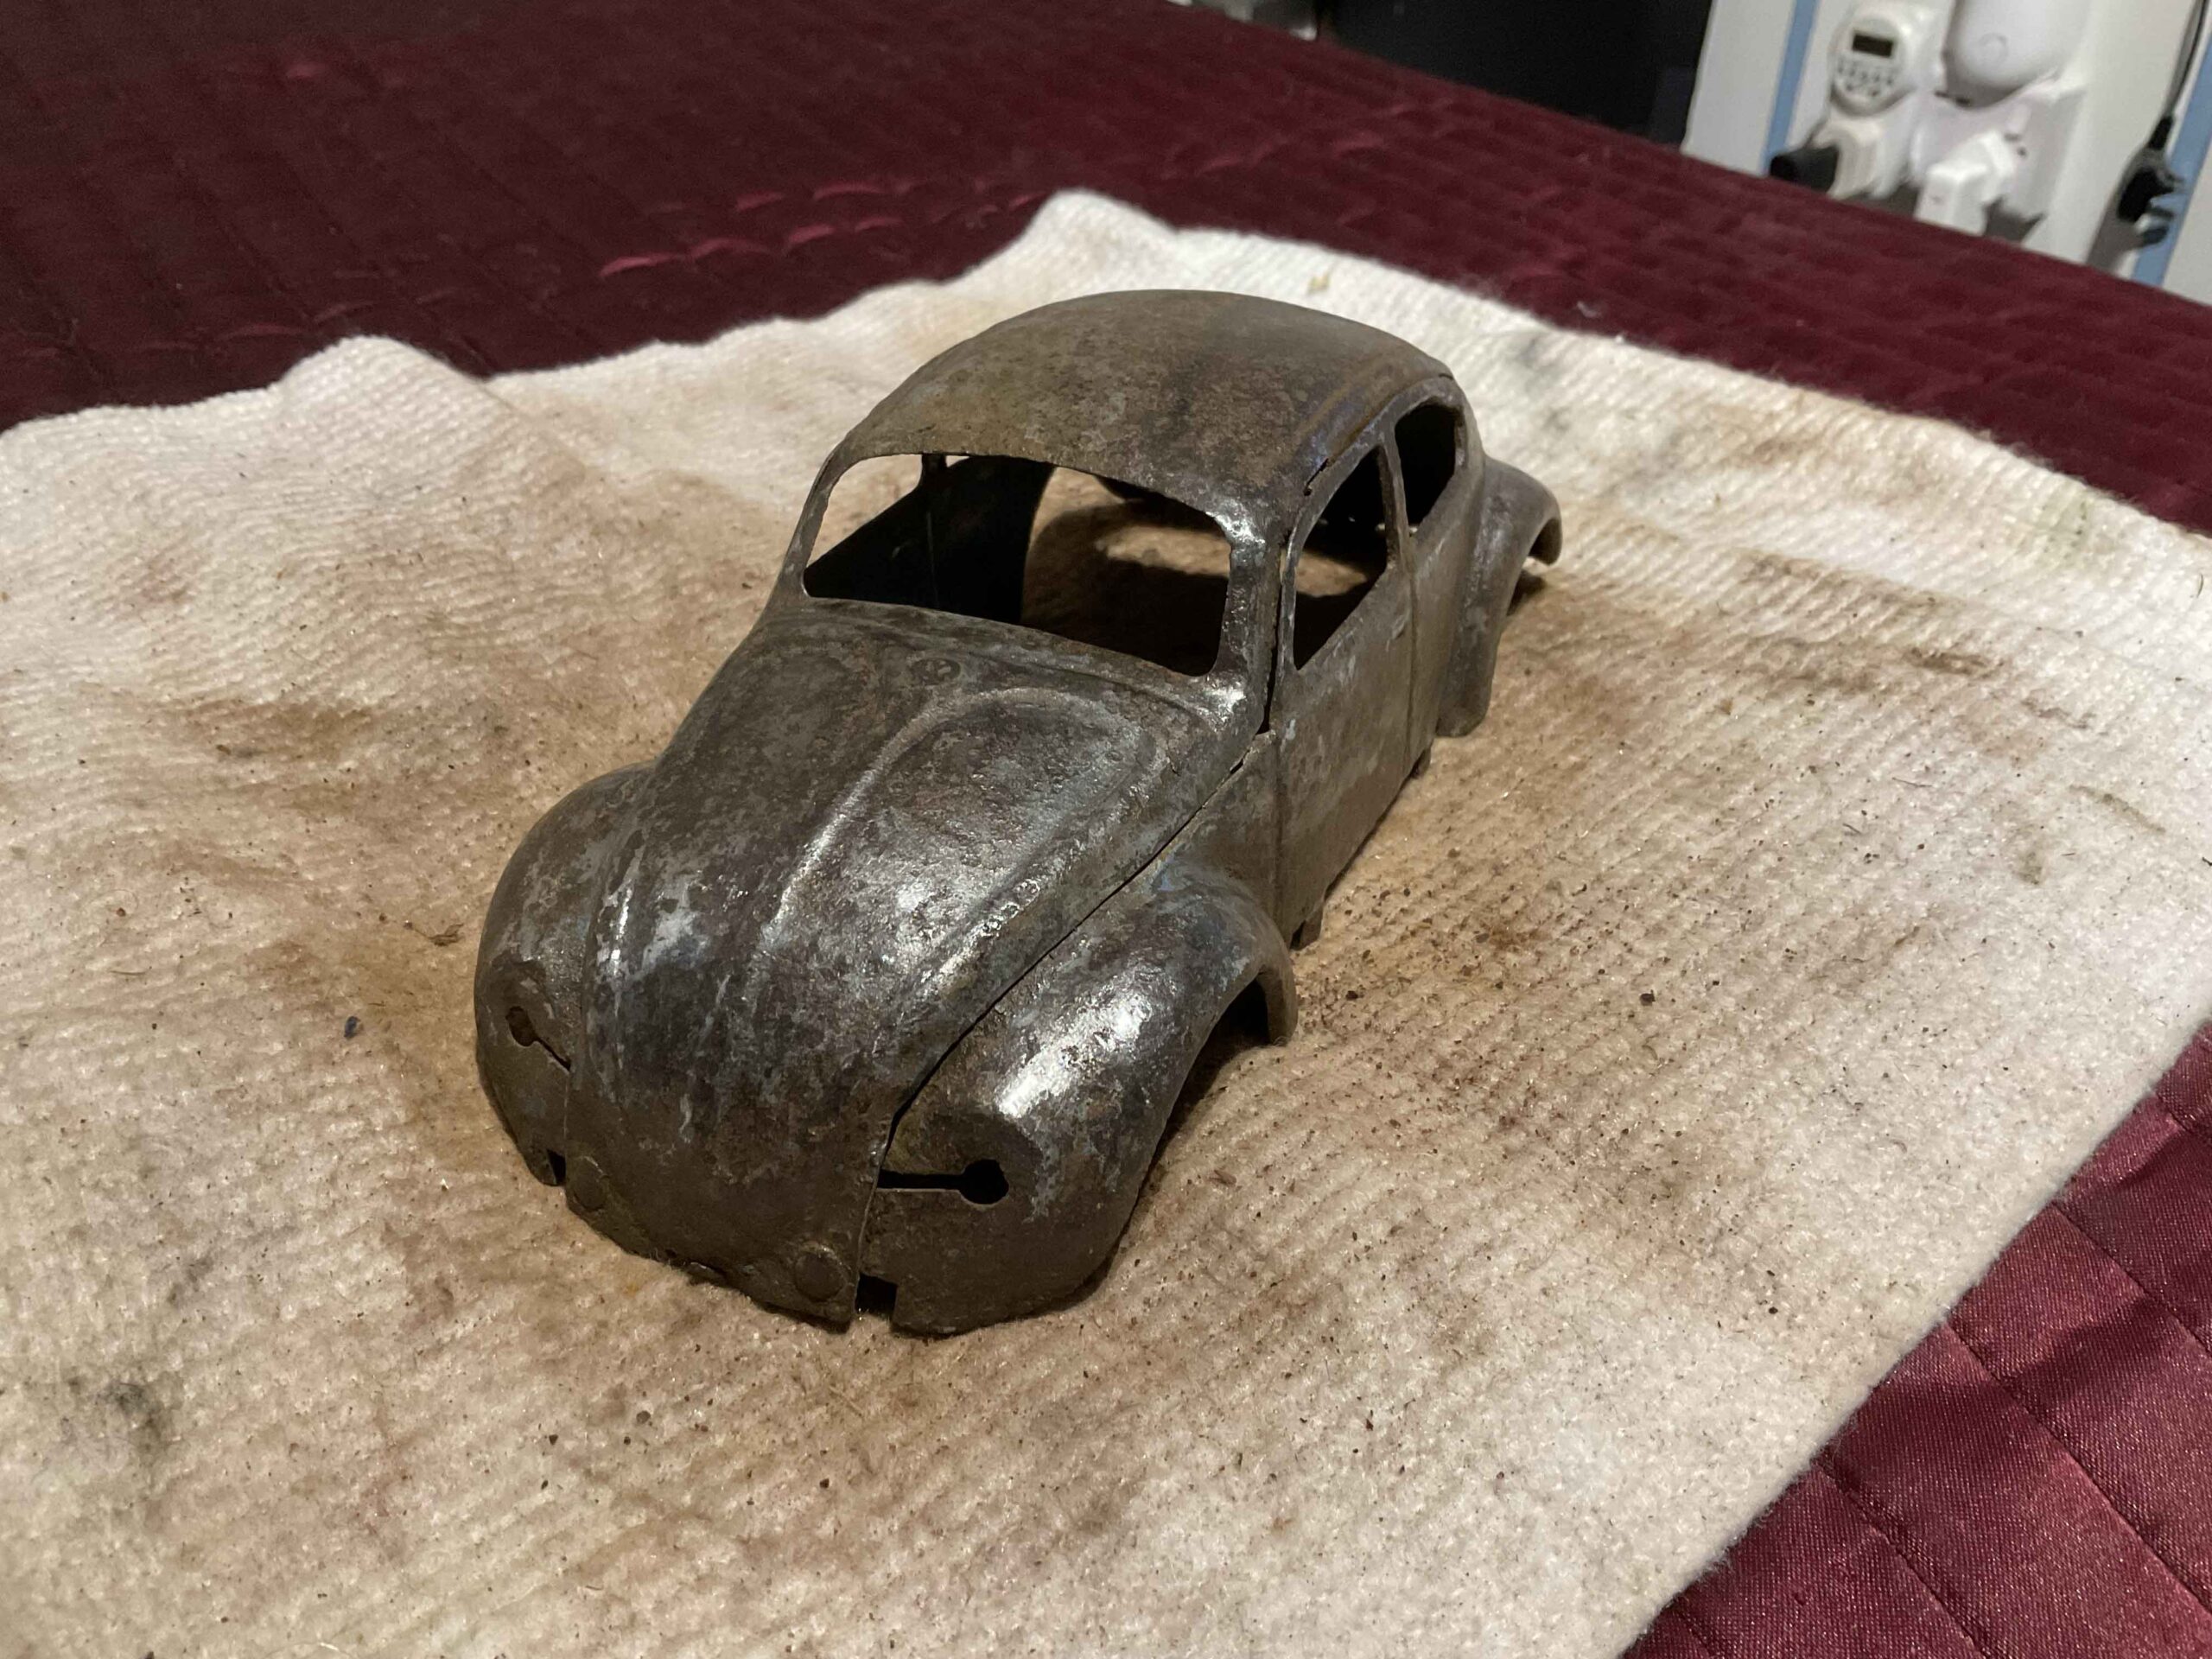
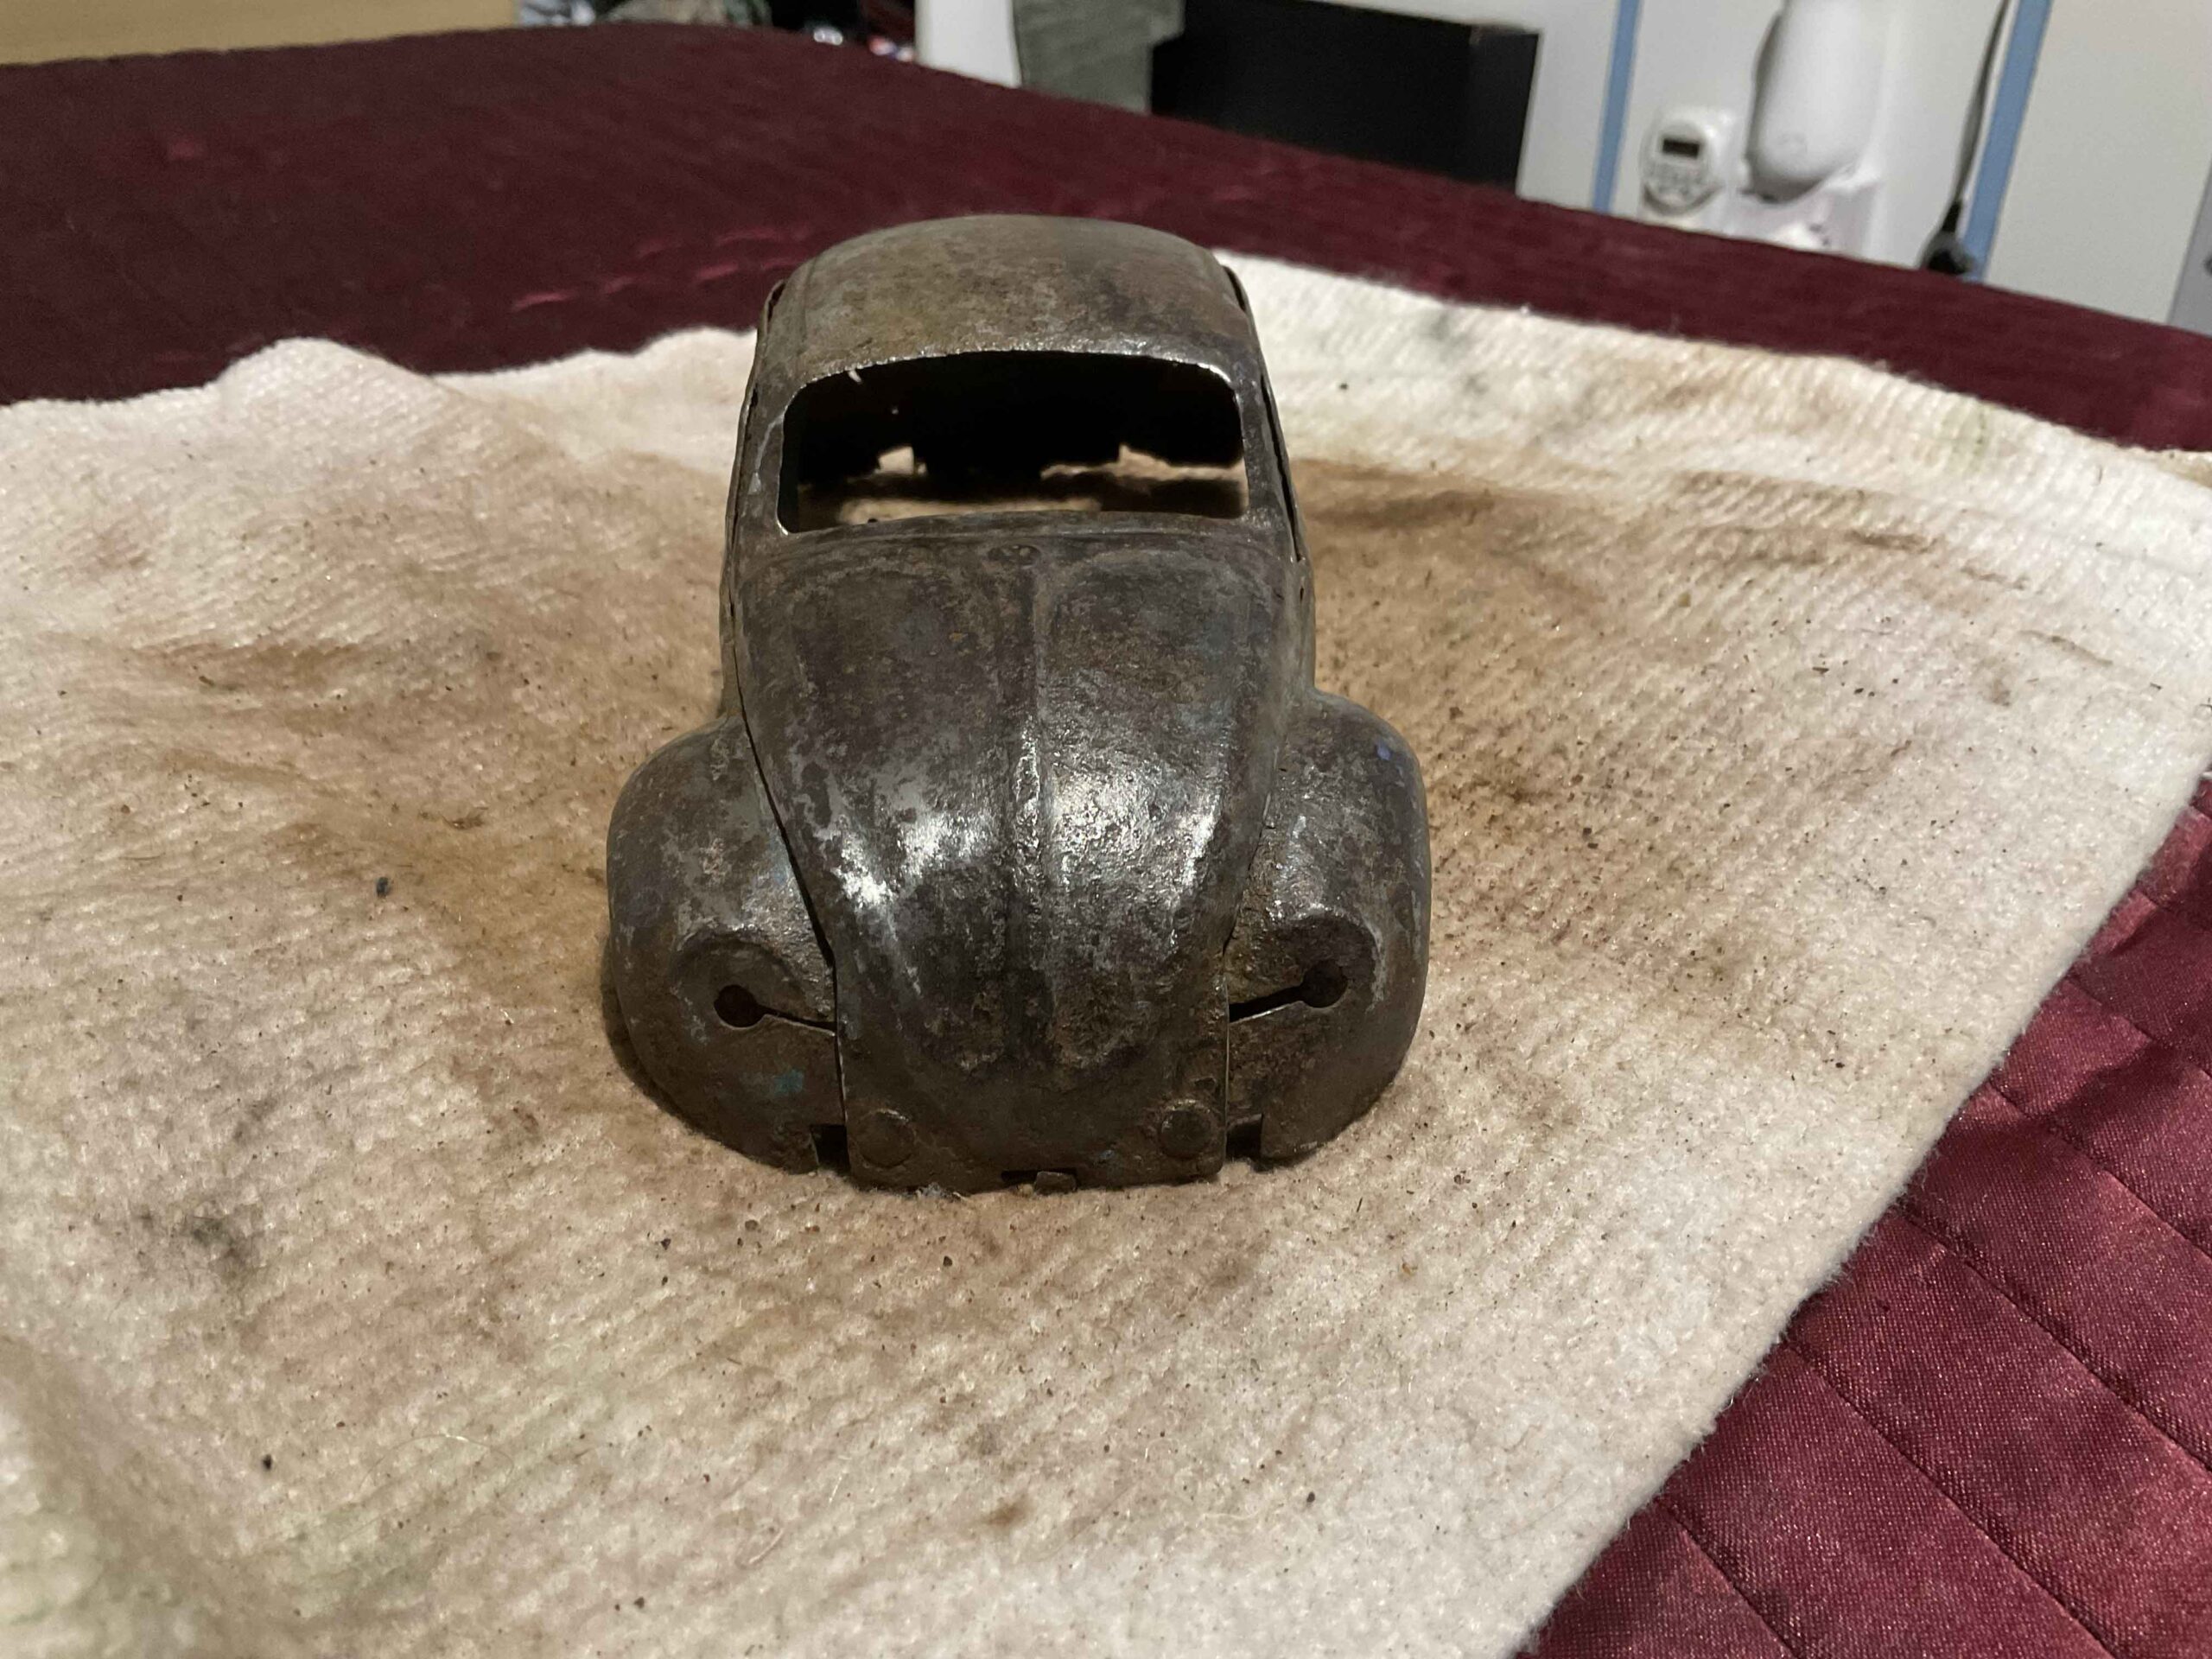
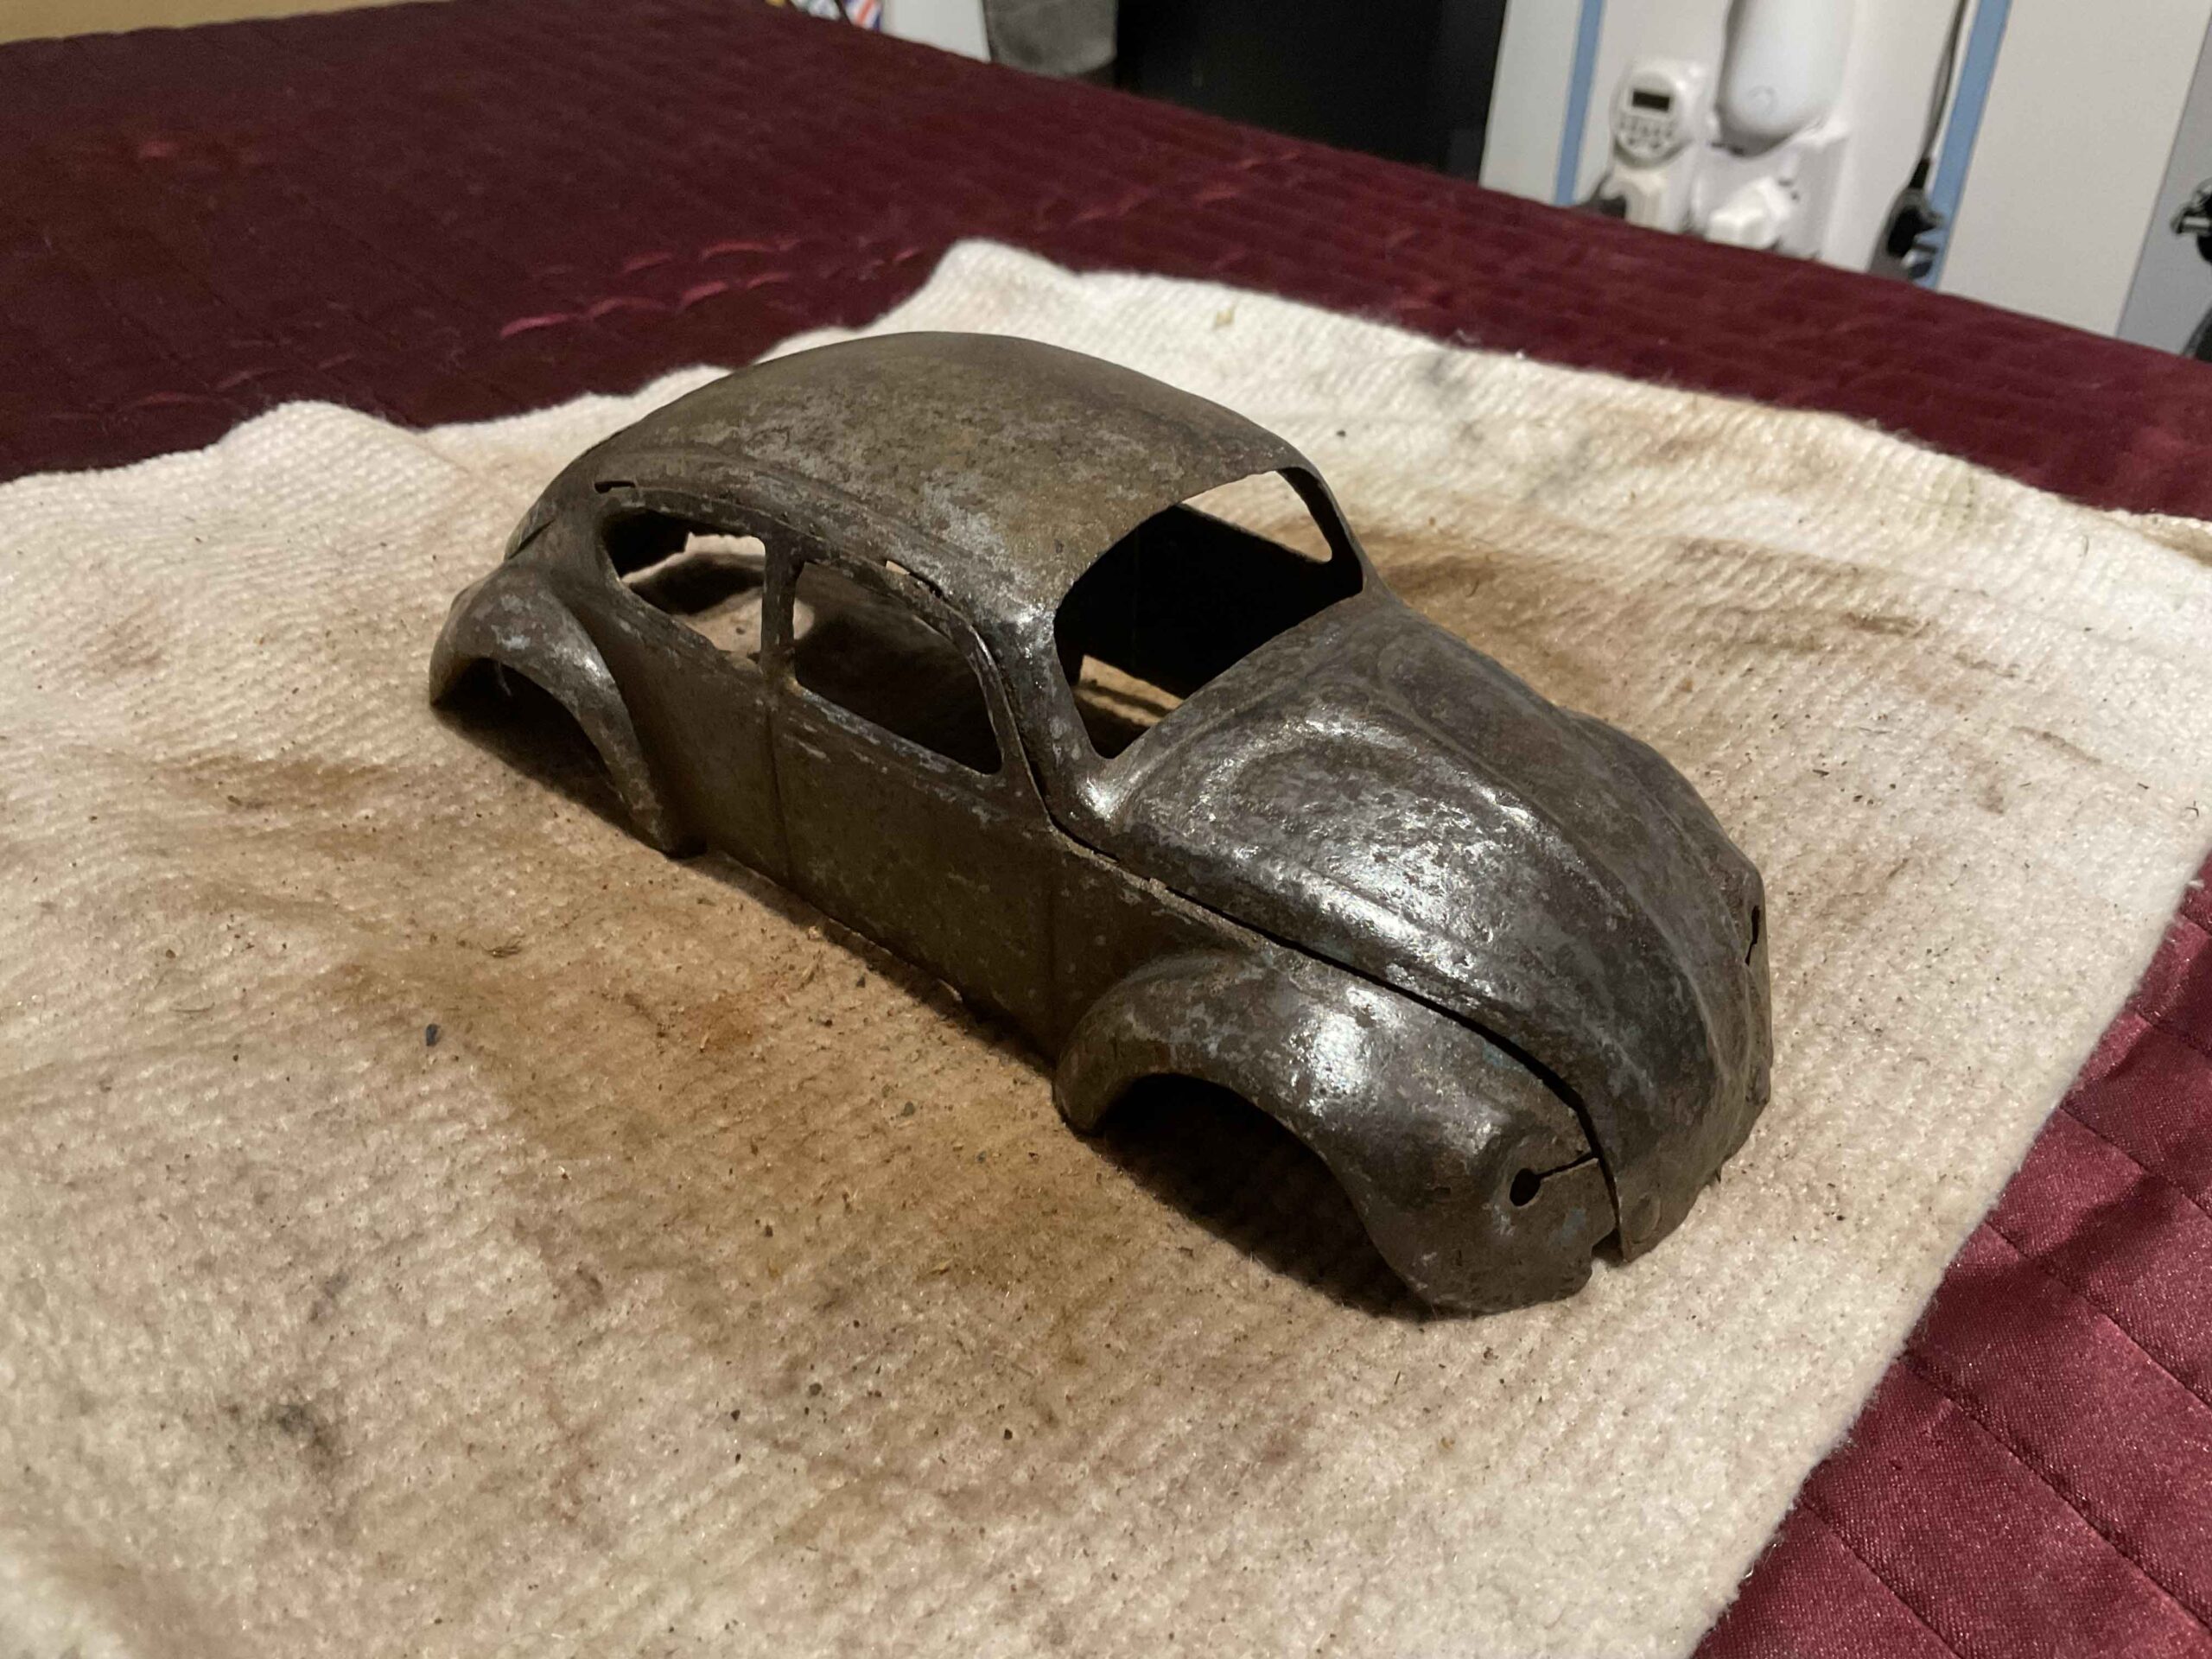
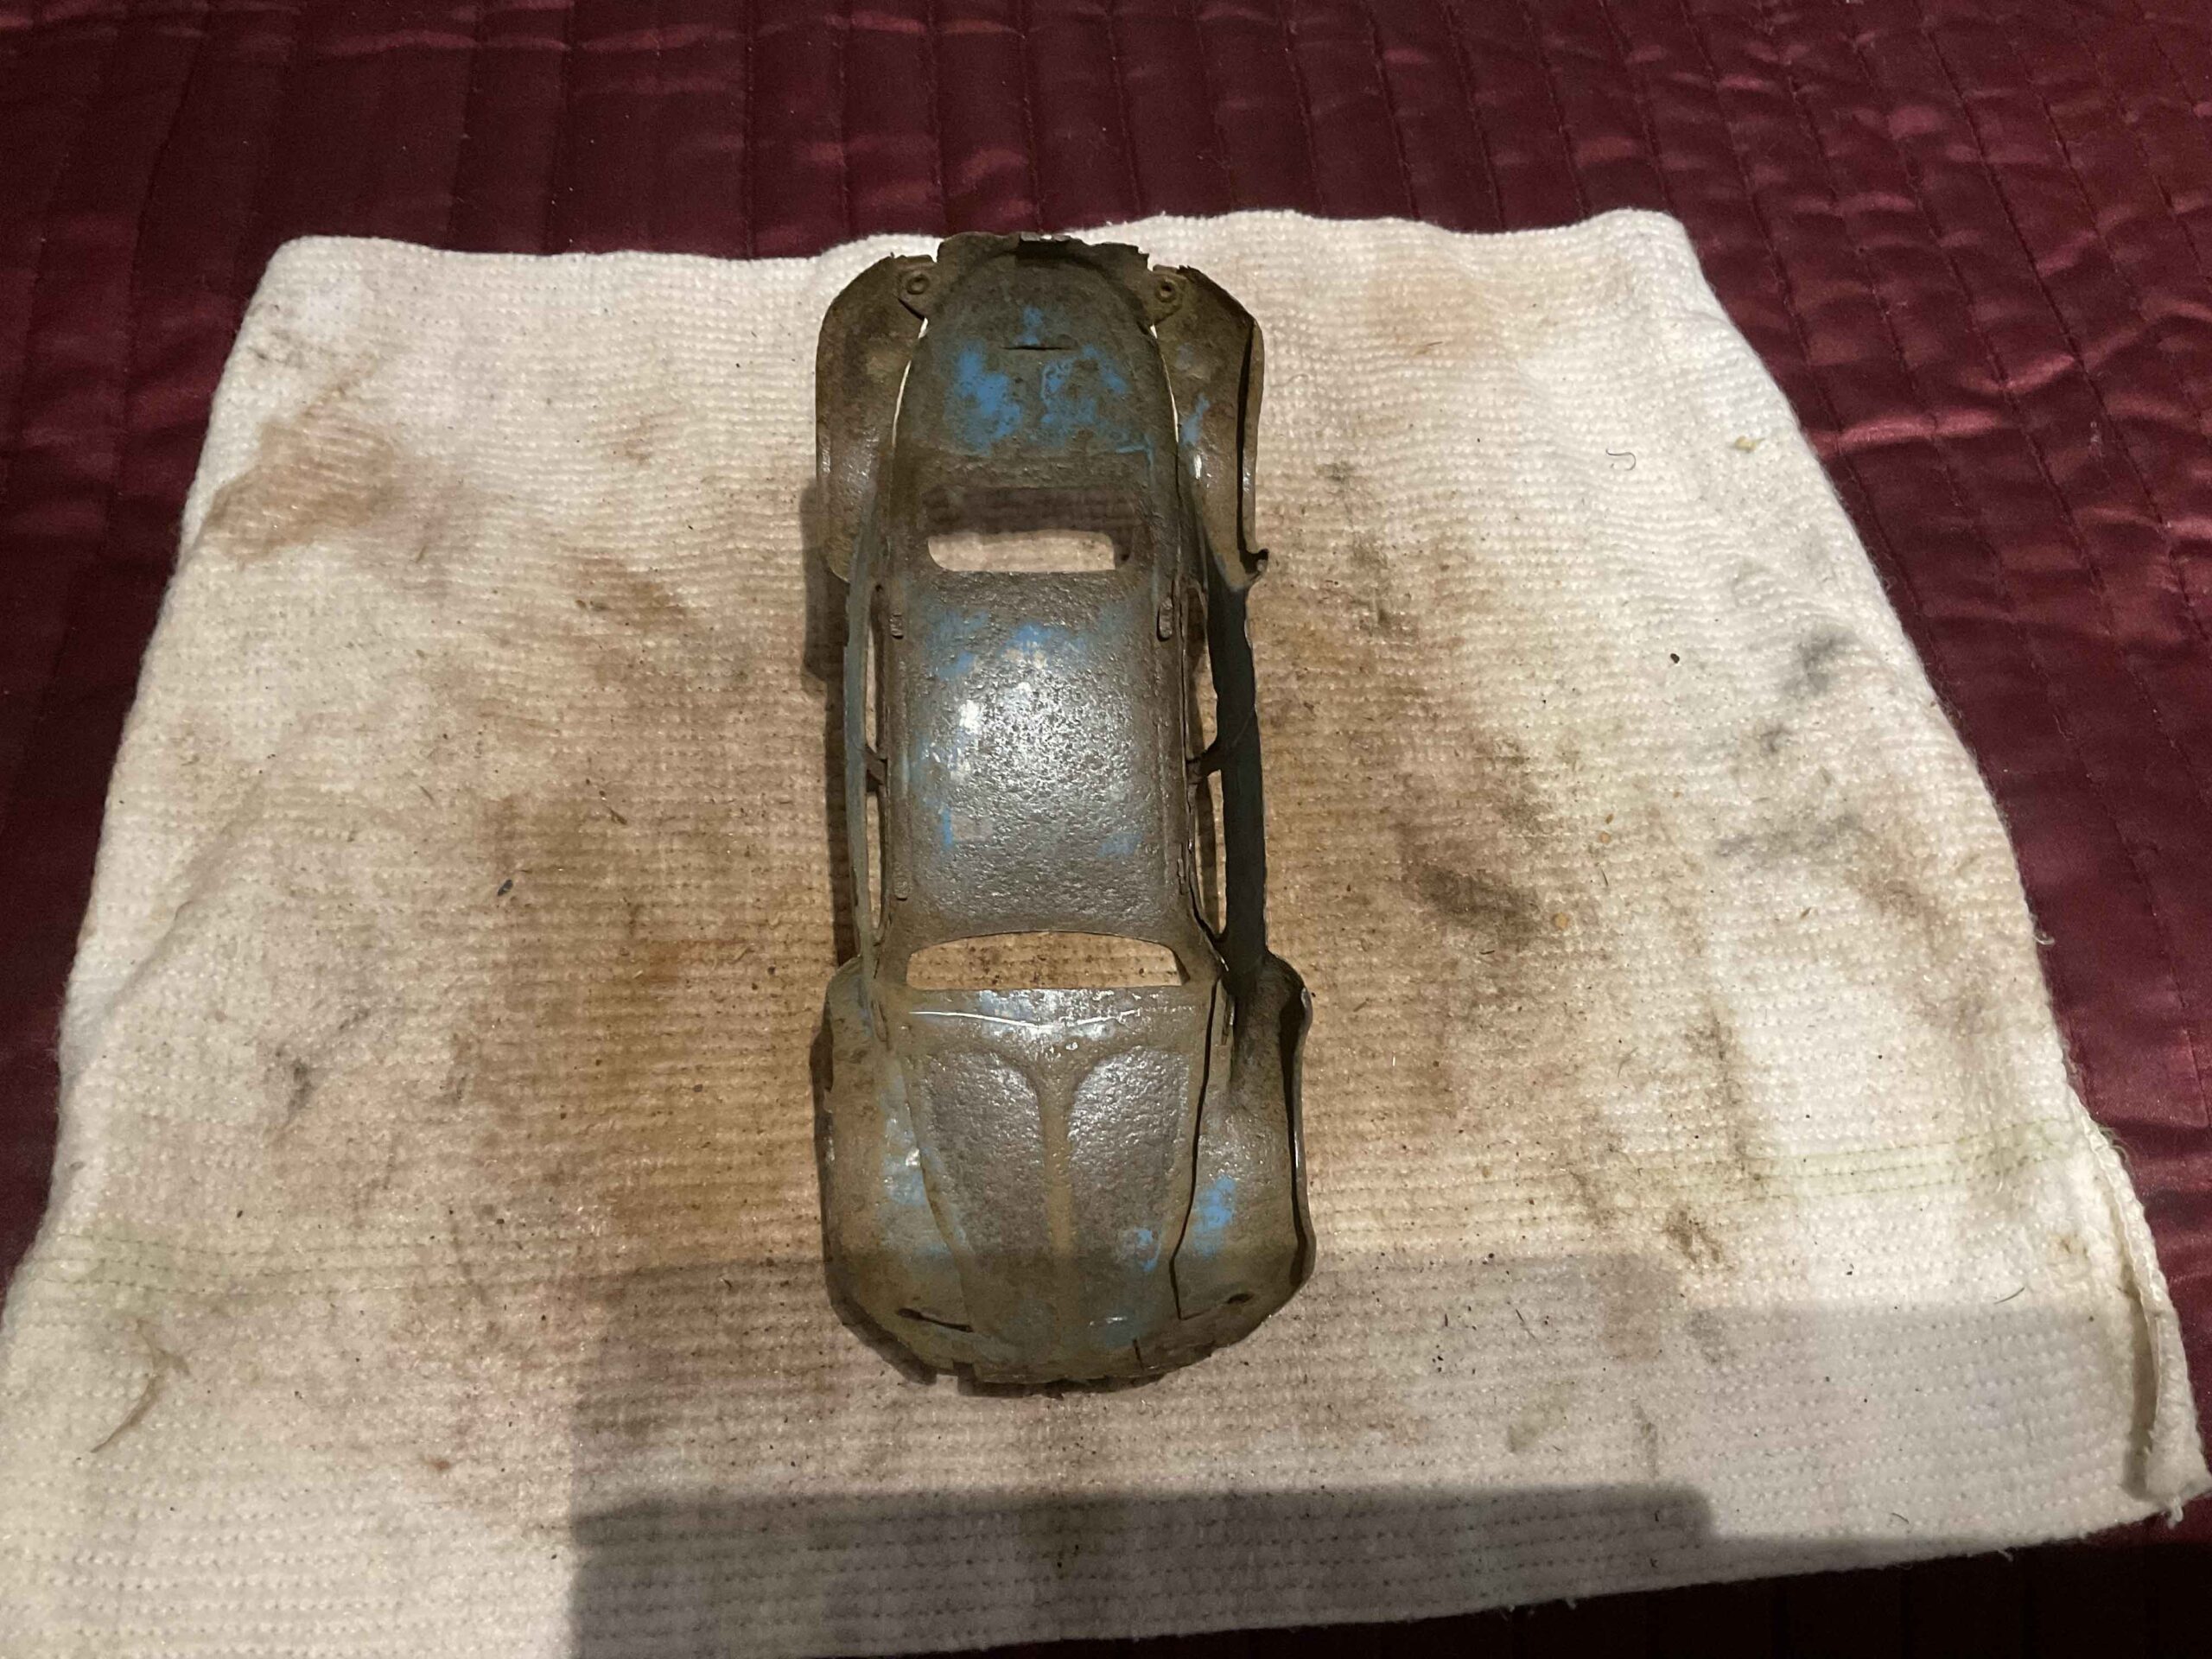
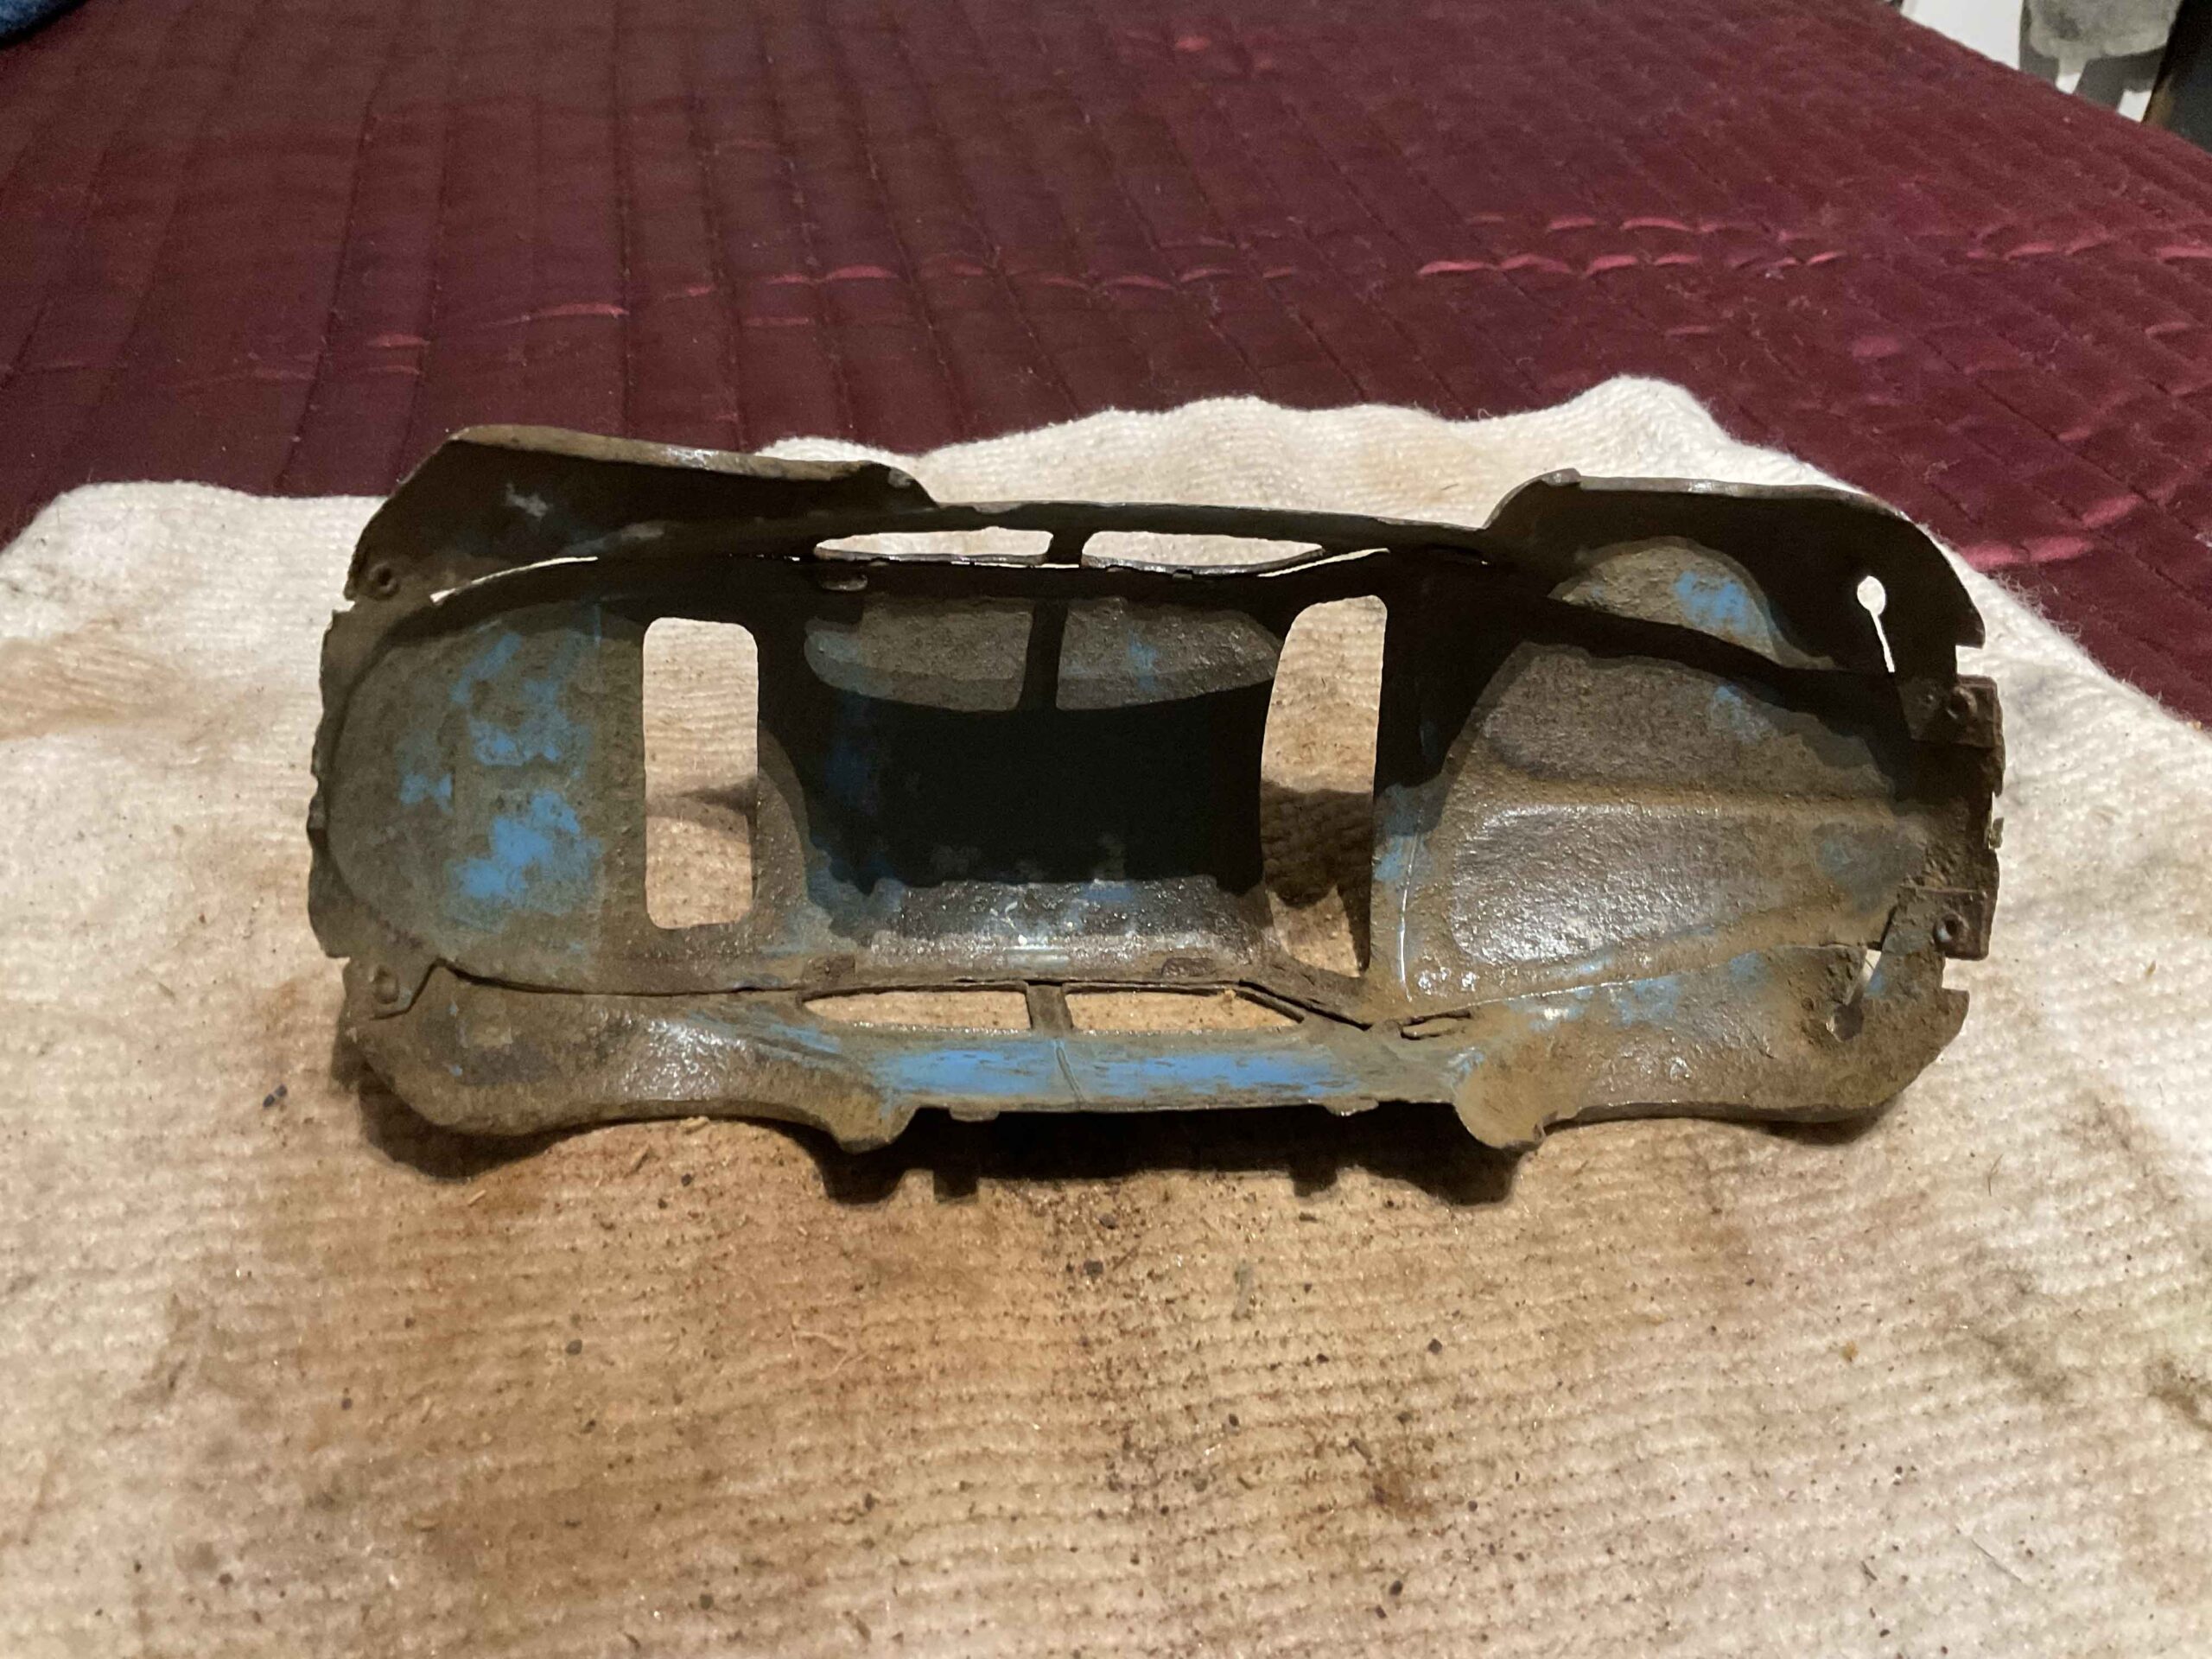
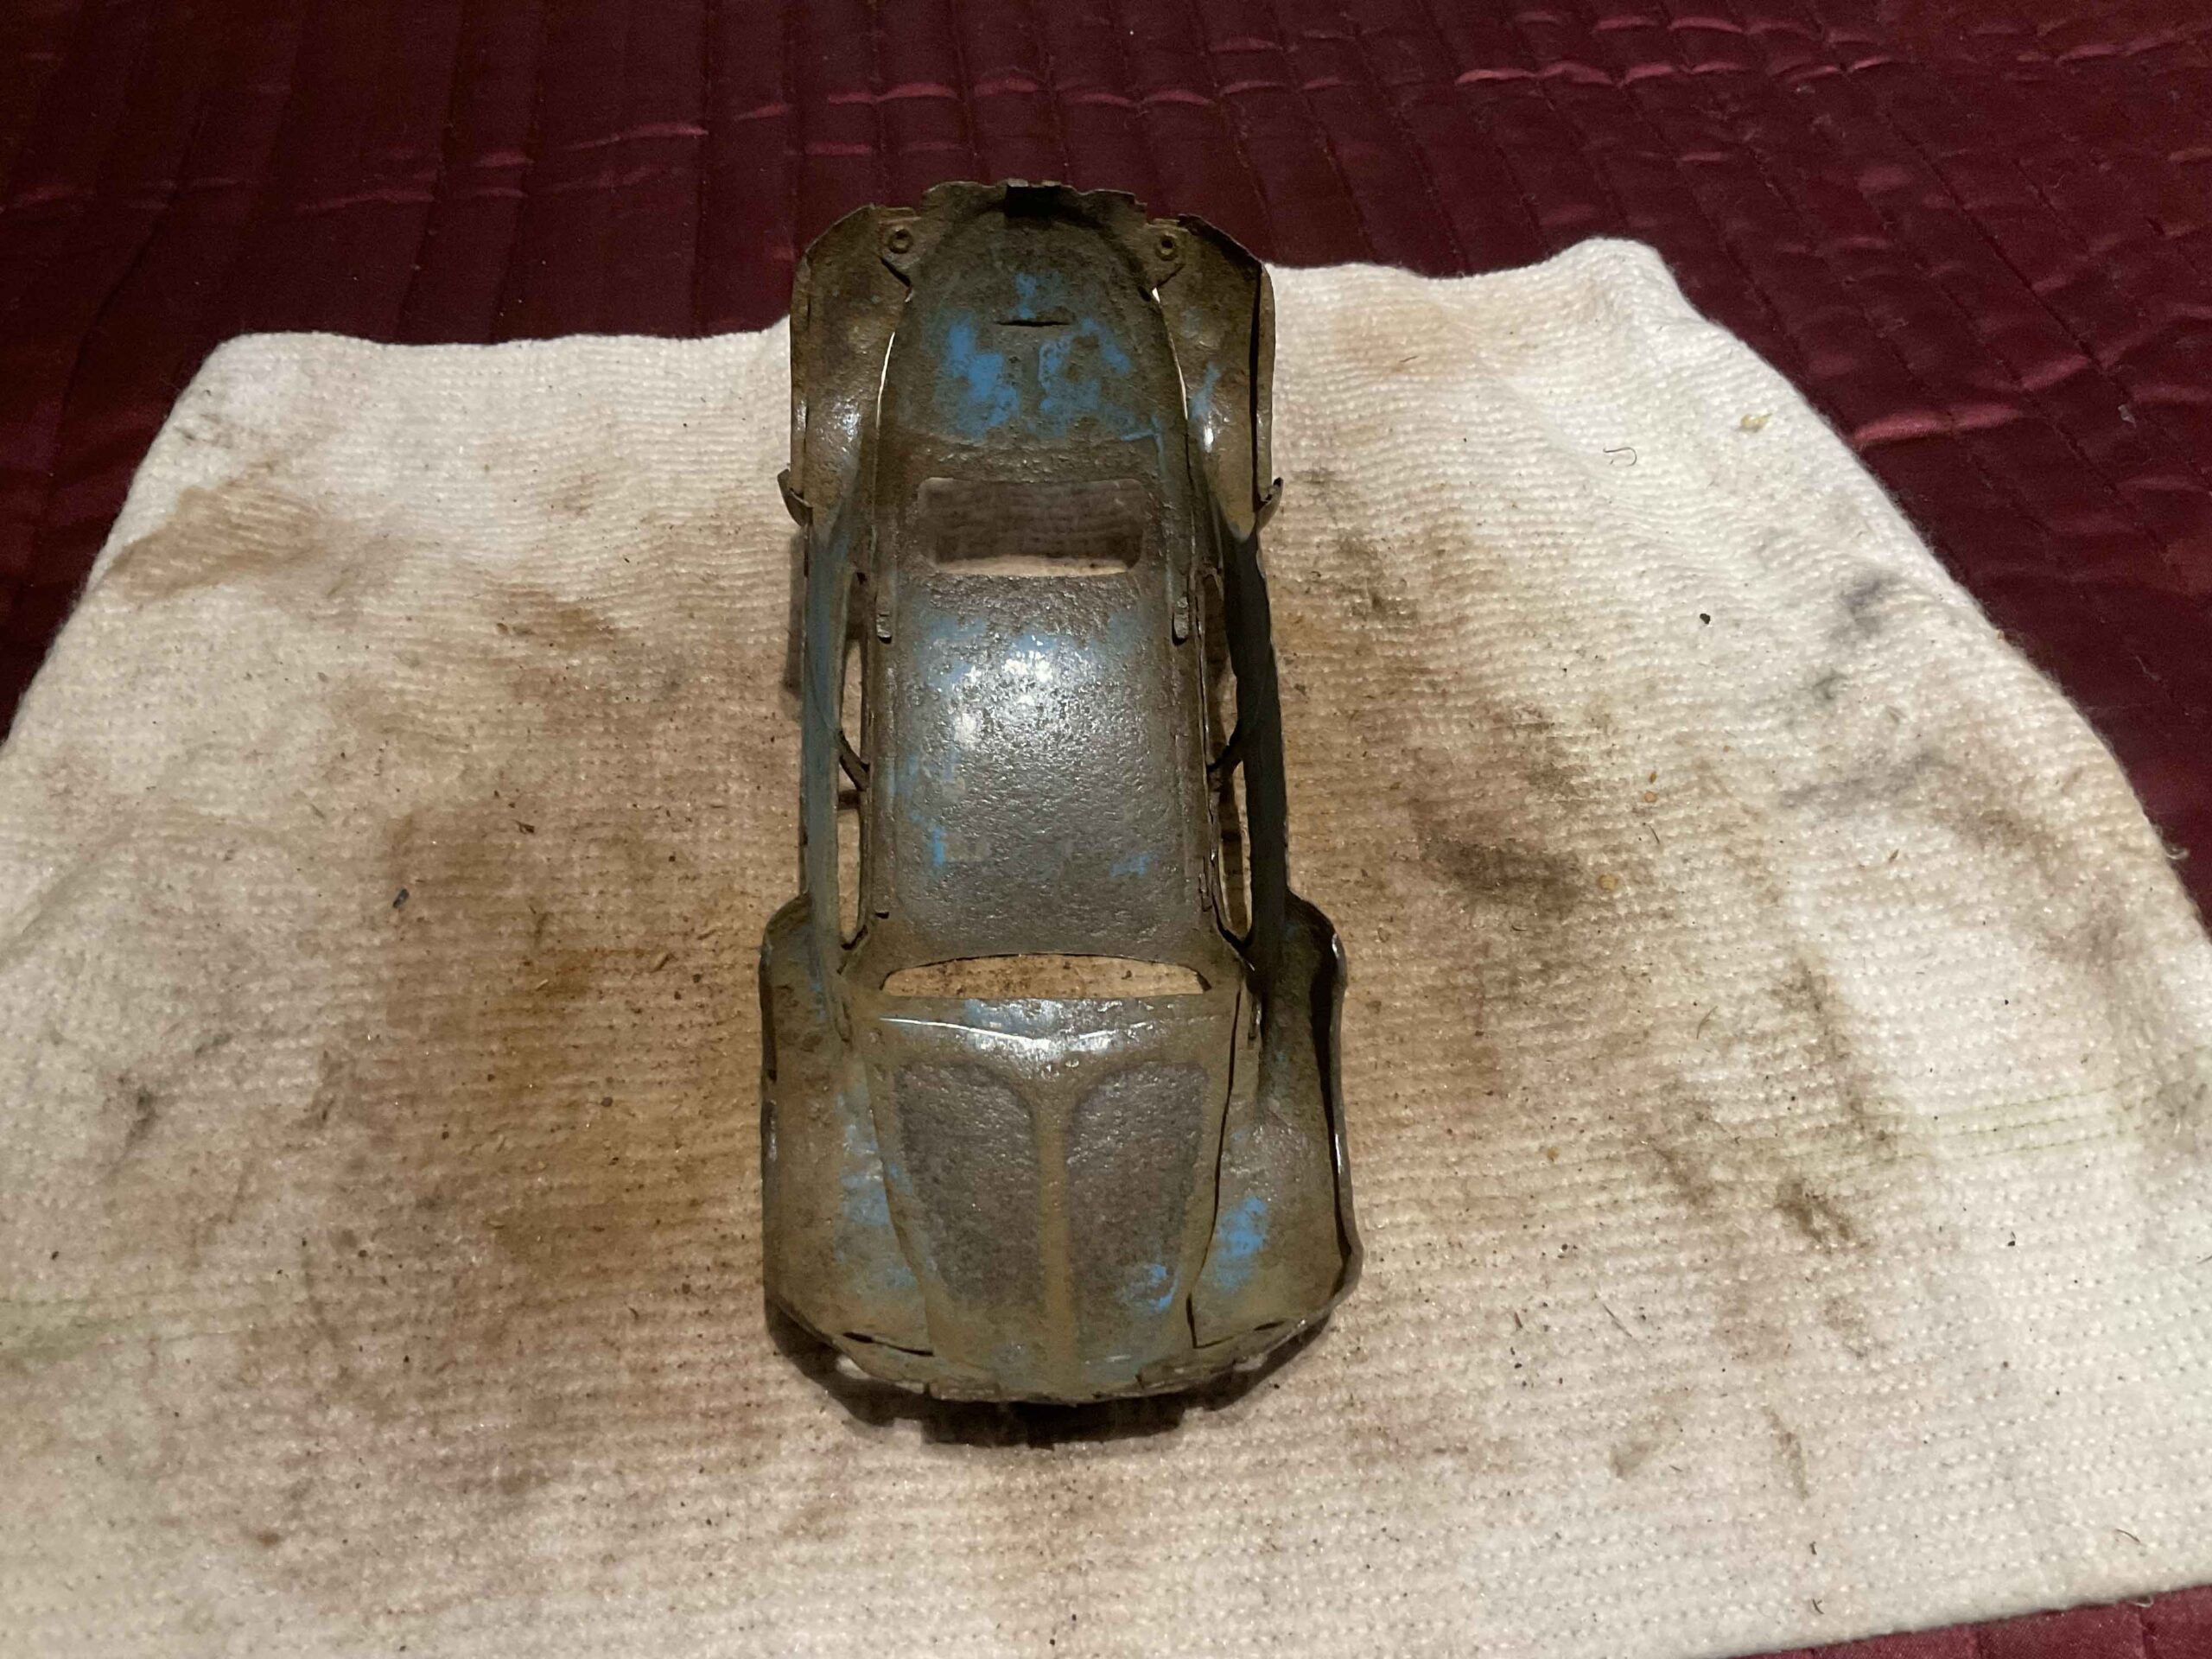
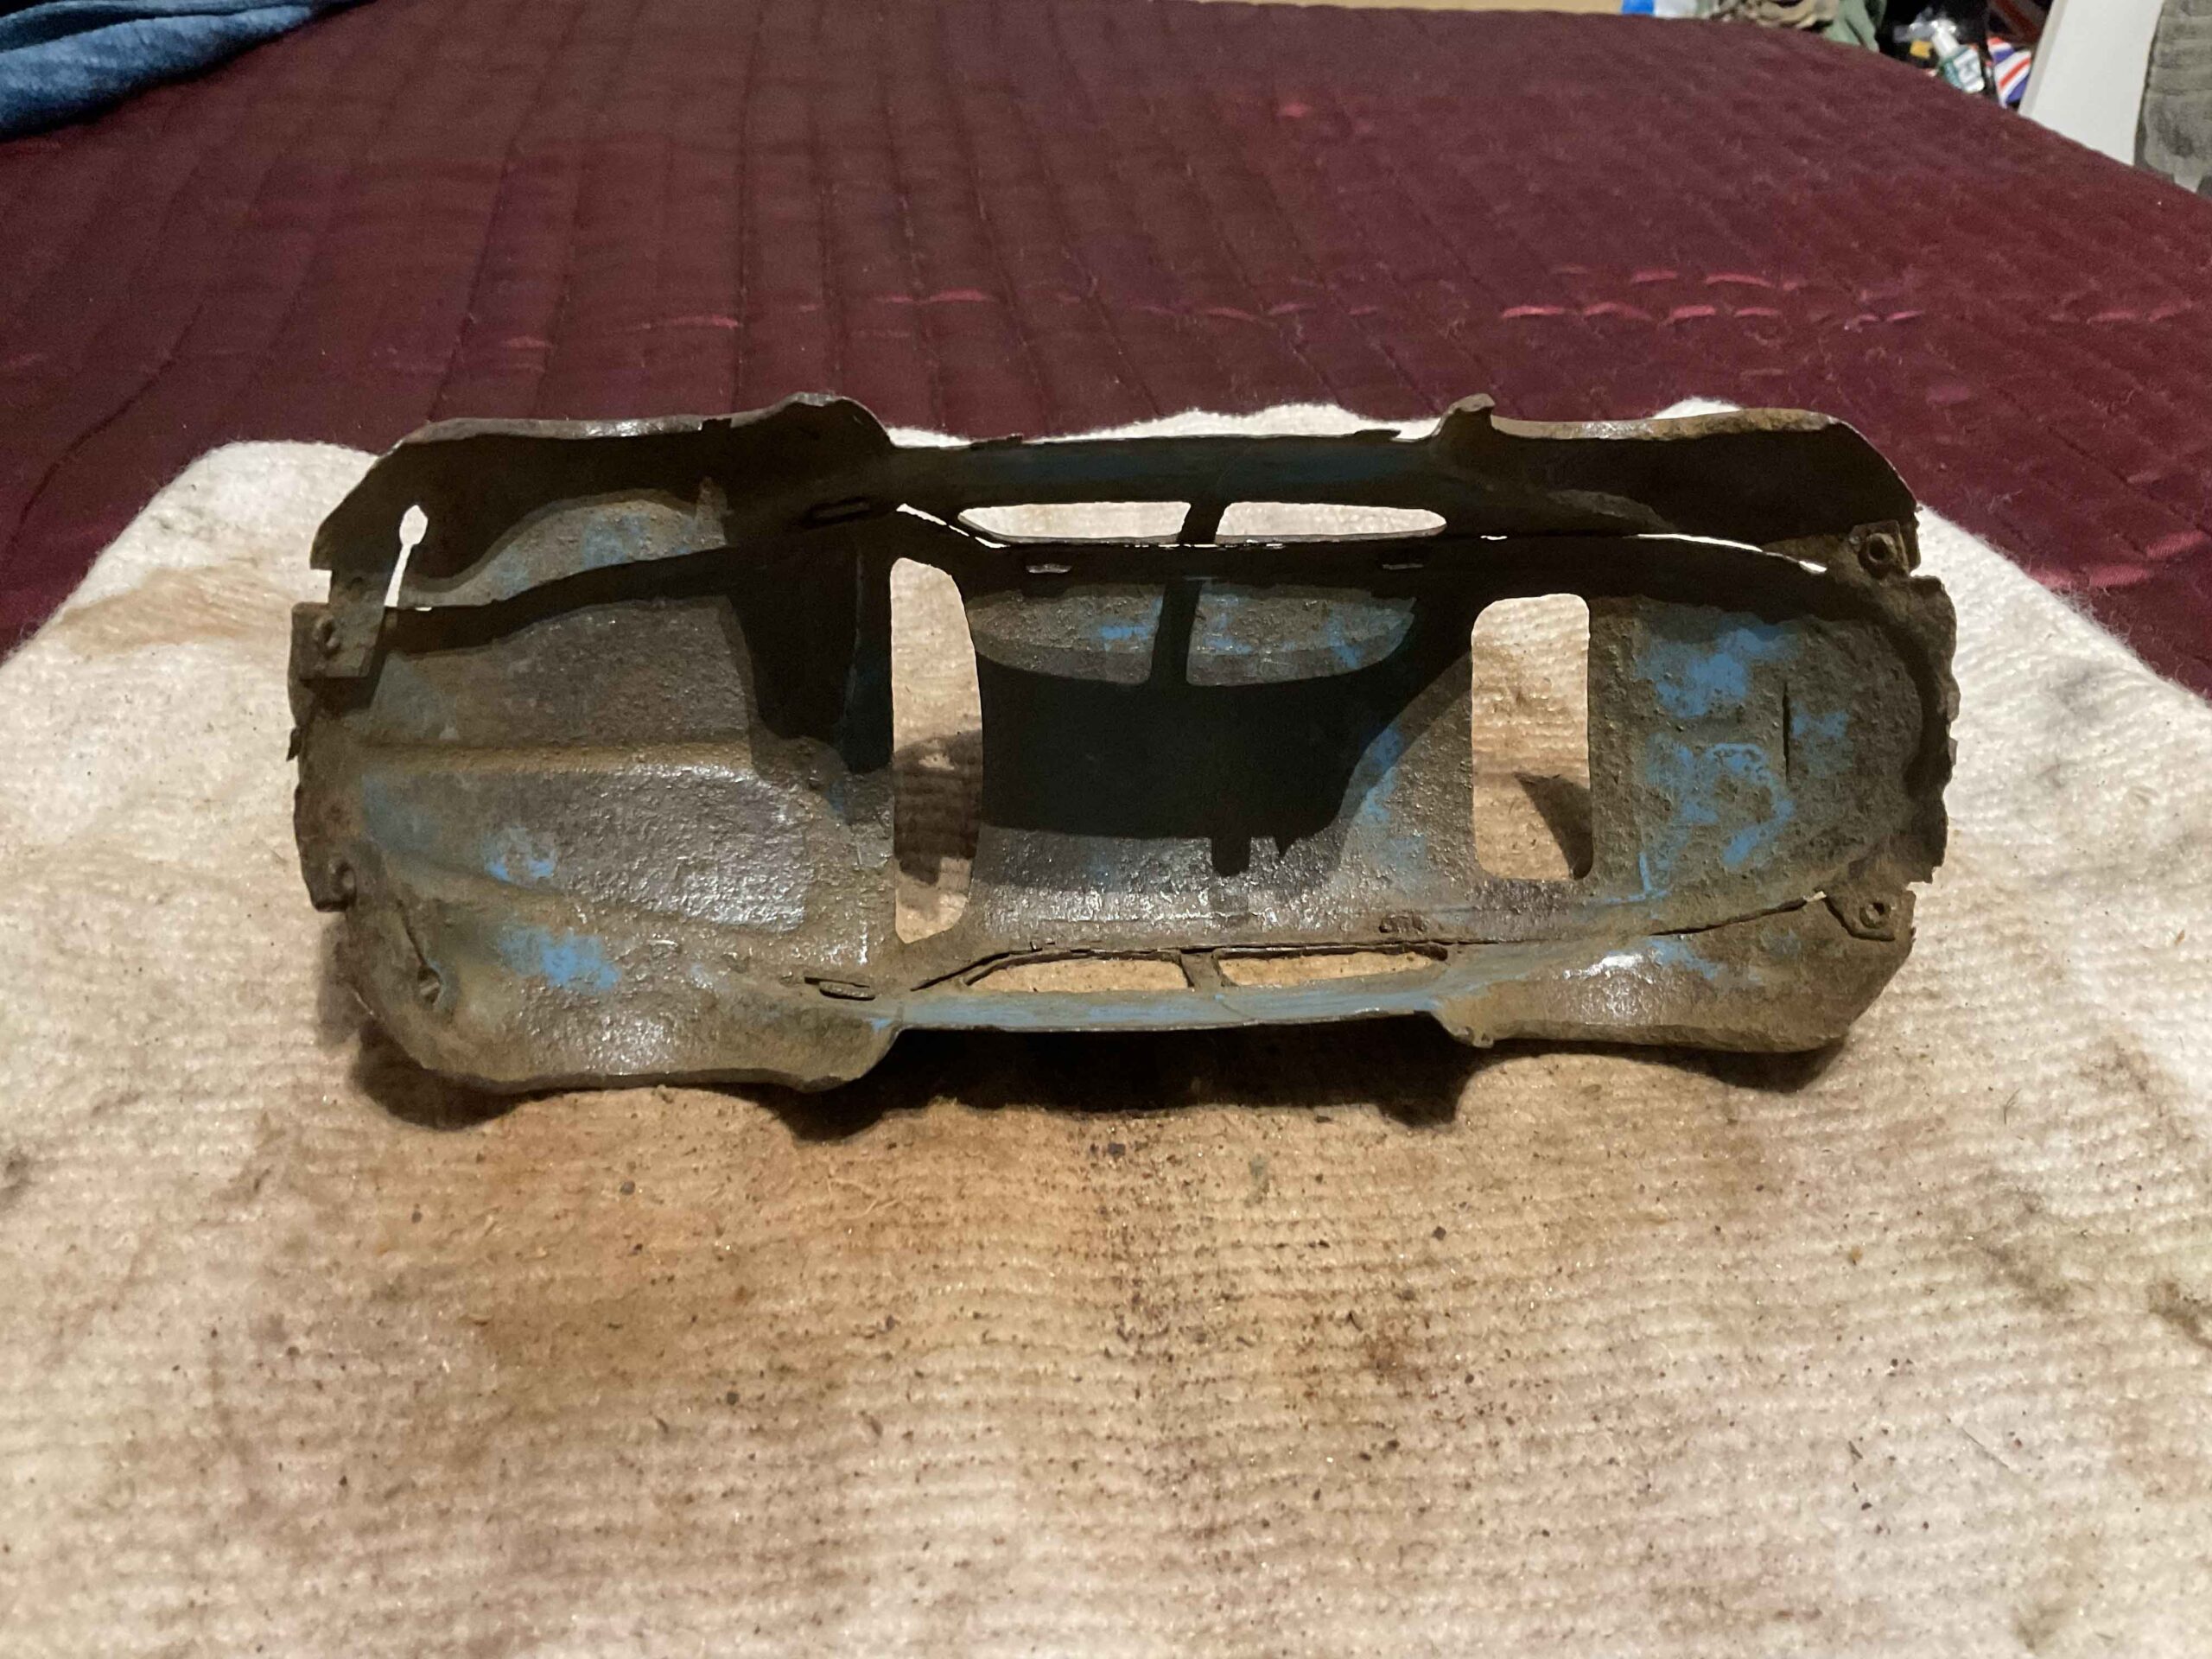
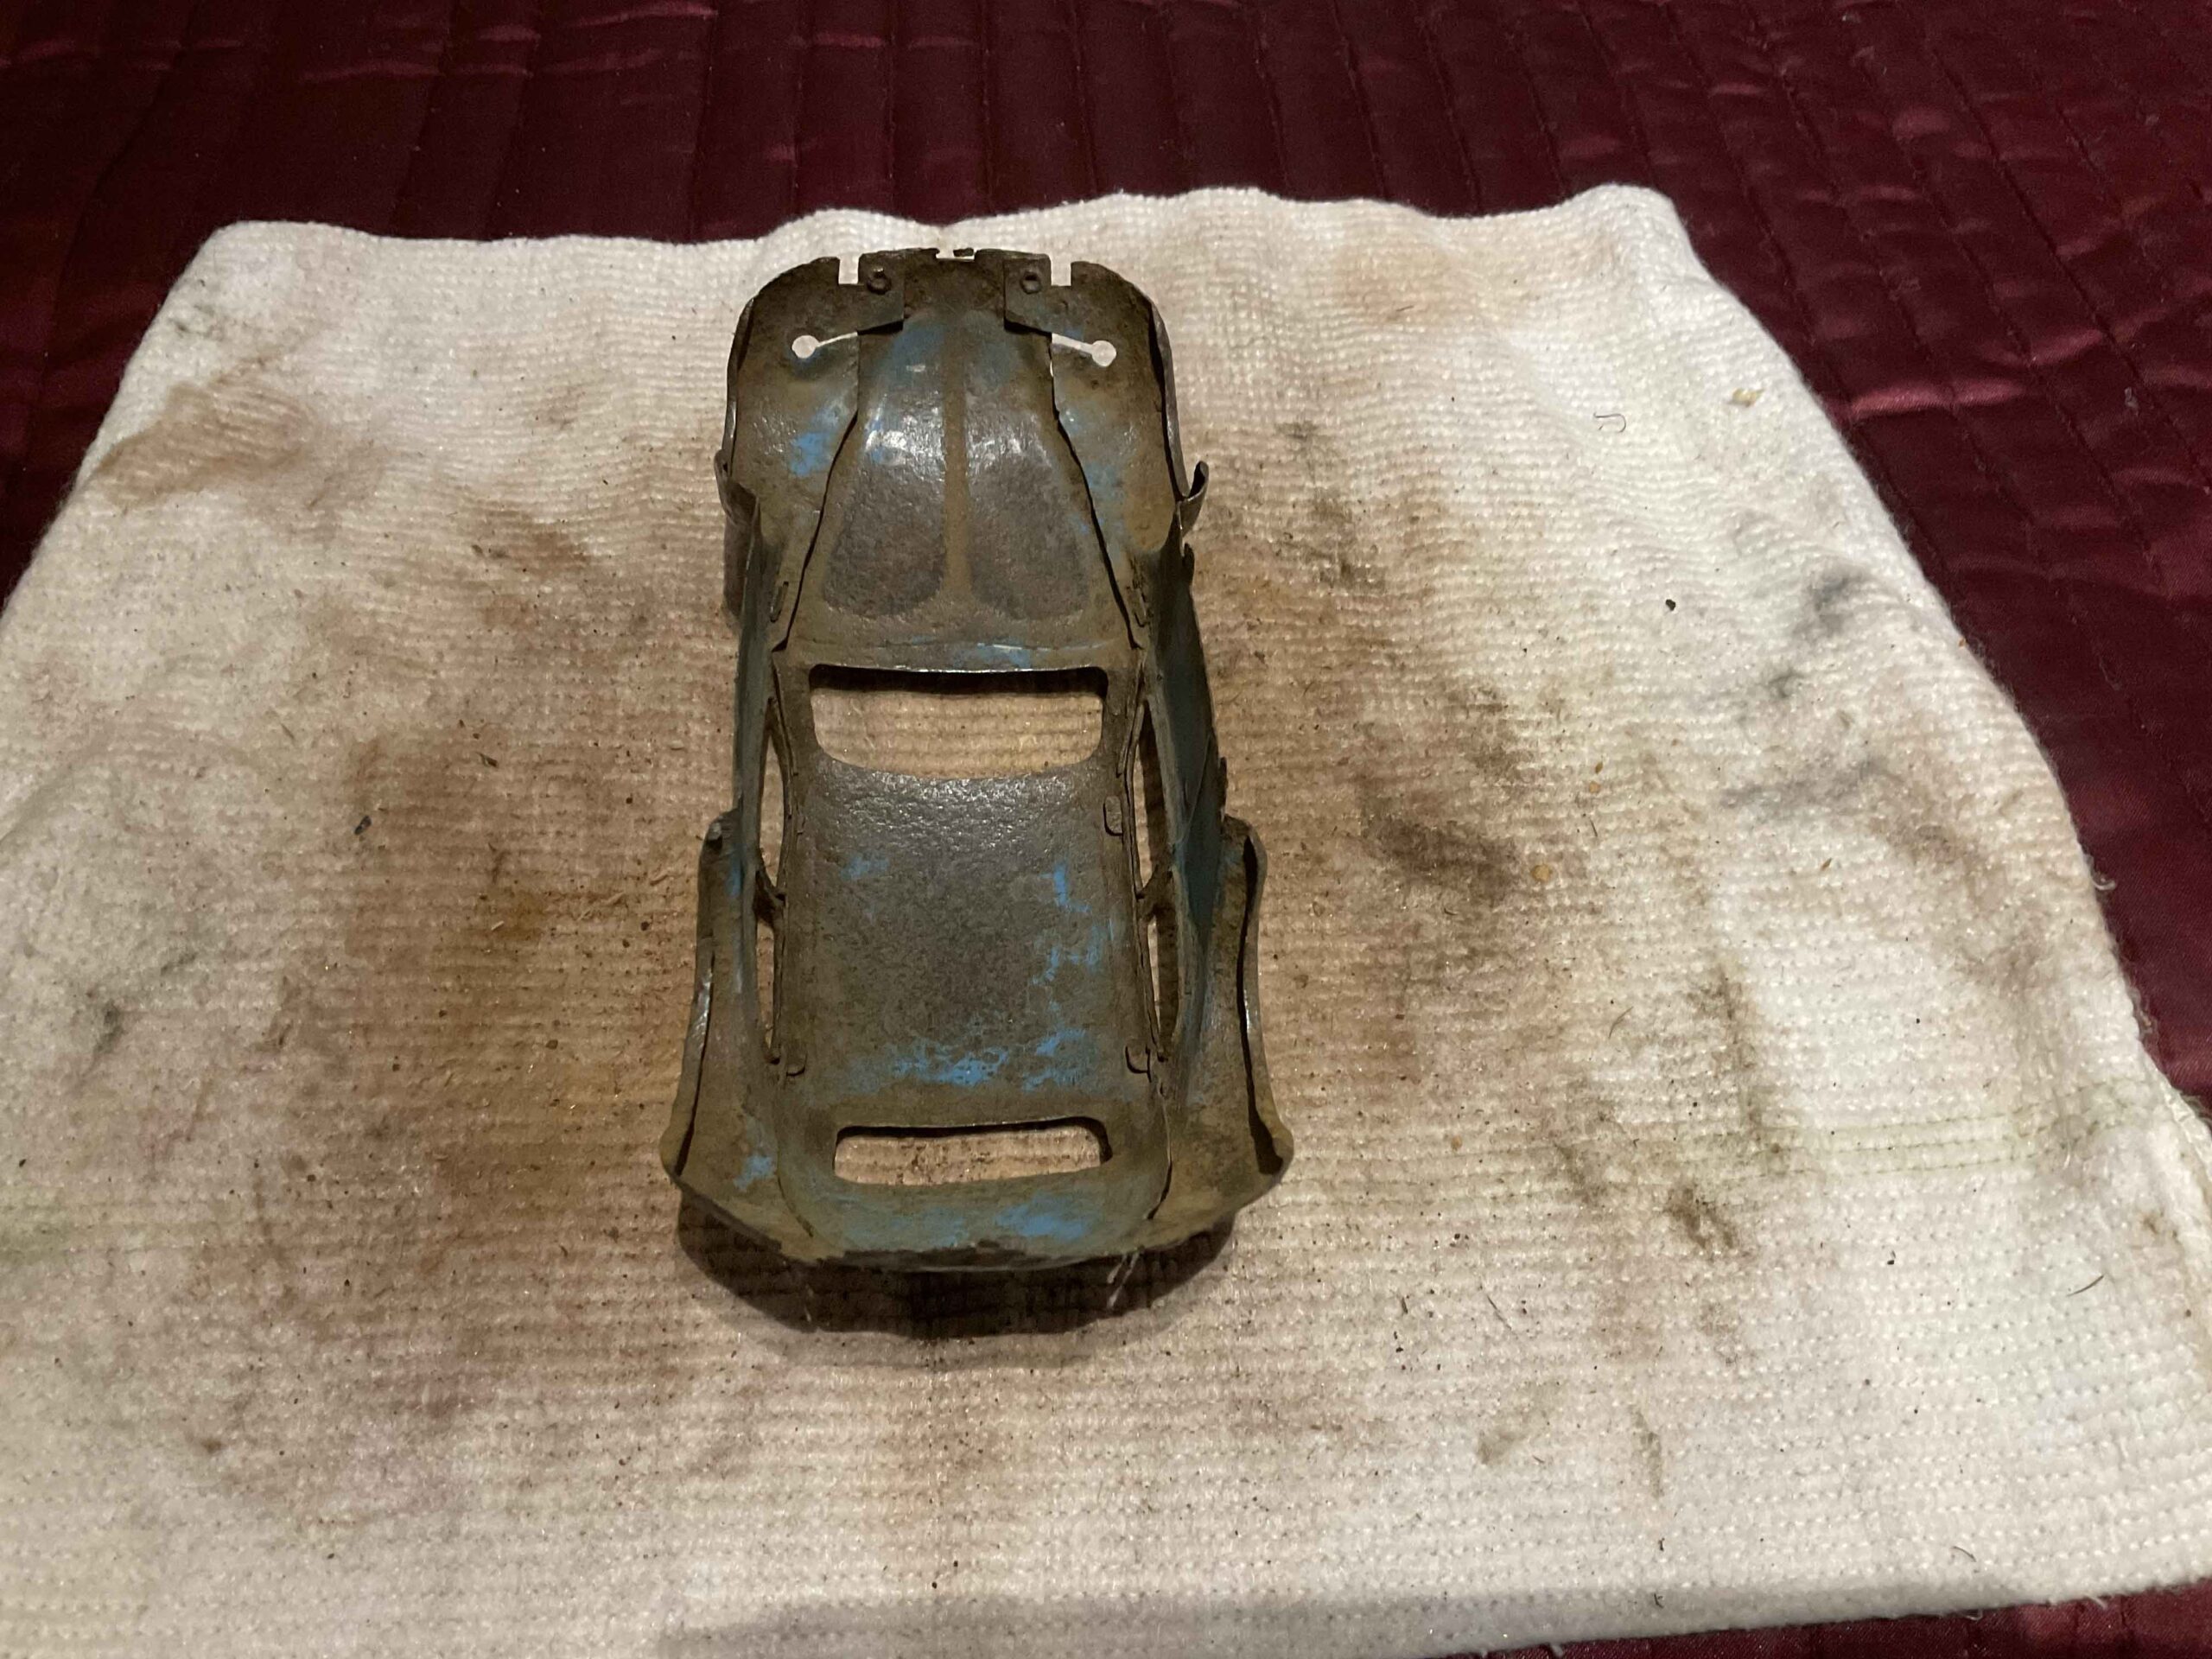
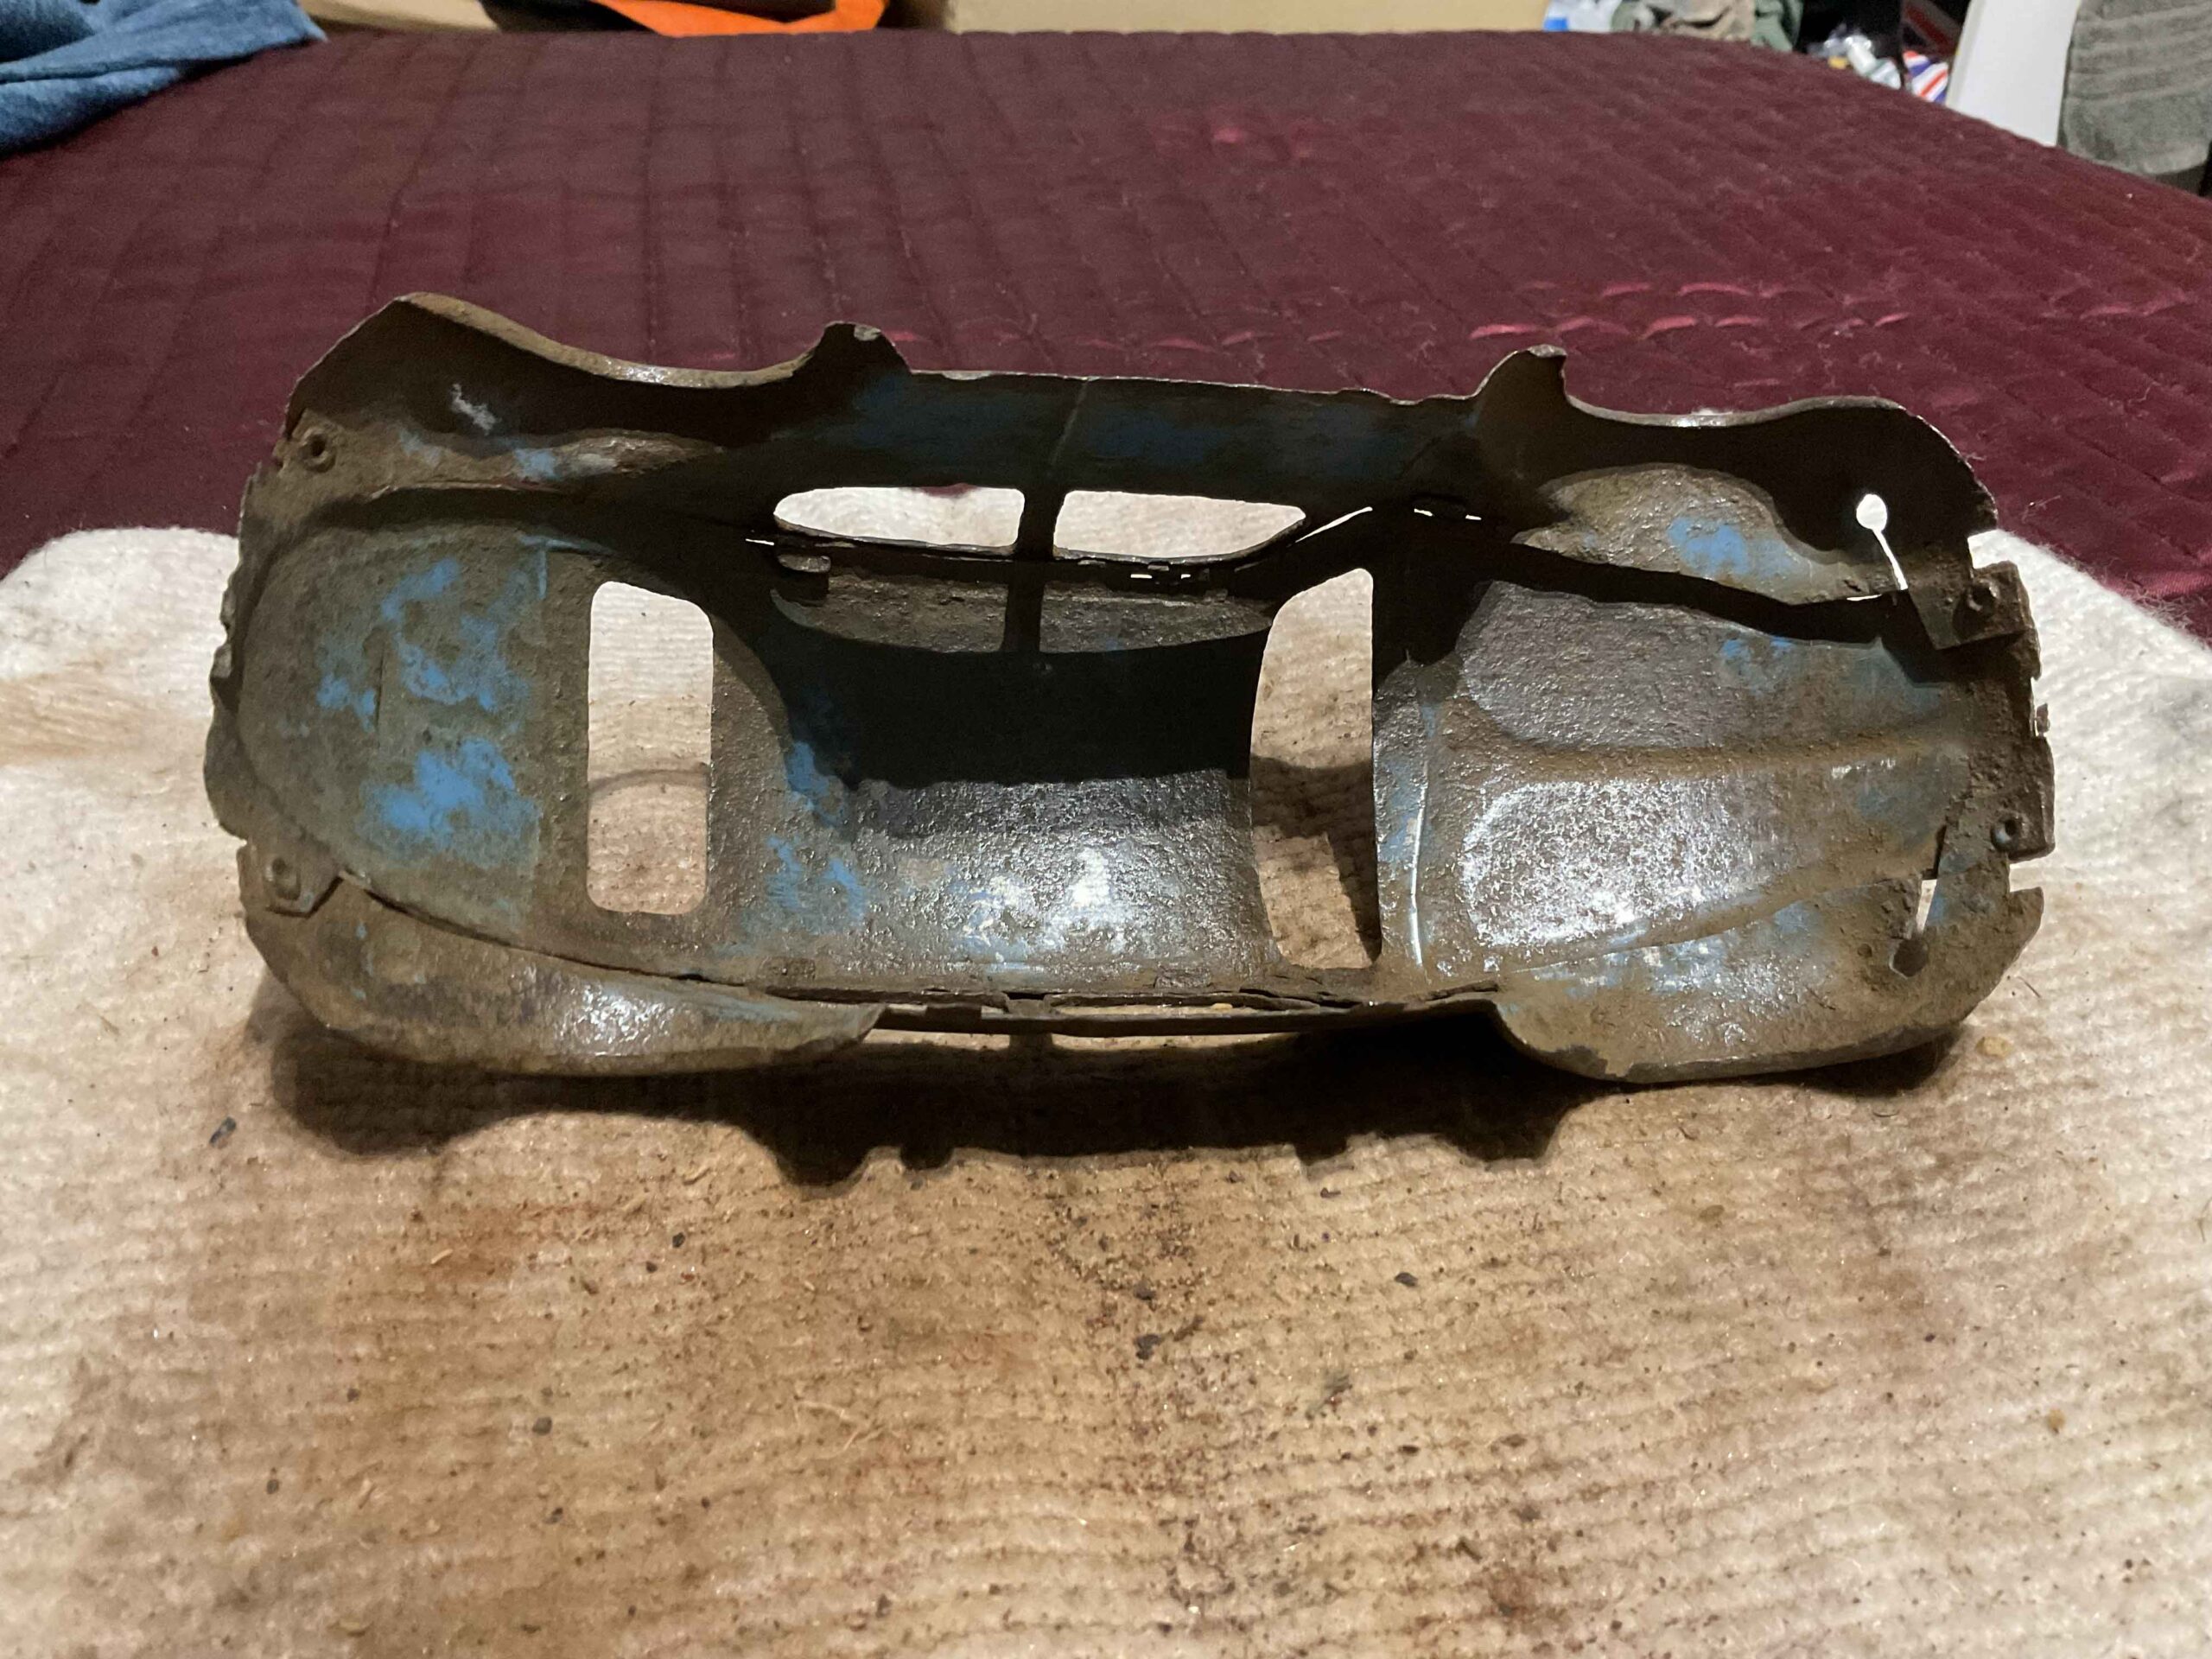
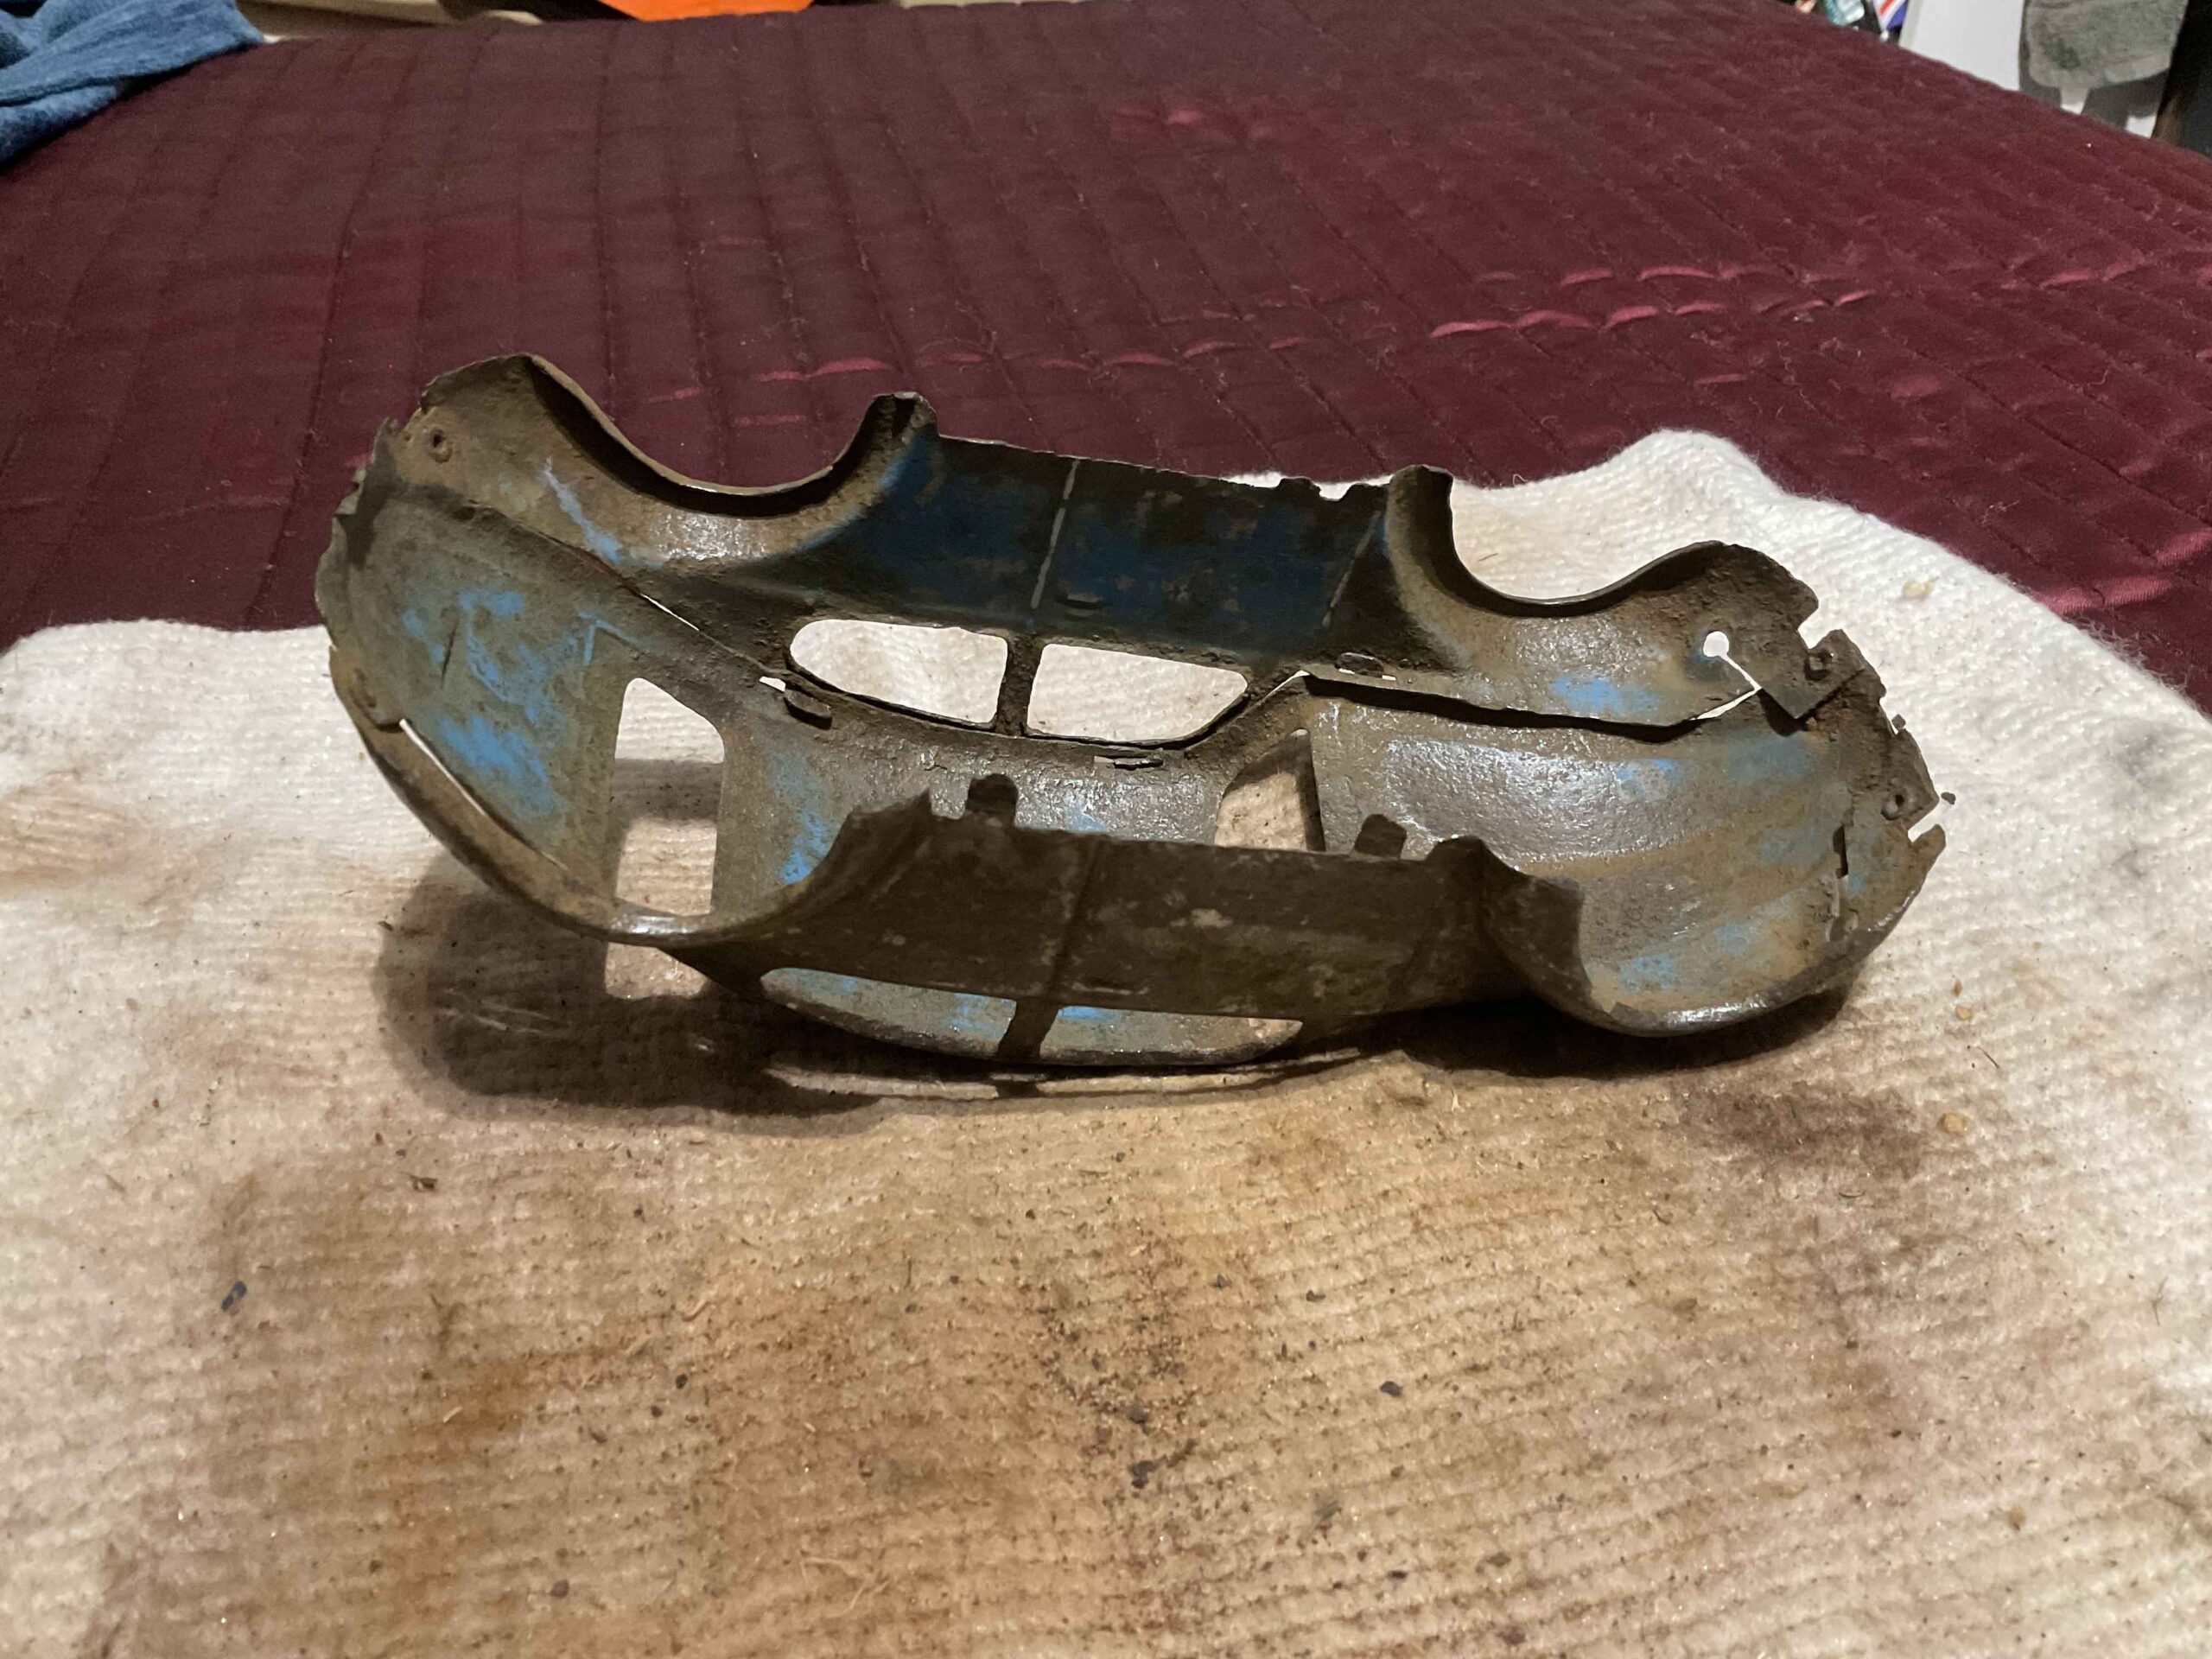
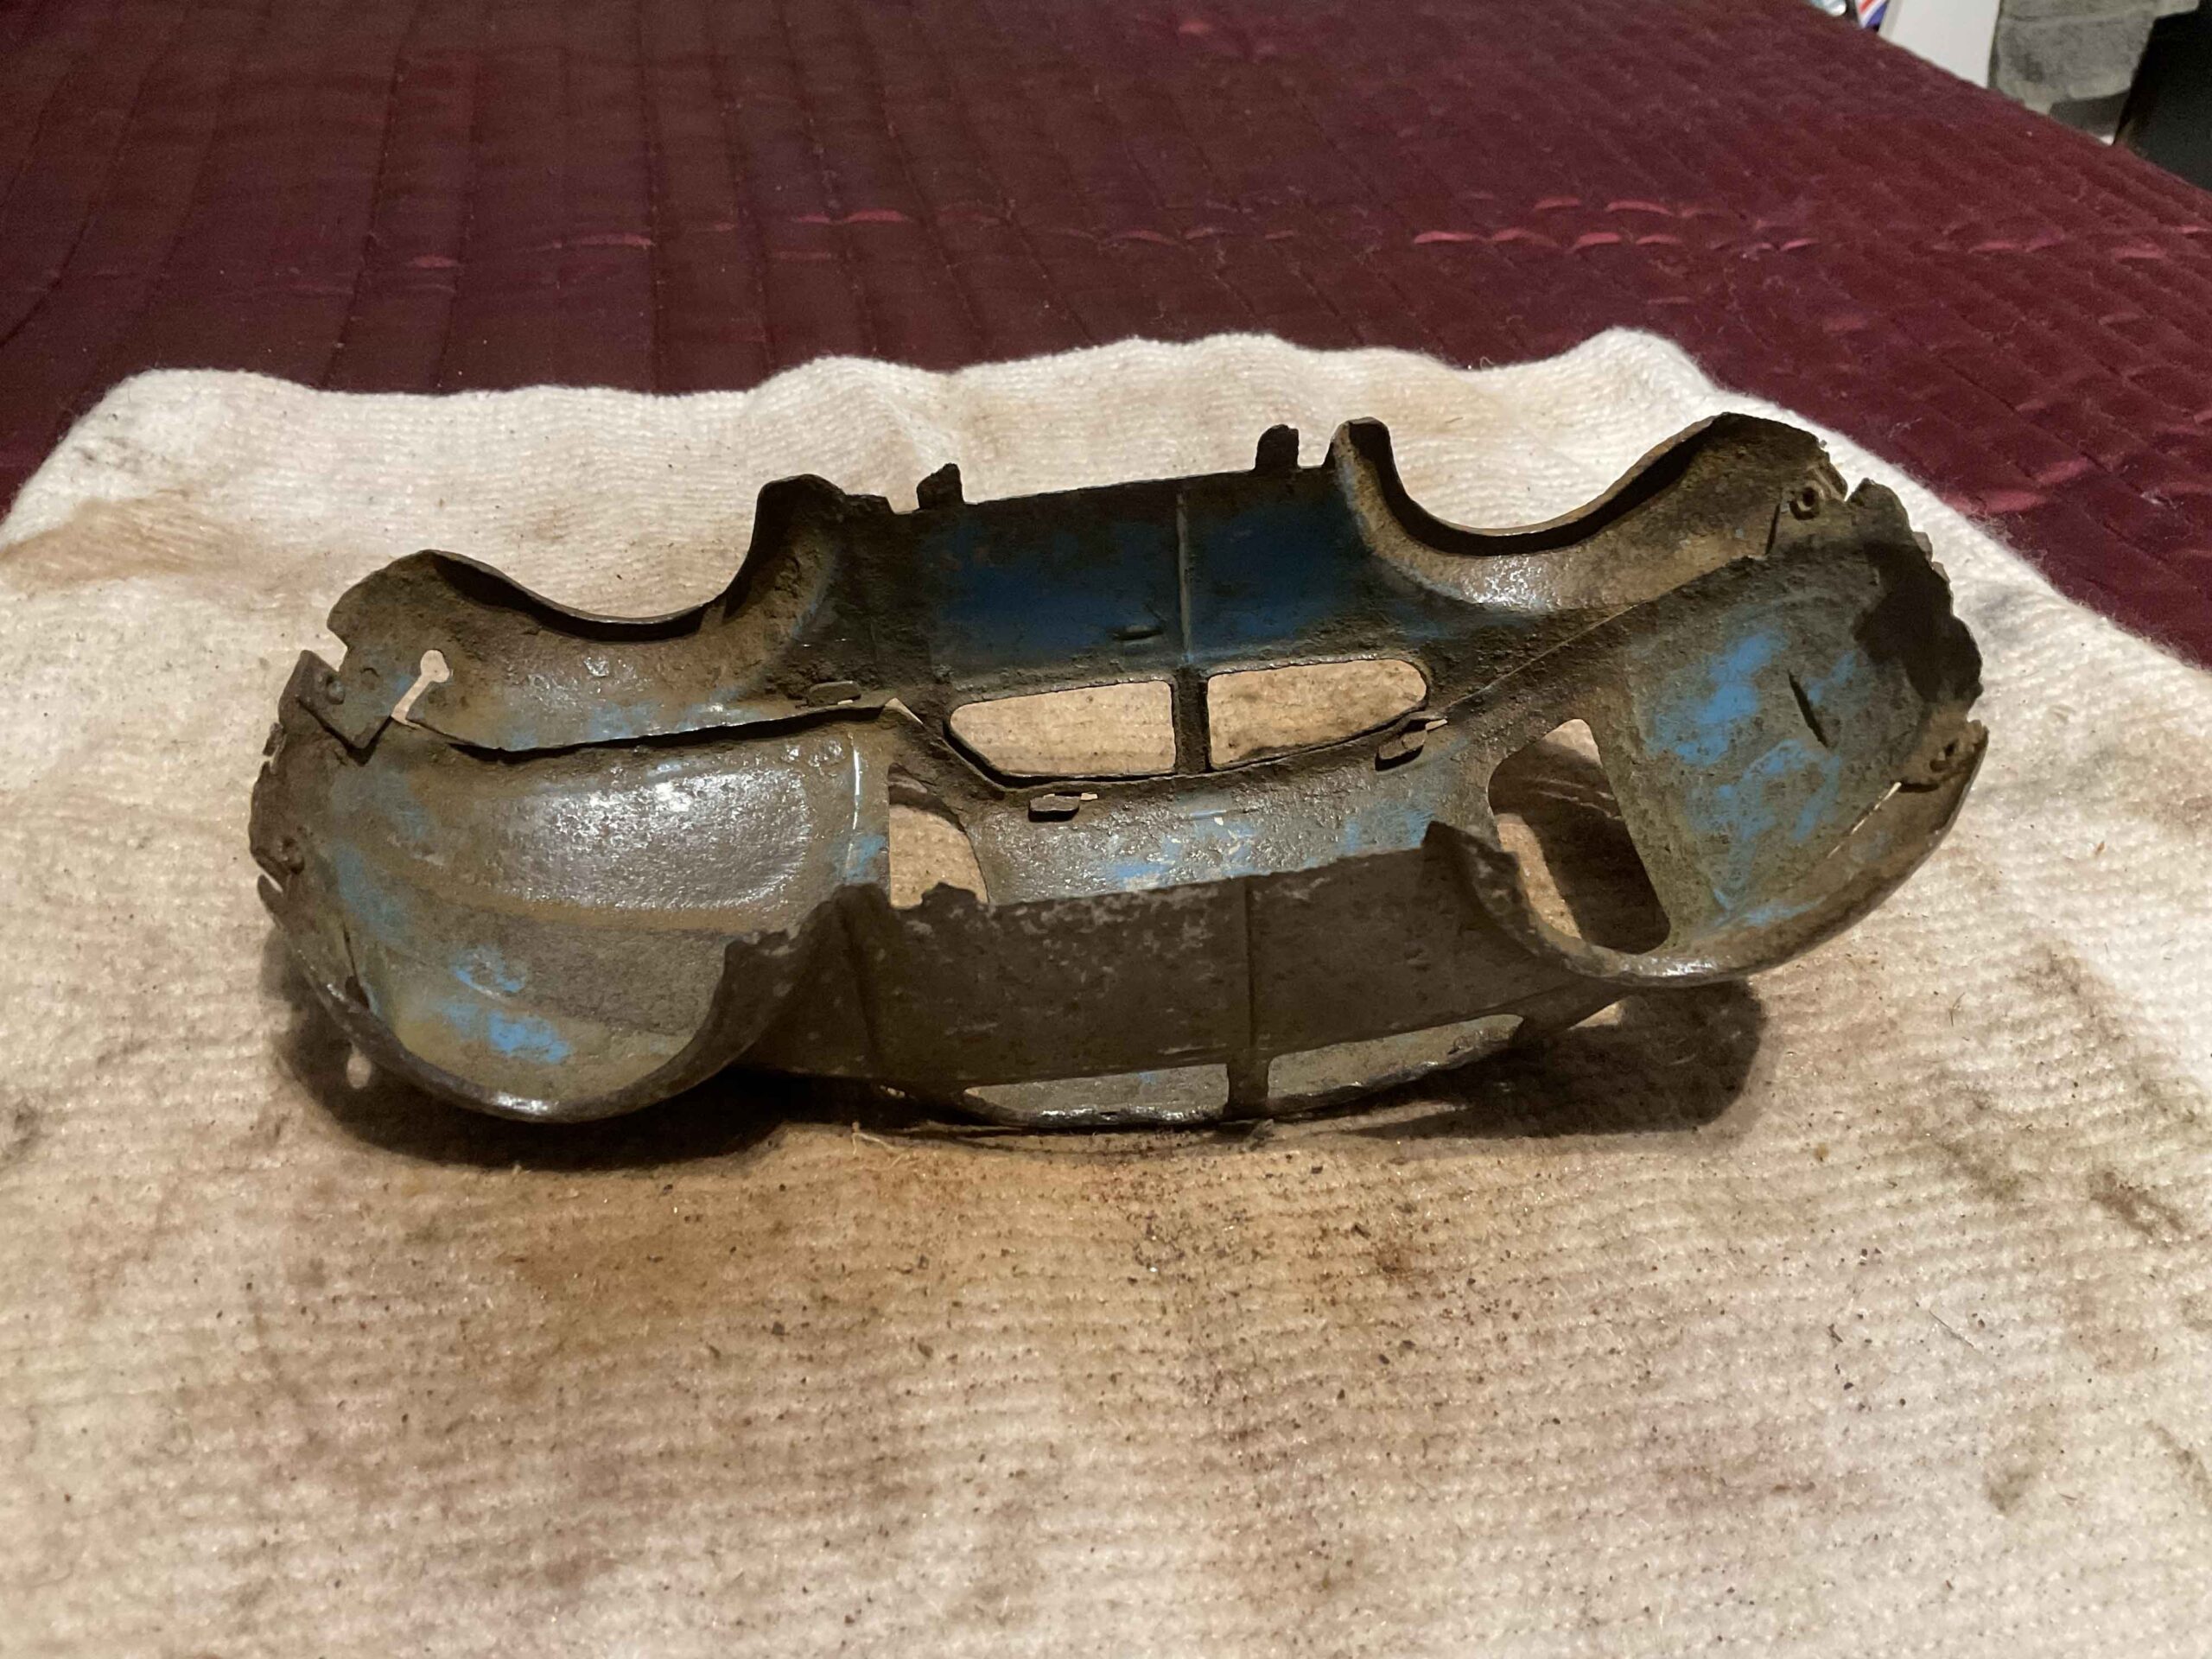
Stage 3. Treat the rust, I used rust remover to treat the rust and performed this several times to ensure as much of the rust had been removed as possible and wasn't likely to come back in a hurry. As I proceeded it turns out the body was light Blue. The rust treatment did also highlight the fact the body is in three parts and the side sections where they meet the roof are the most vulnerable and have taken most of the damage. I am not entirely sure, but I believe I gave the bodyshell at least 4 rounds of rust treatment, although I think I gave it 6 but didn't take photos after each round.
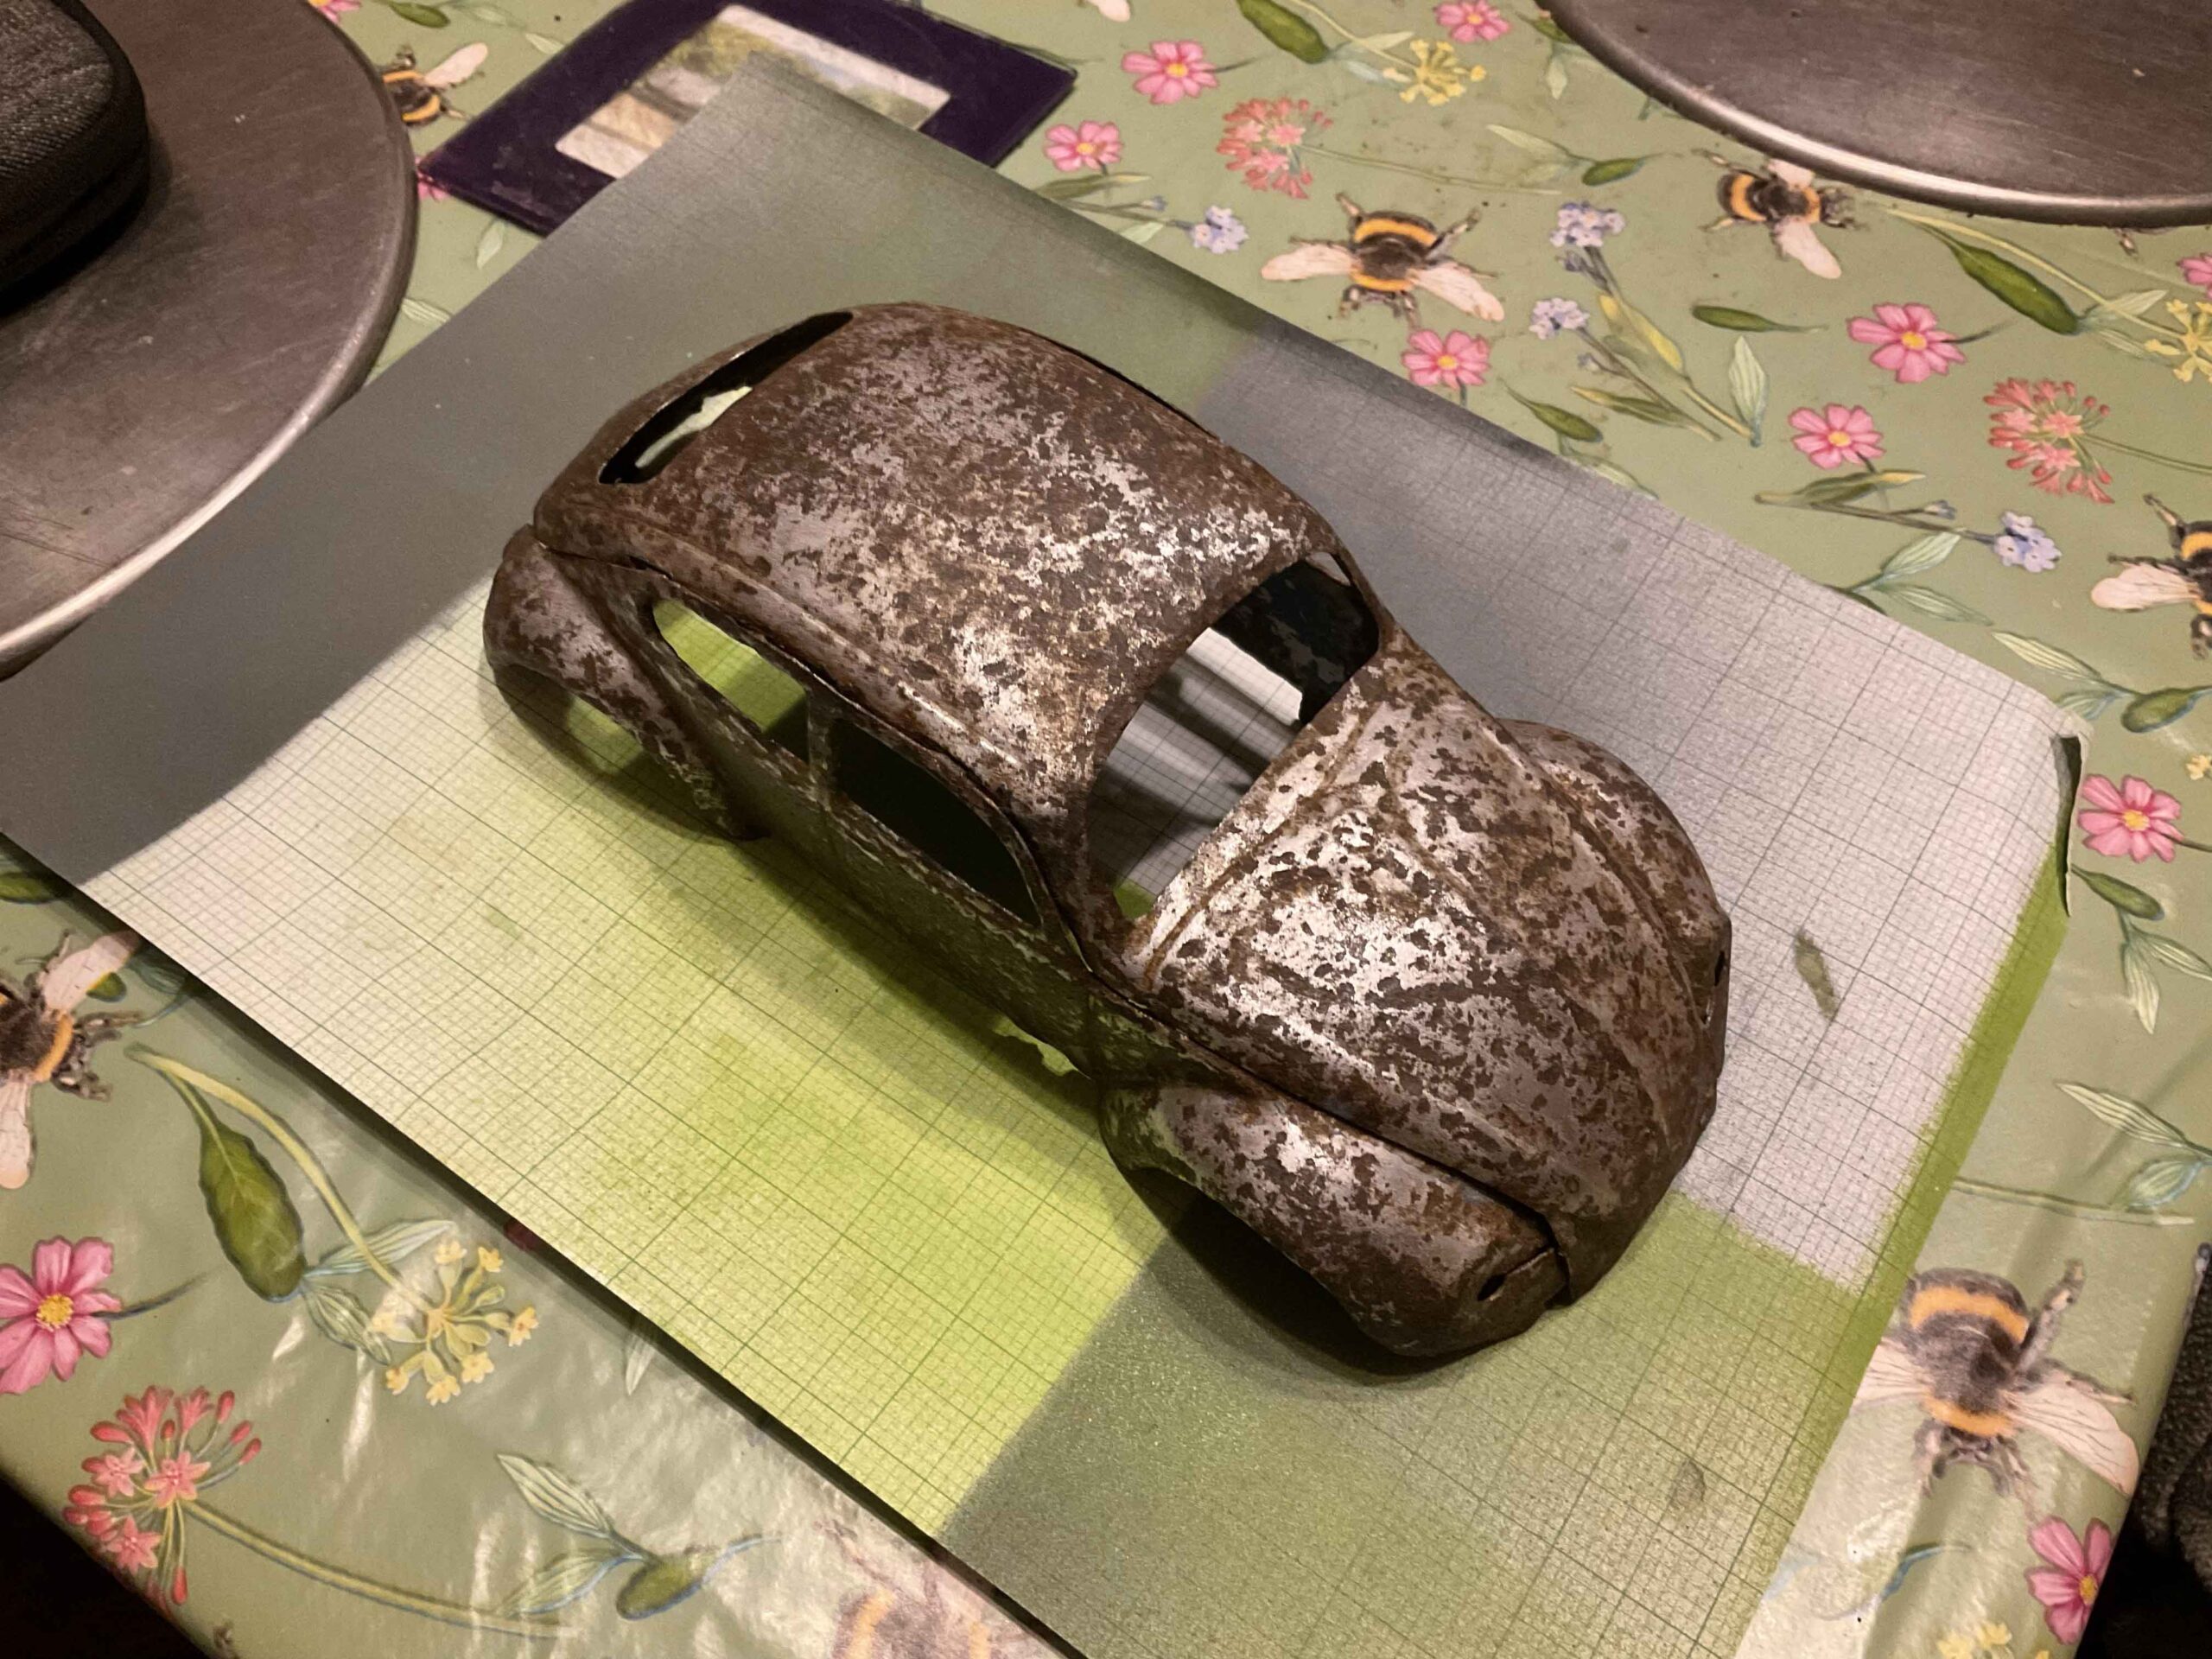
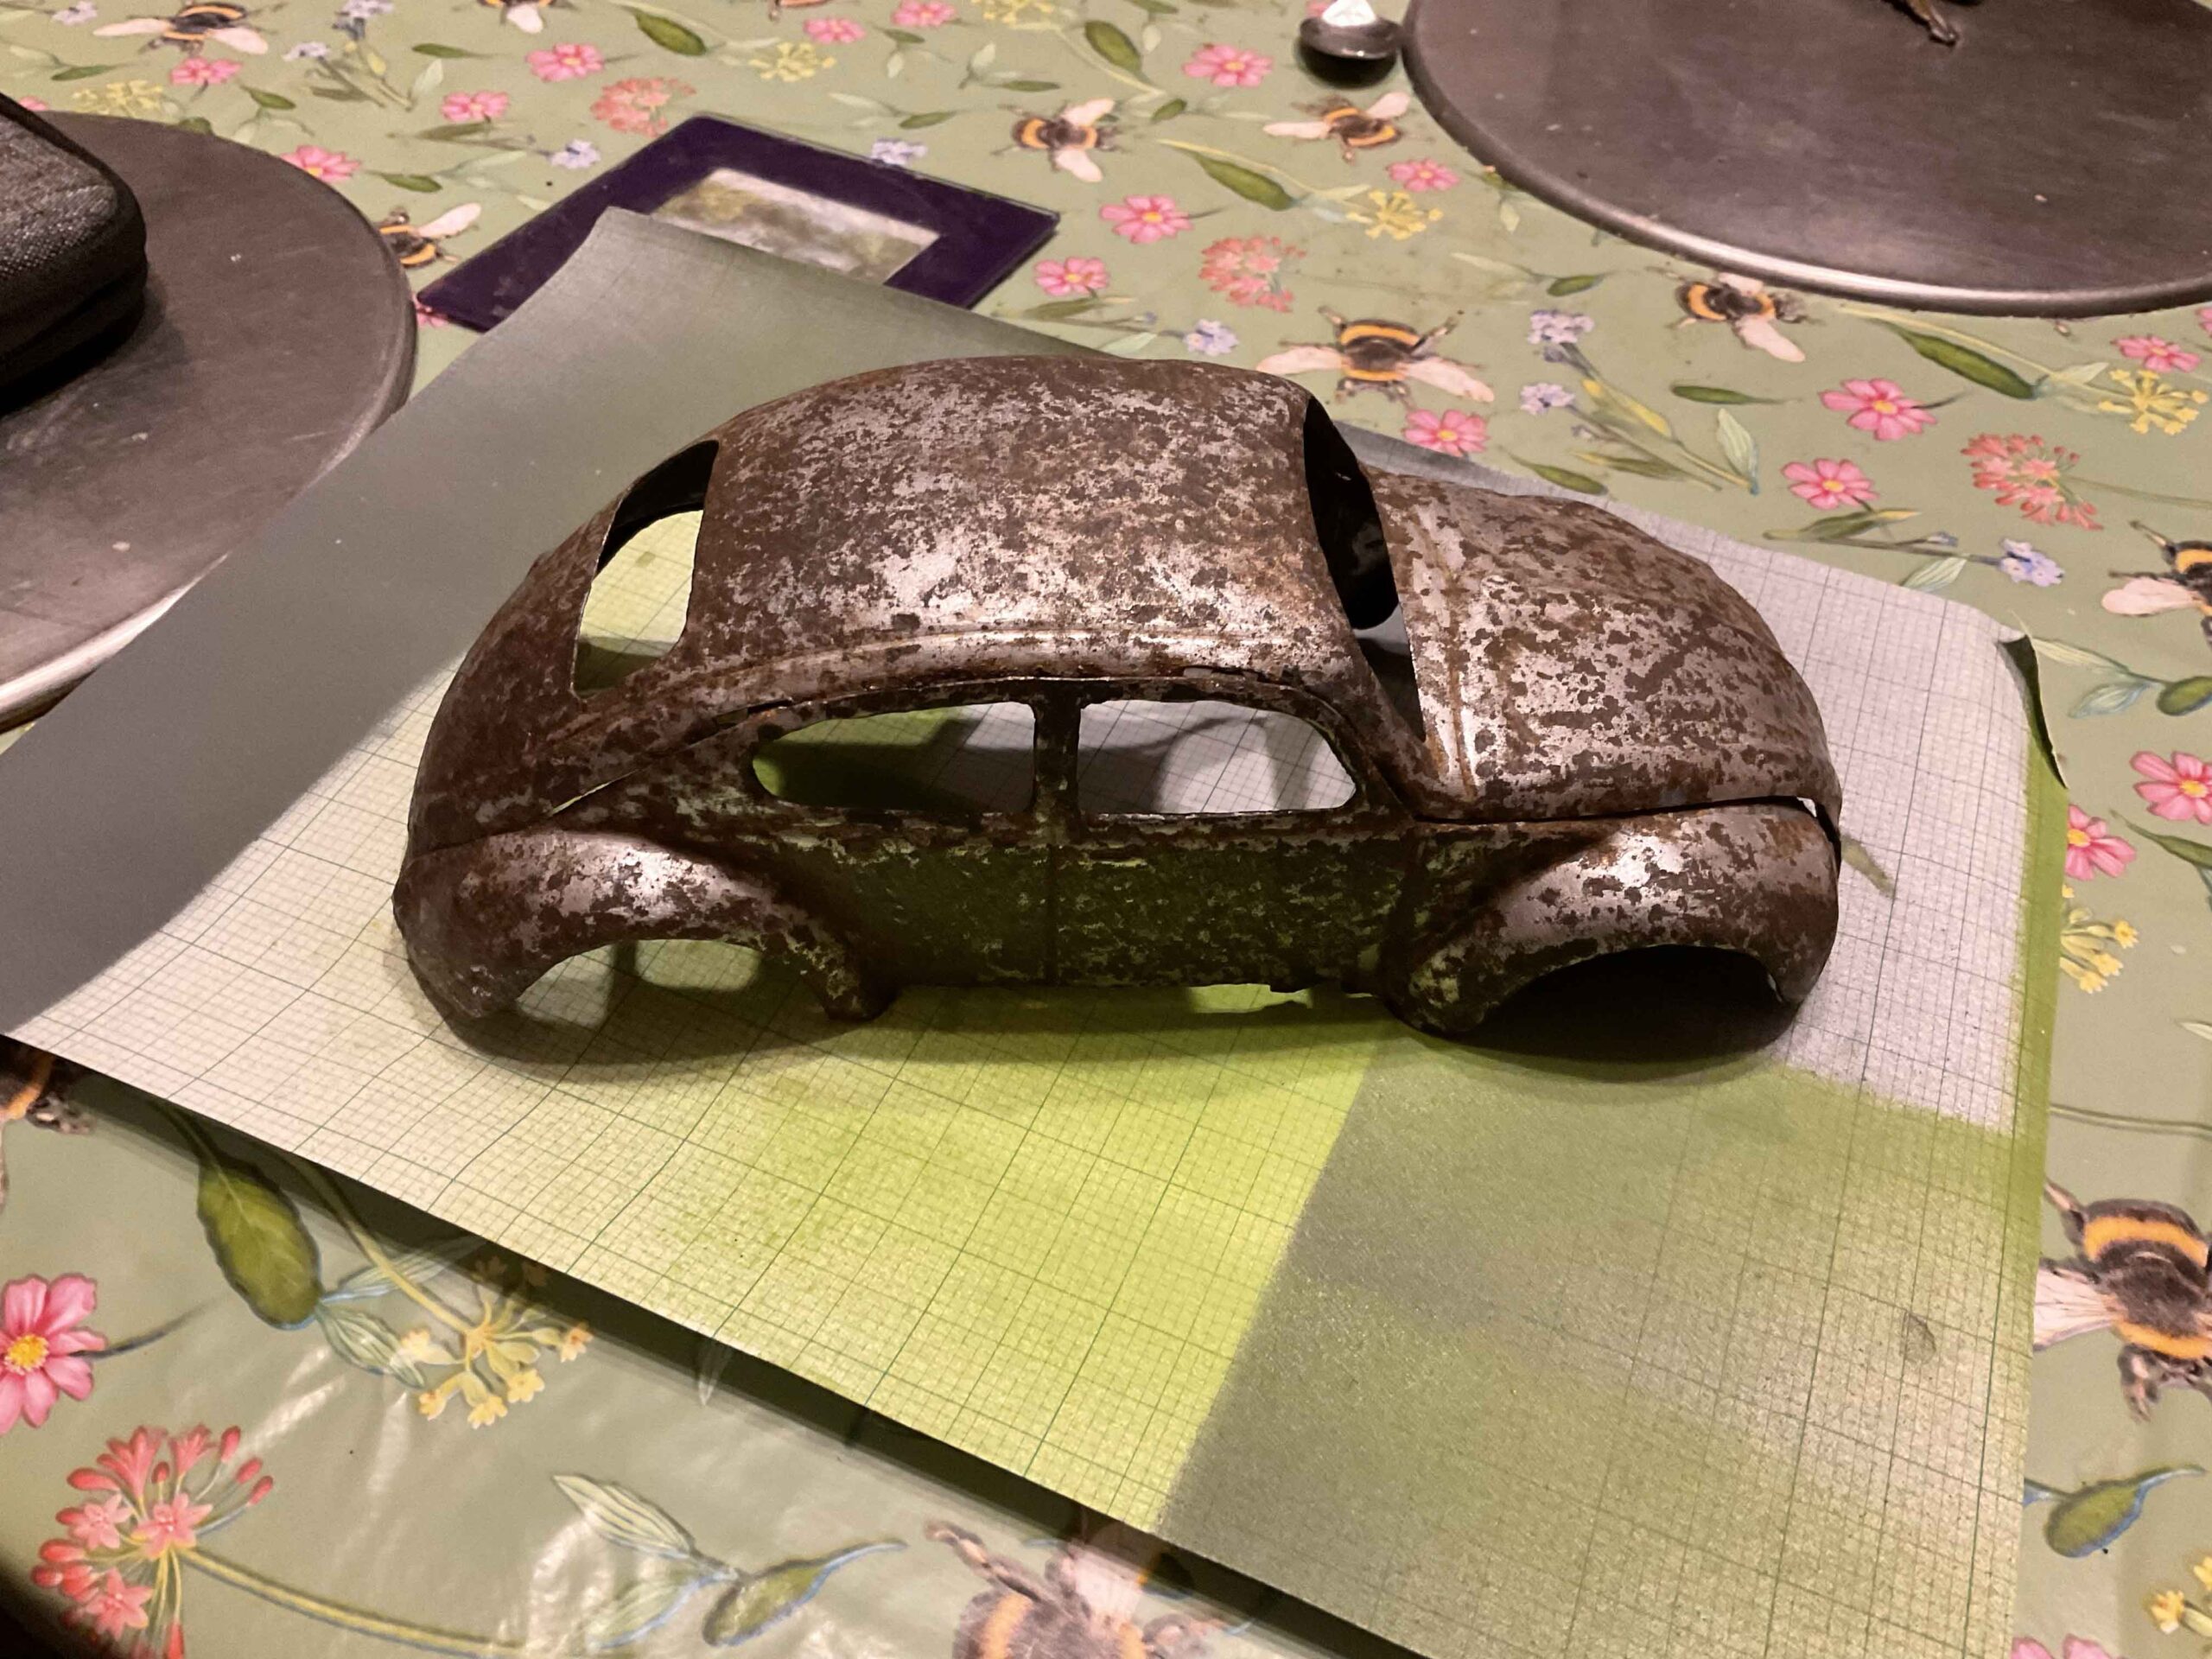
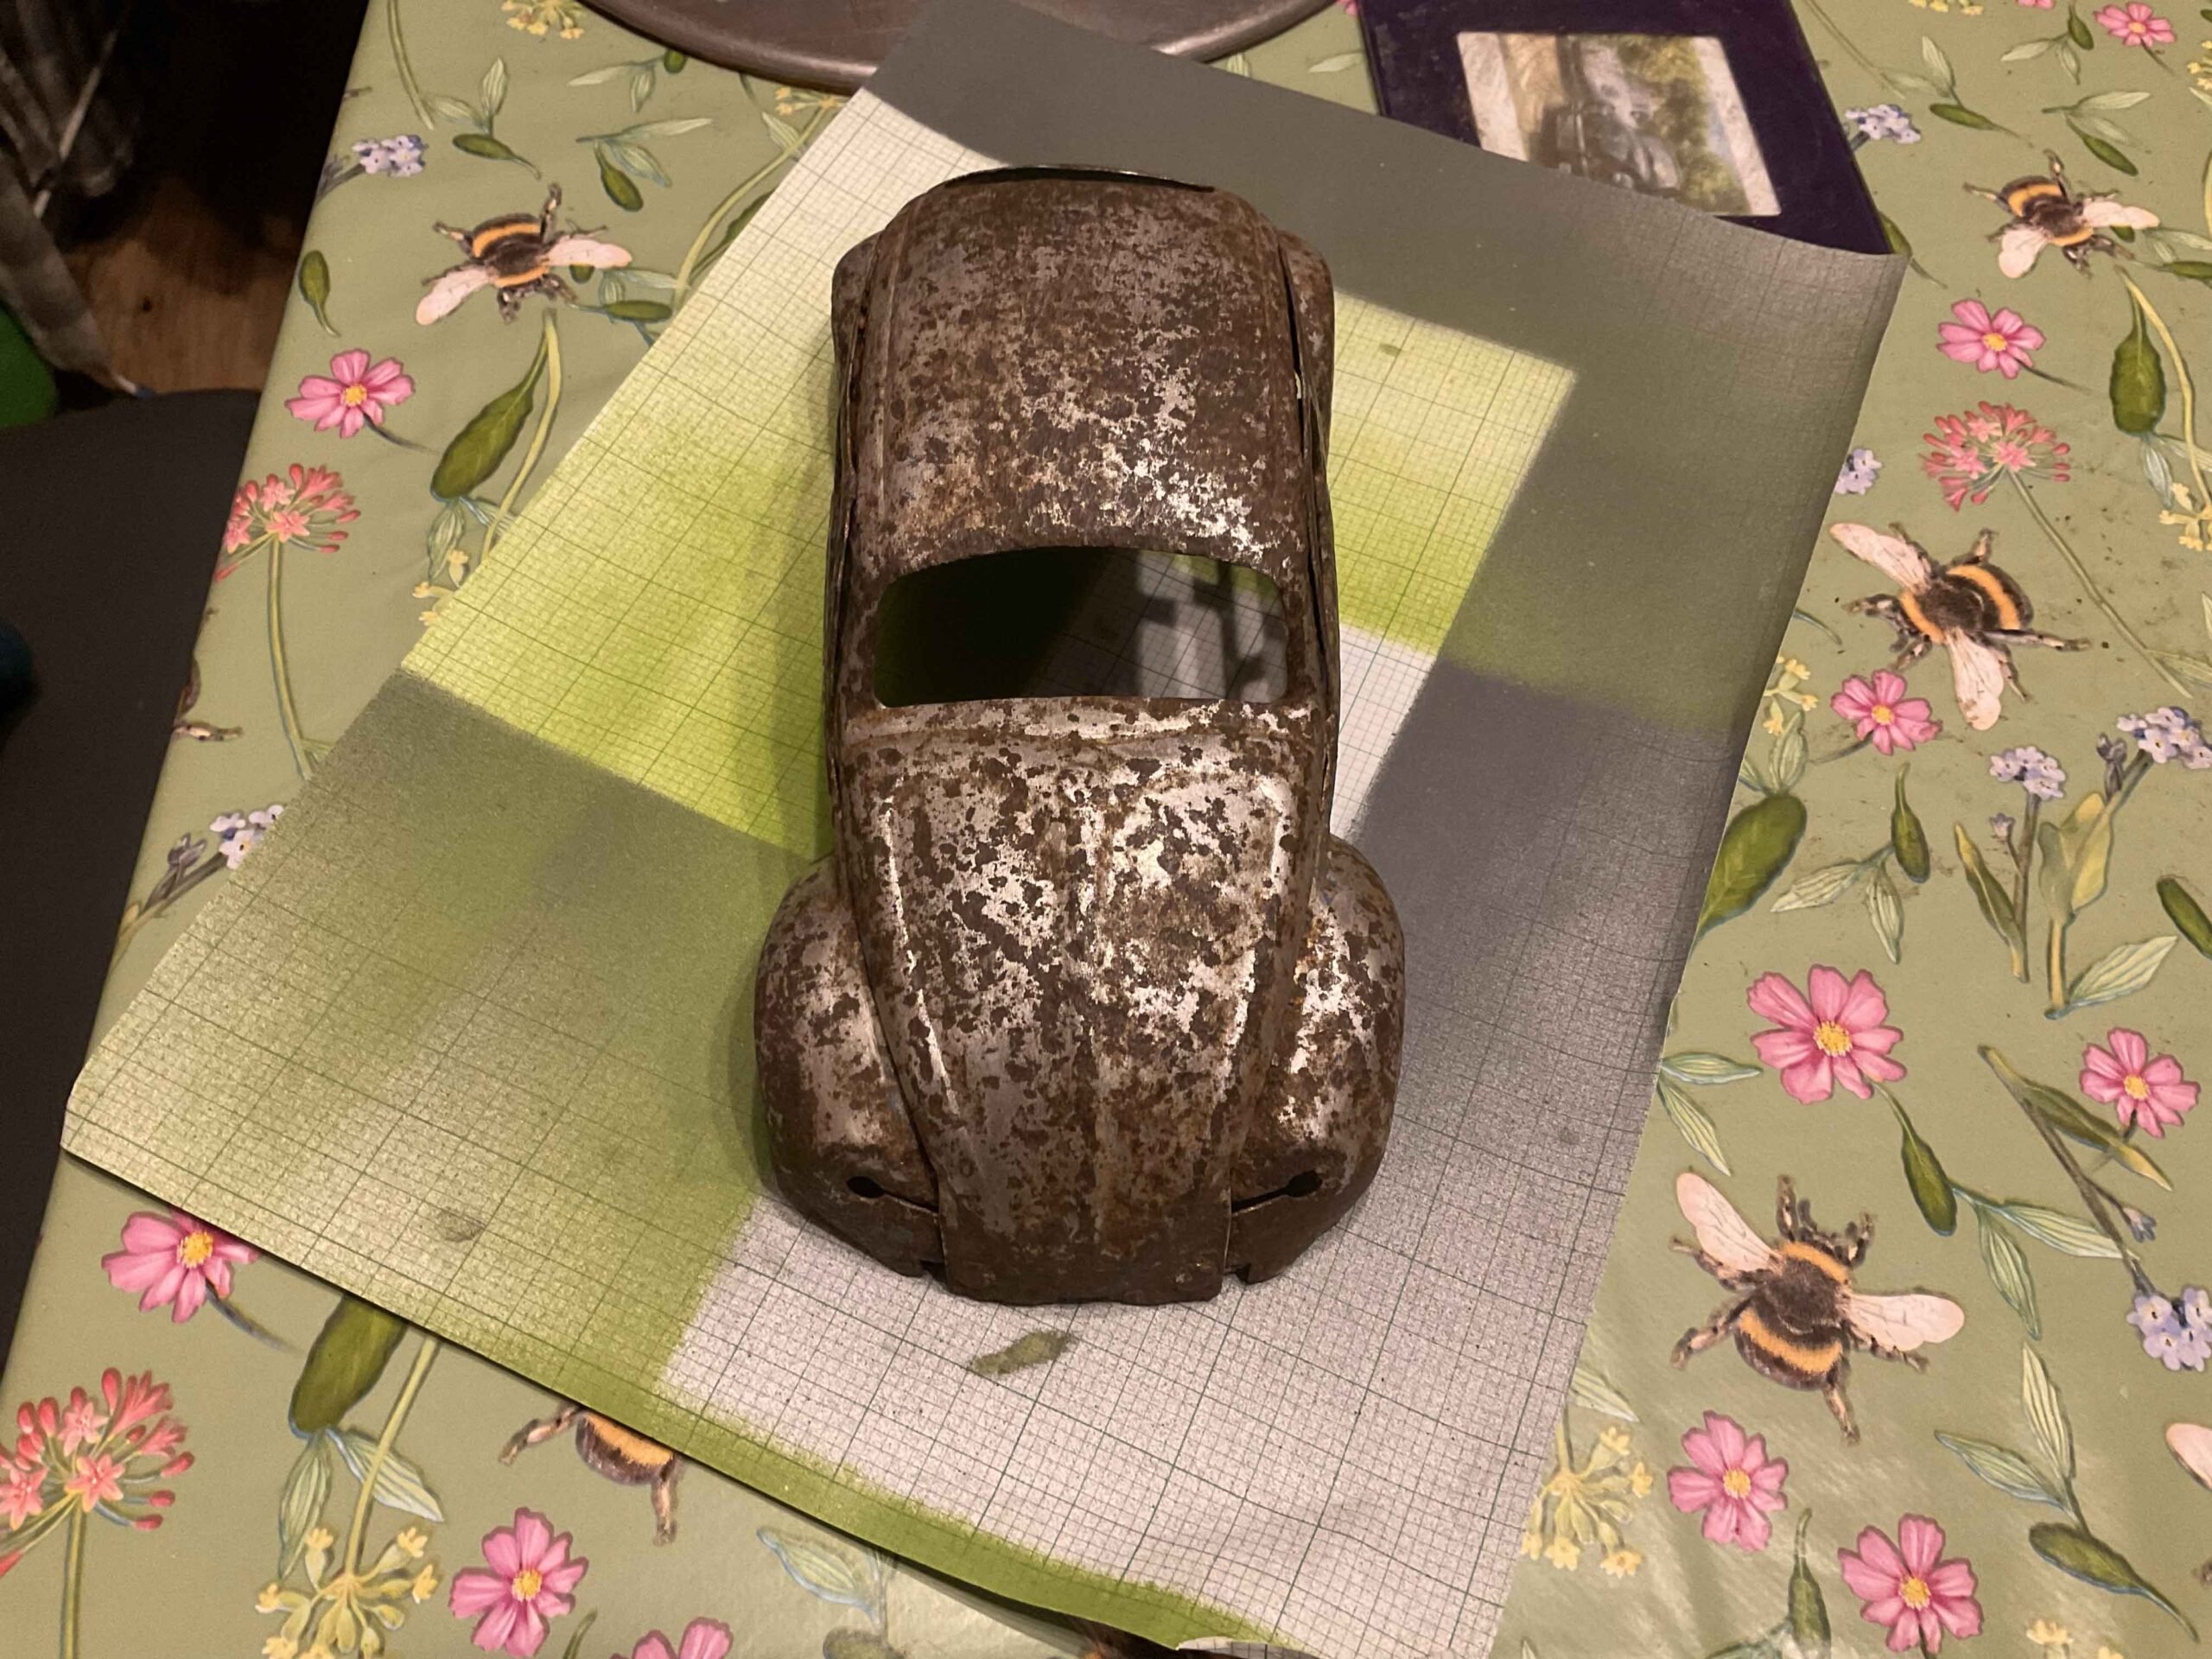
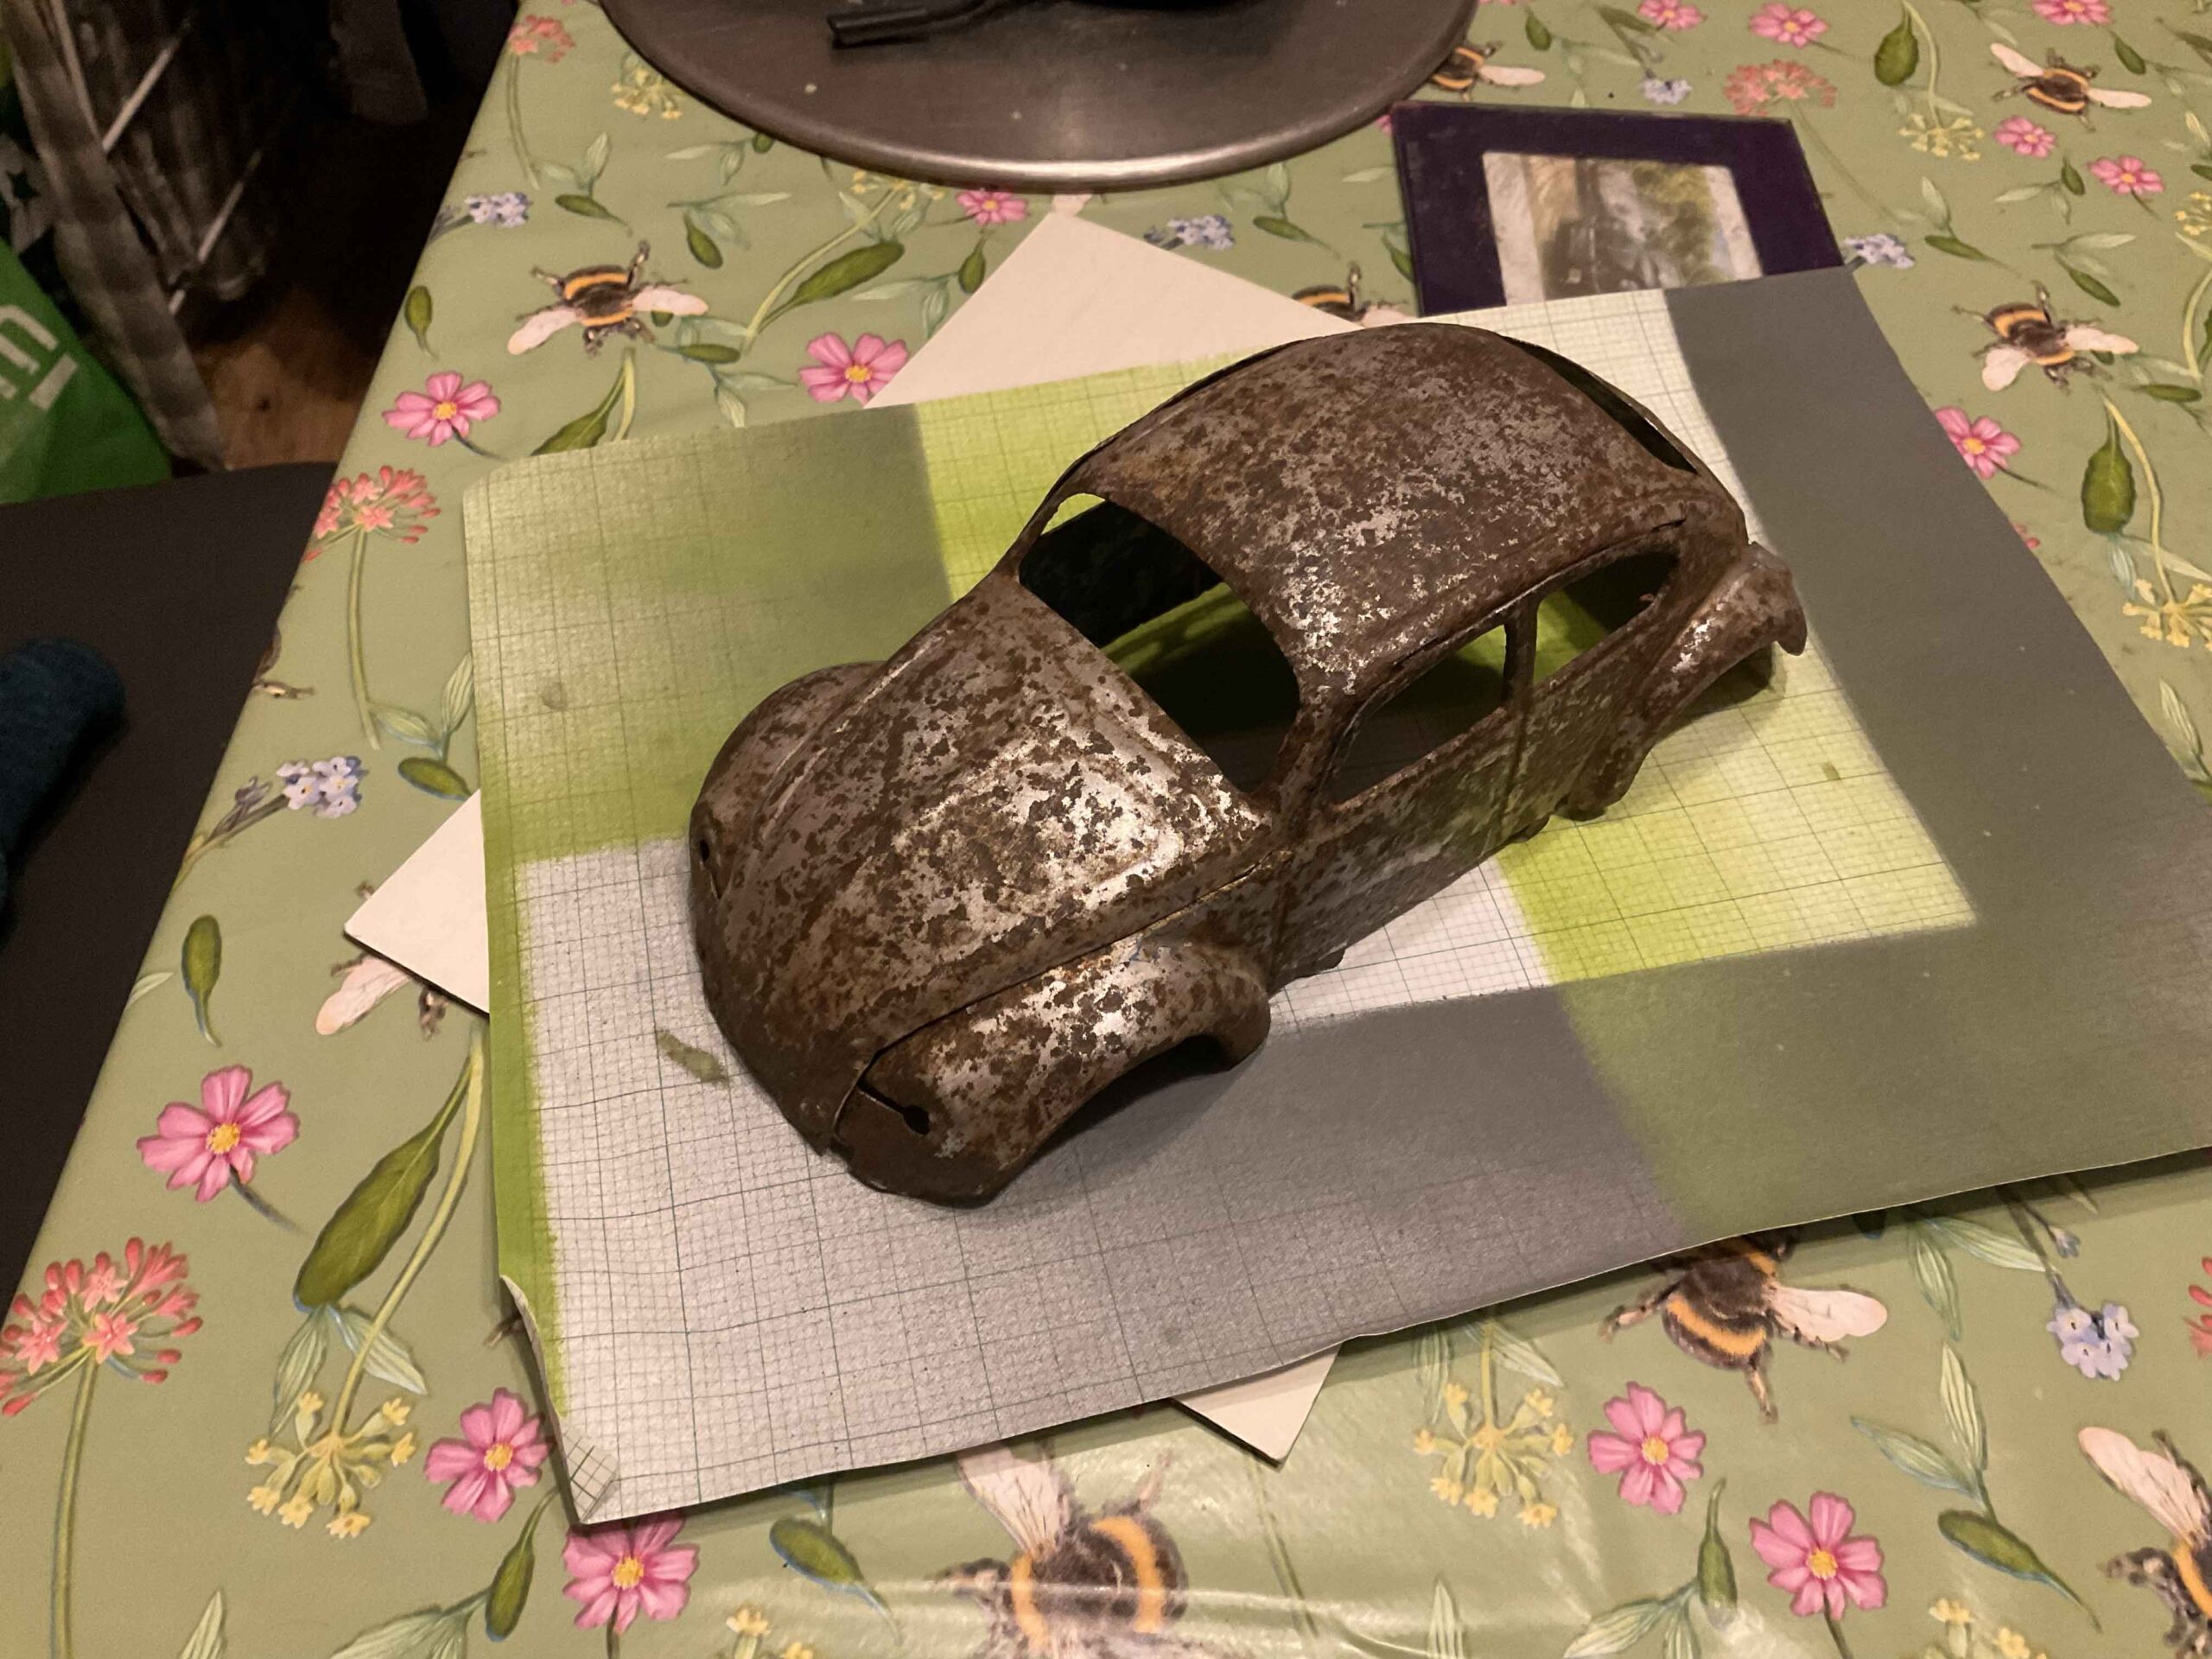
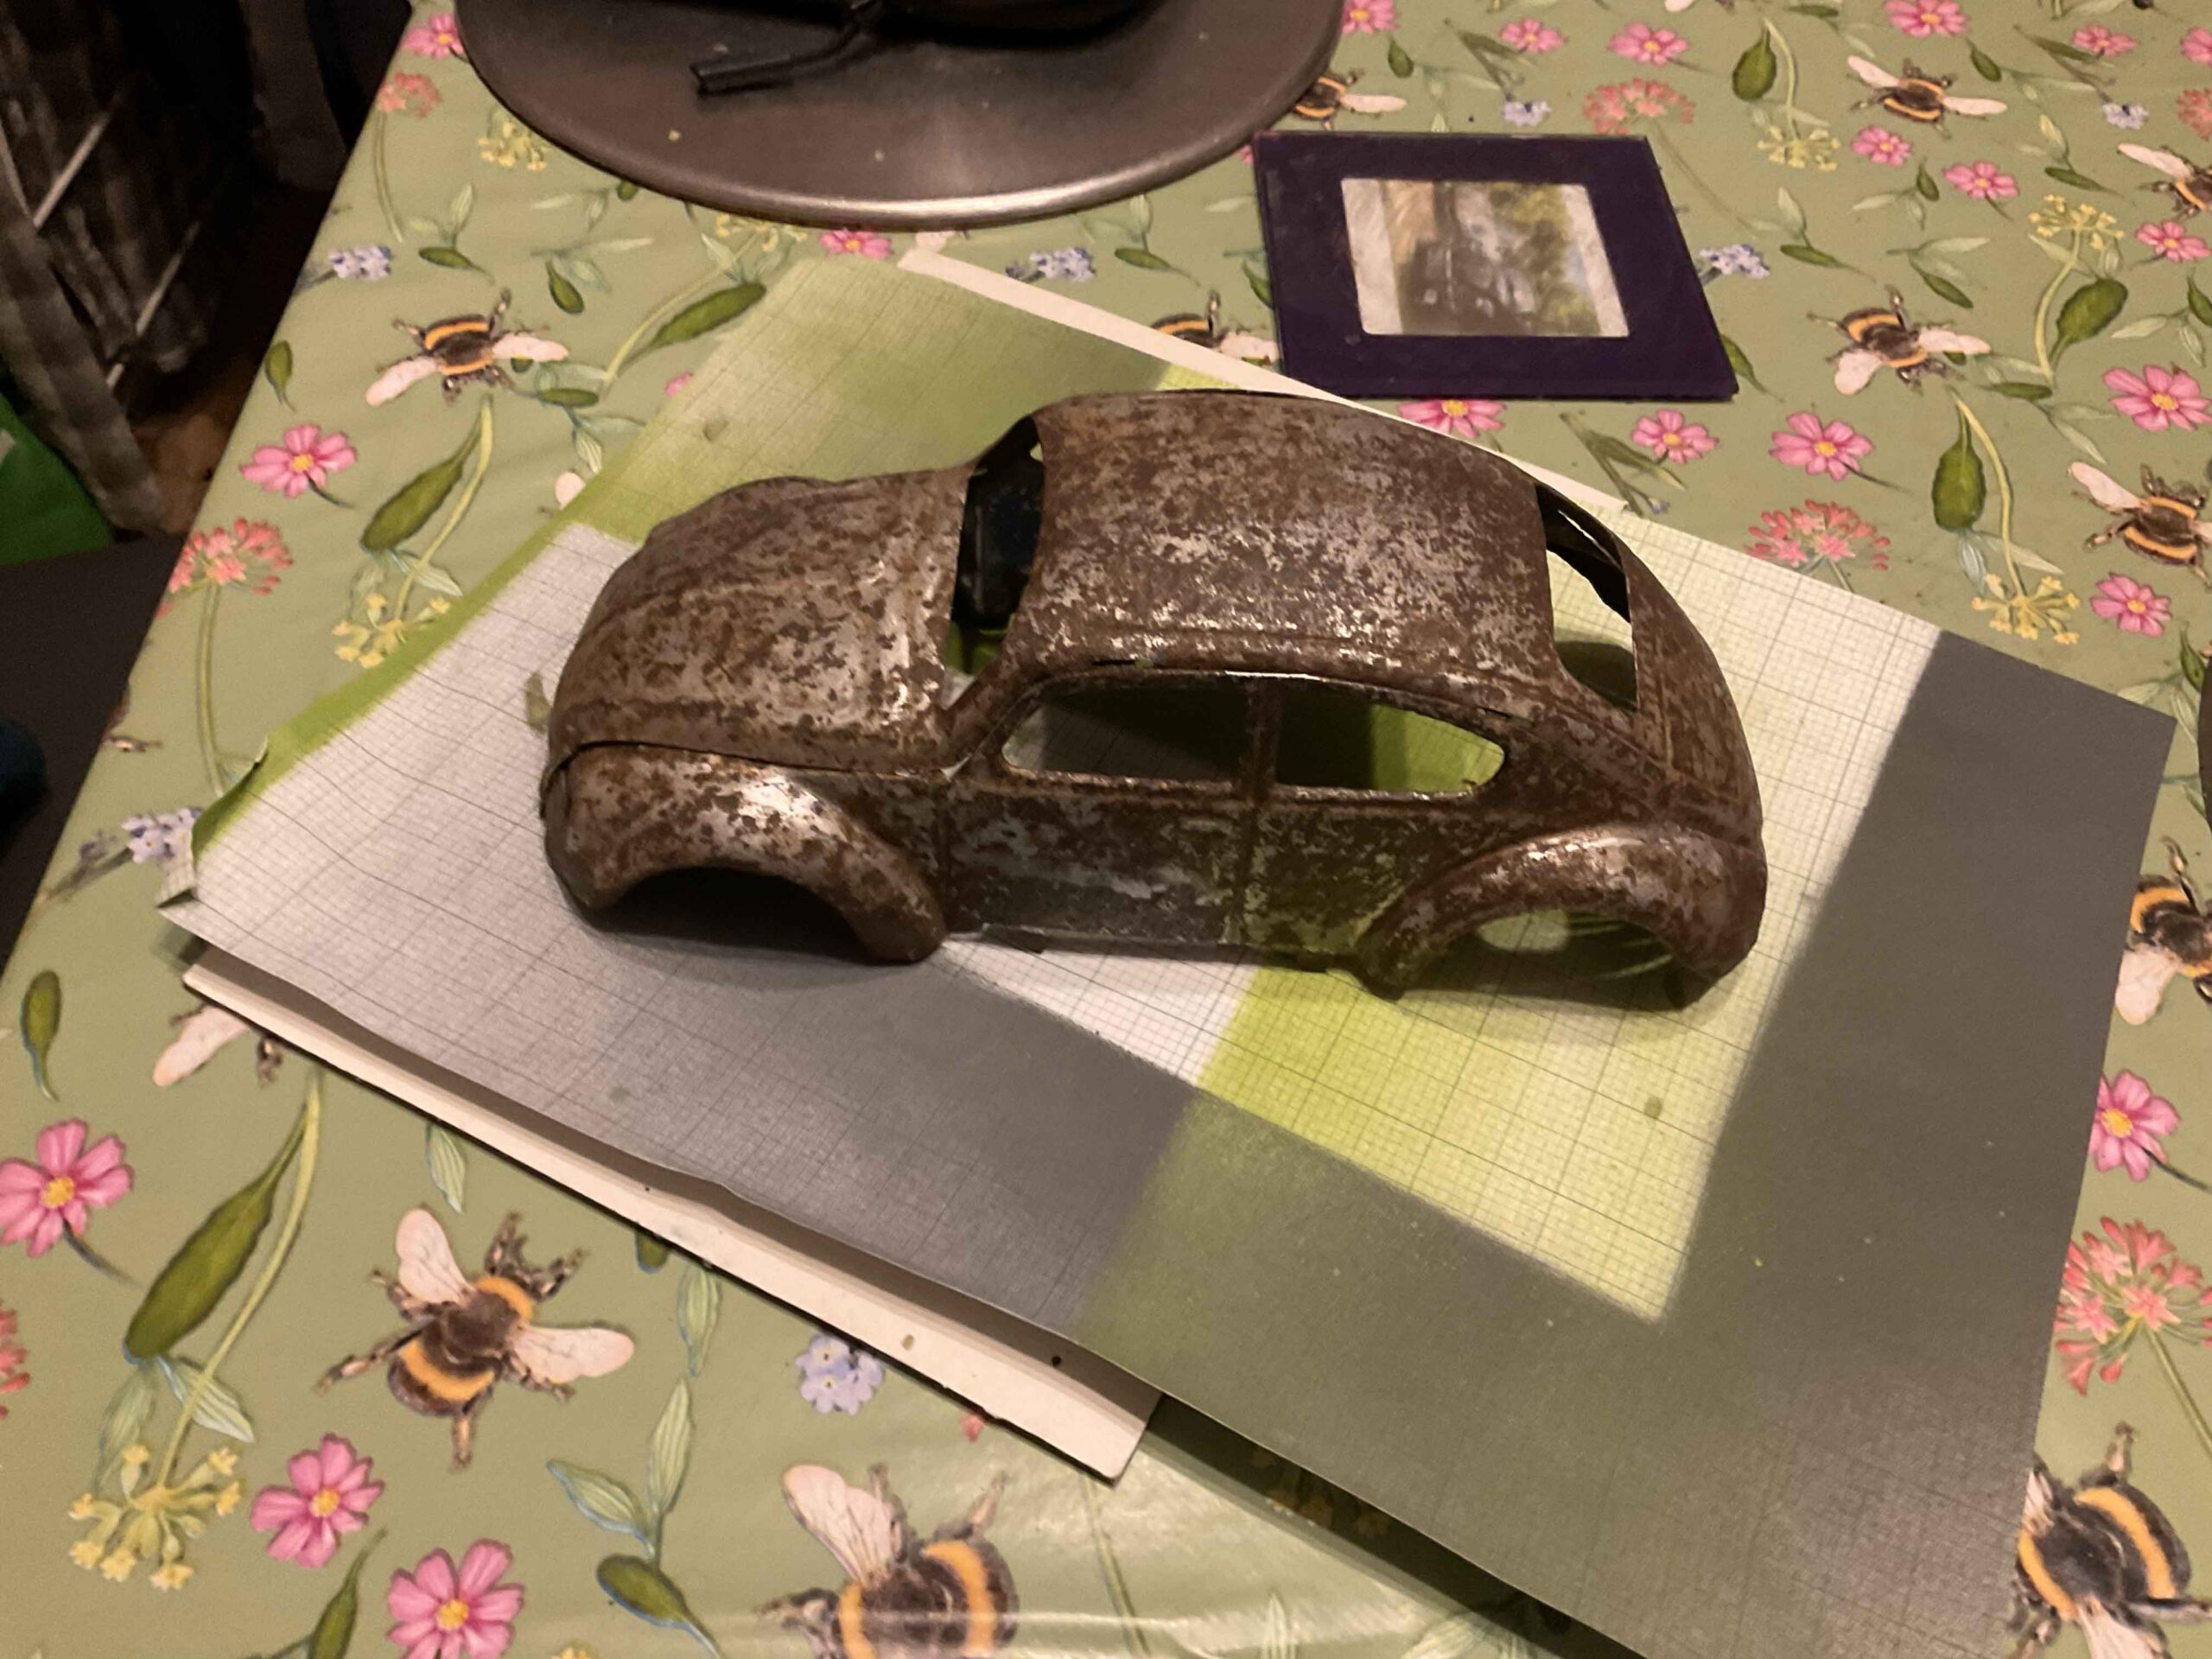
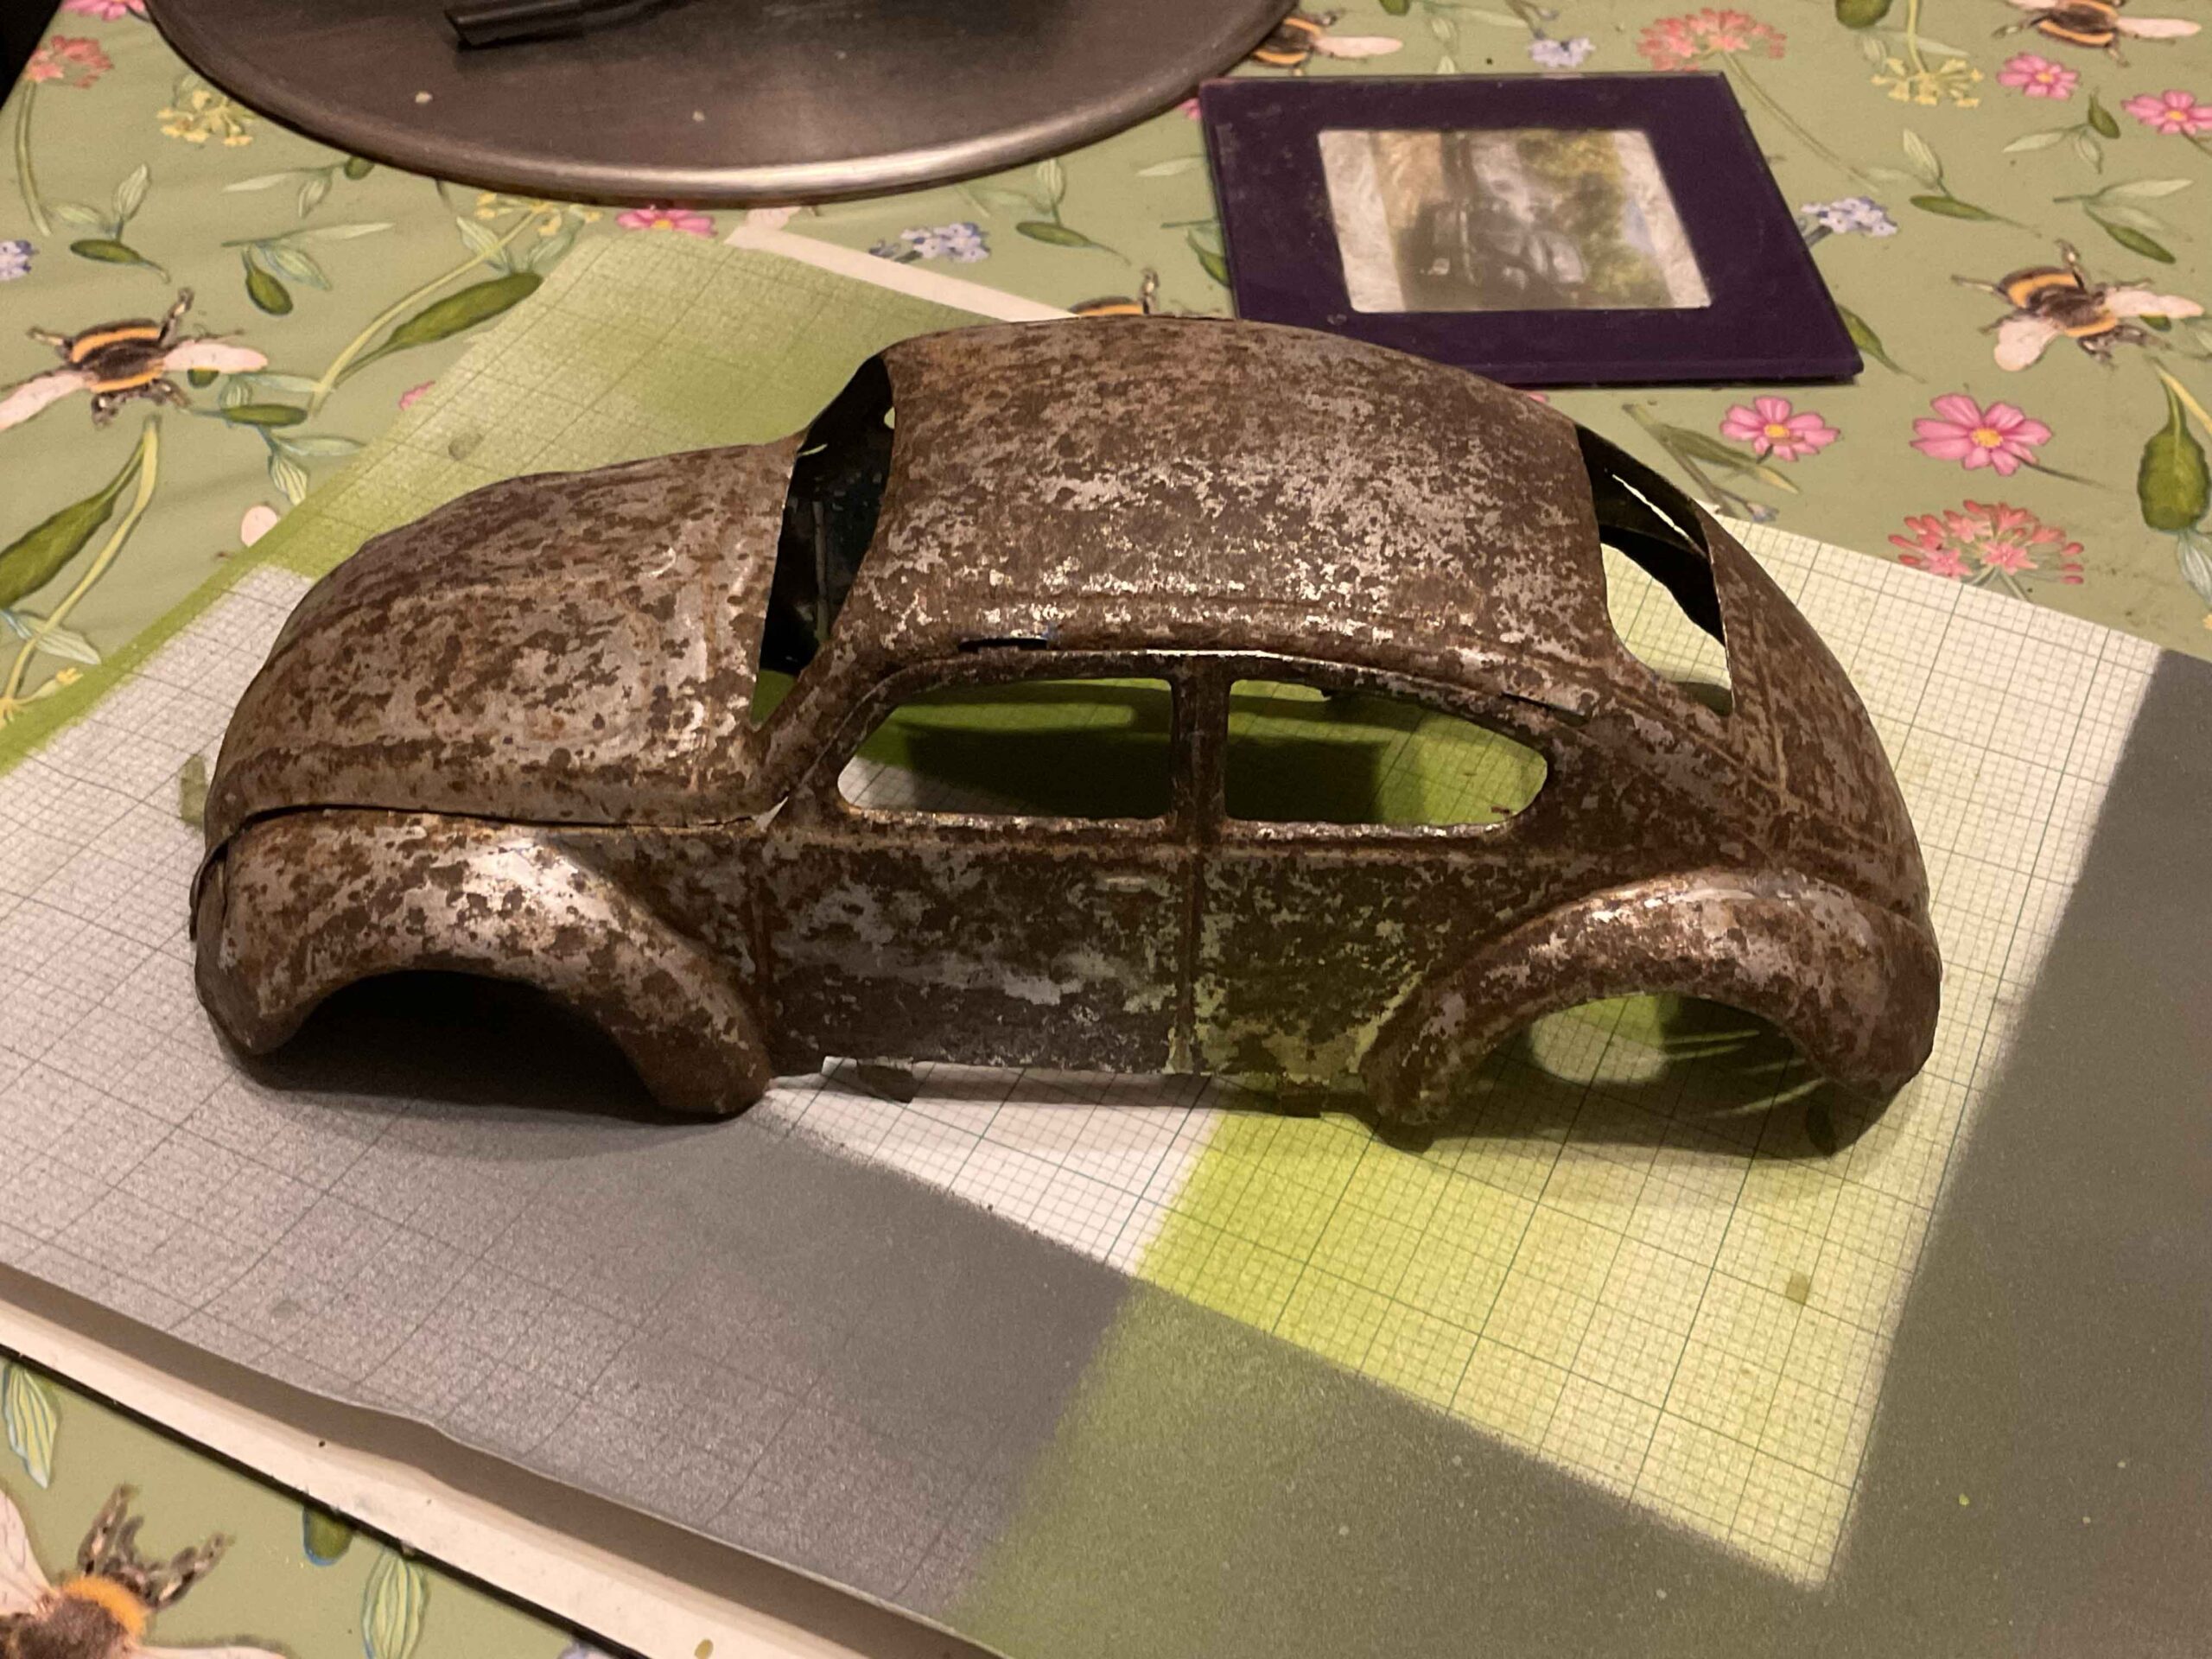
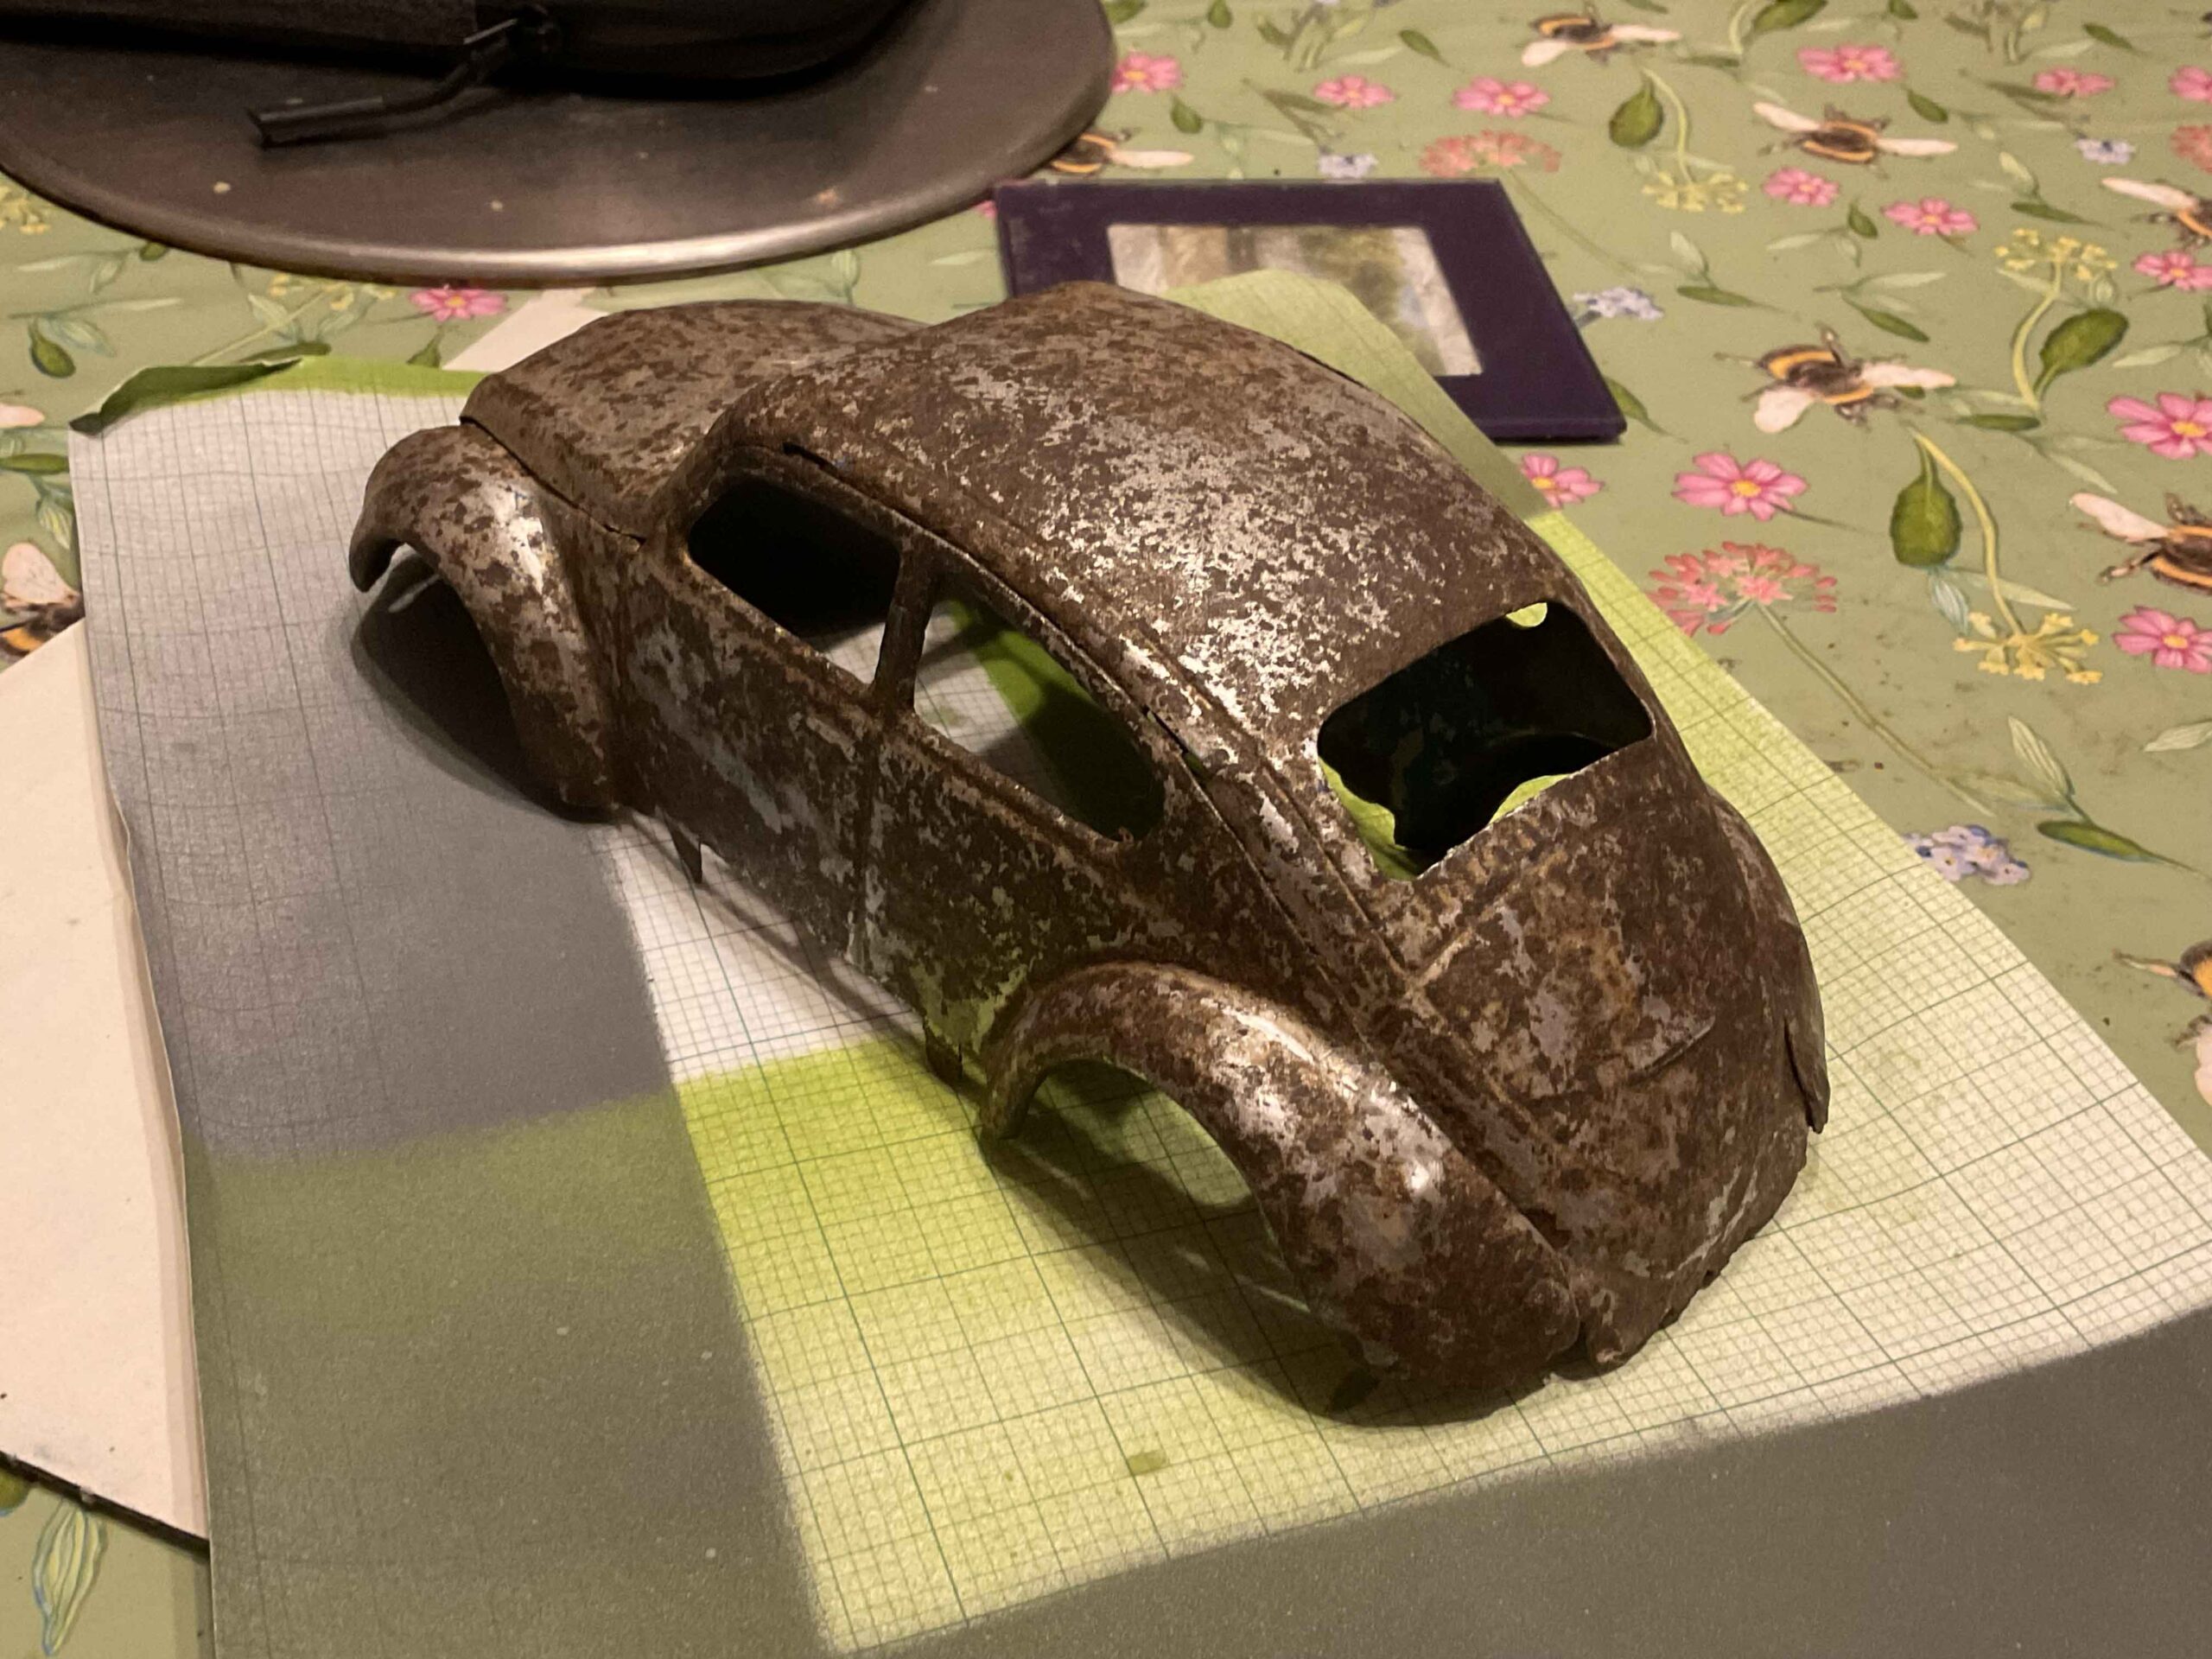
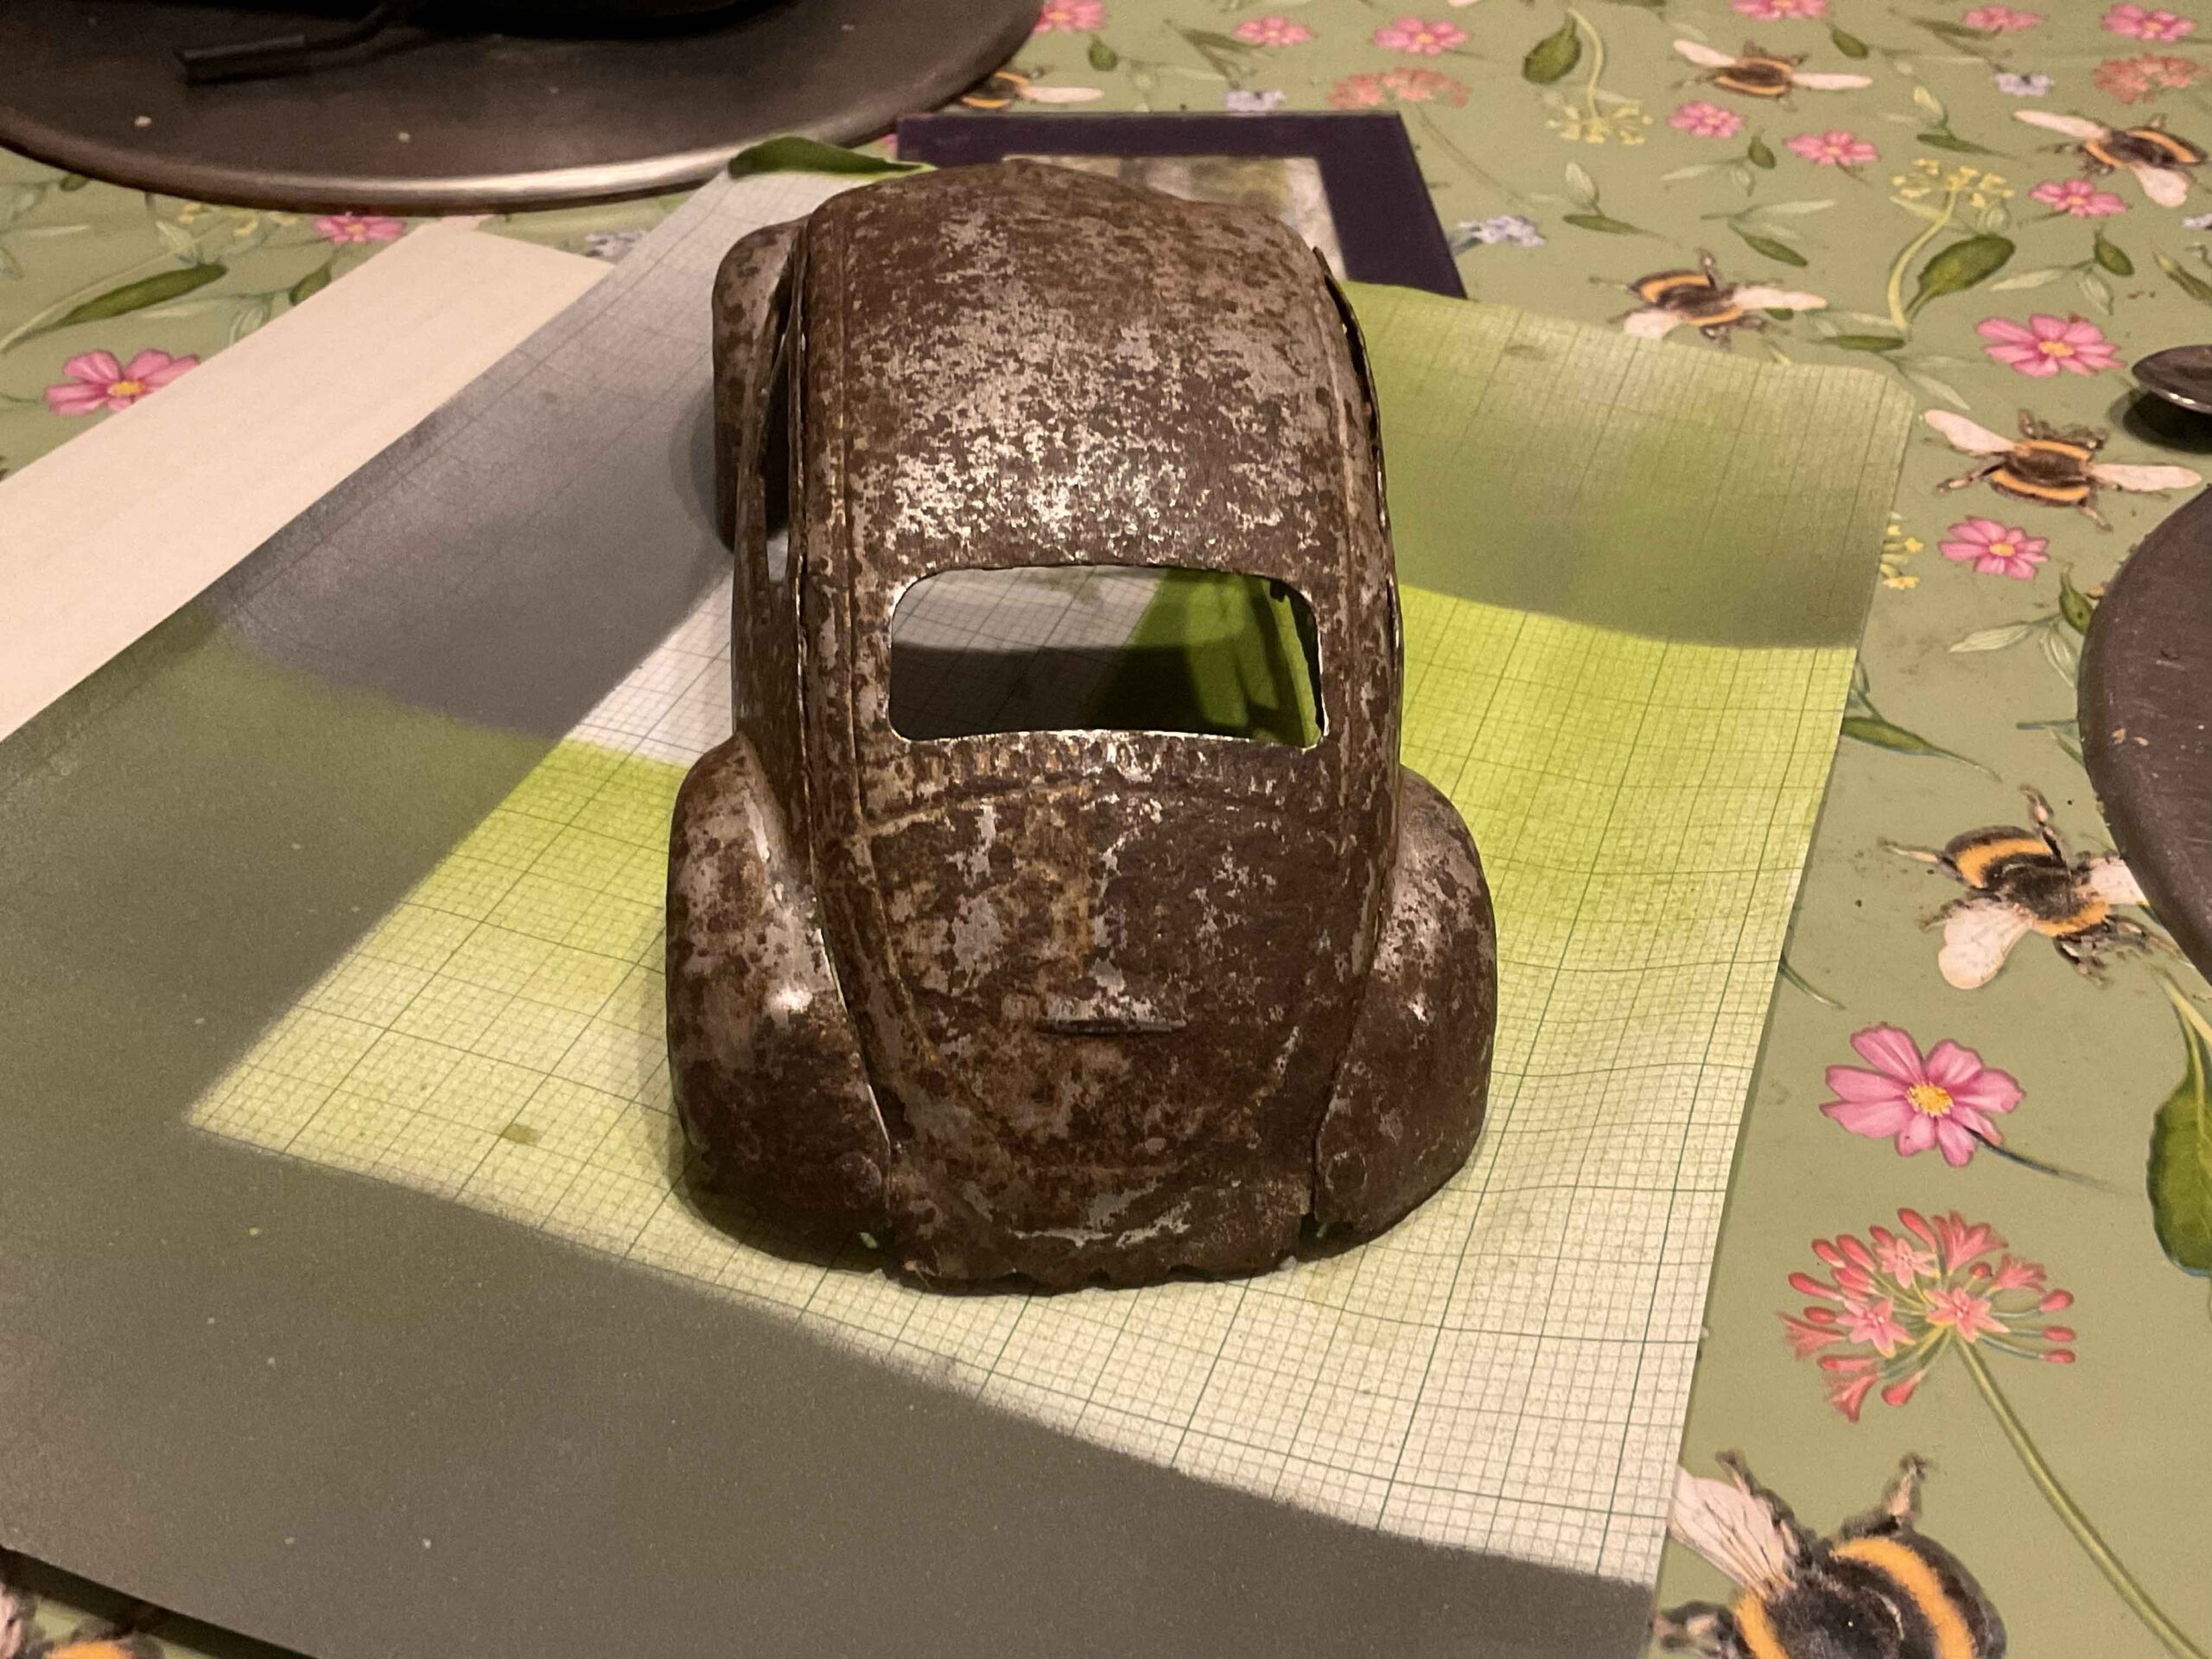
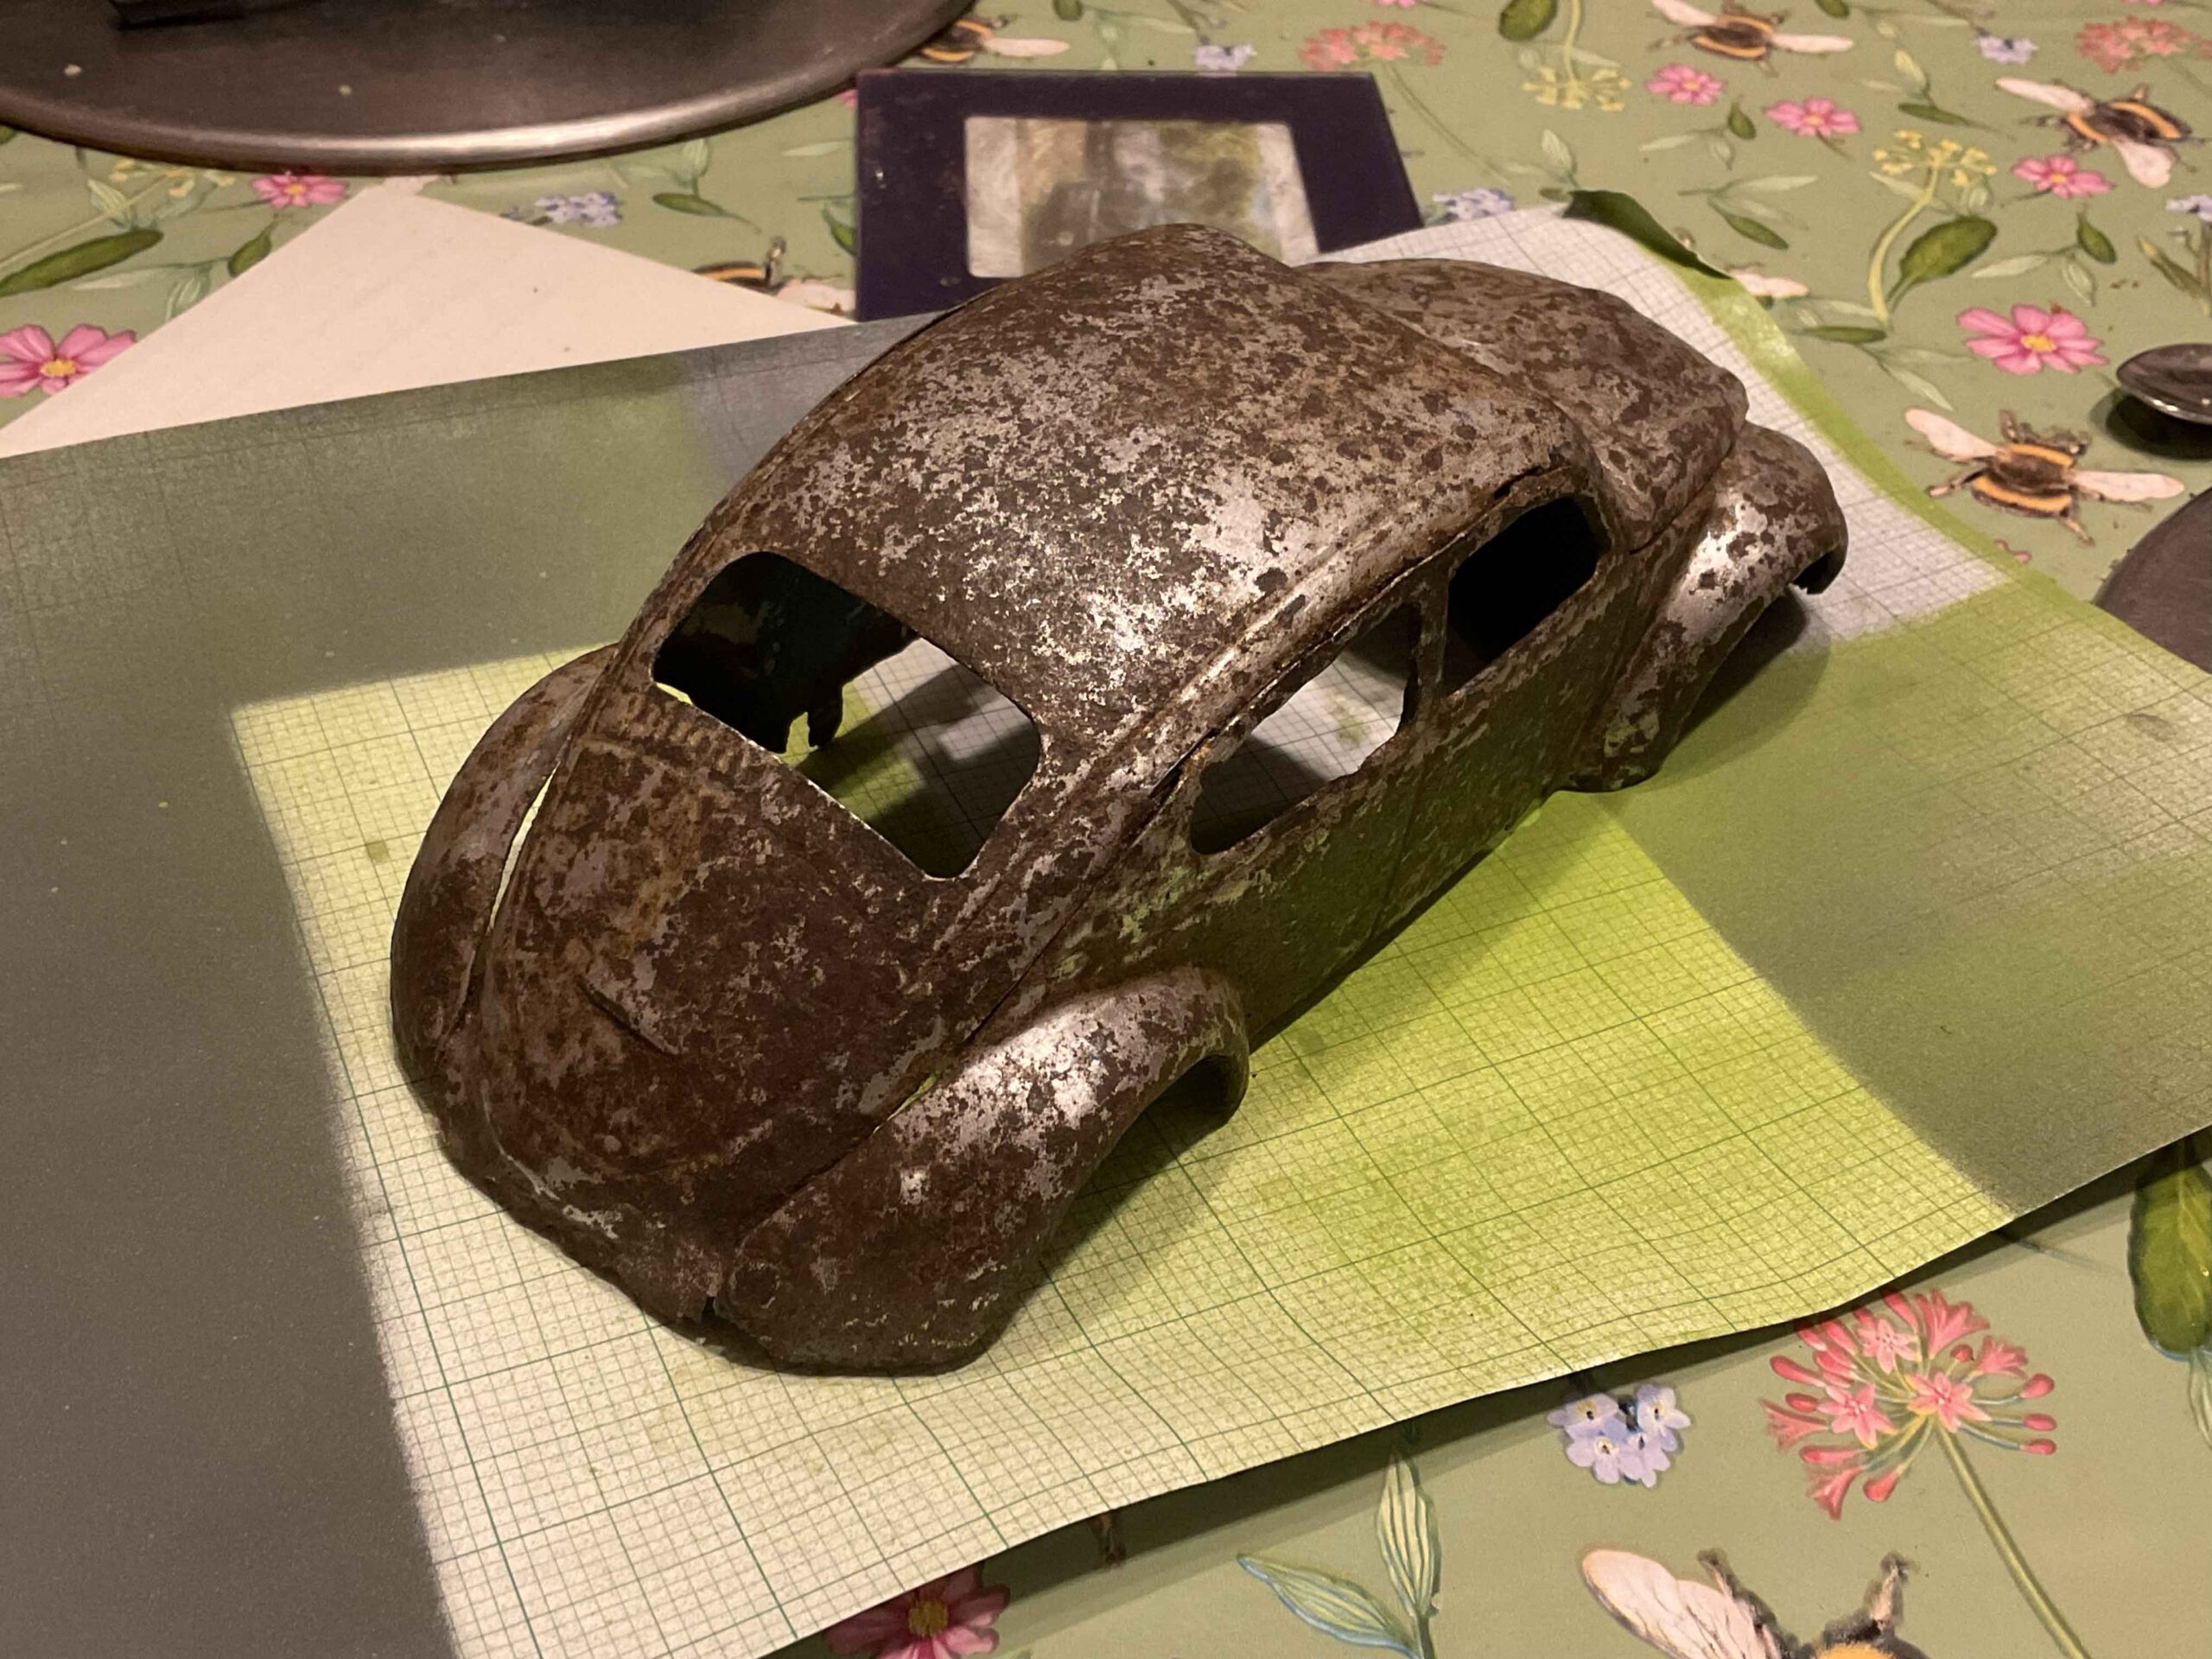
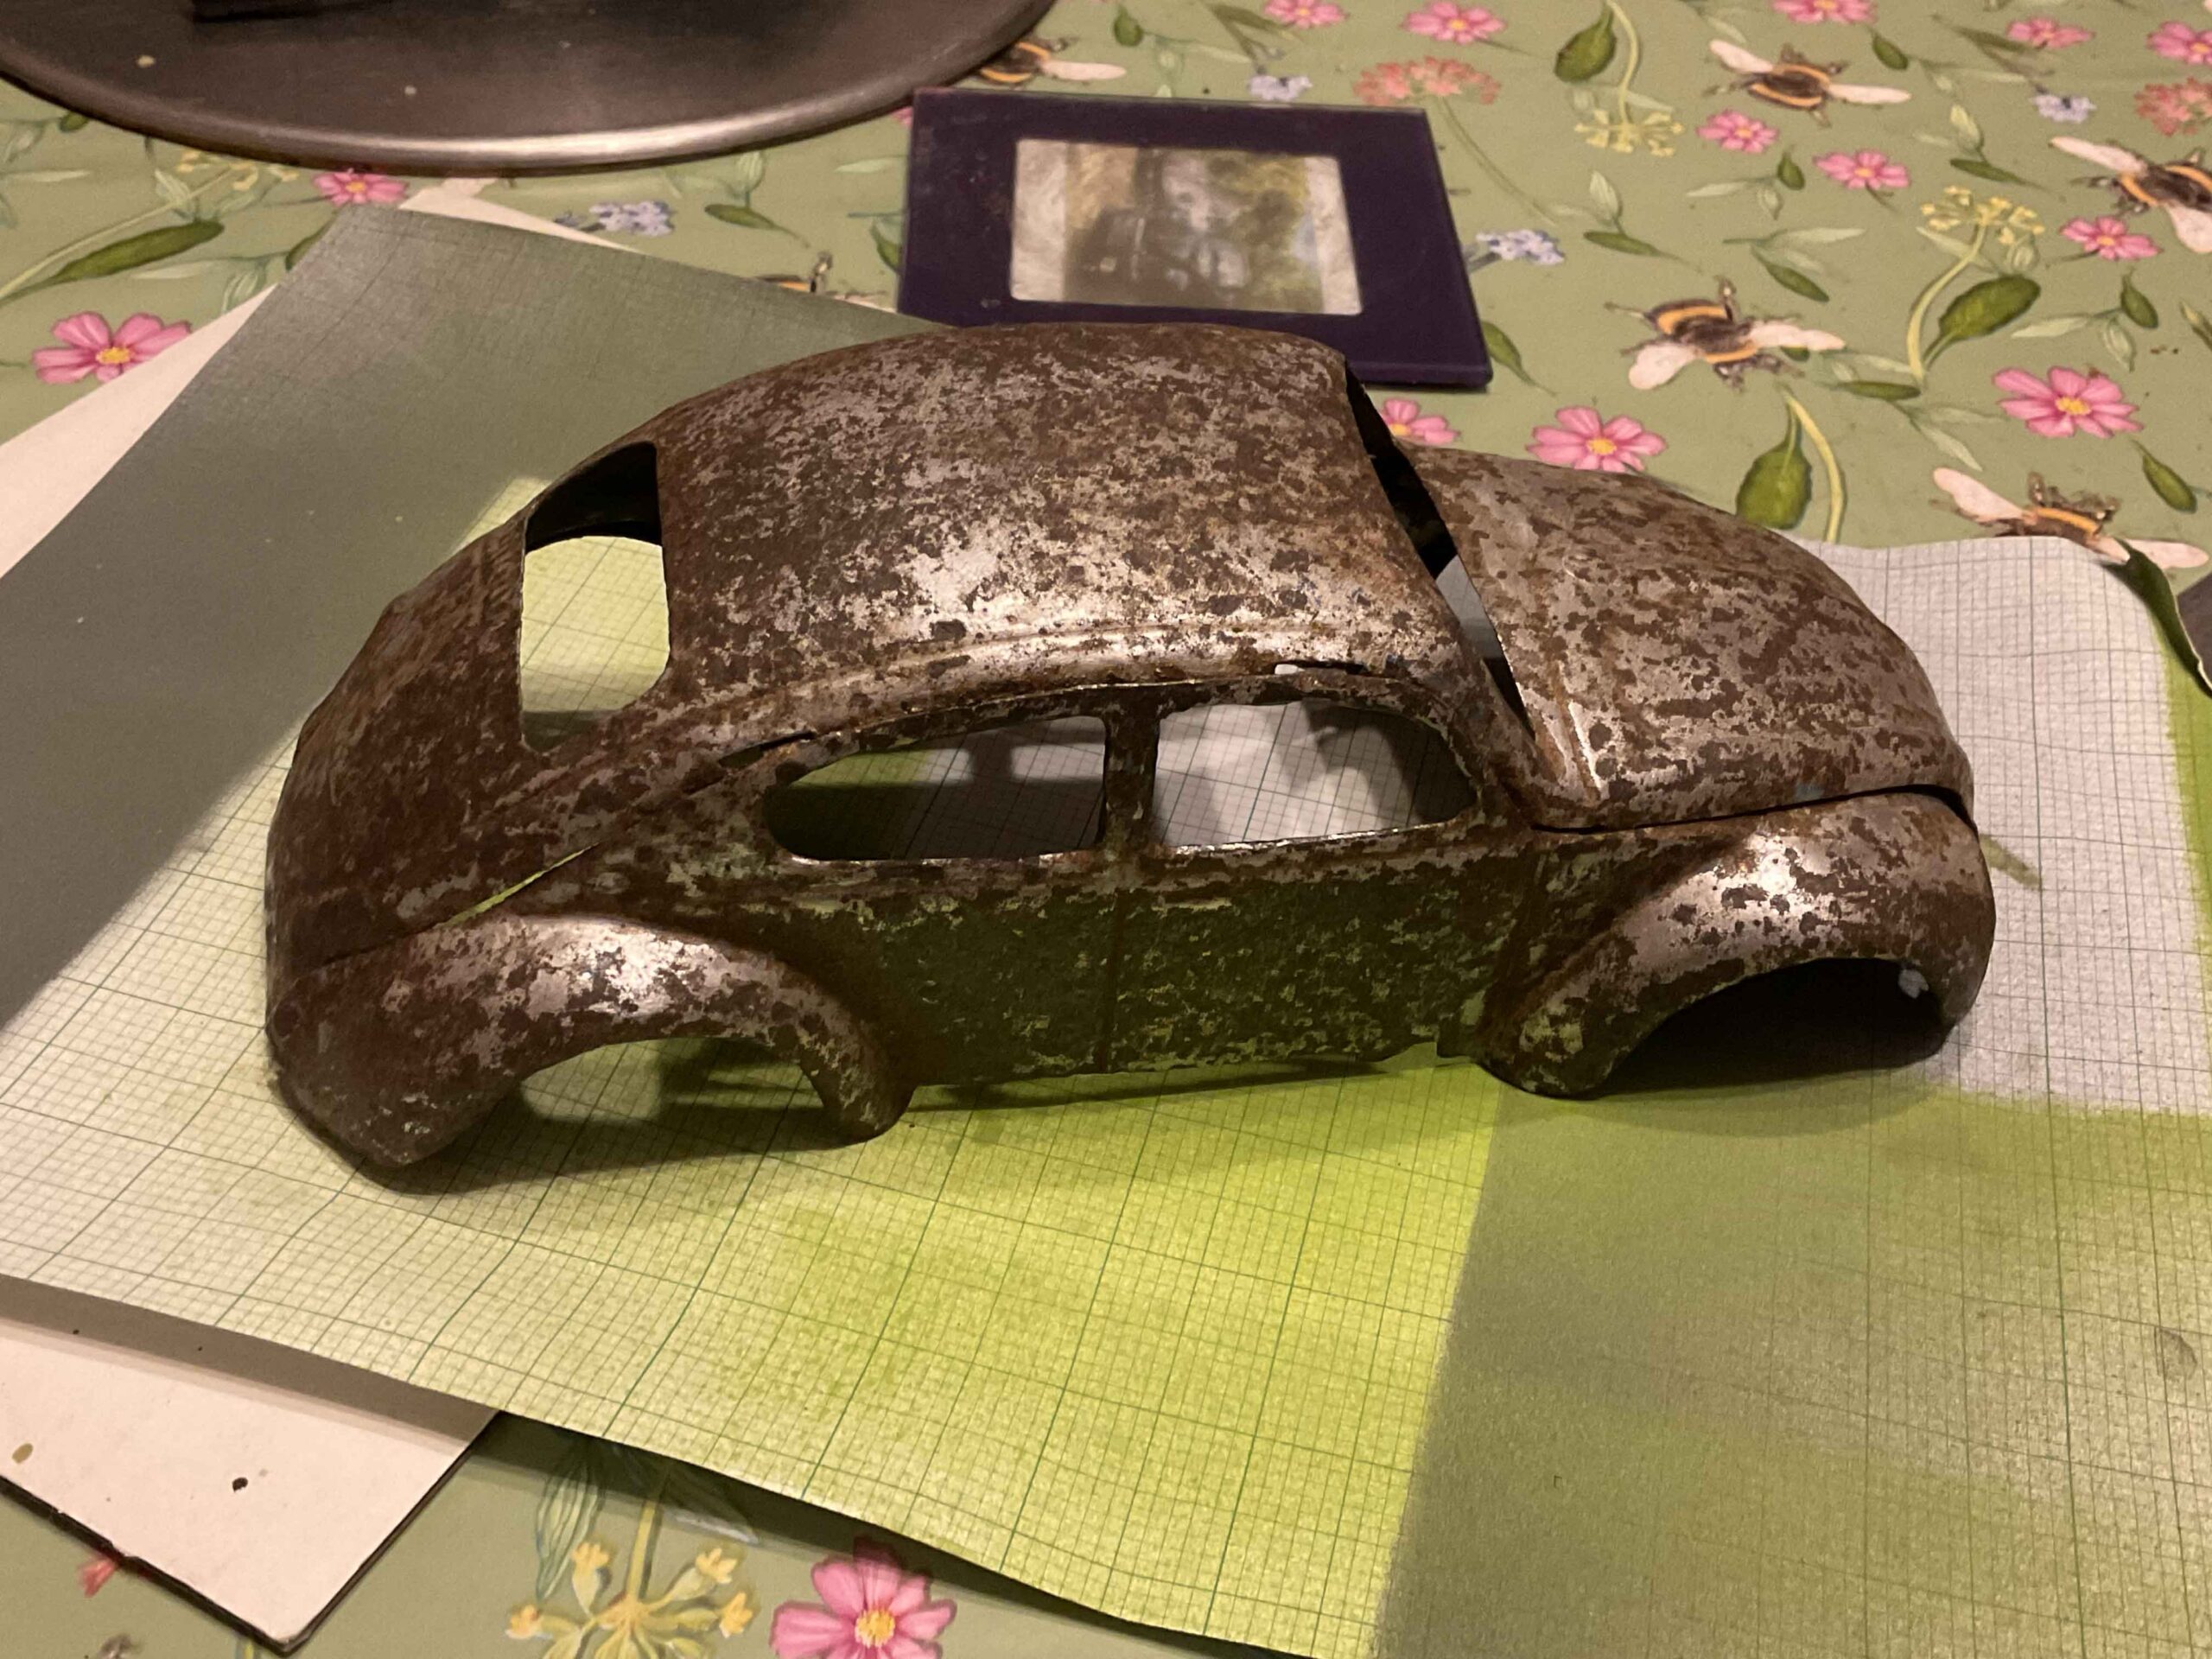
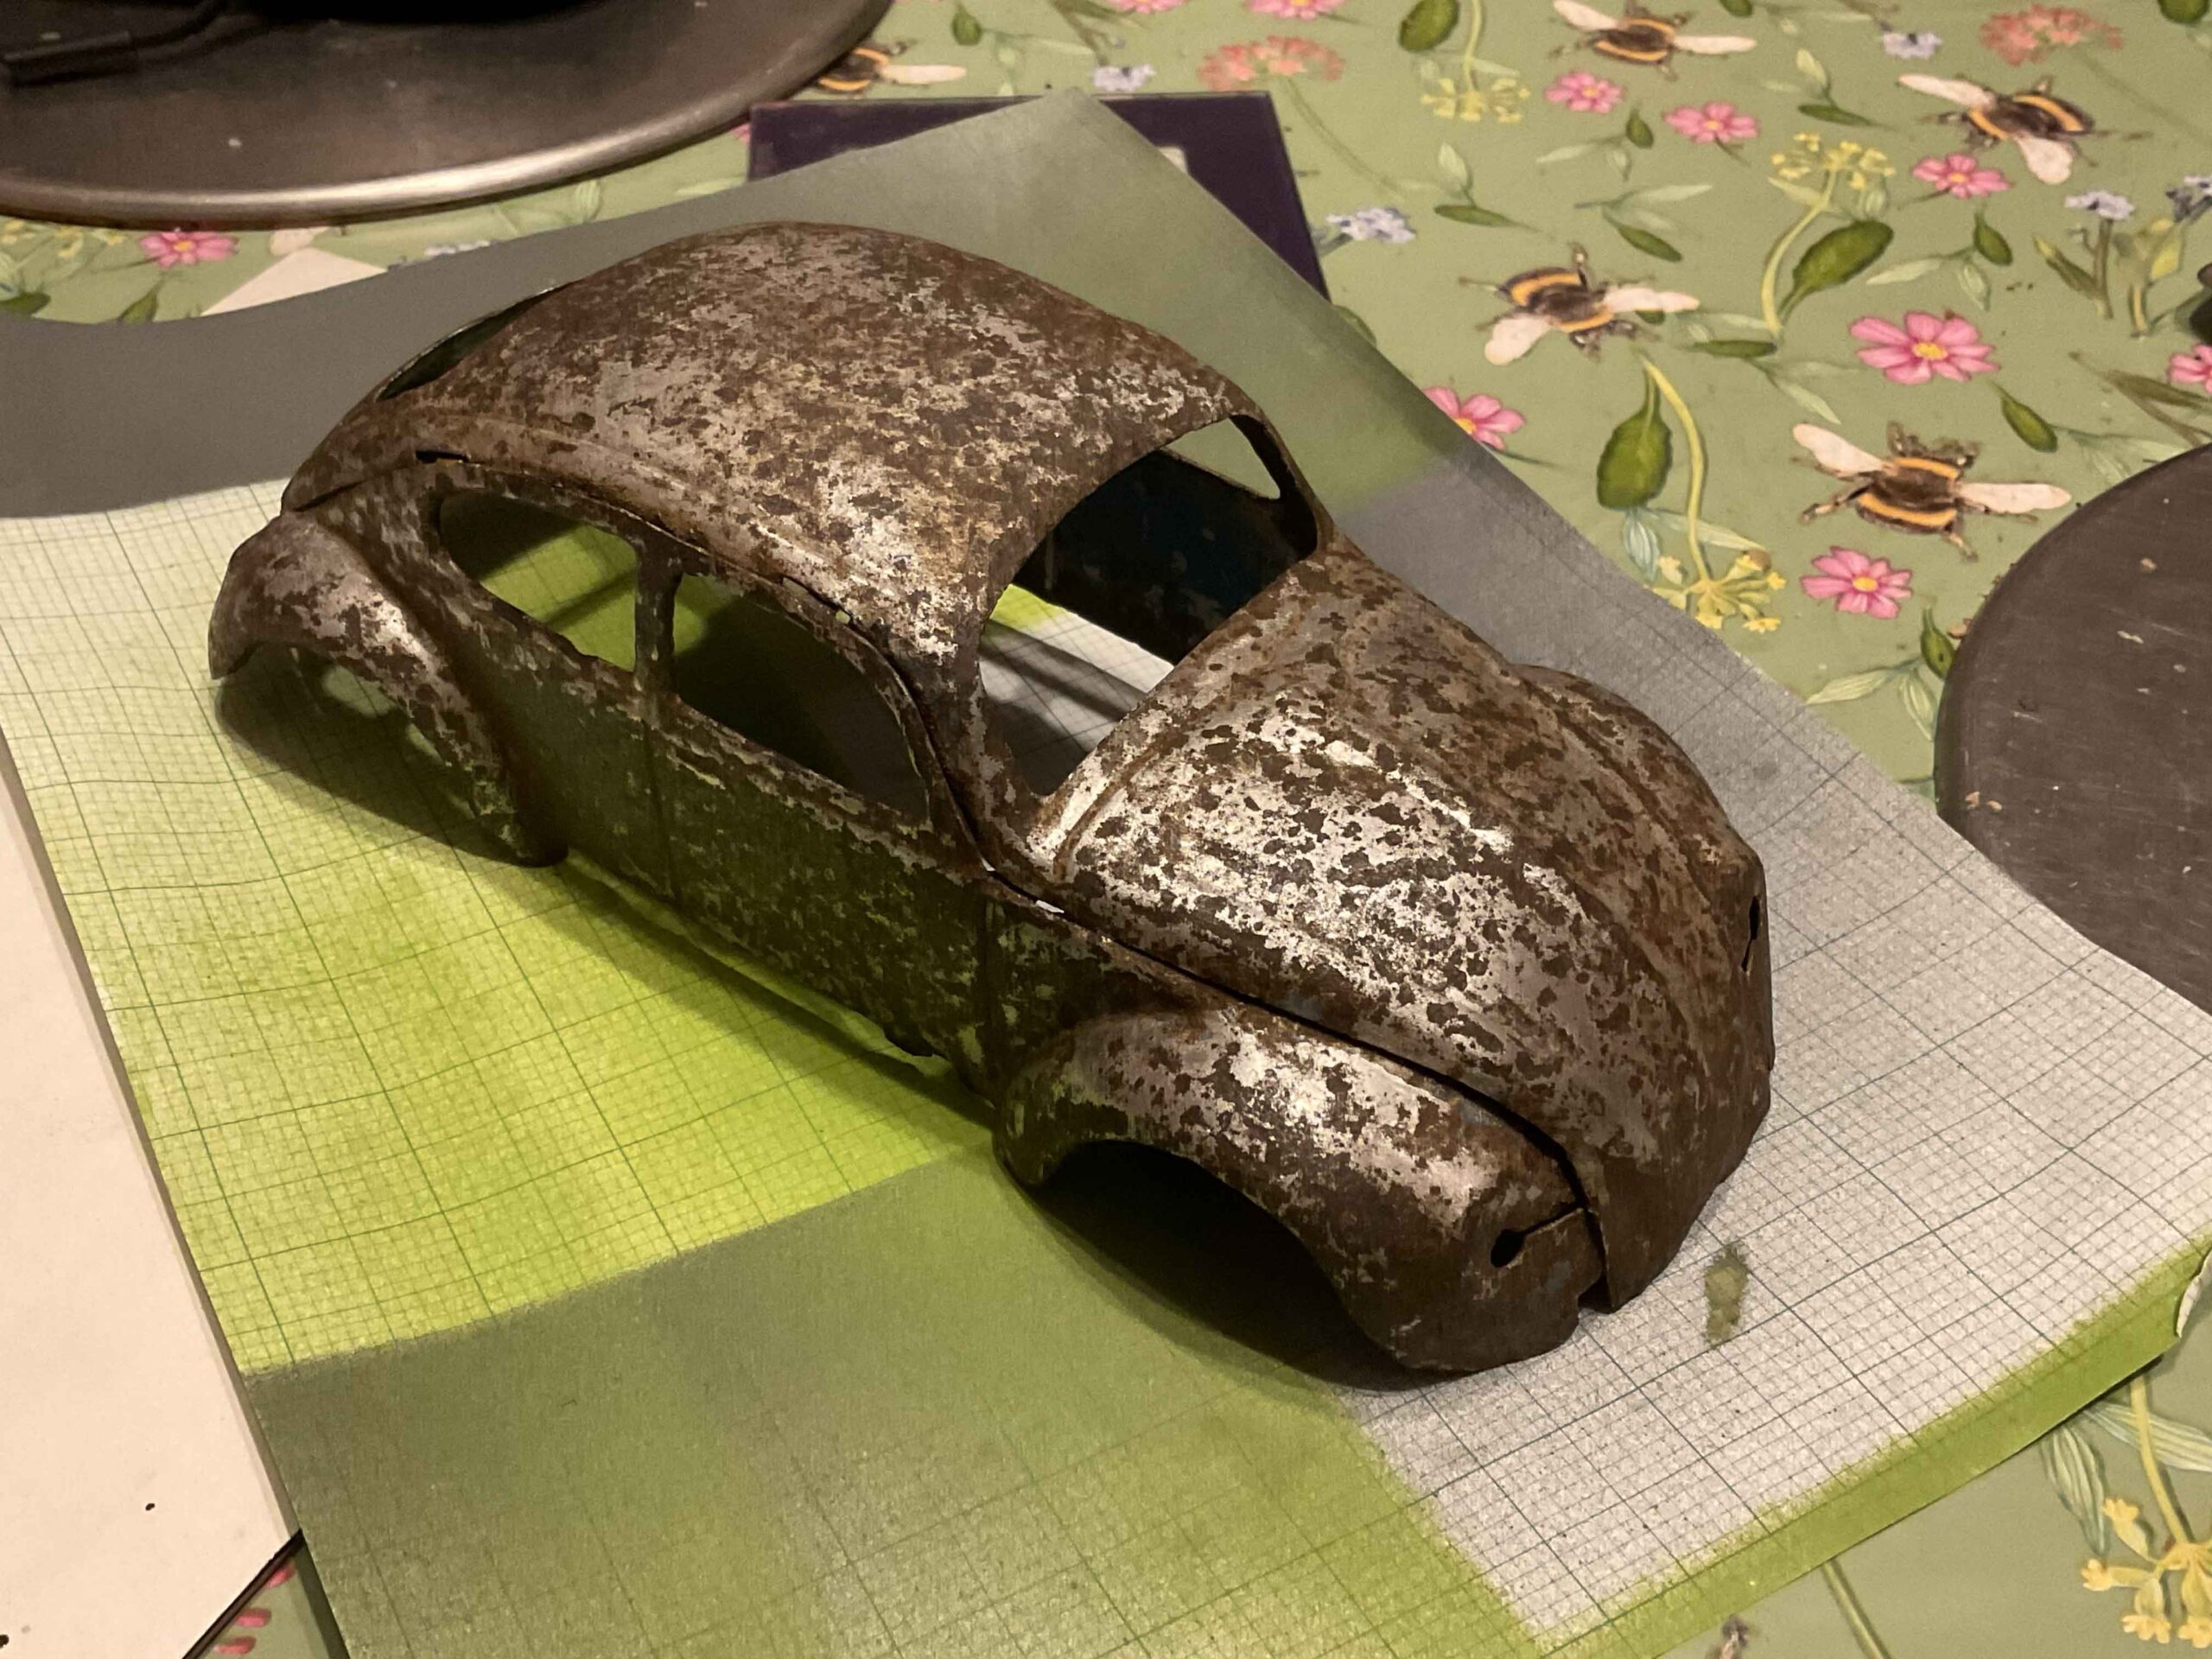
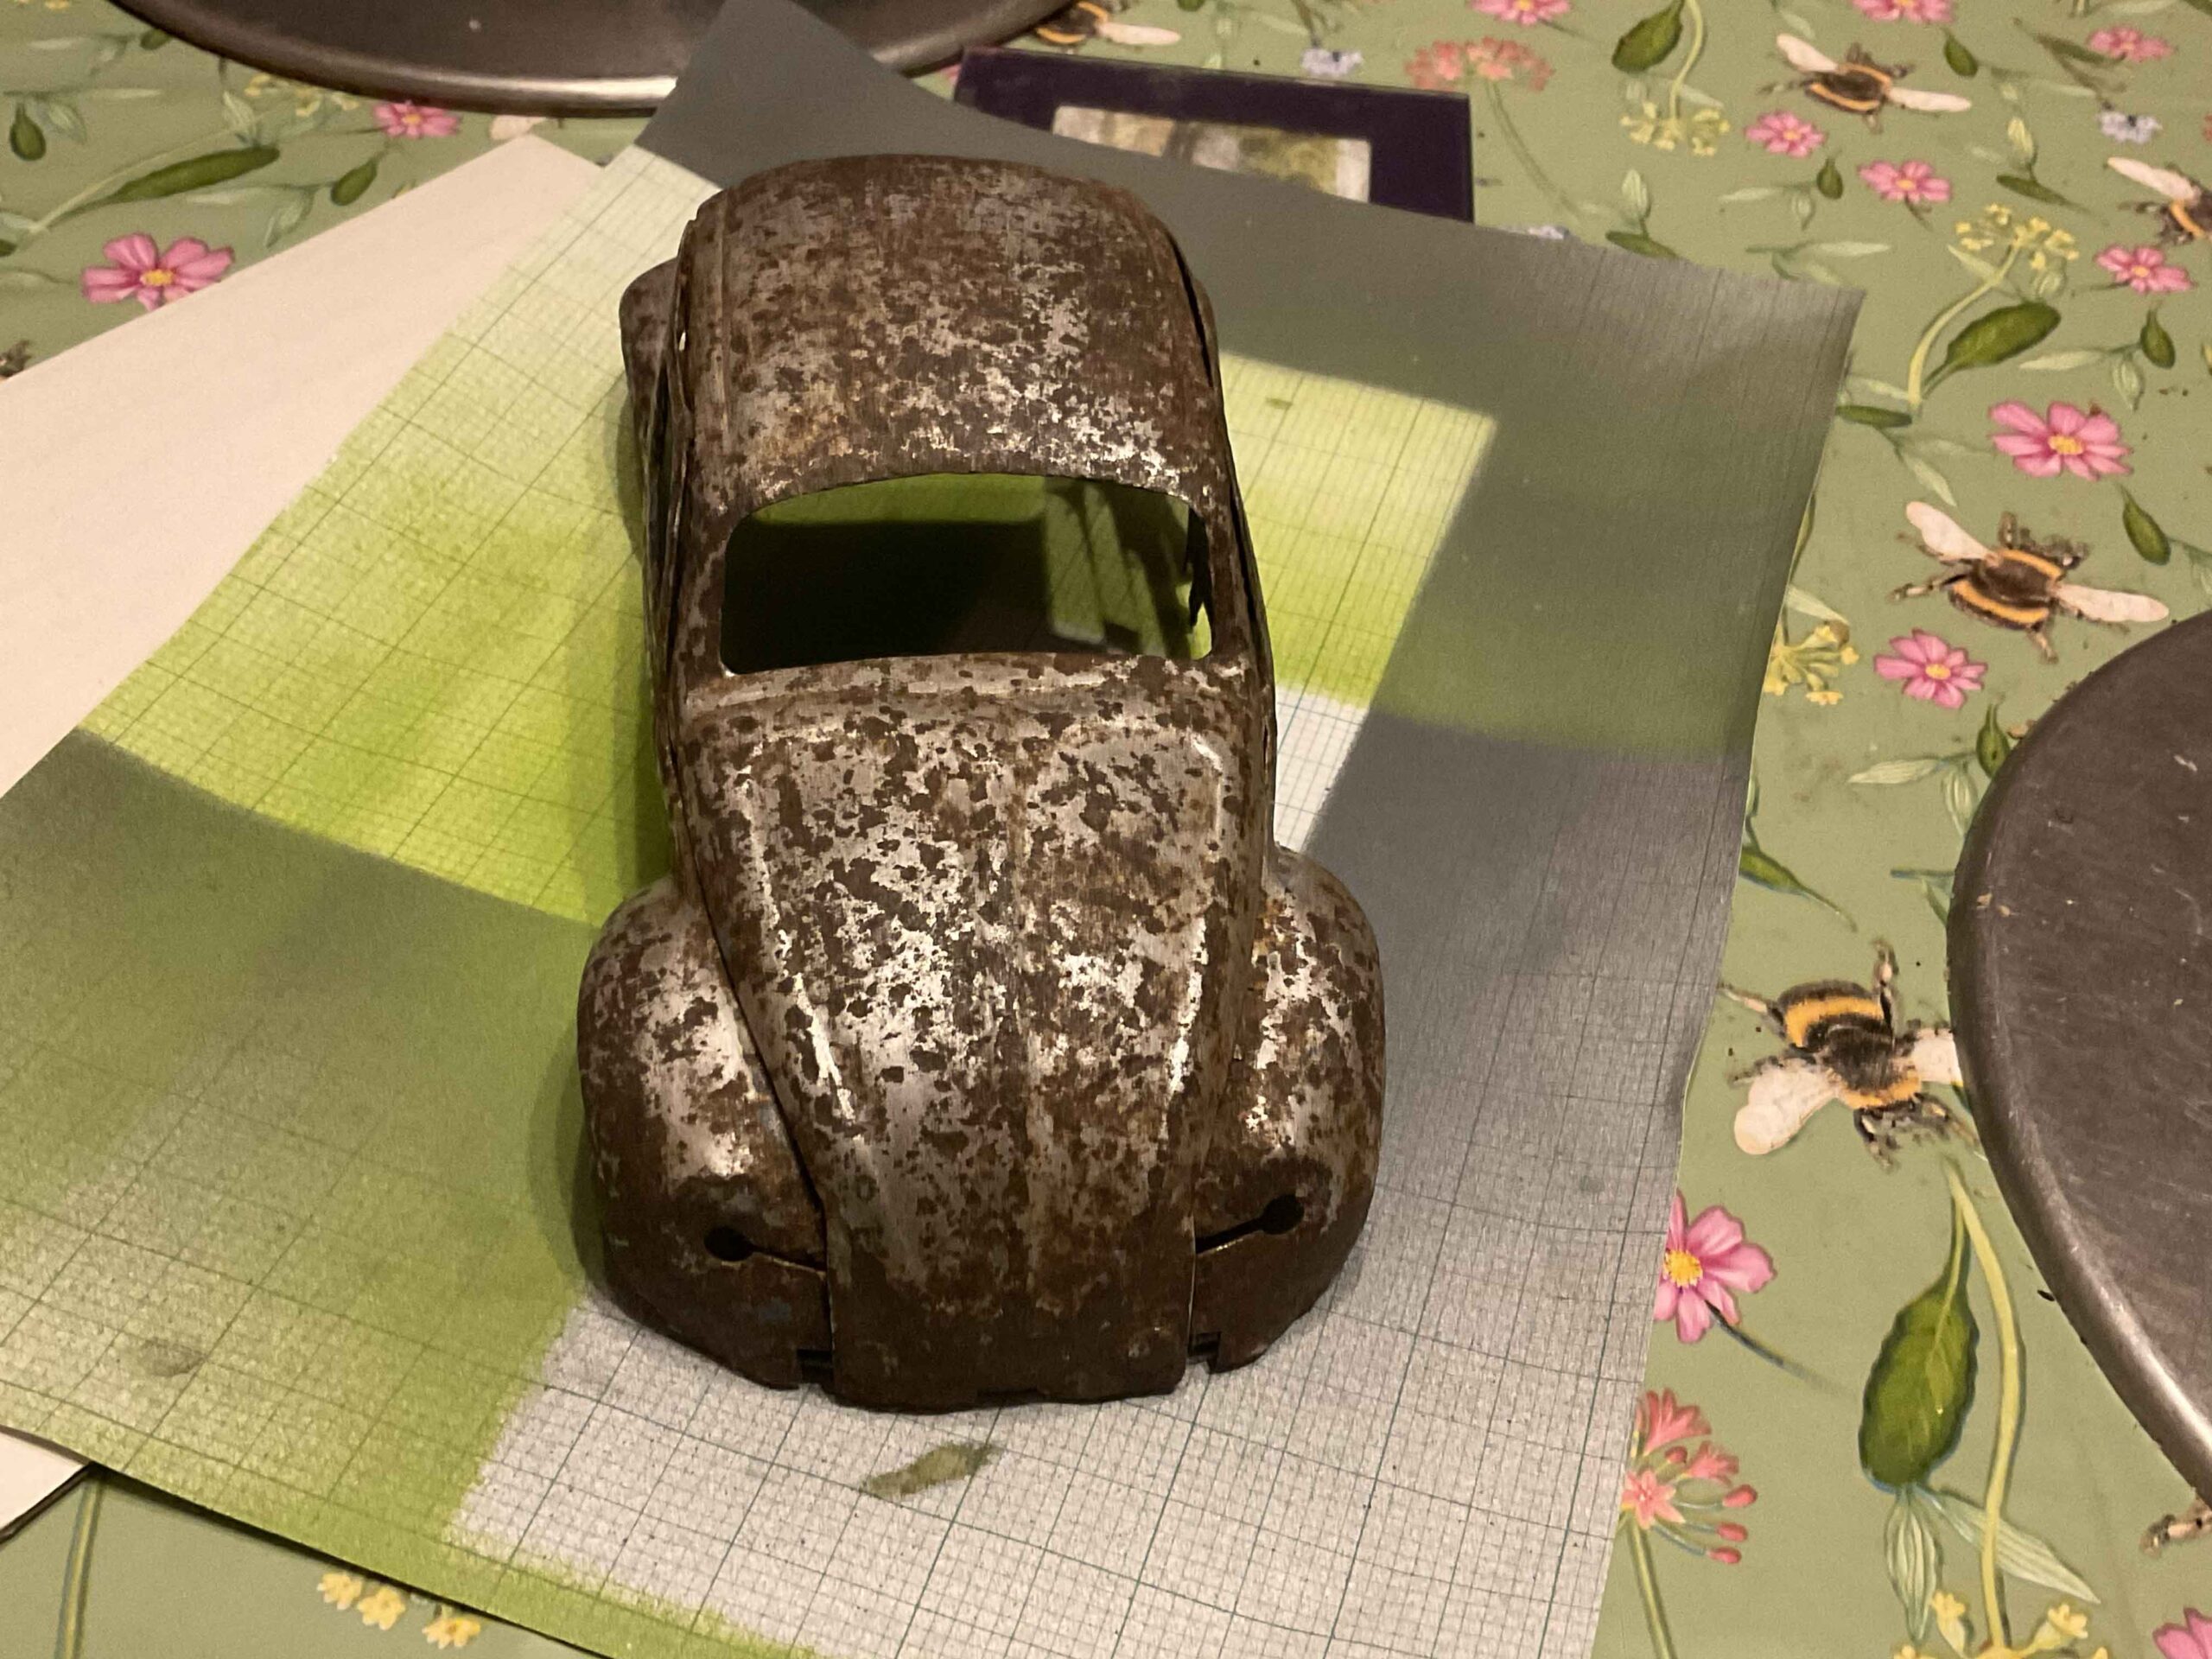
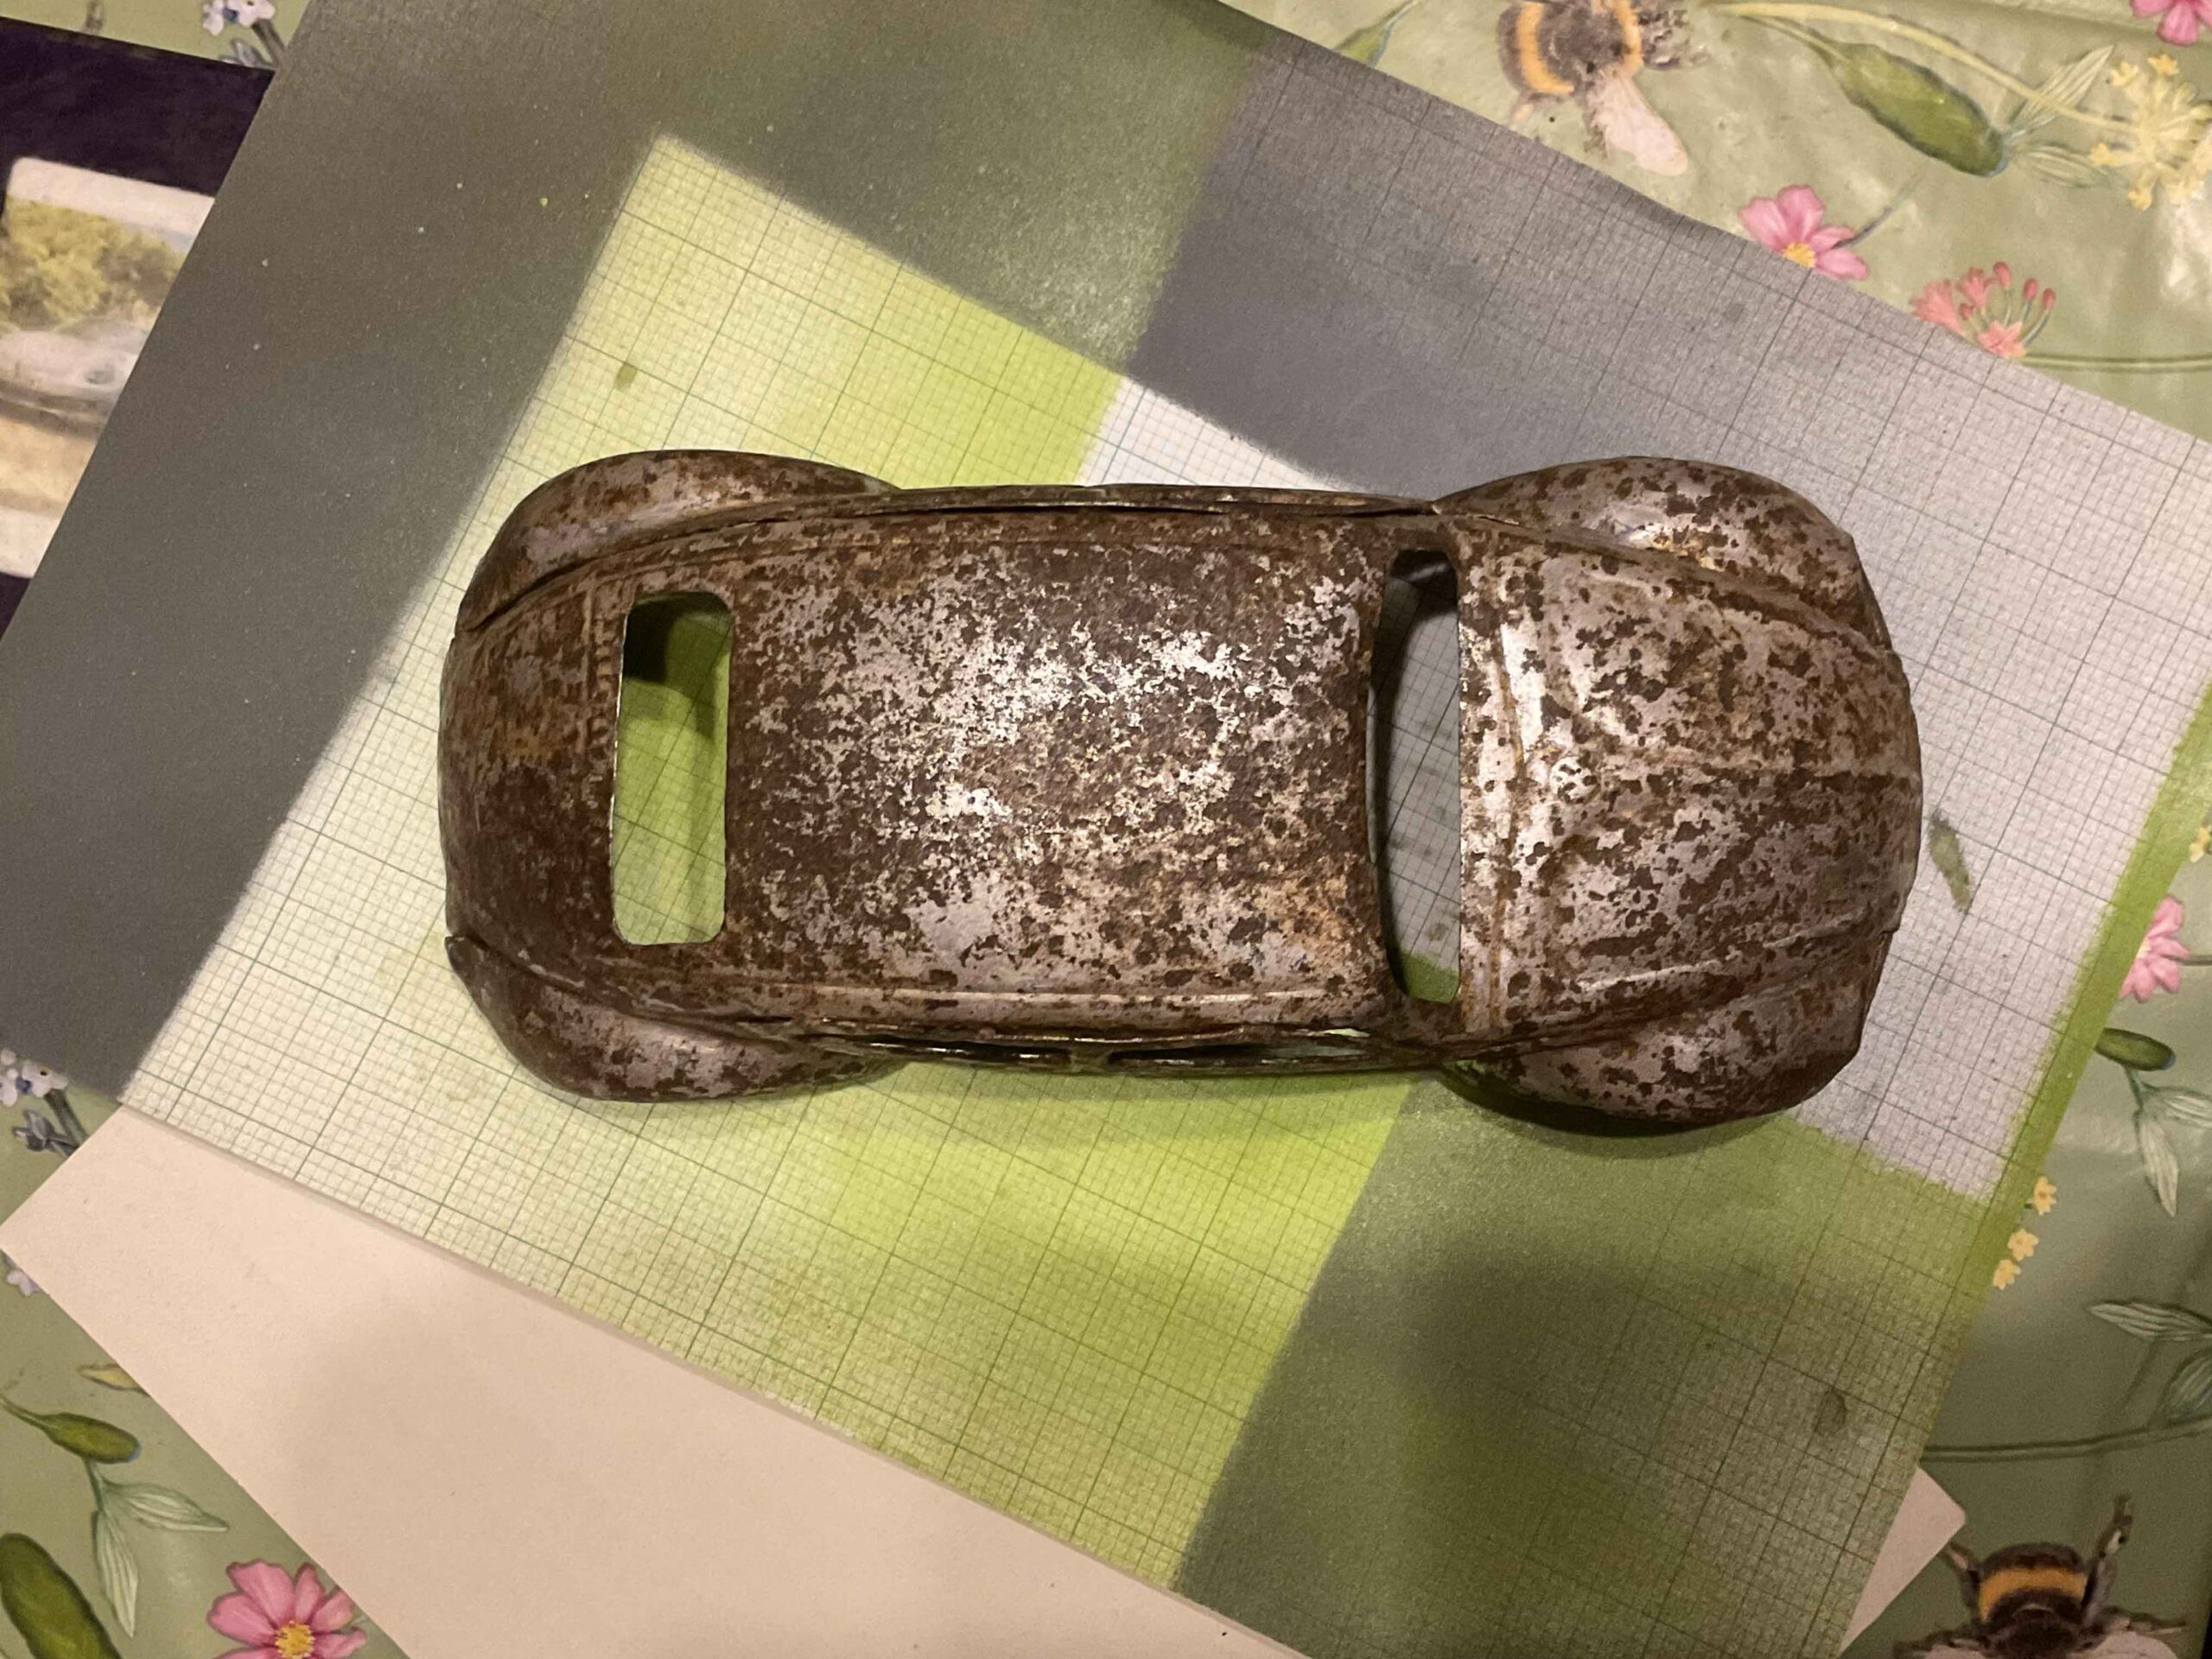
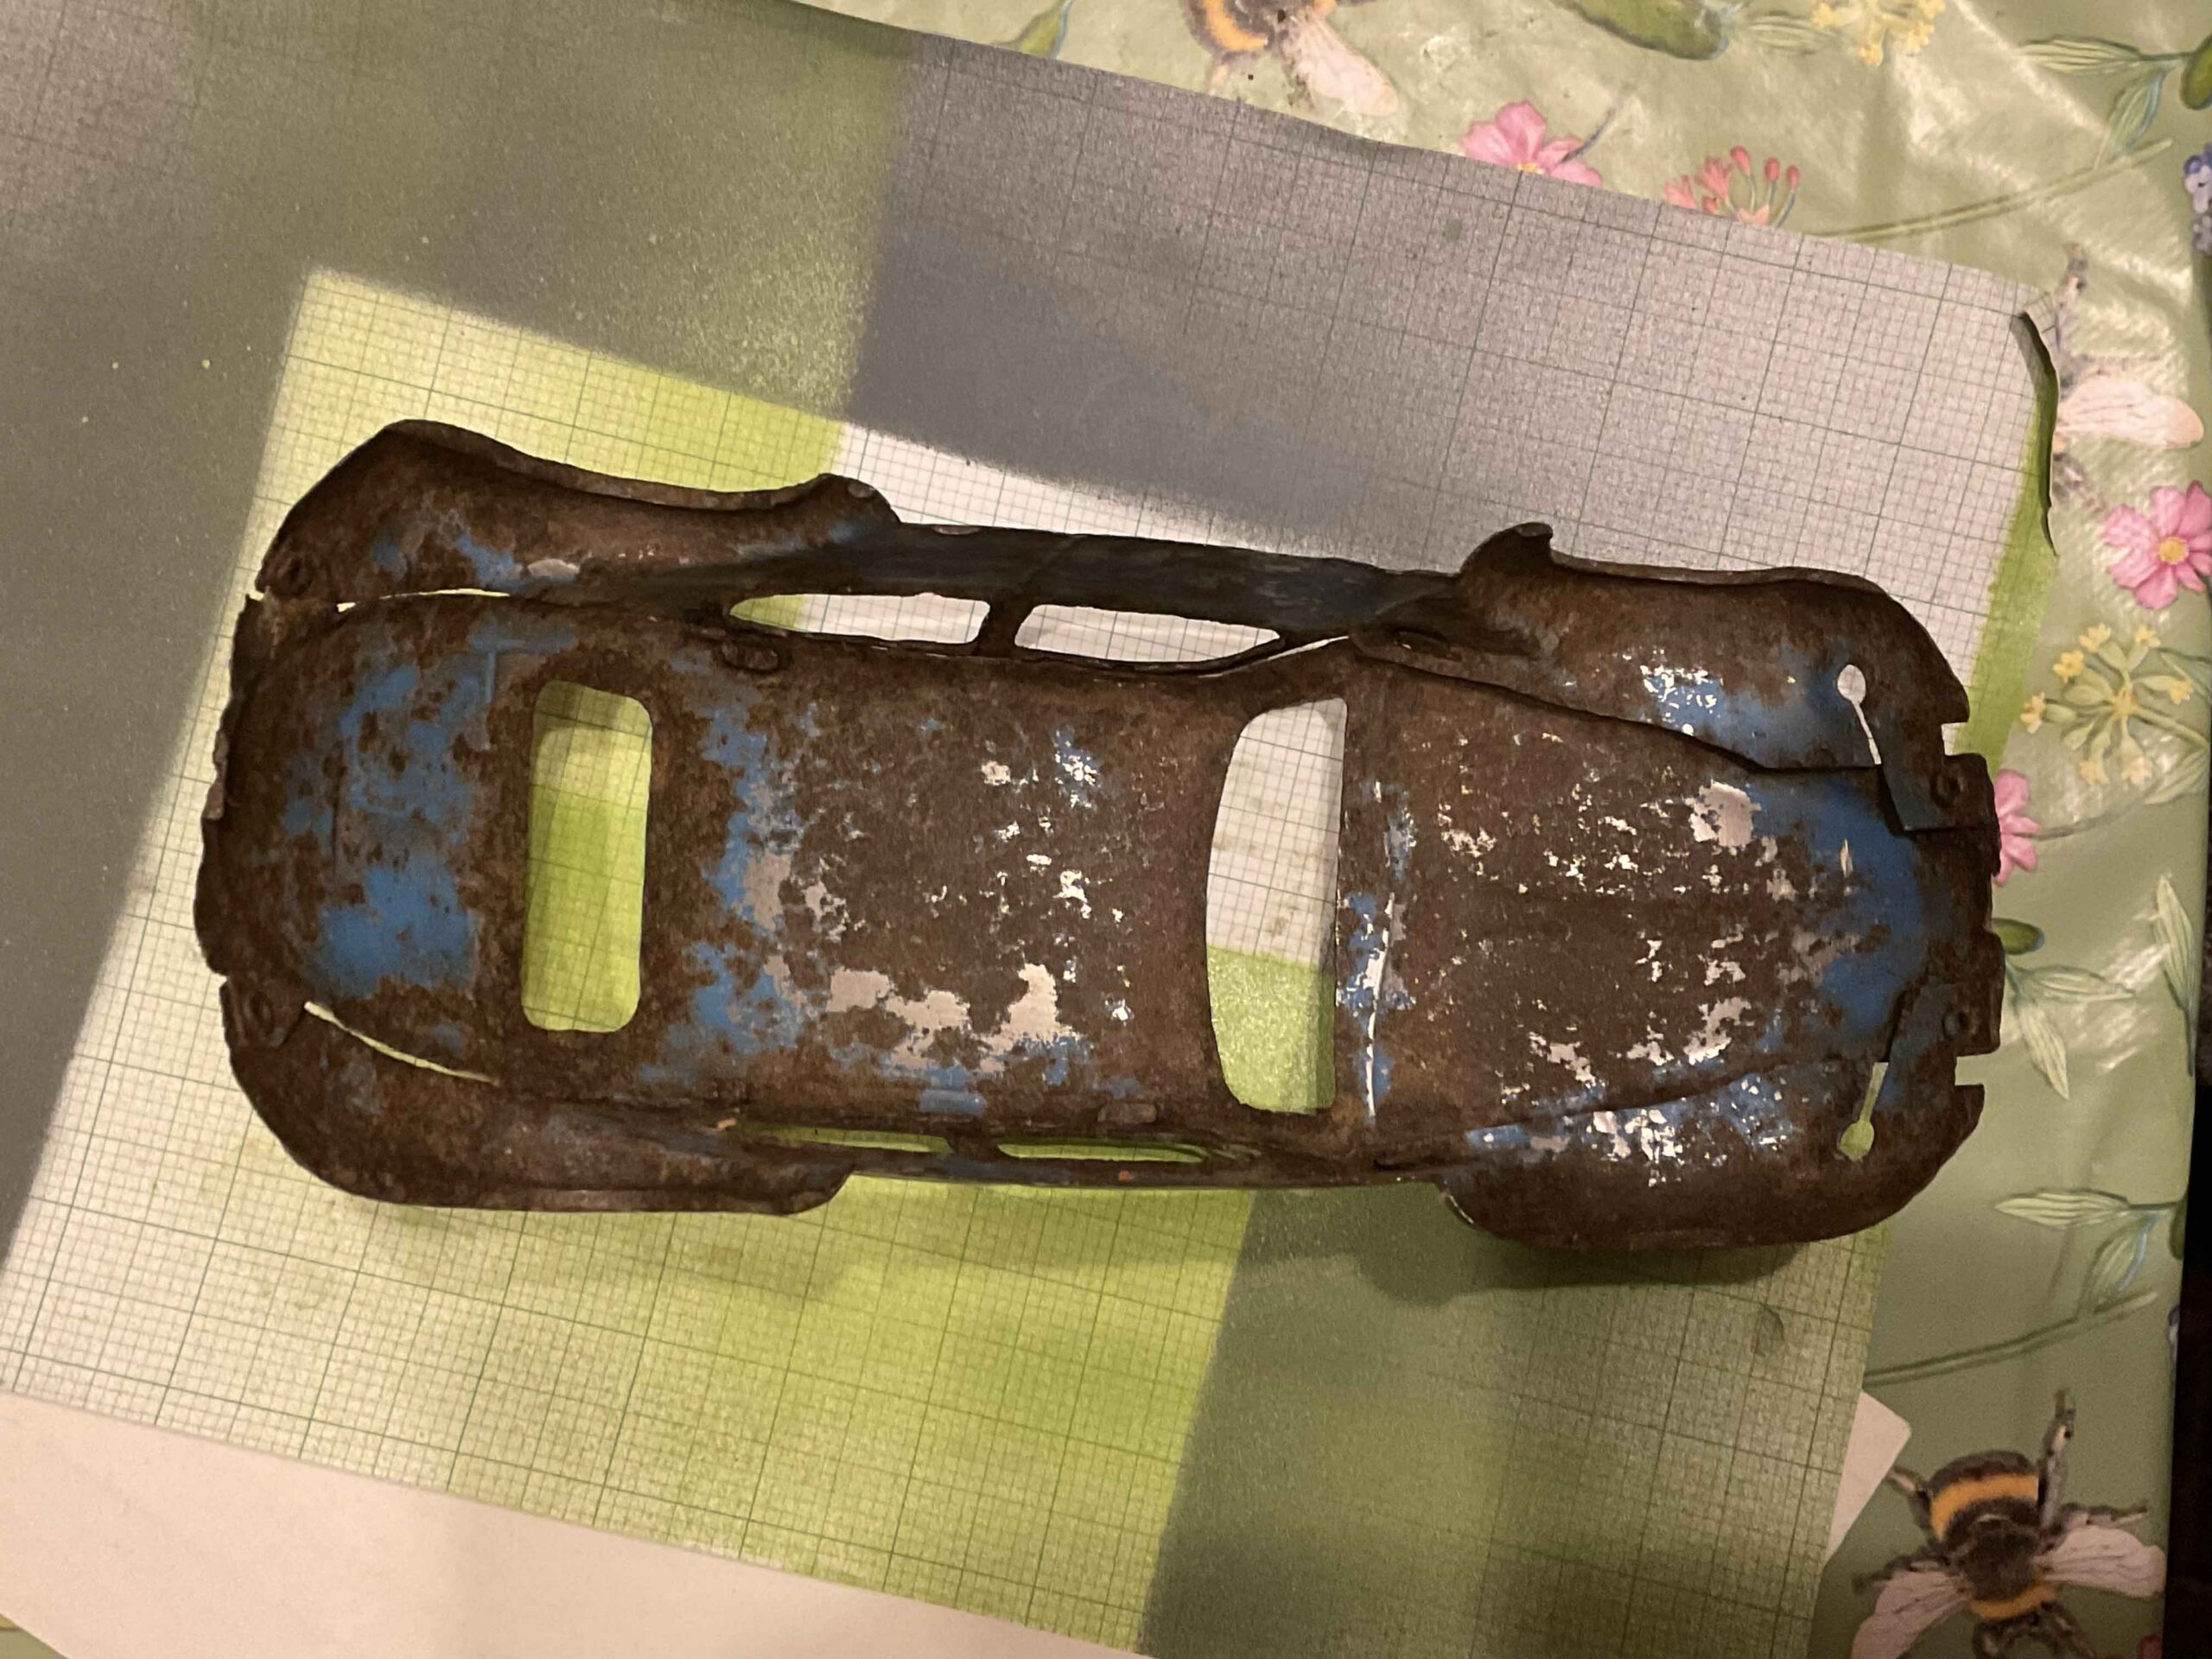
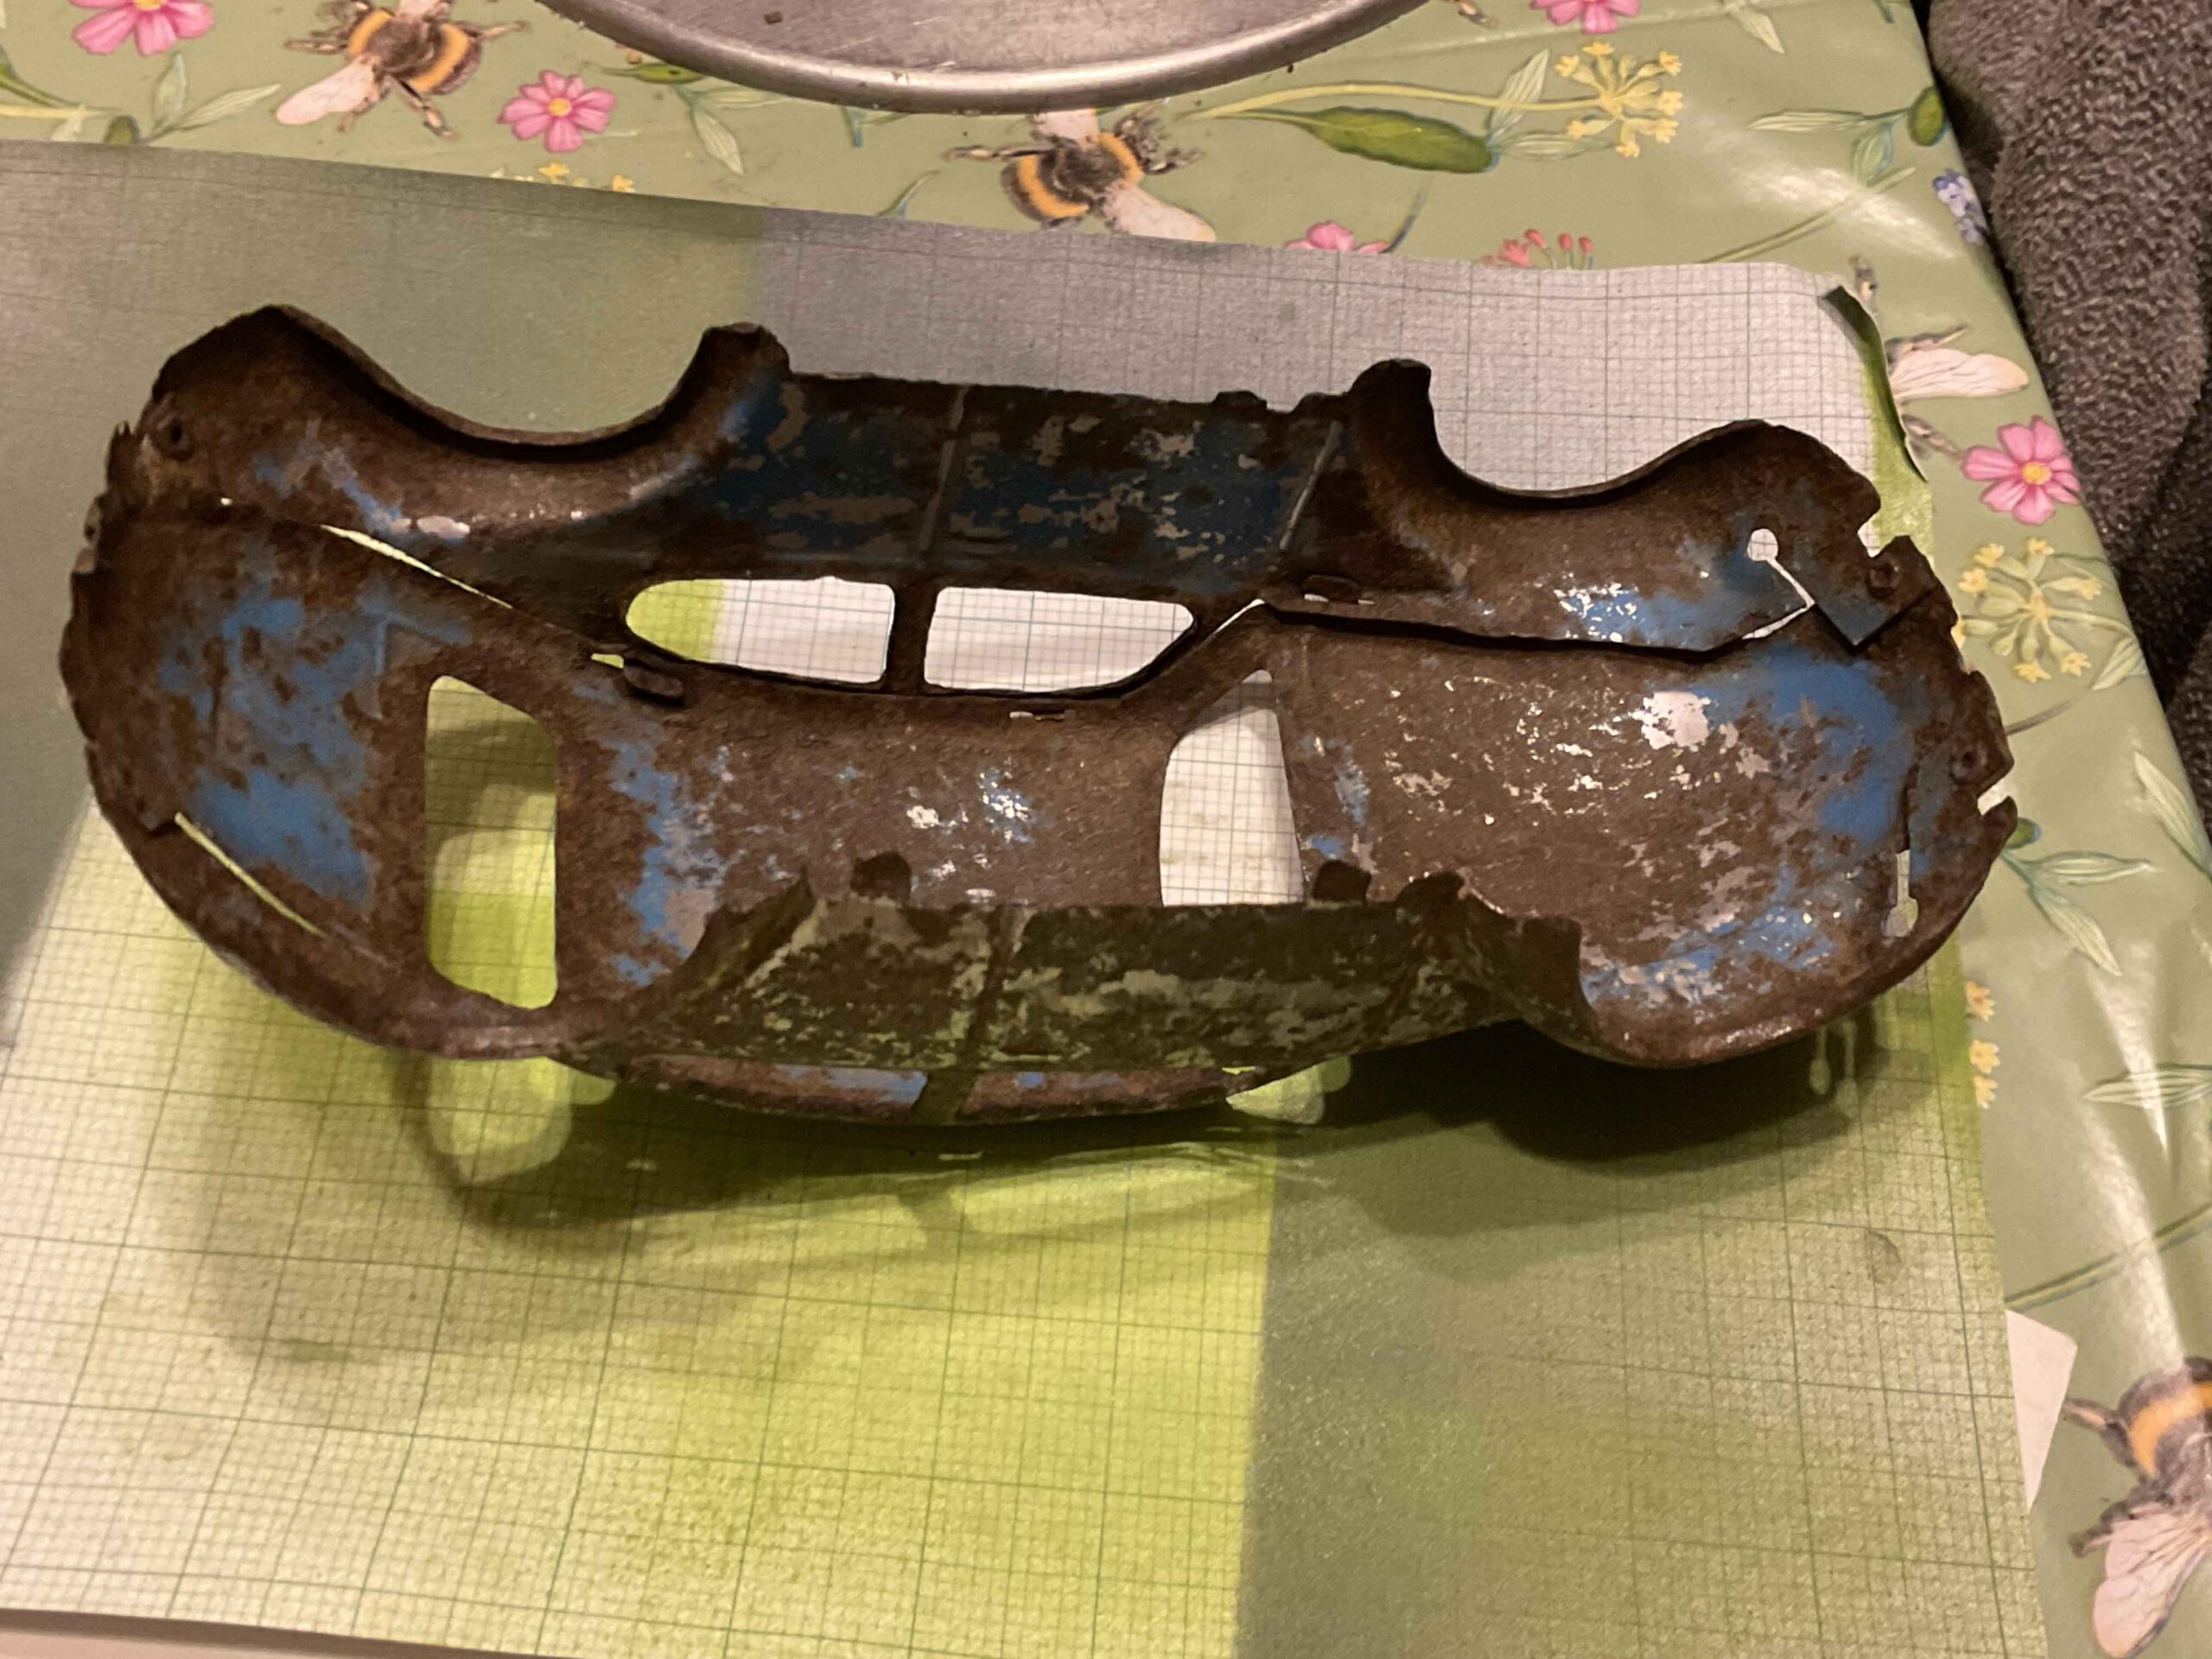
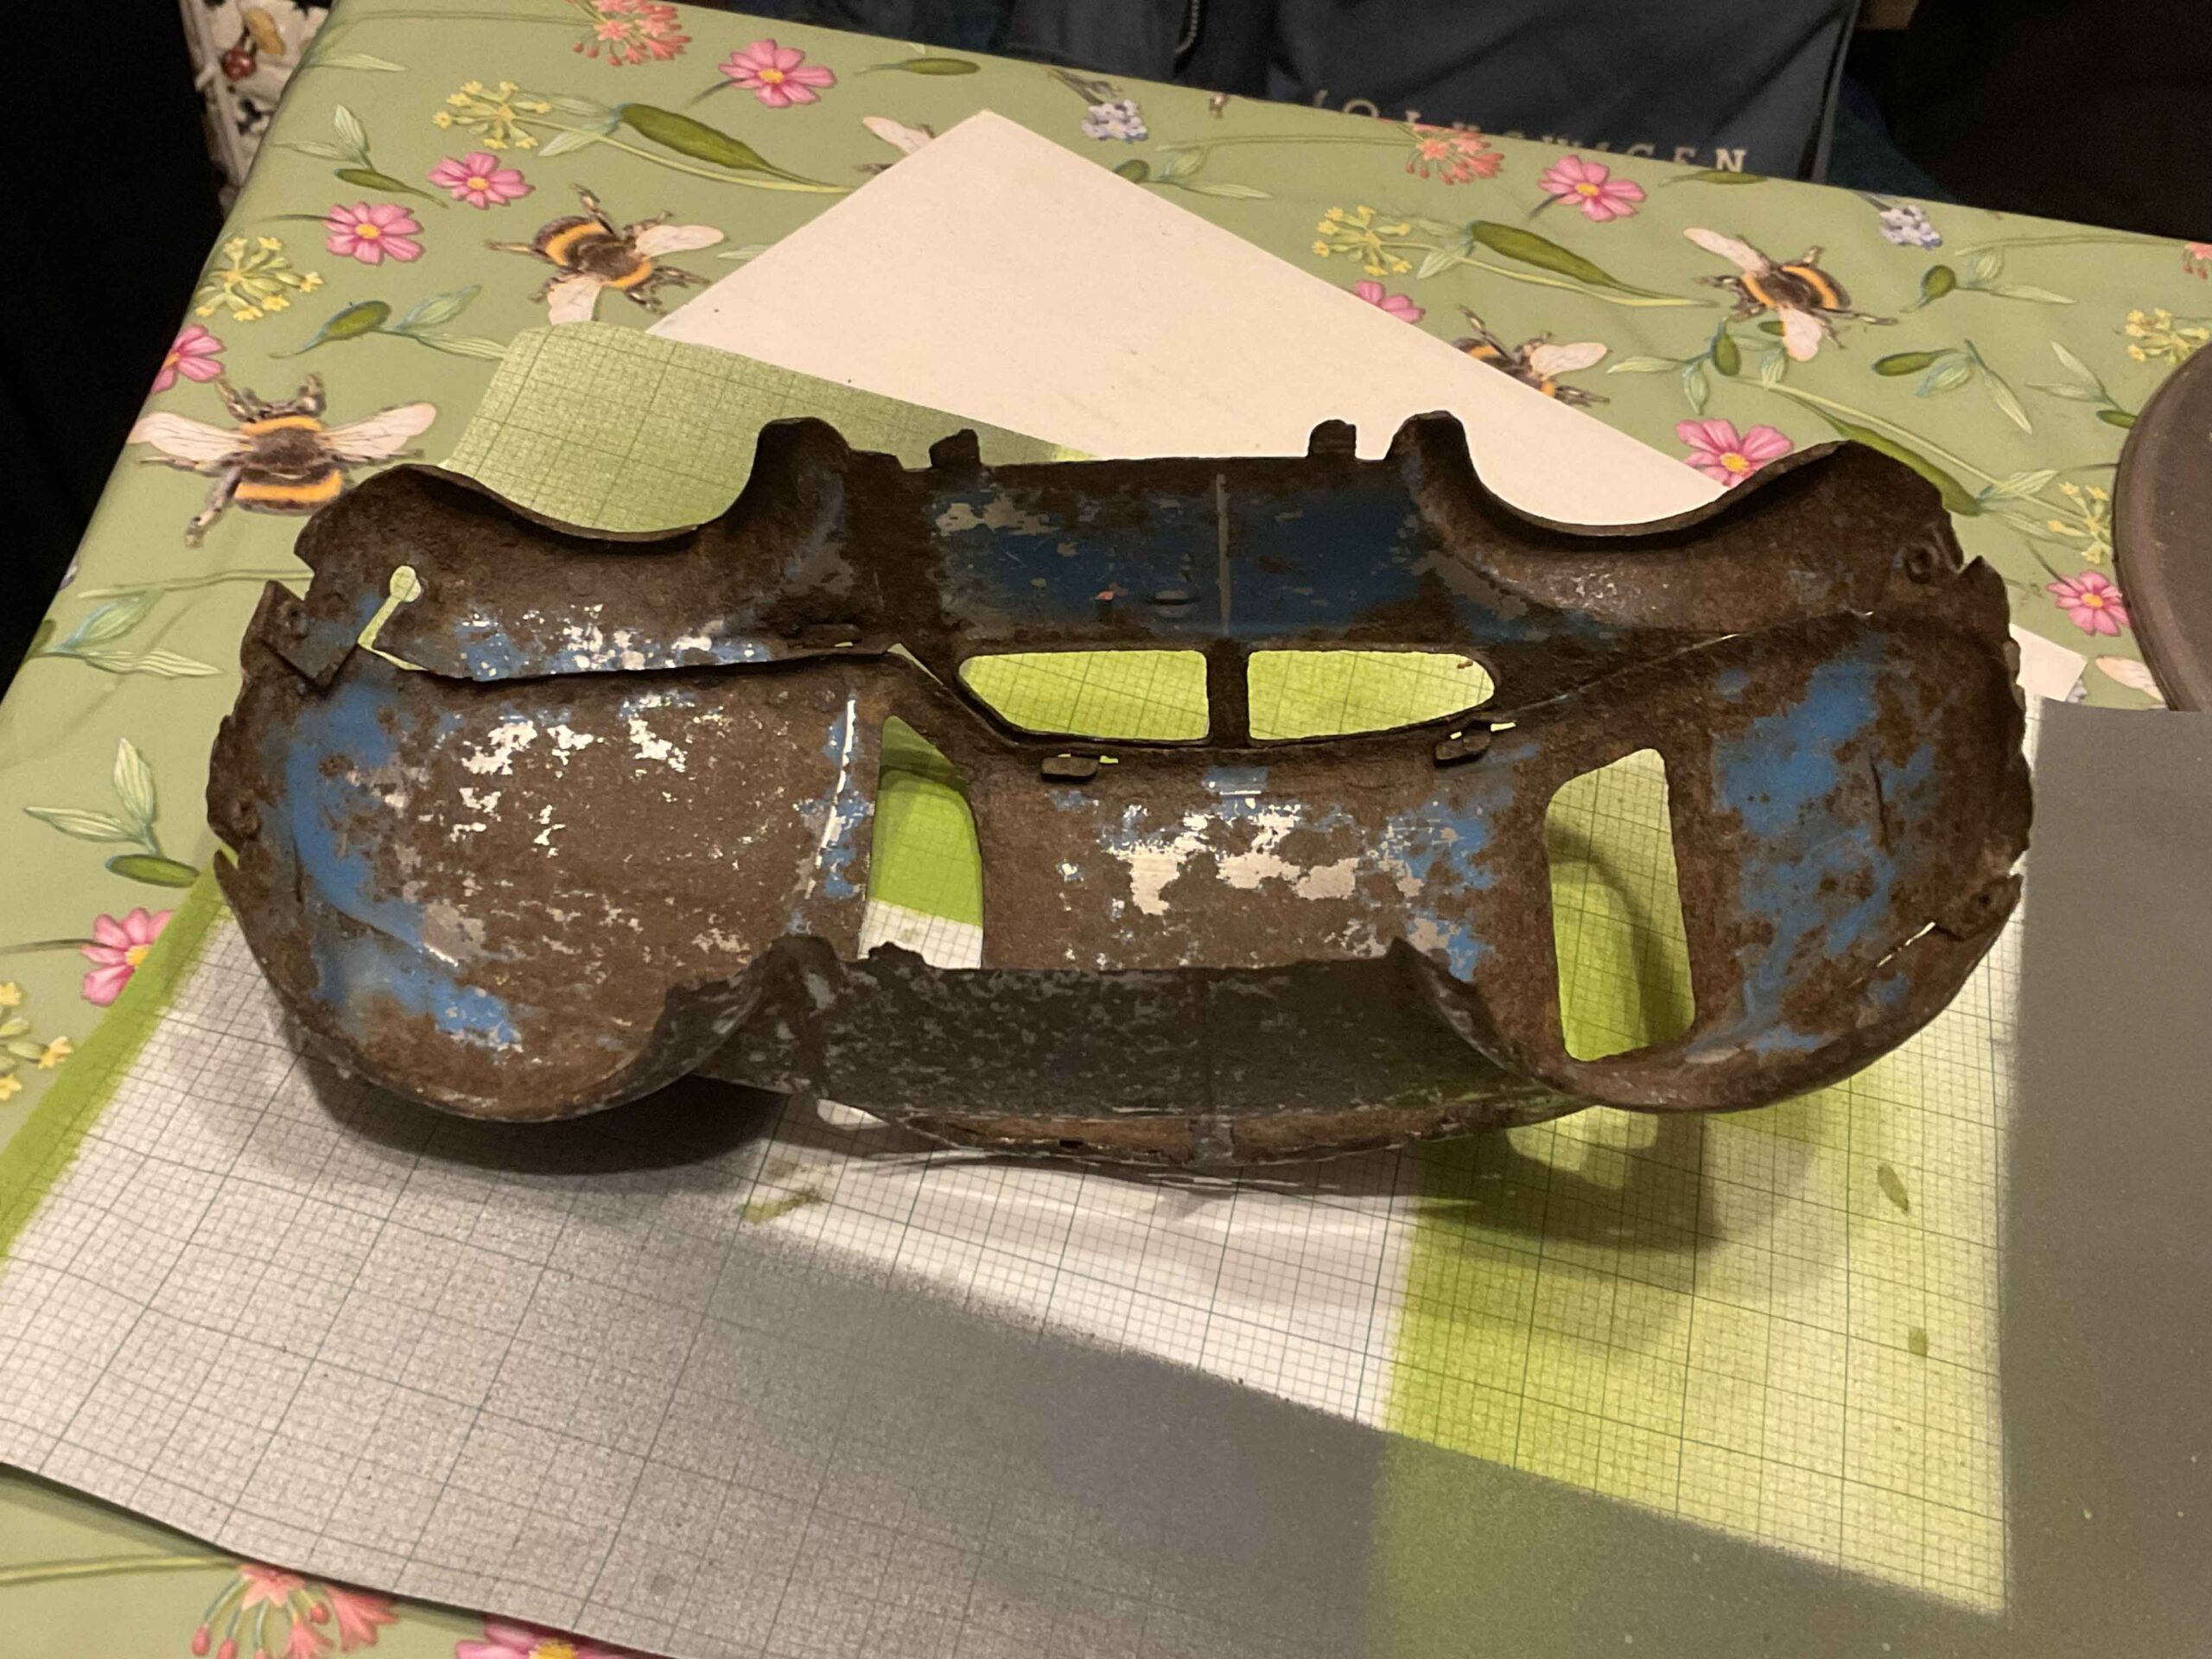
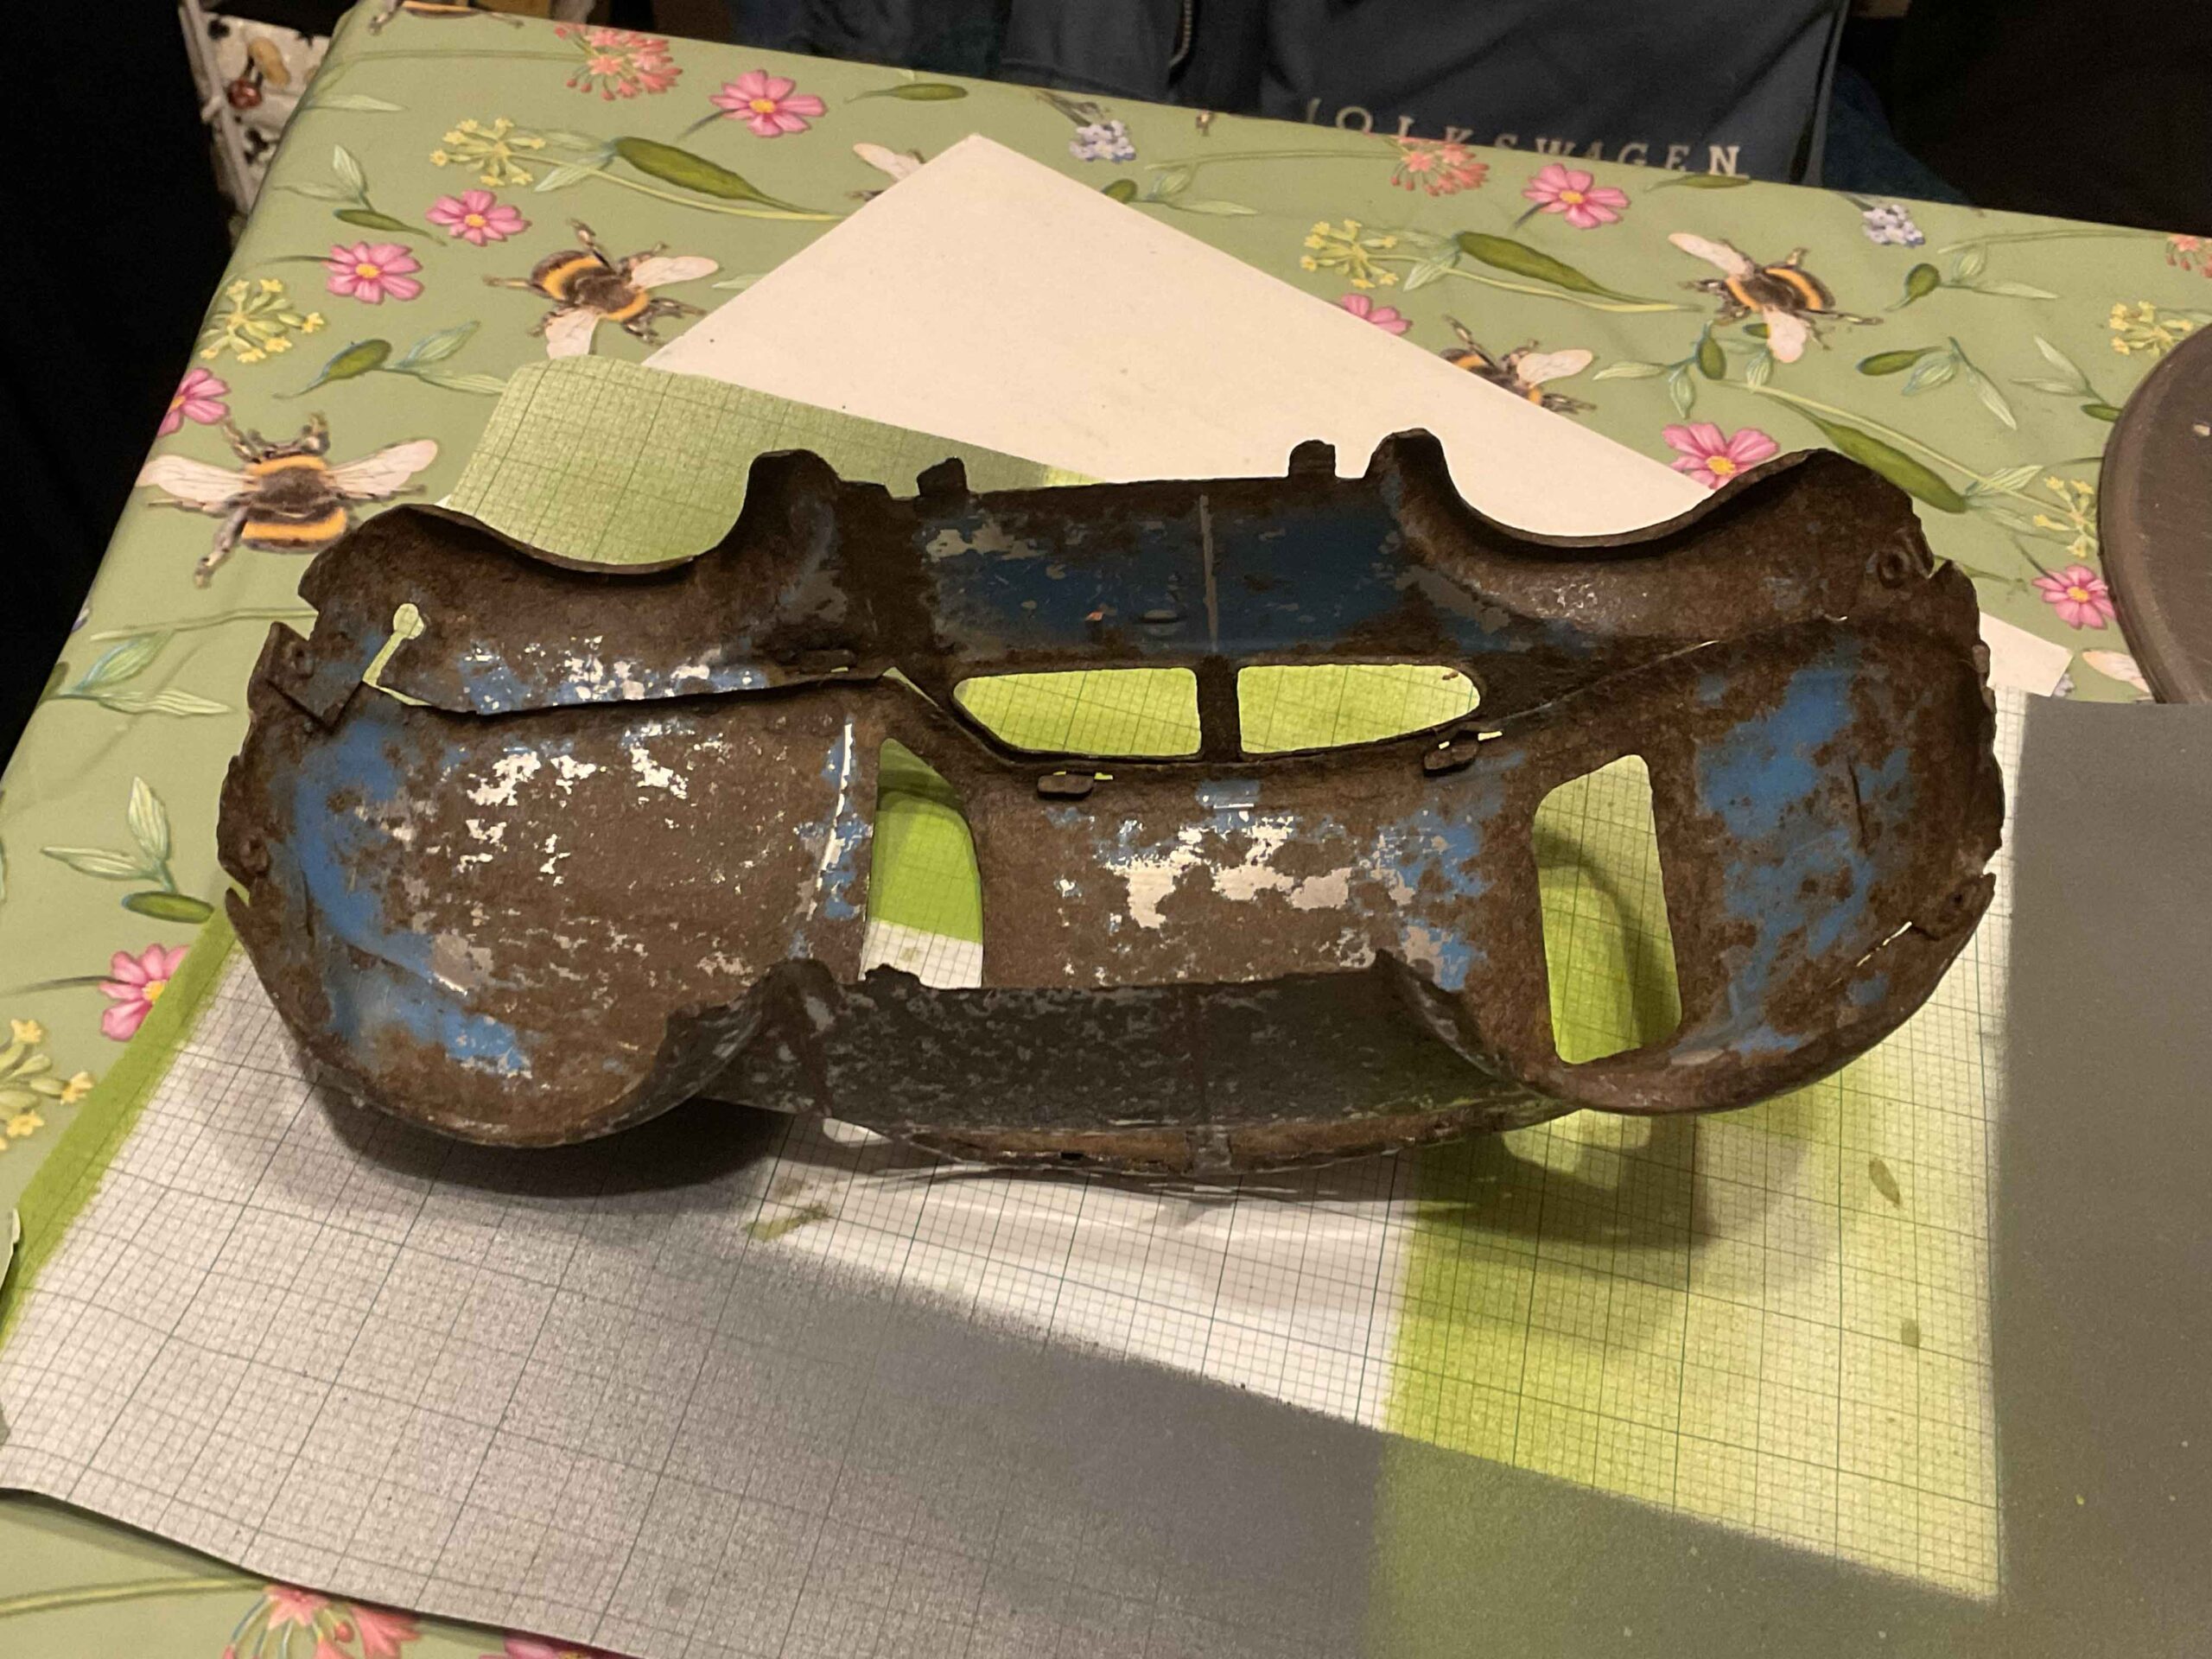
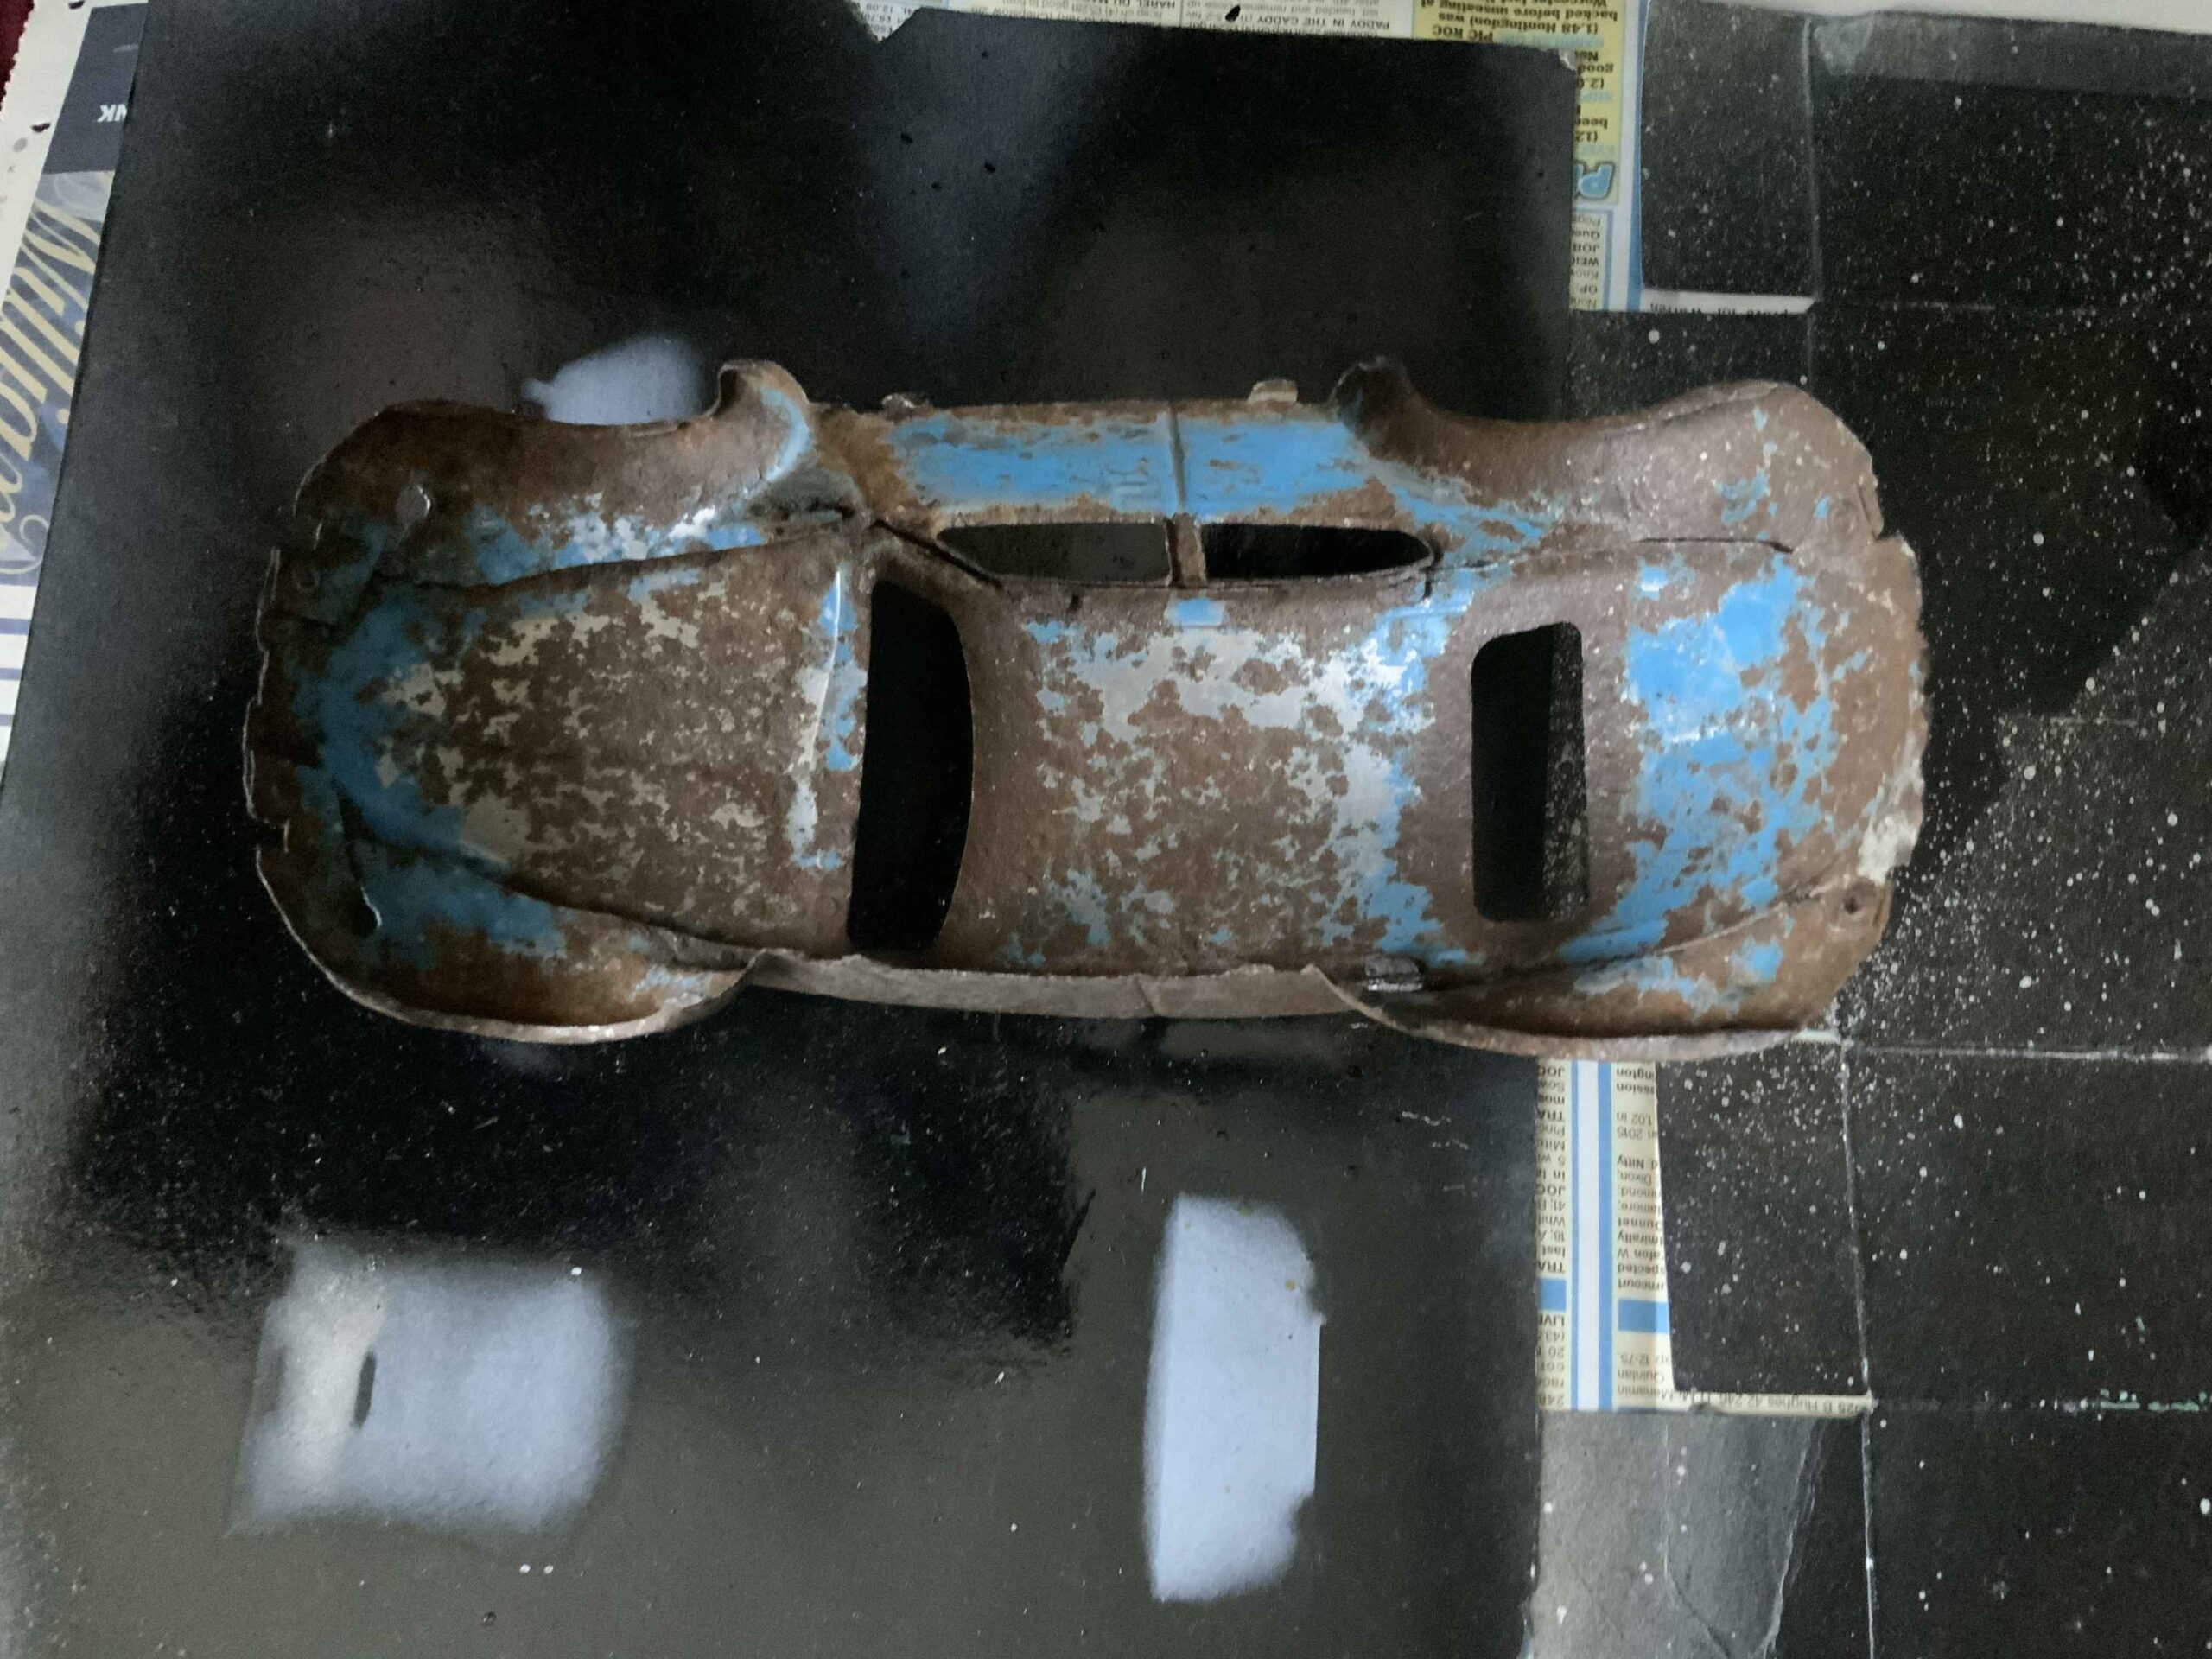
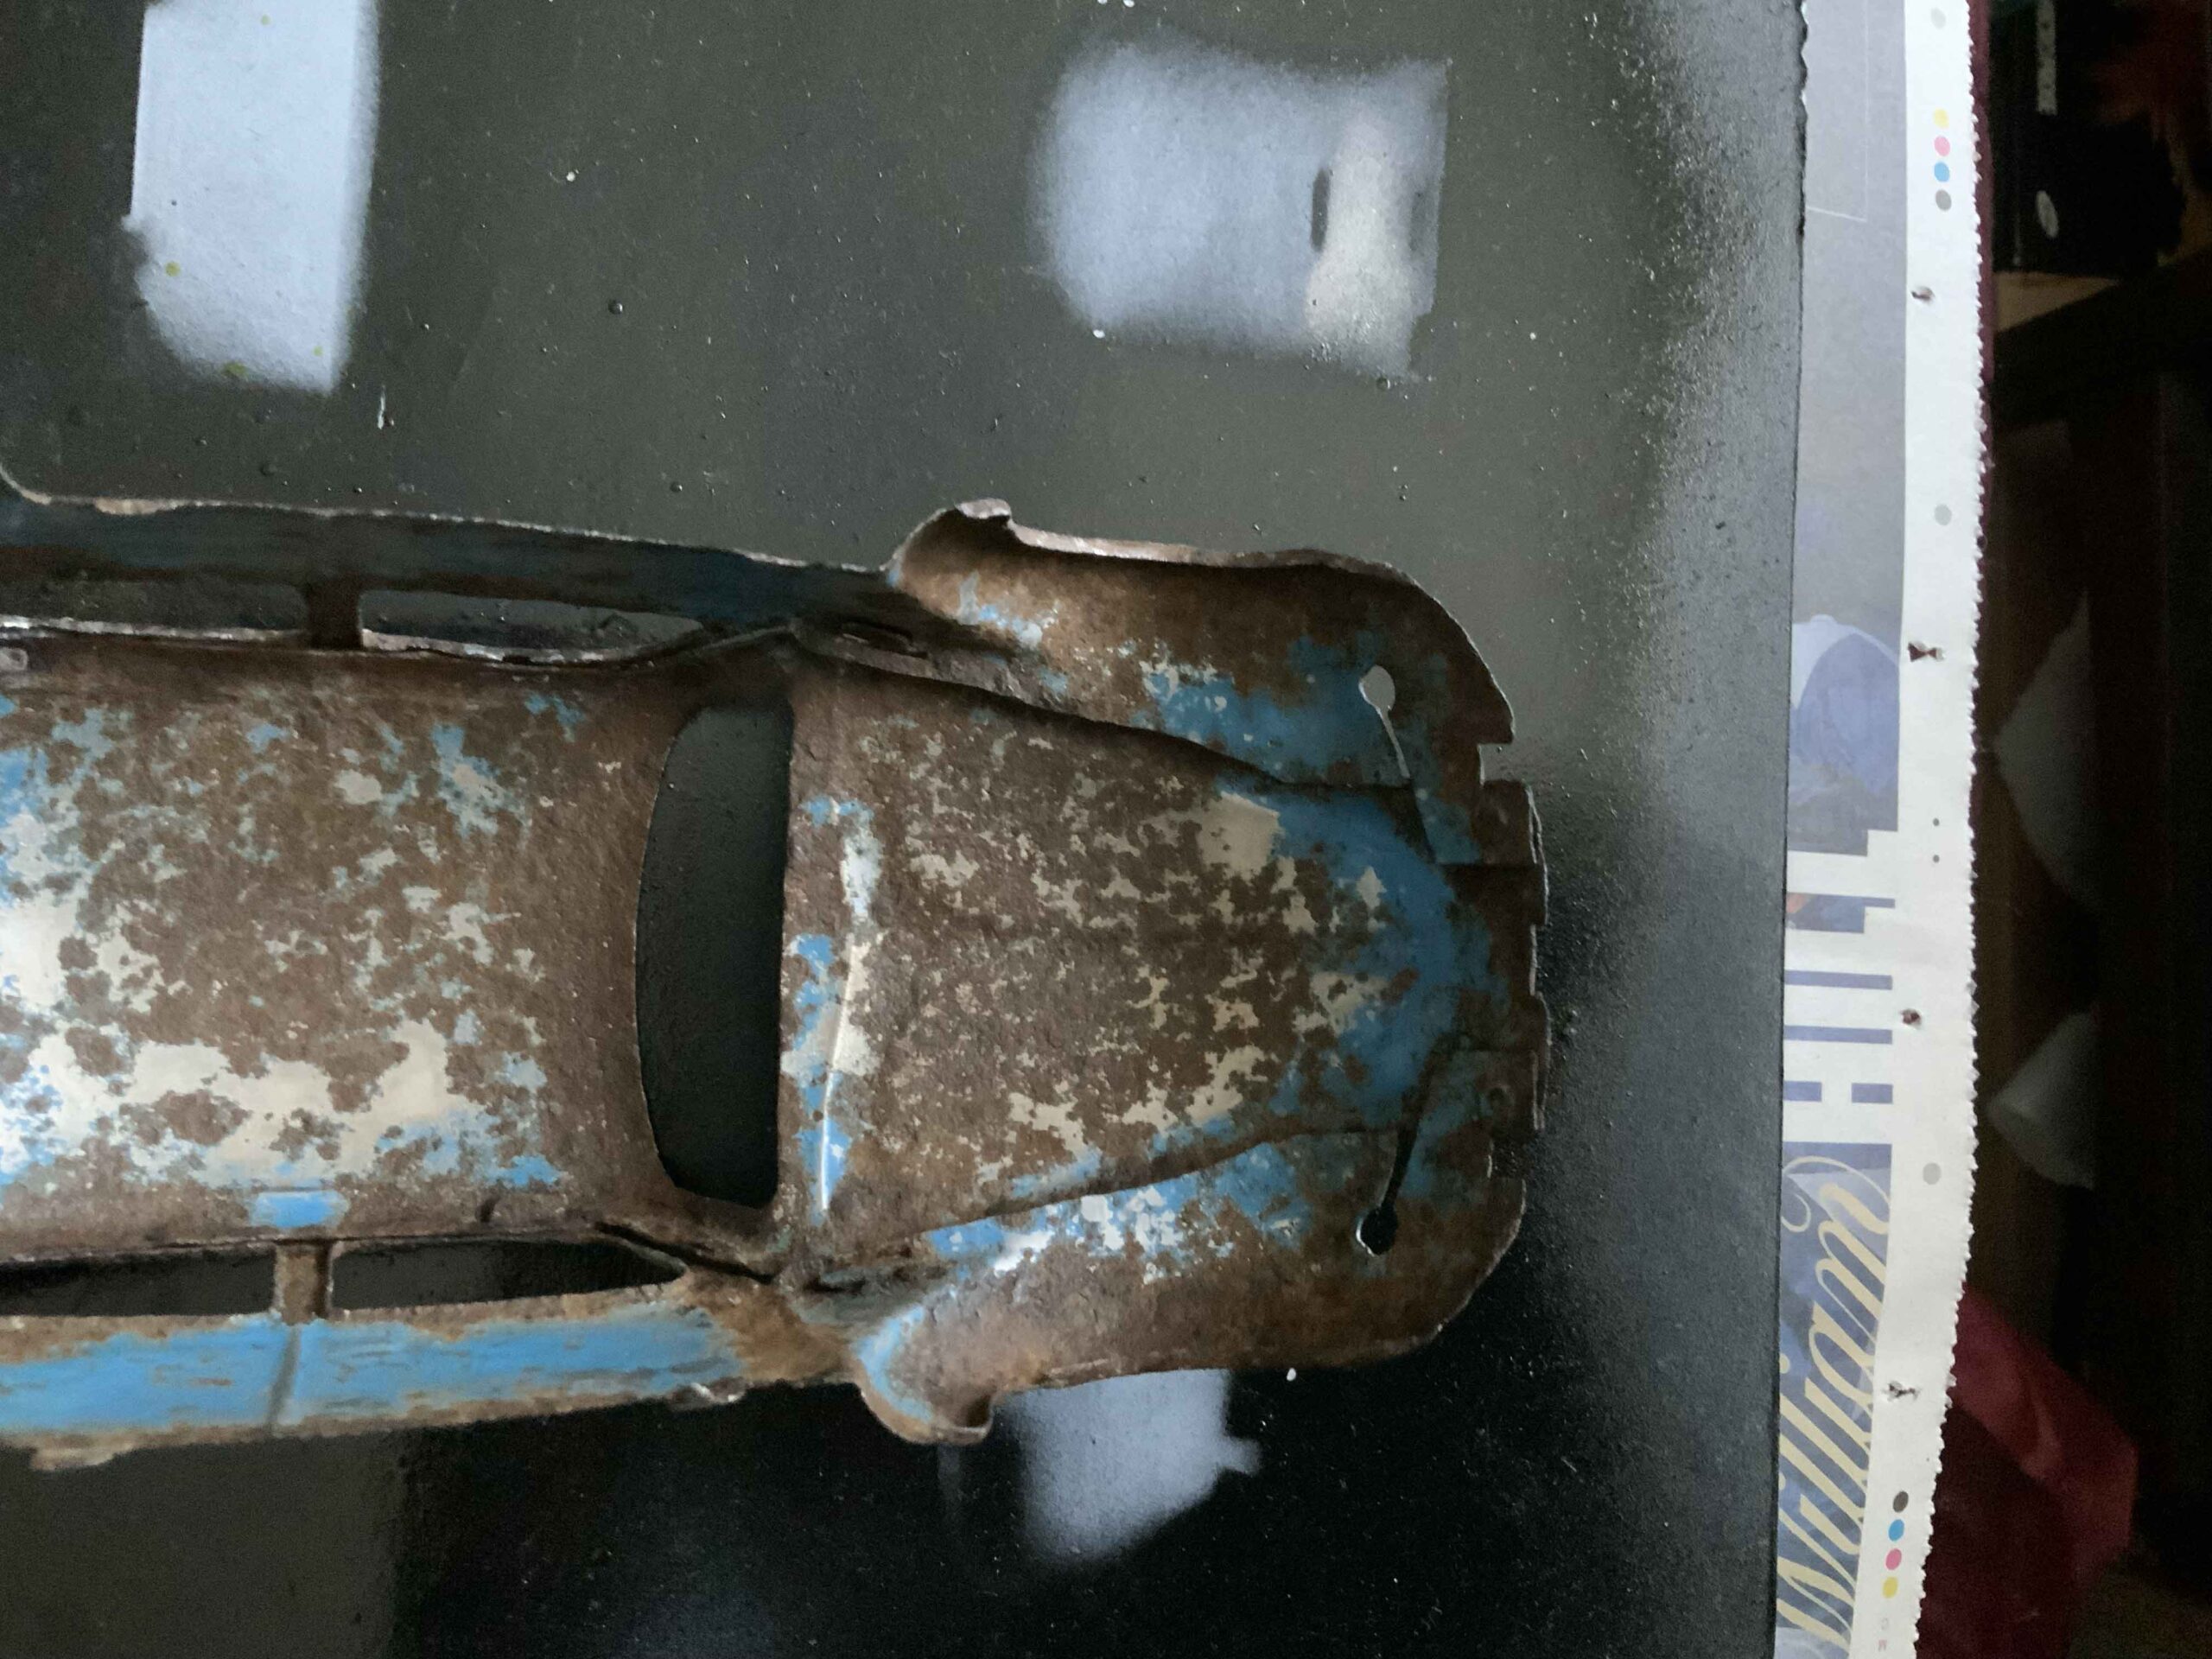
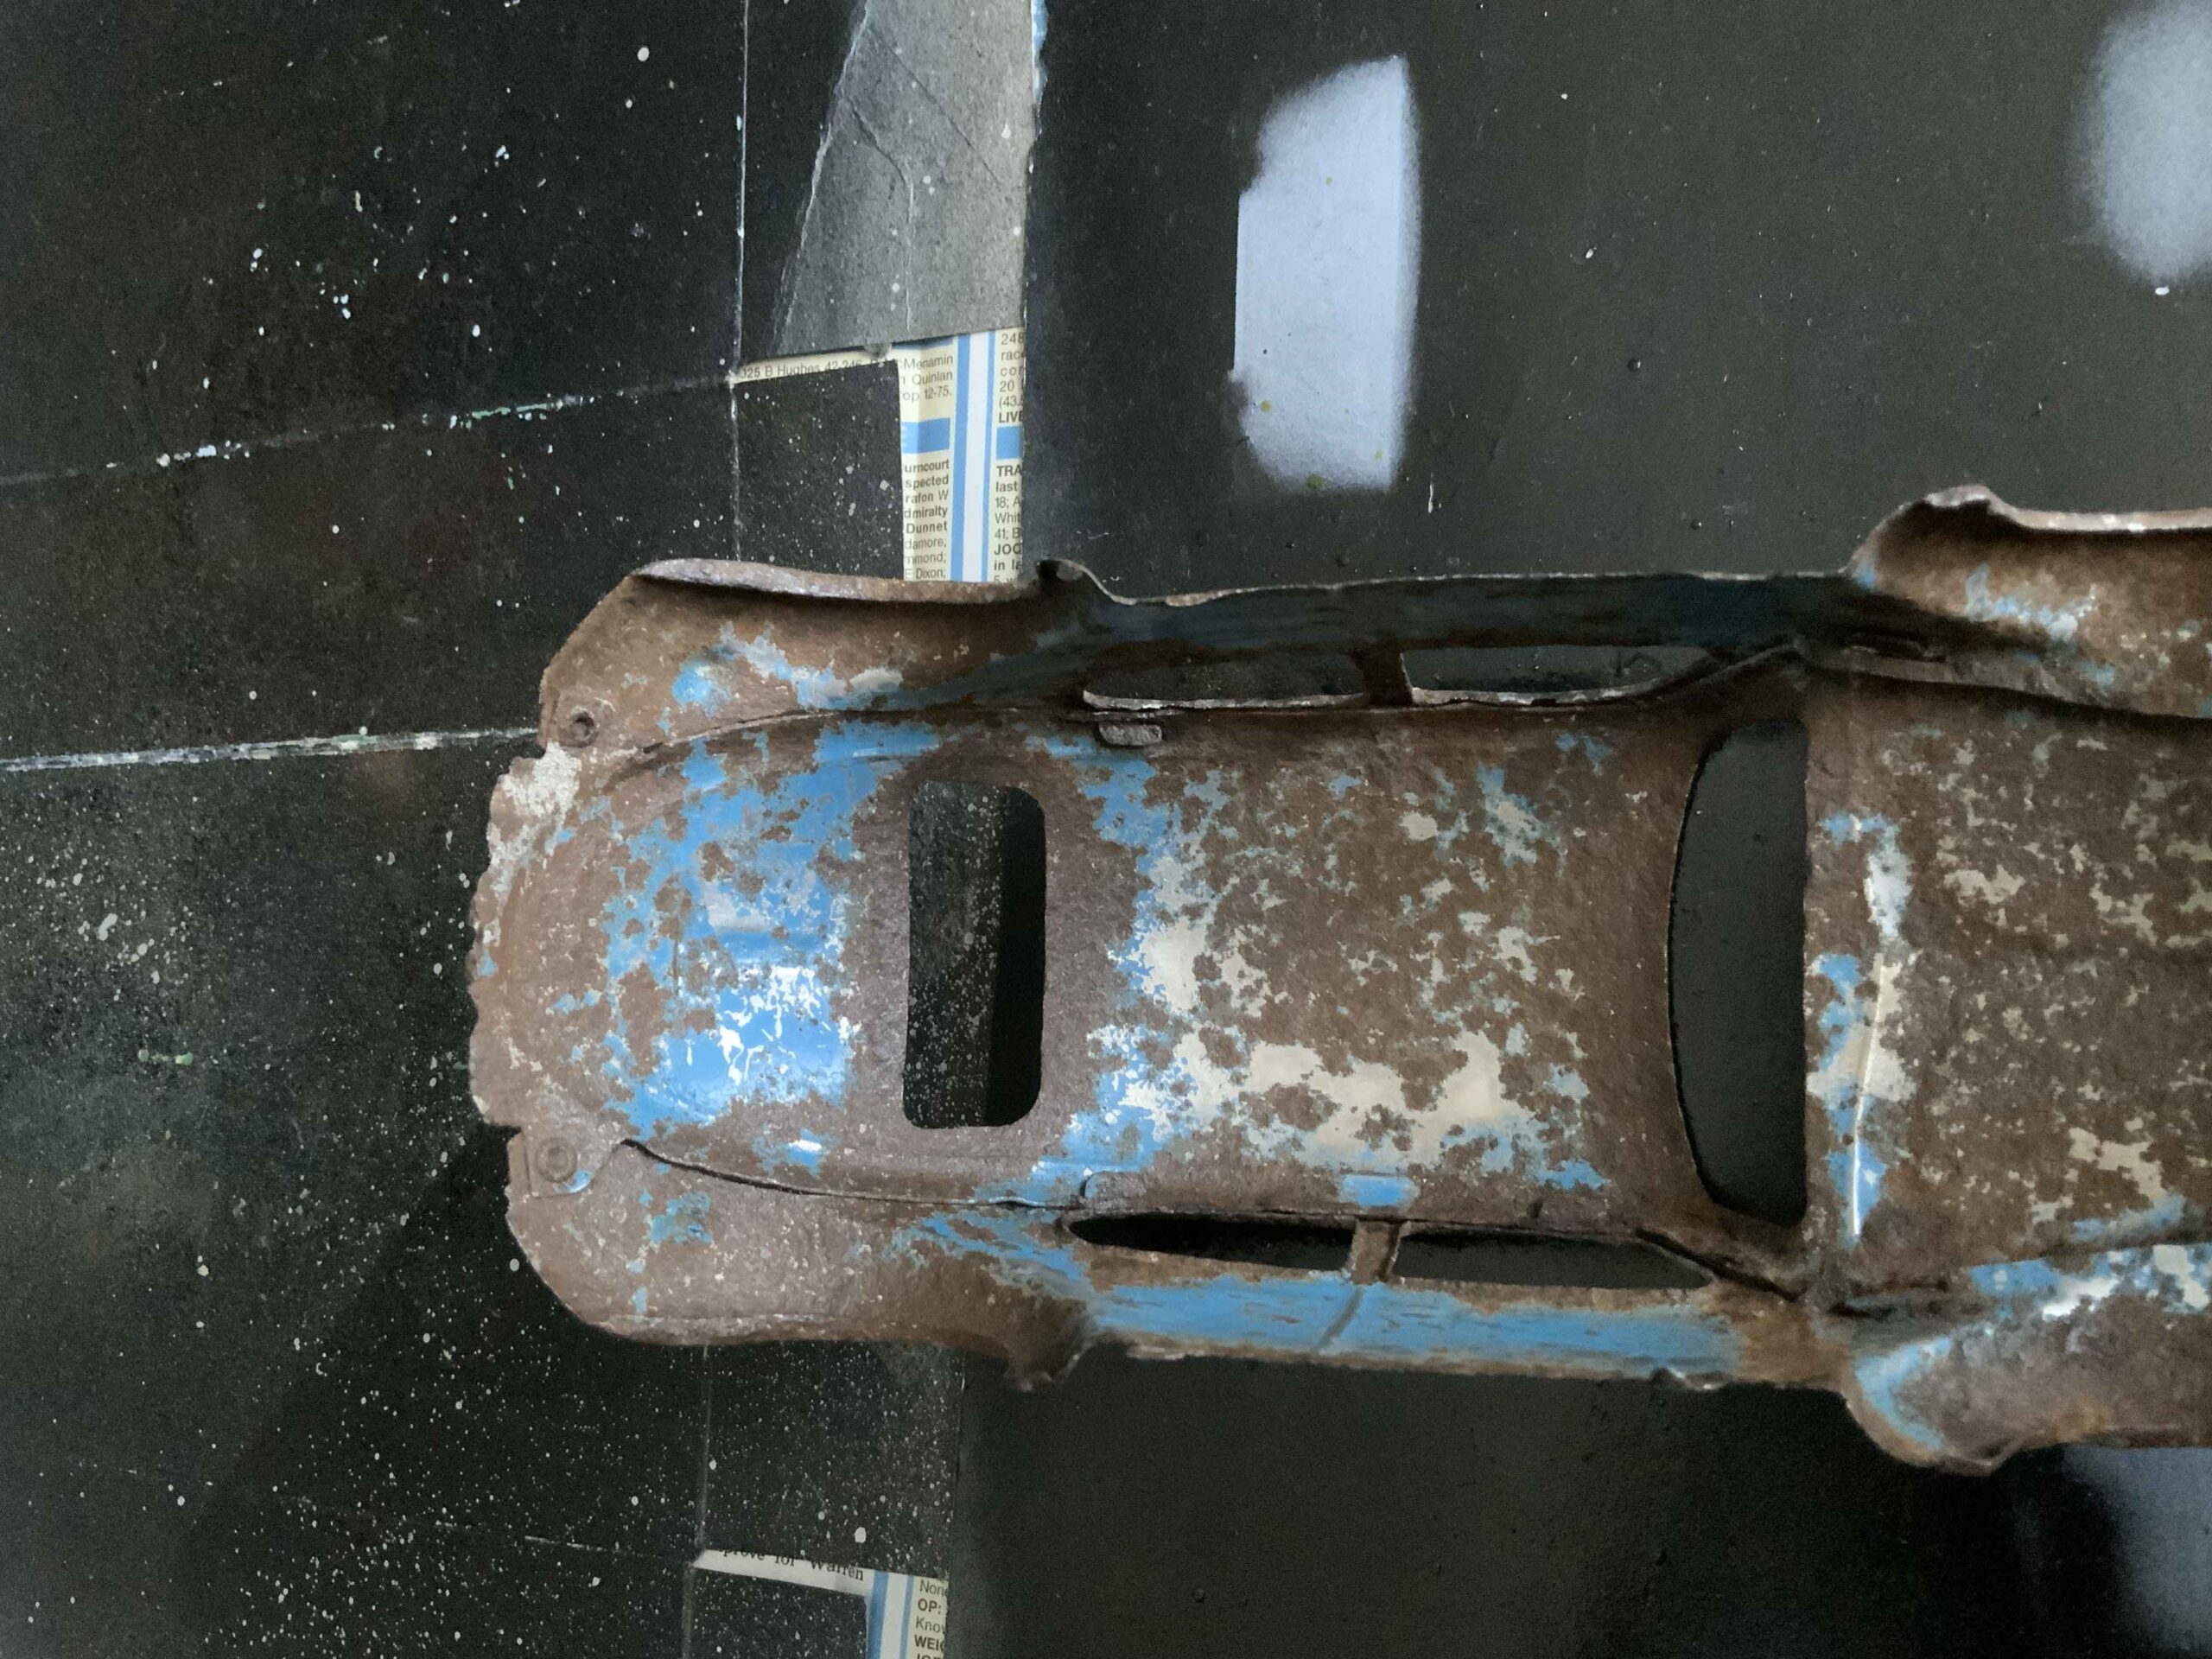
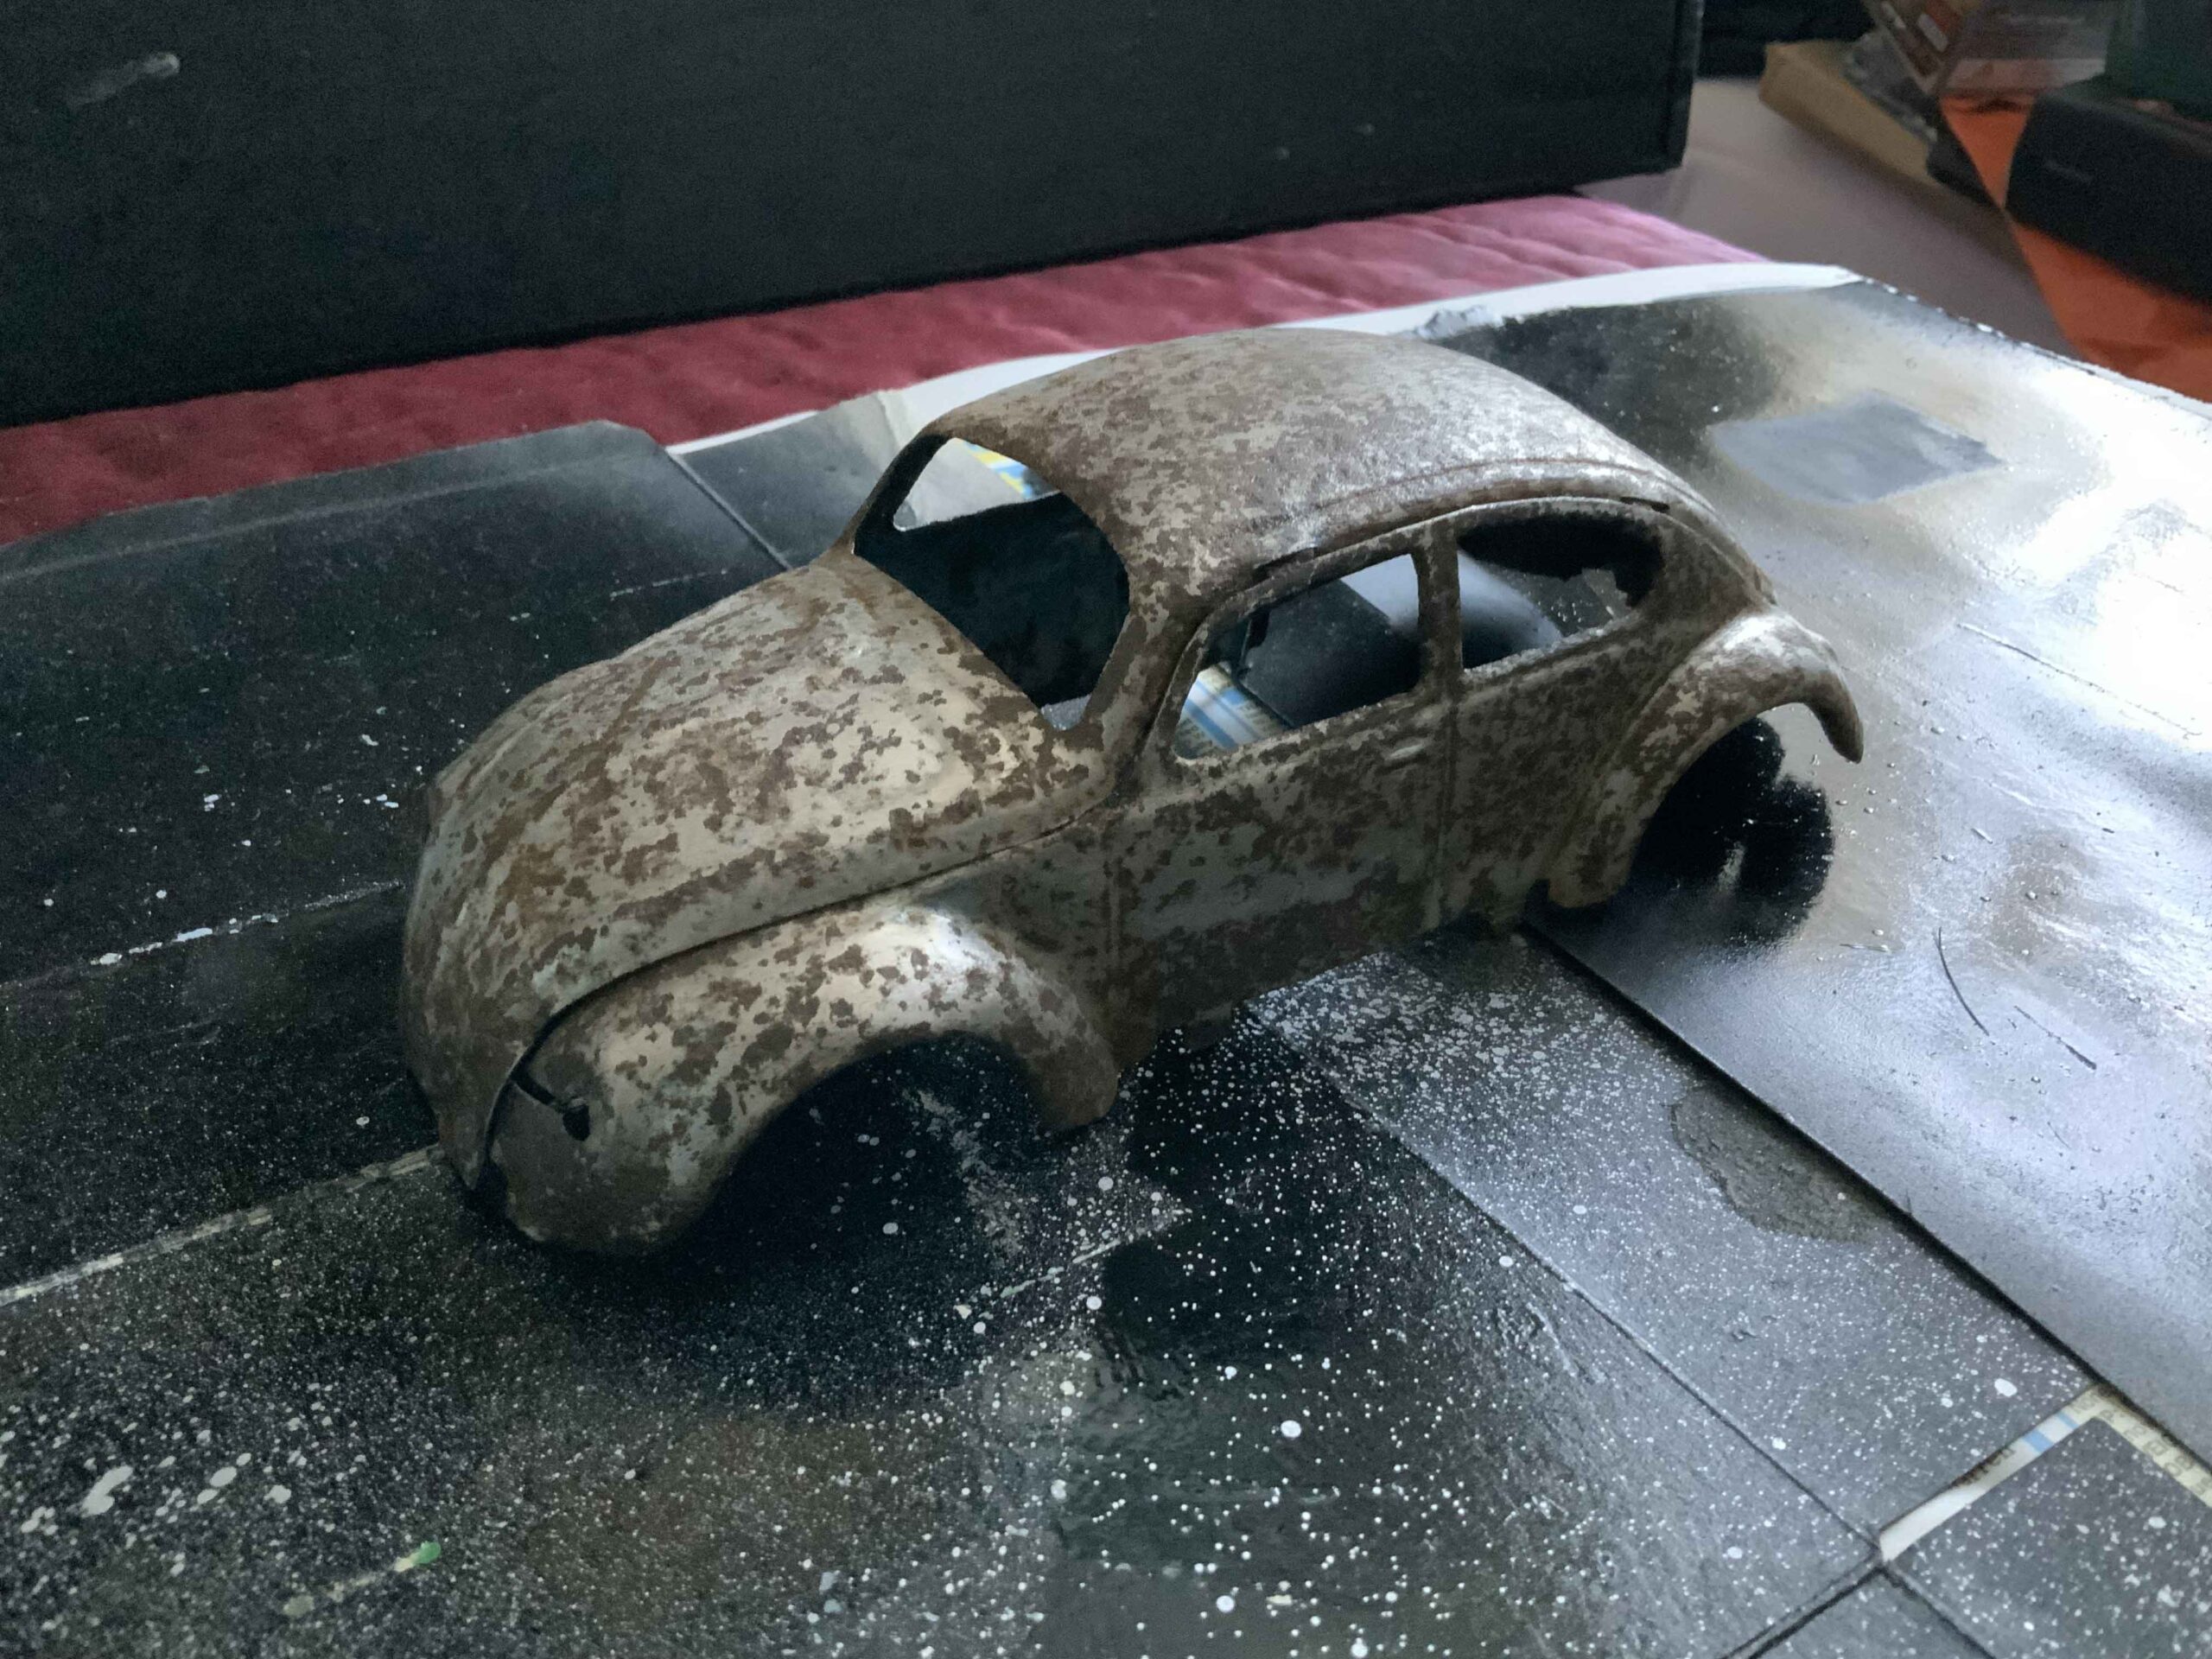
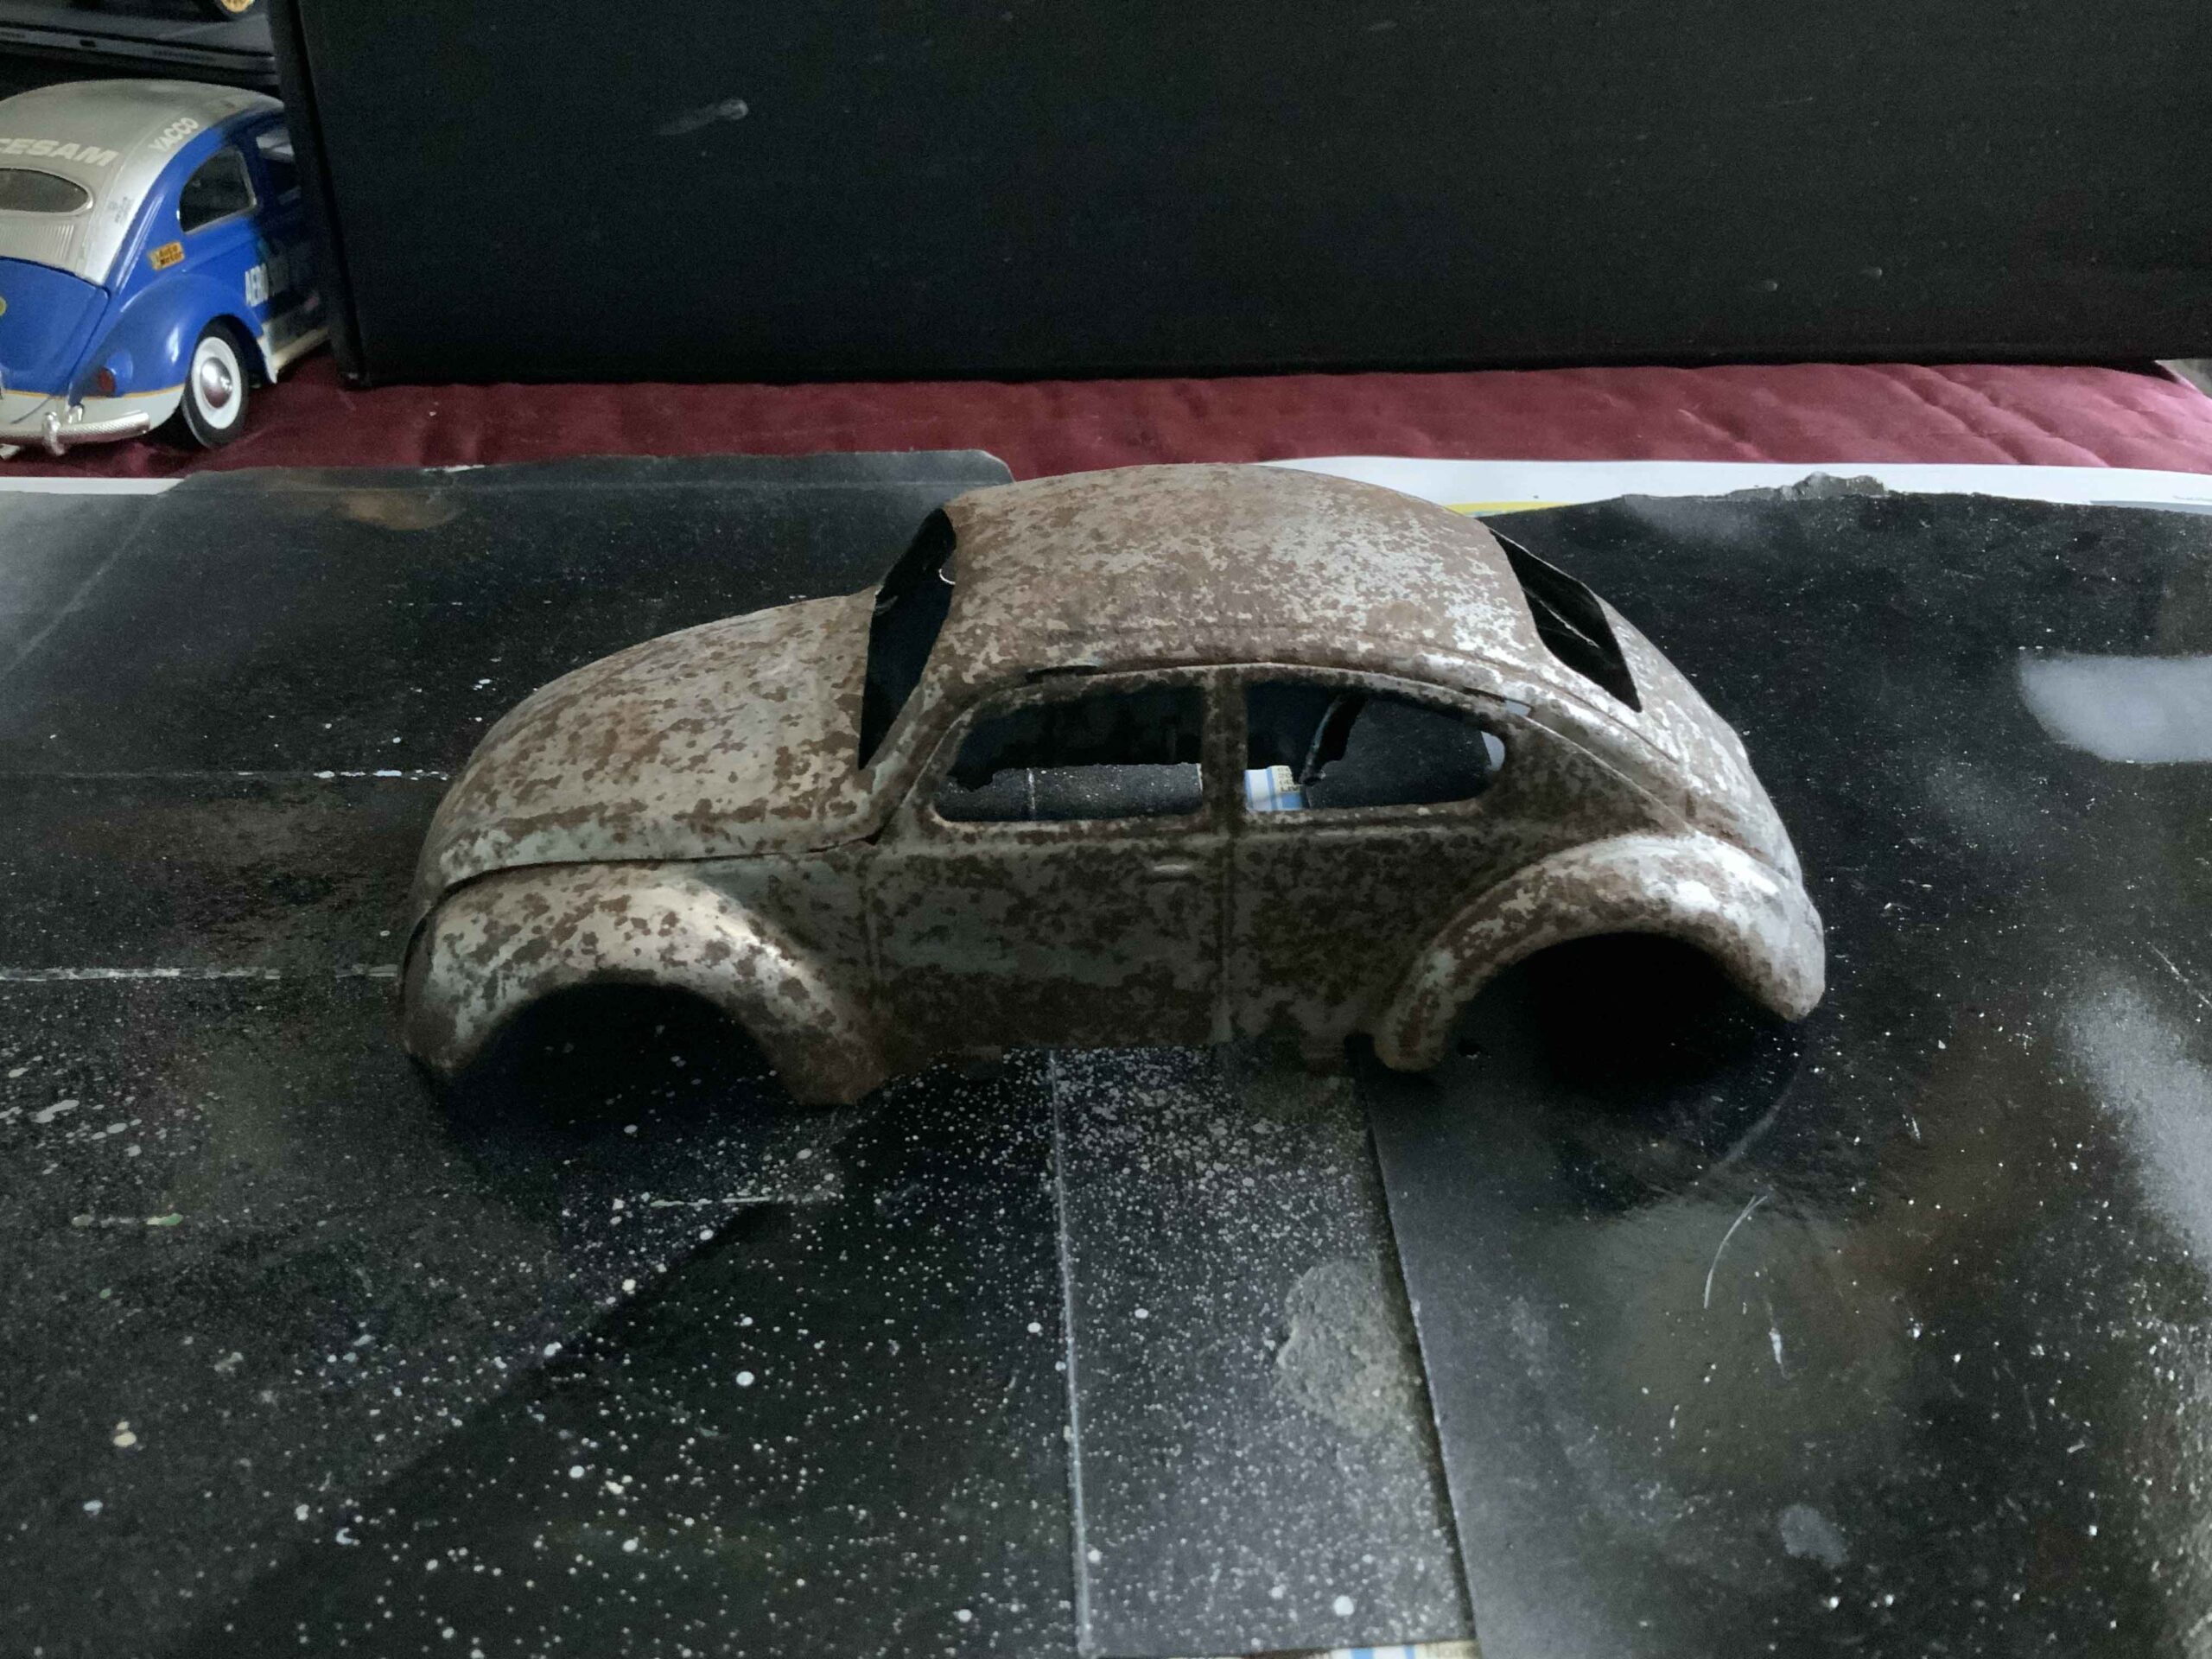
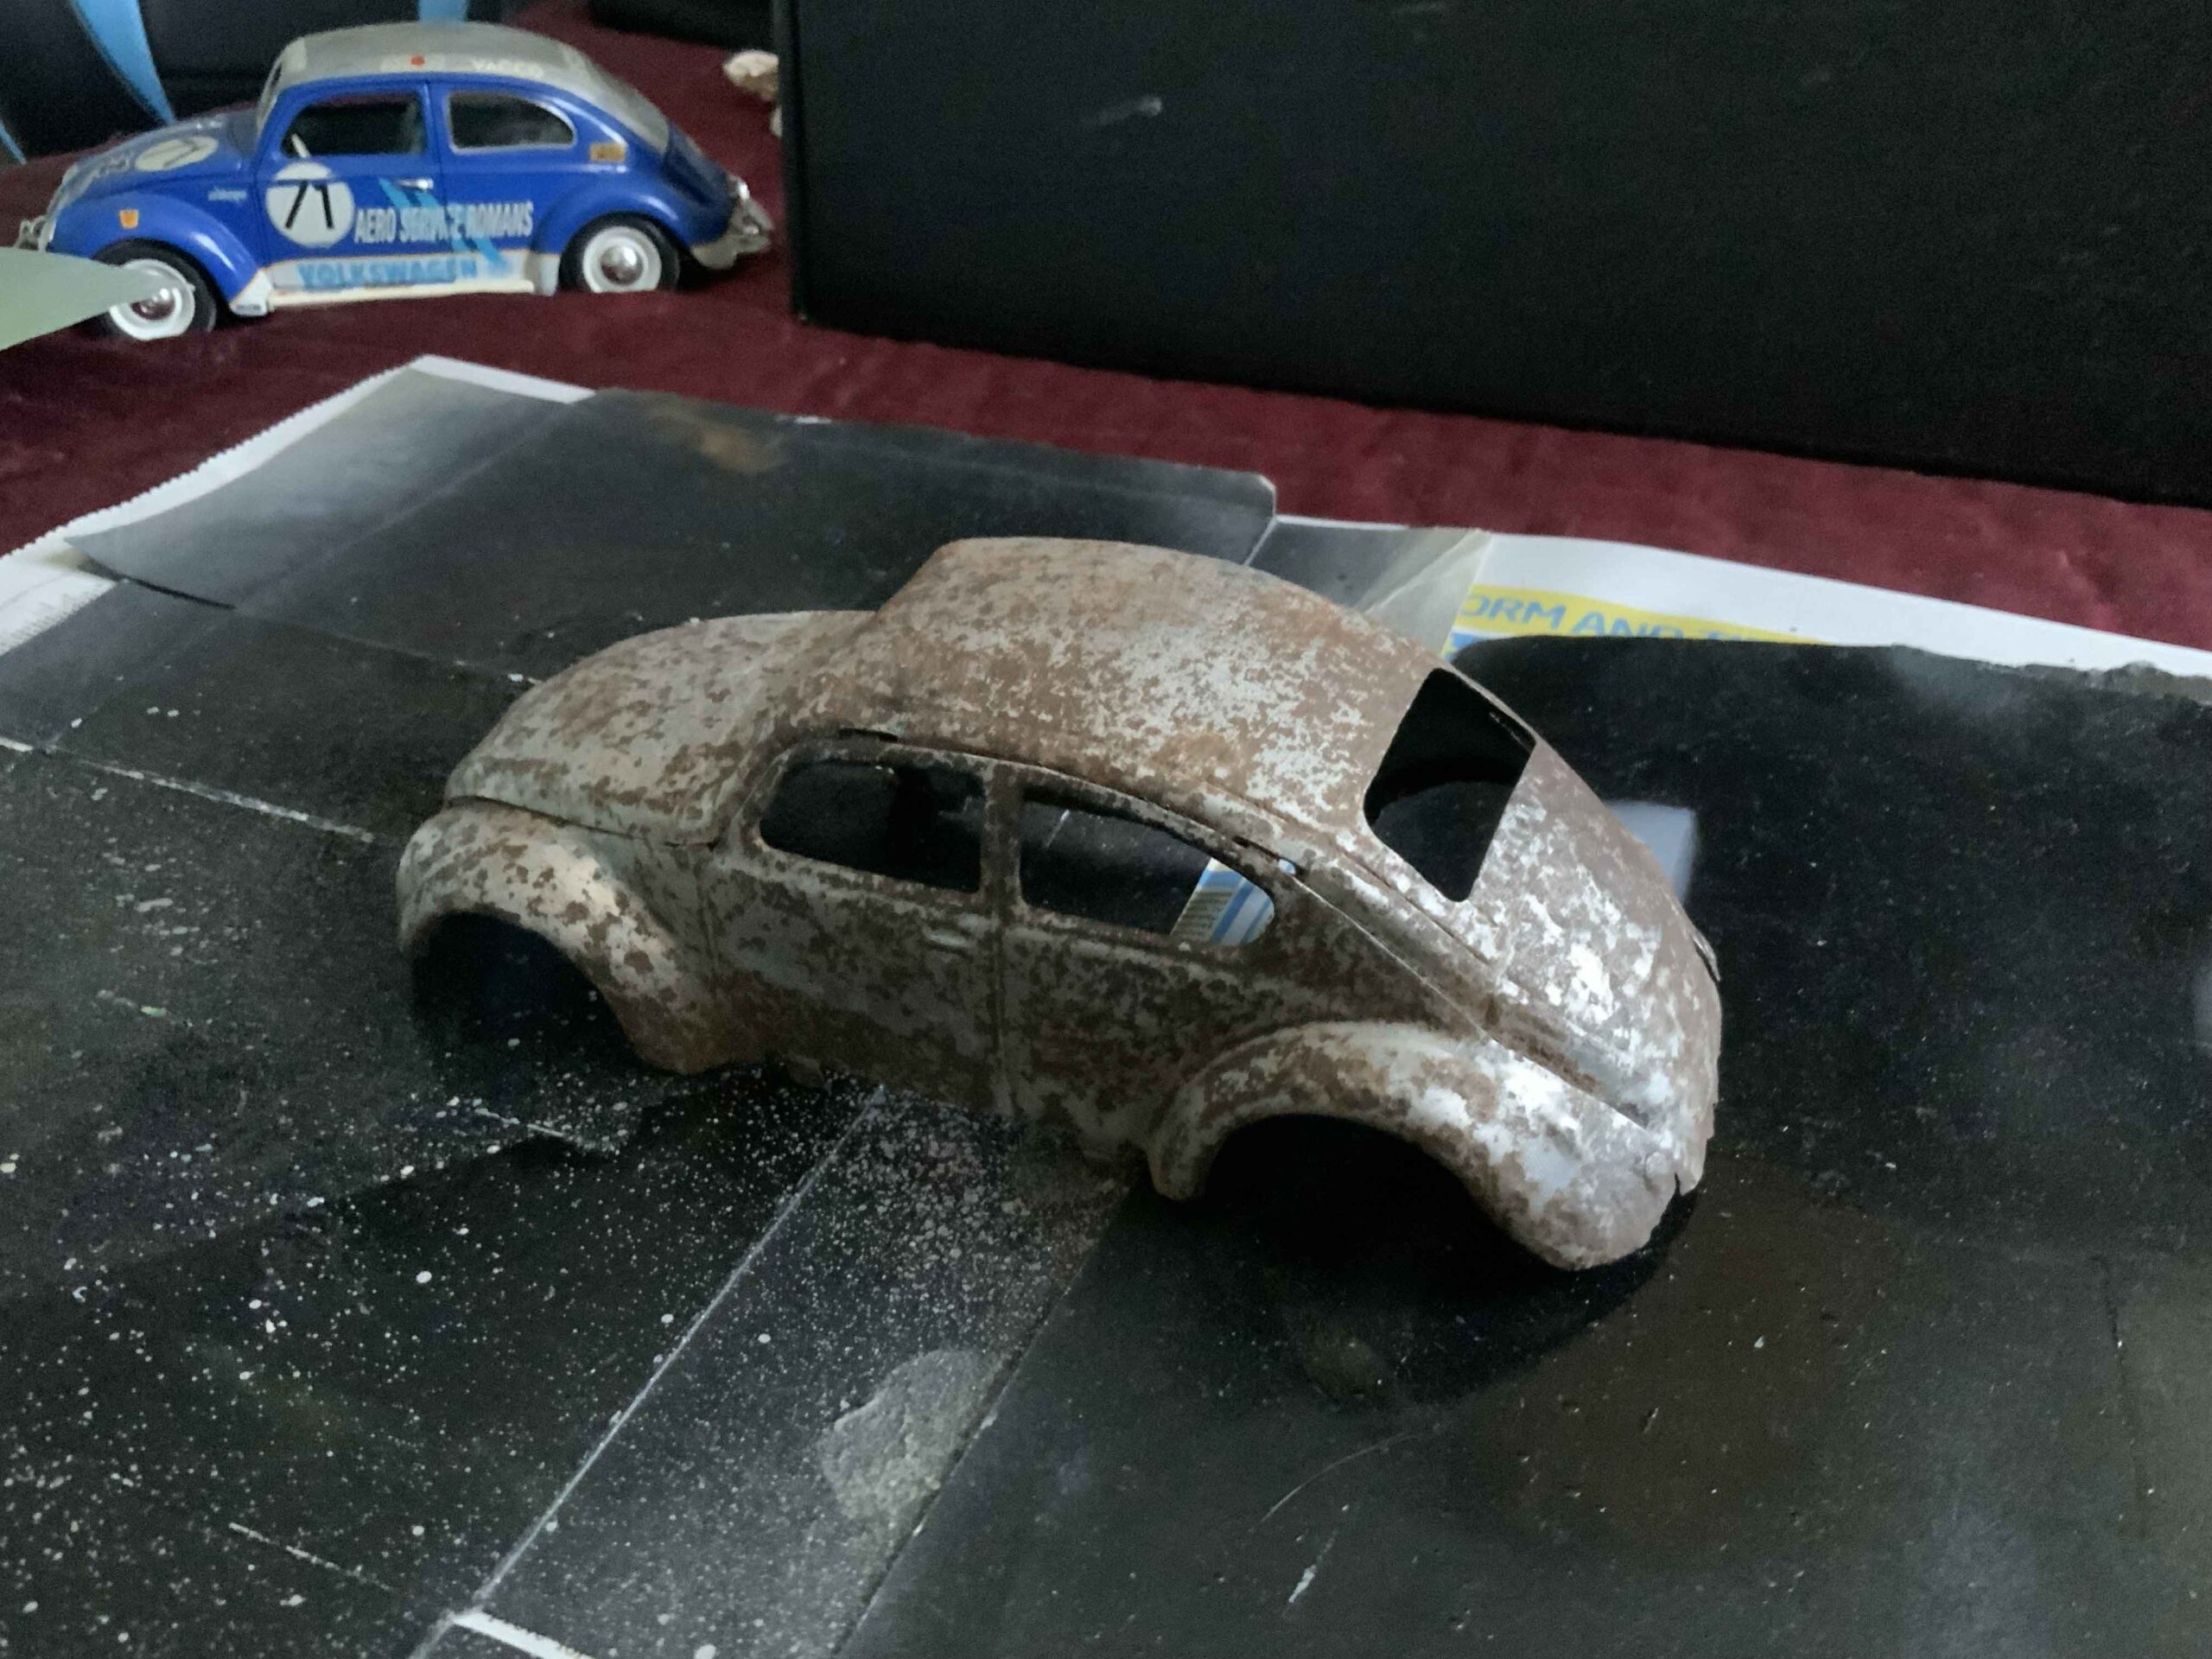
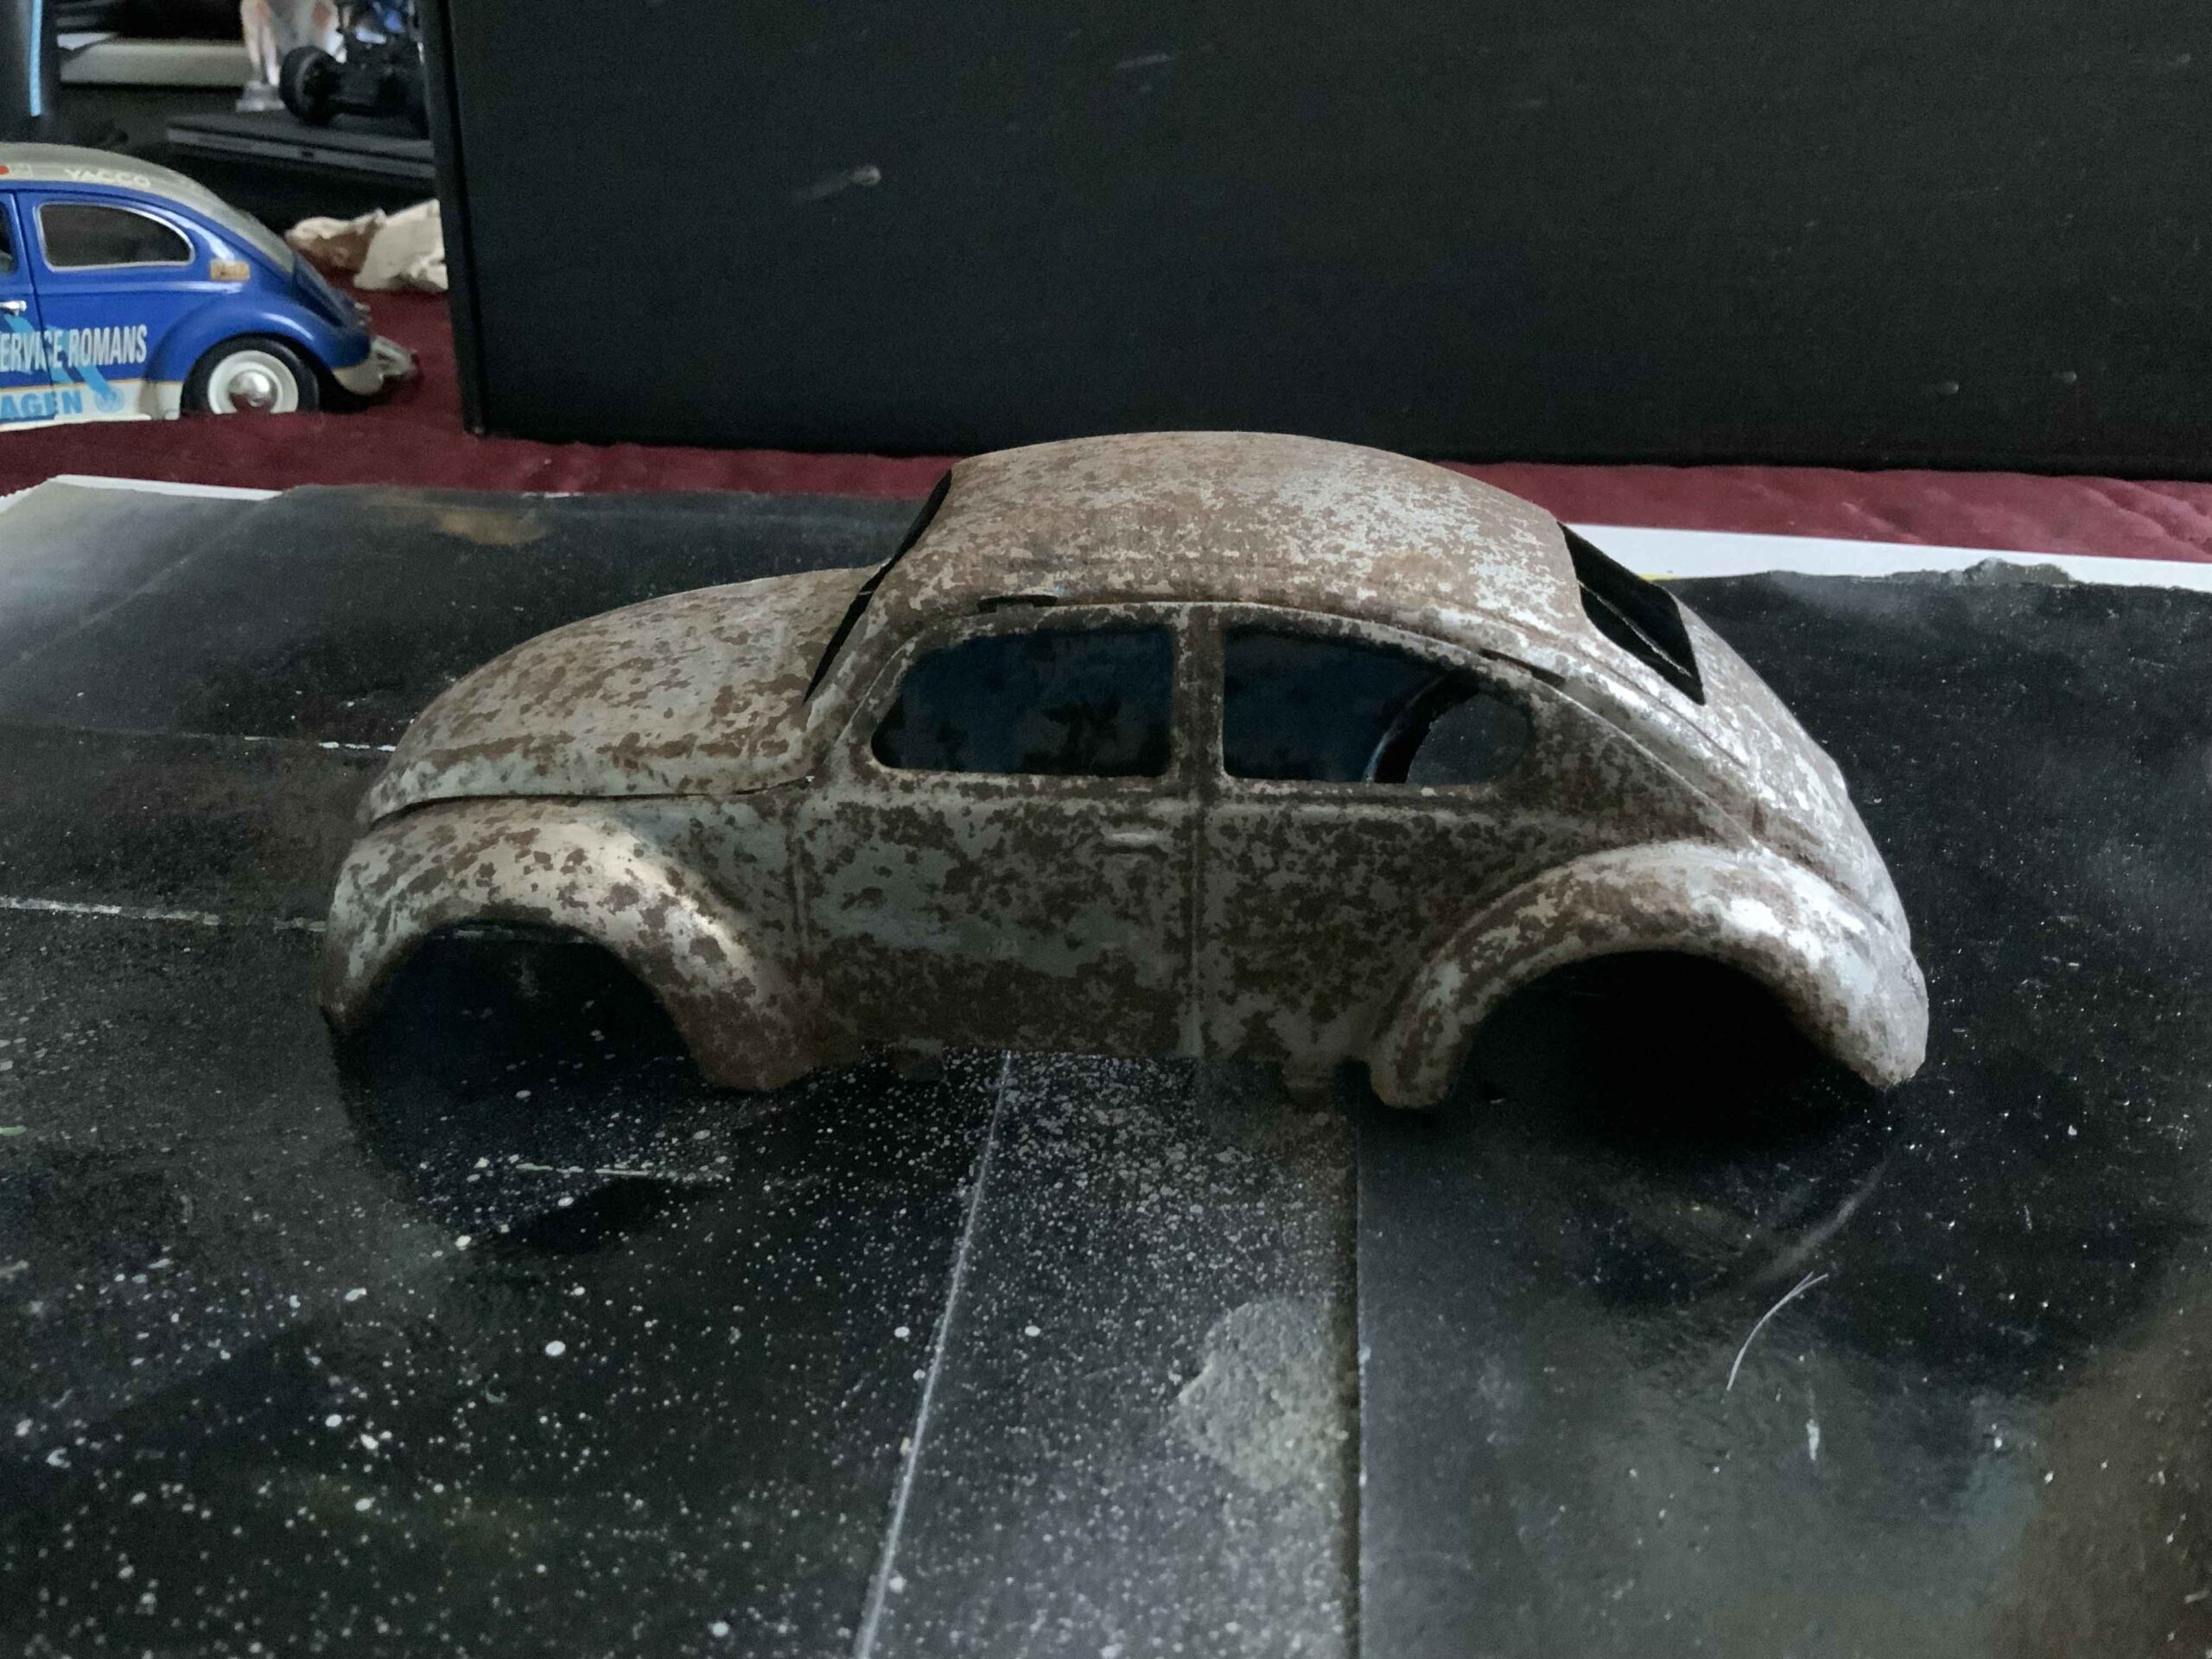
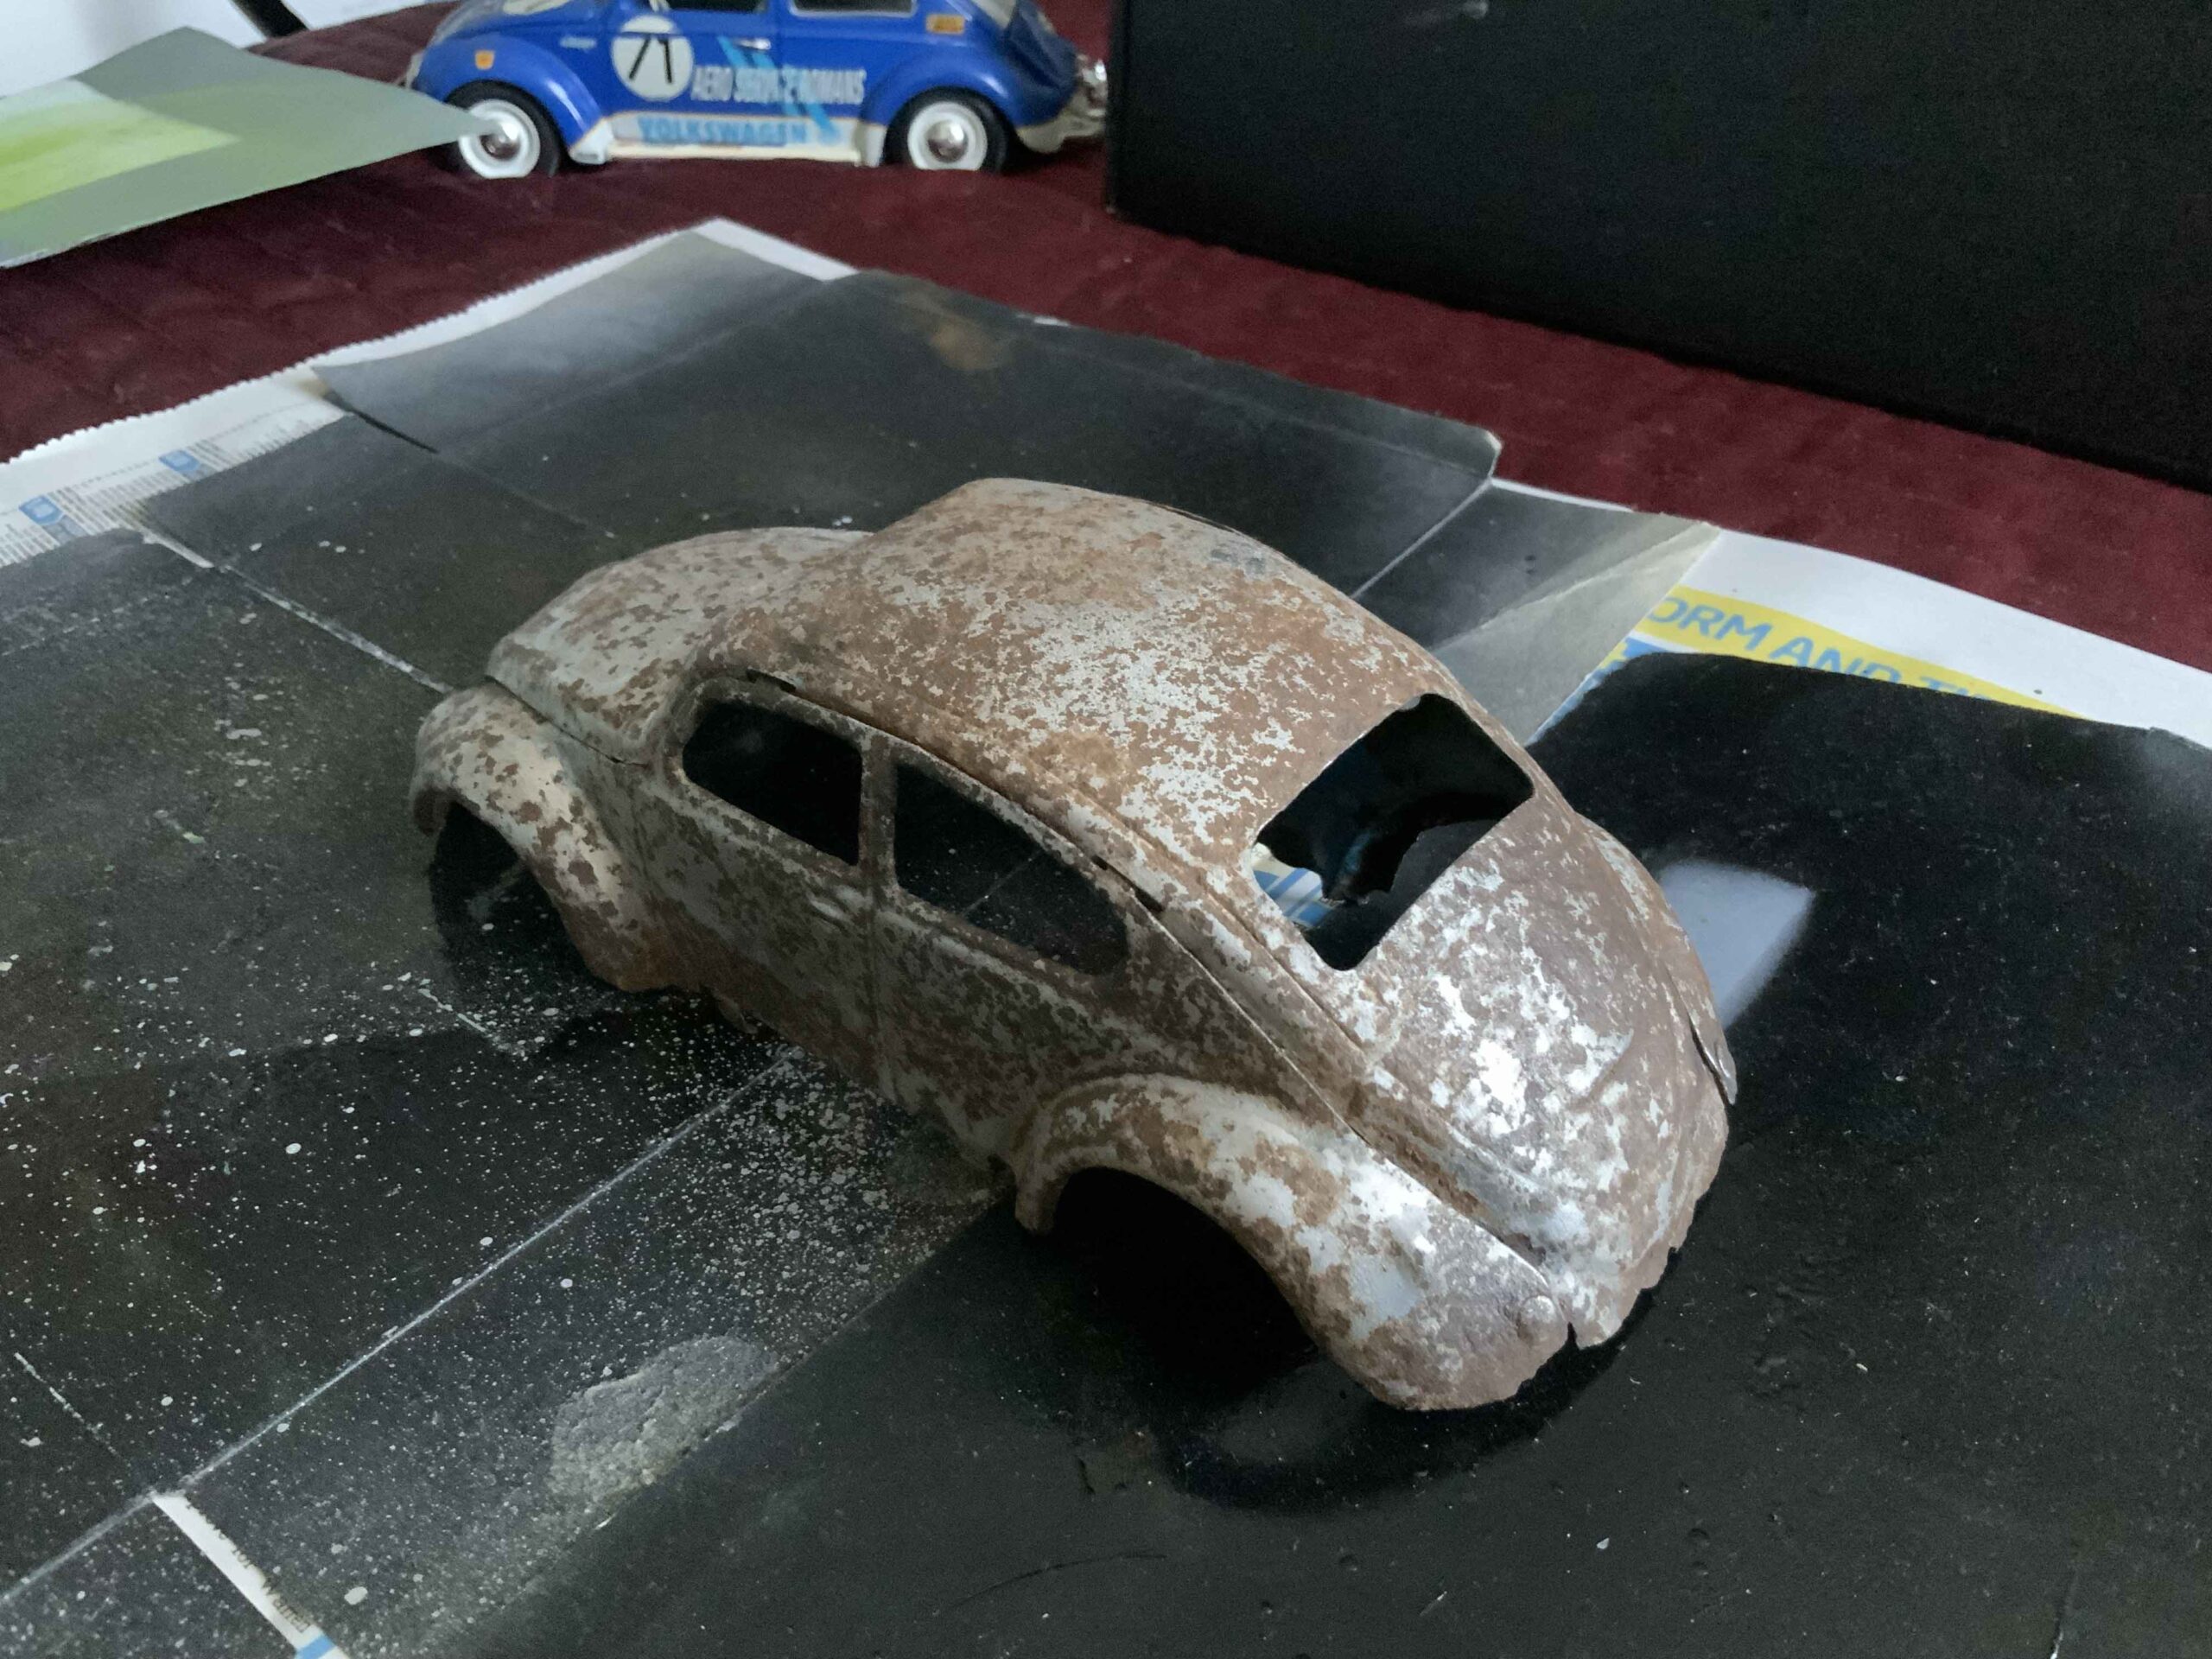
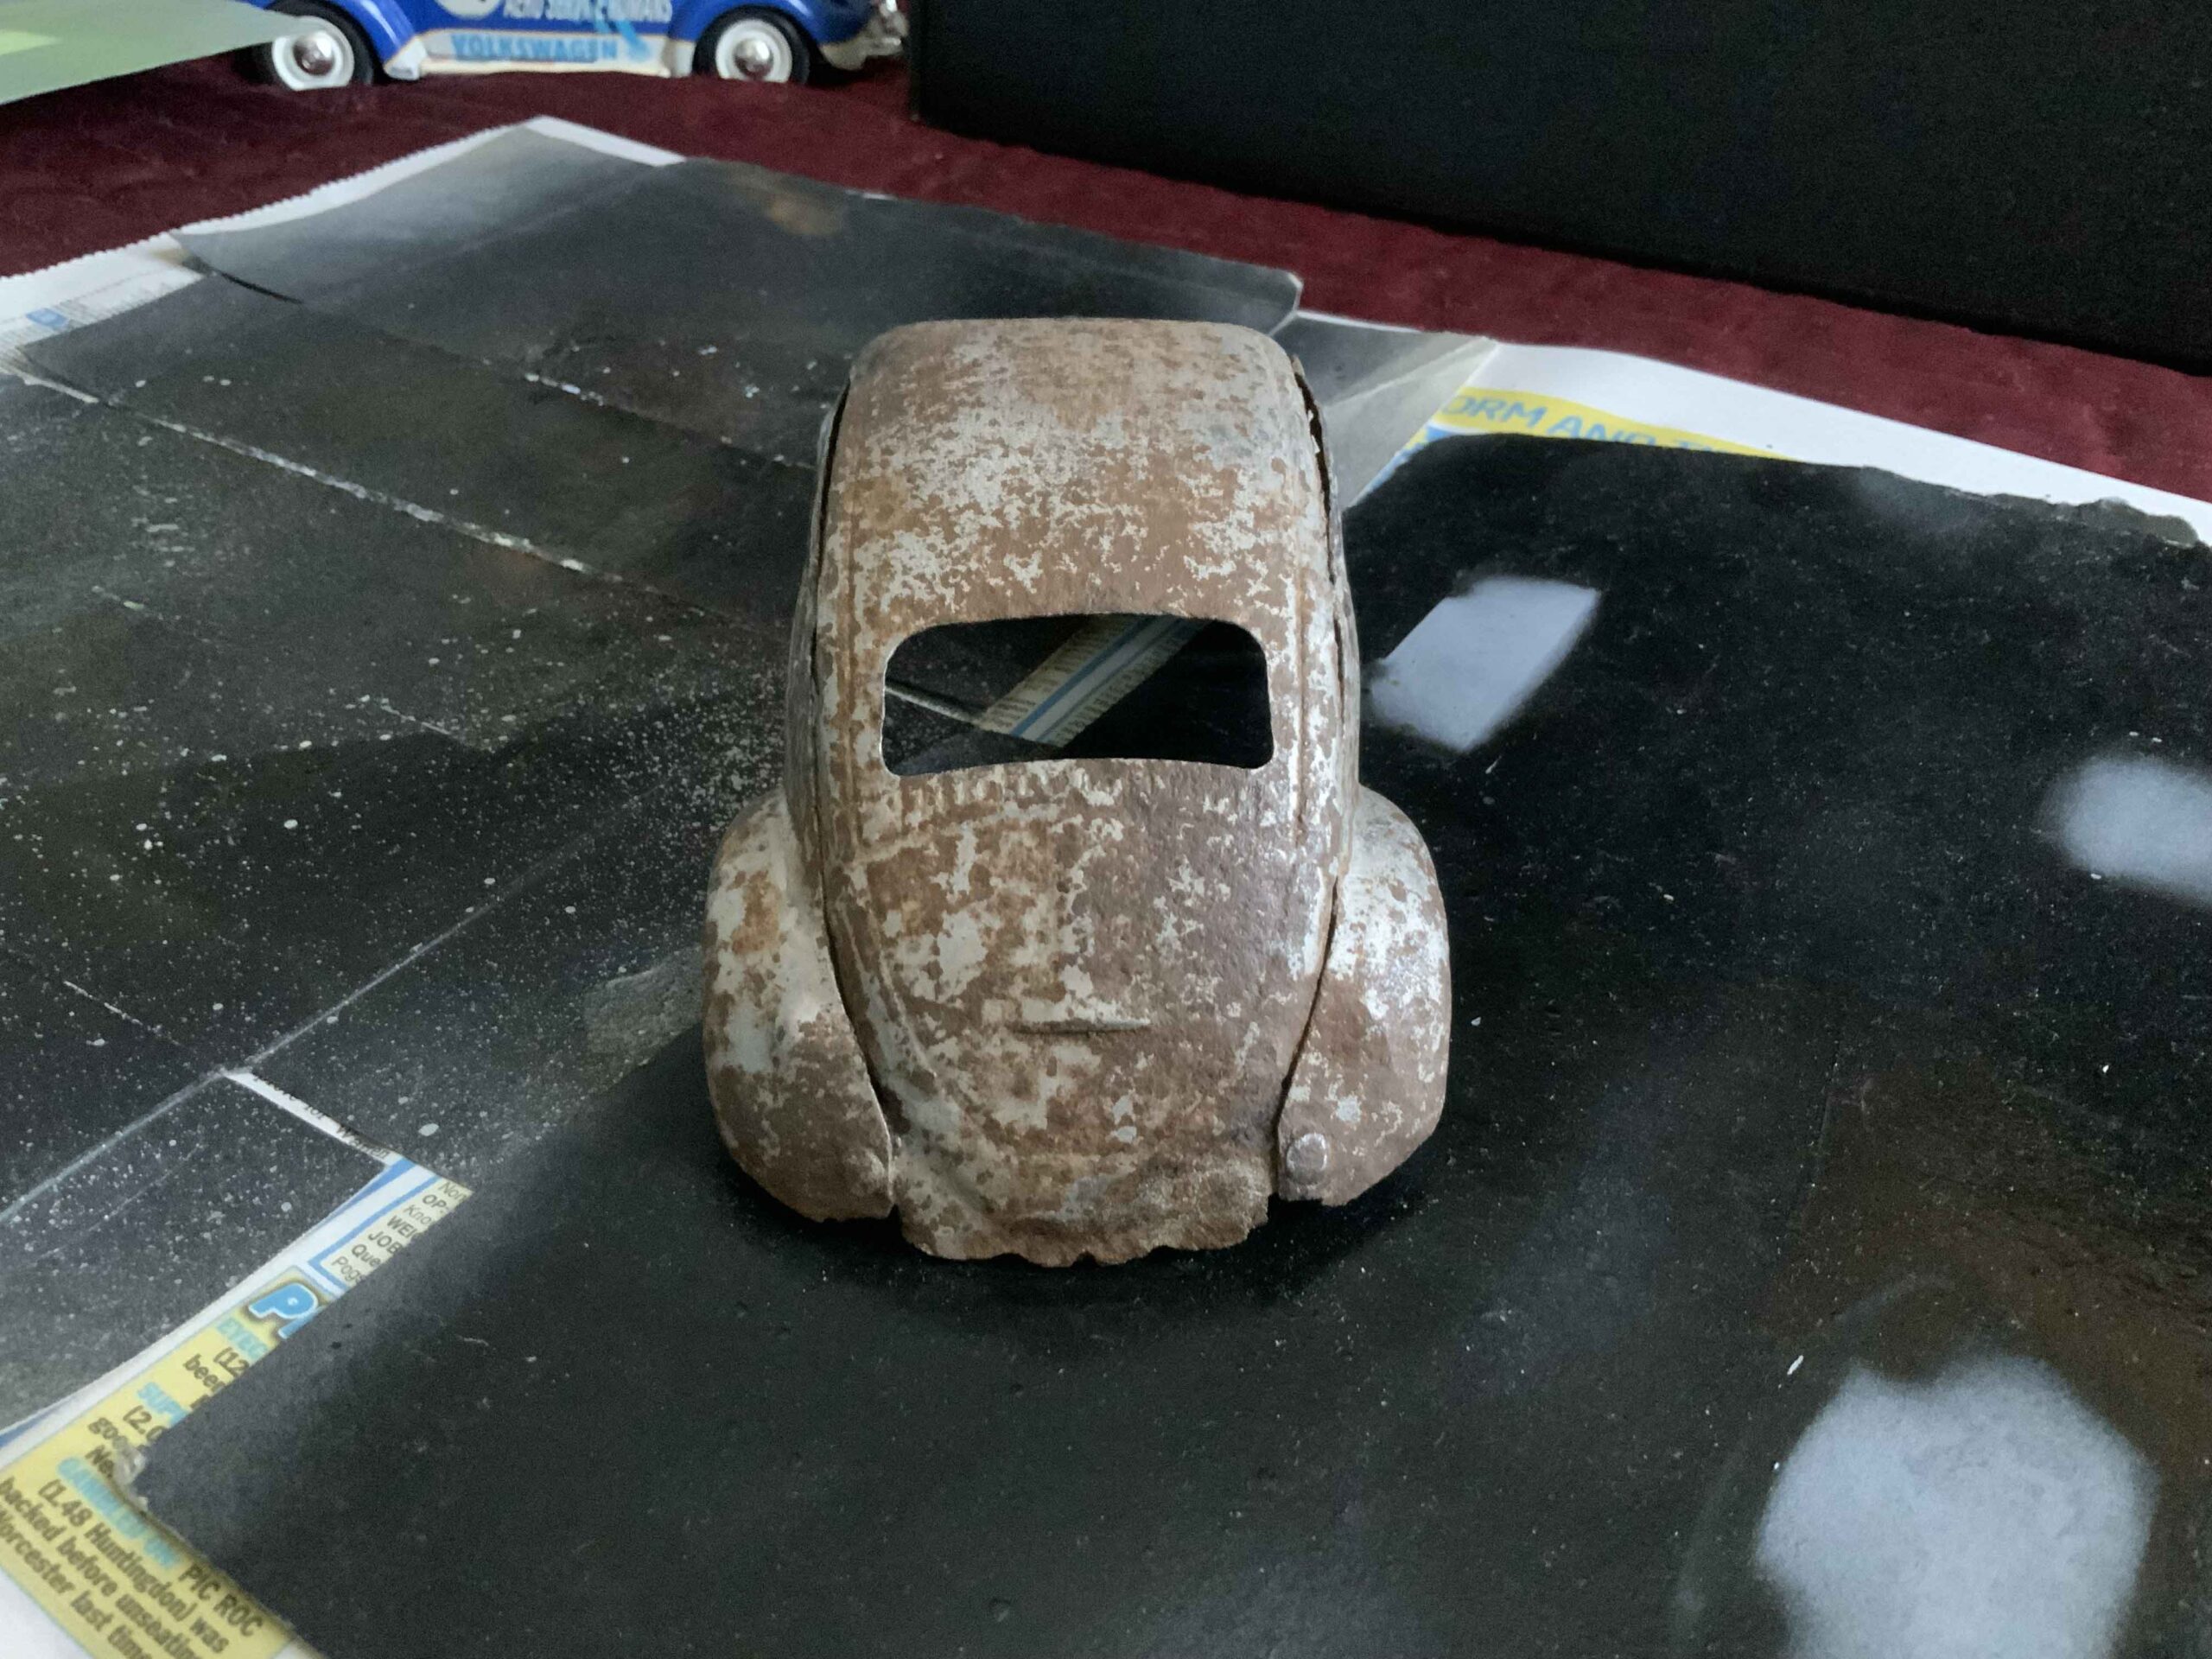
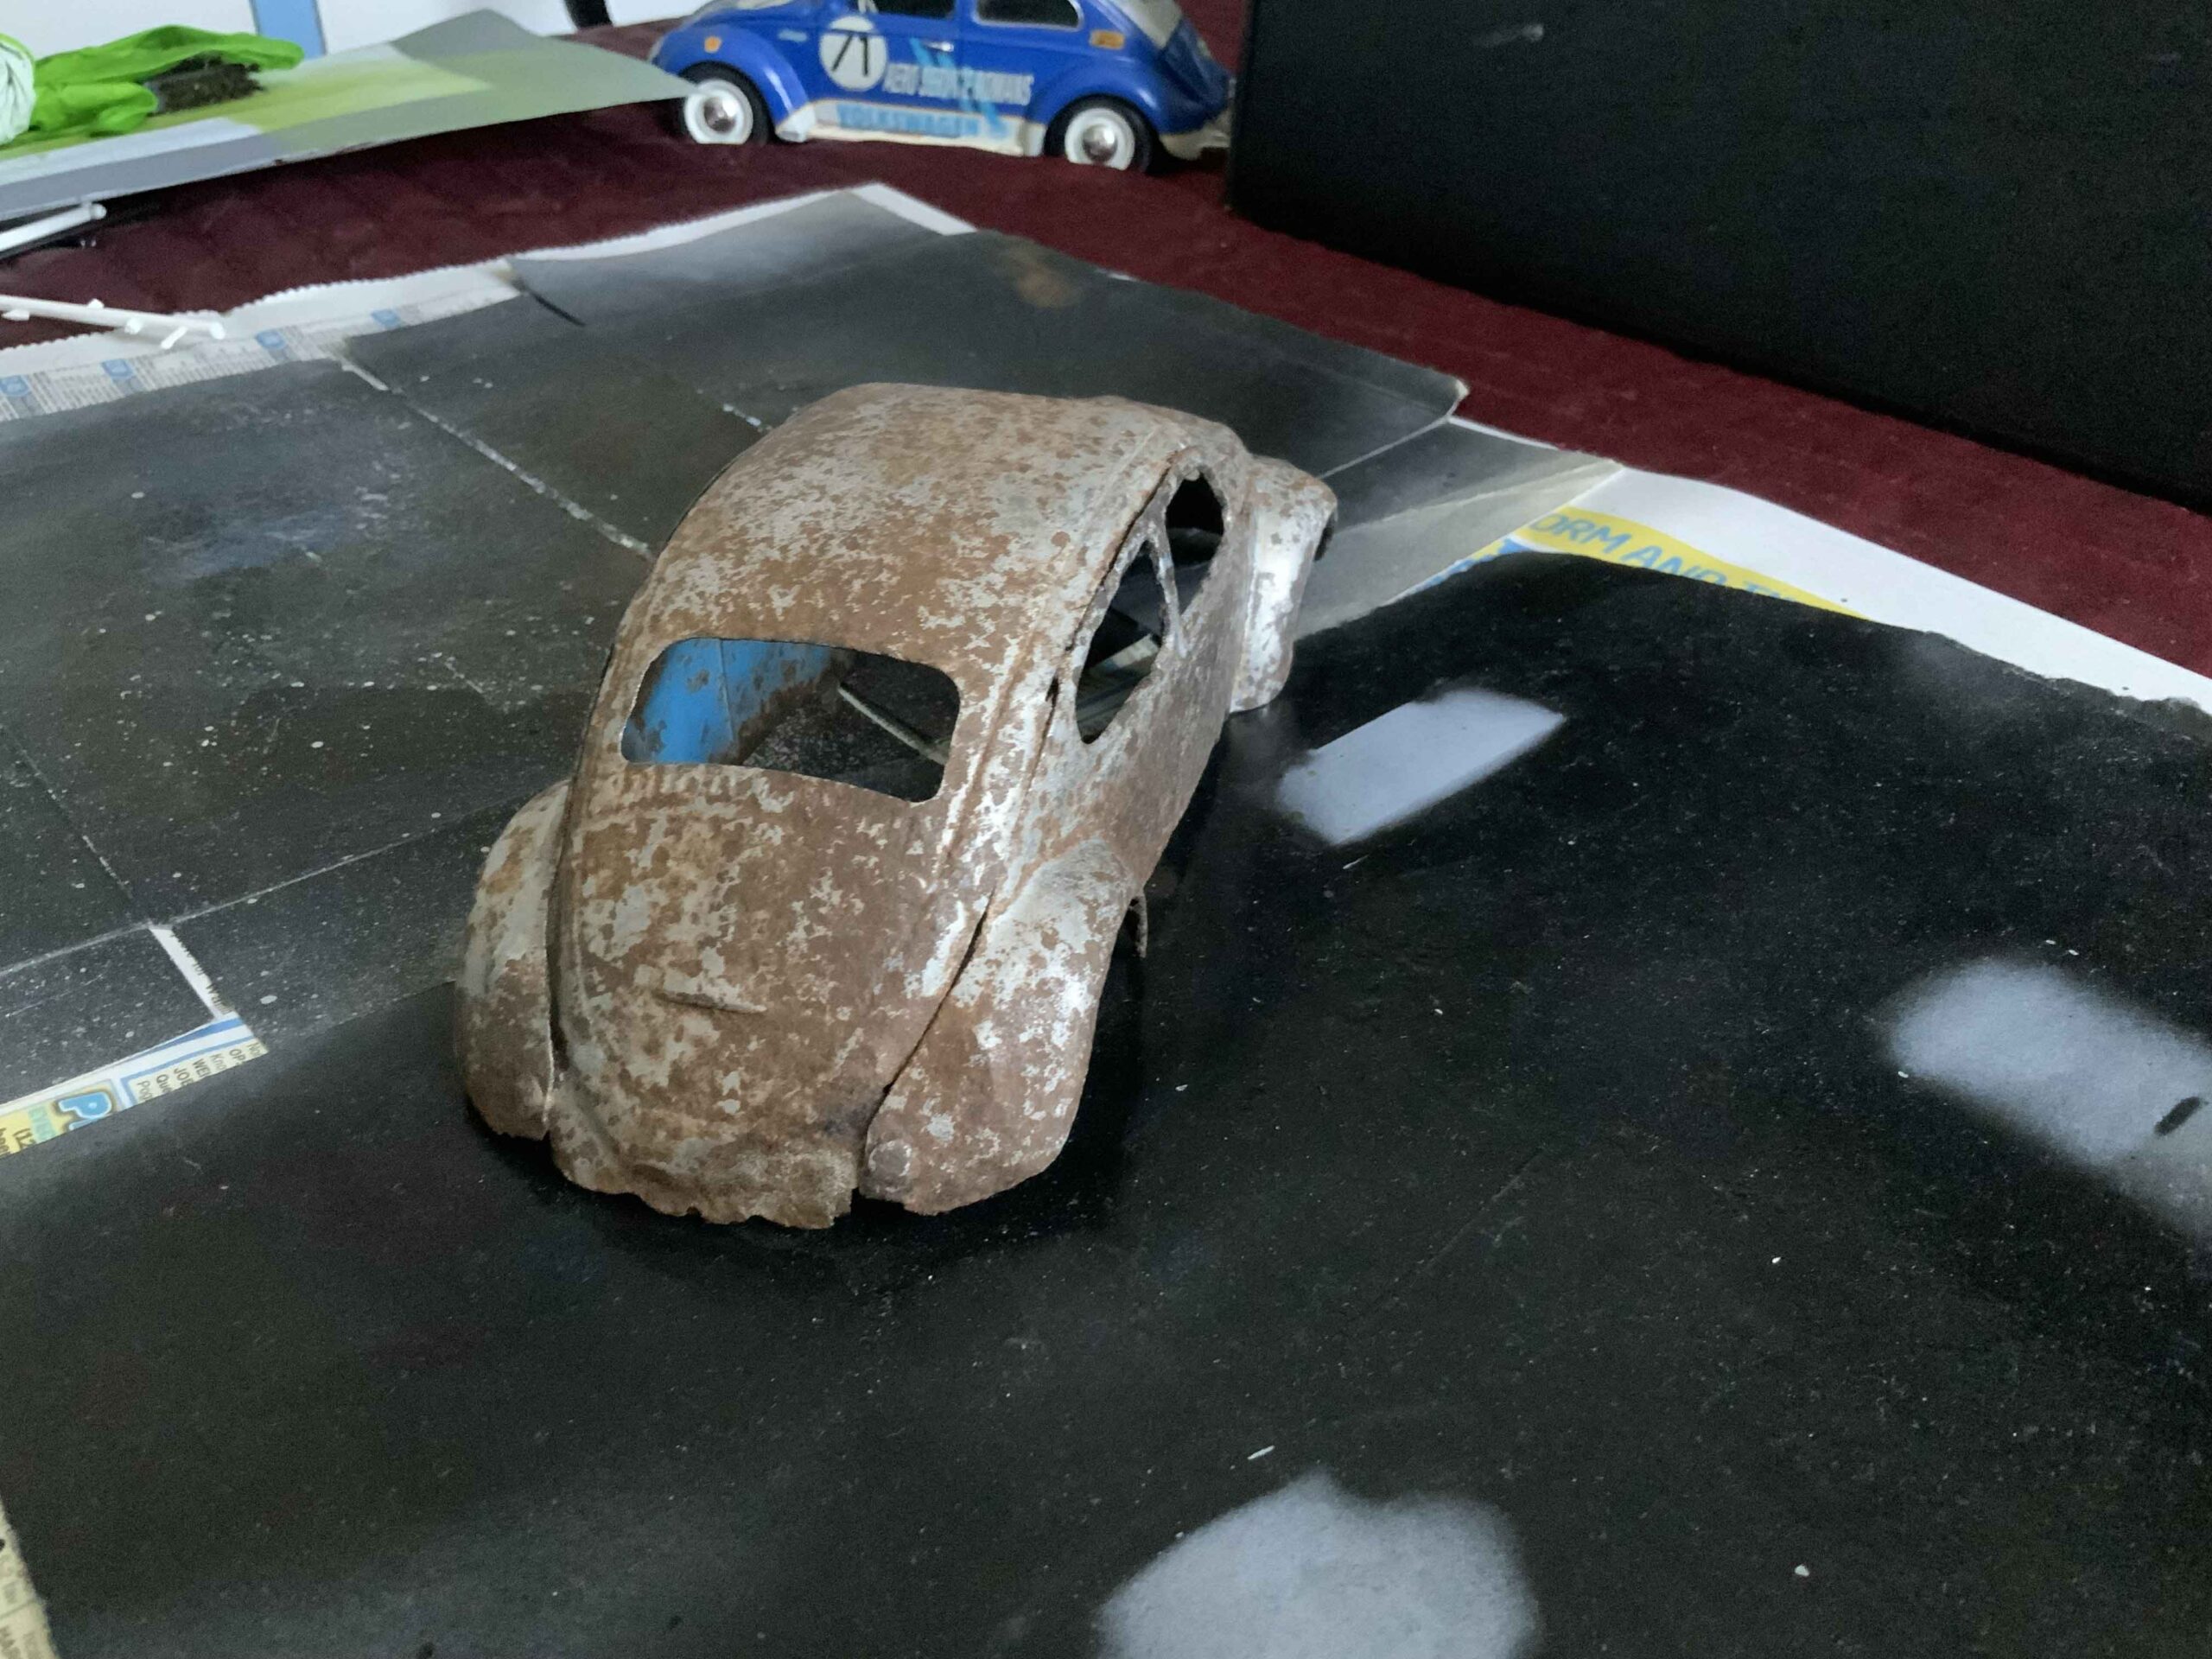
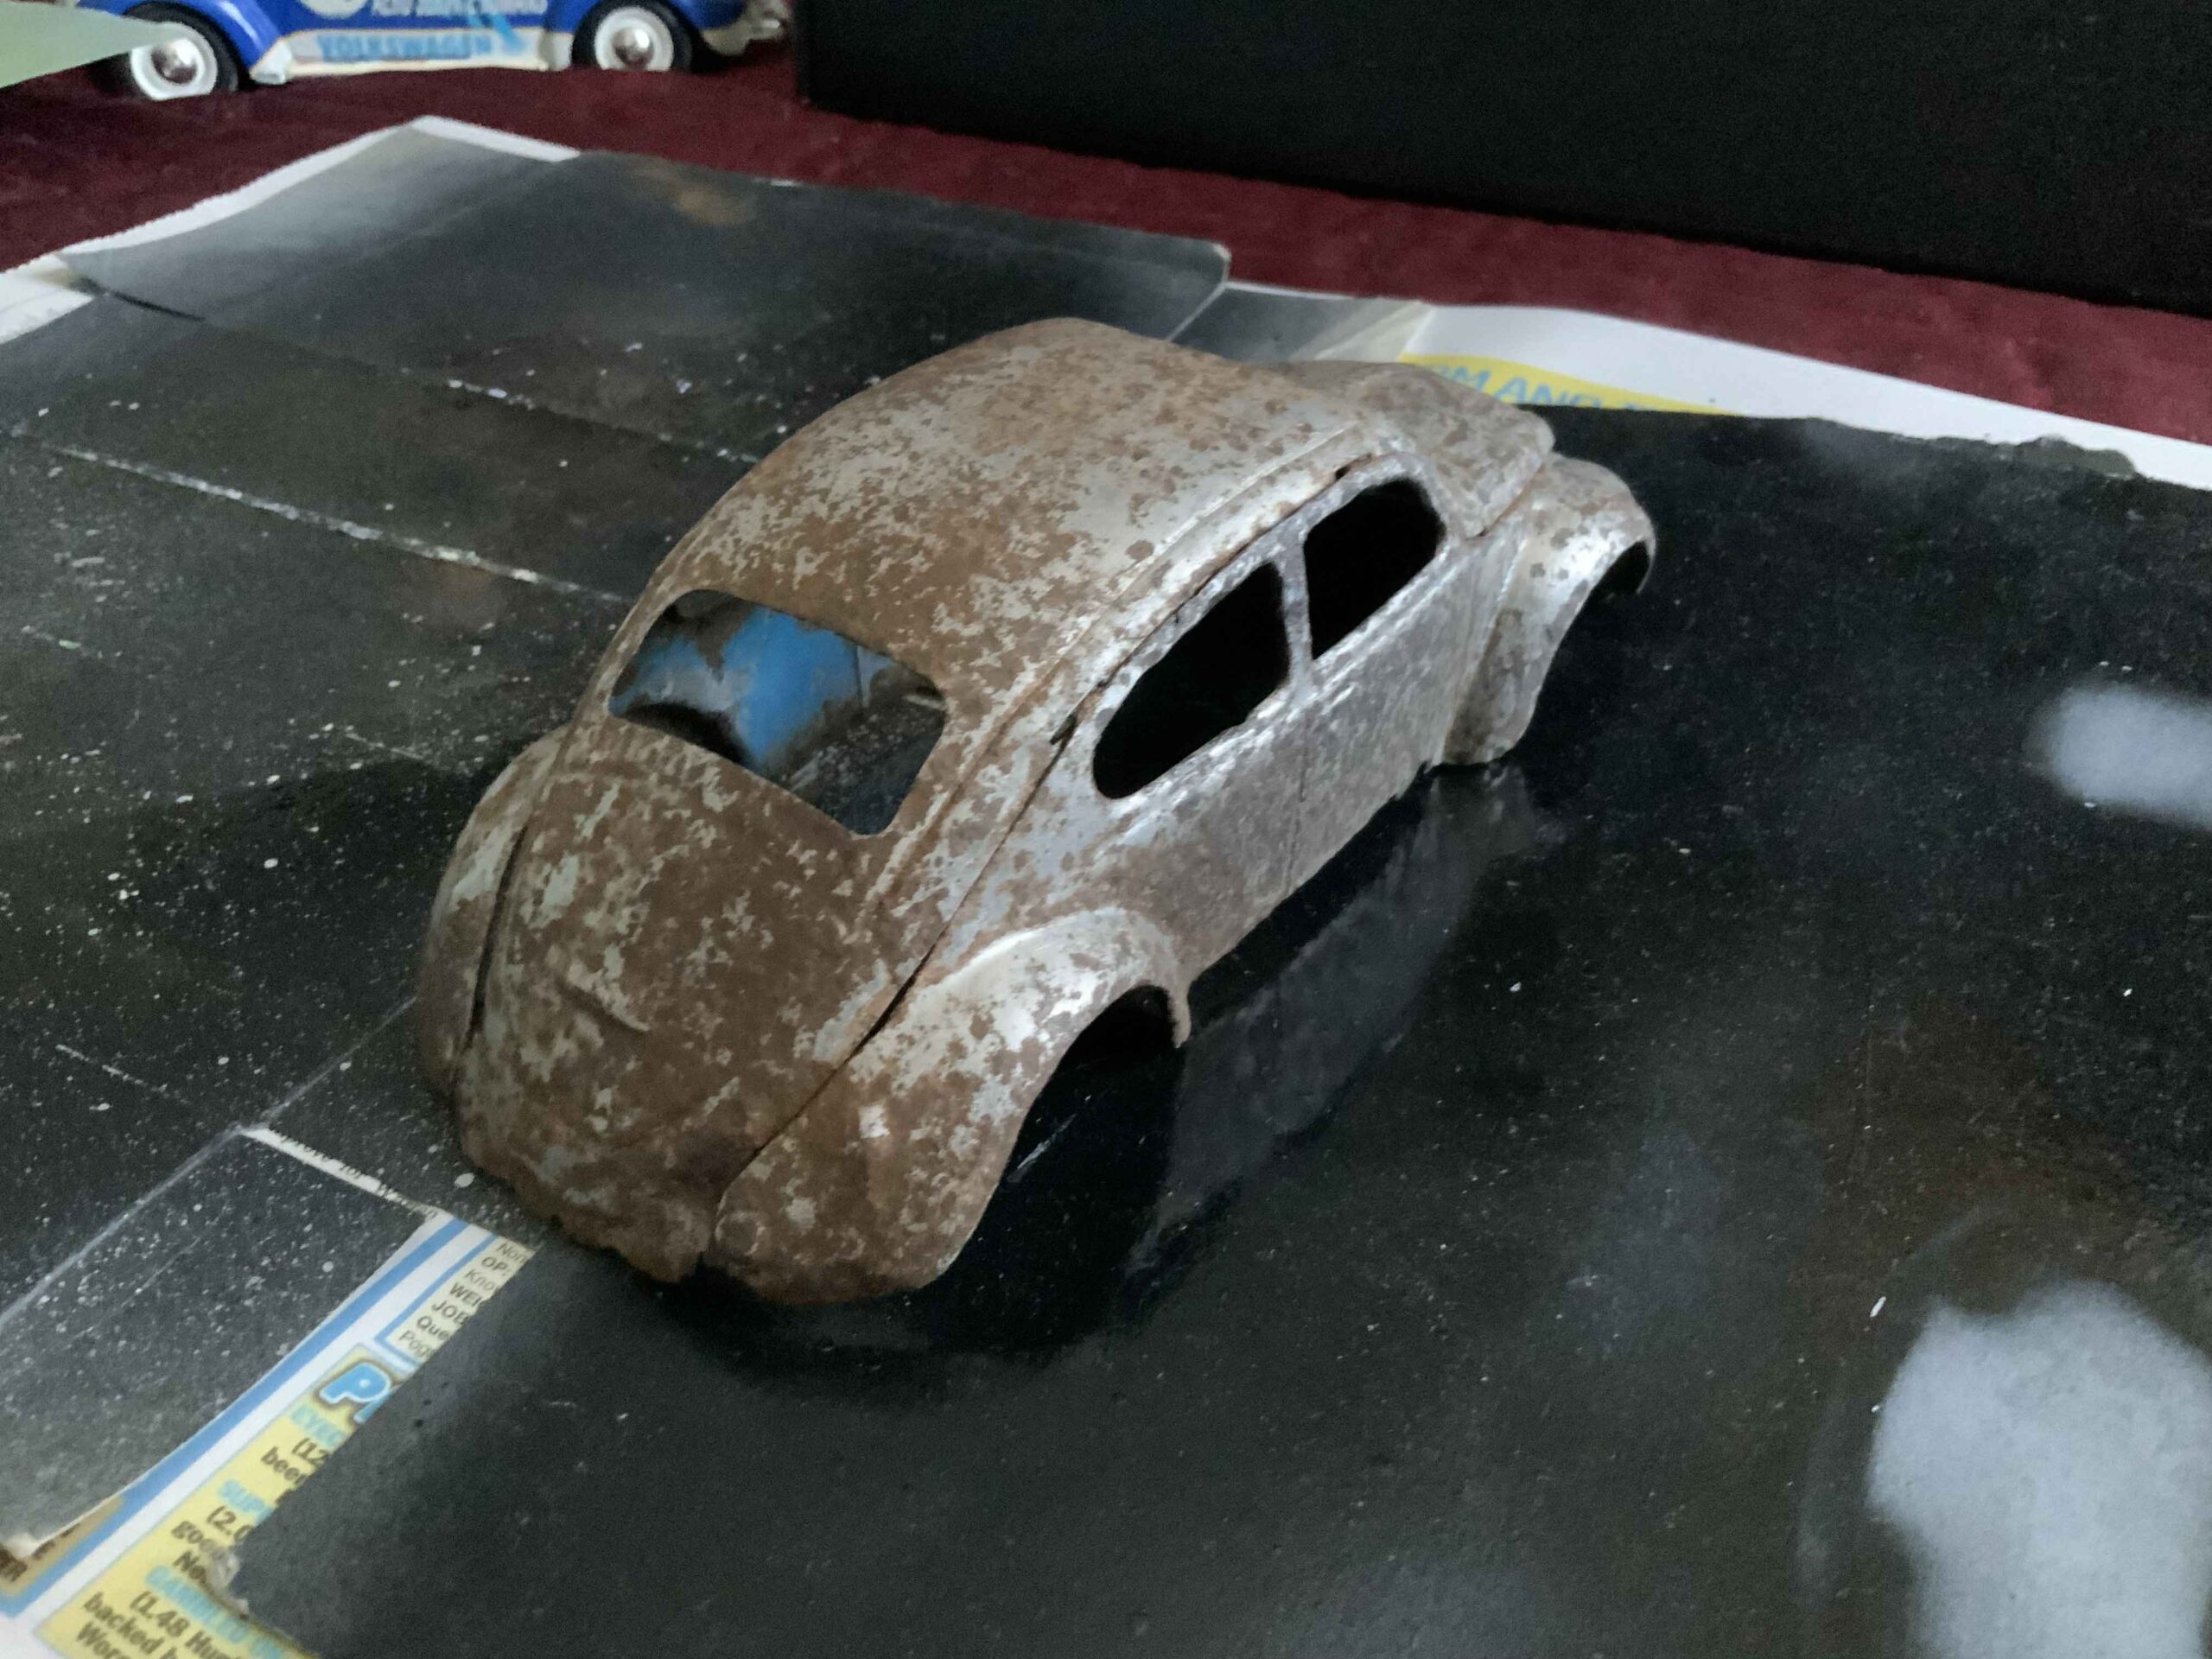
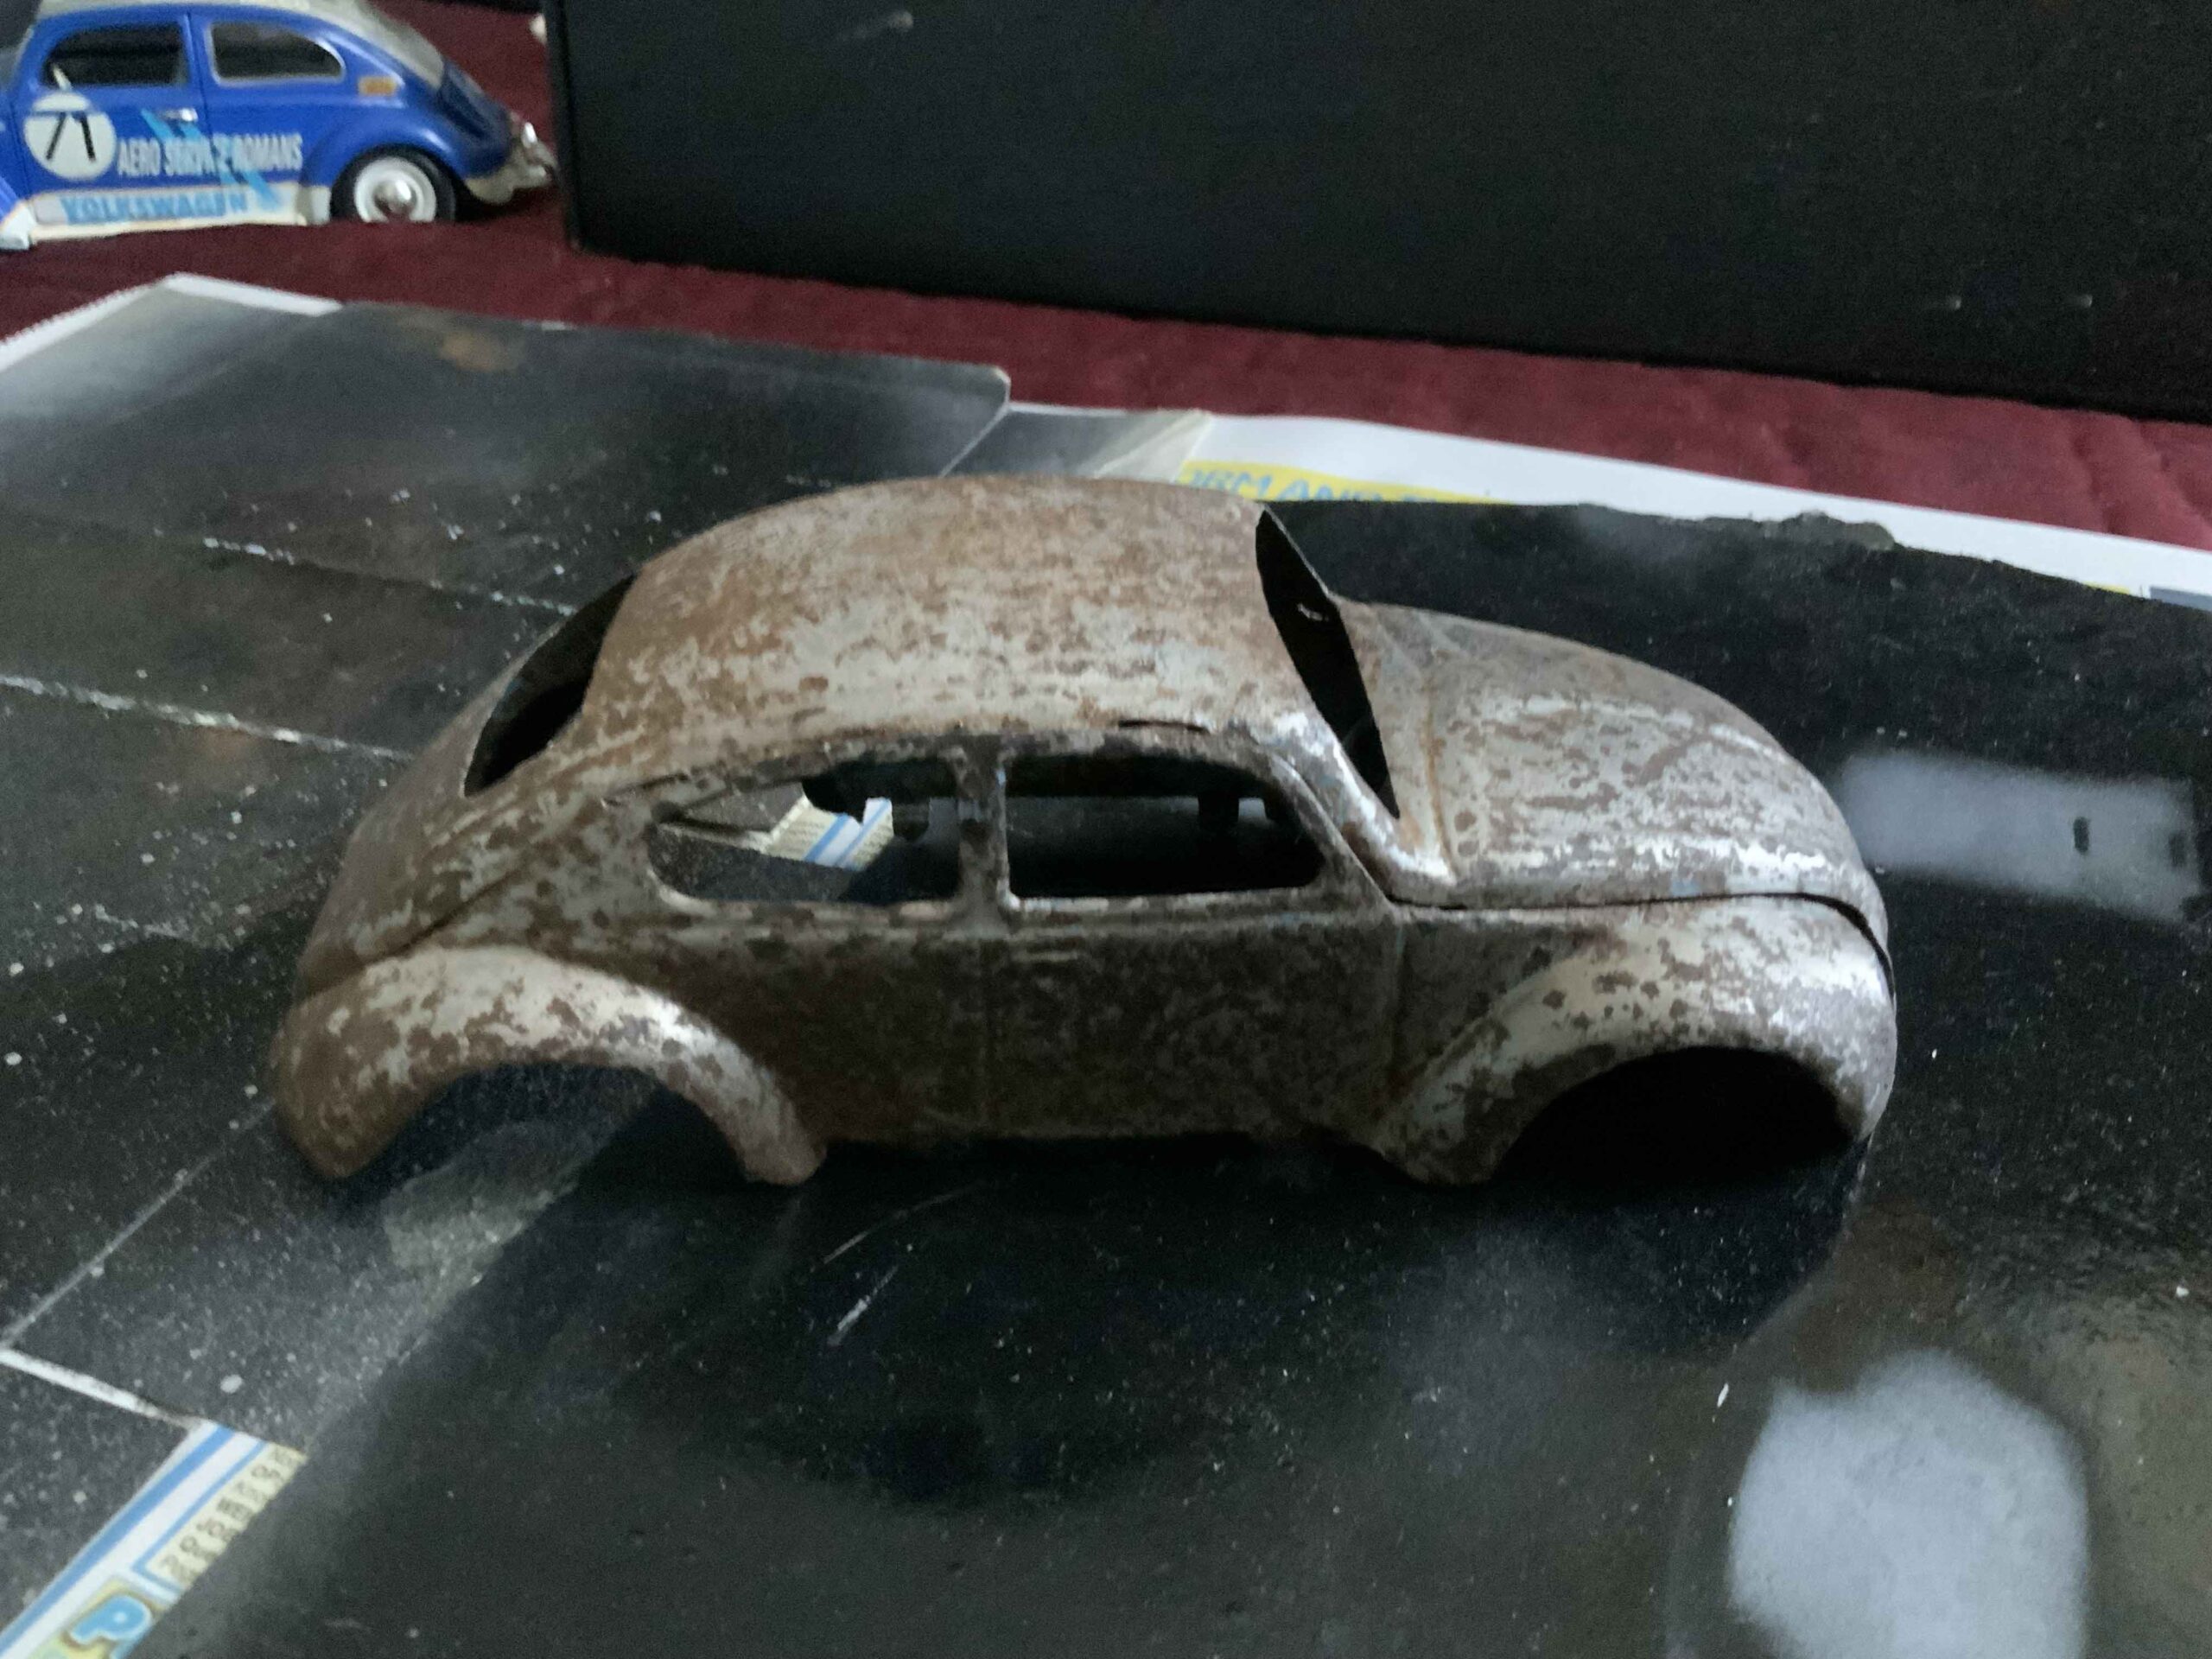
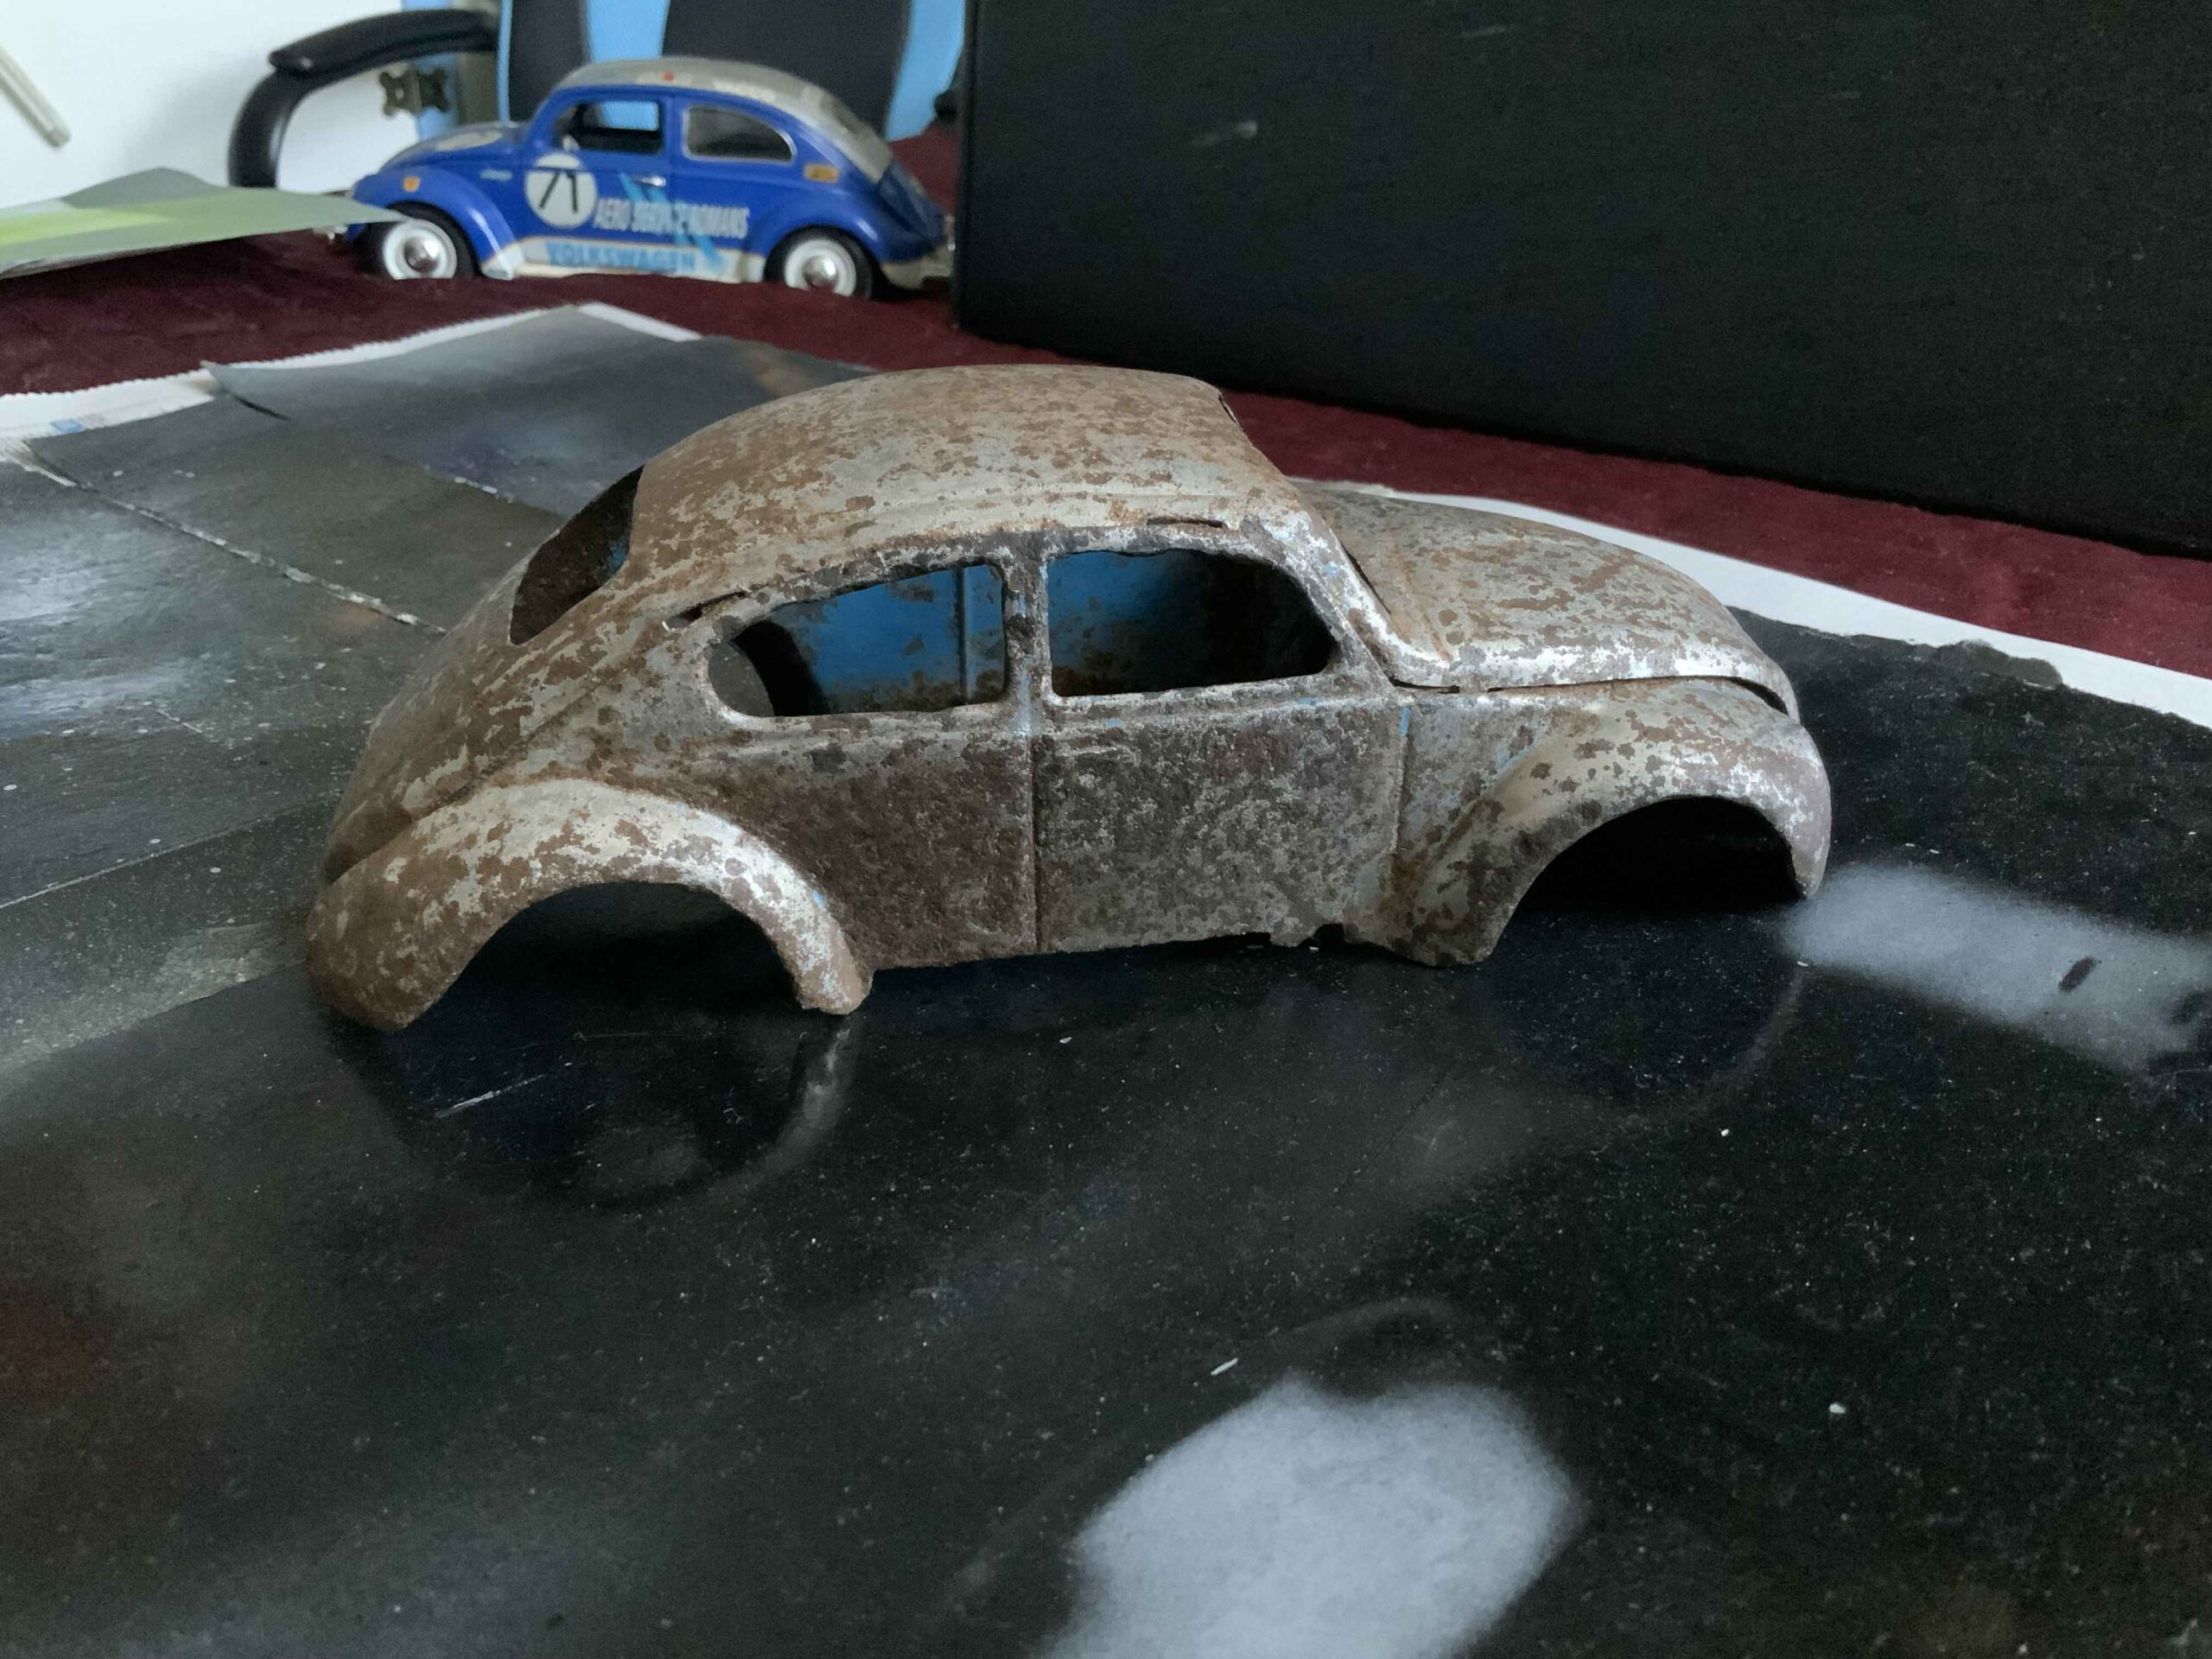
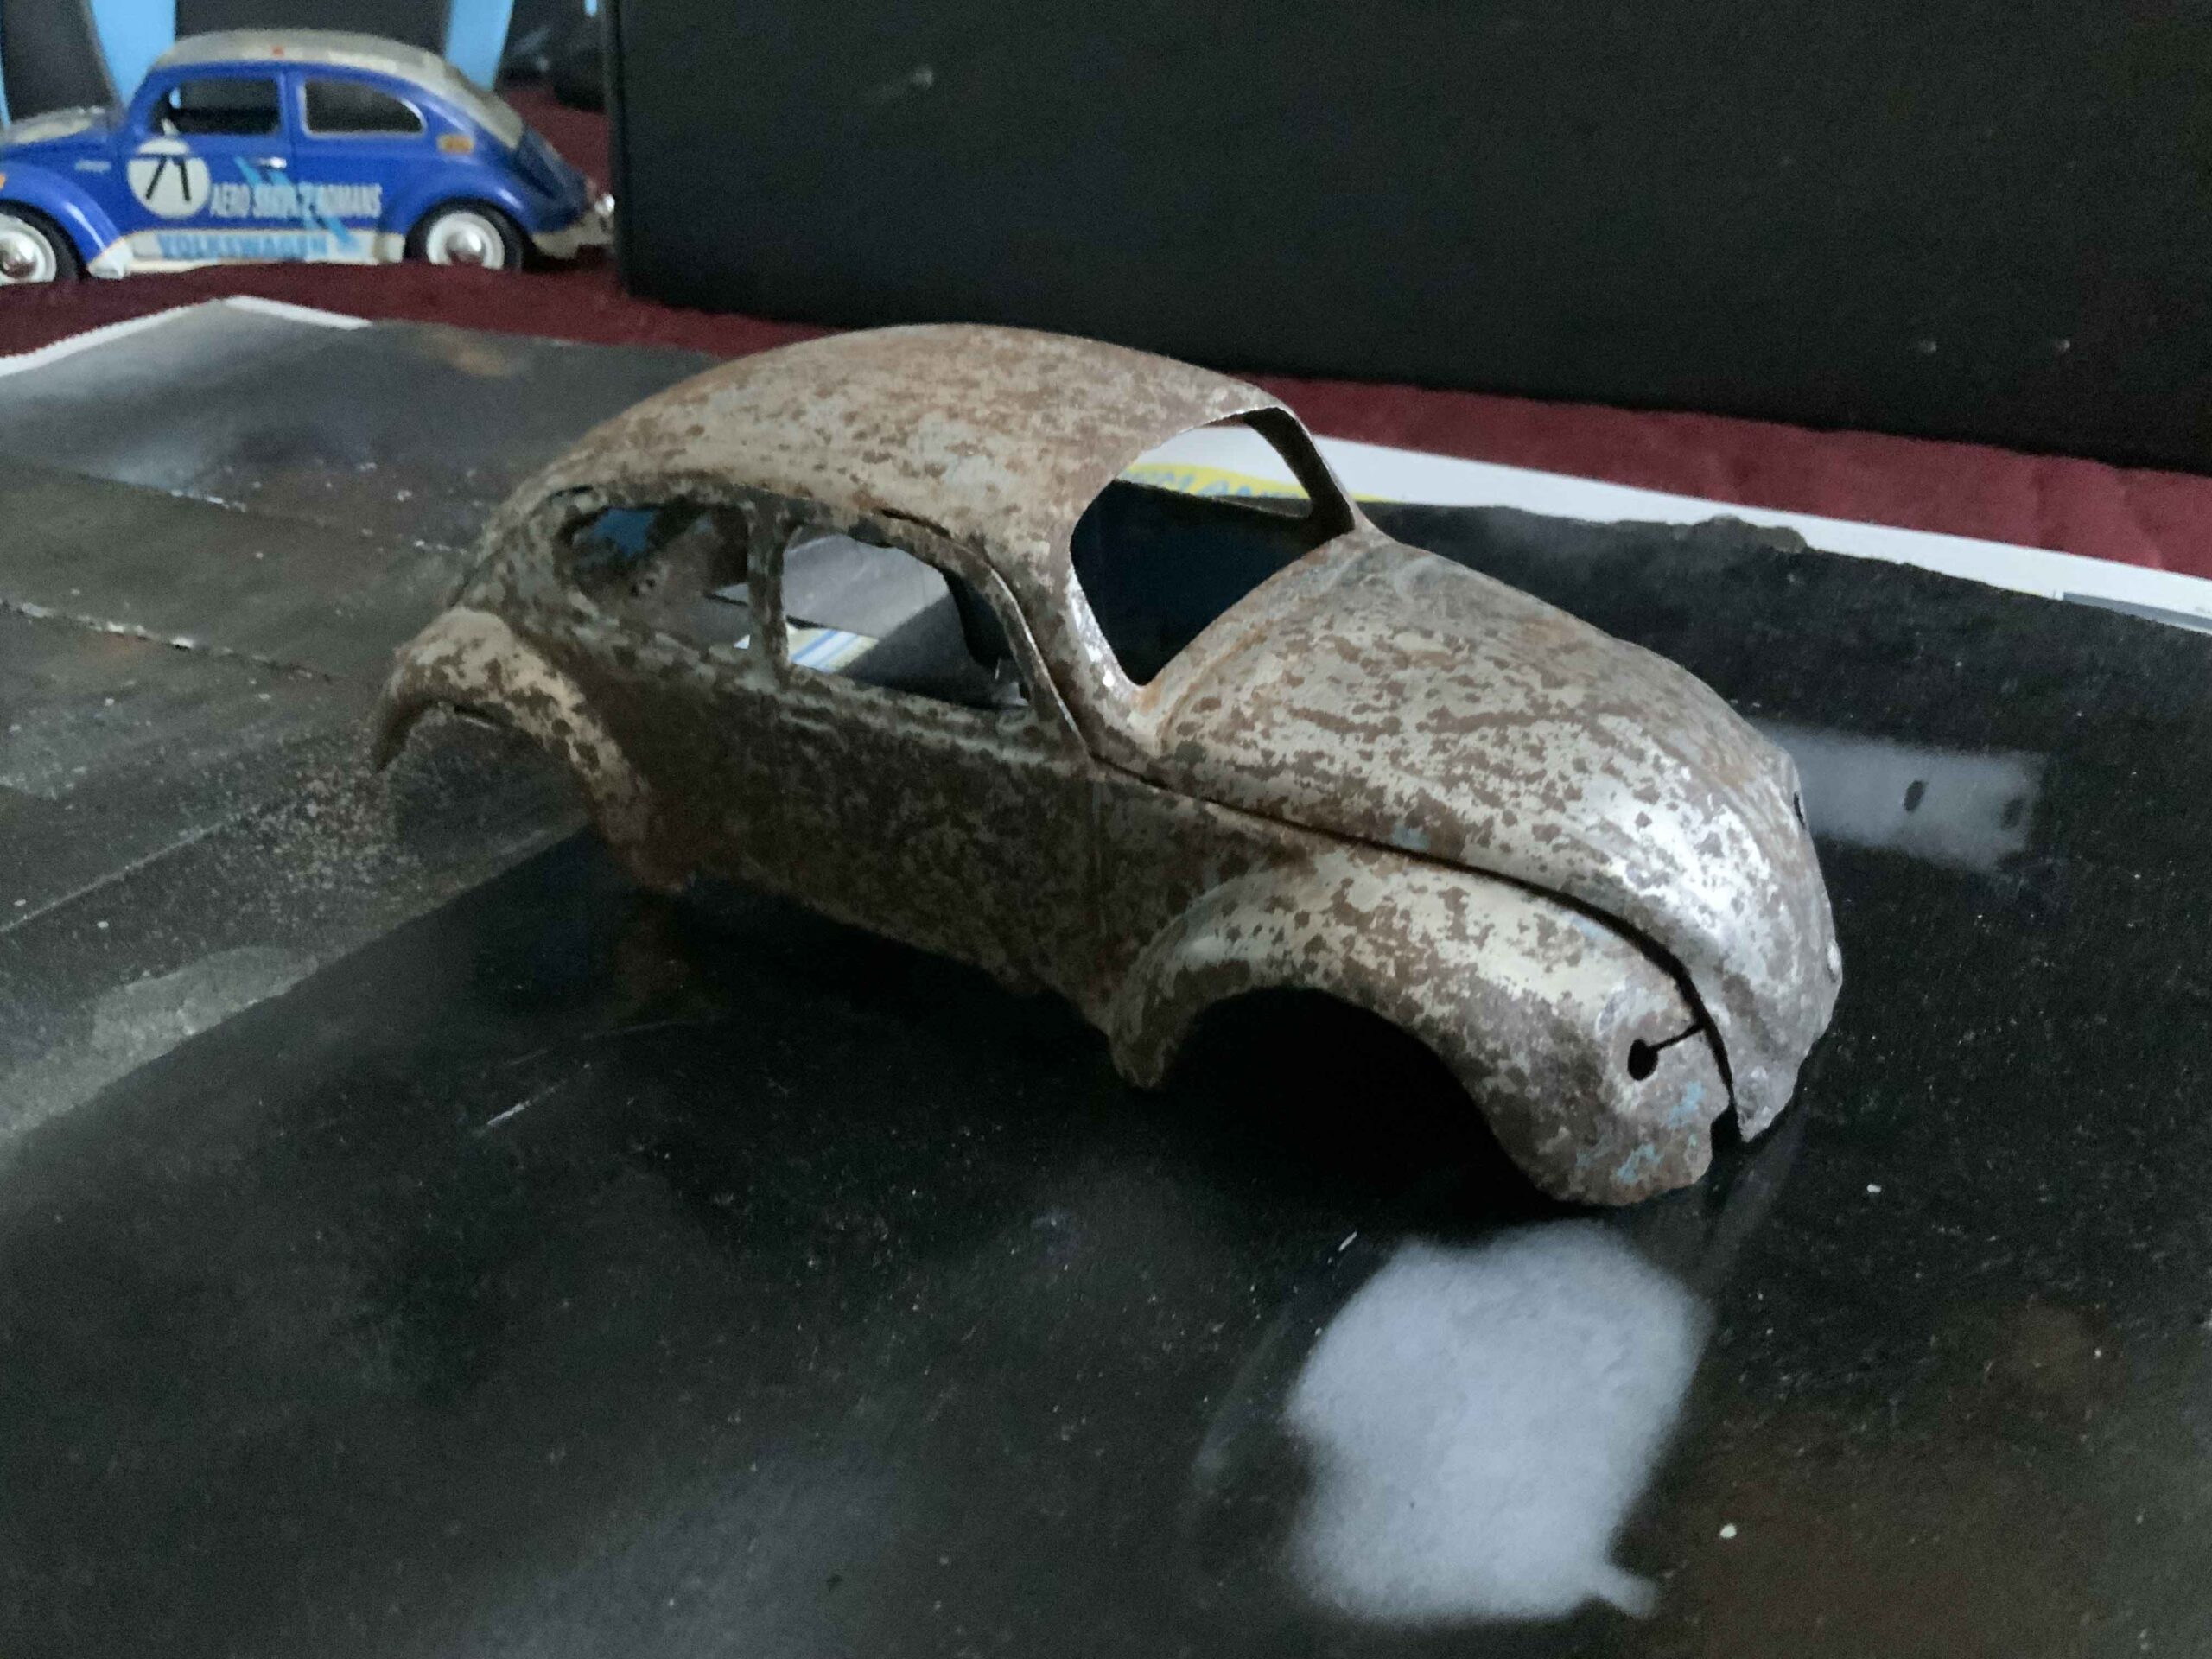
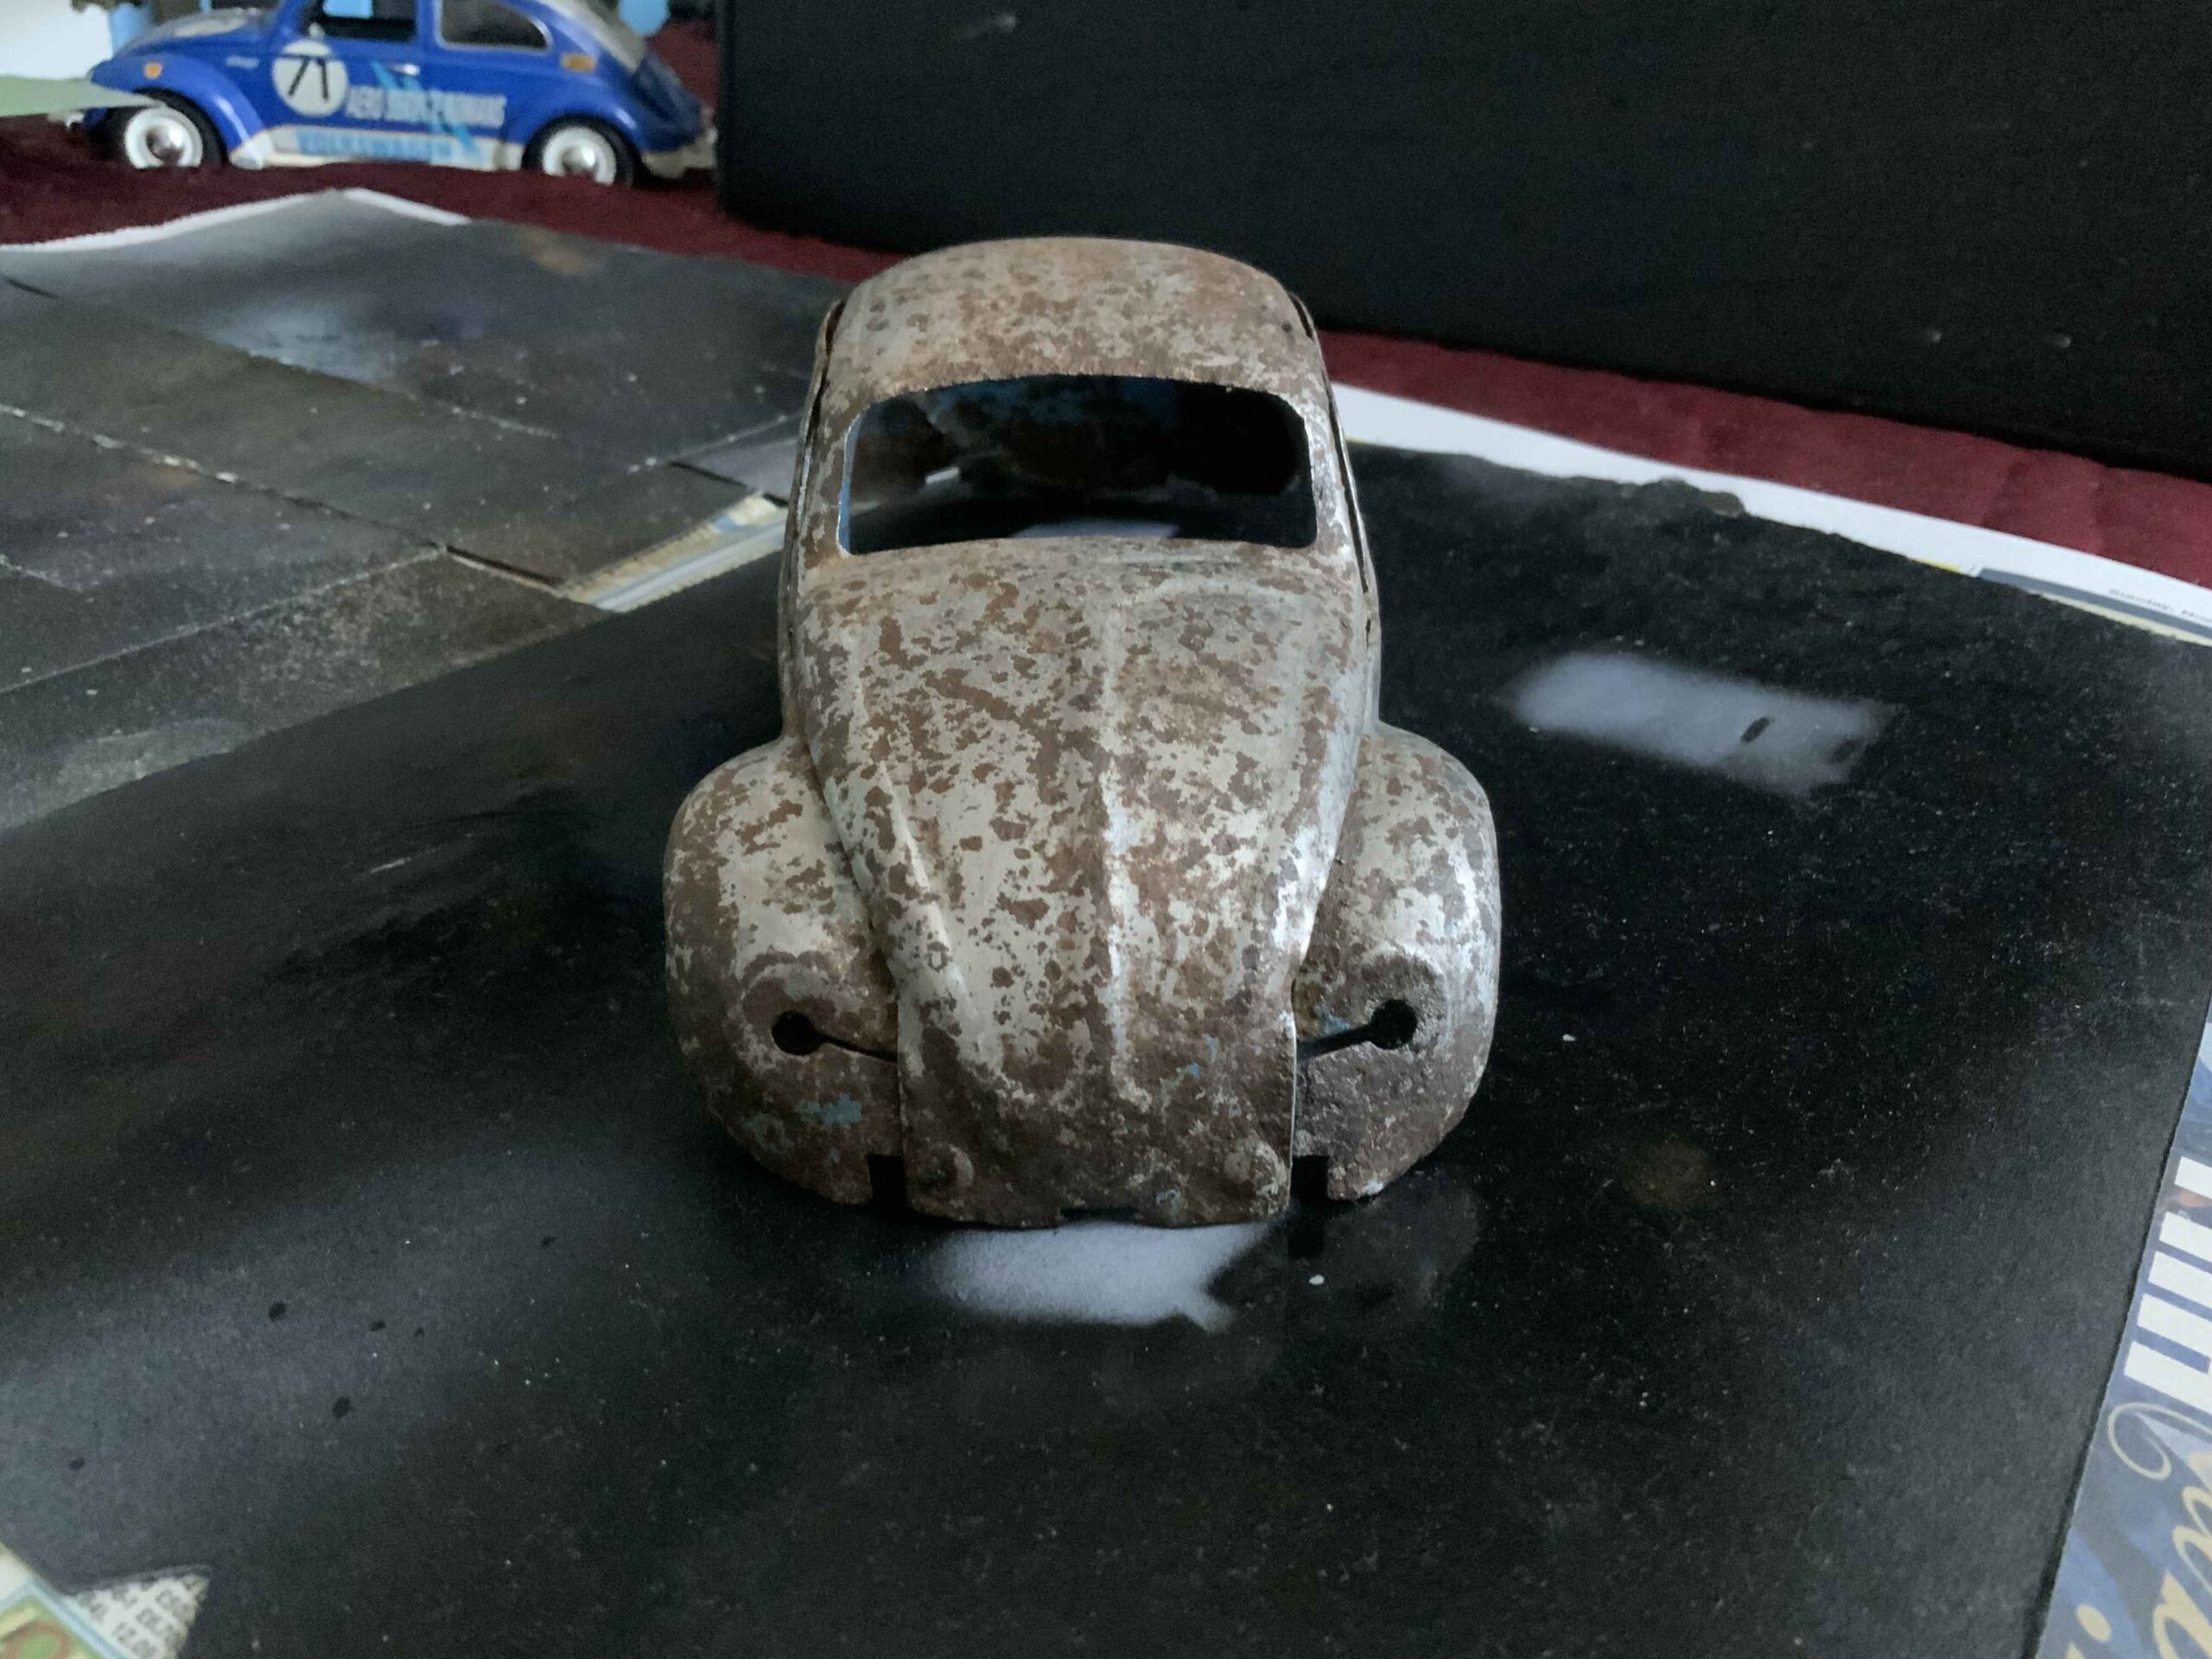
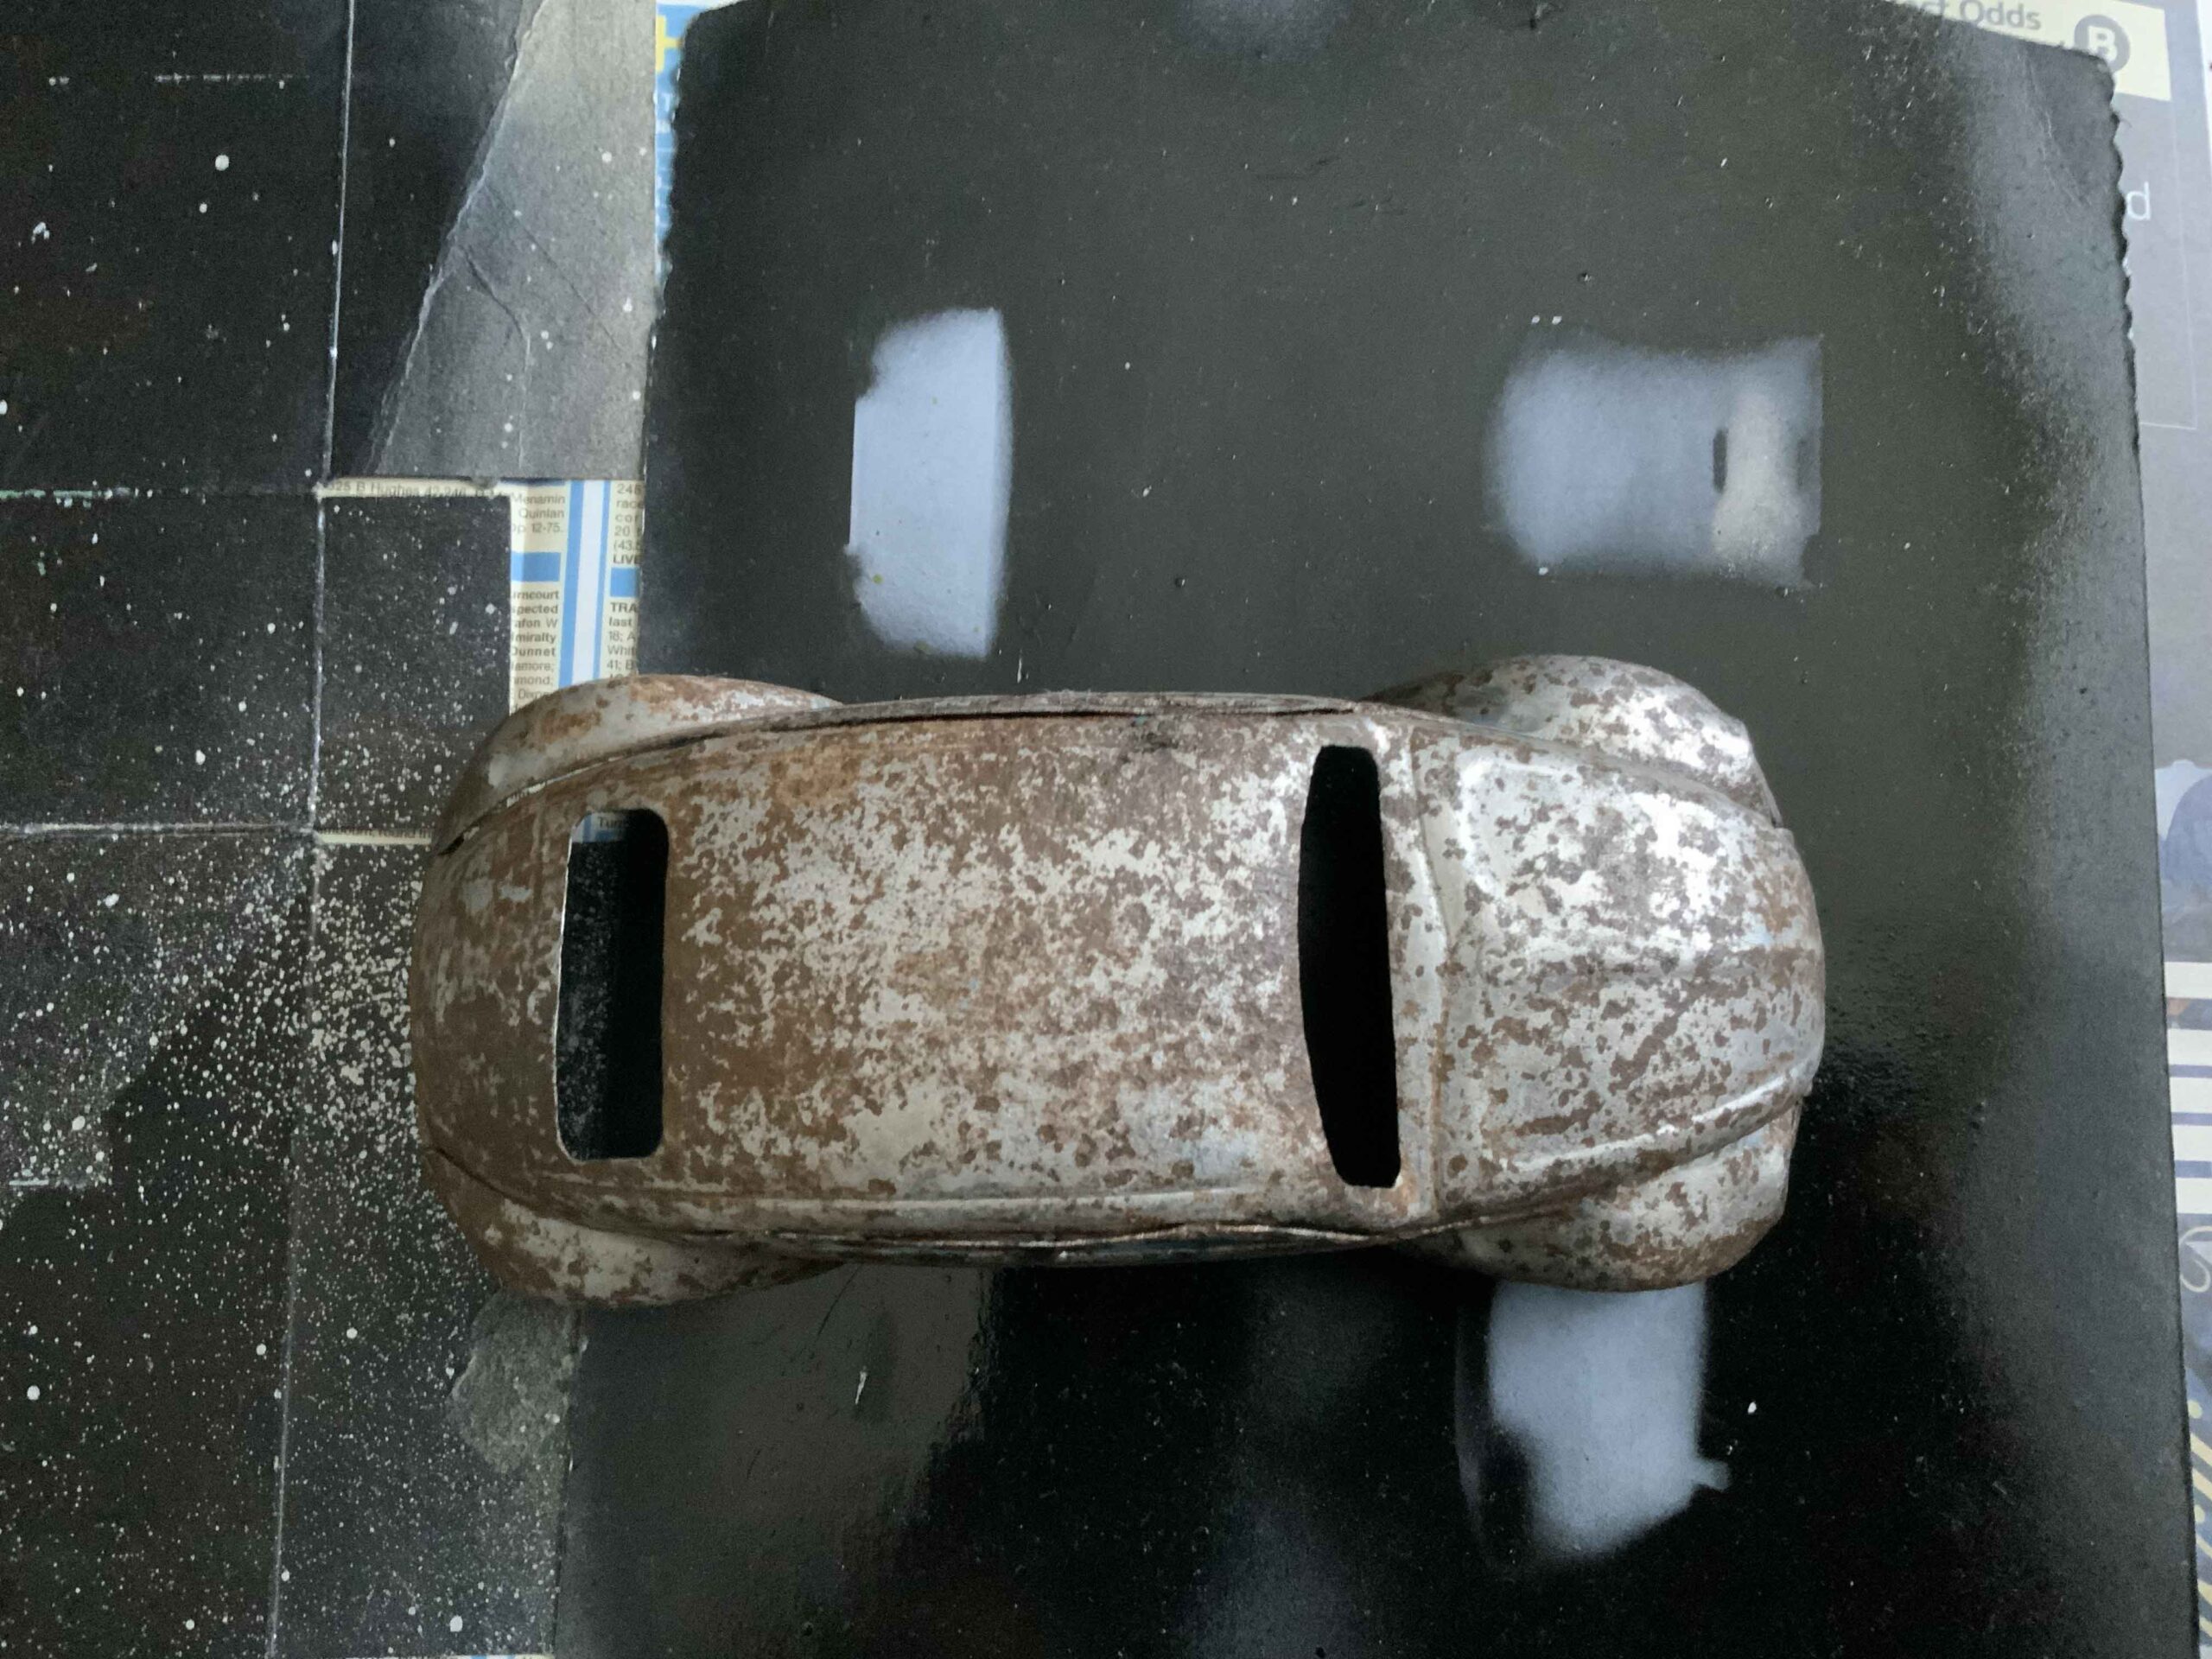
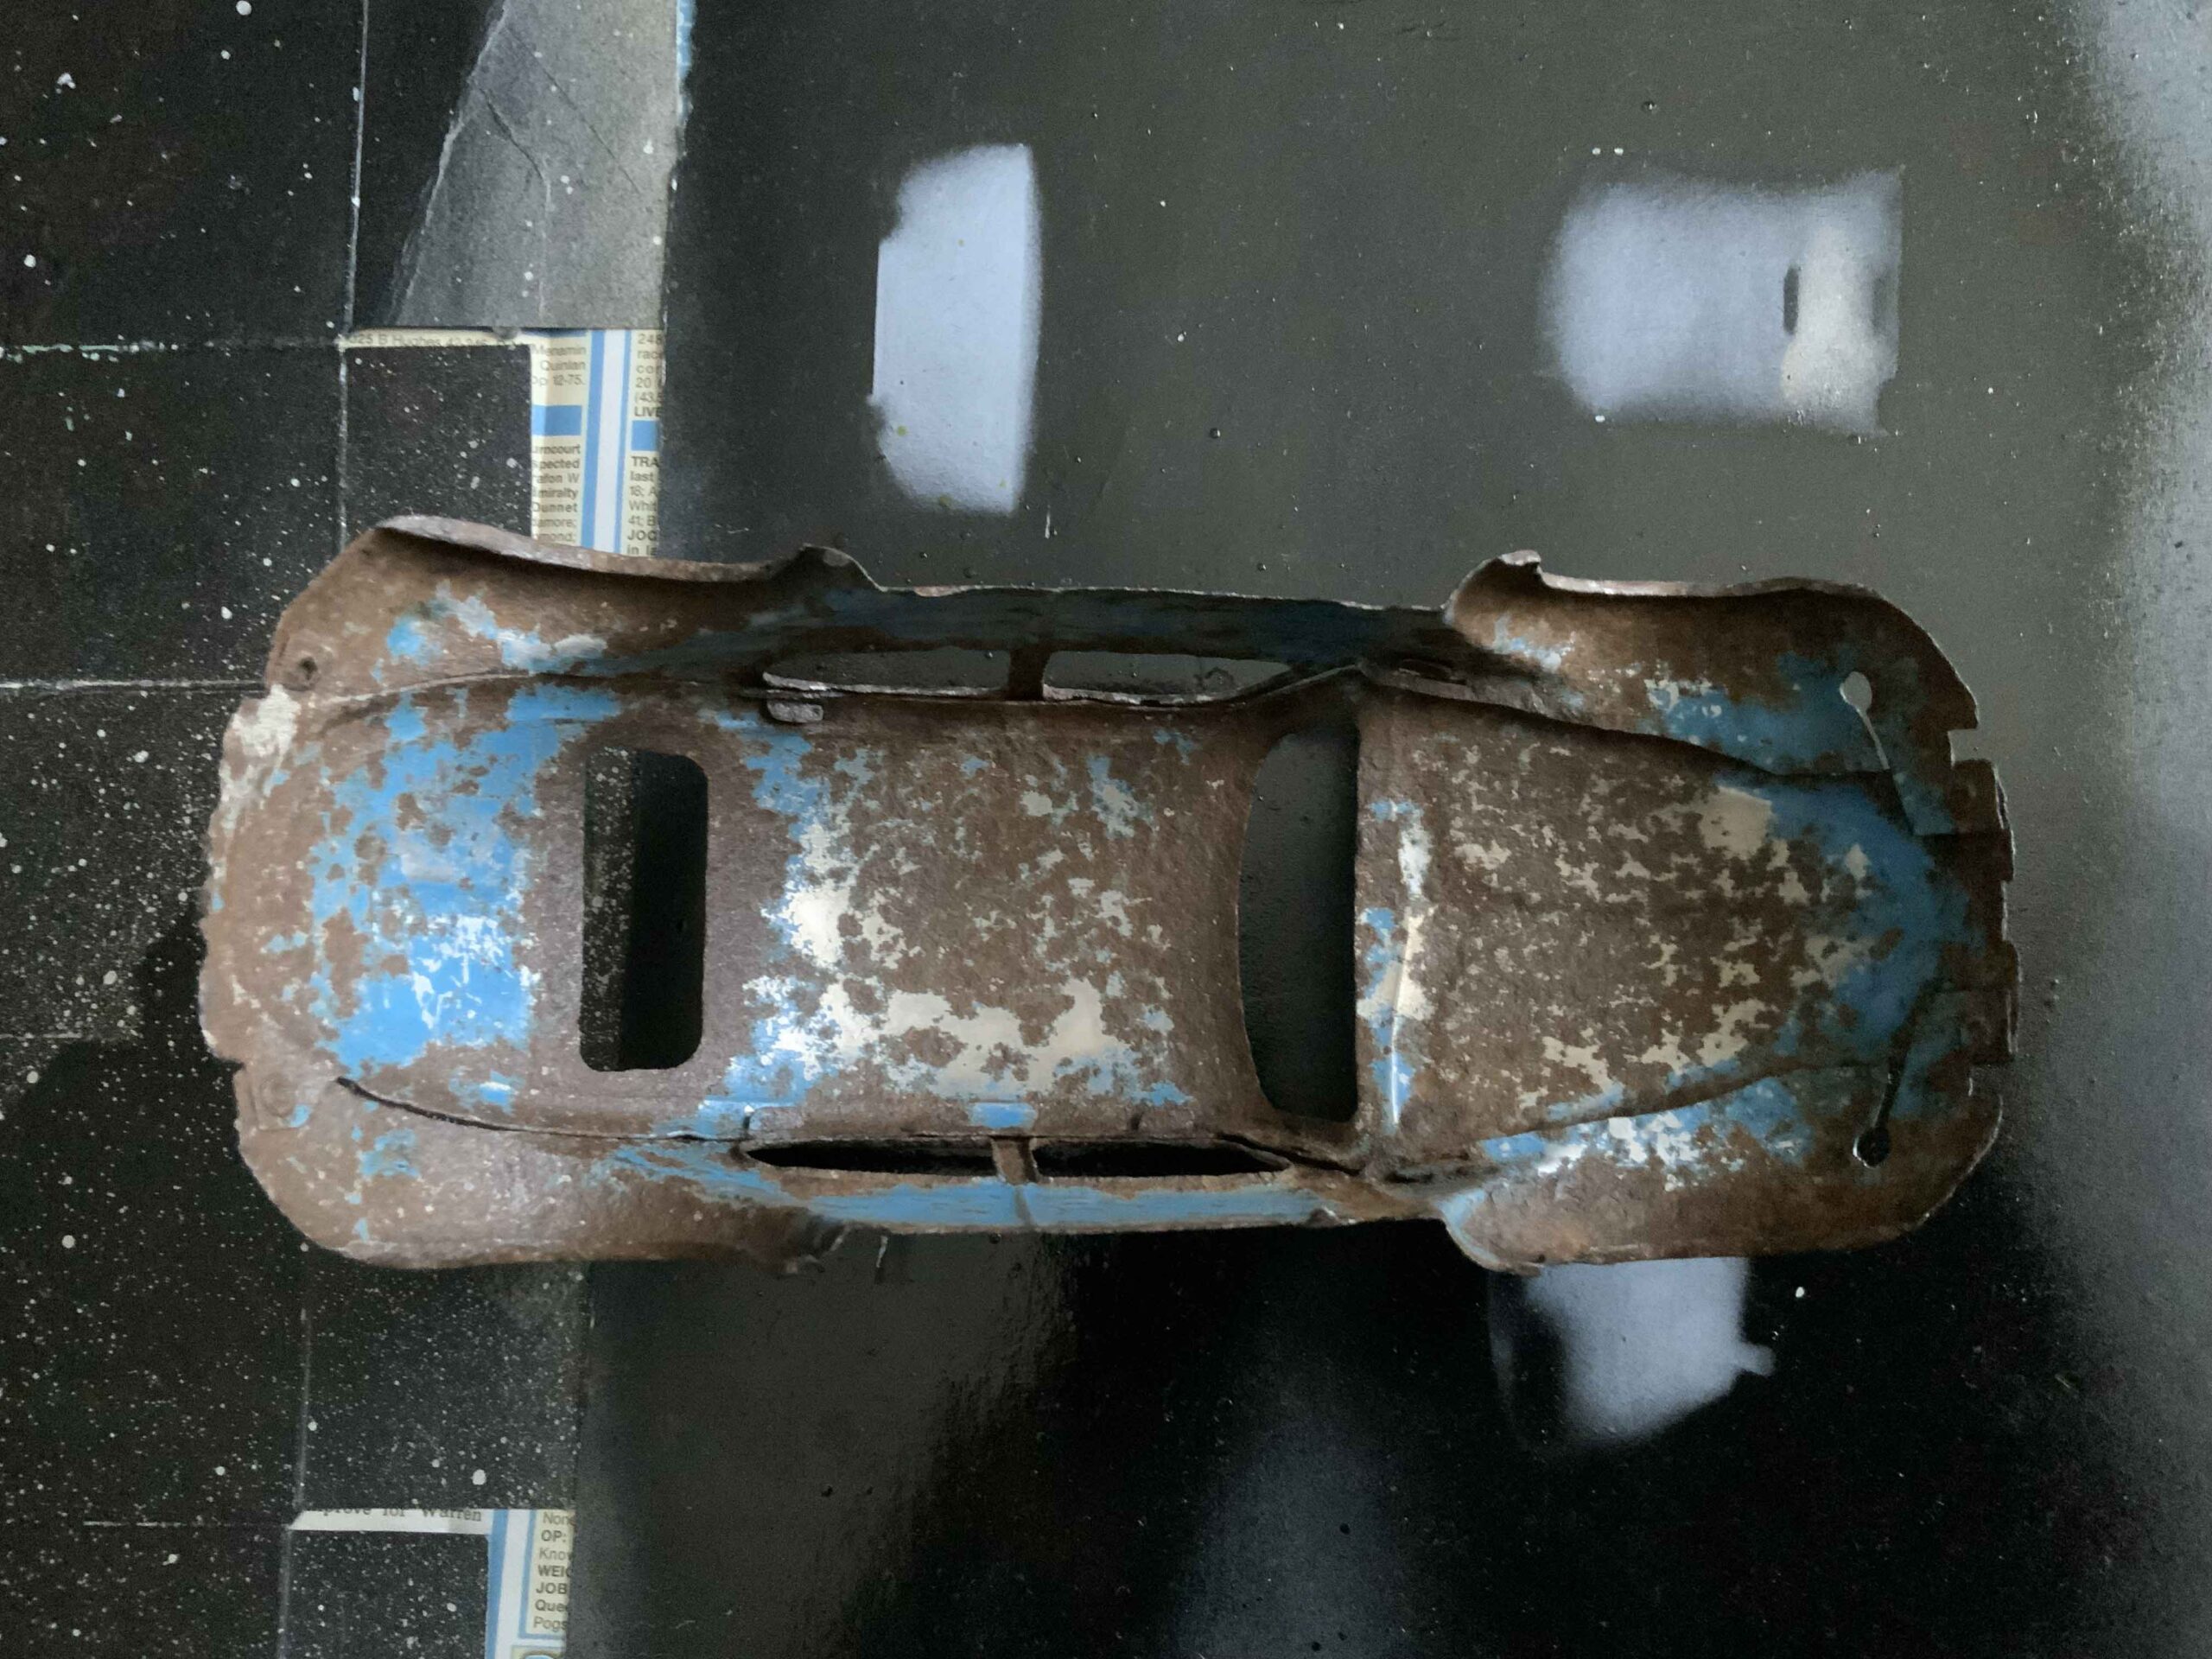
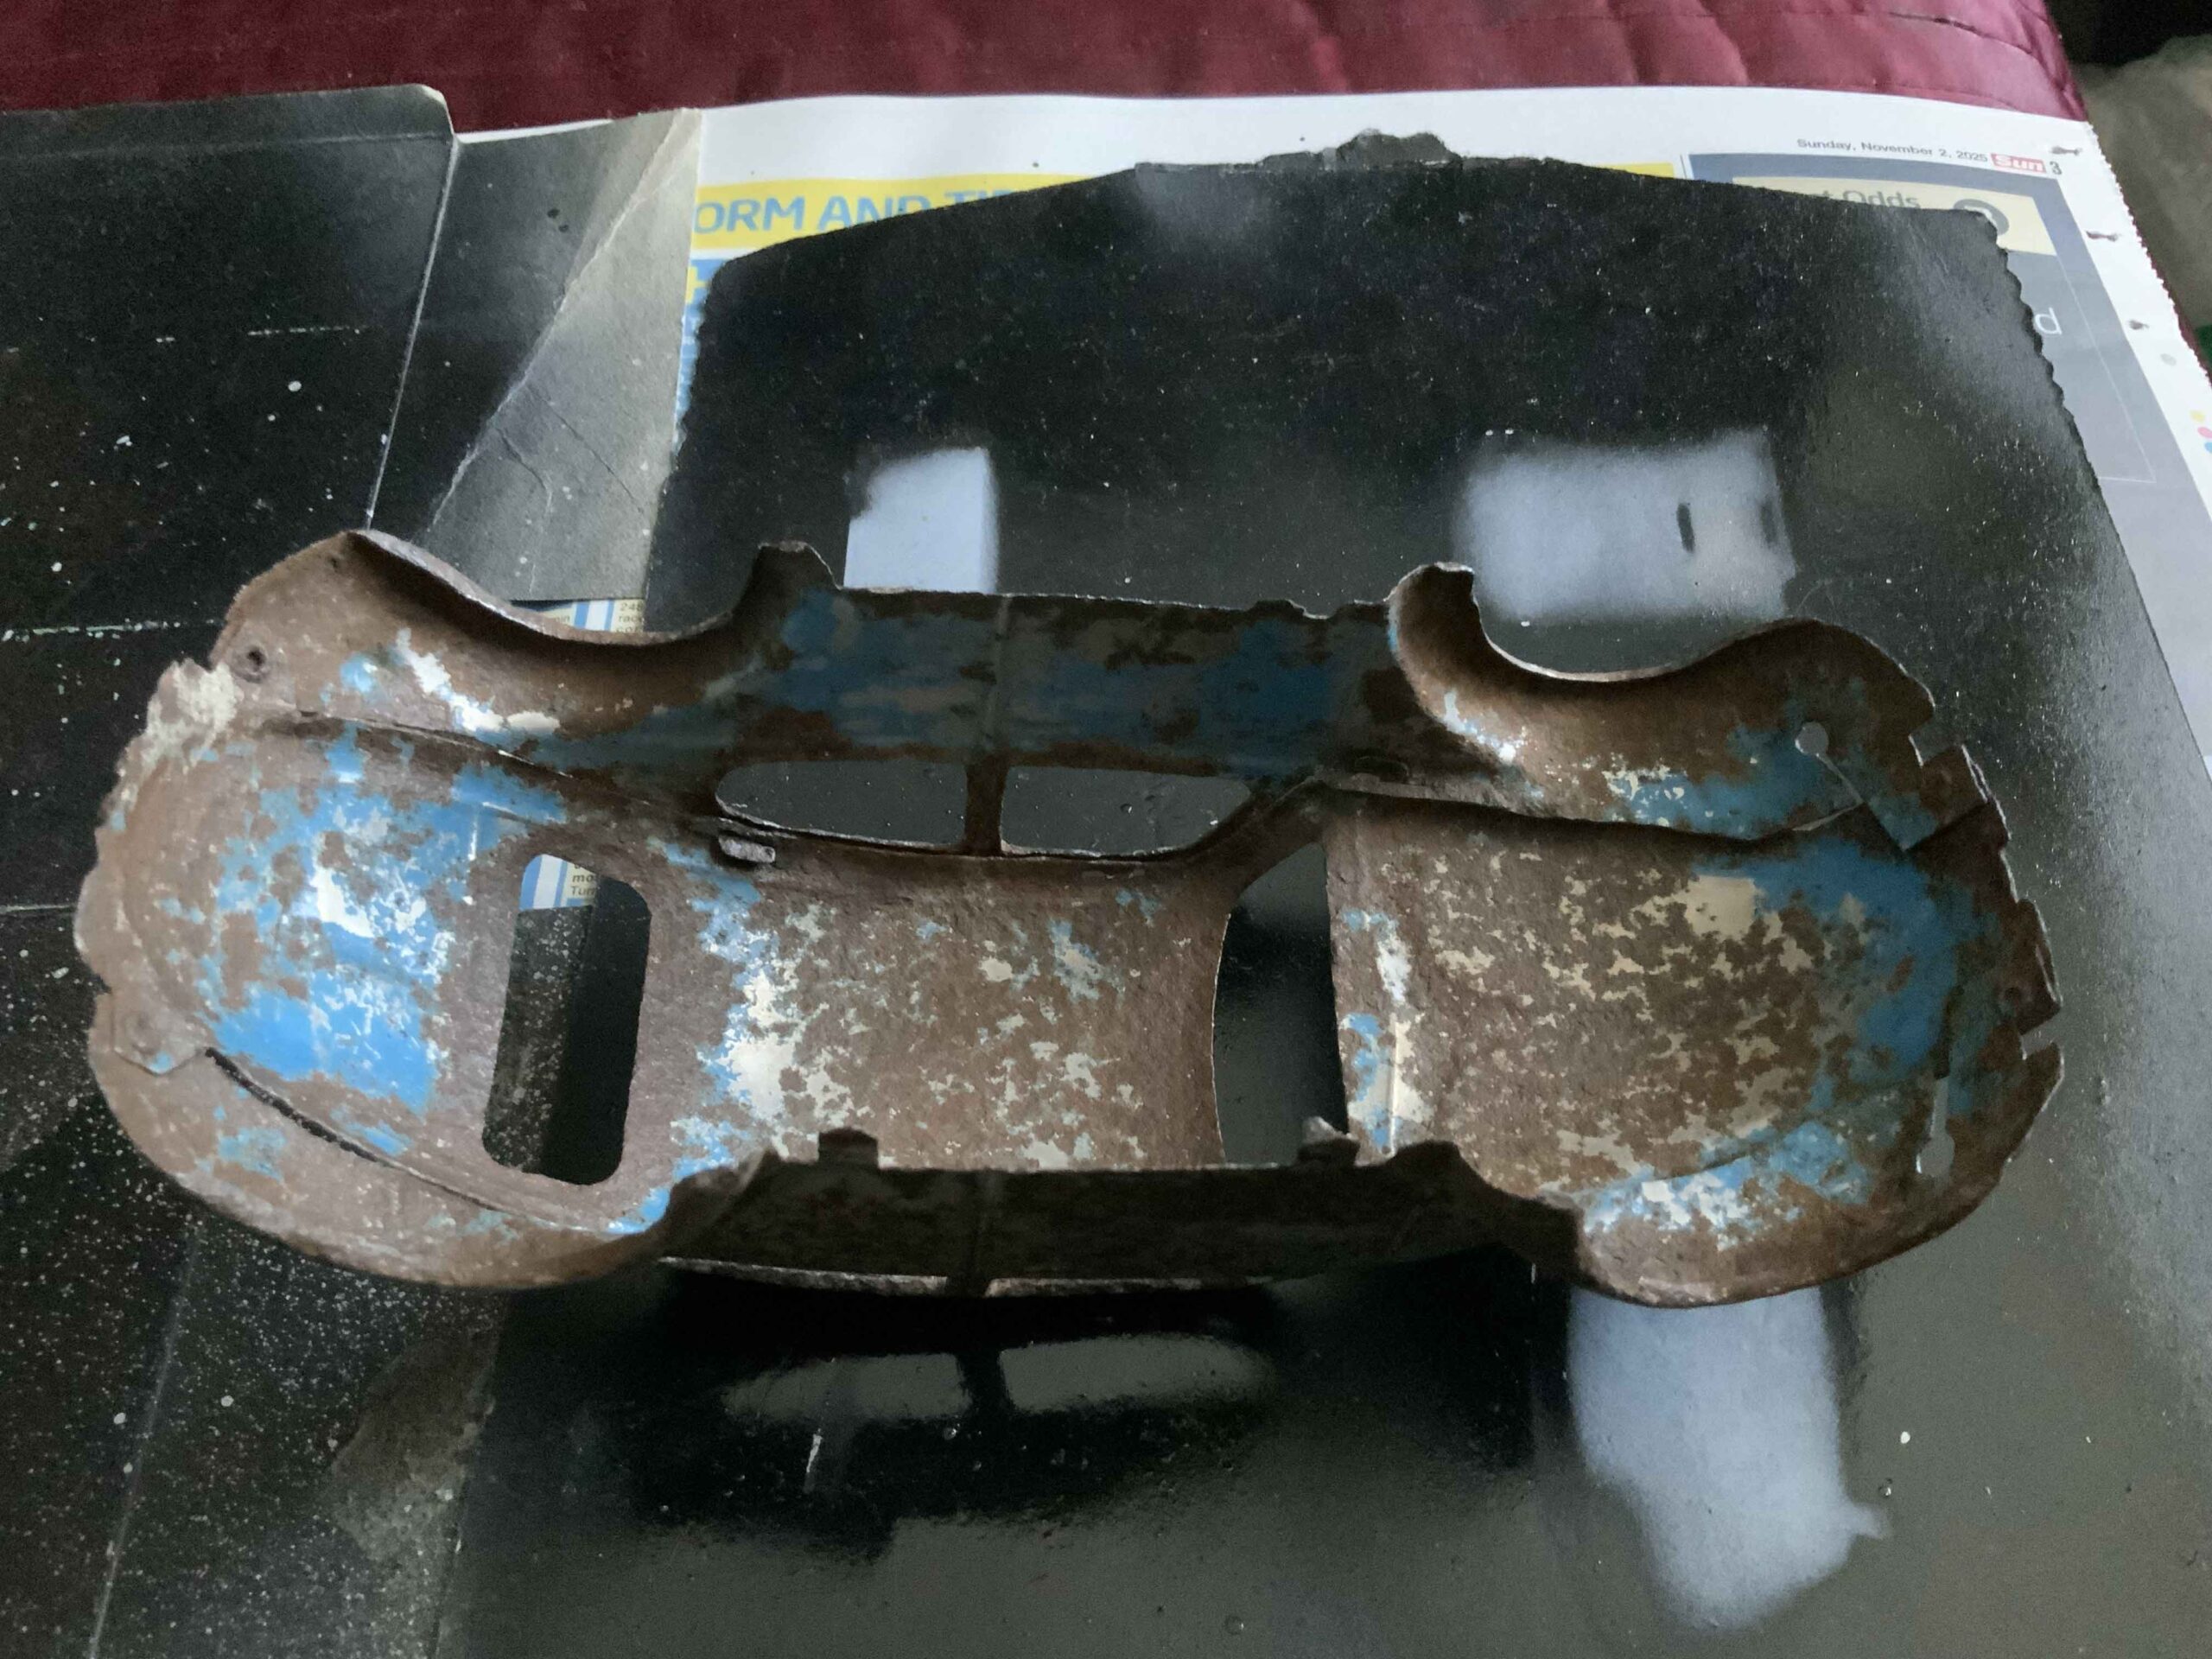
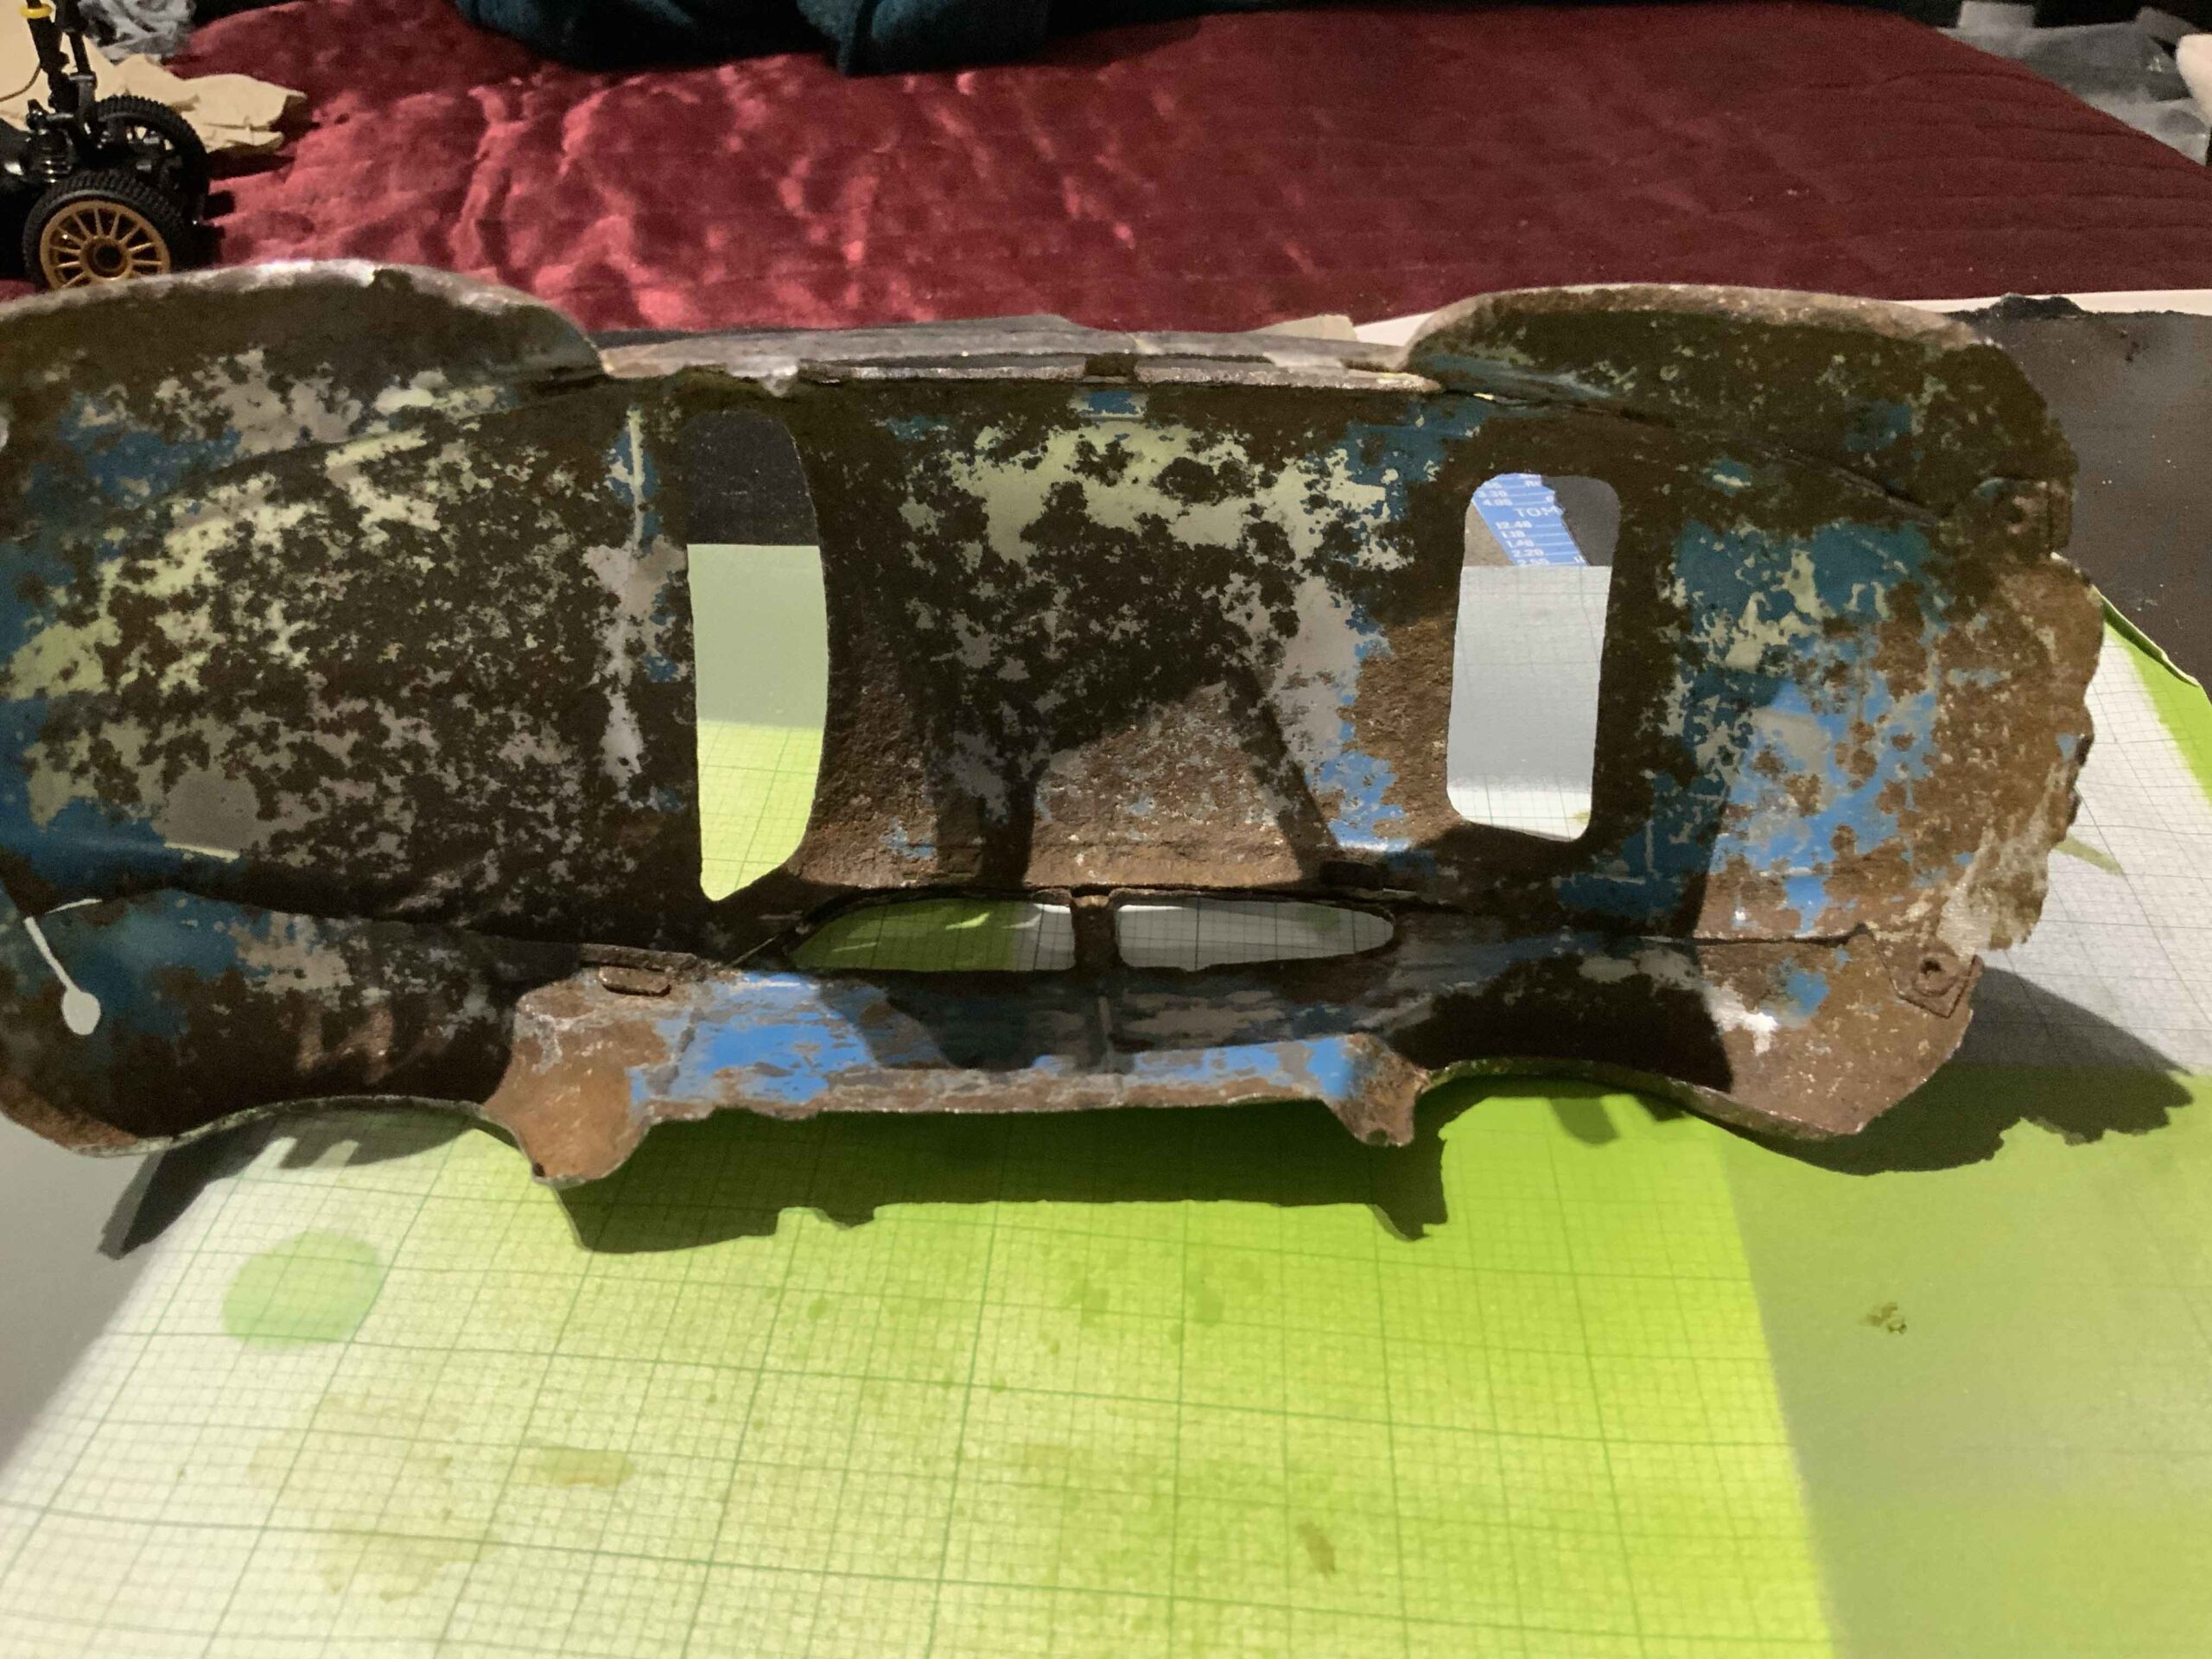
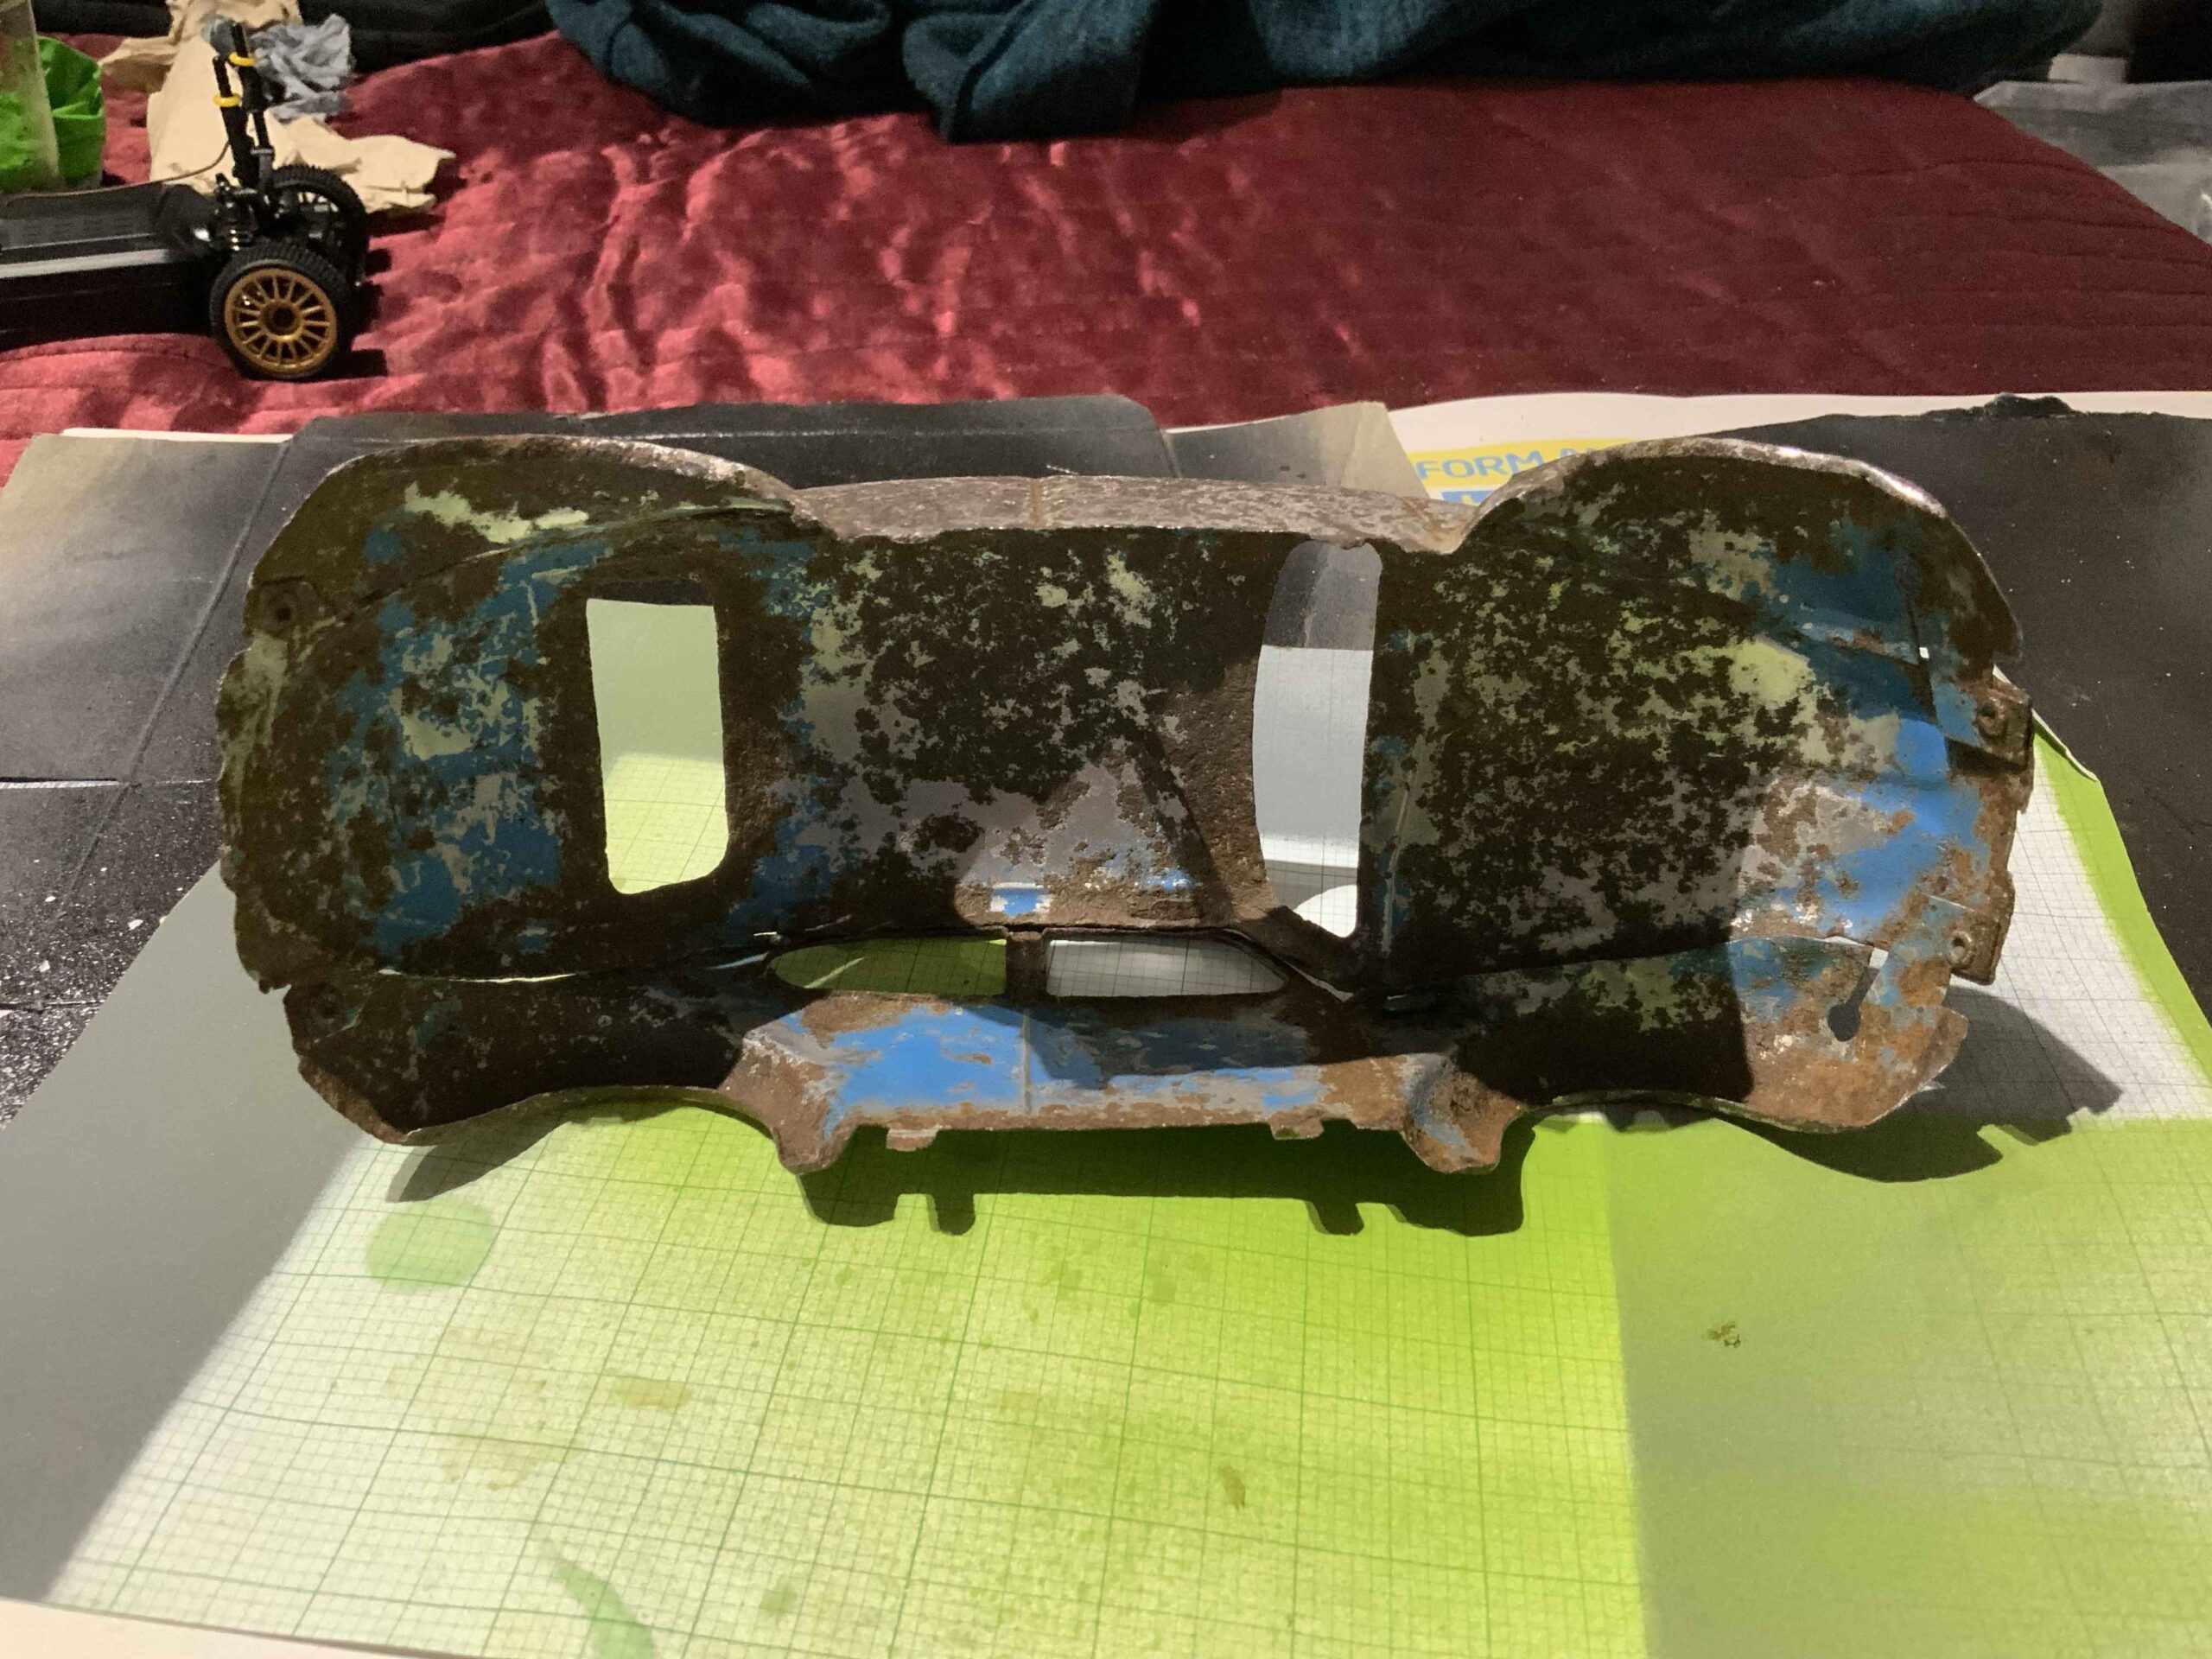
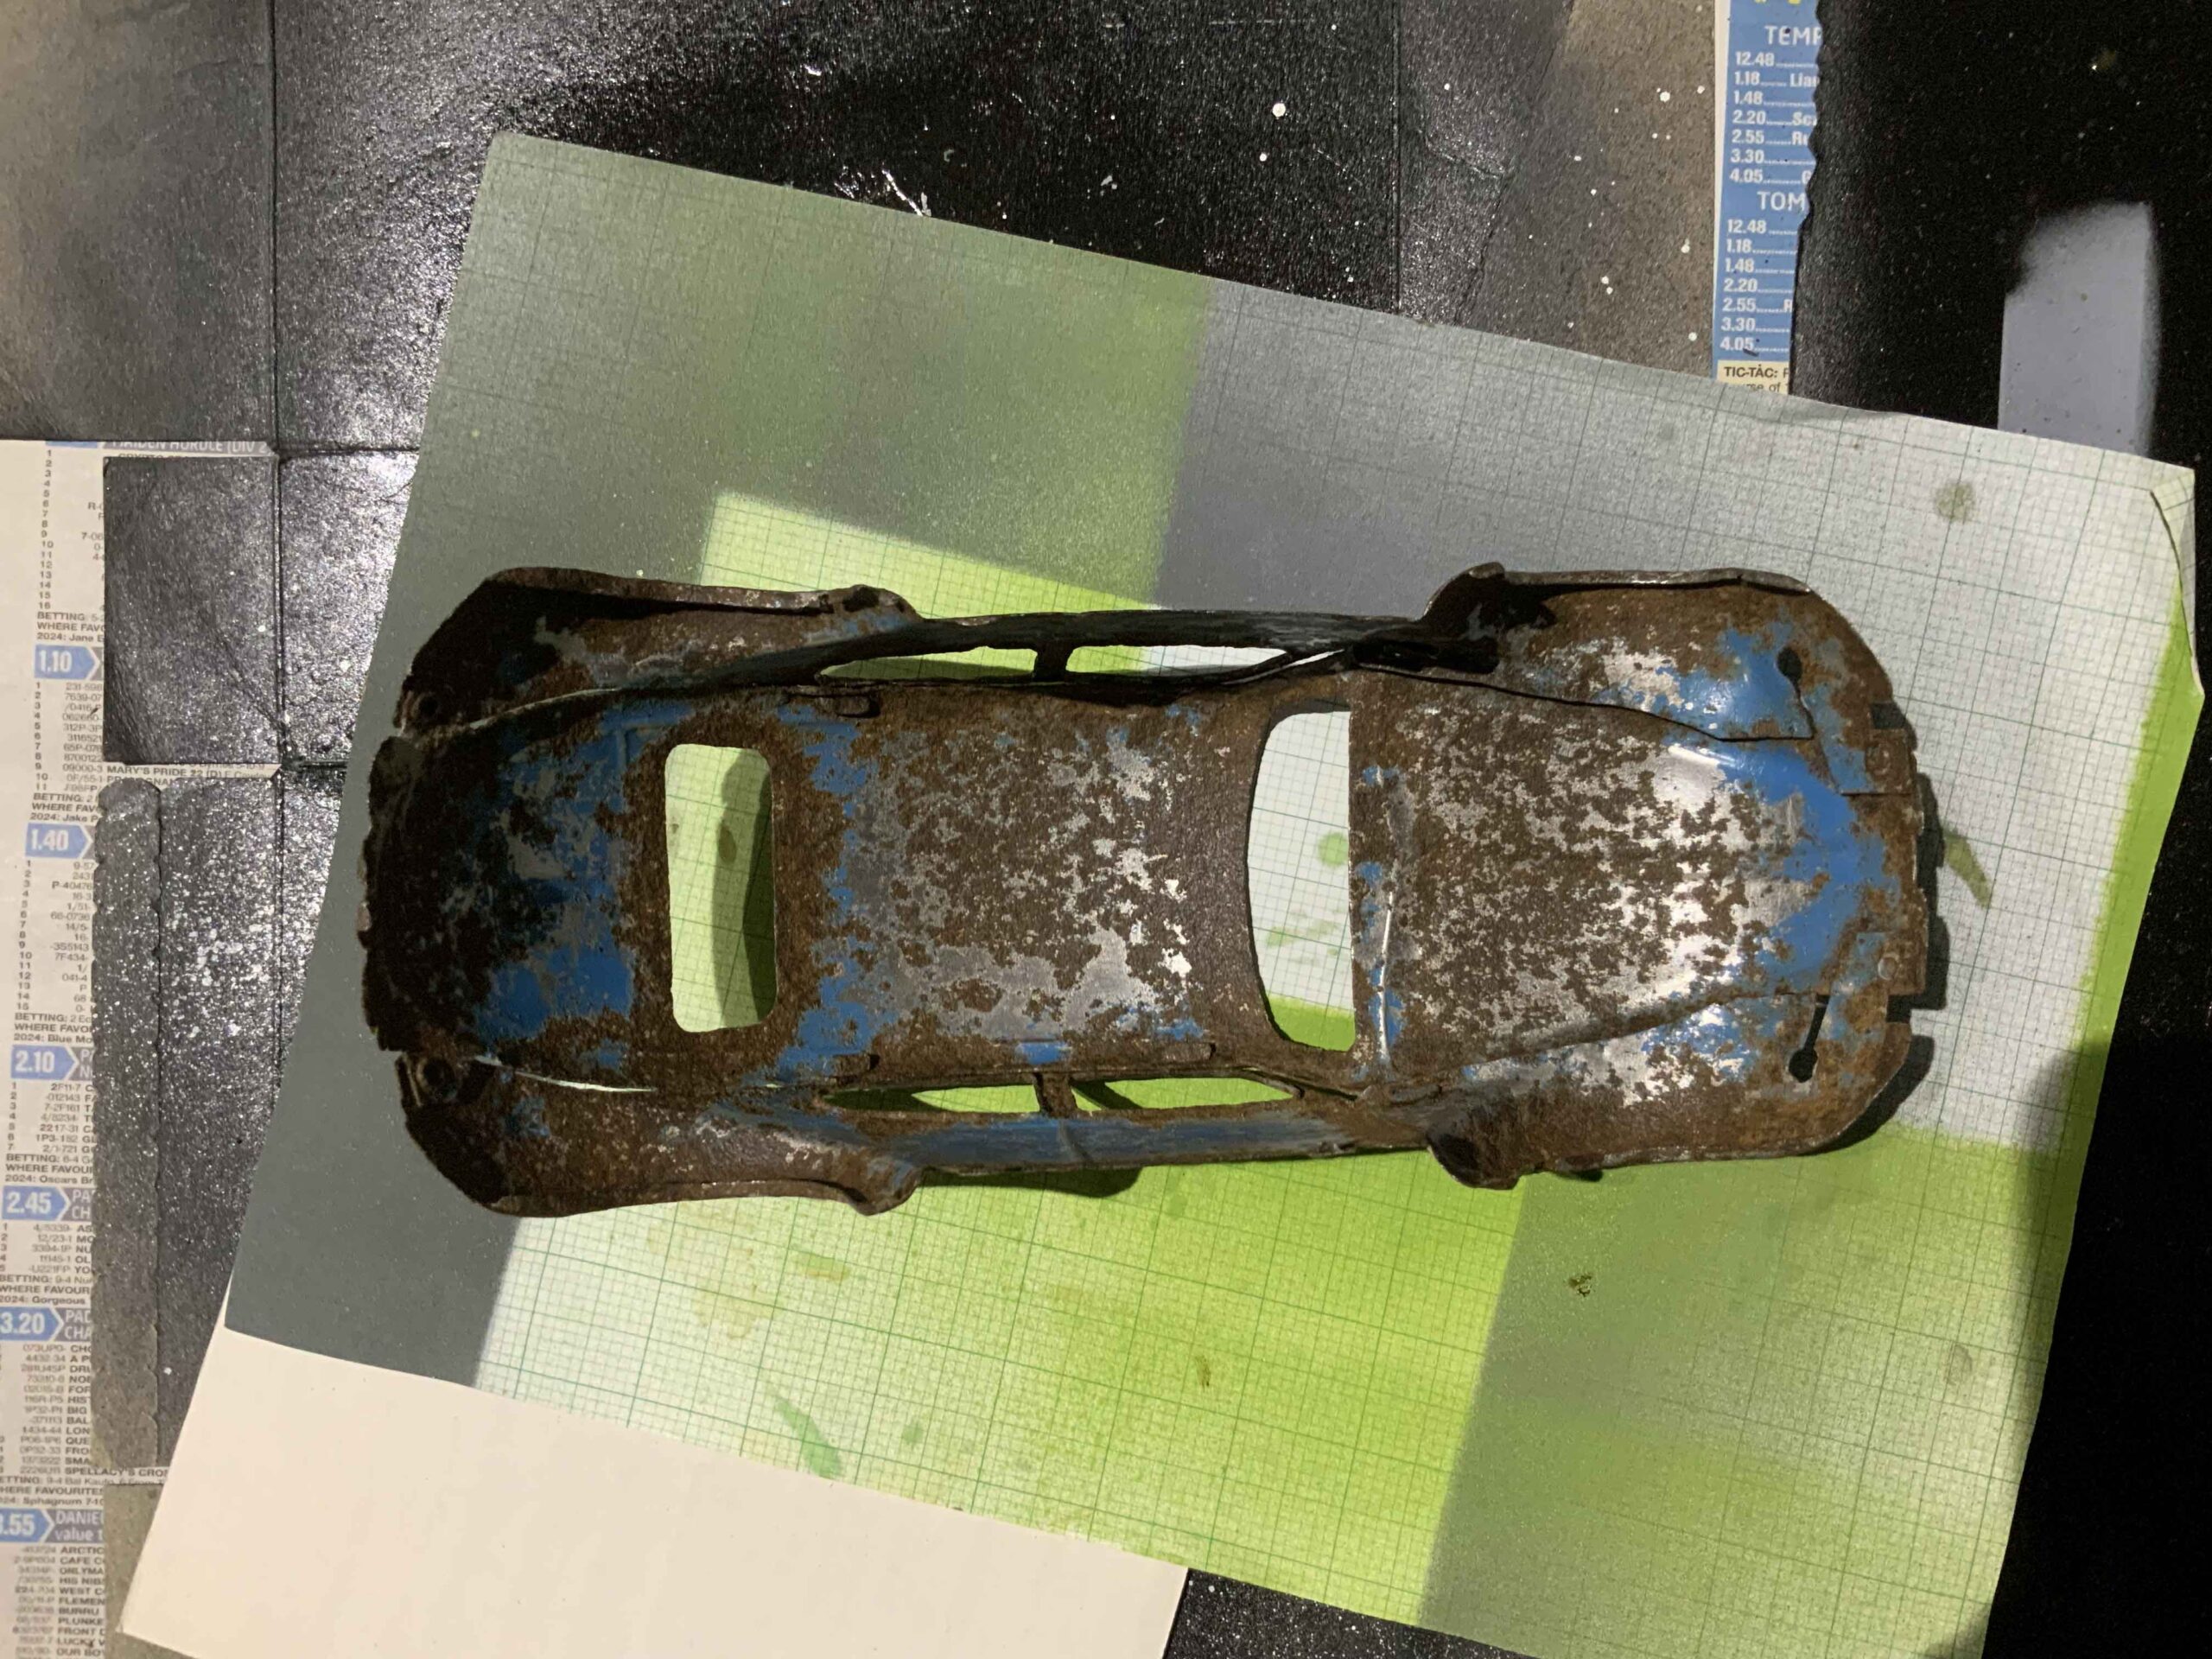
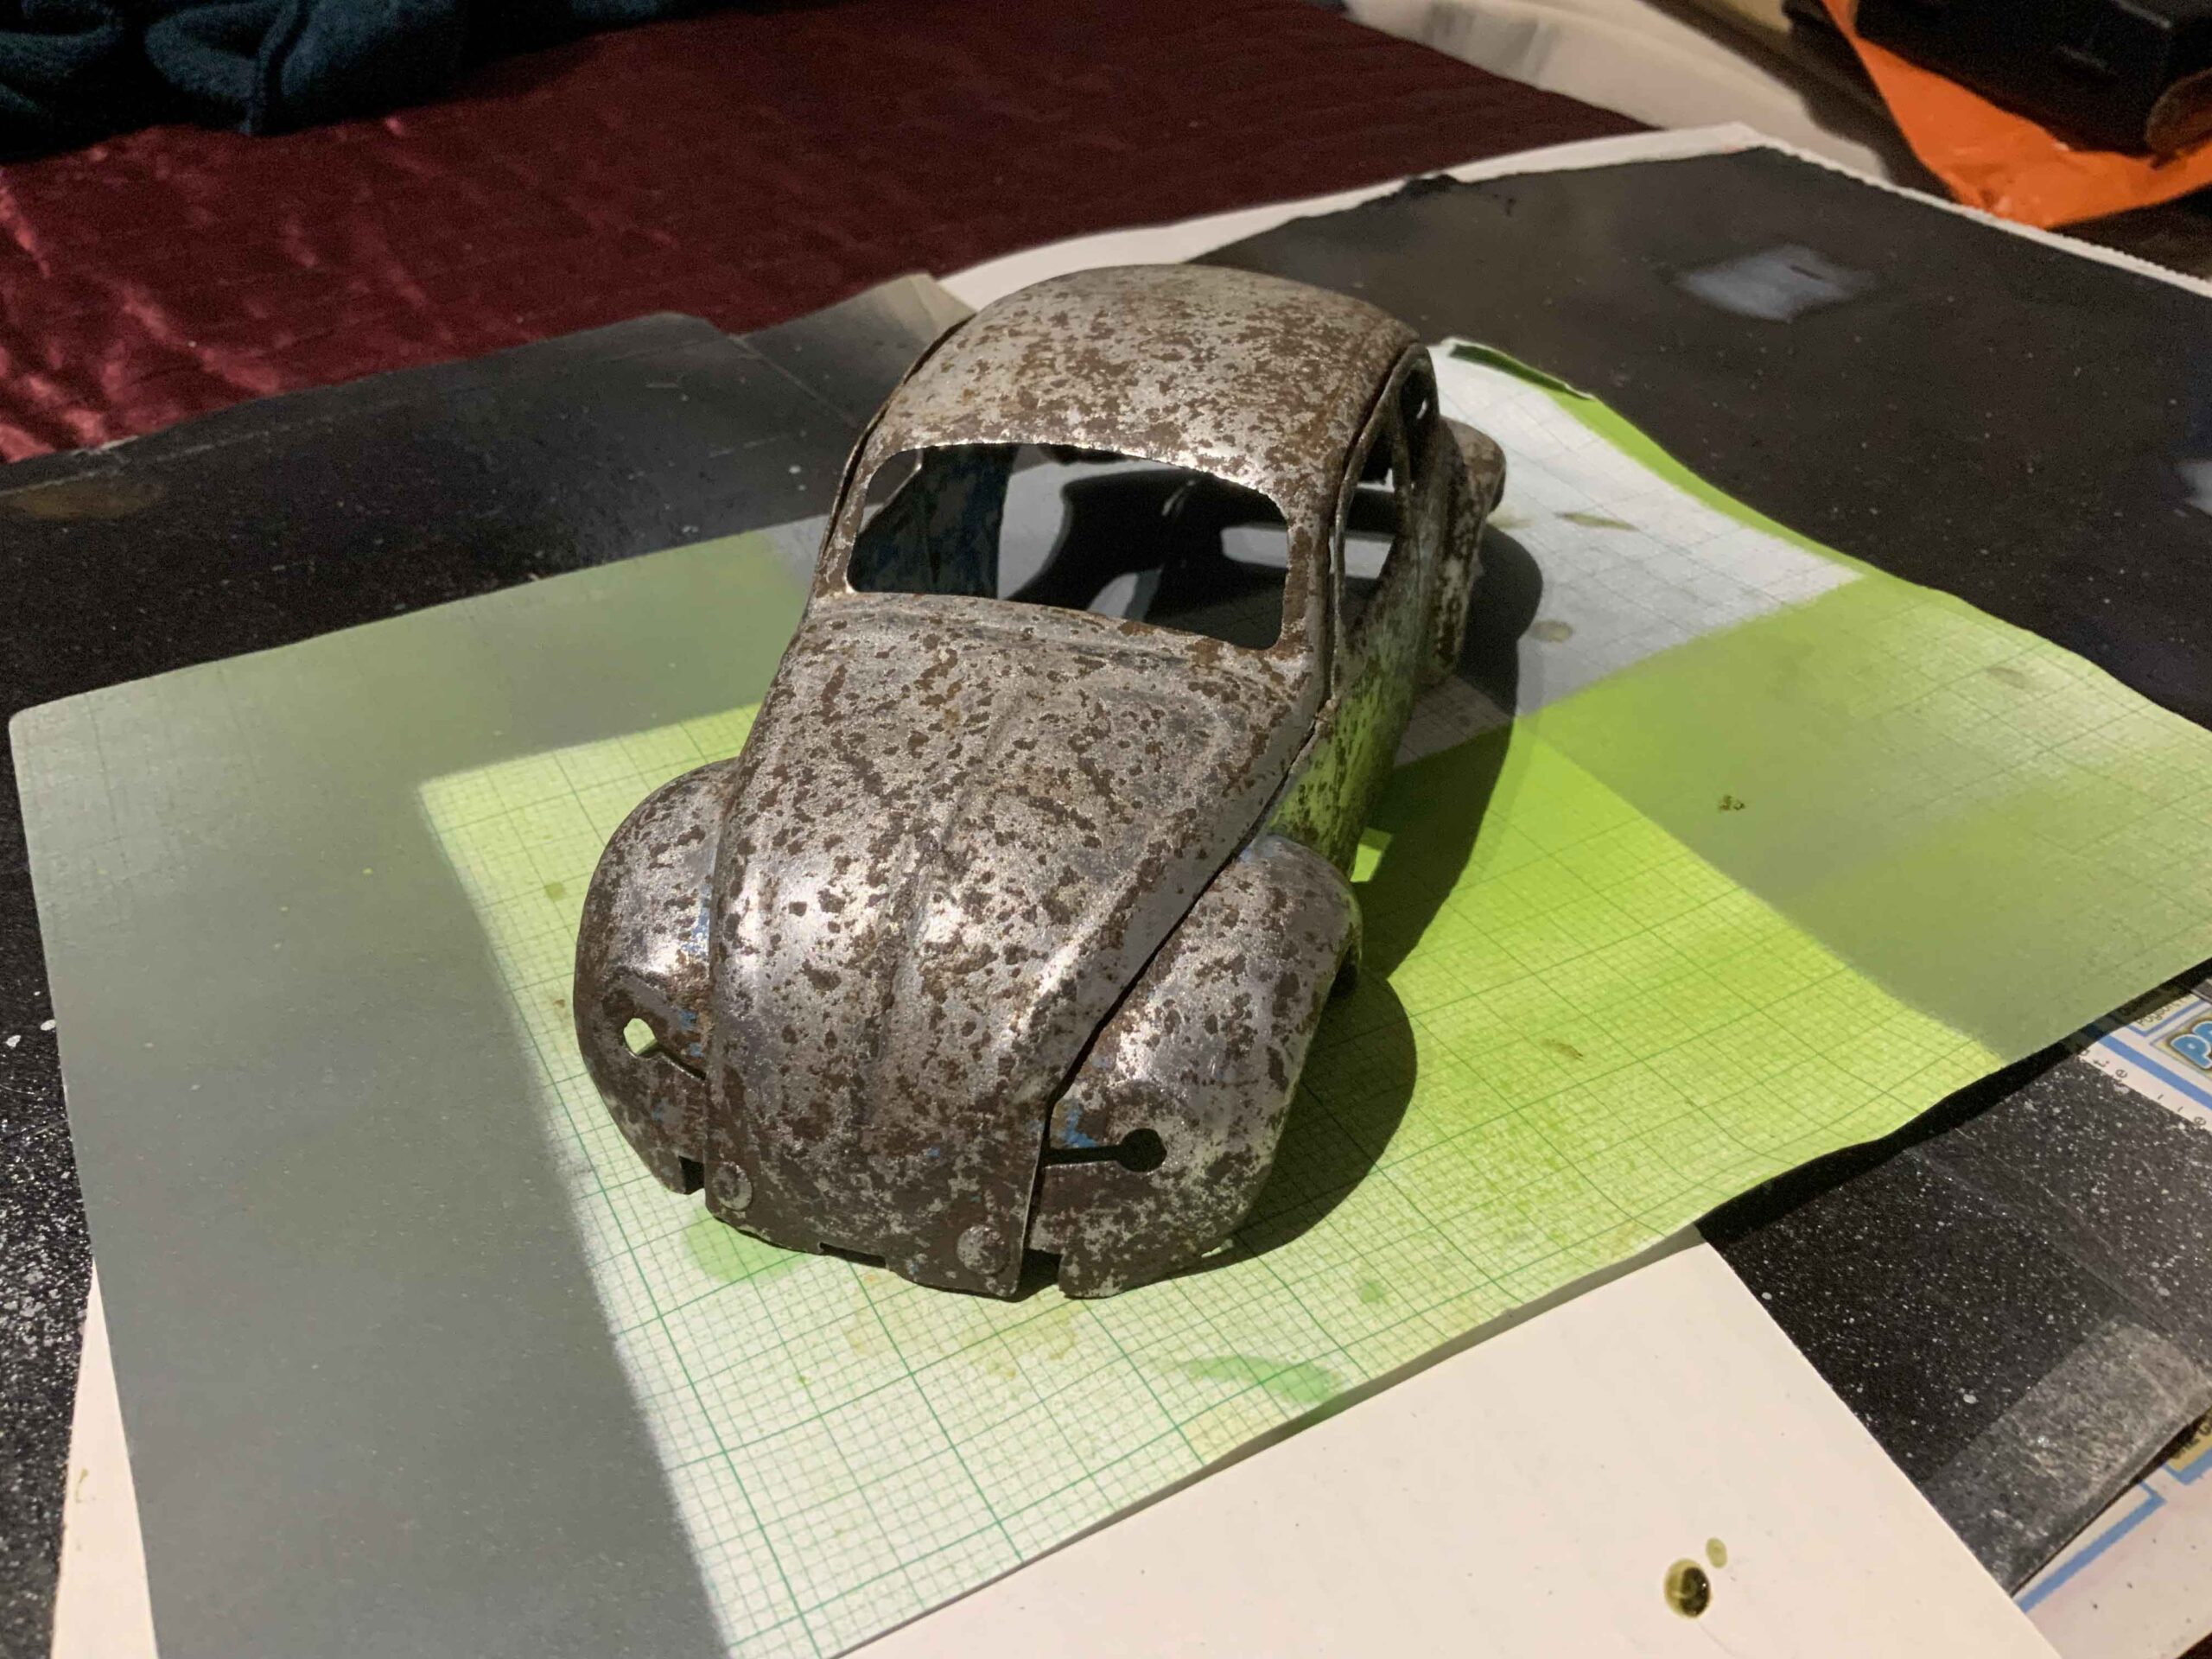

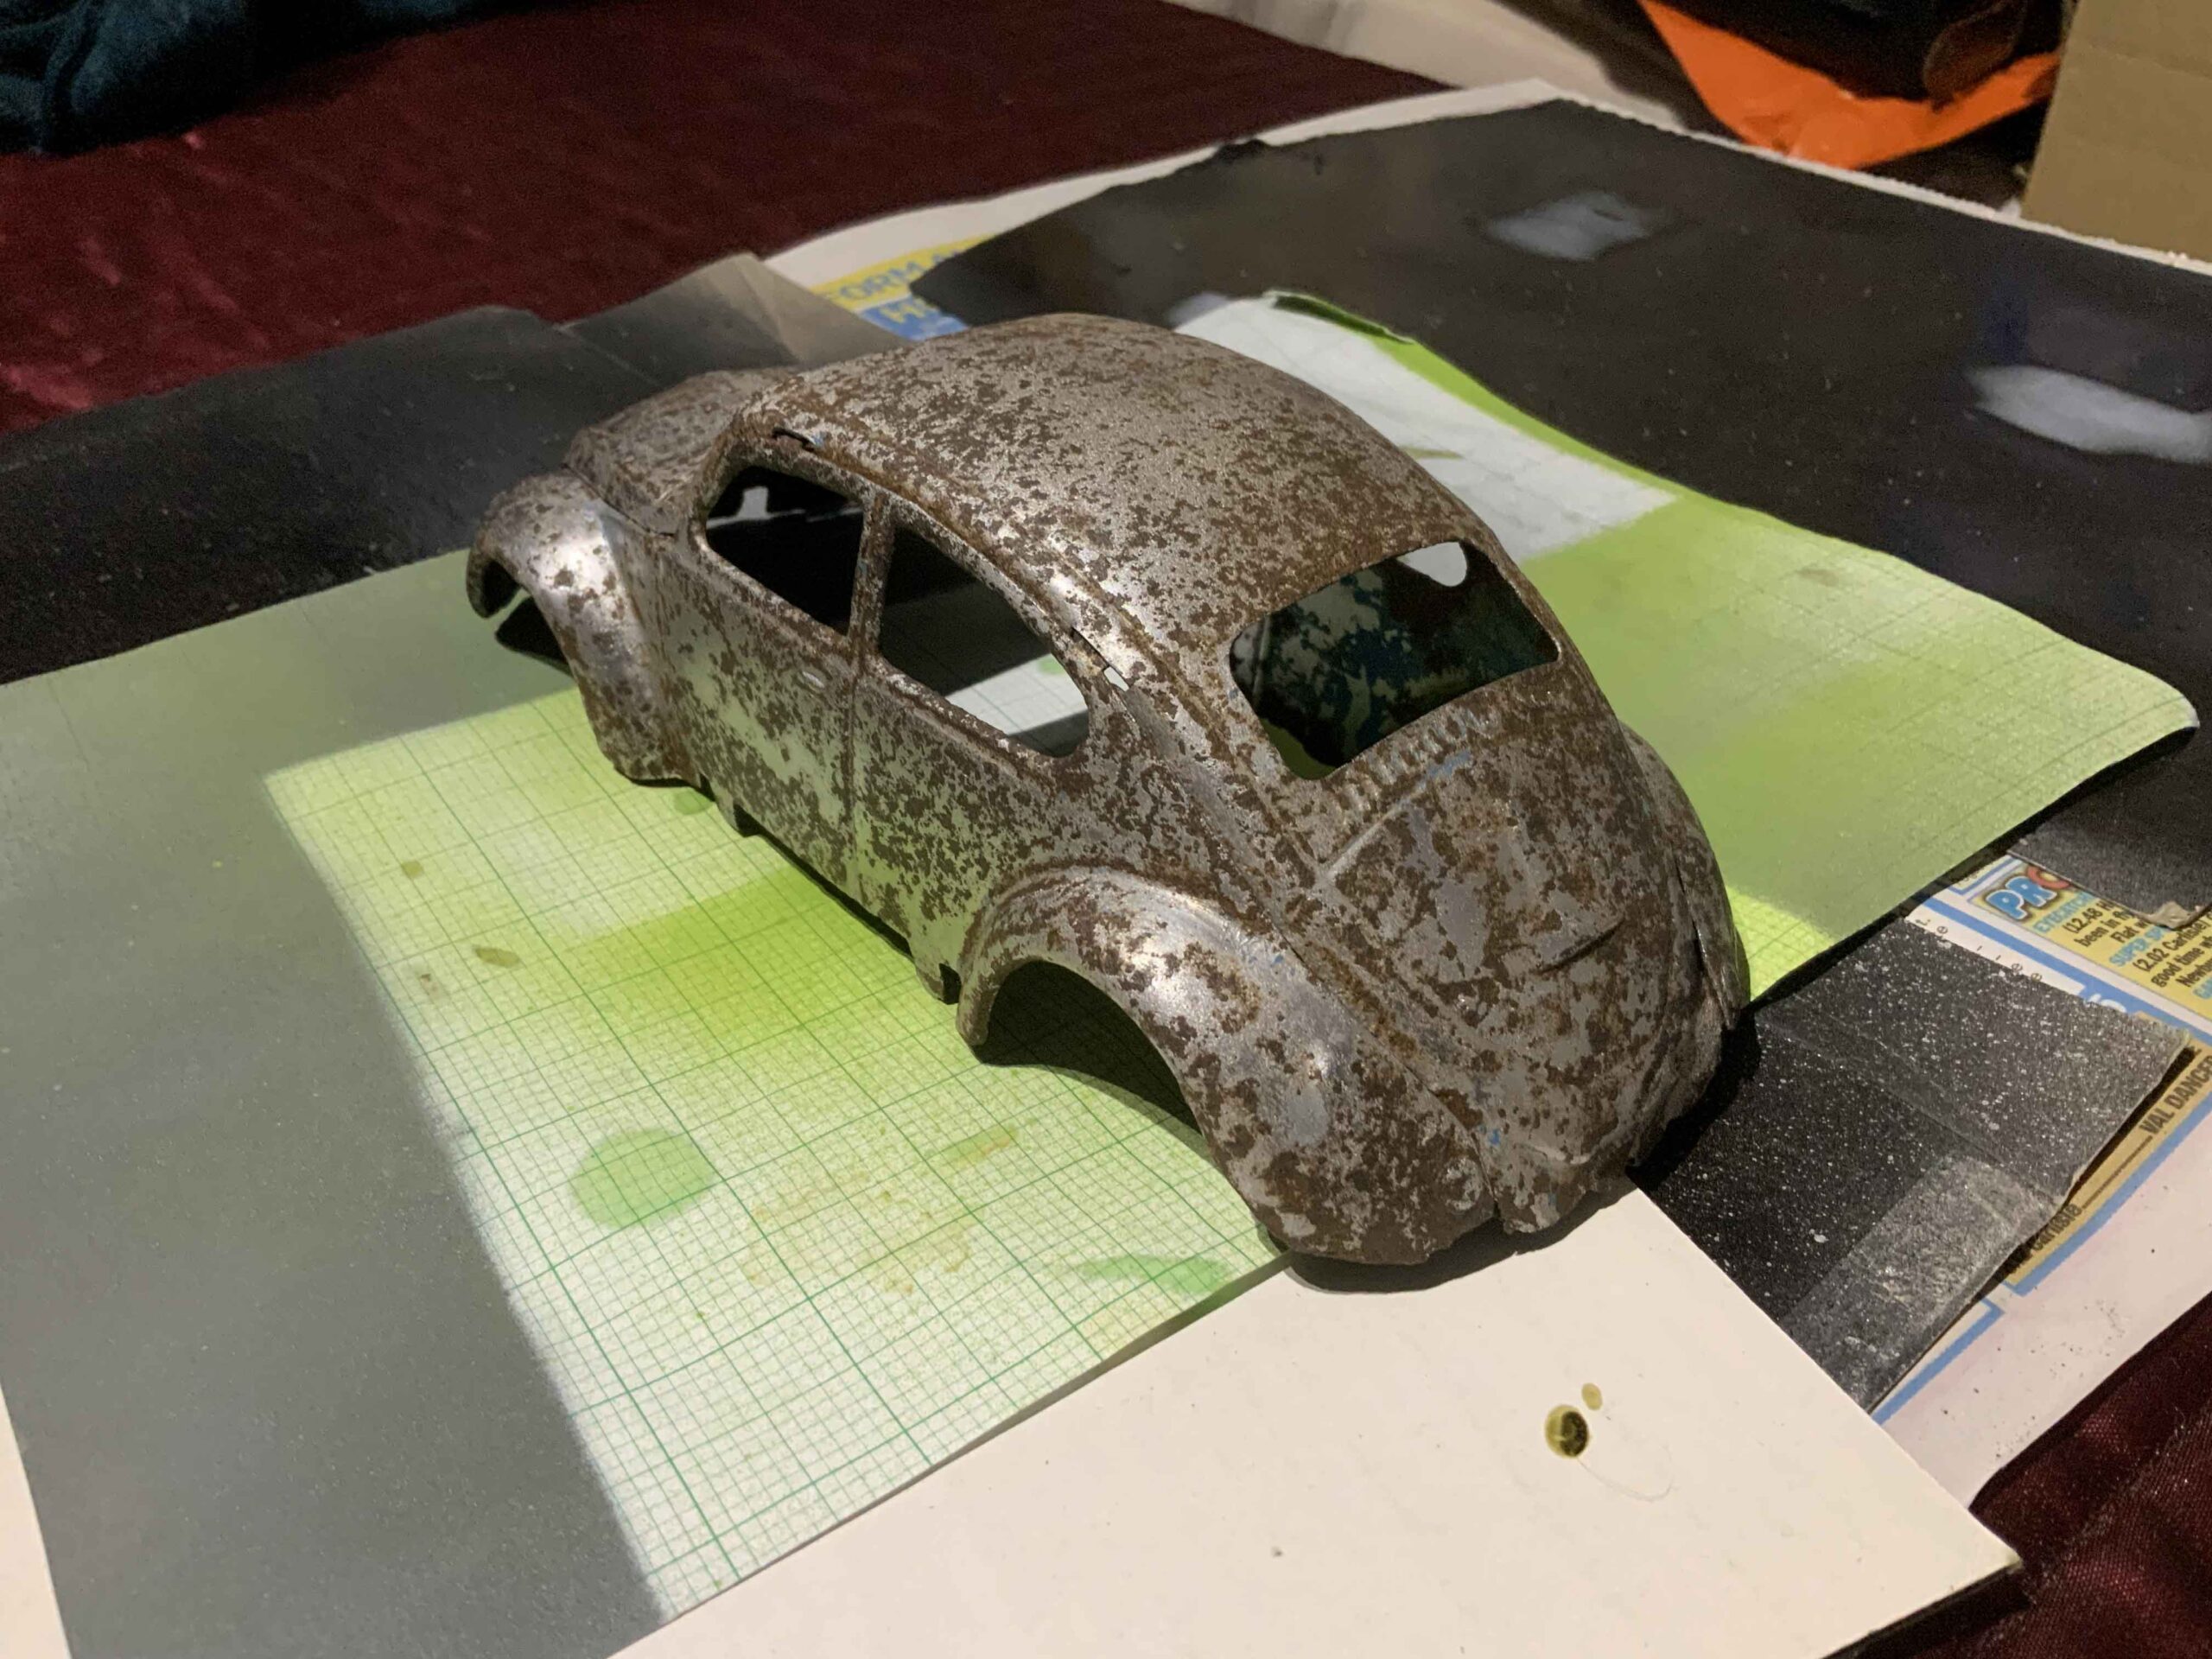
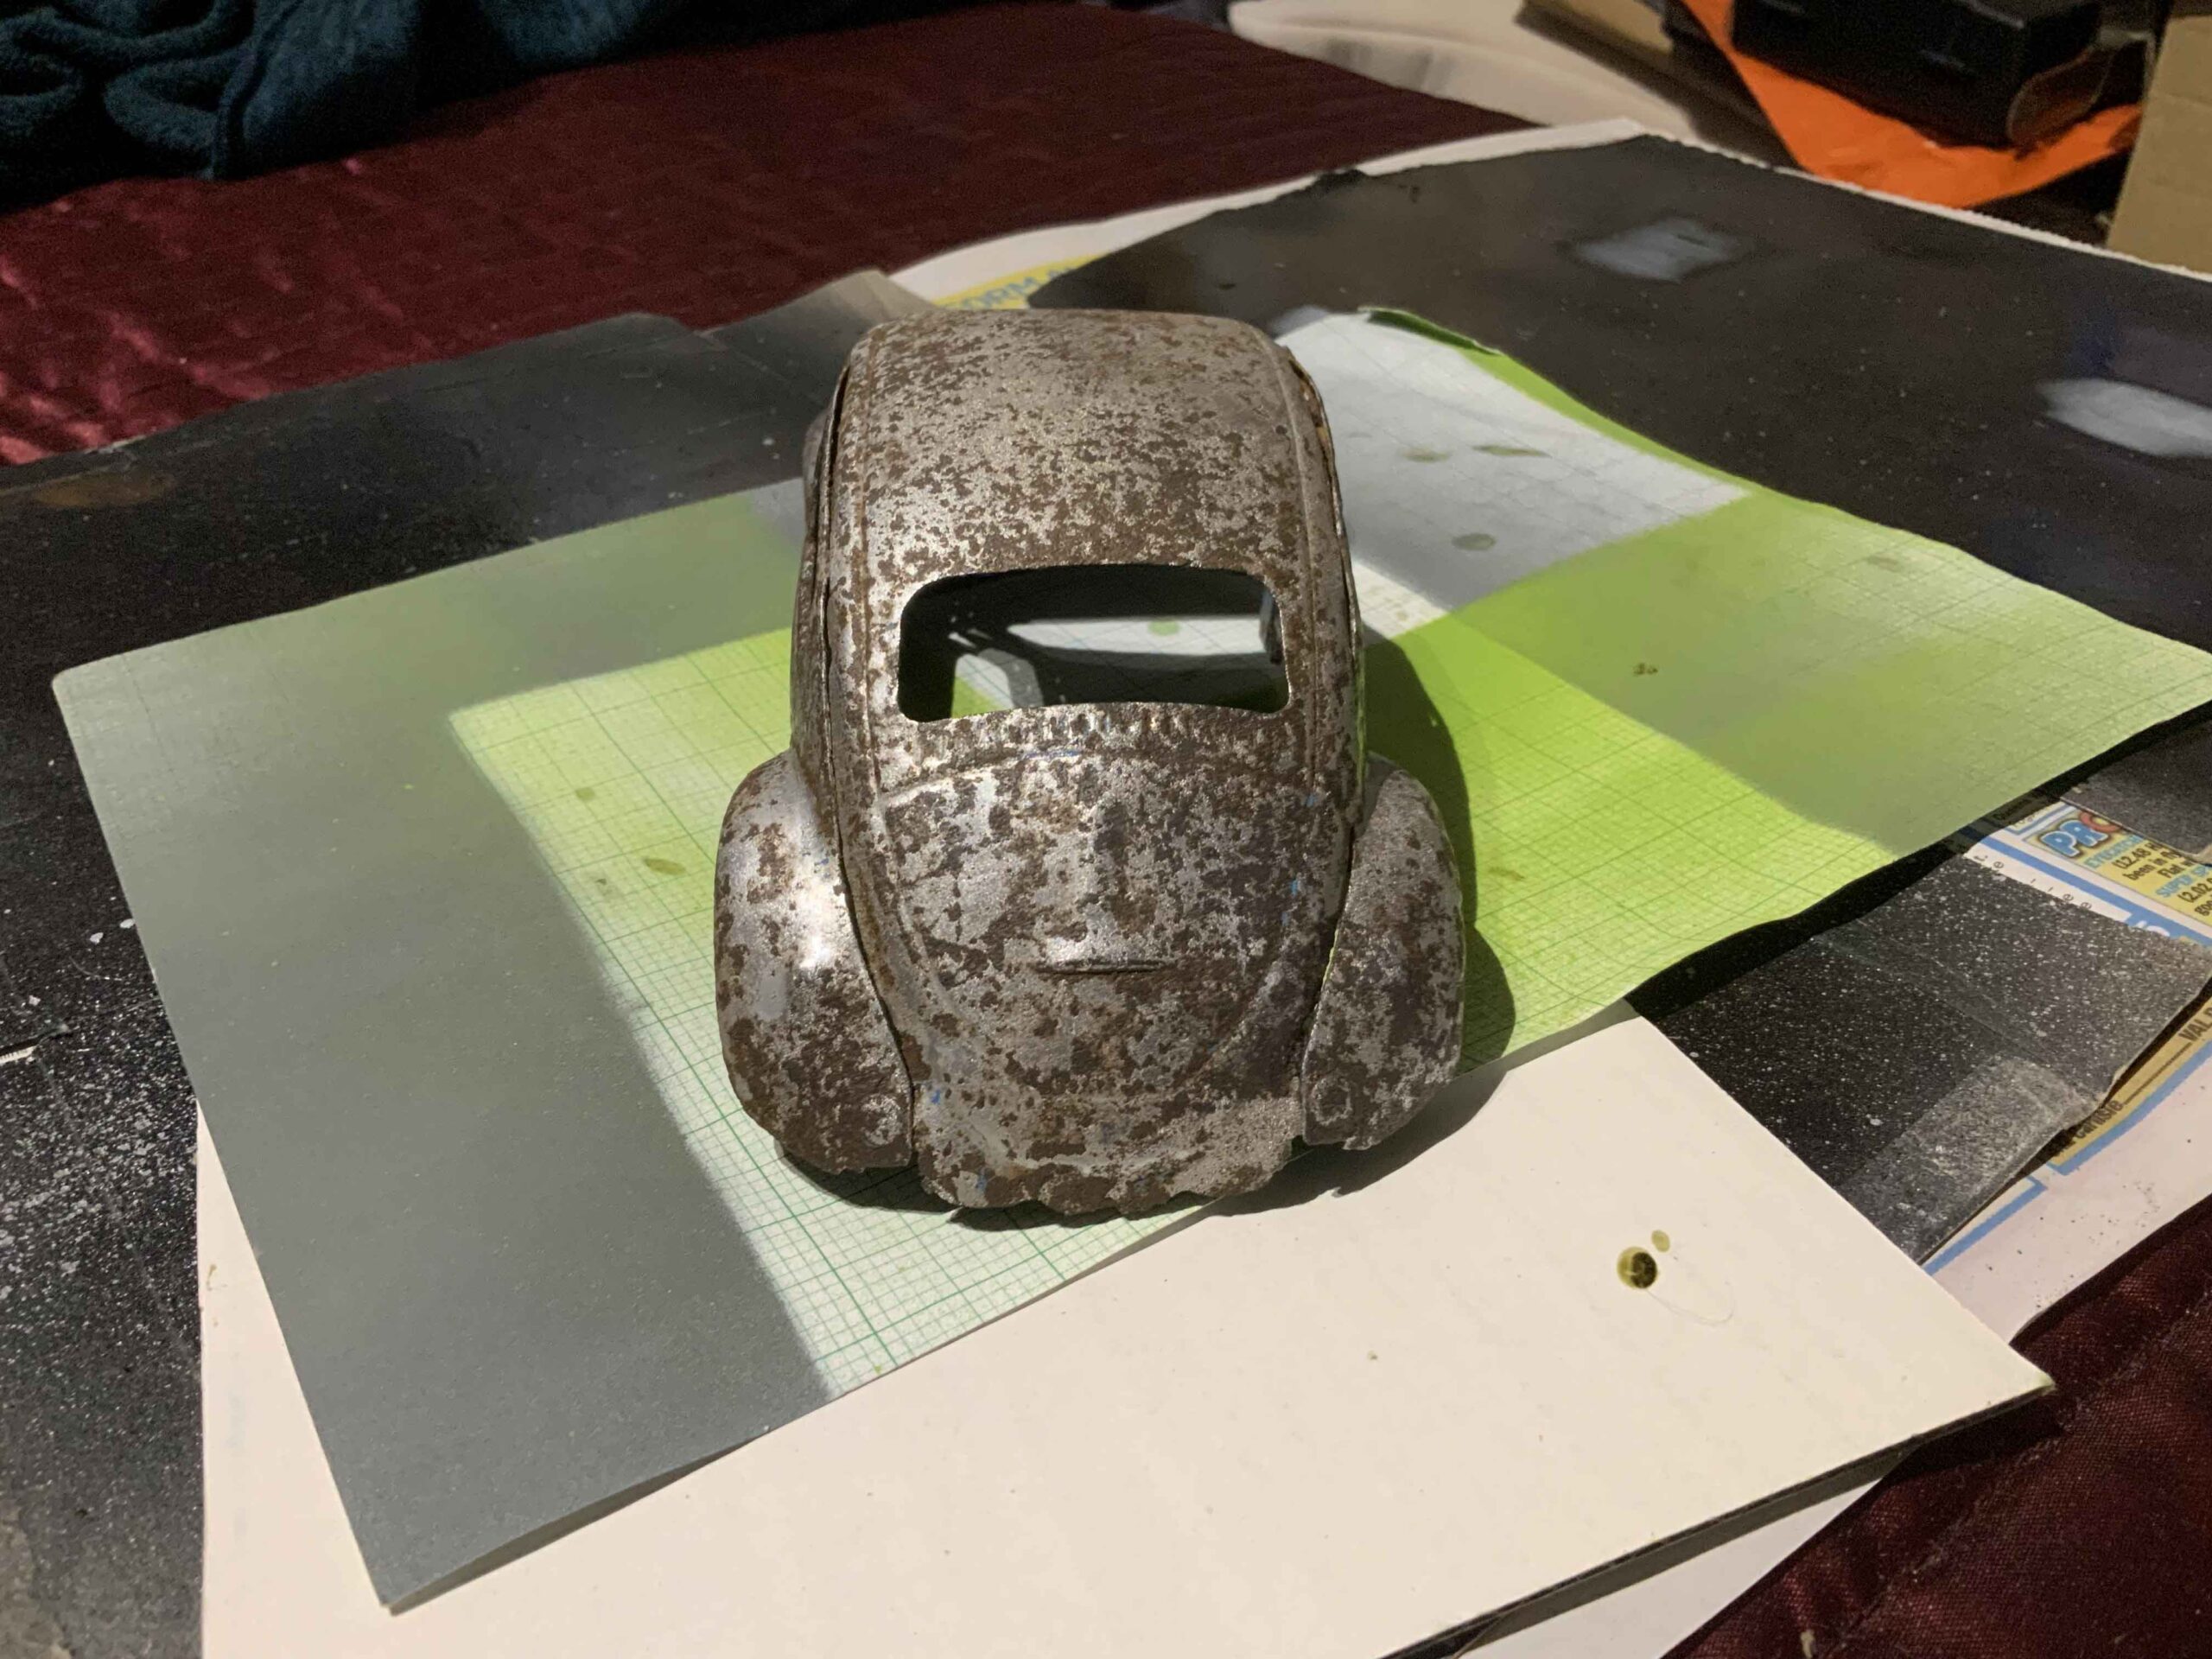
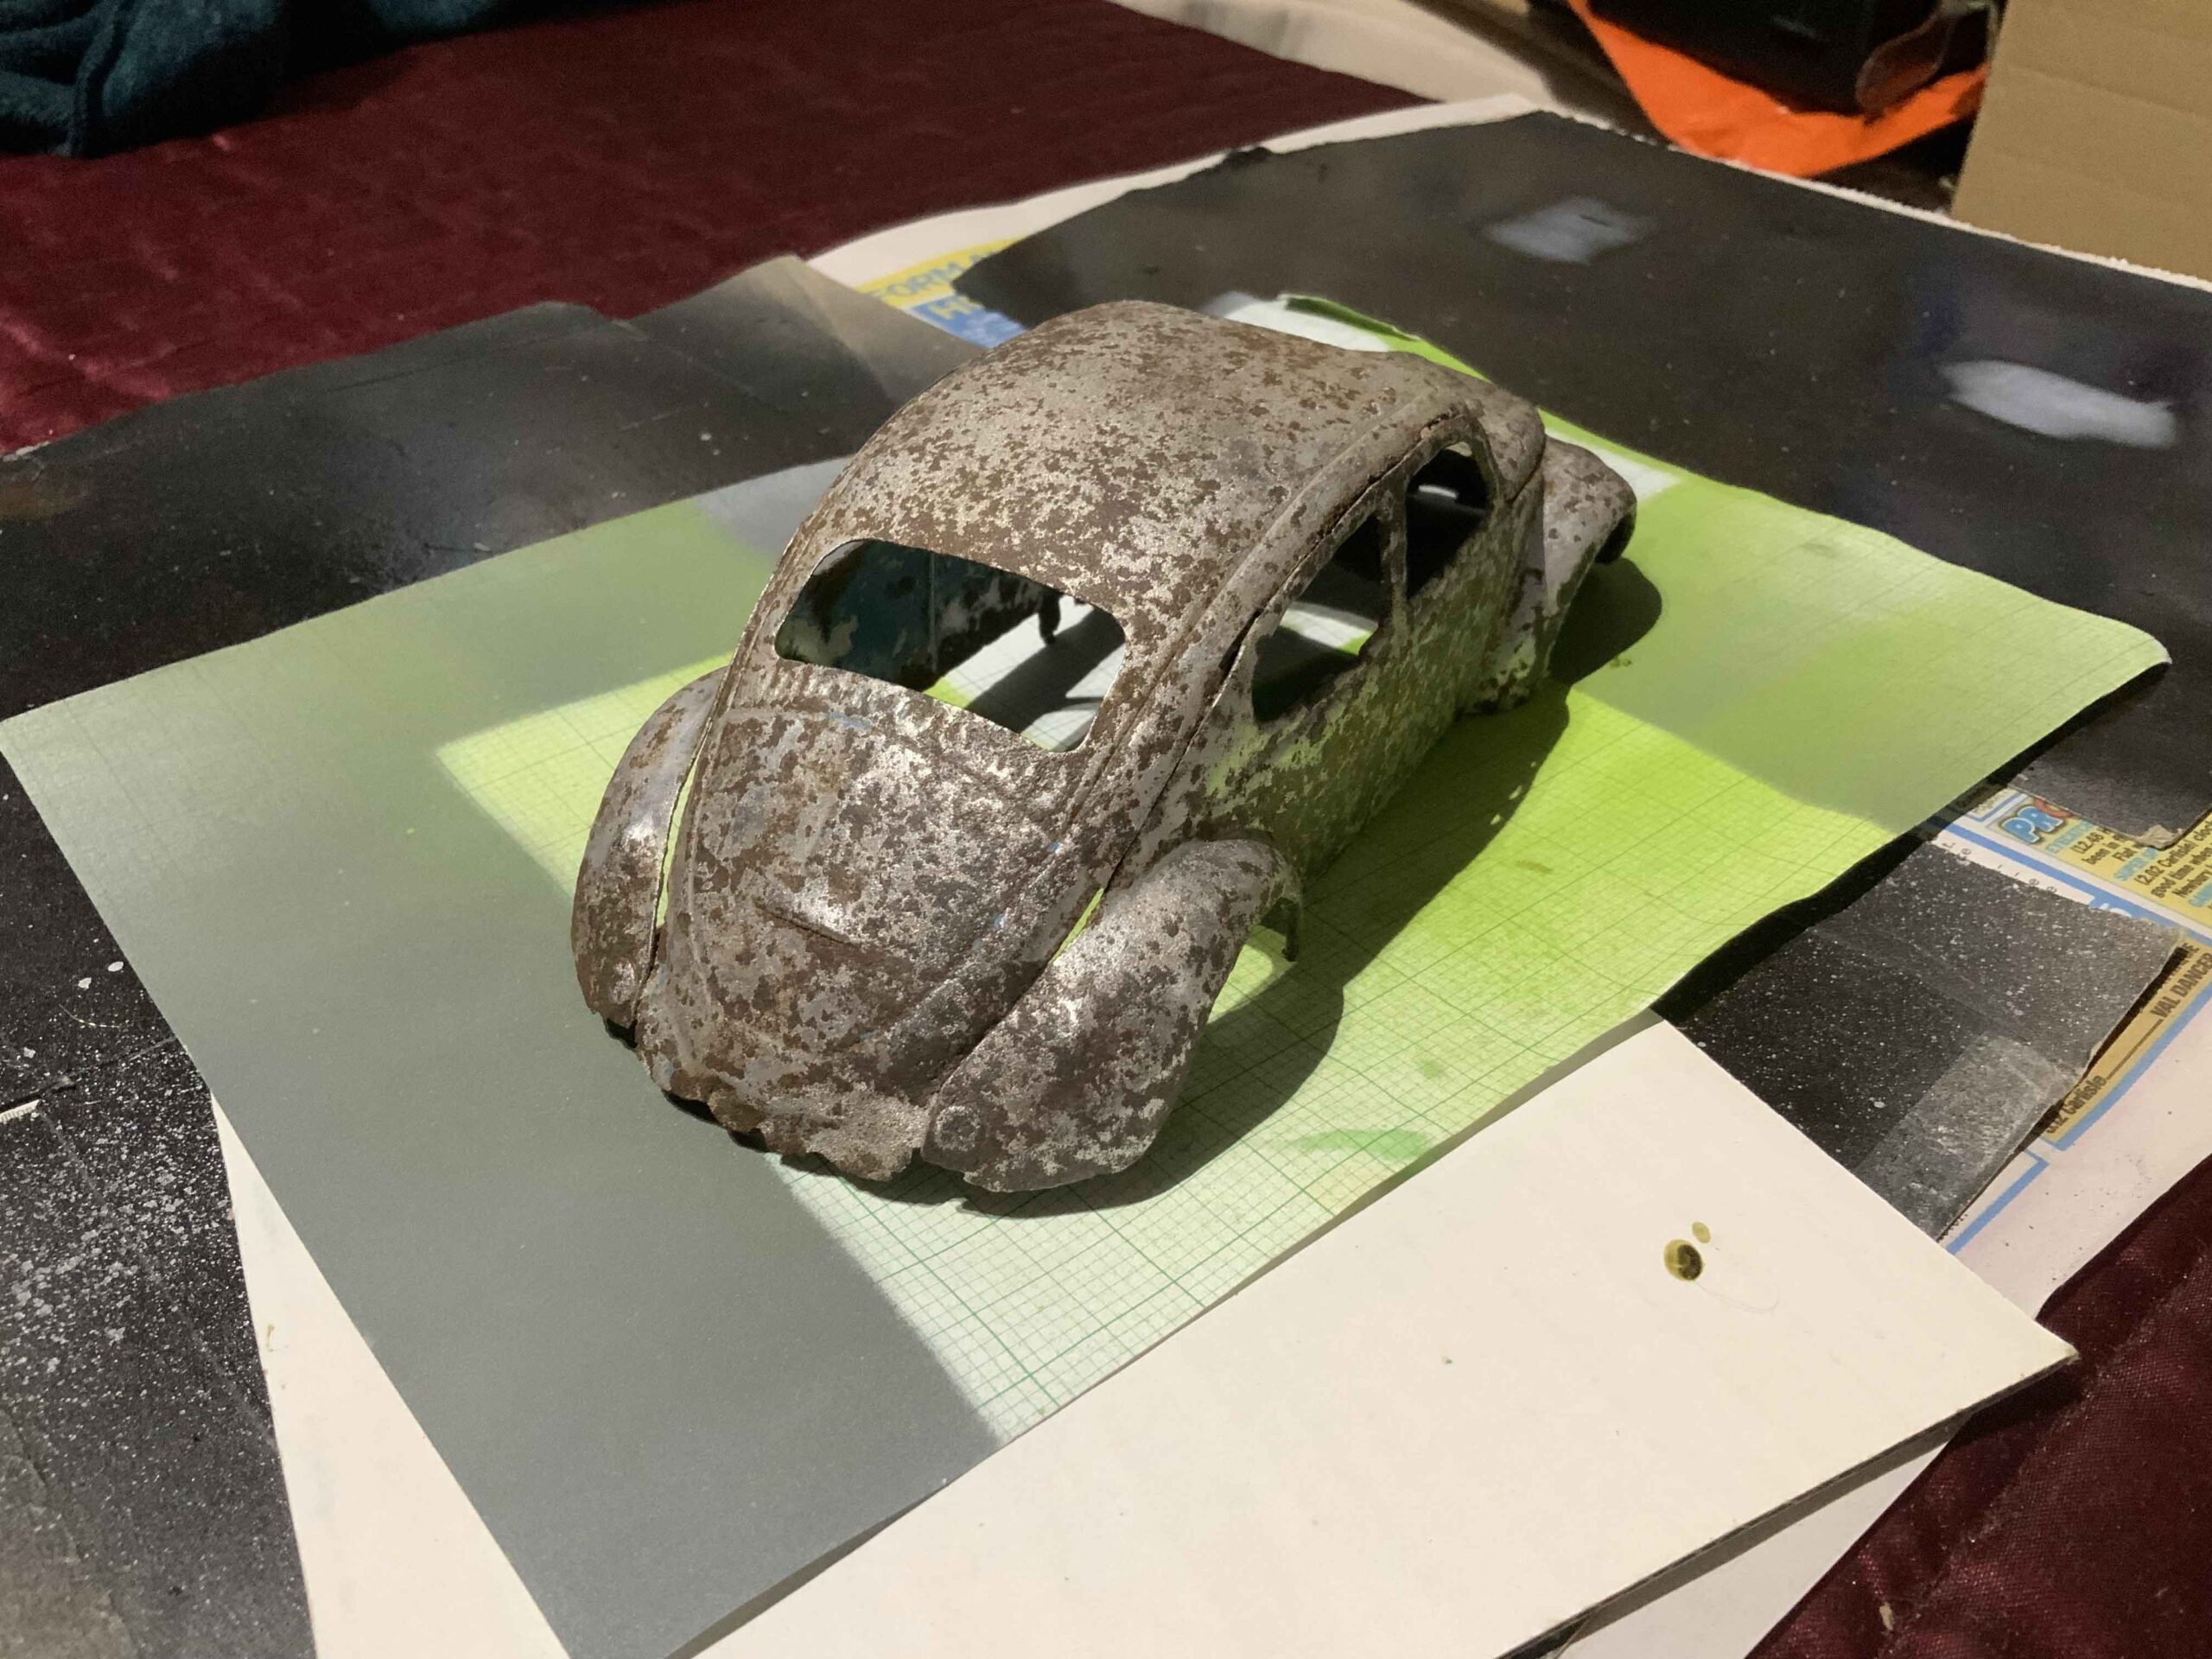
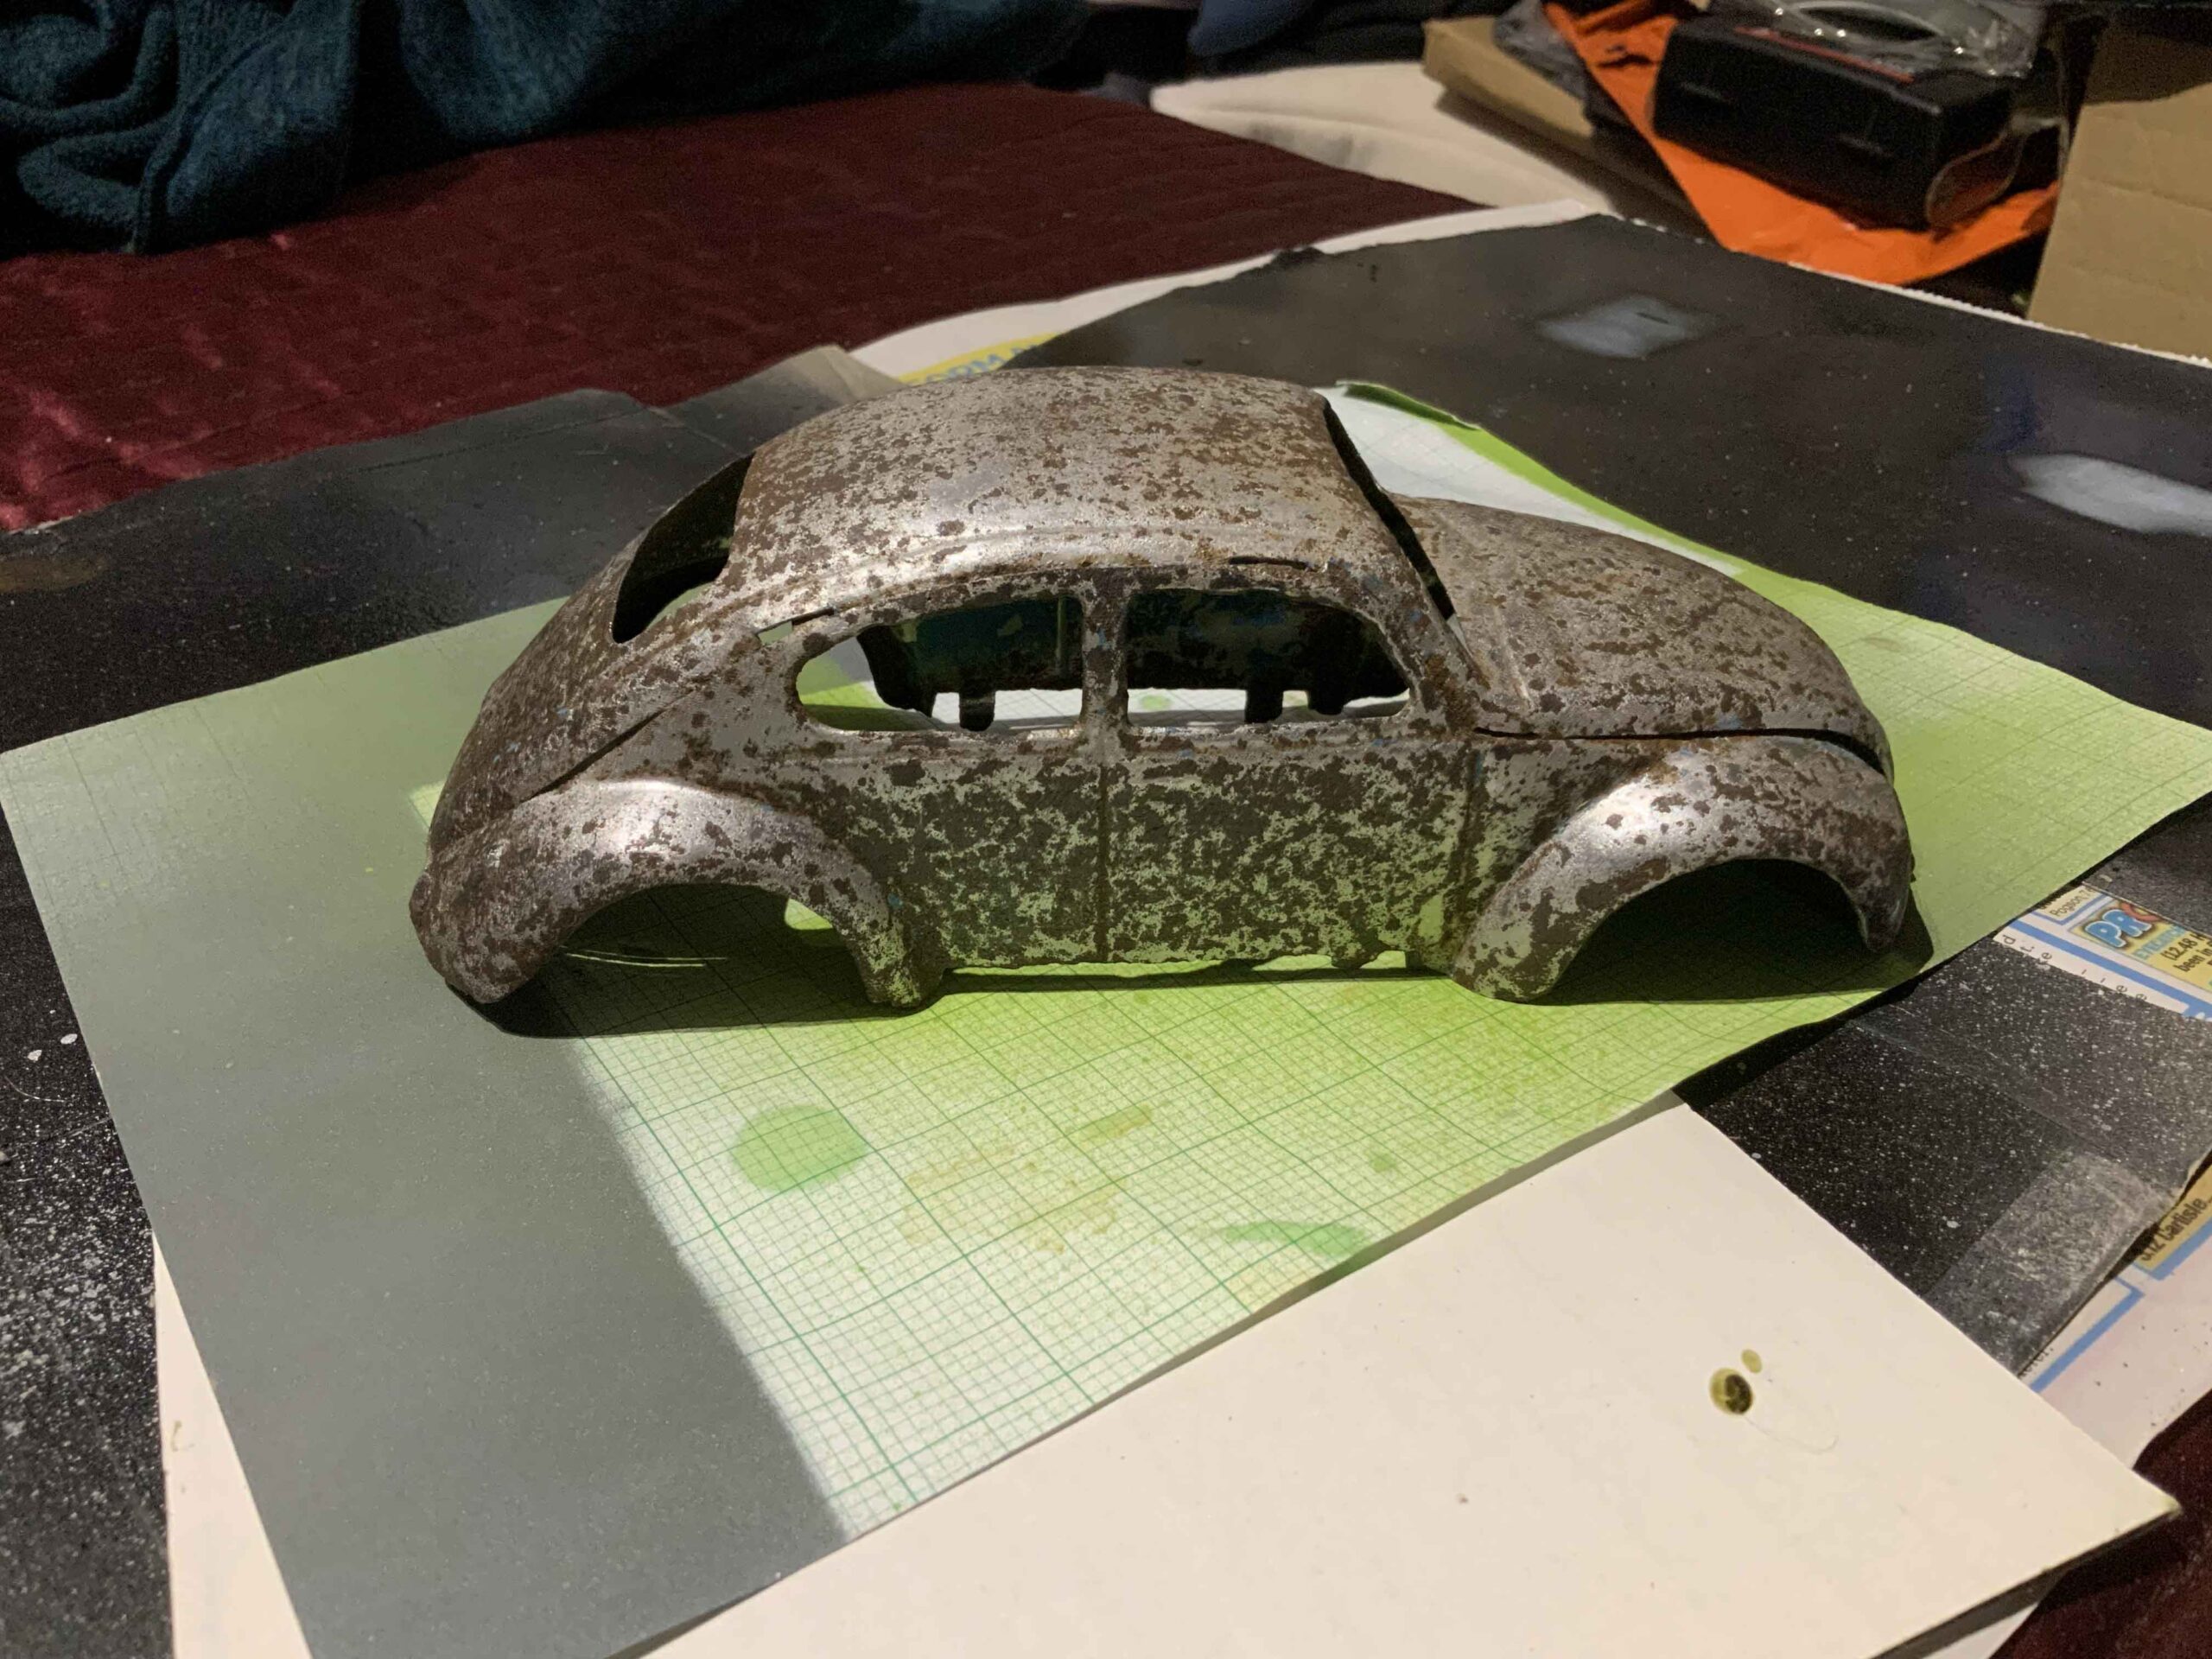
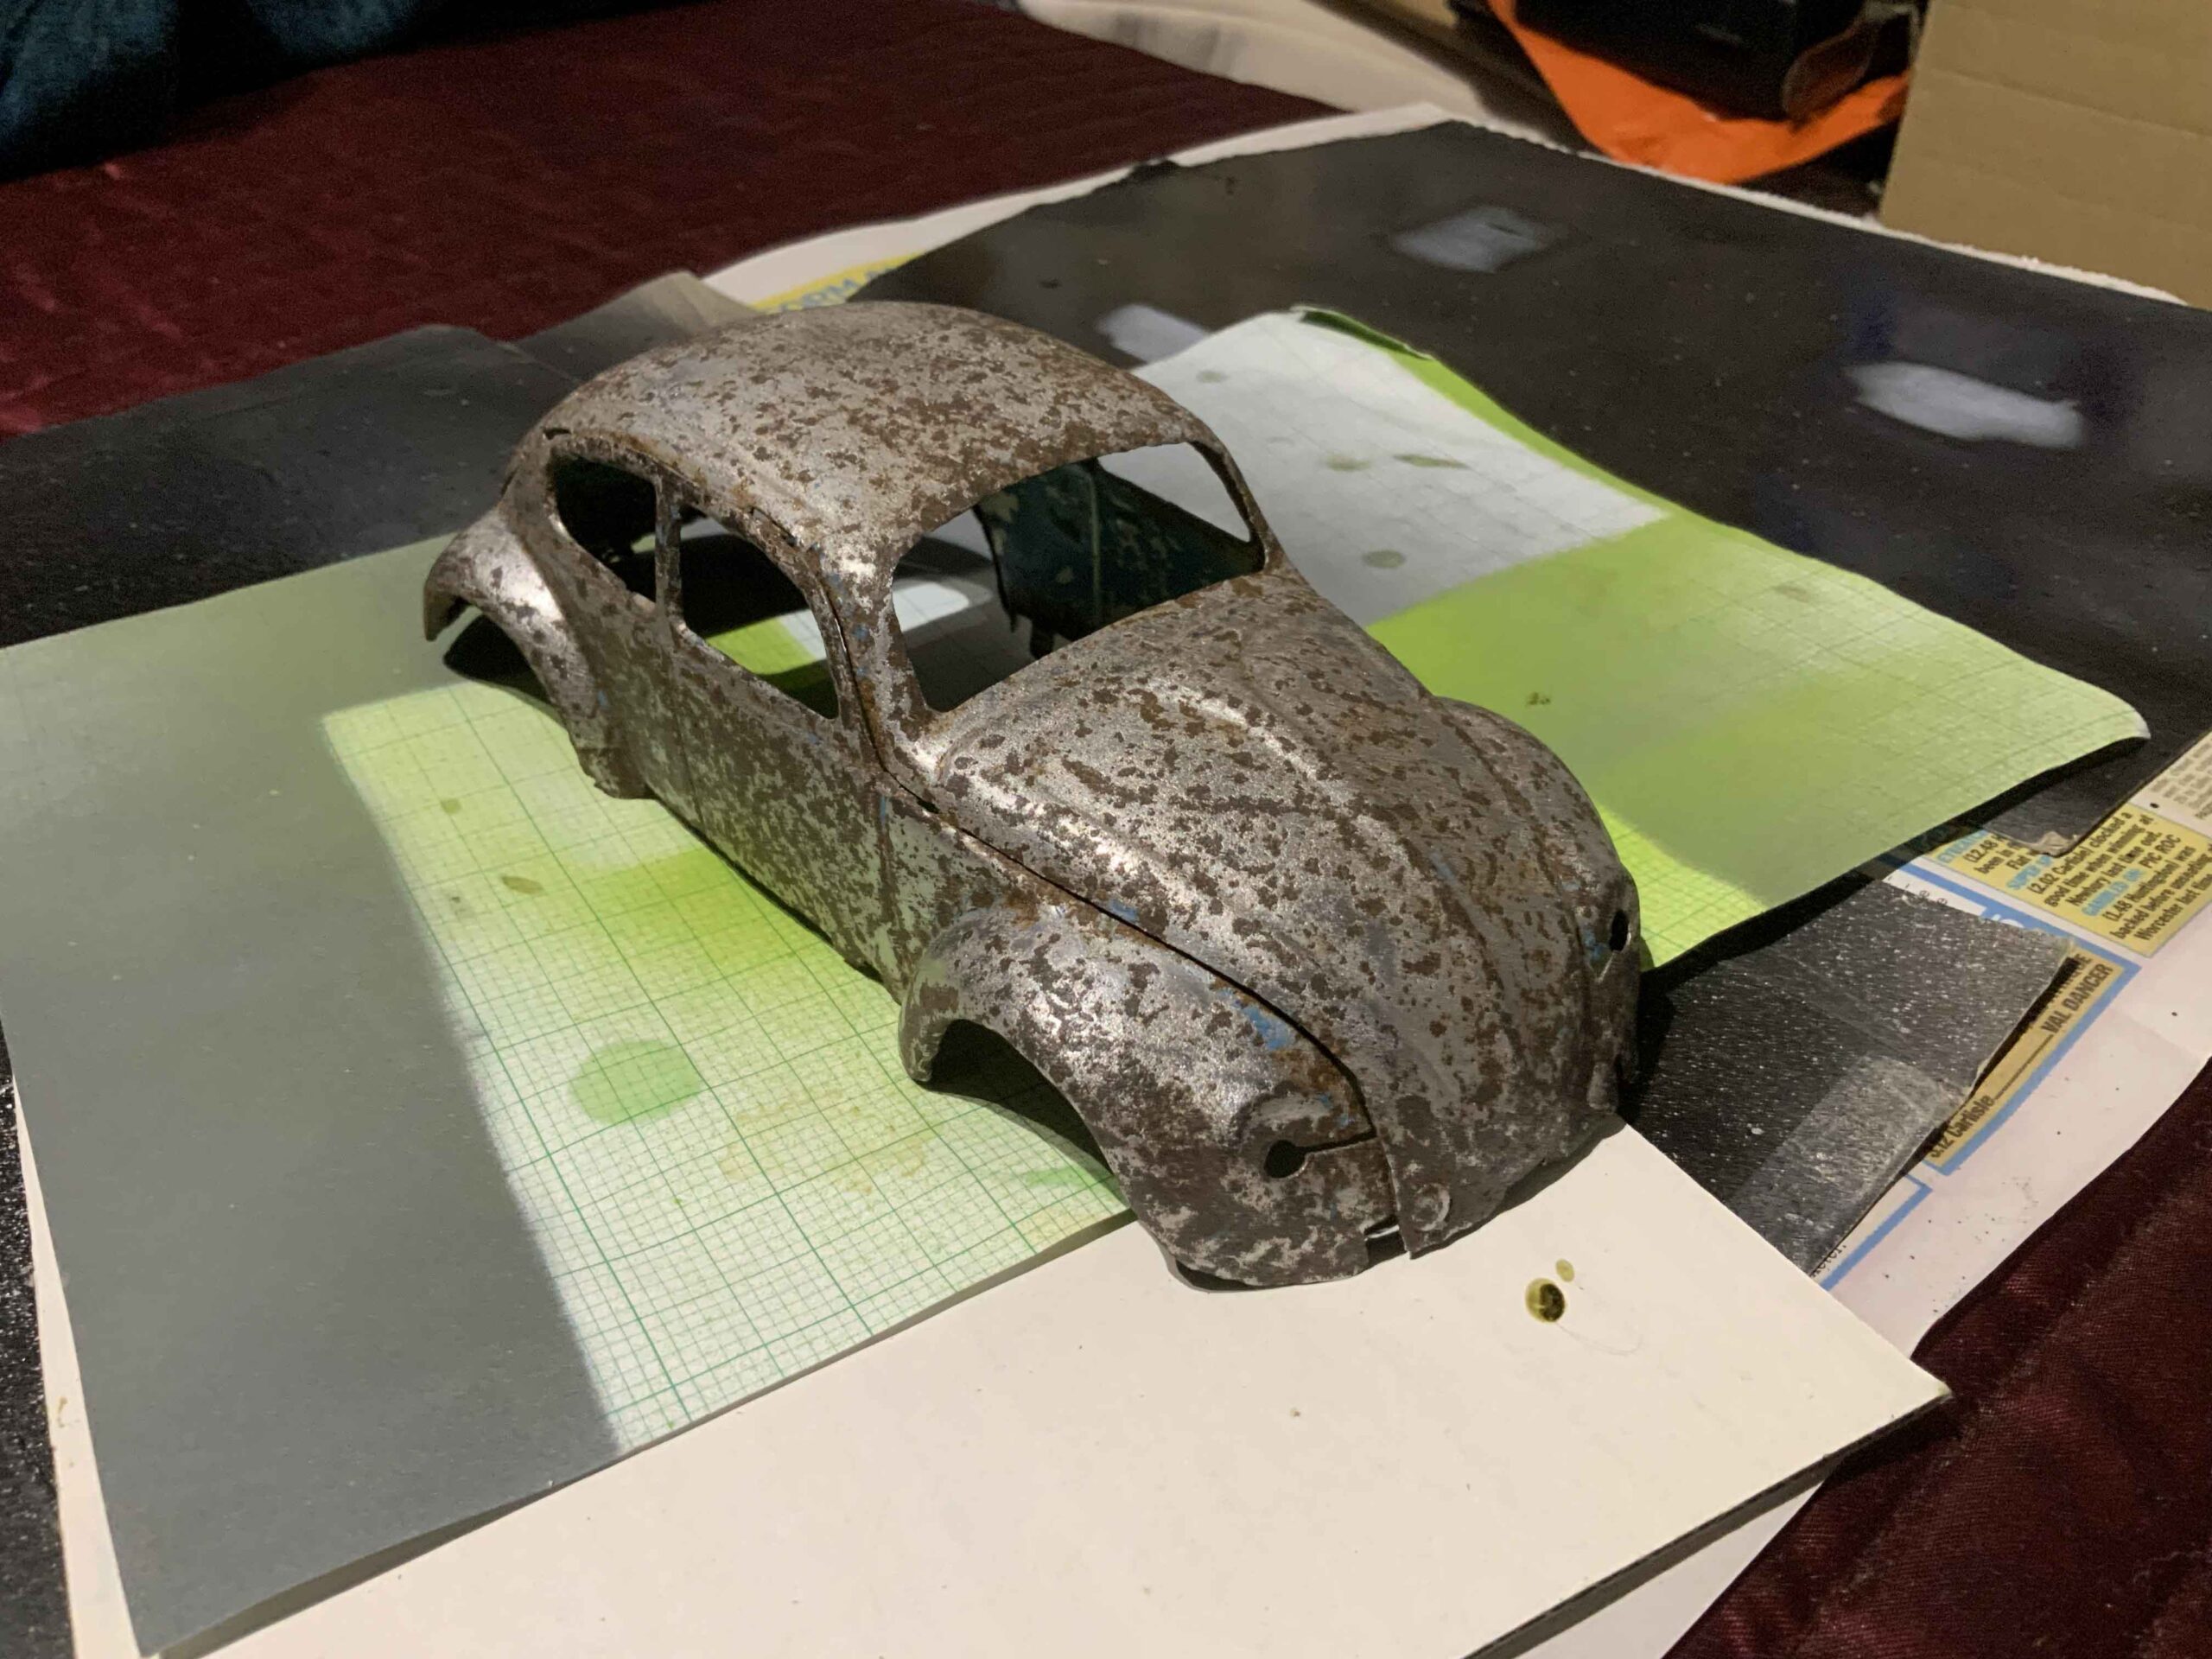
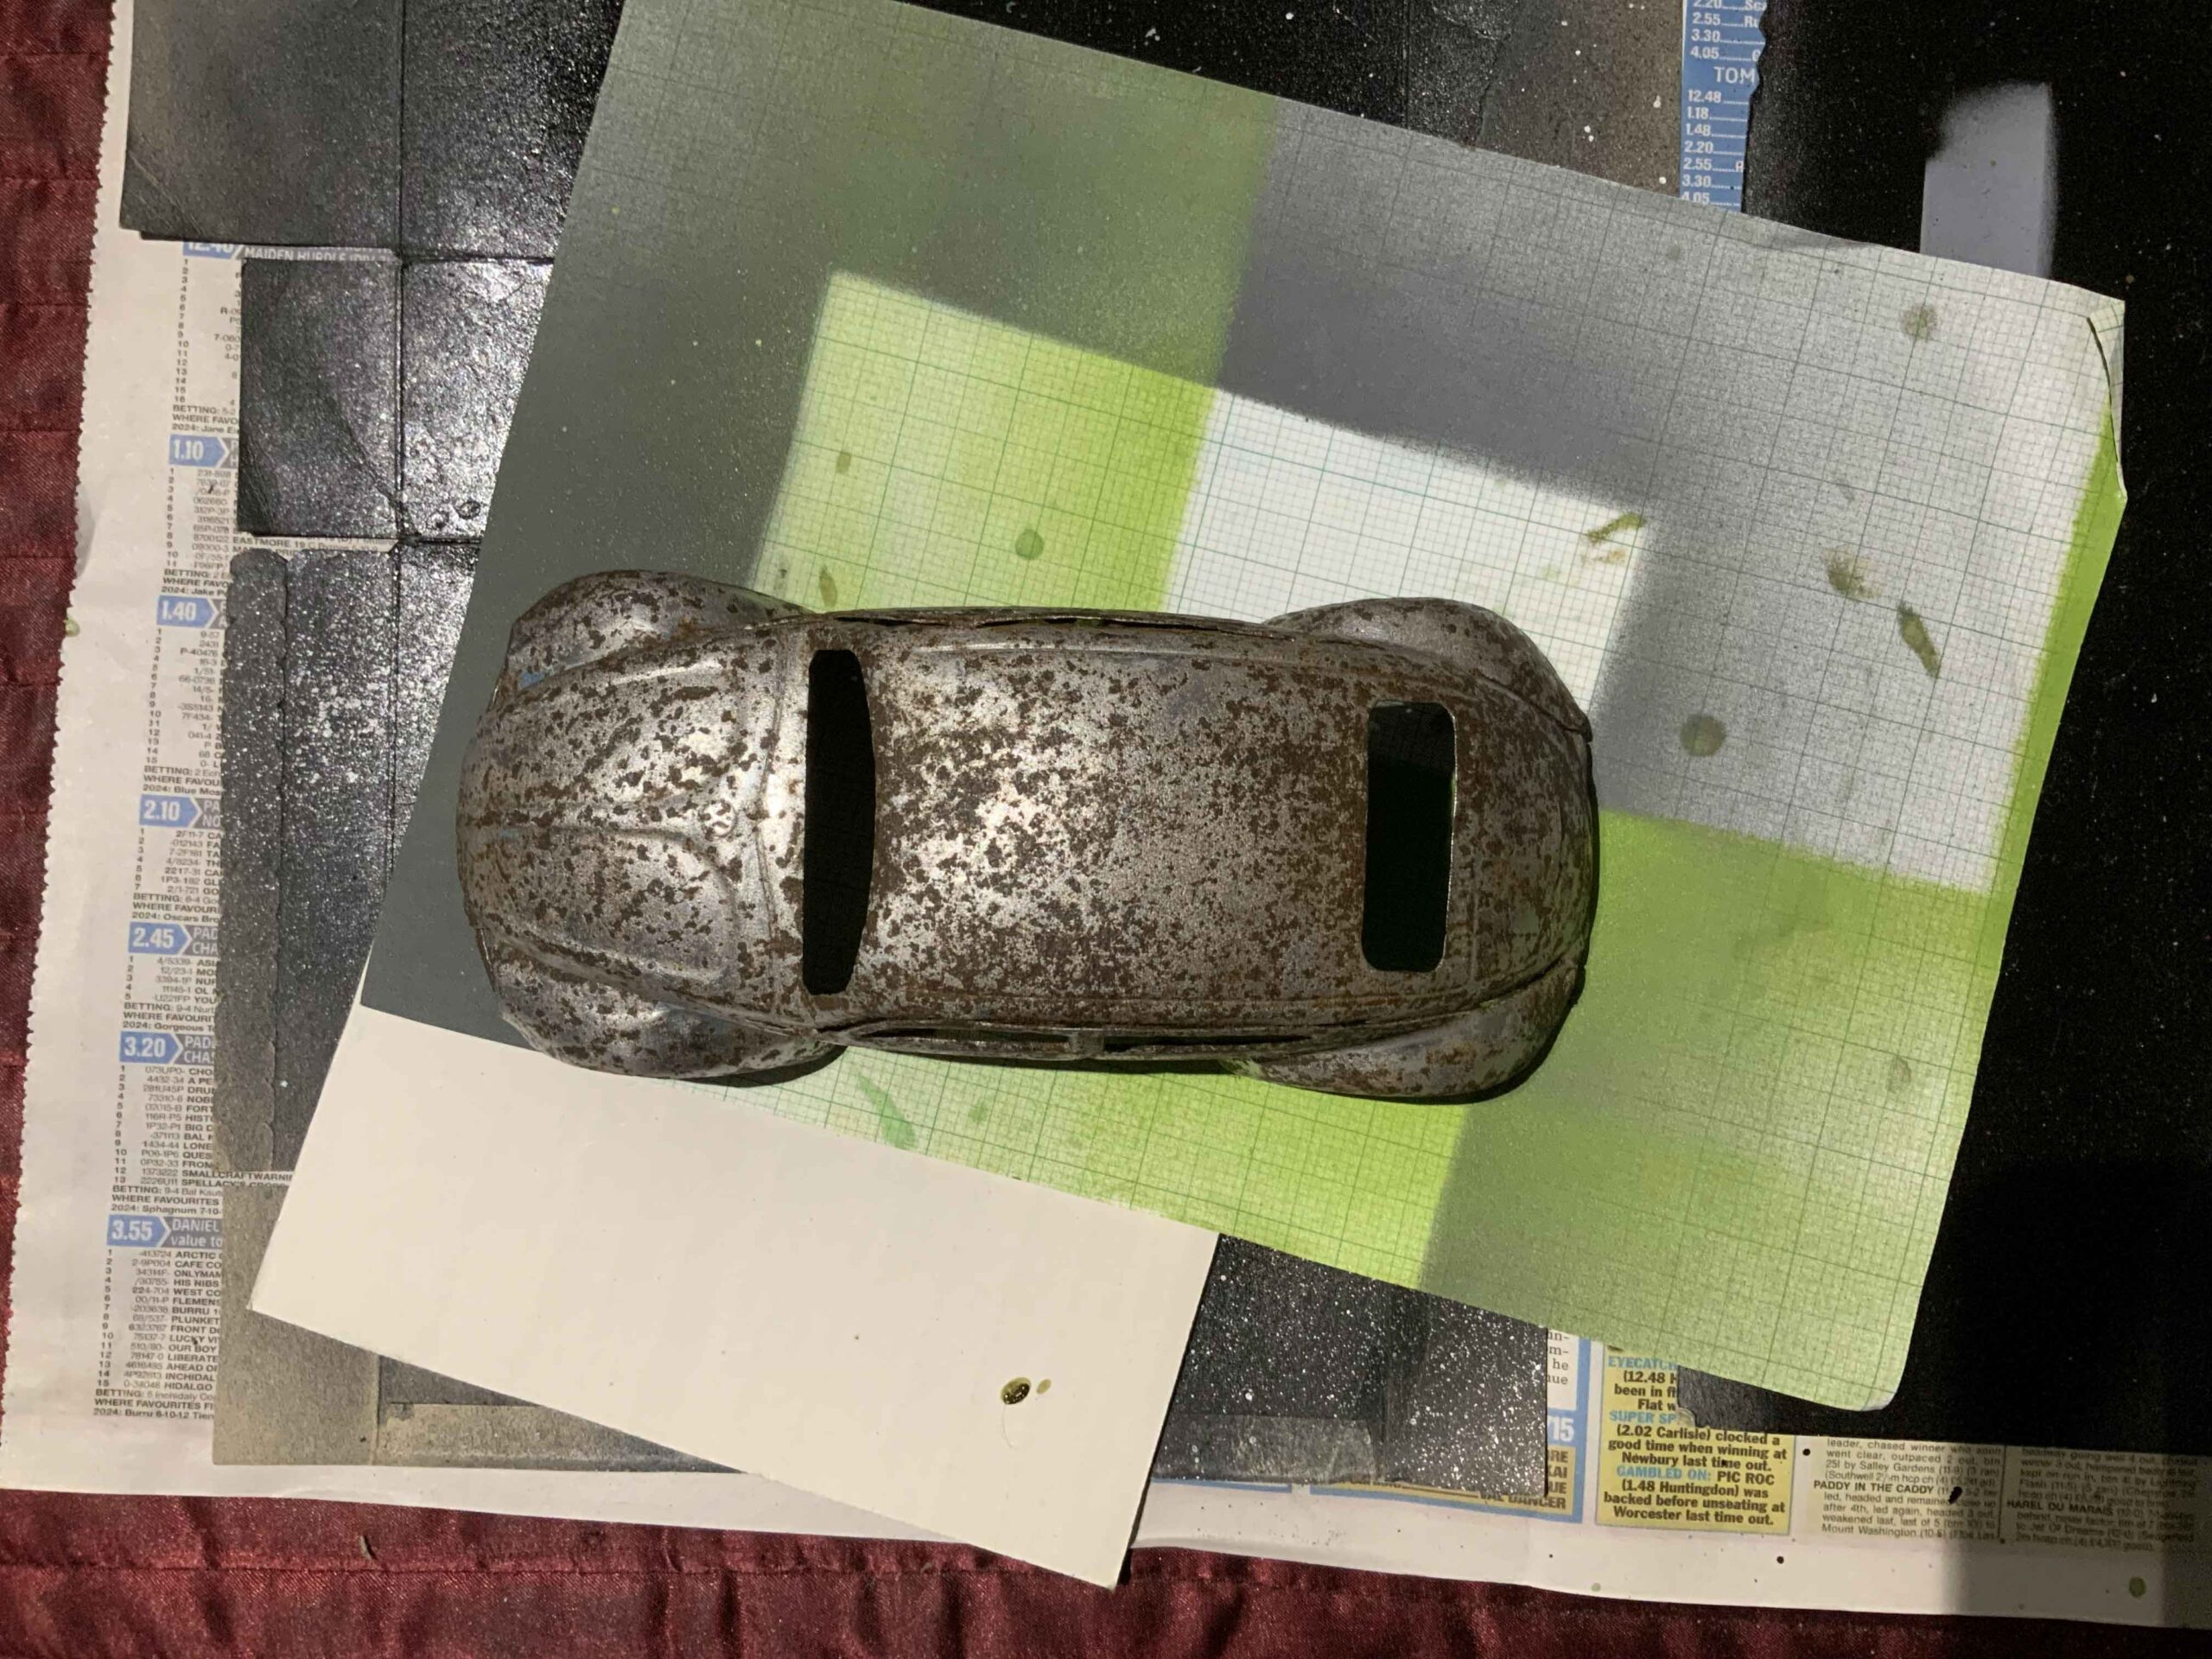
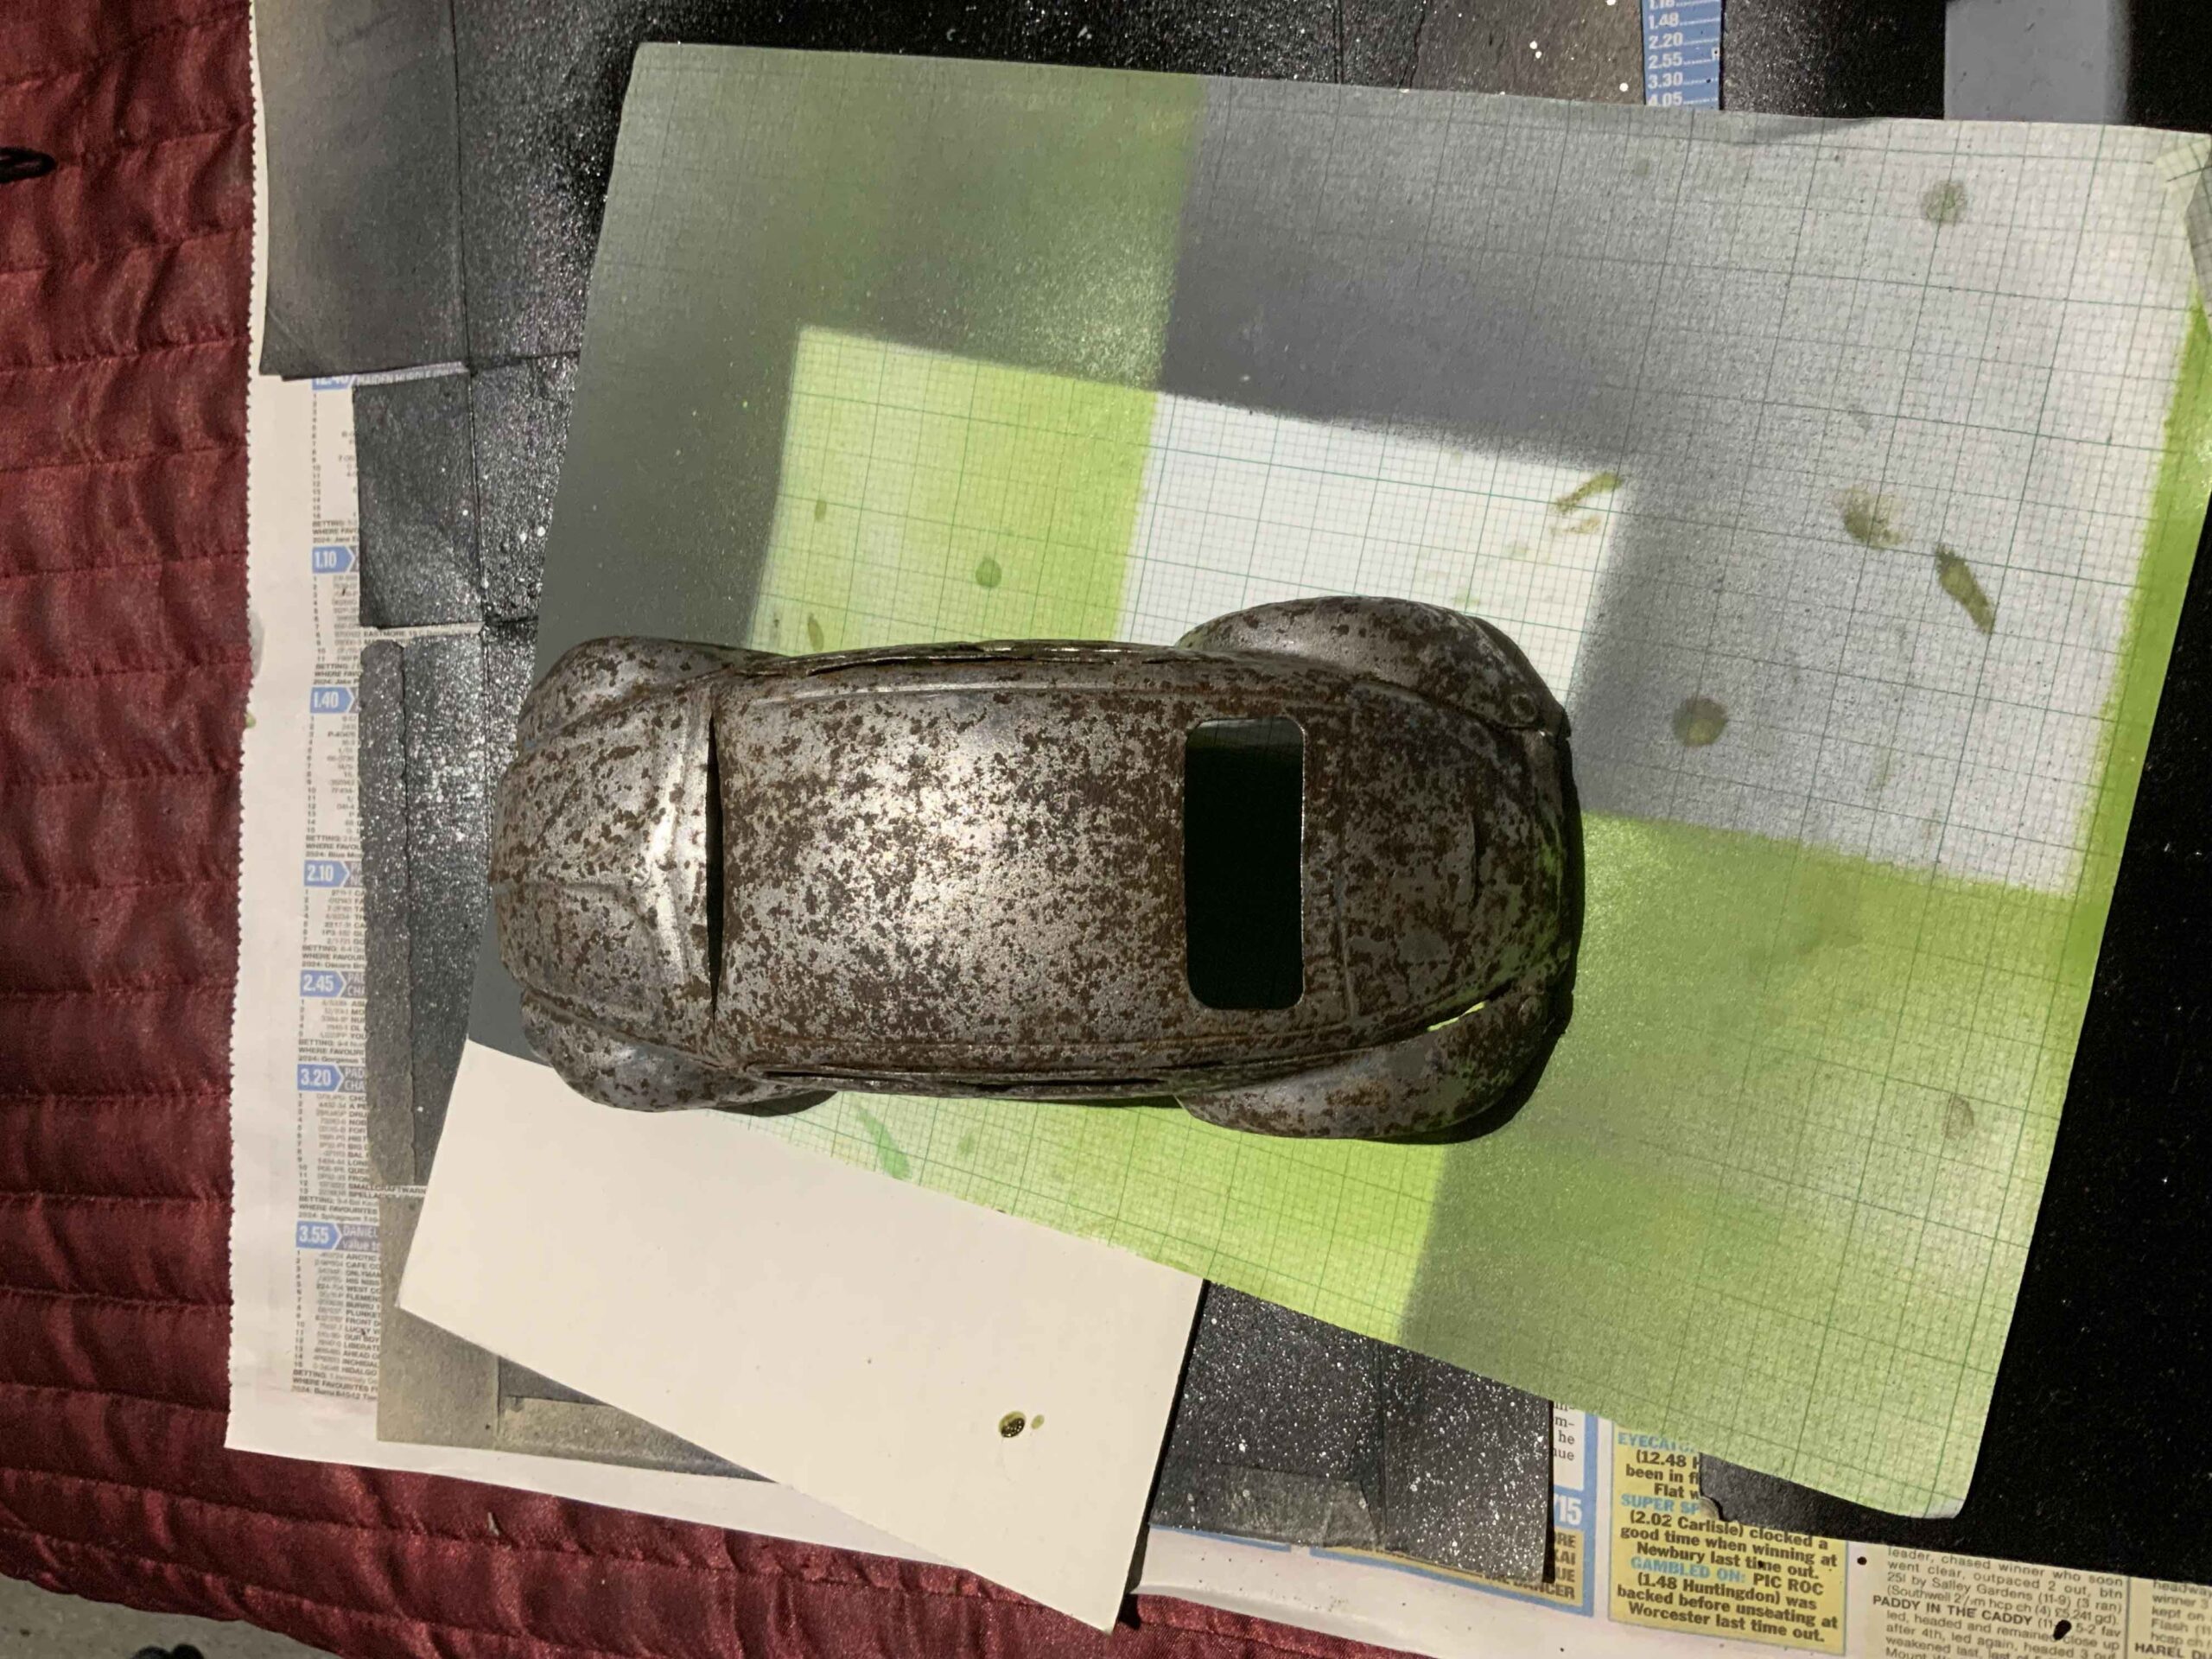
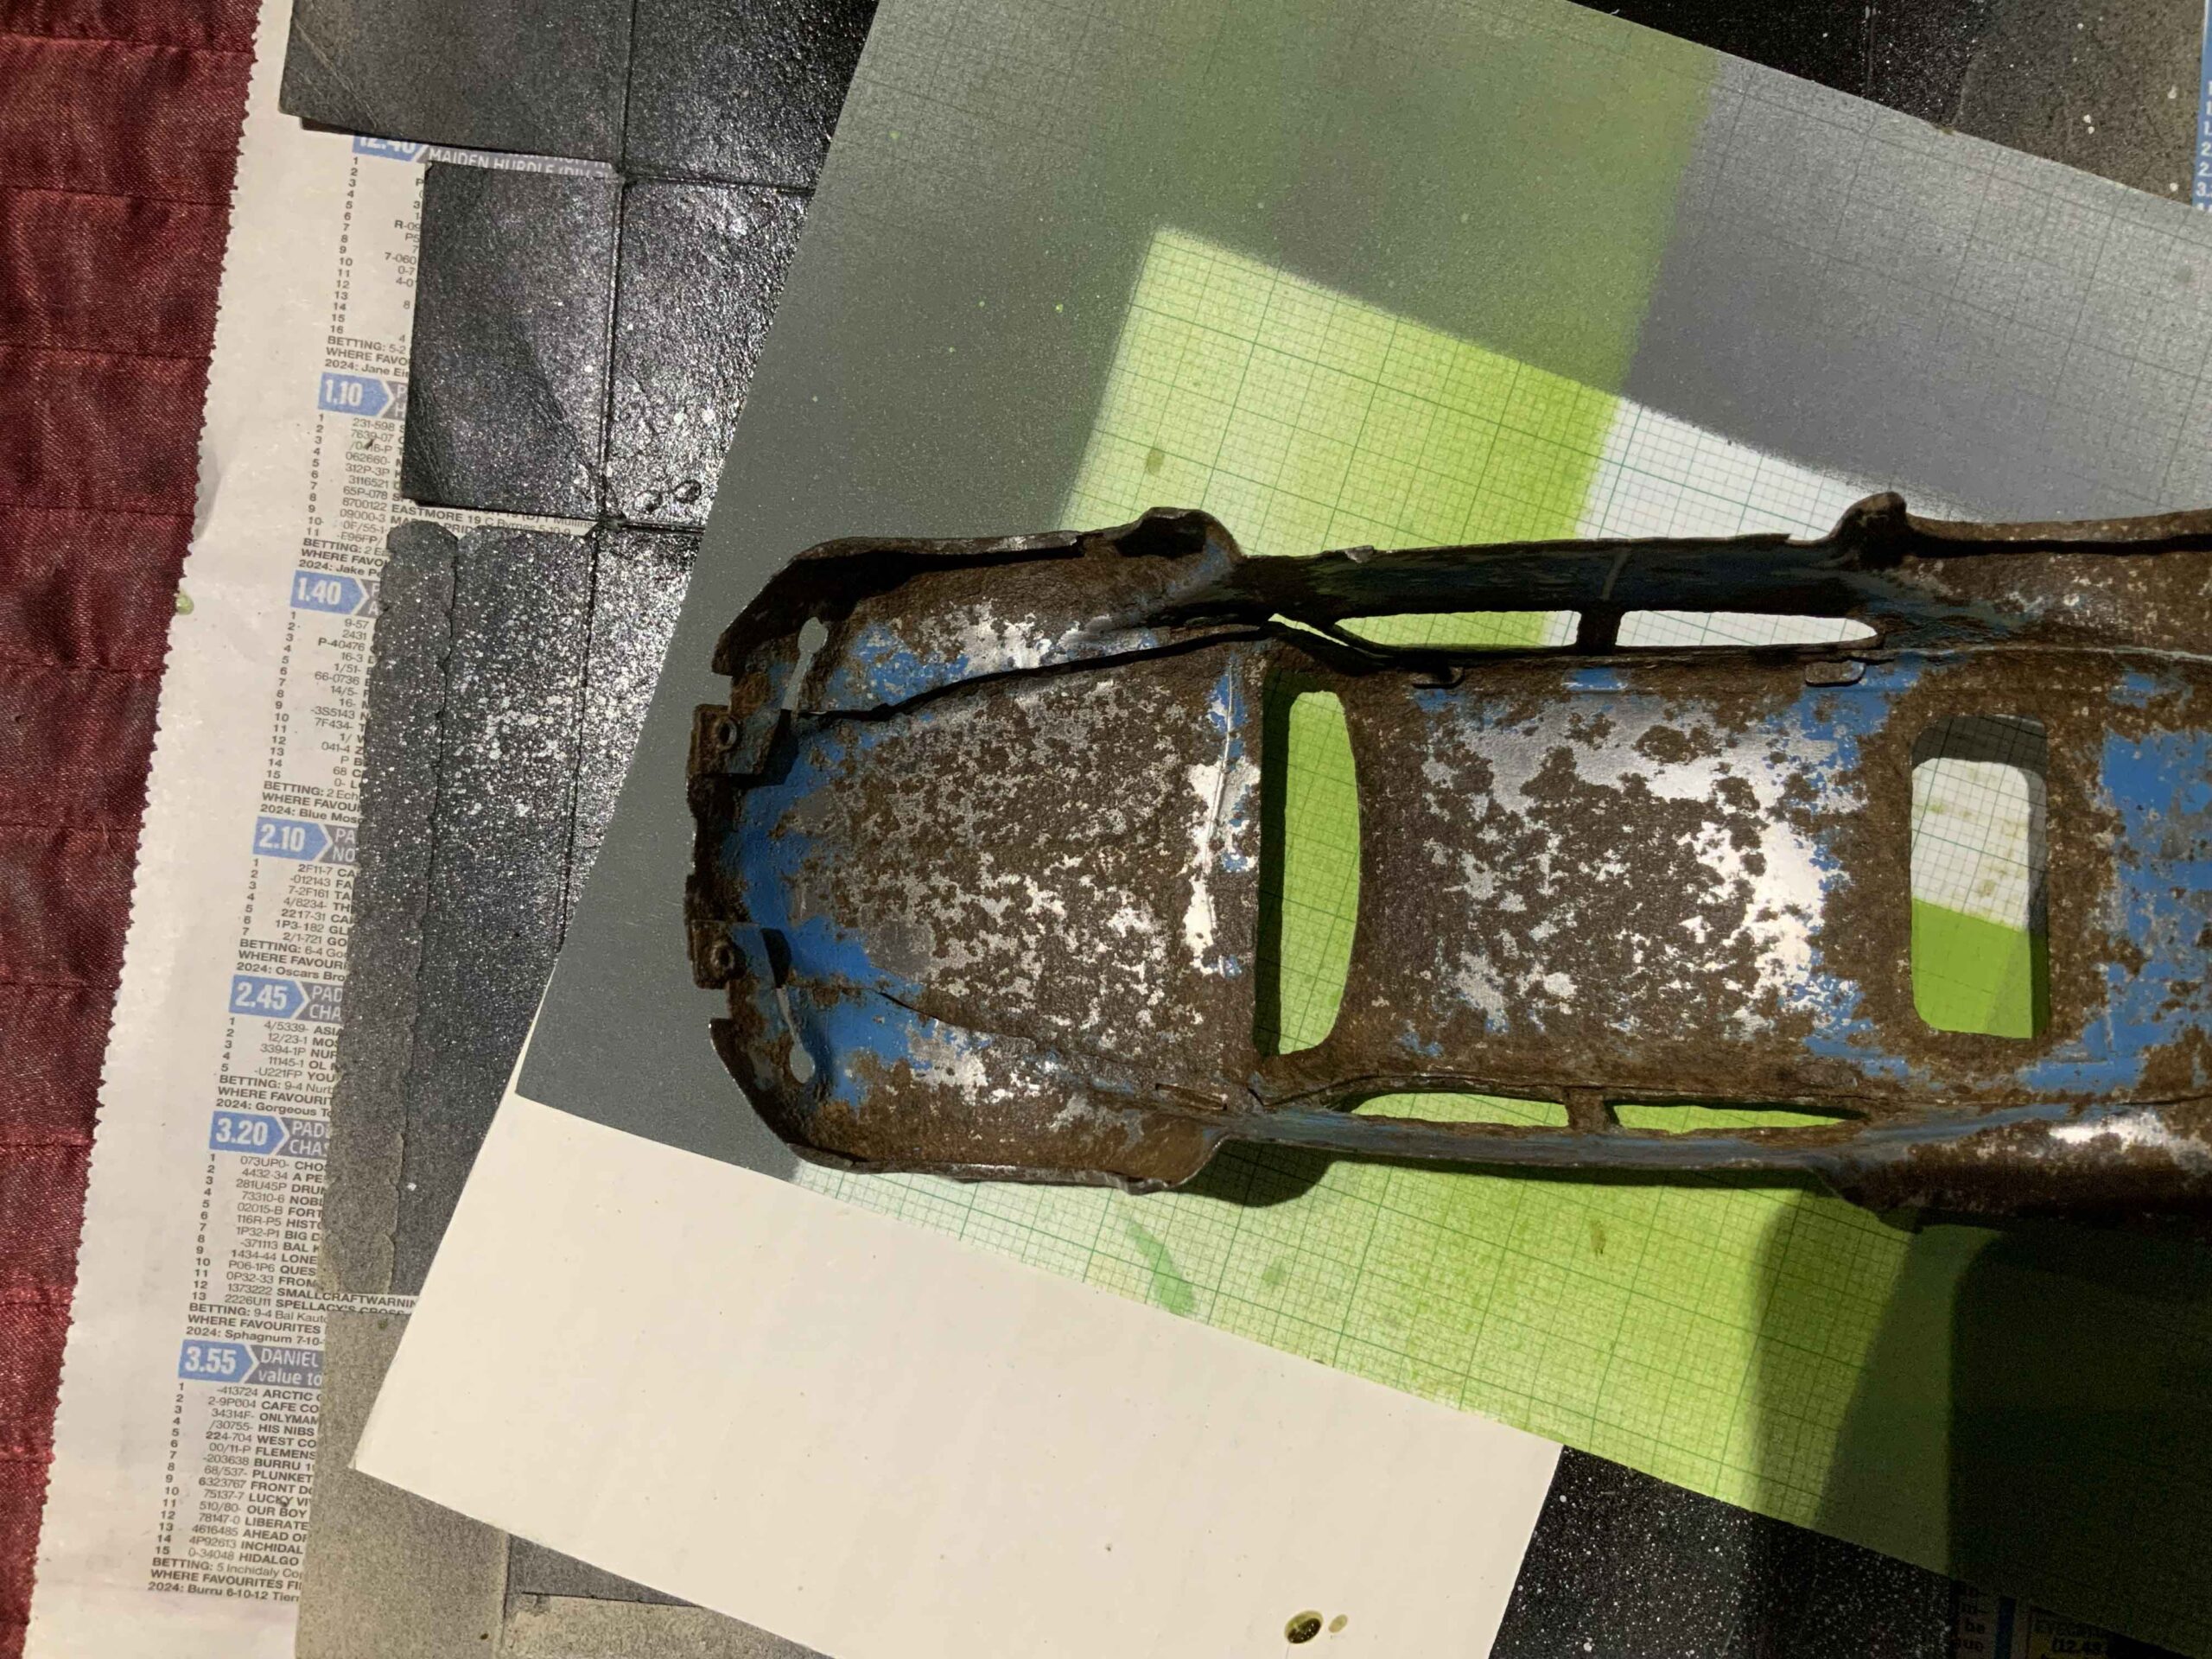
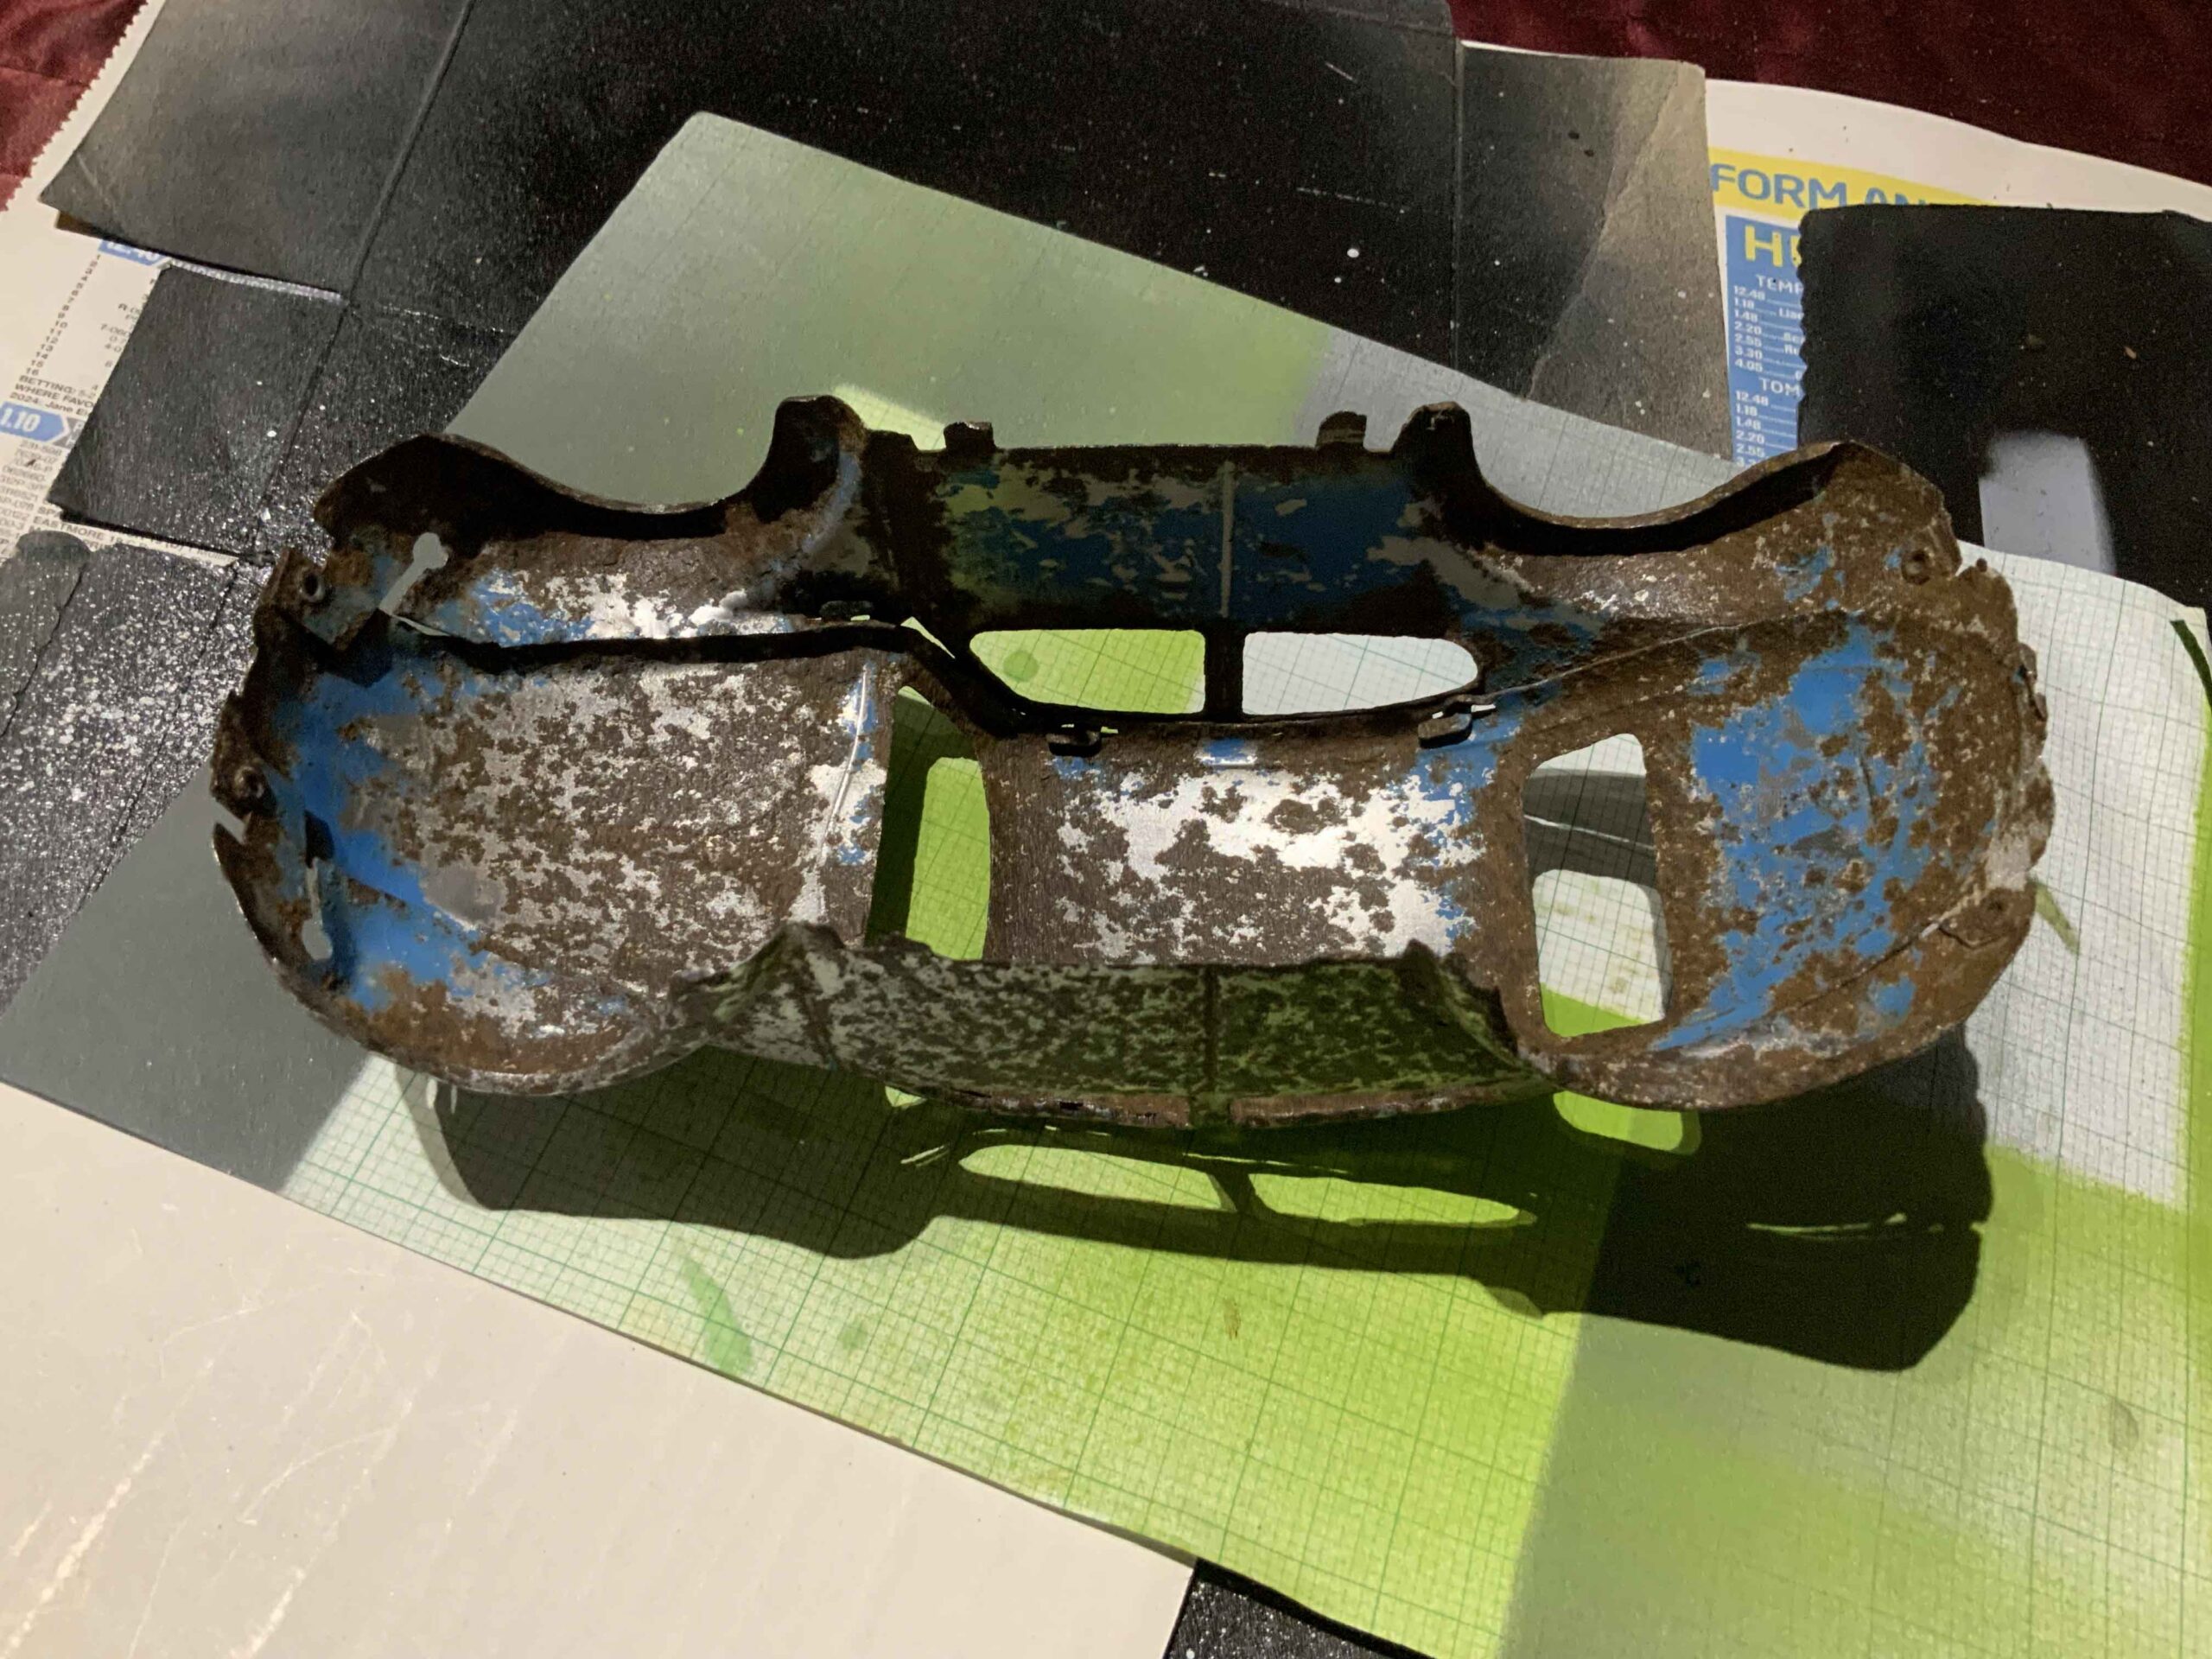
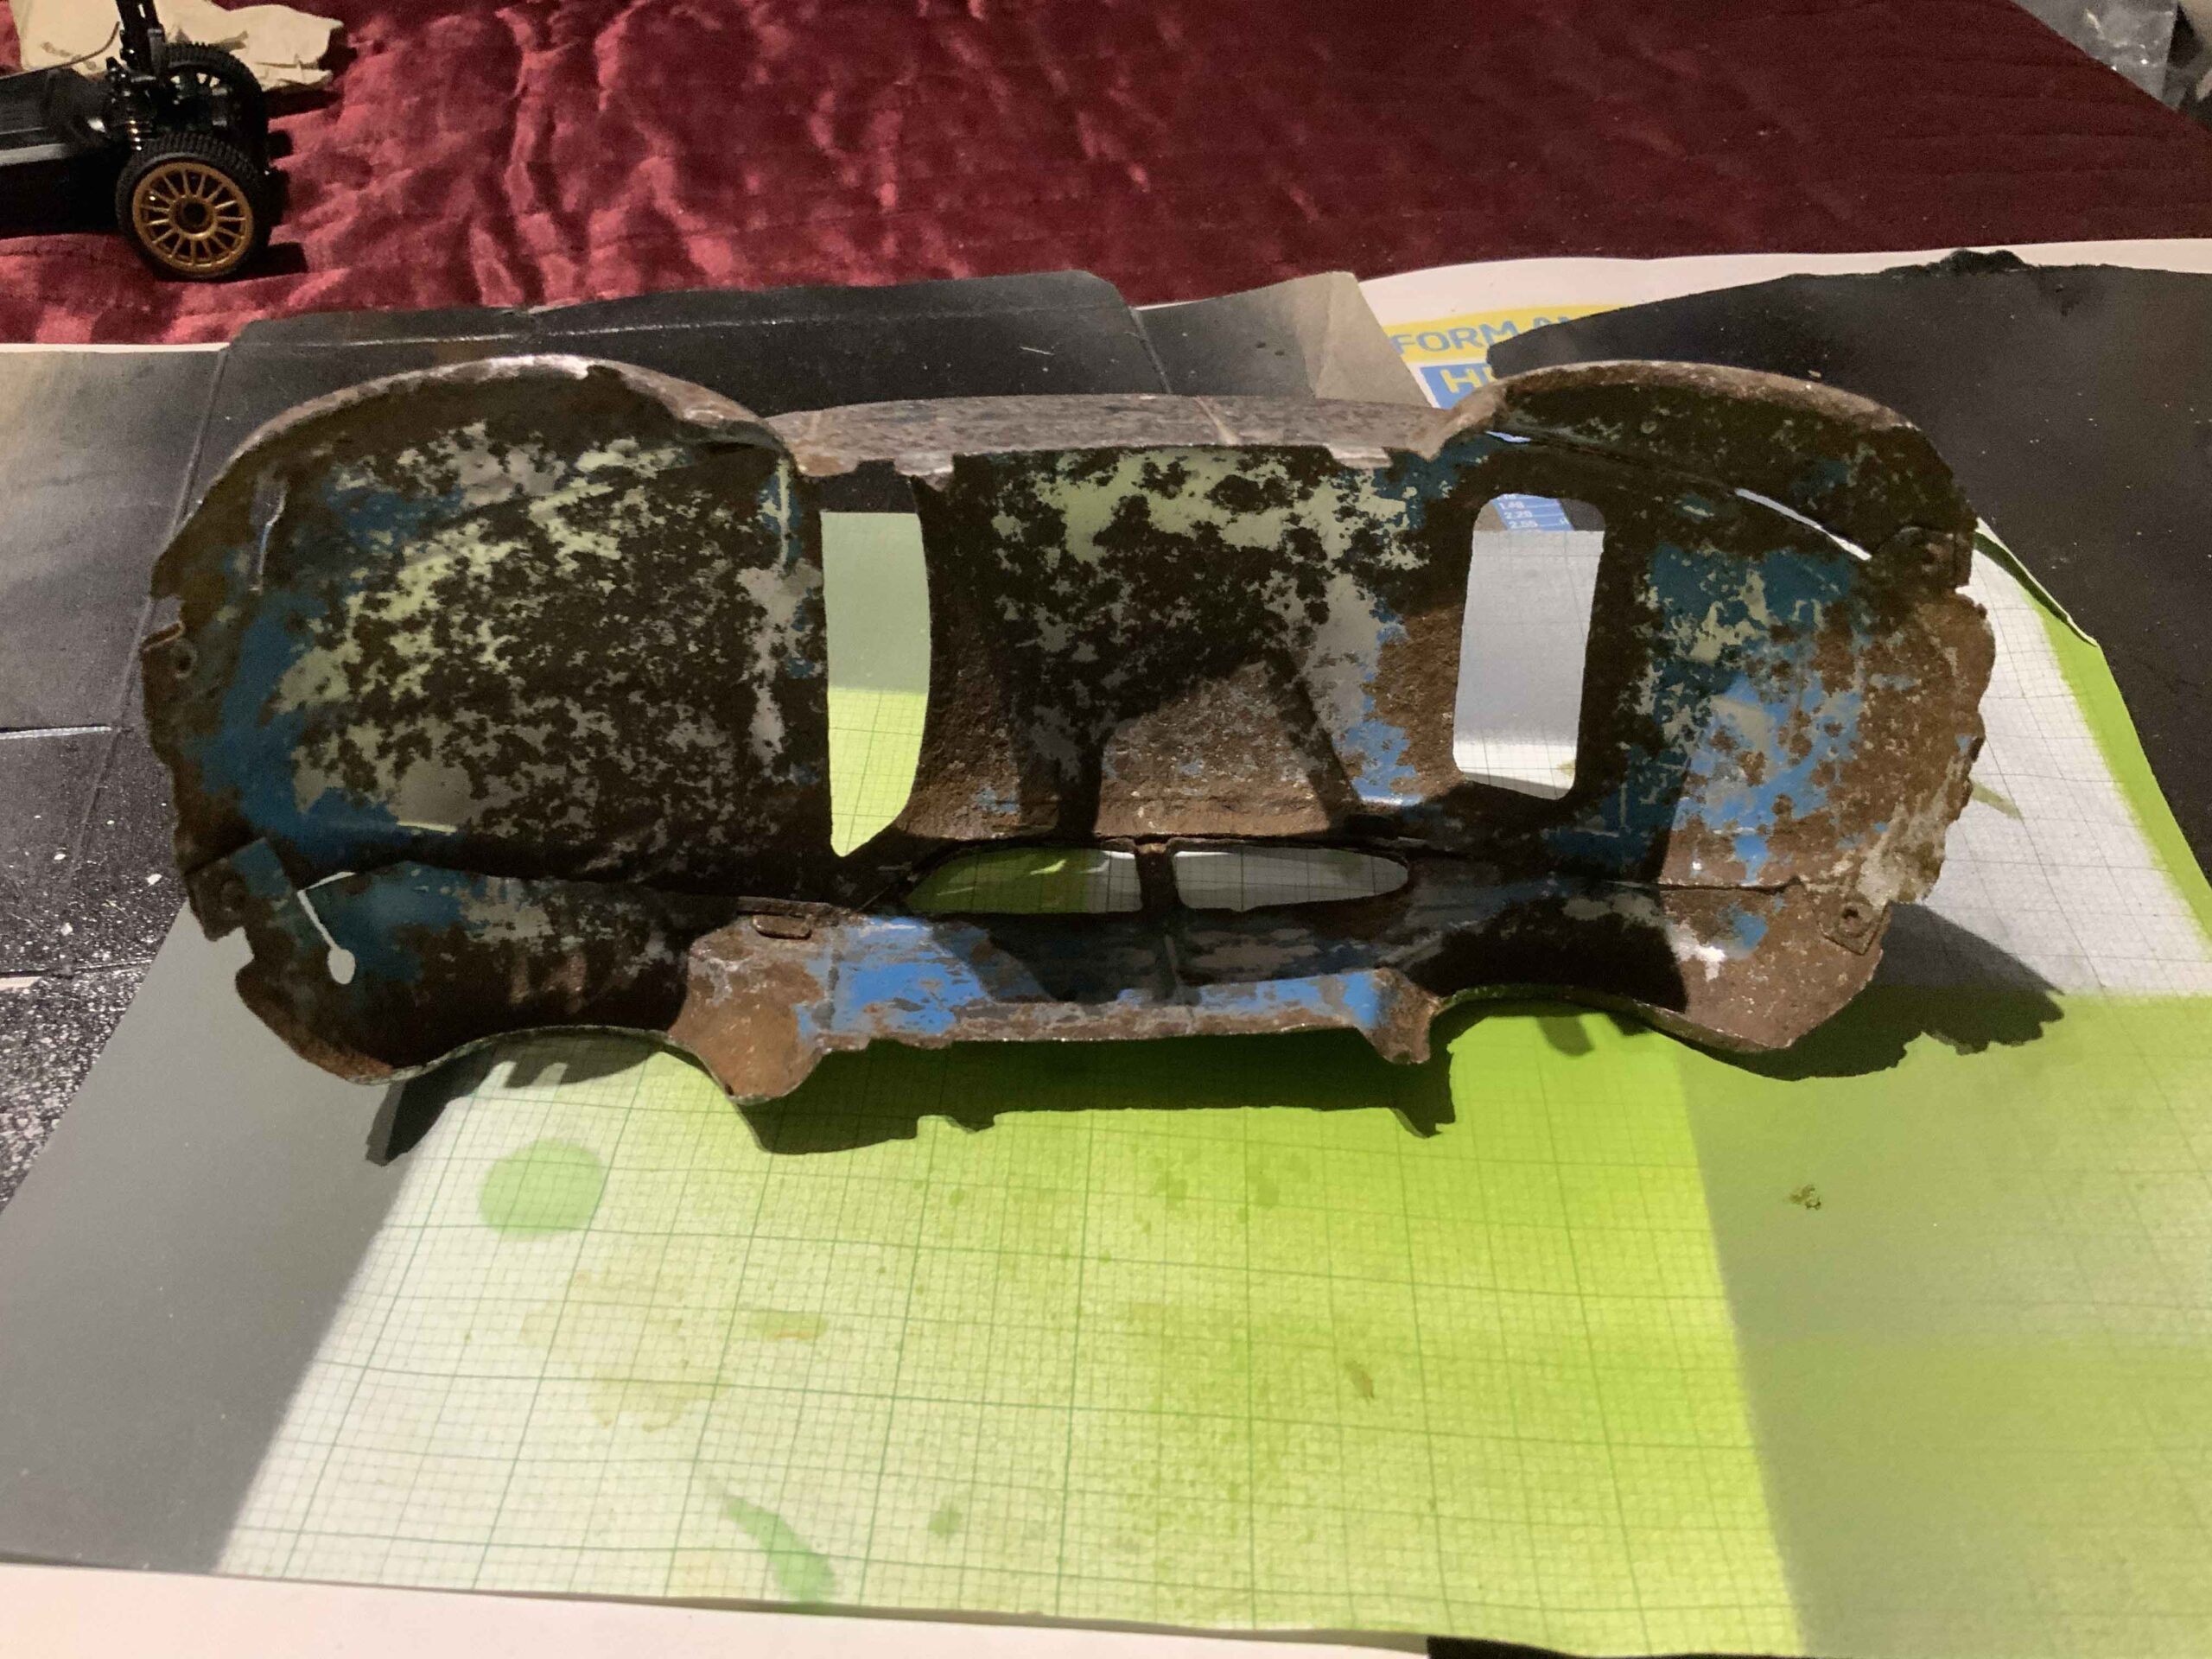
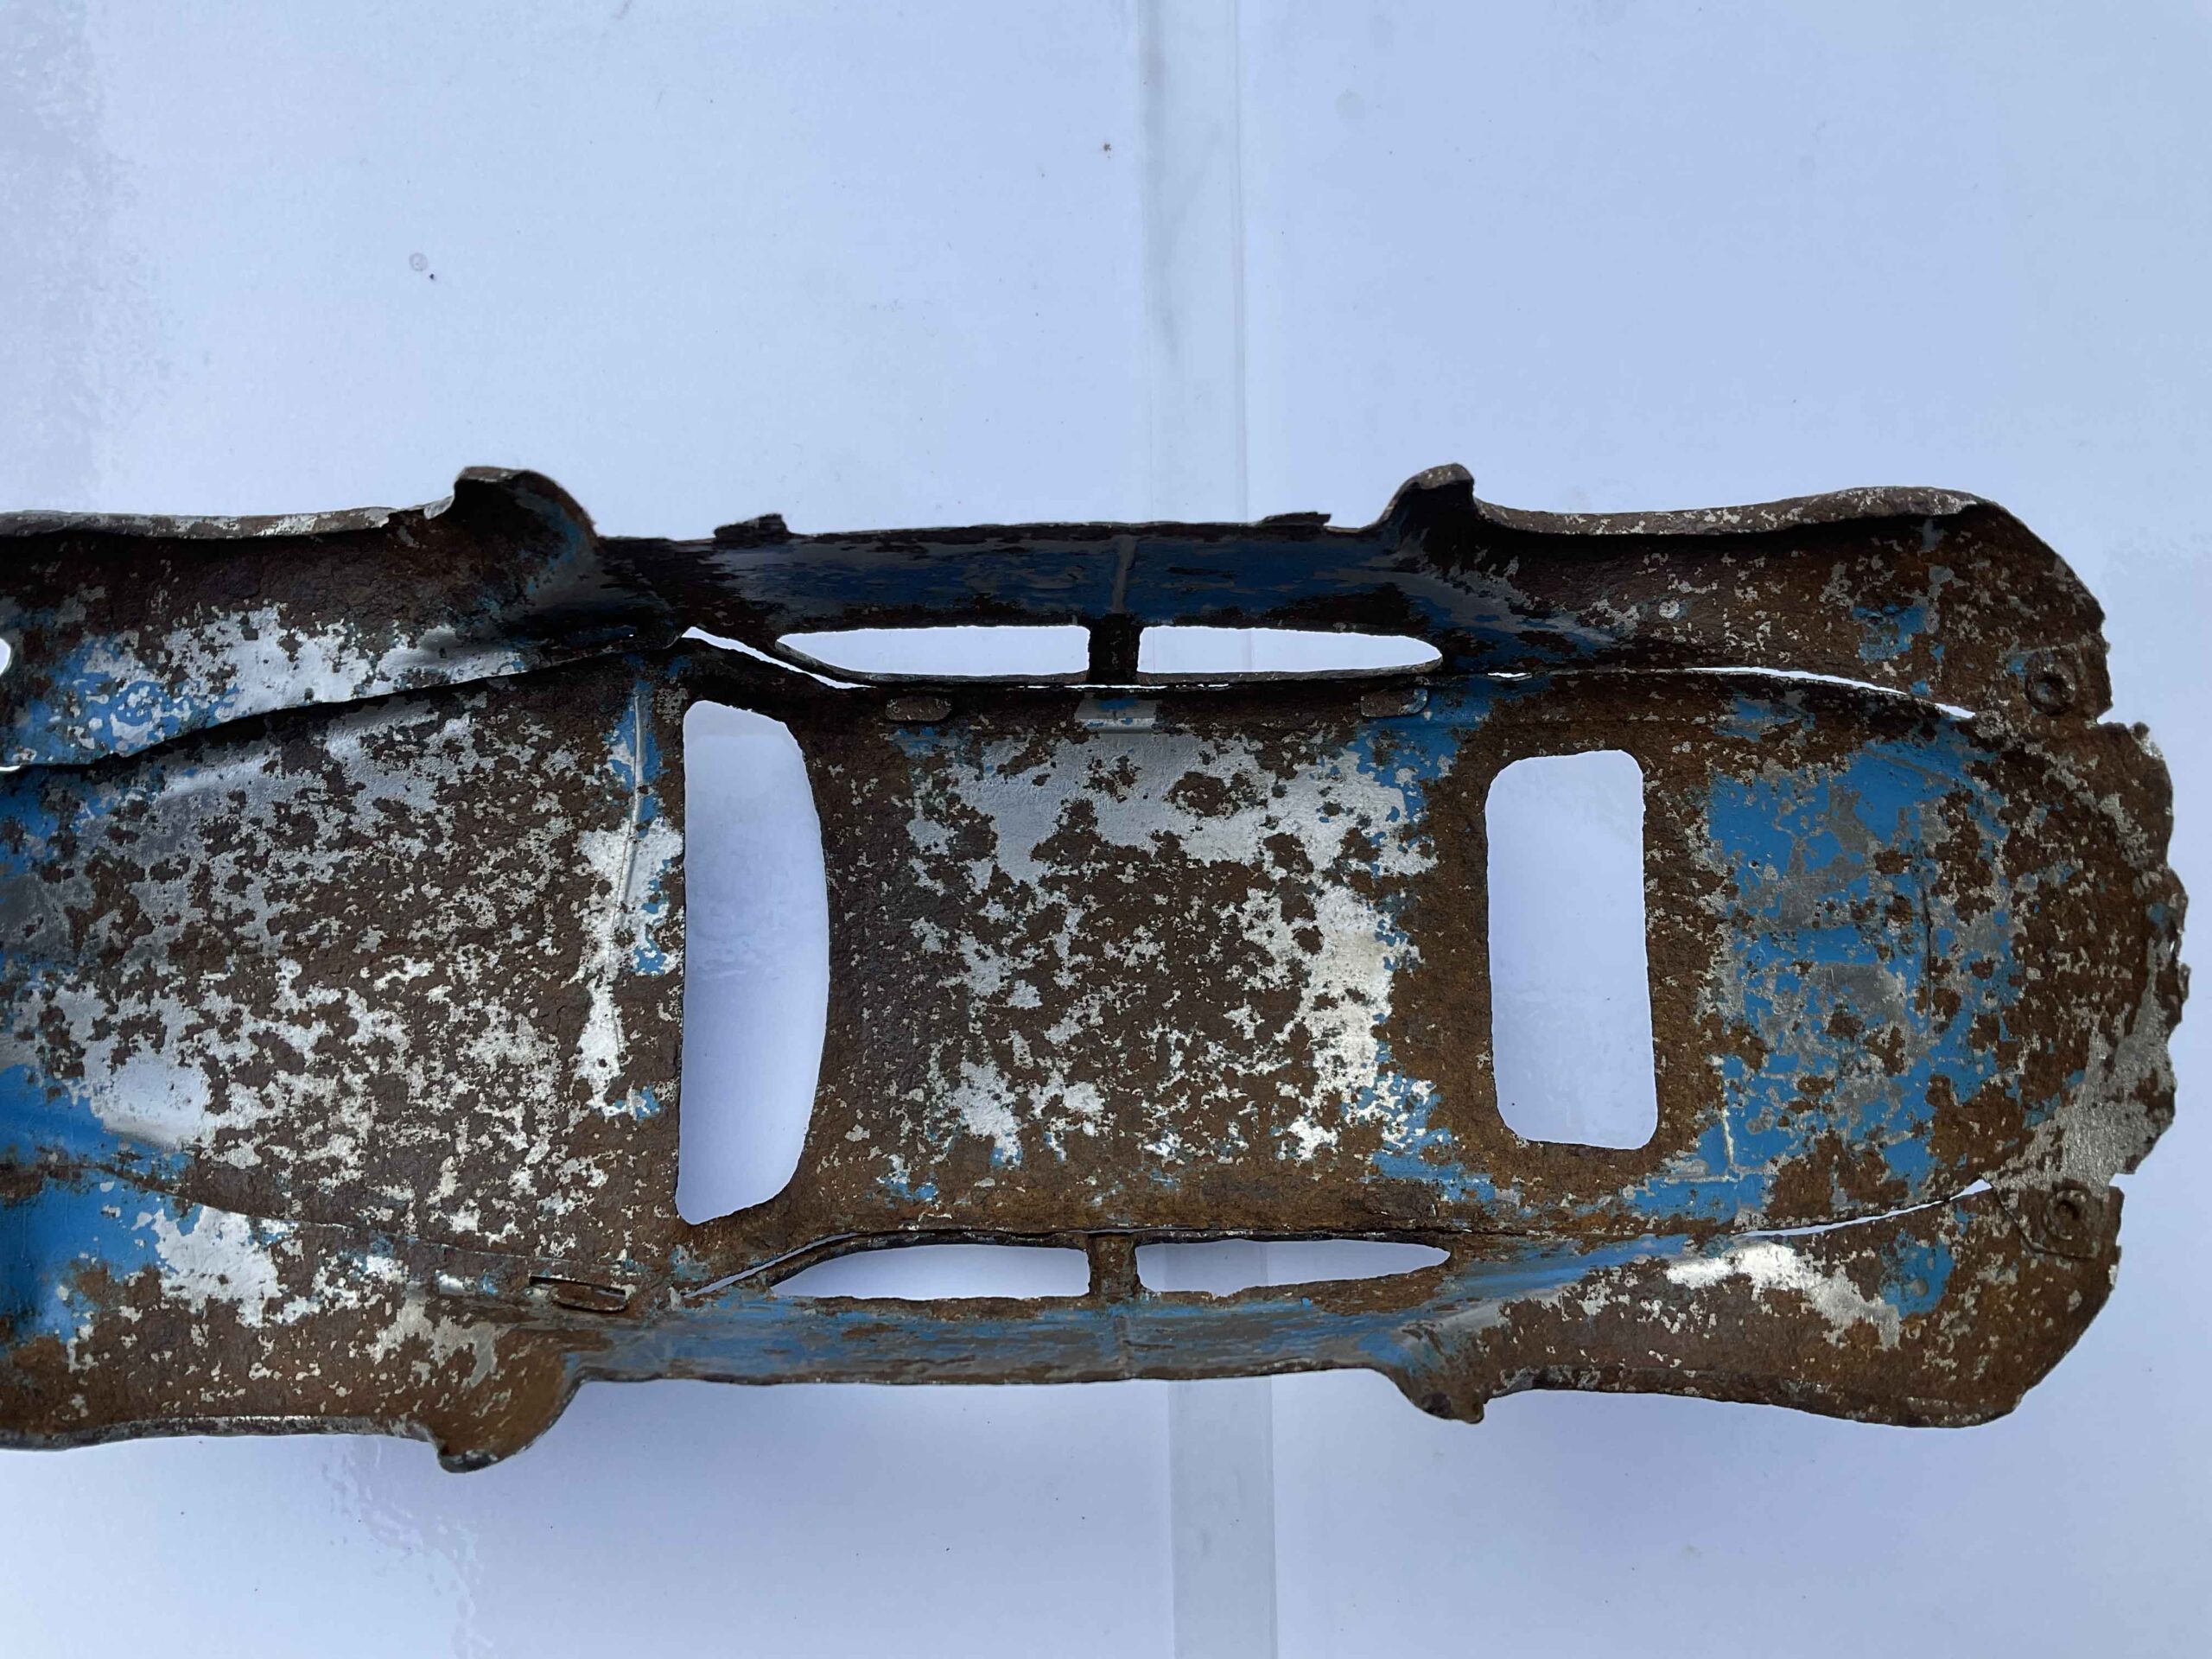
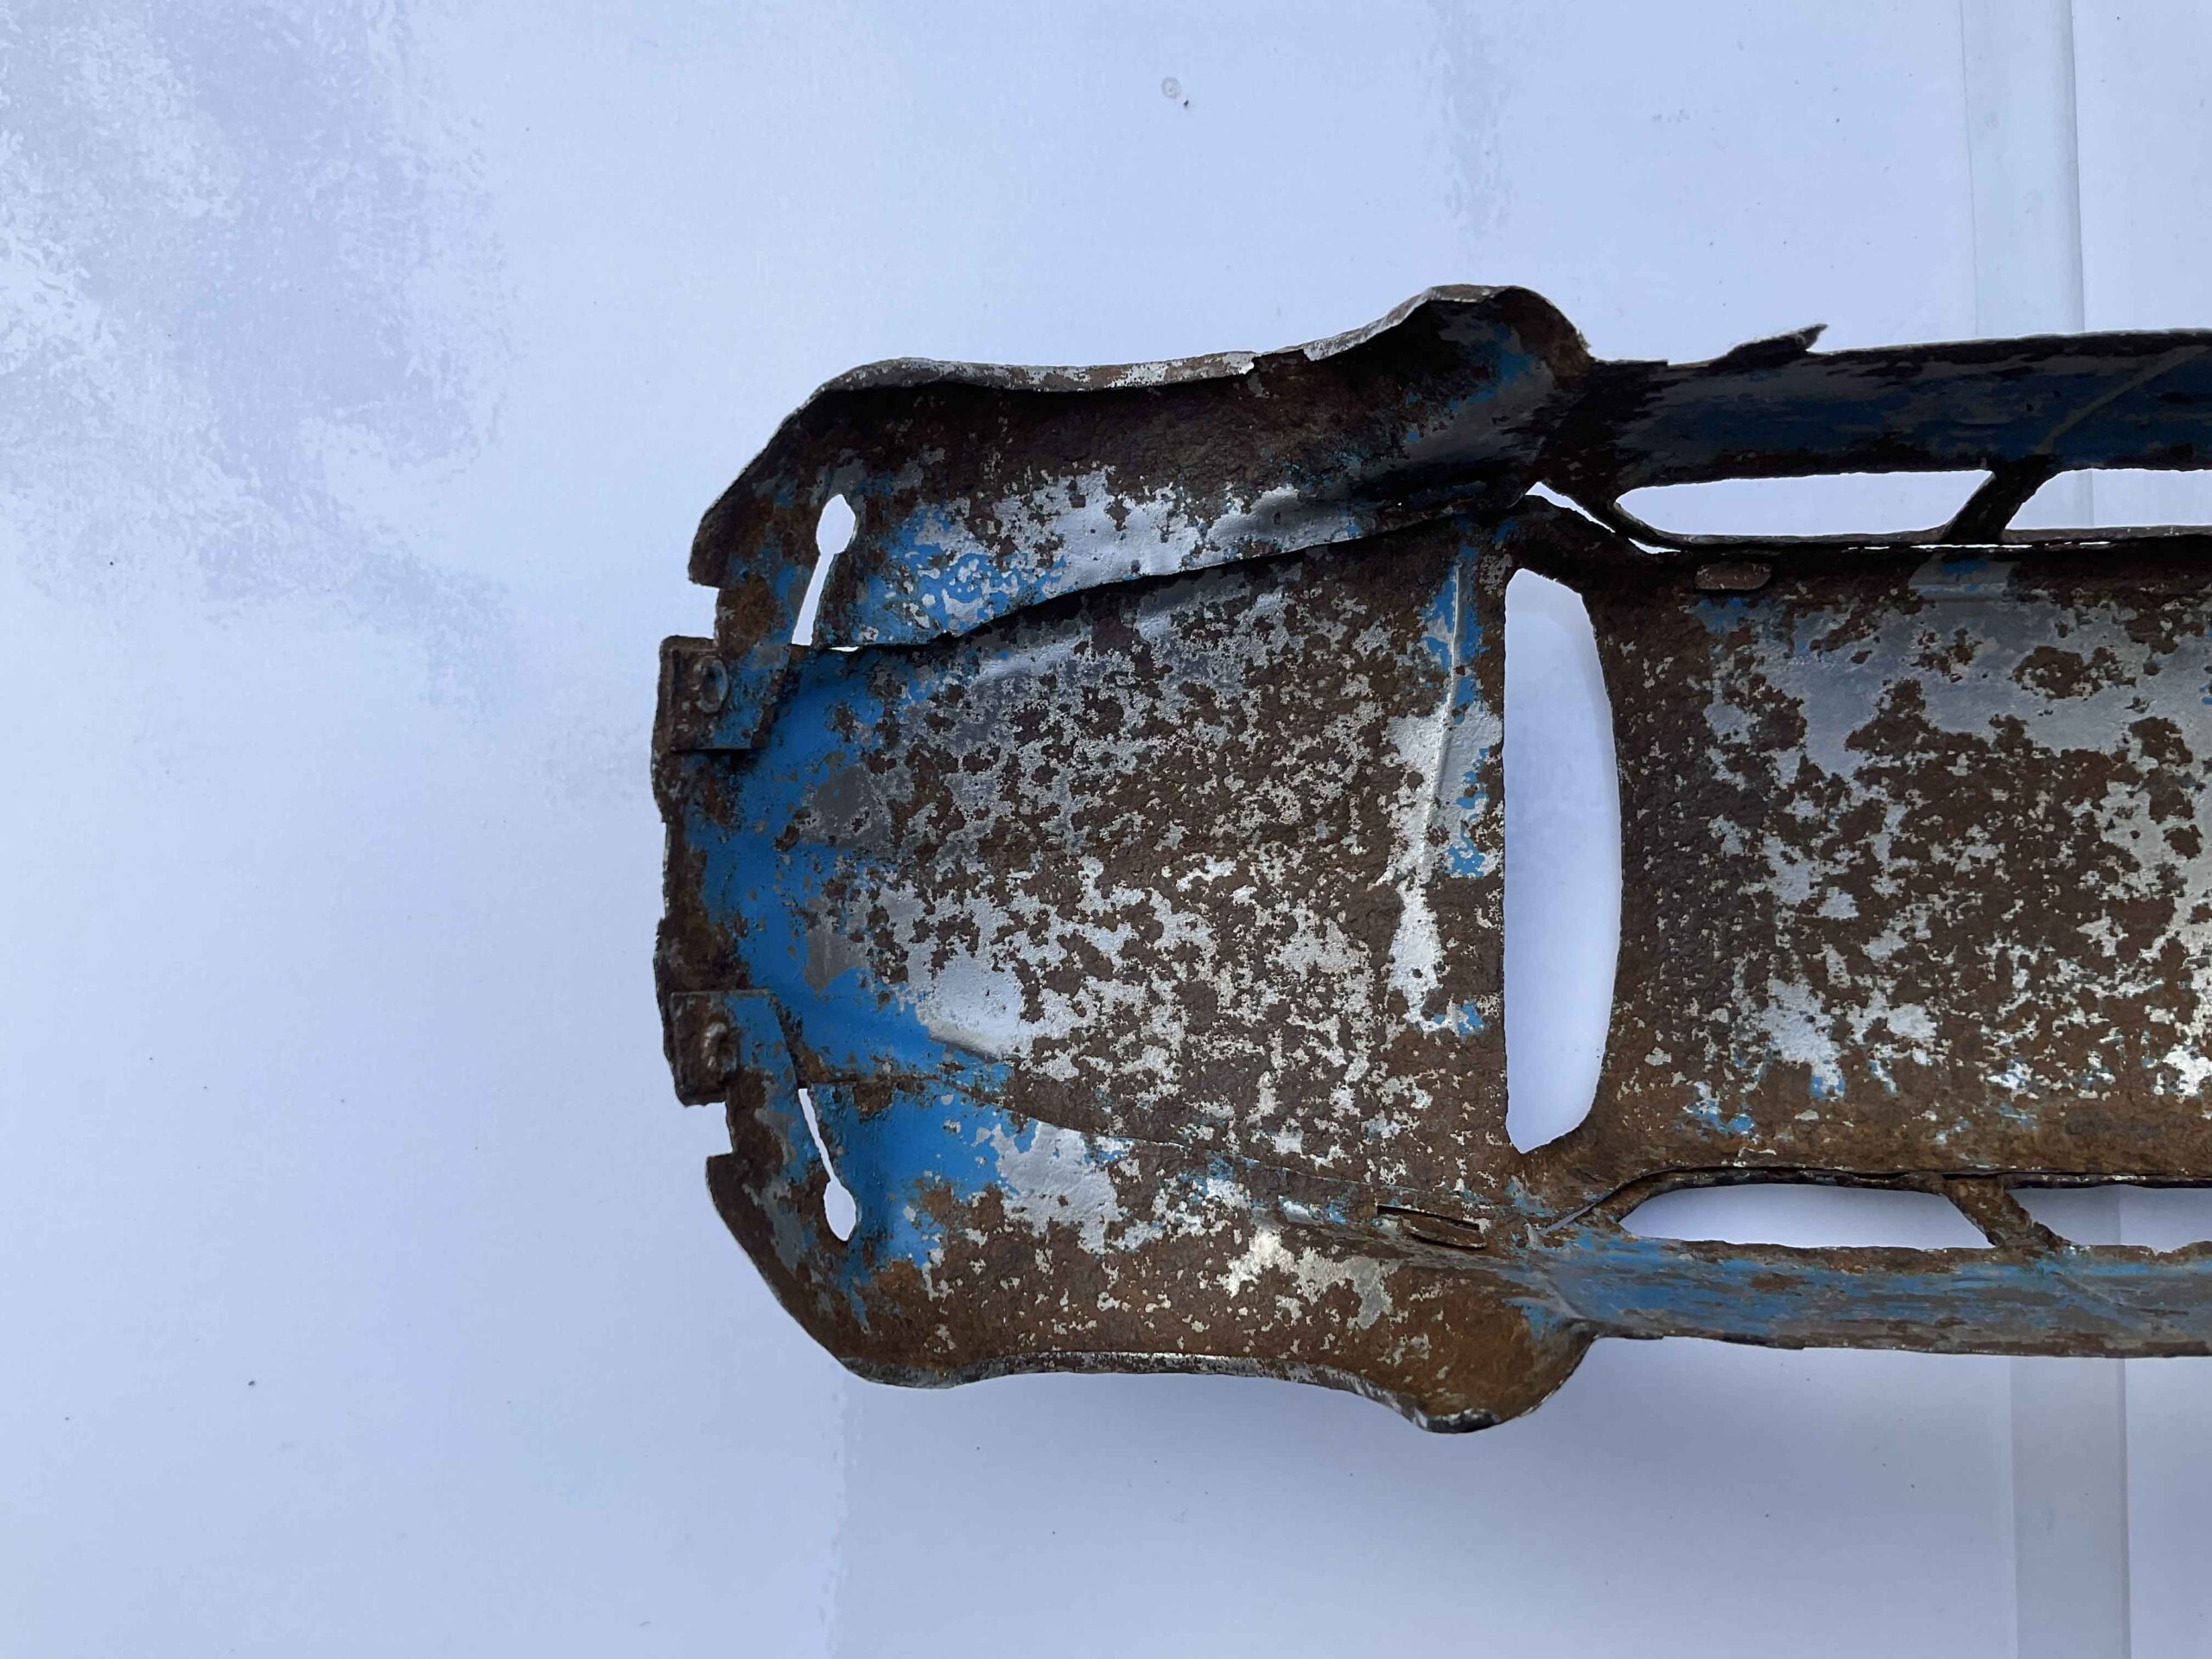
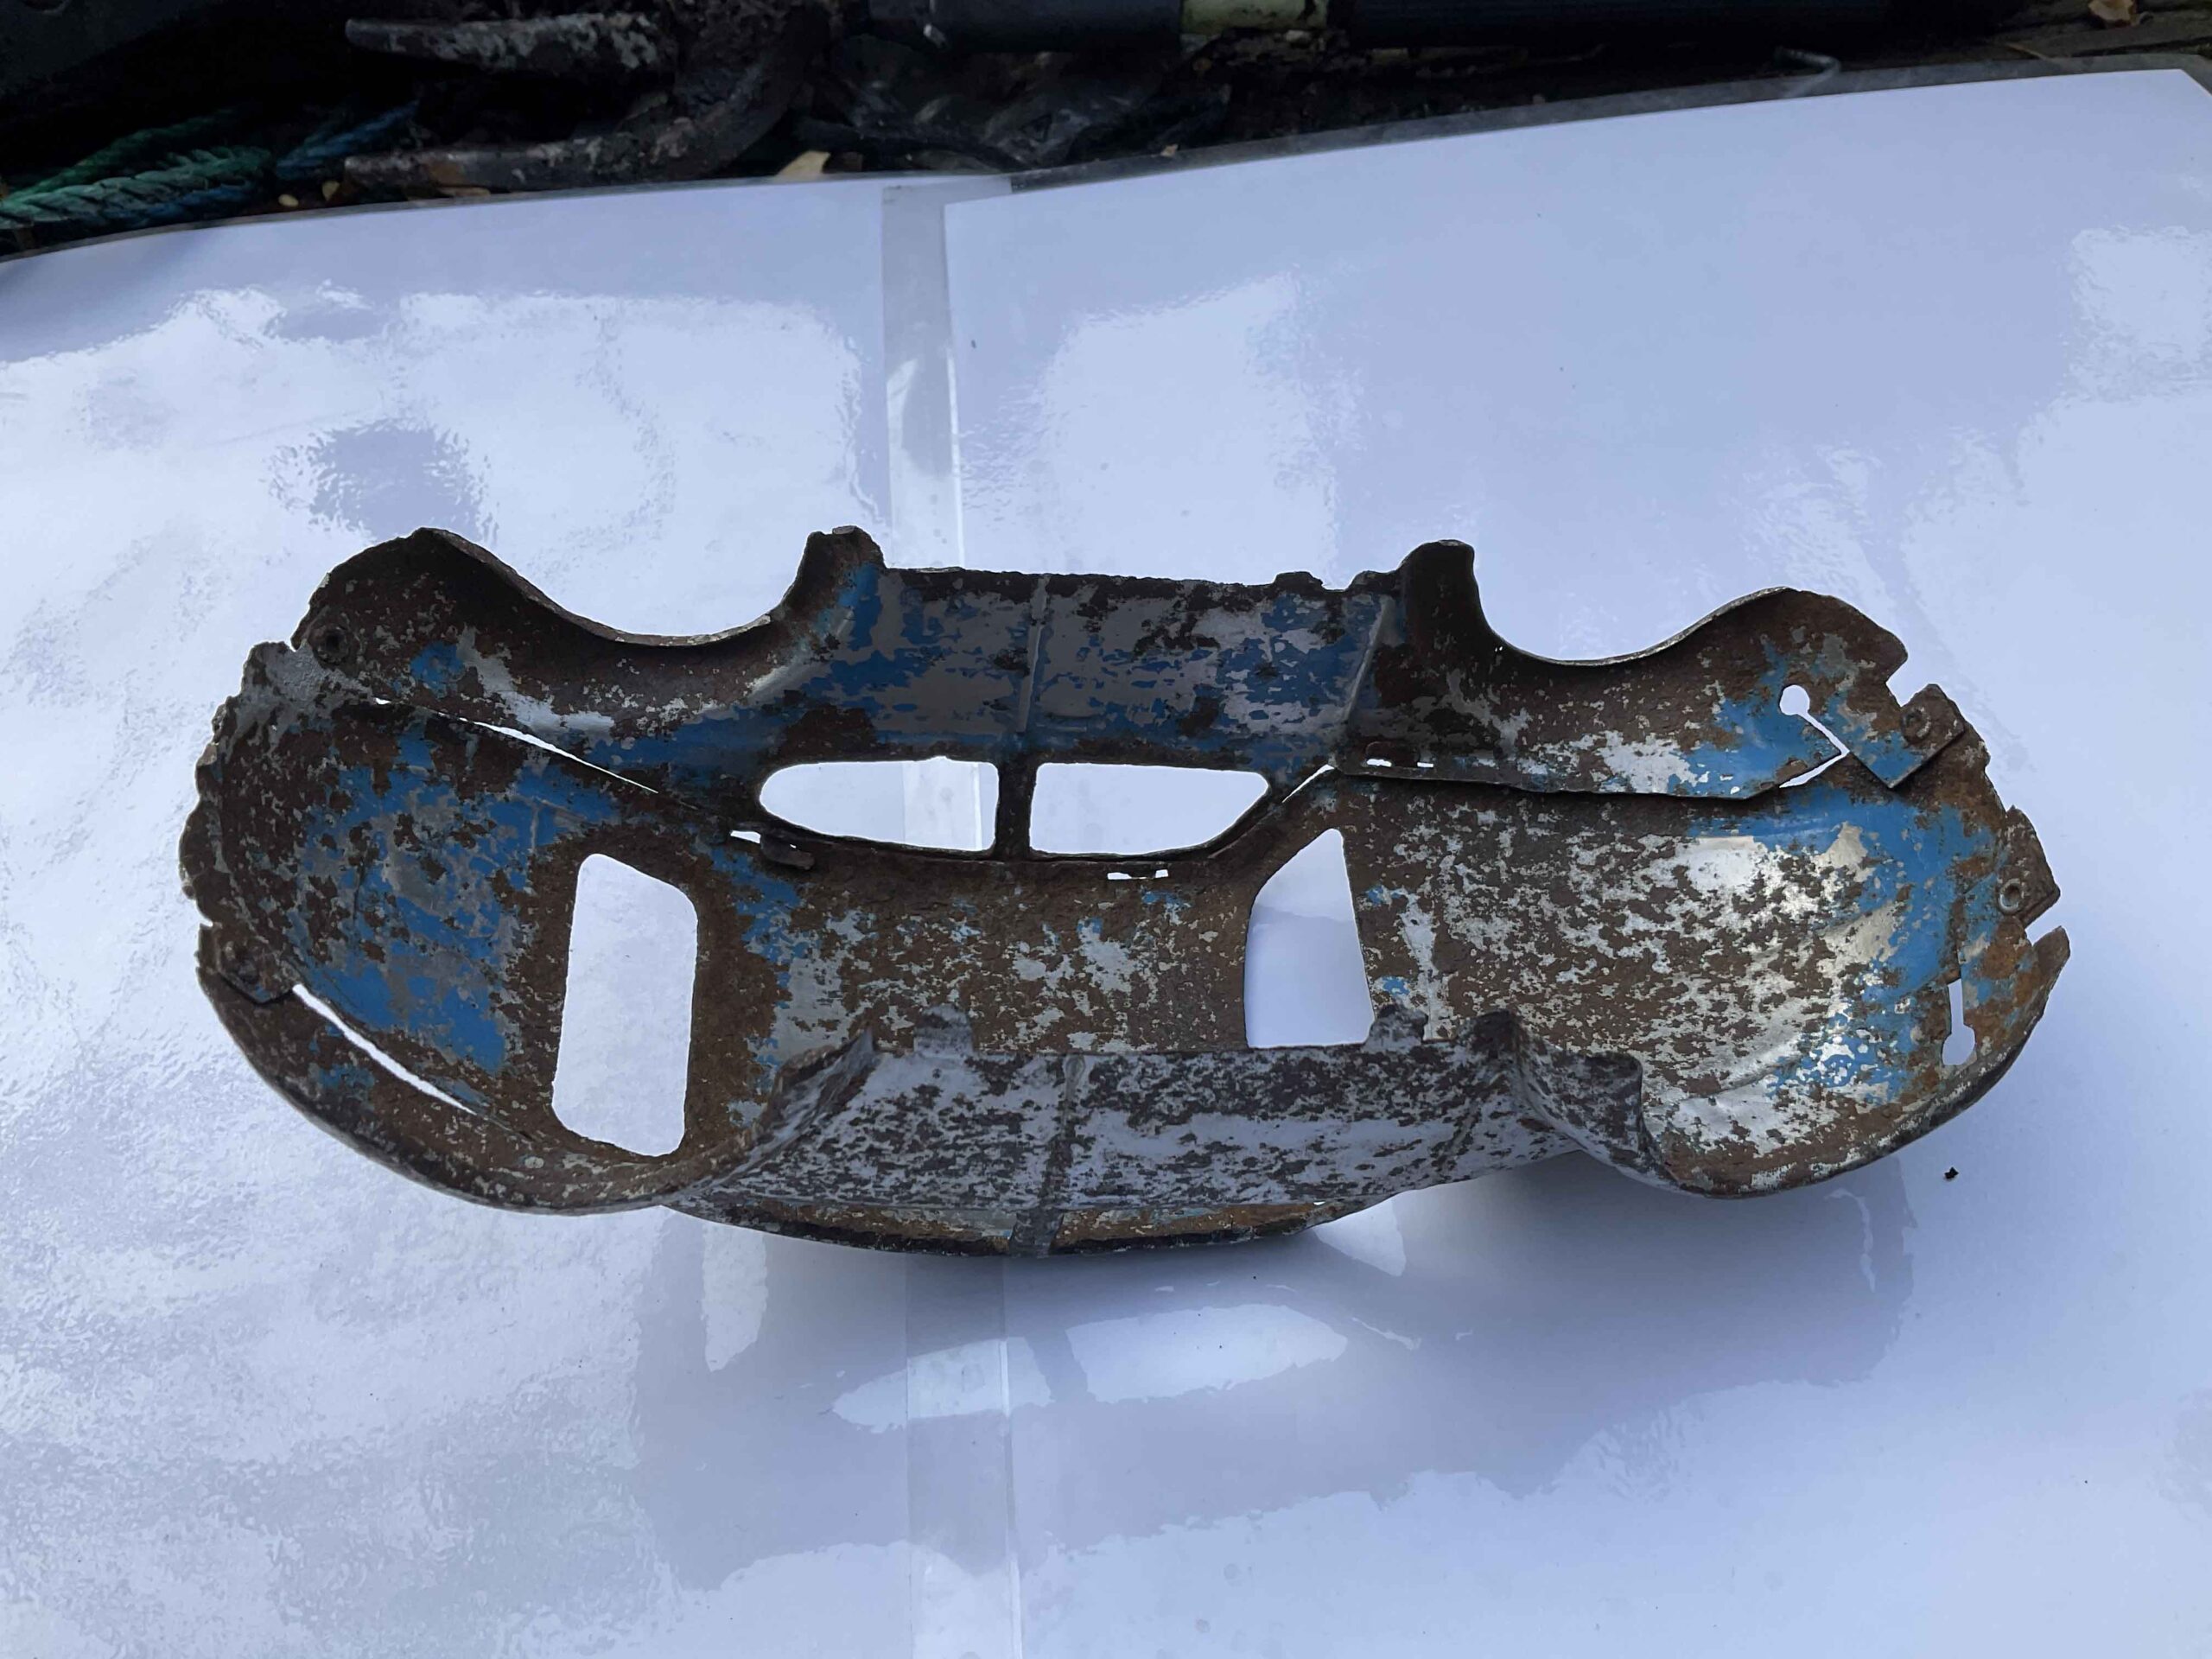
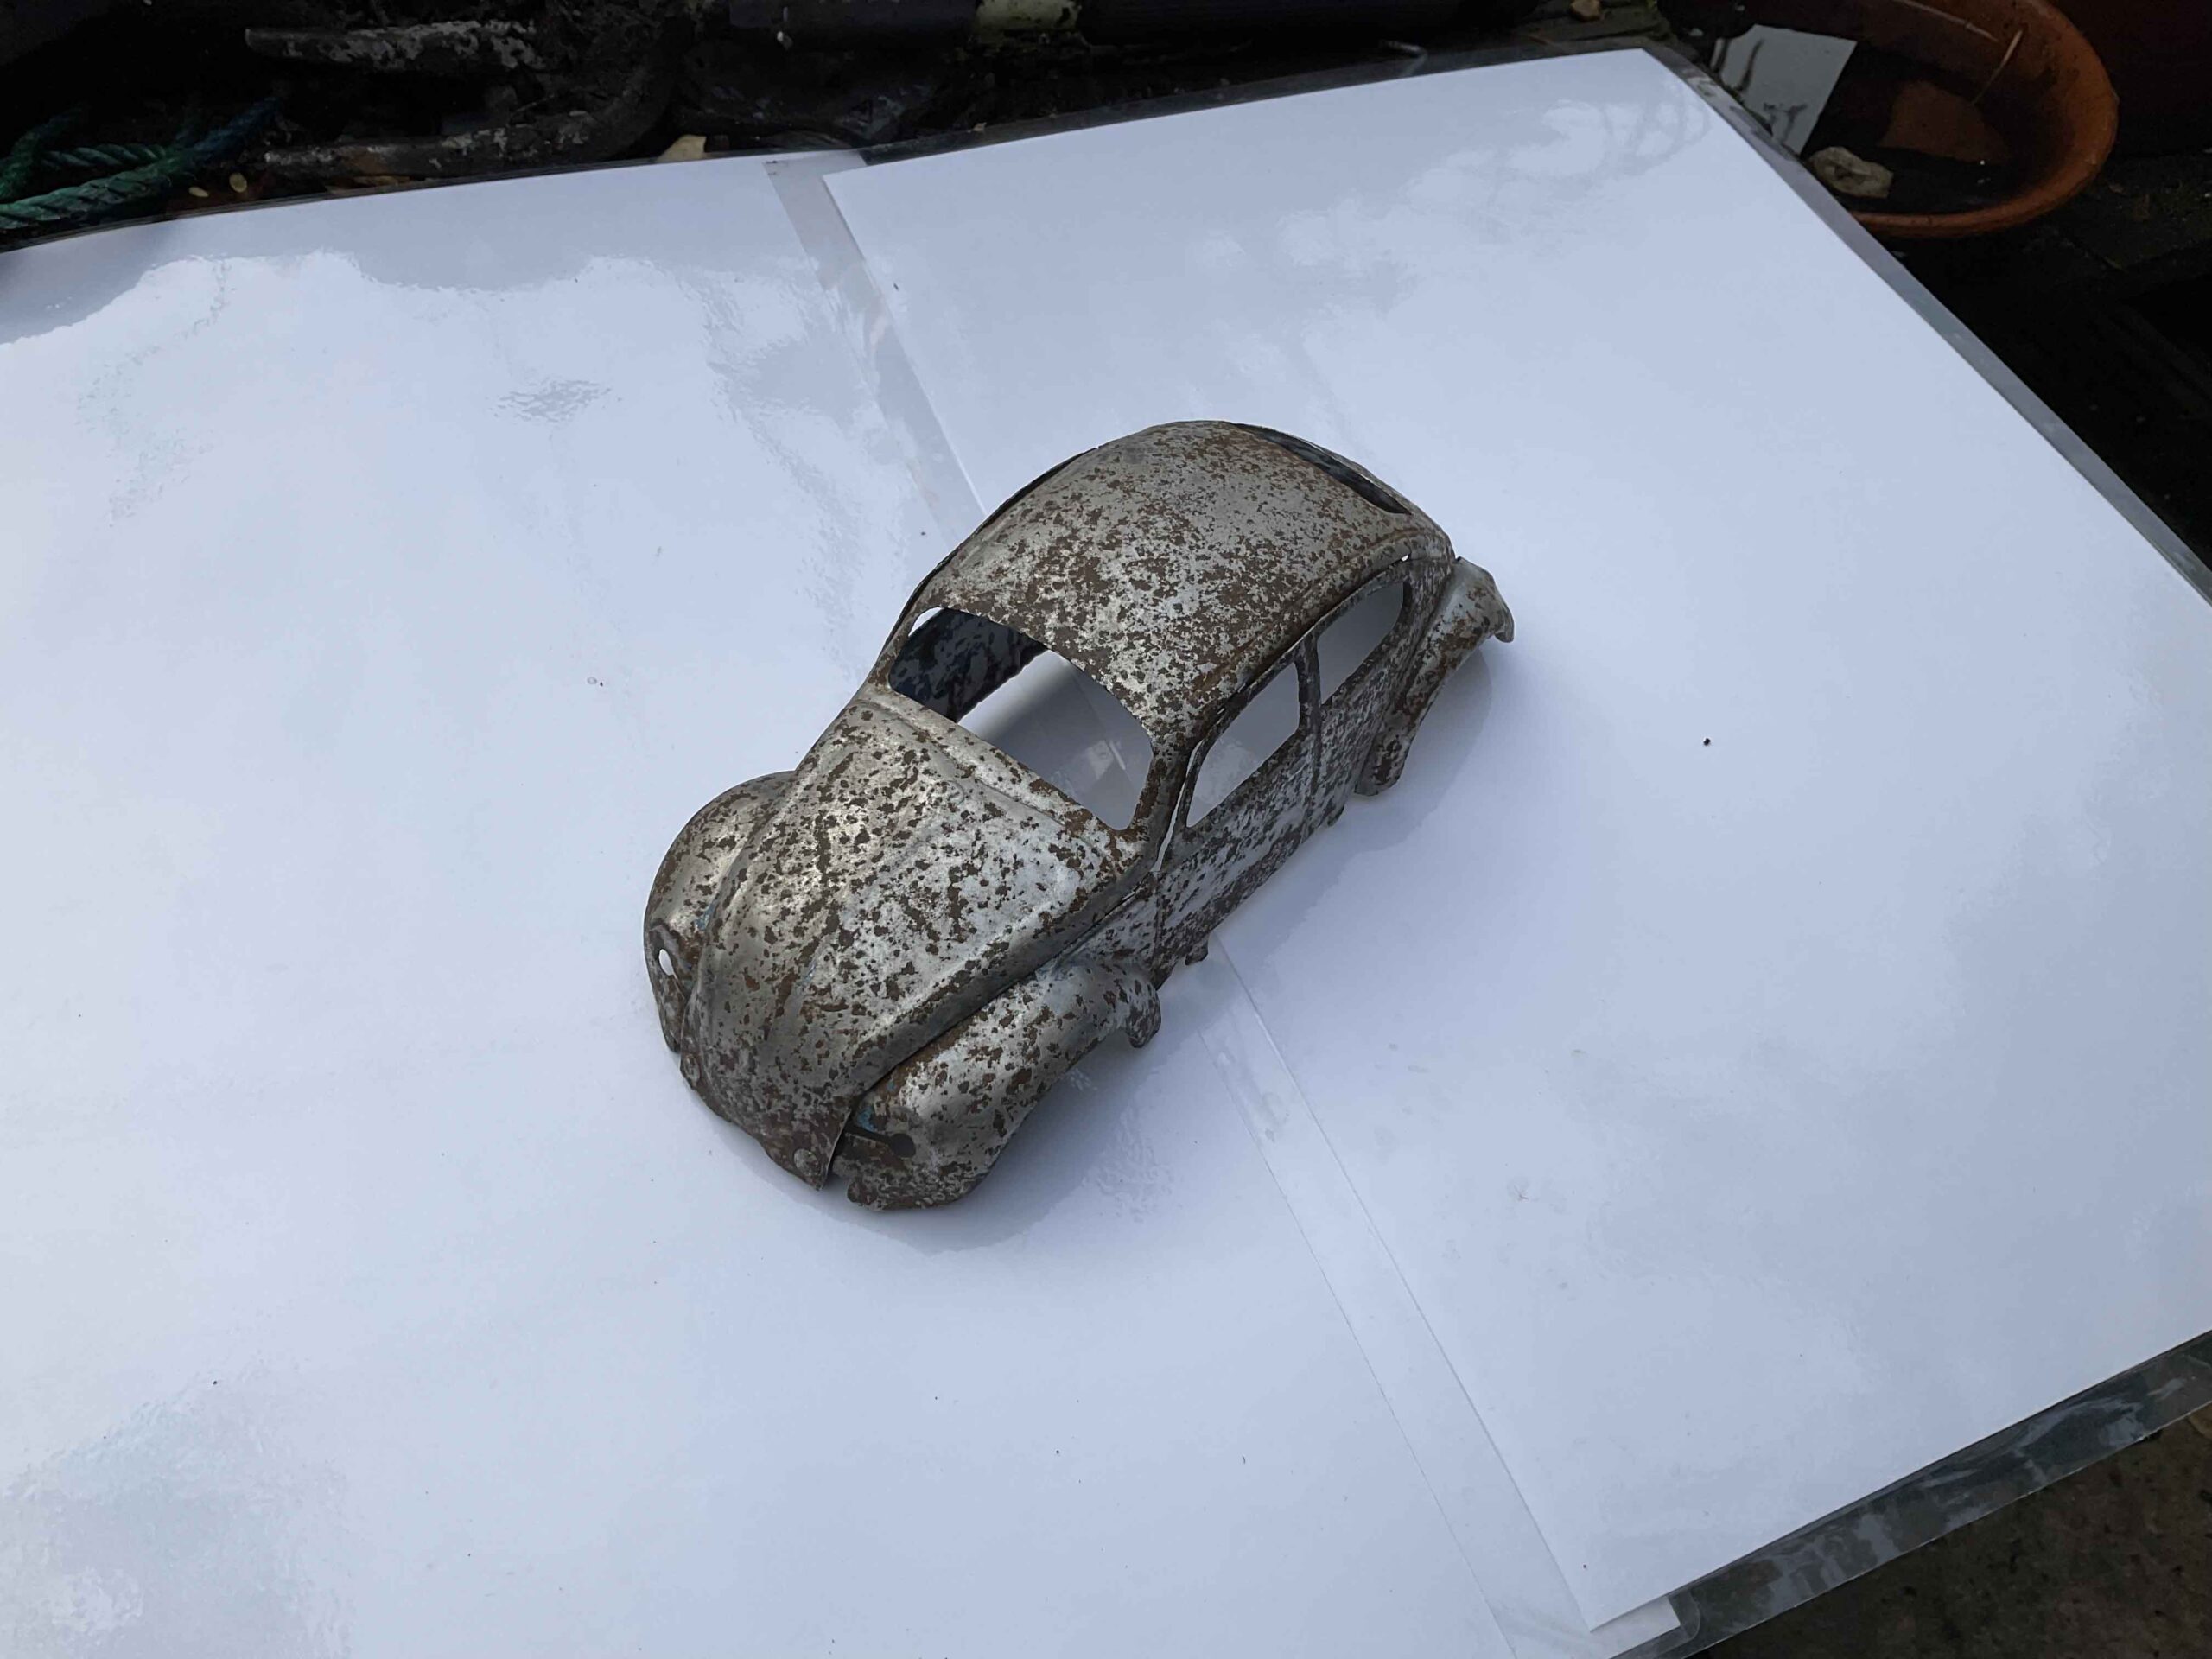
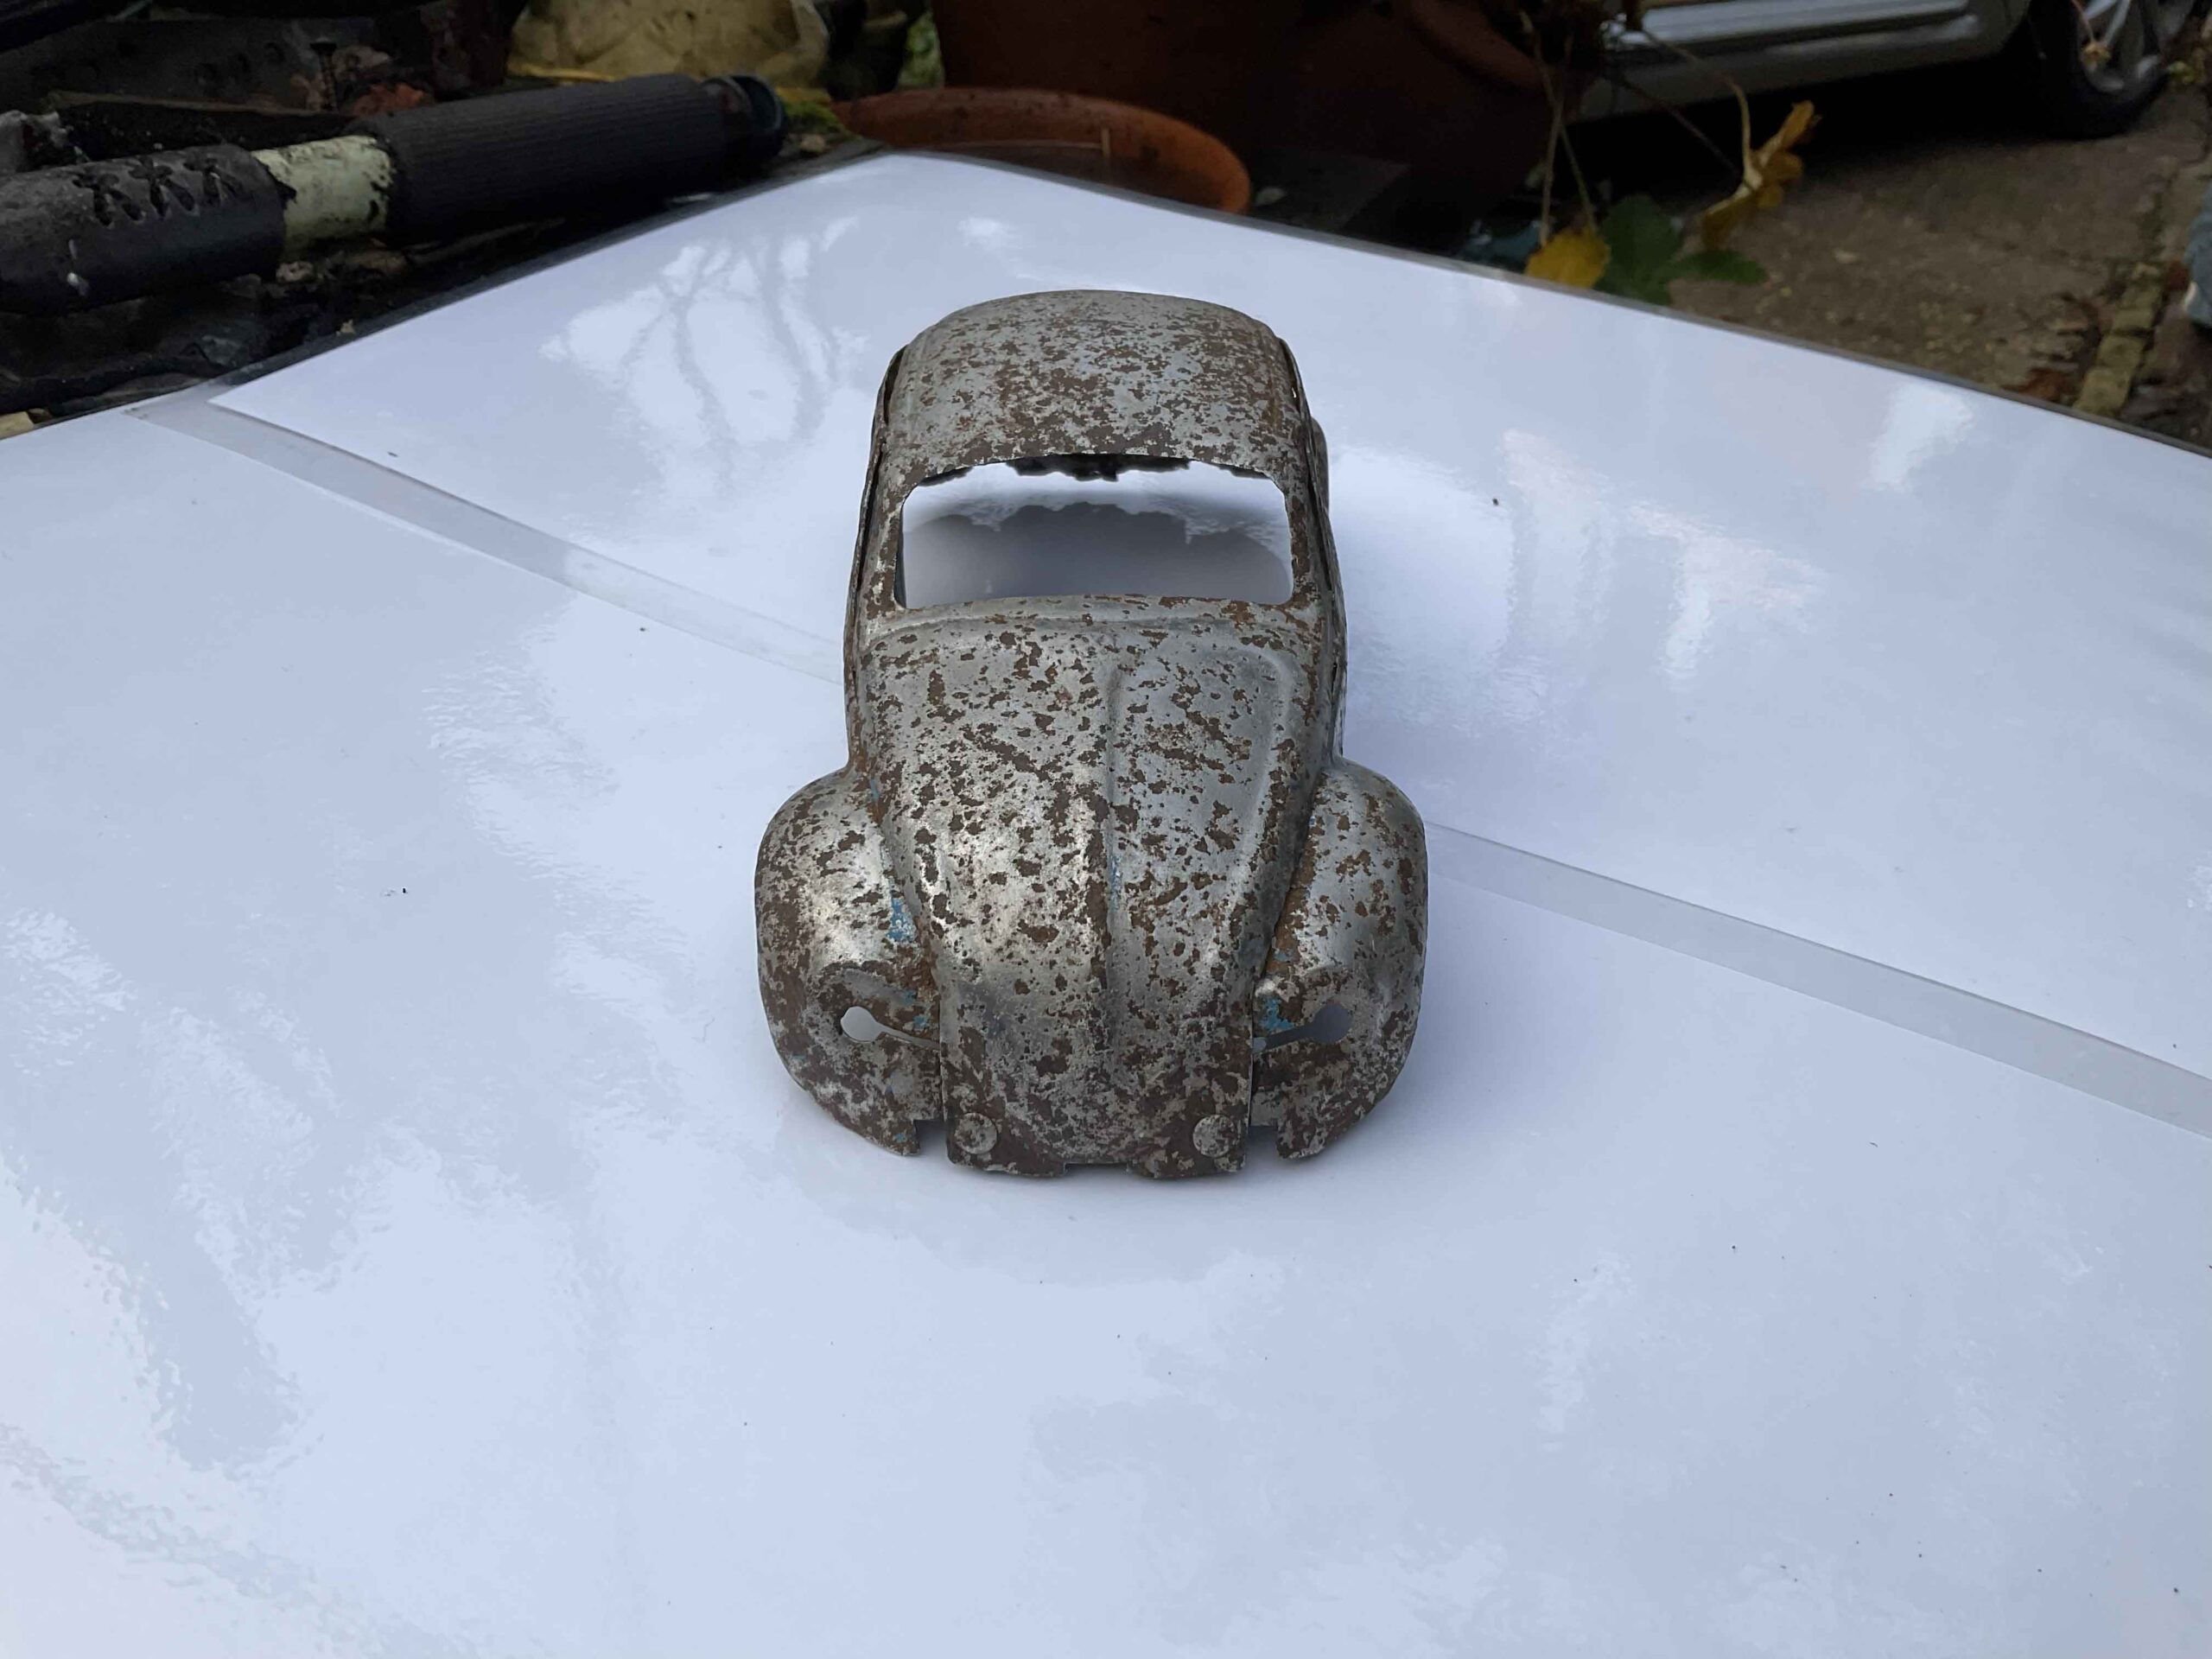
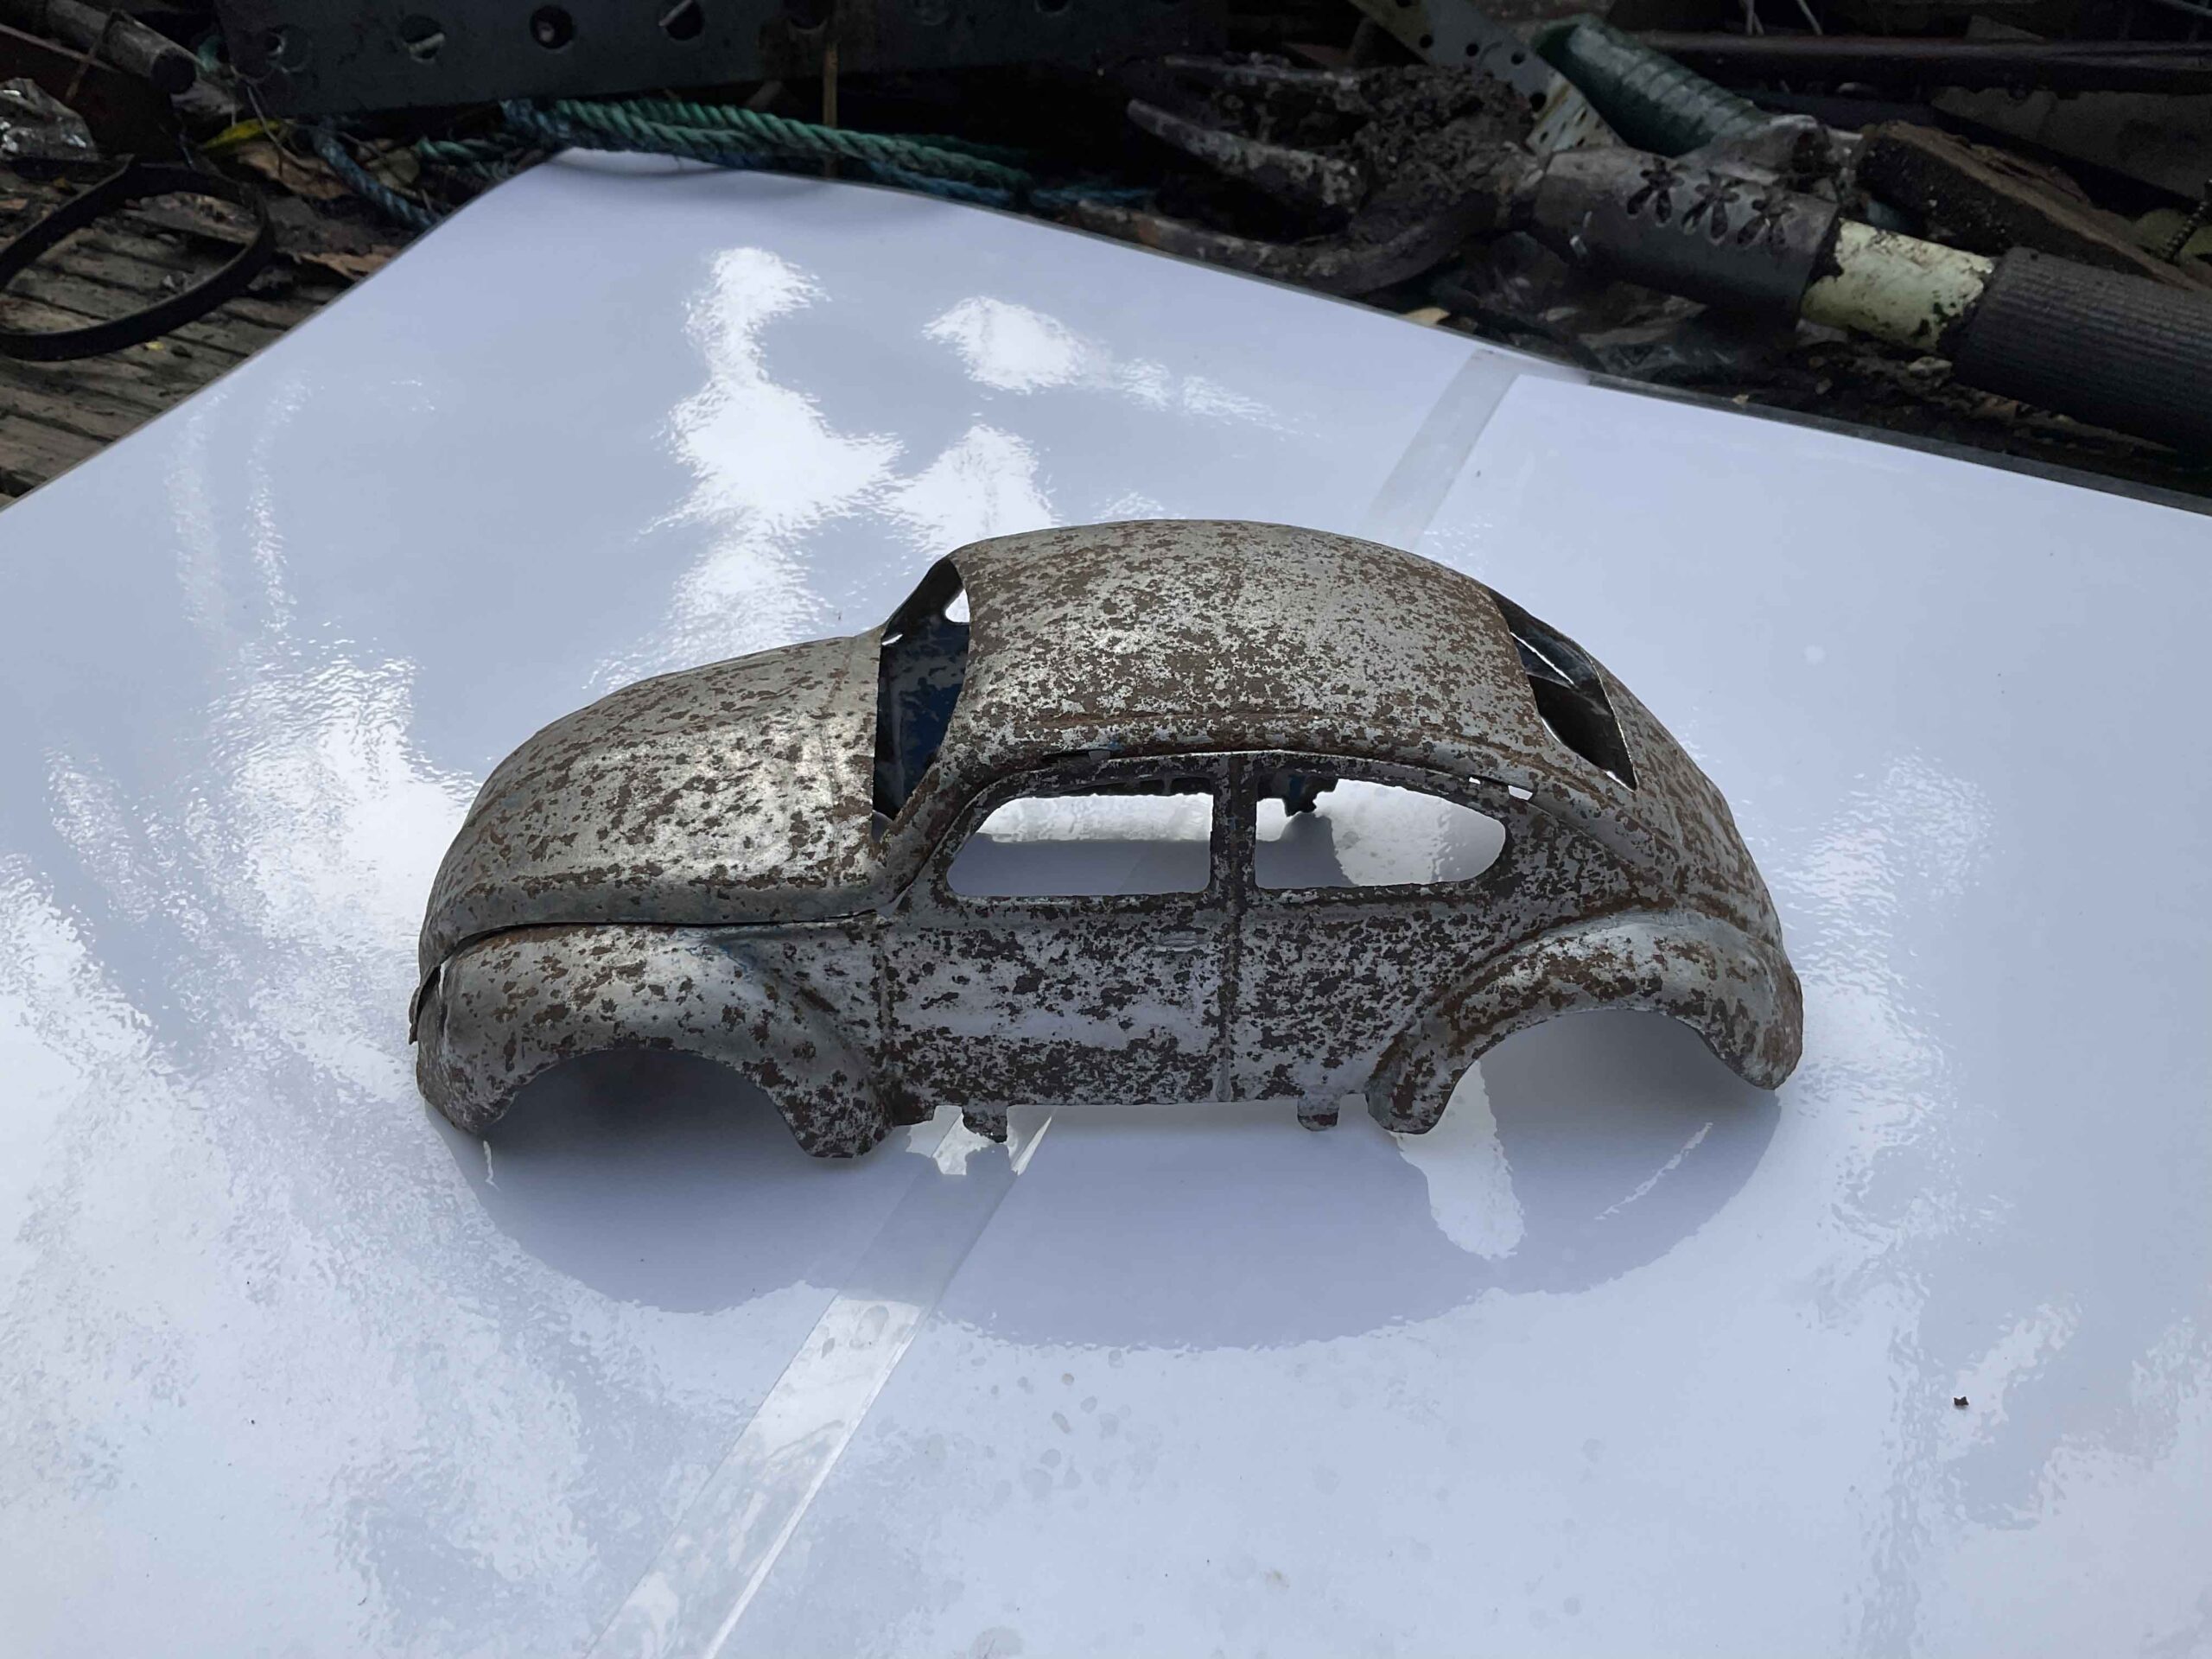
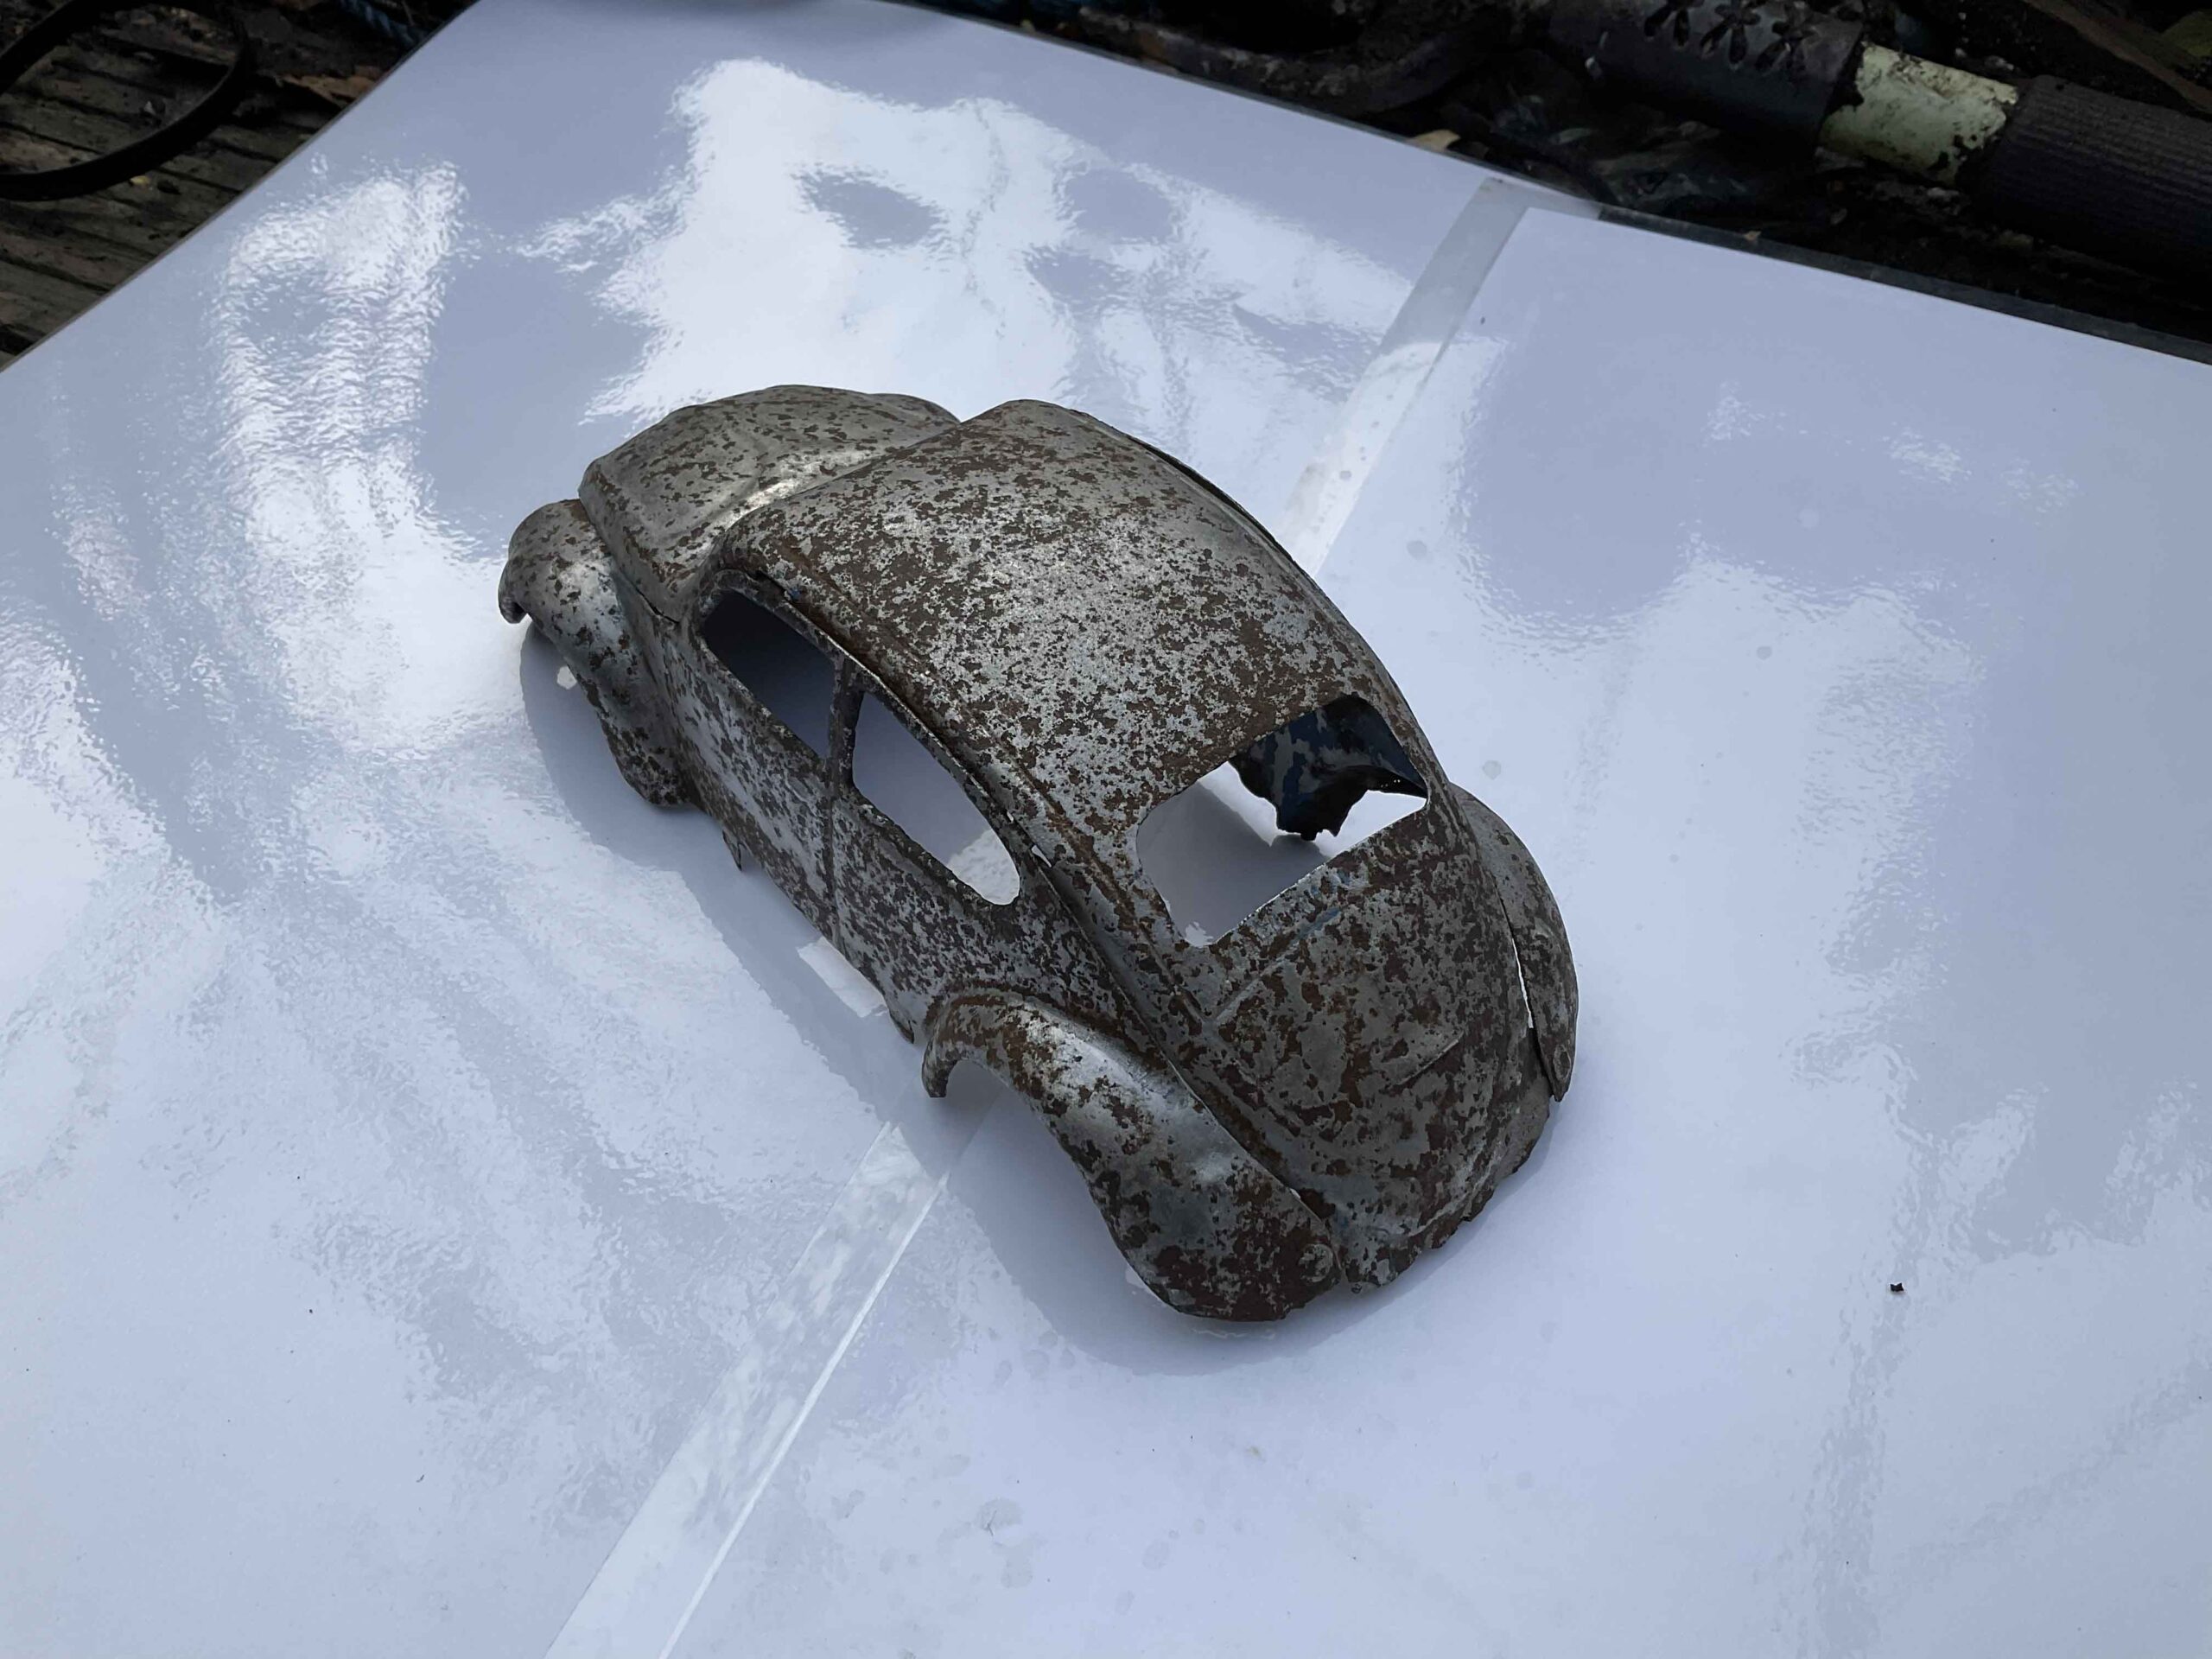
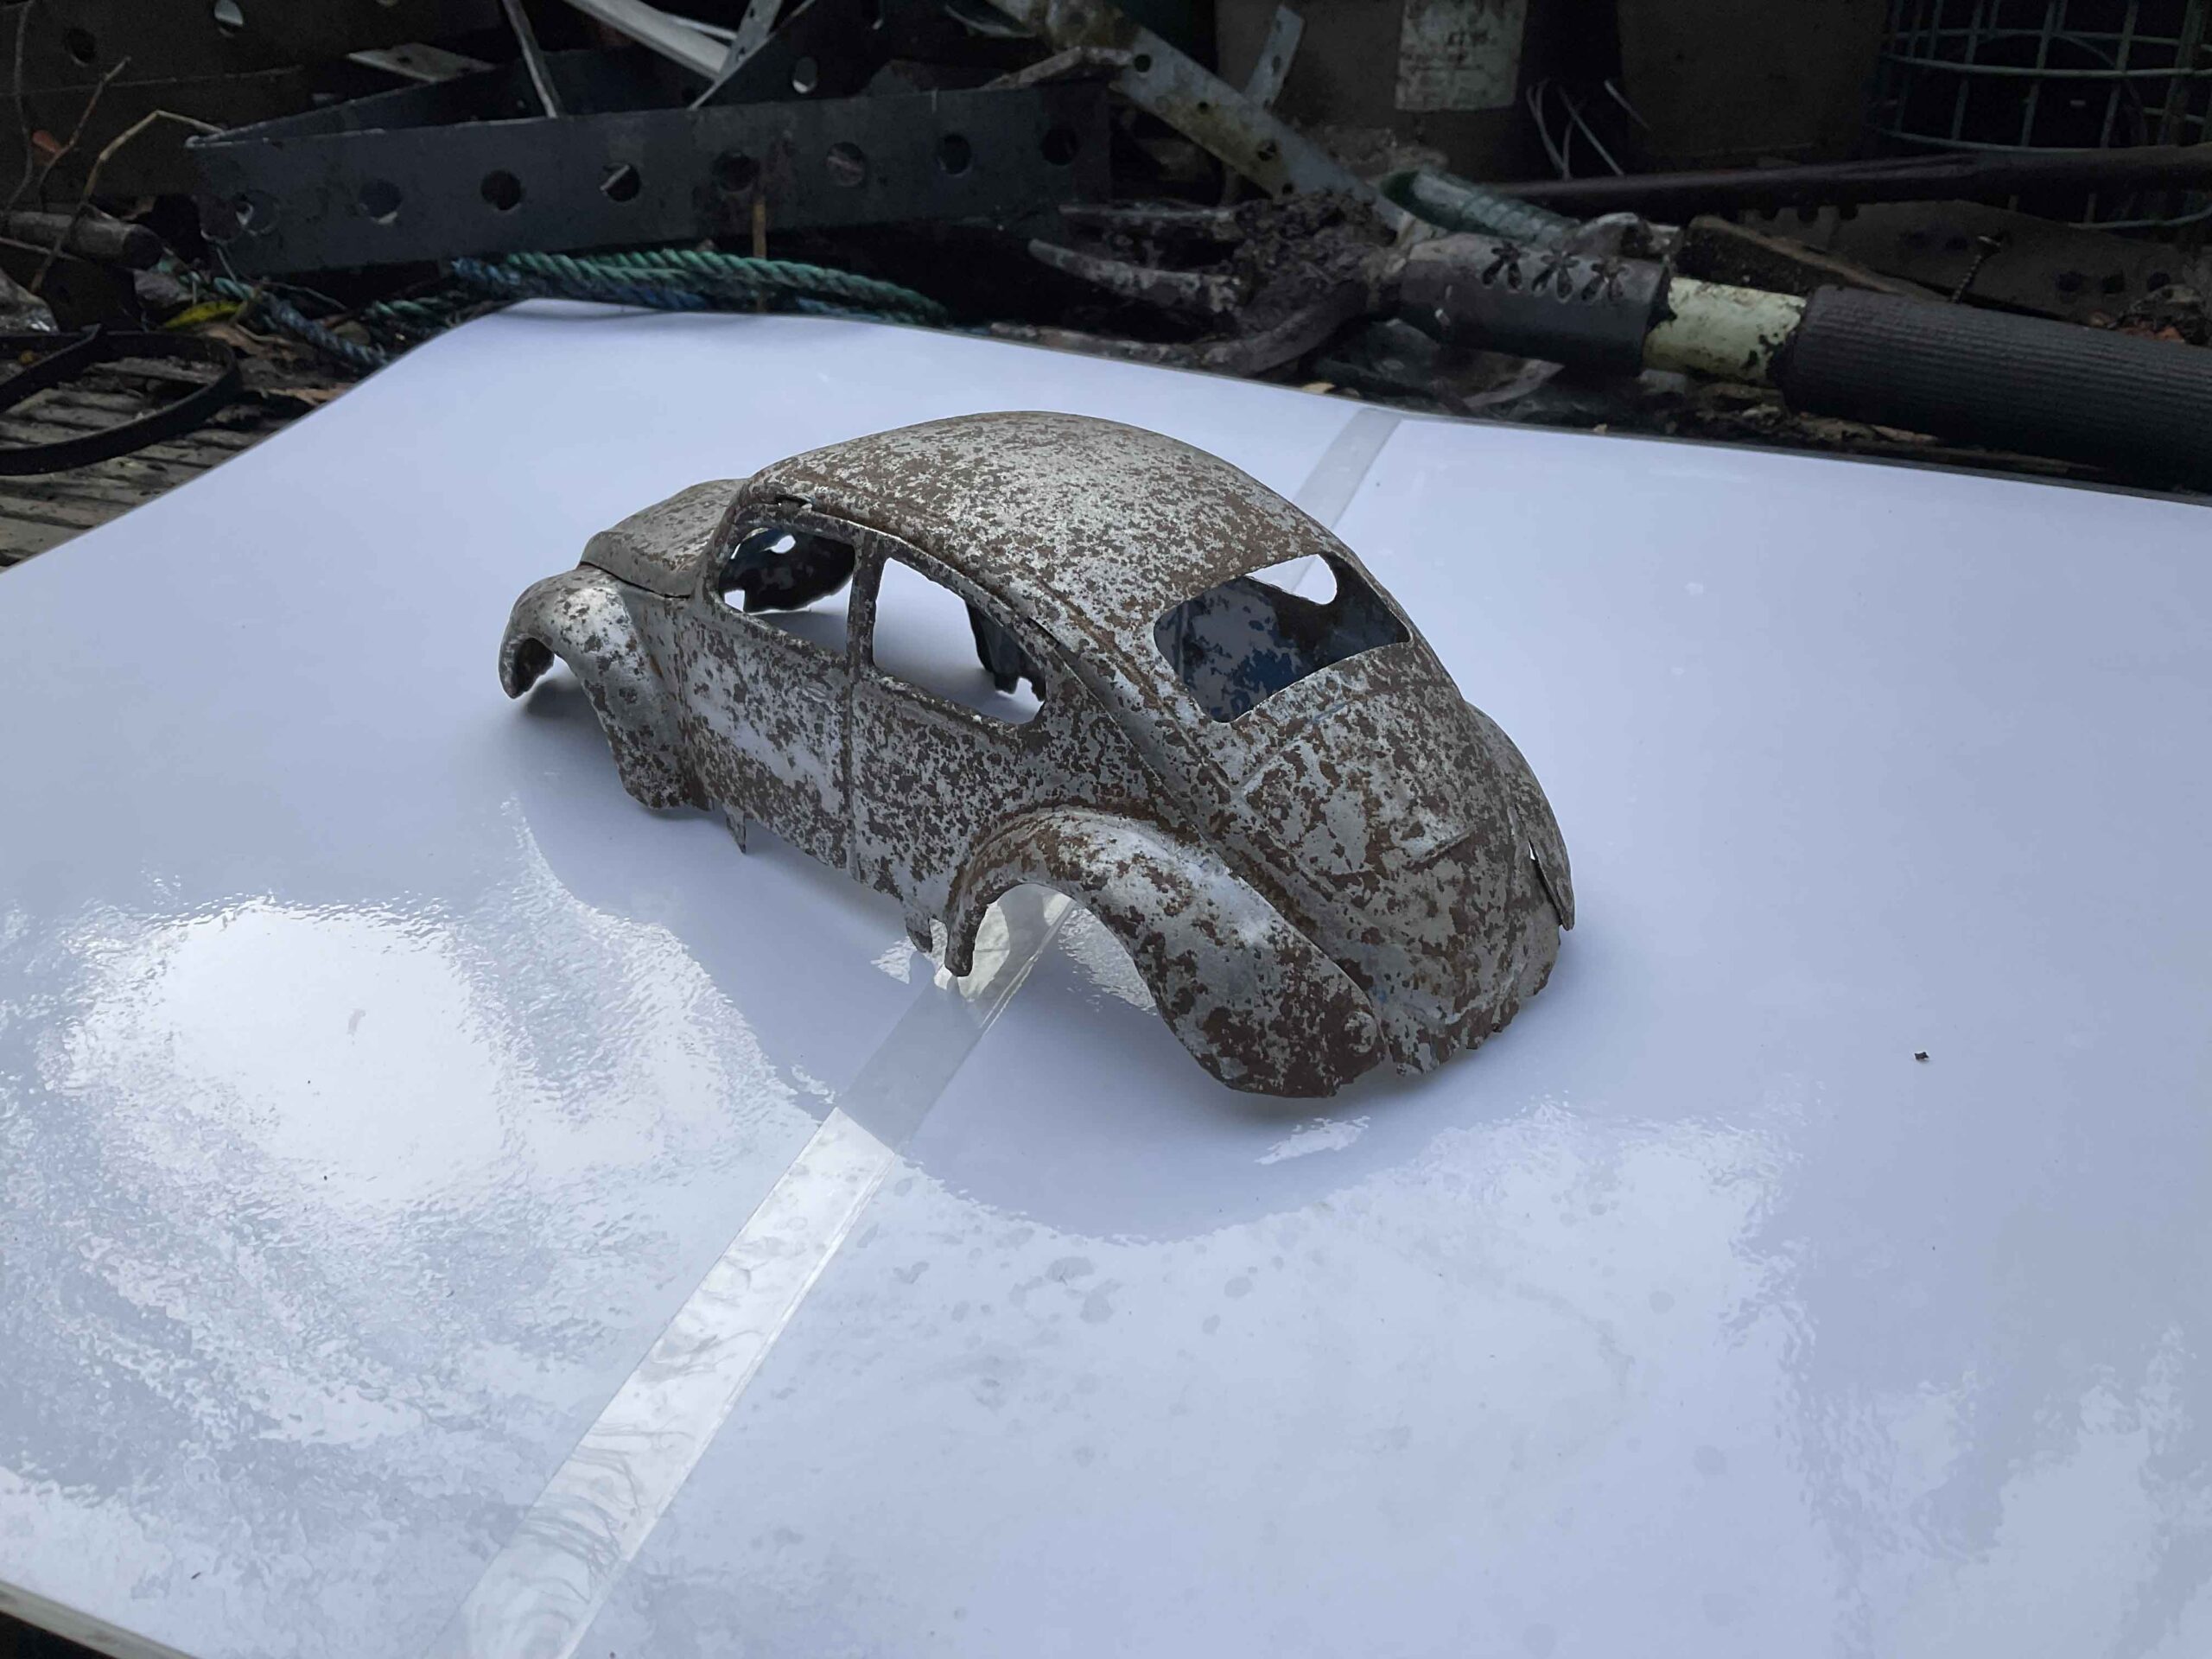
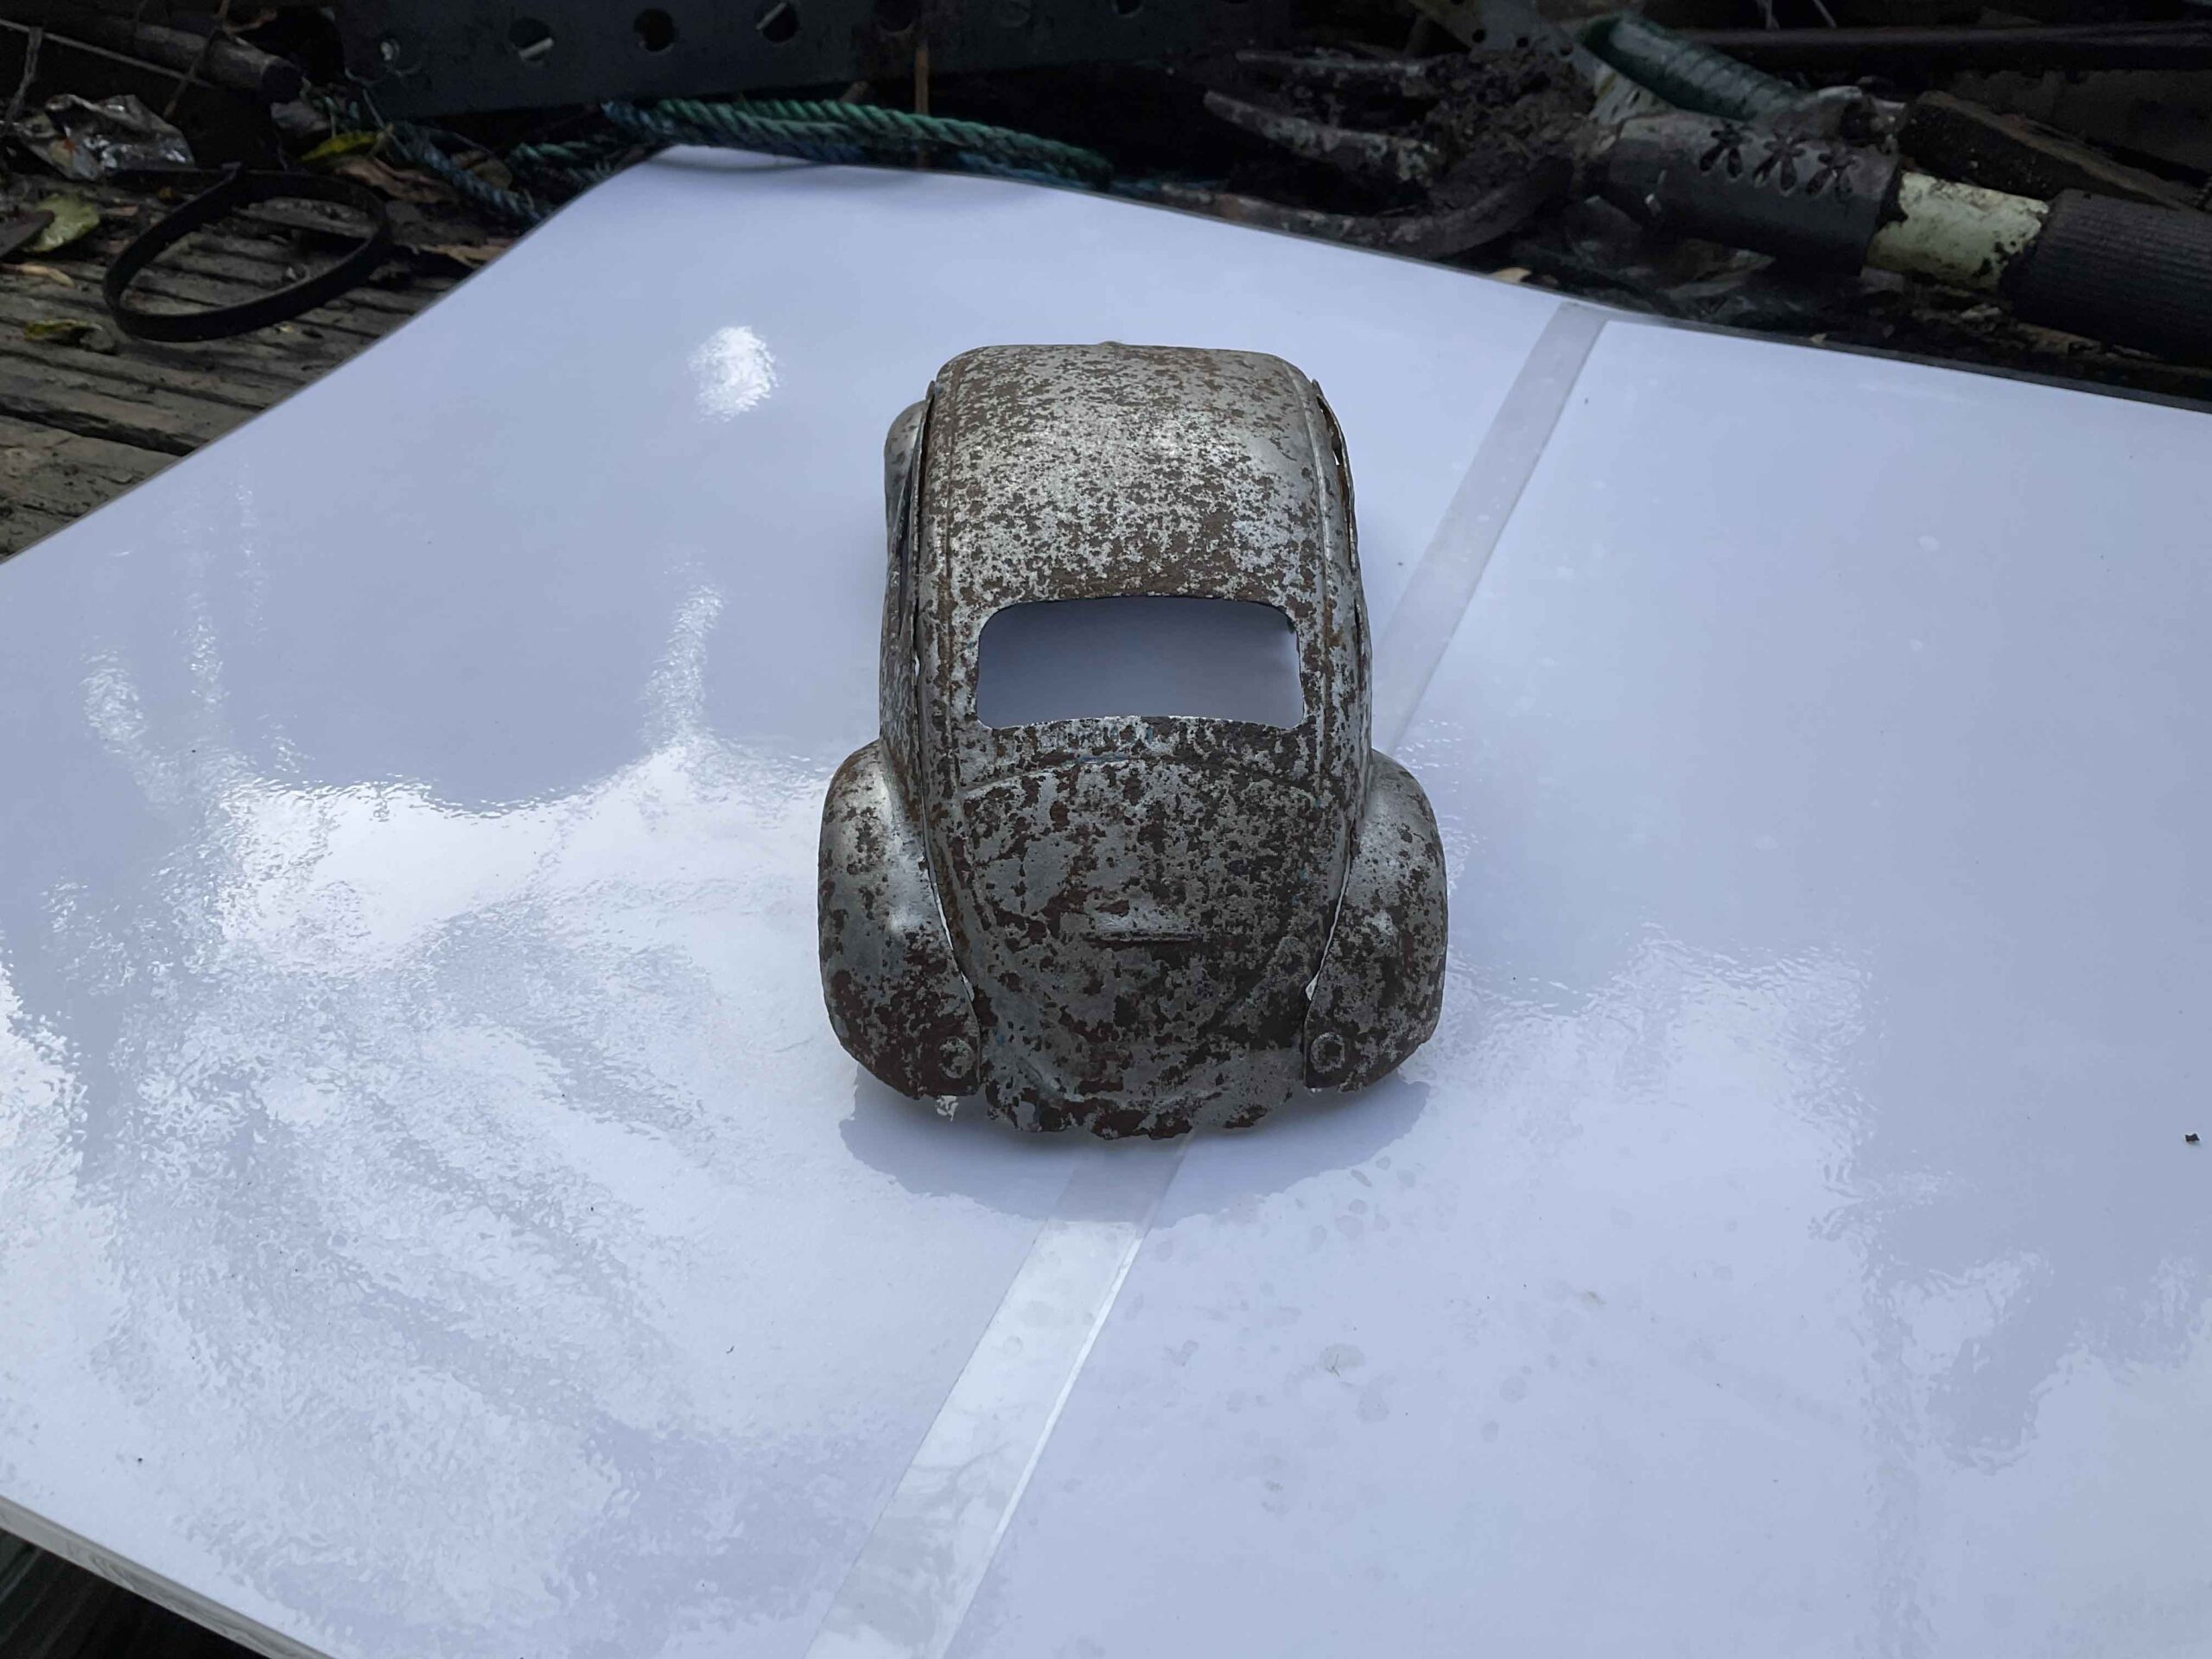
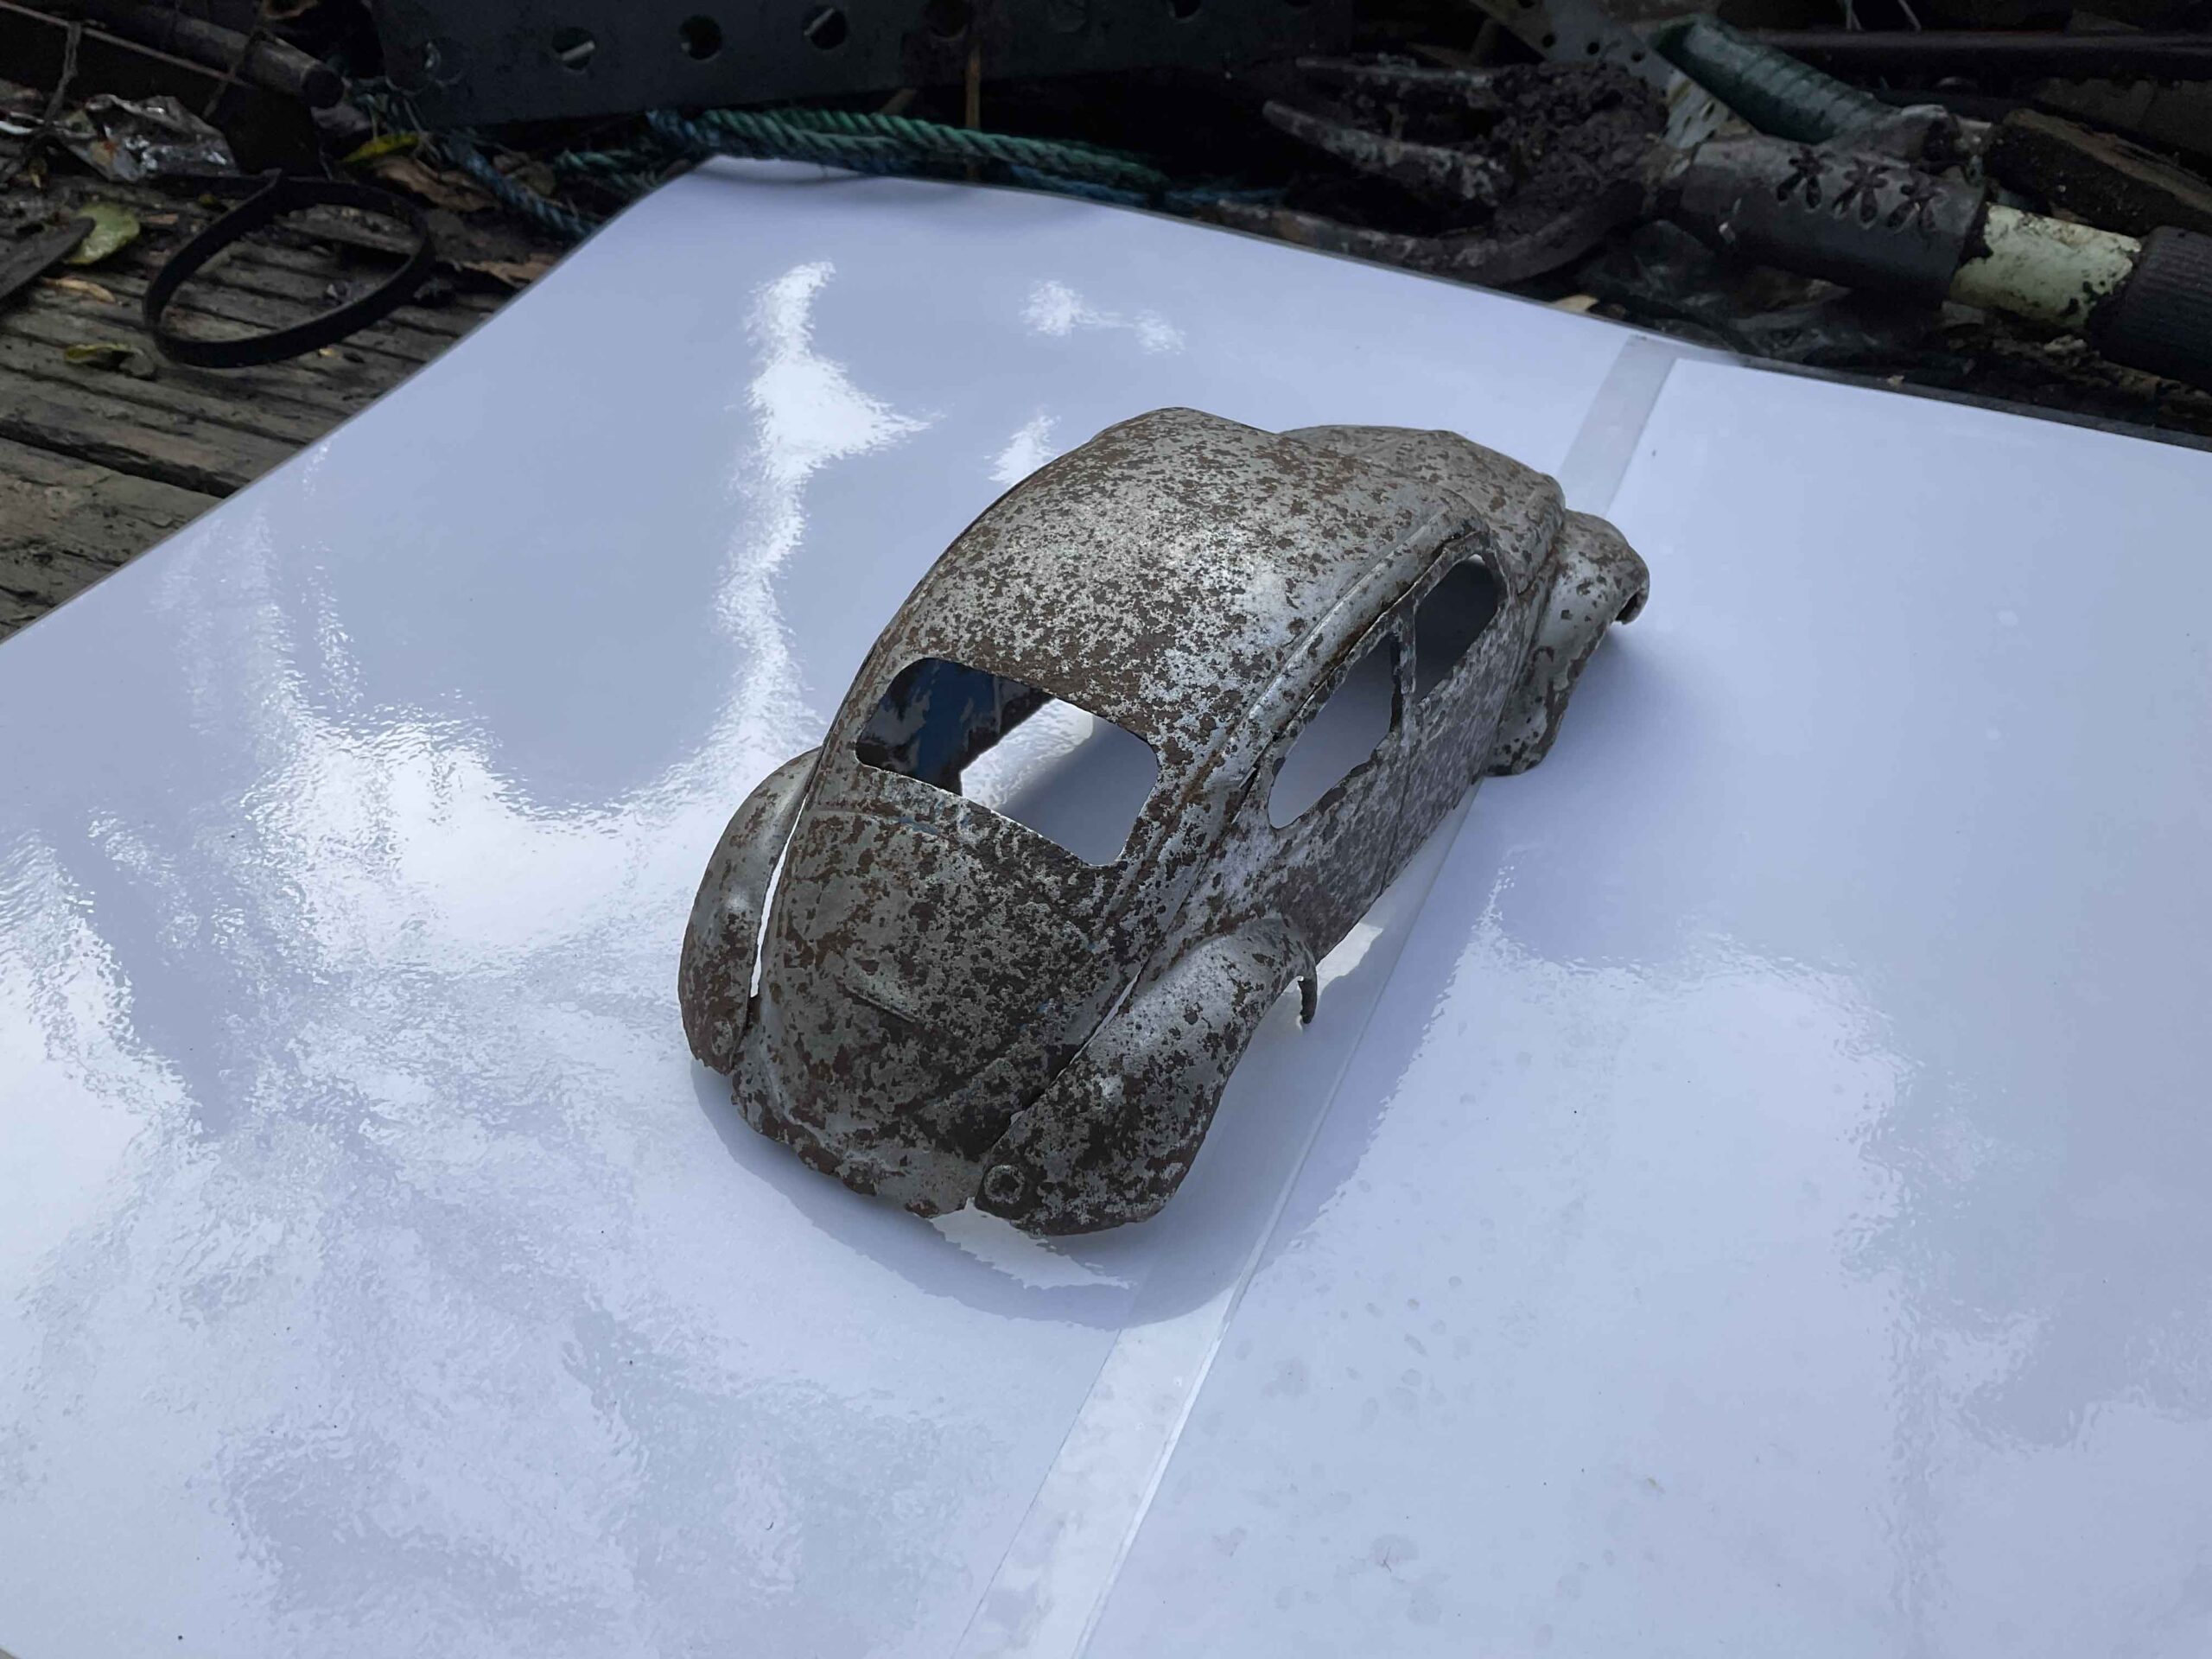
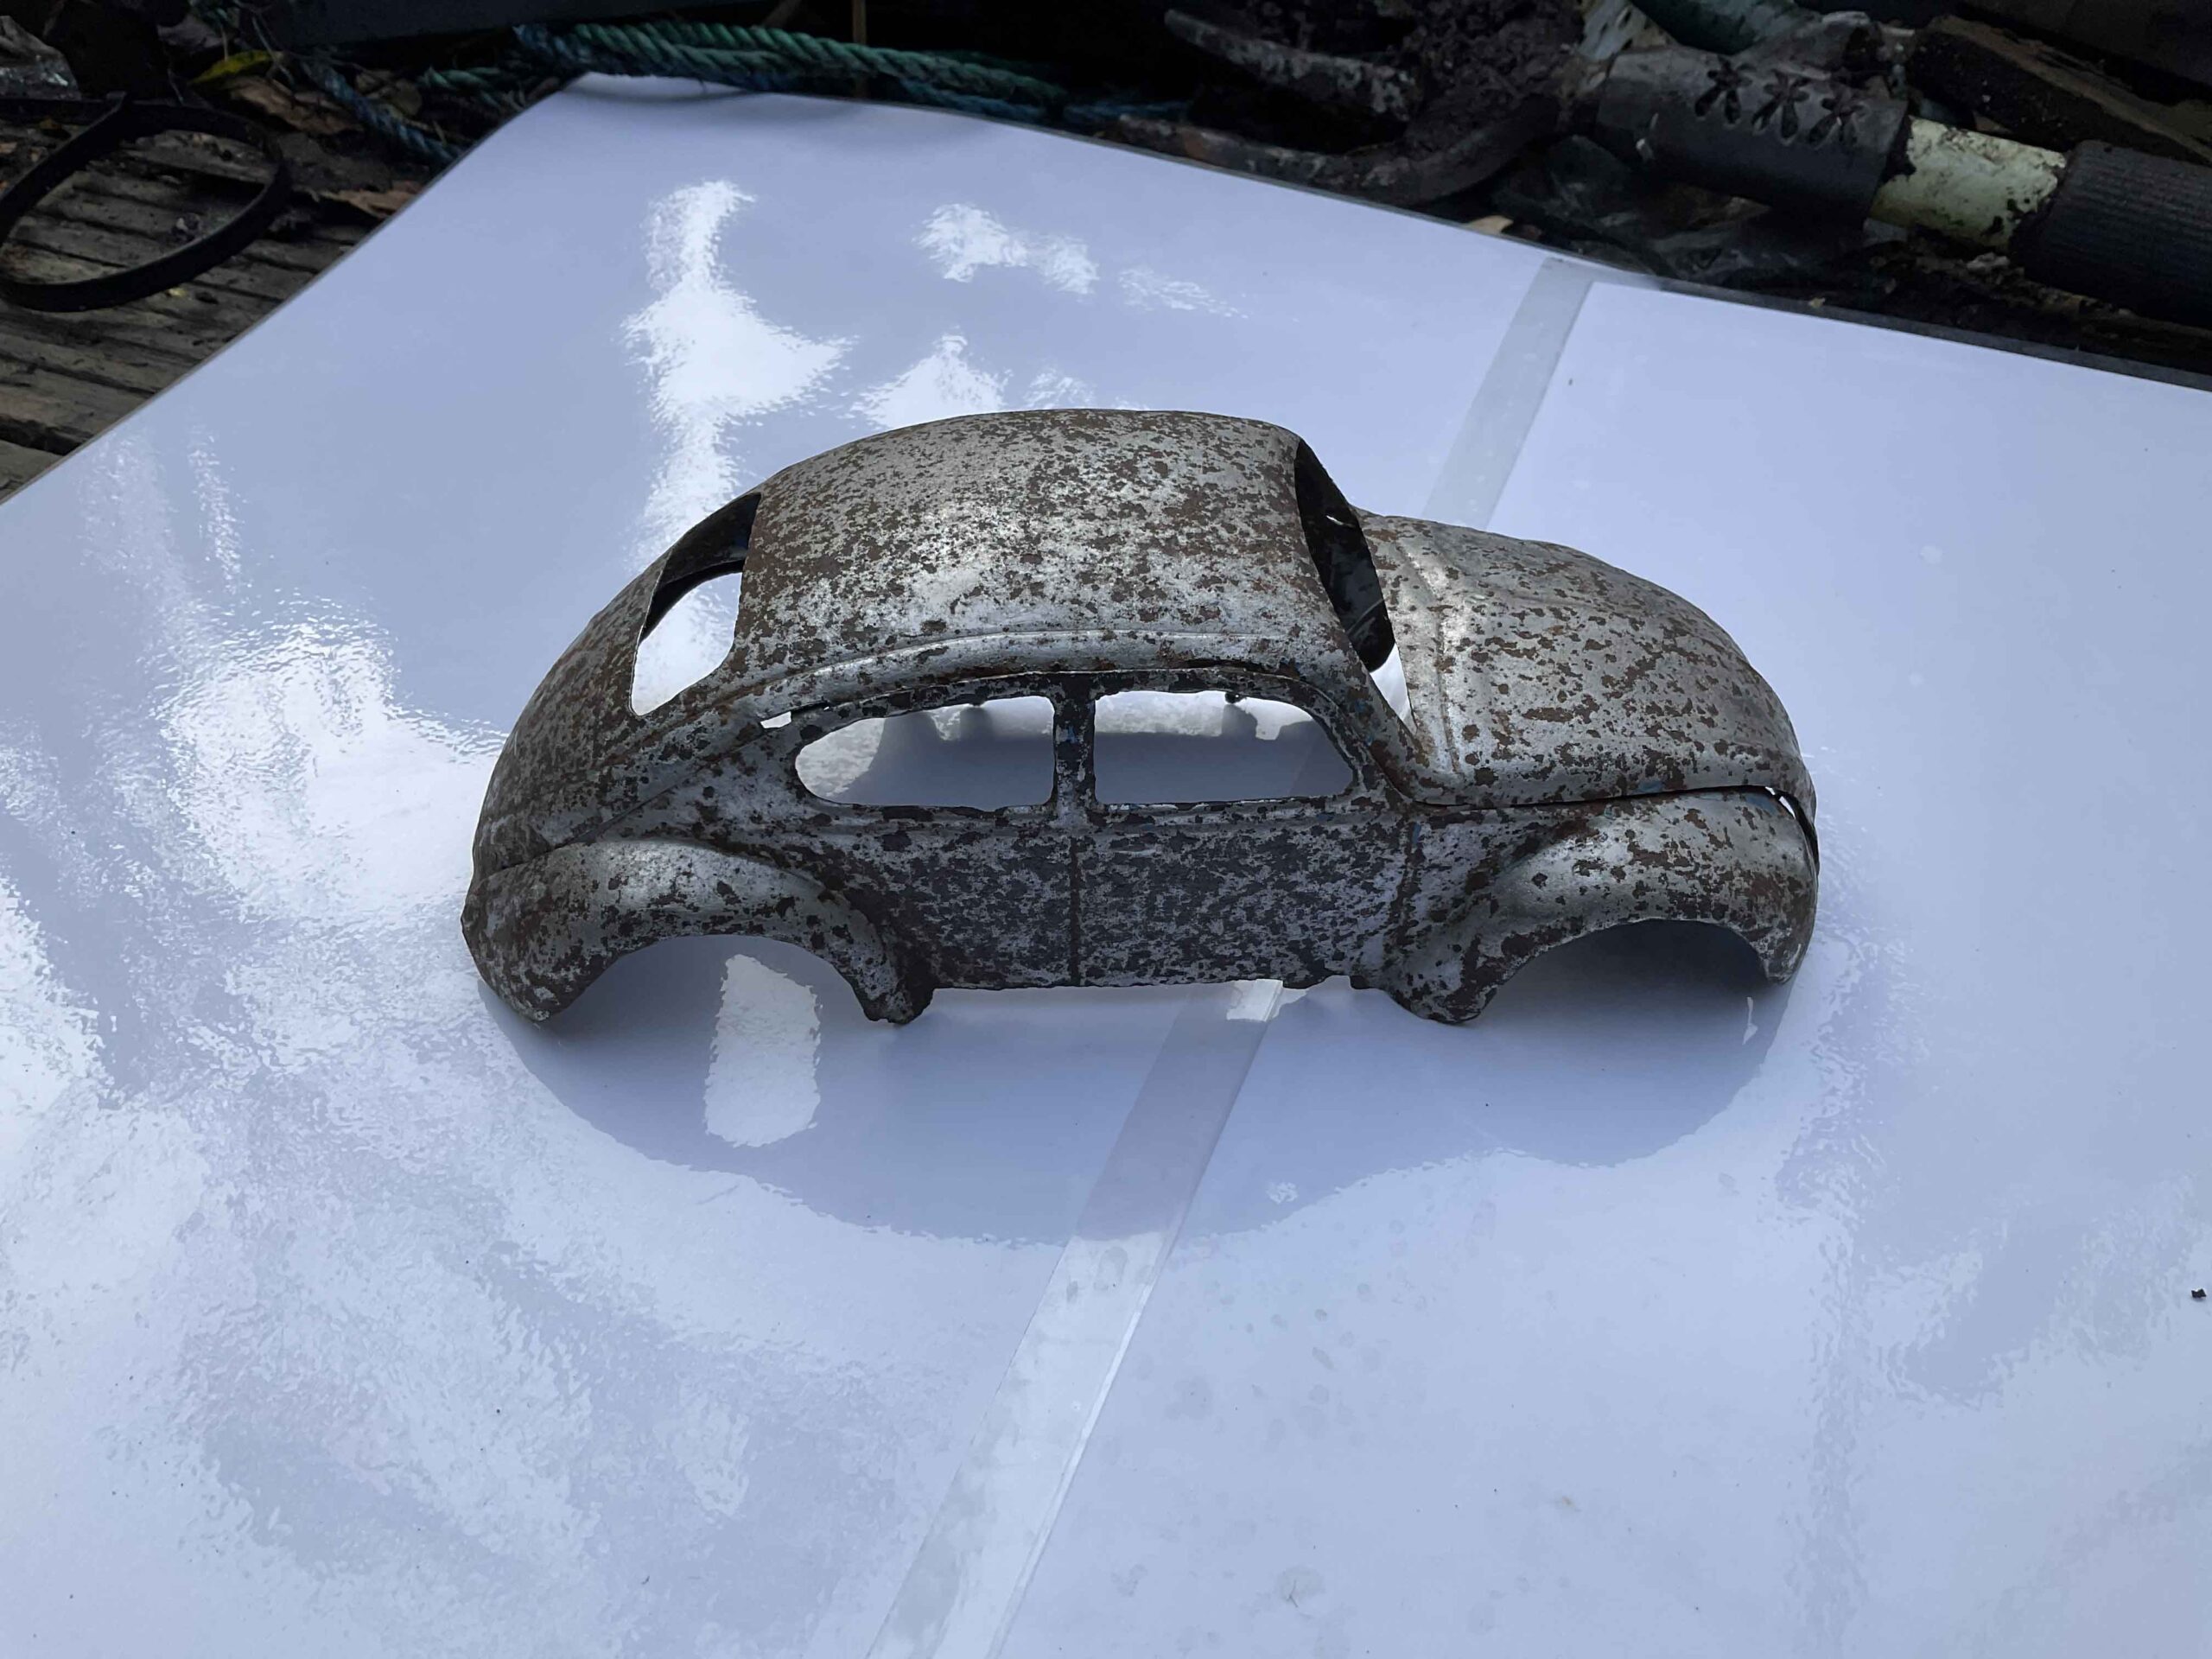
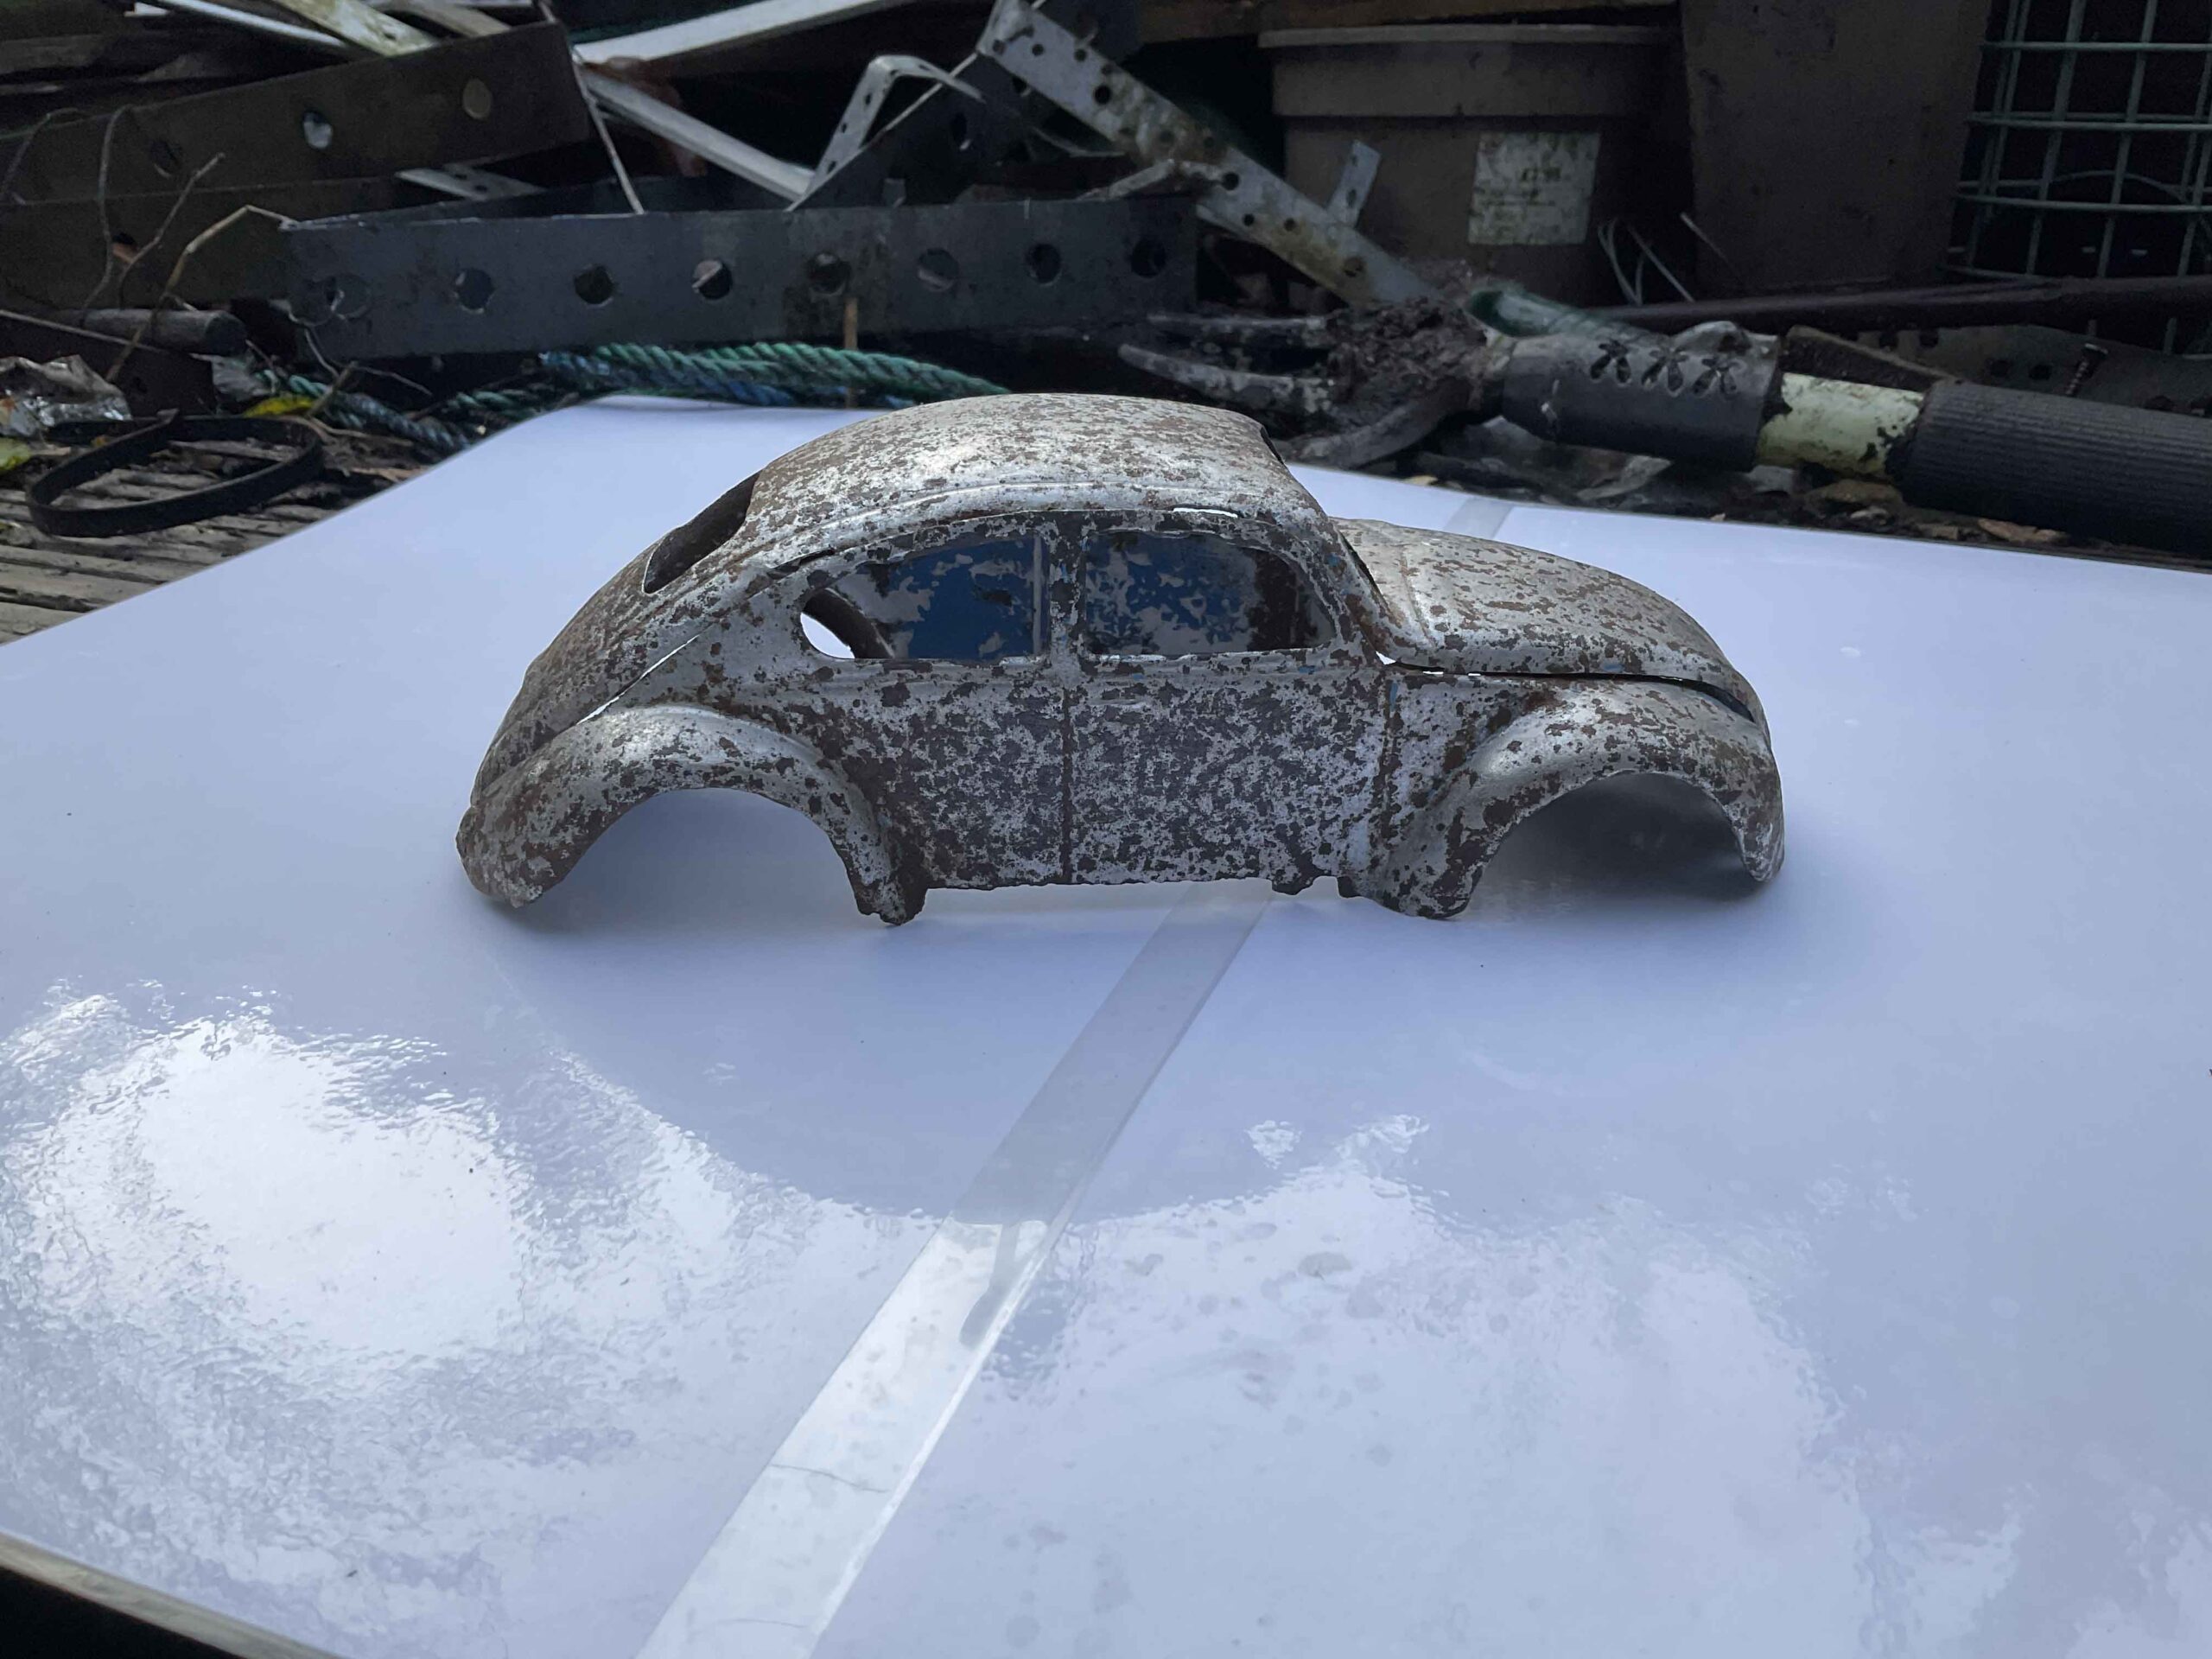
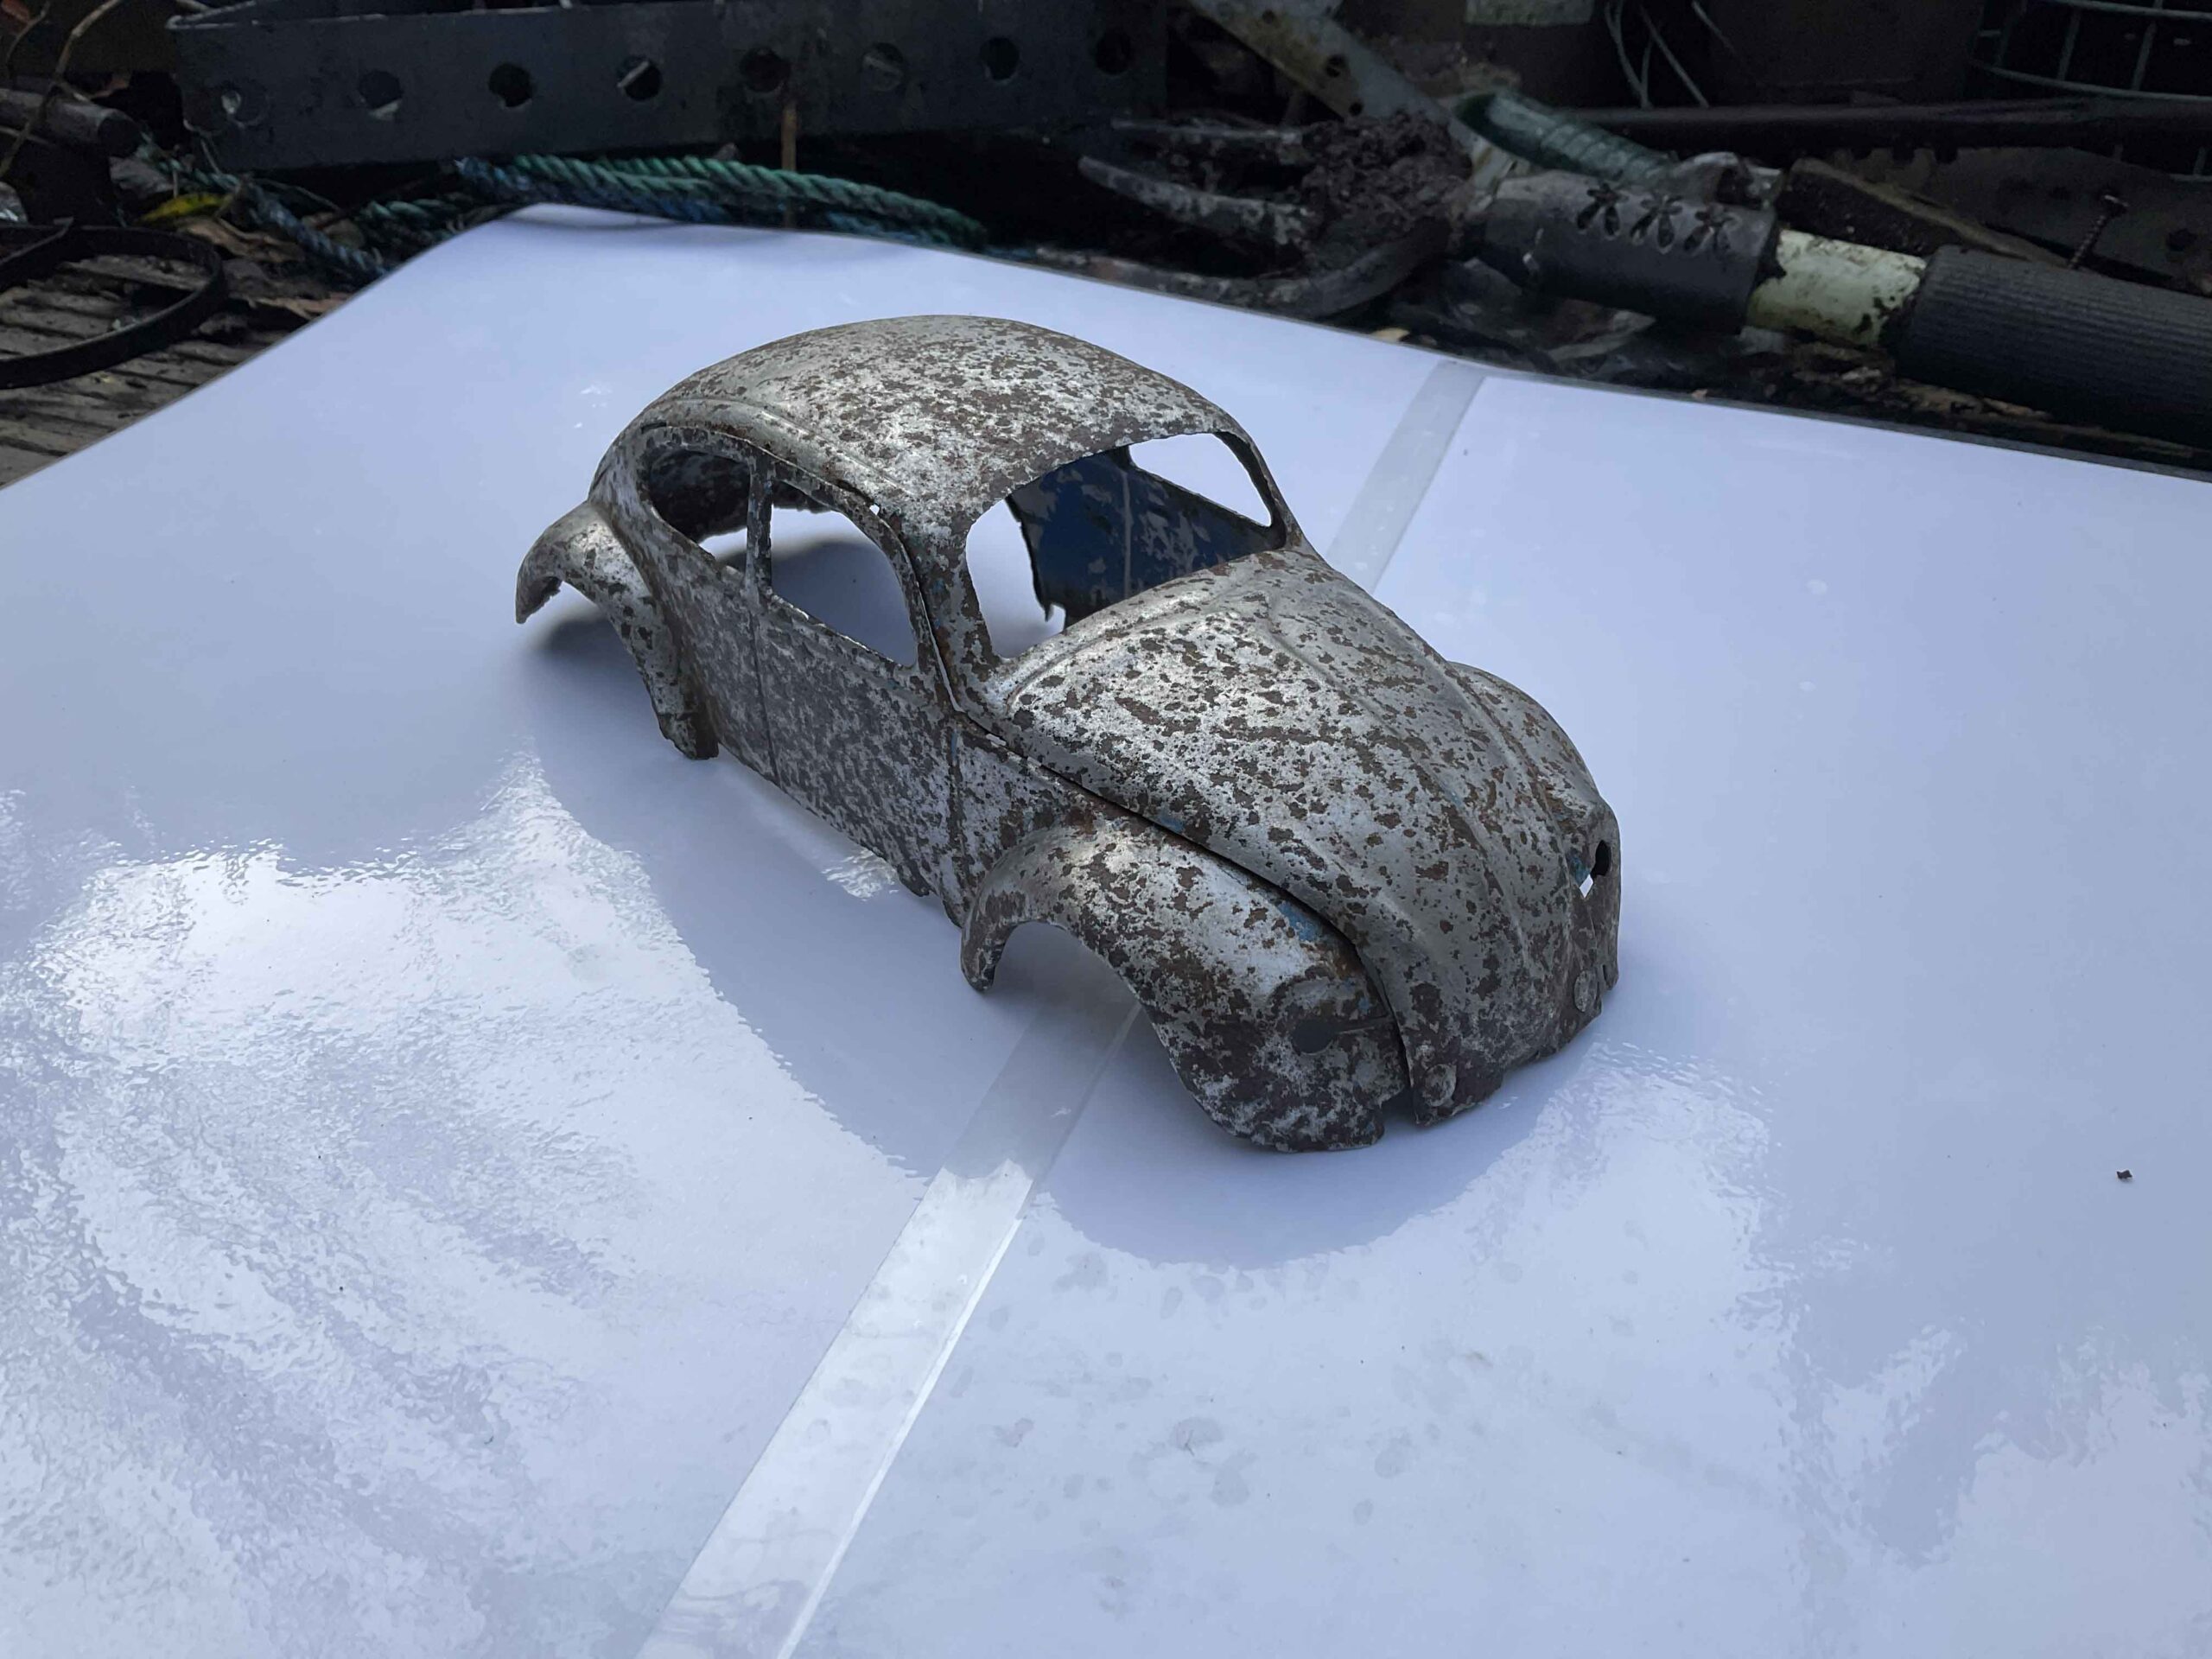
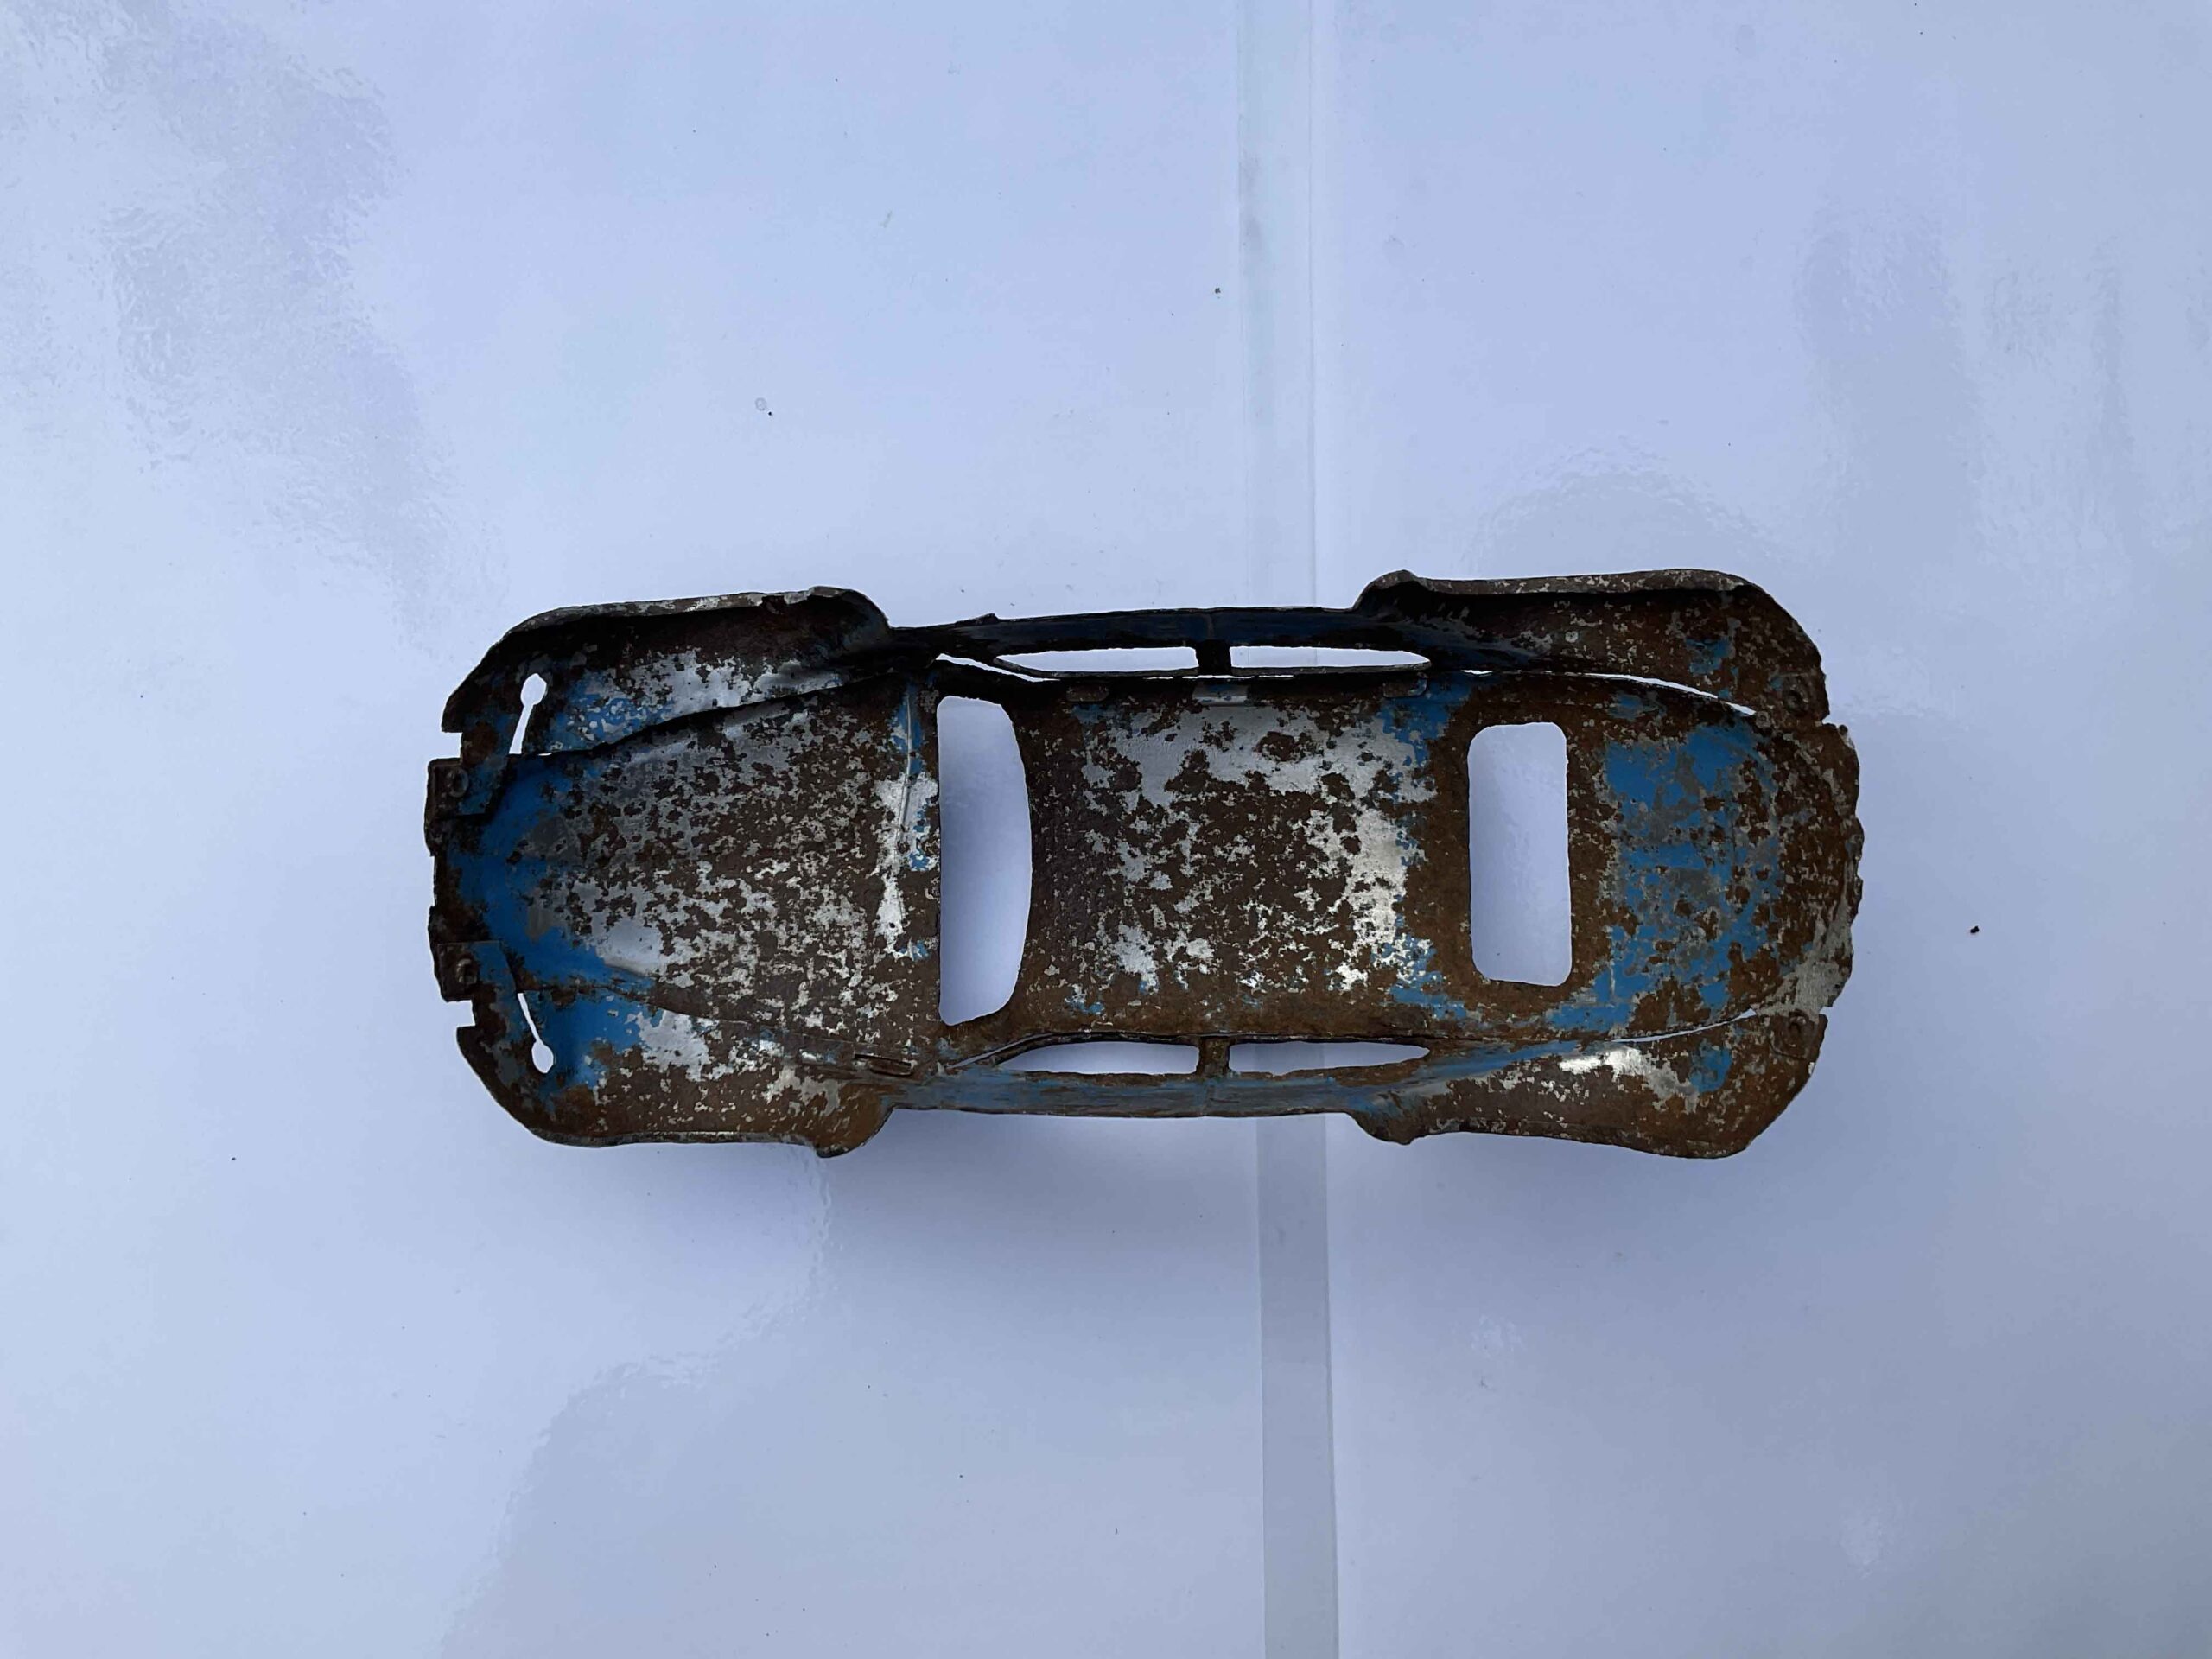
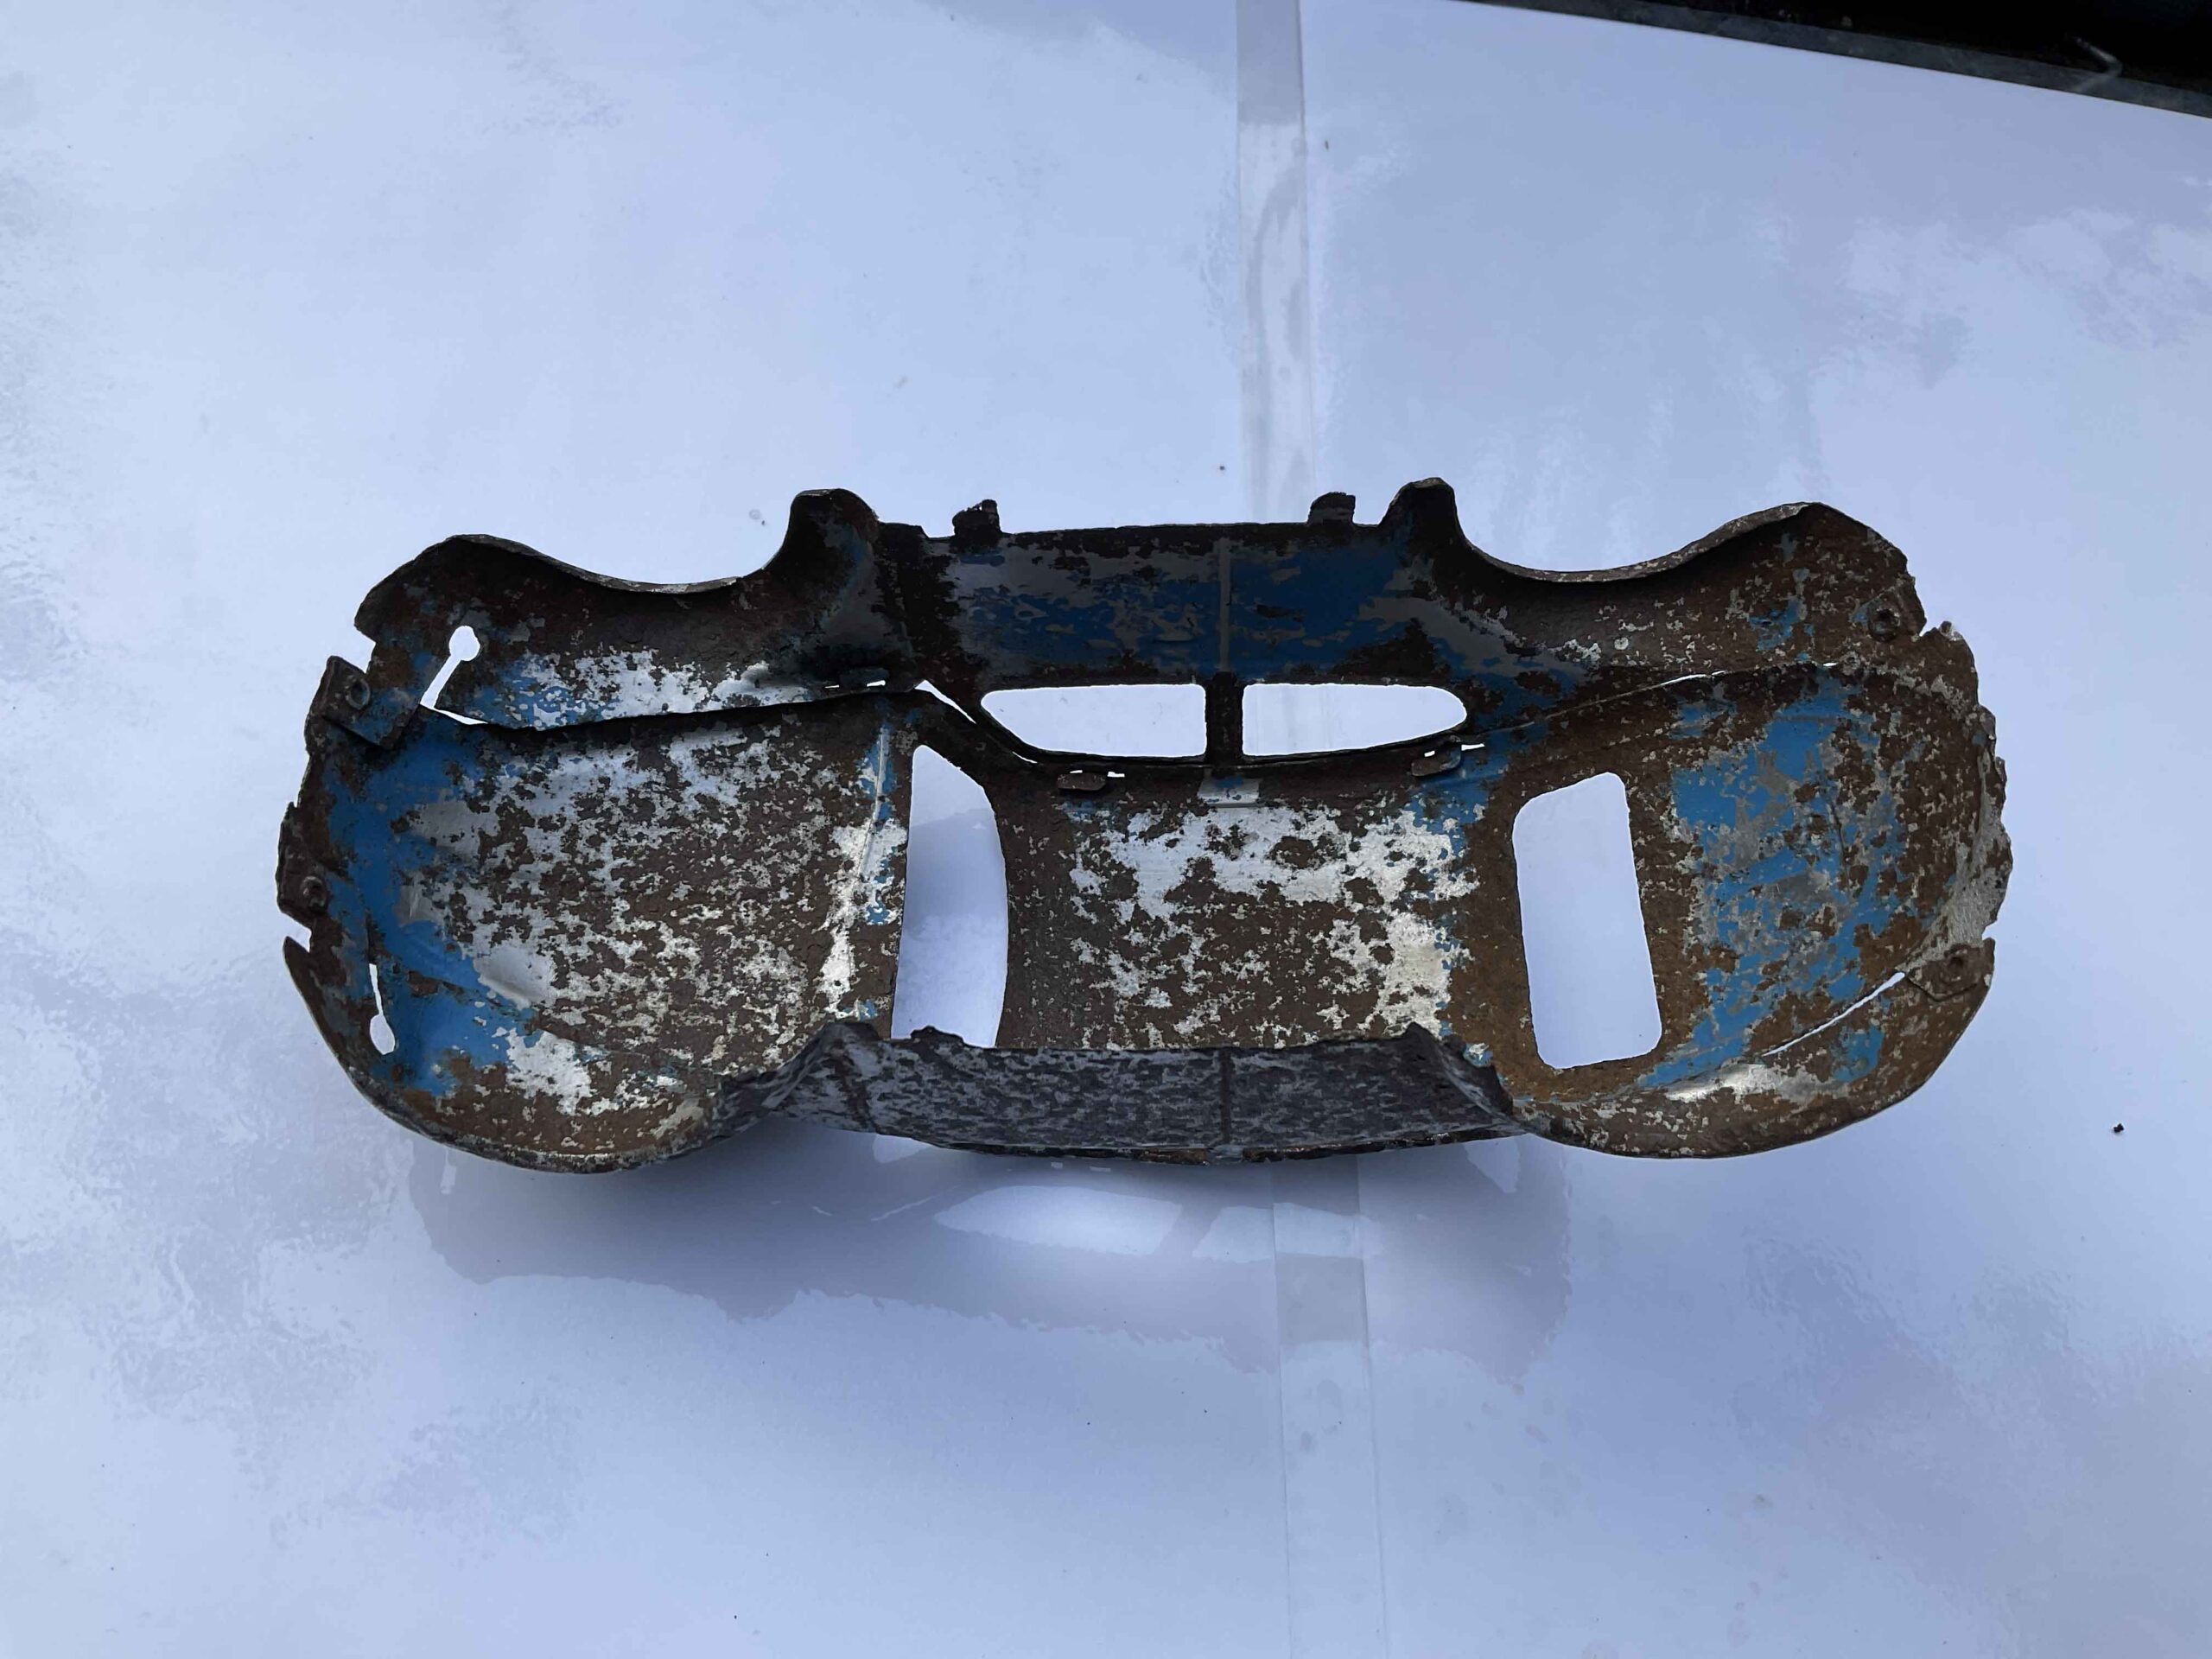
Stage 4. Prime the body. Now that the body had been treated it was time to put primer on. I used Etch Primer as this seems to be most suitable for the state of the body post rust treatment. I gave it a few thin layers starting from the inside and finishing on the outside. It looks quite good in primer. I left it a week before putting on top coat as I wanted to make sure no rust came through the primer.
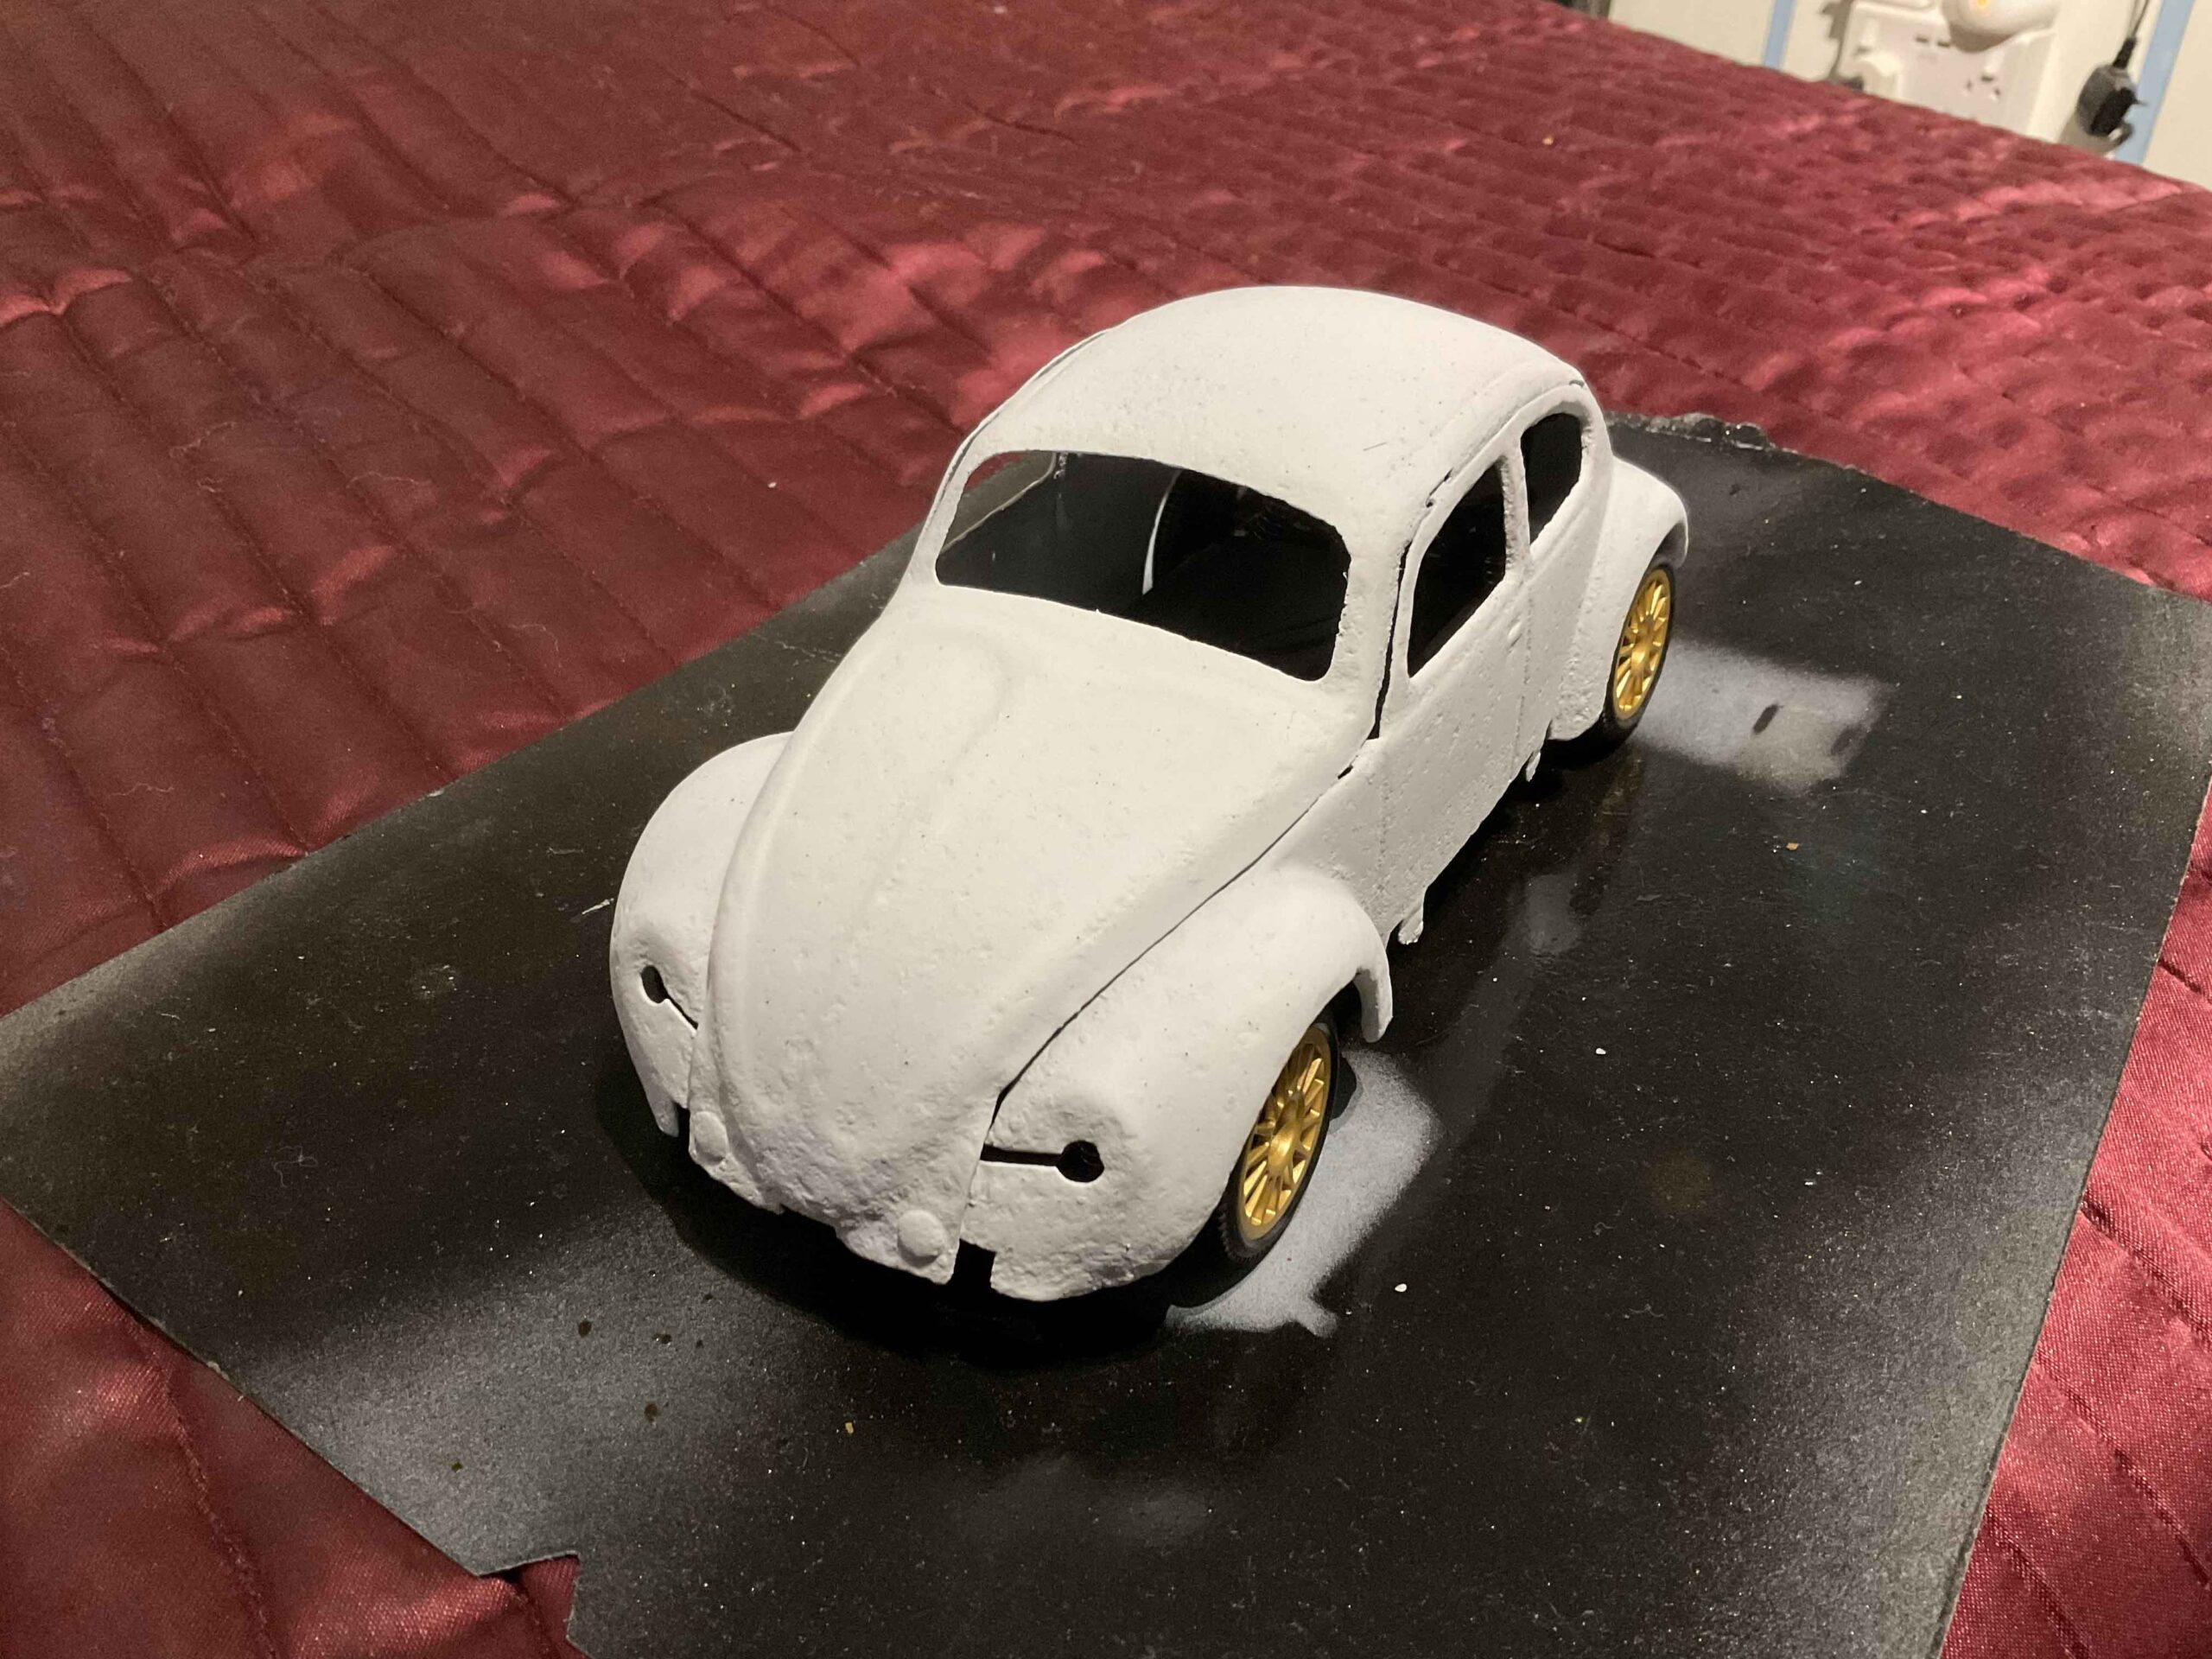
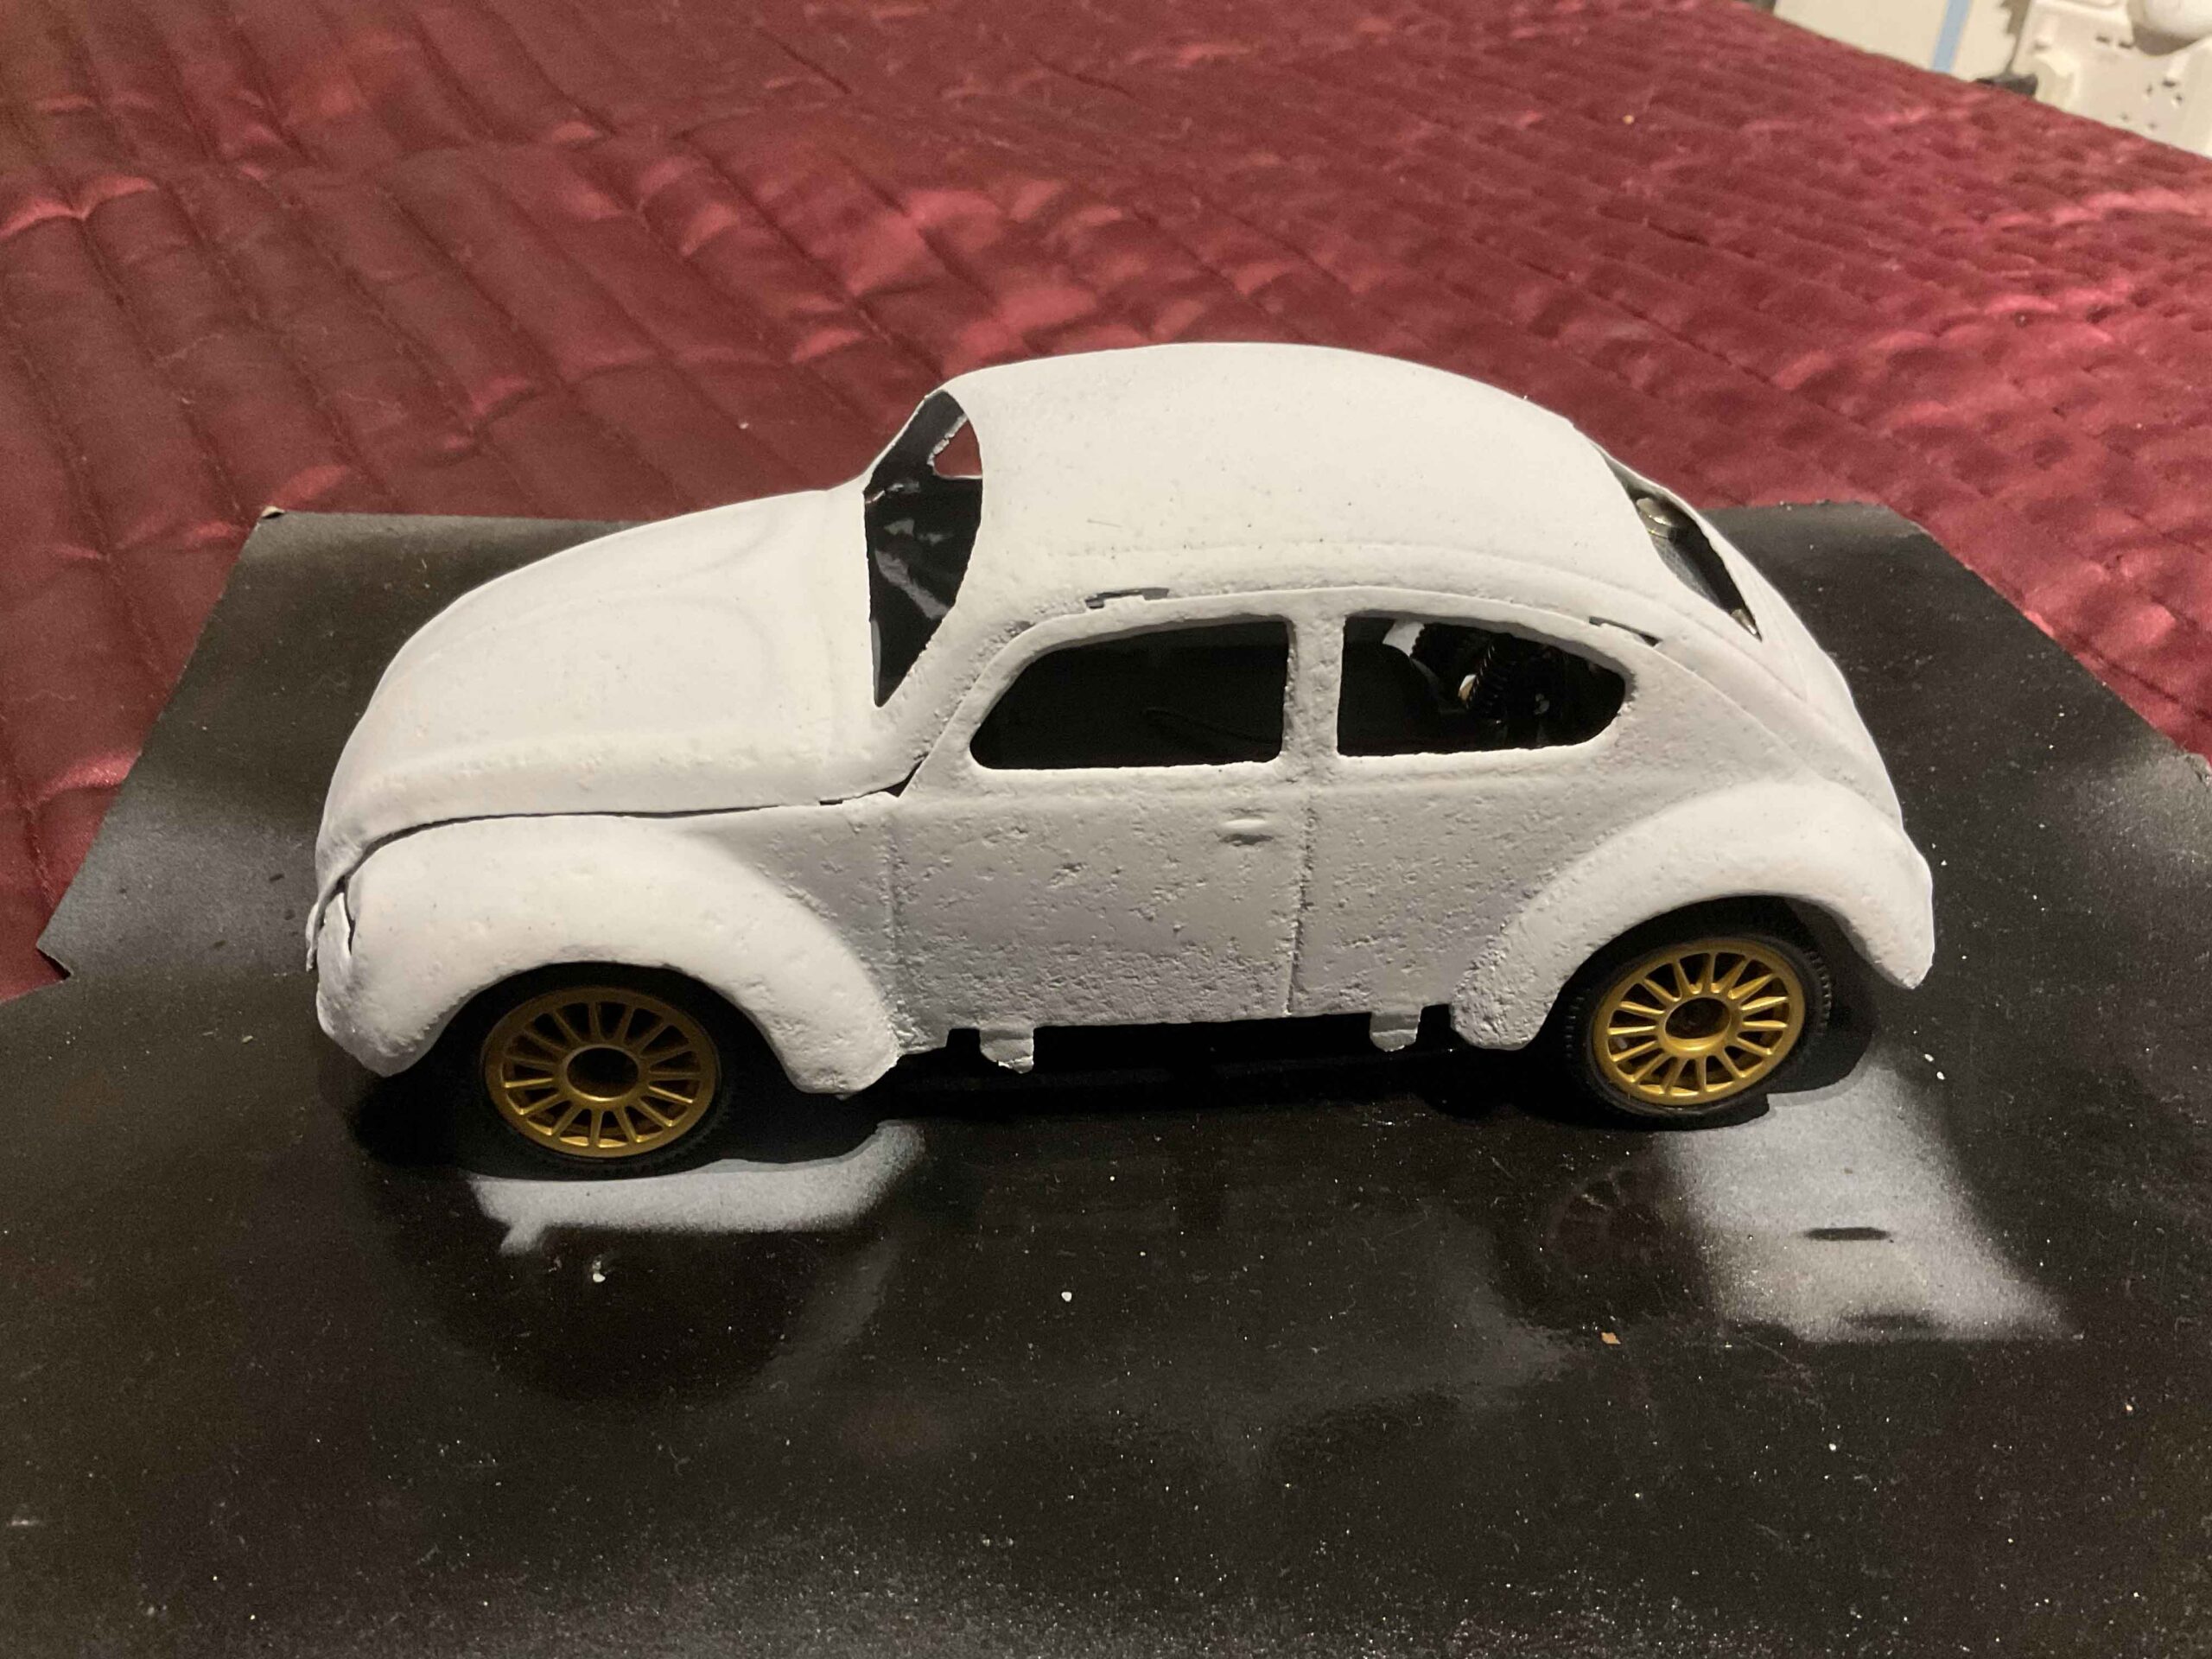
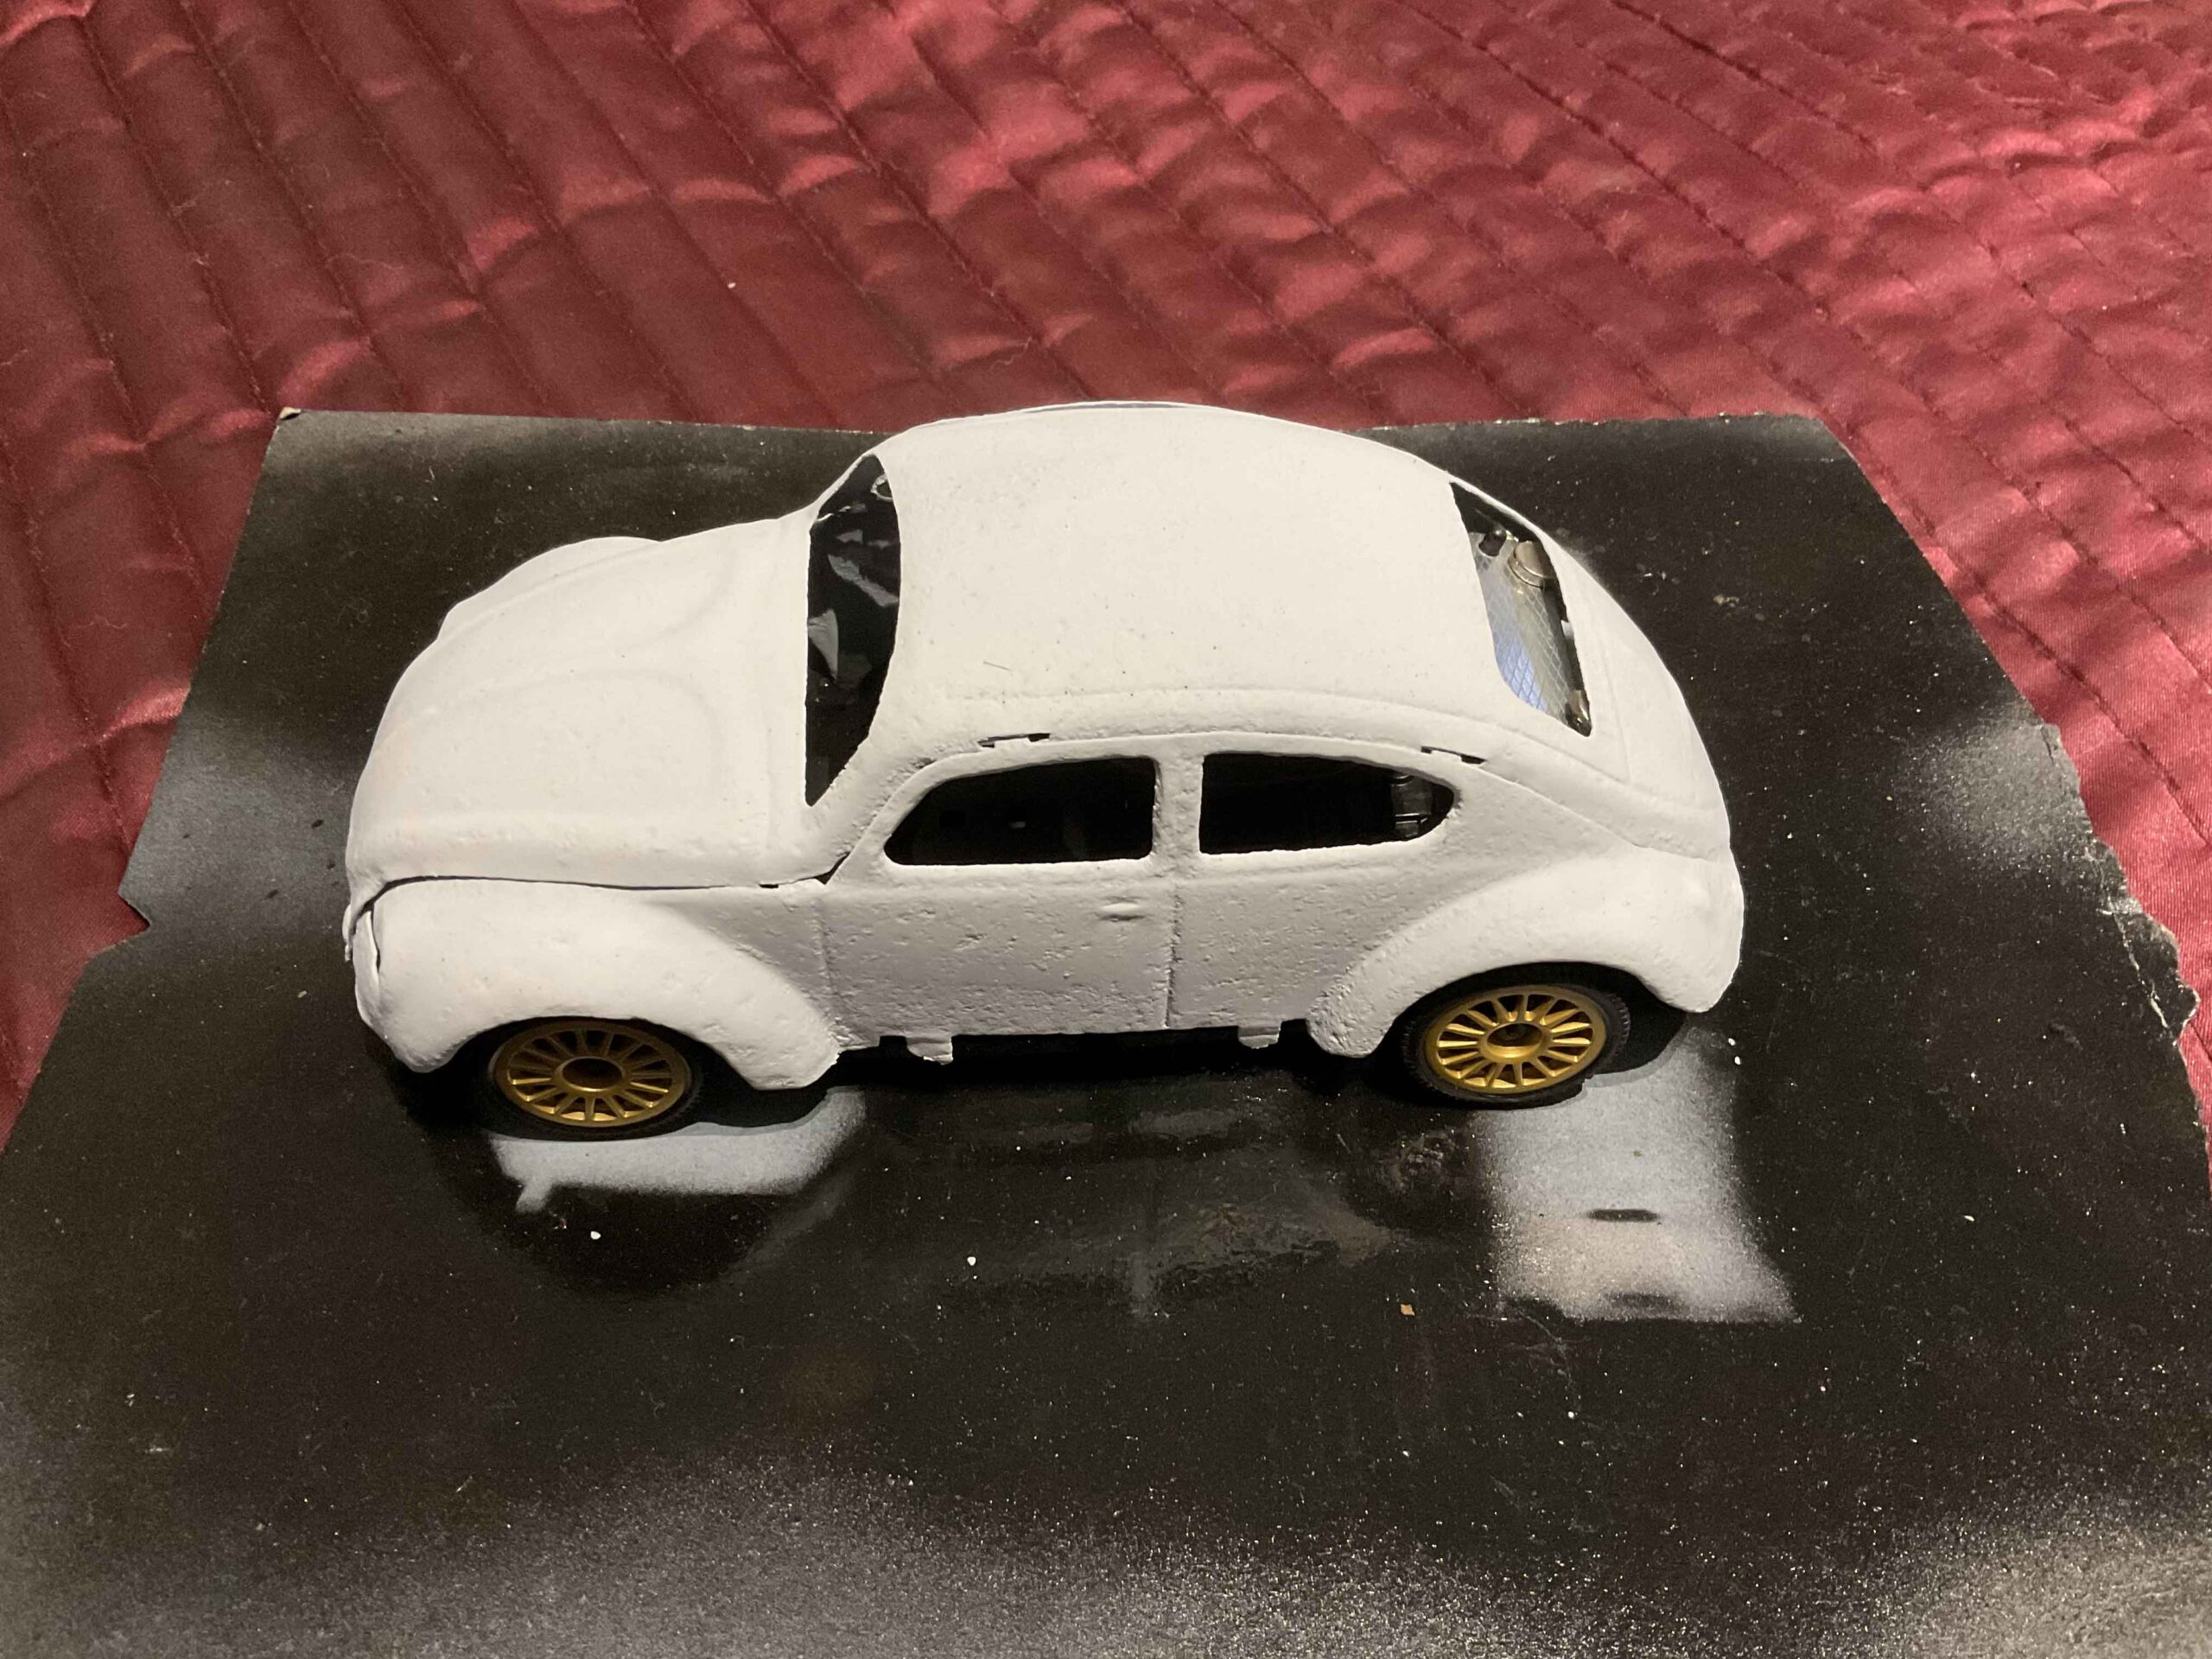
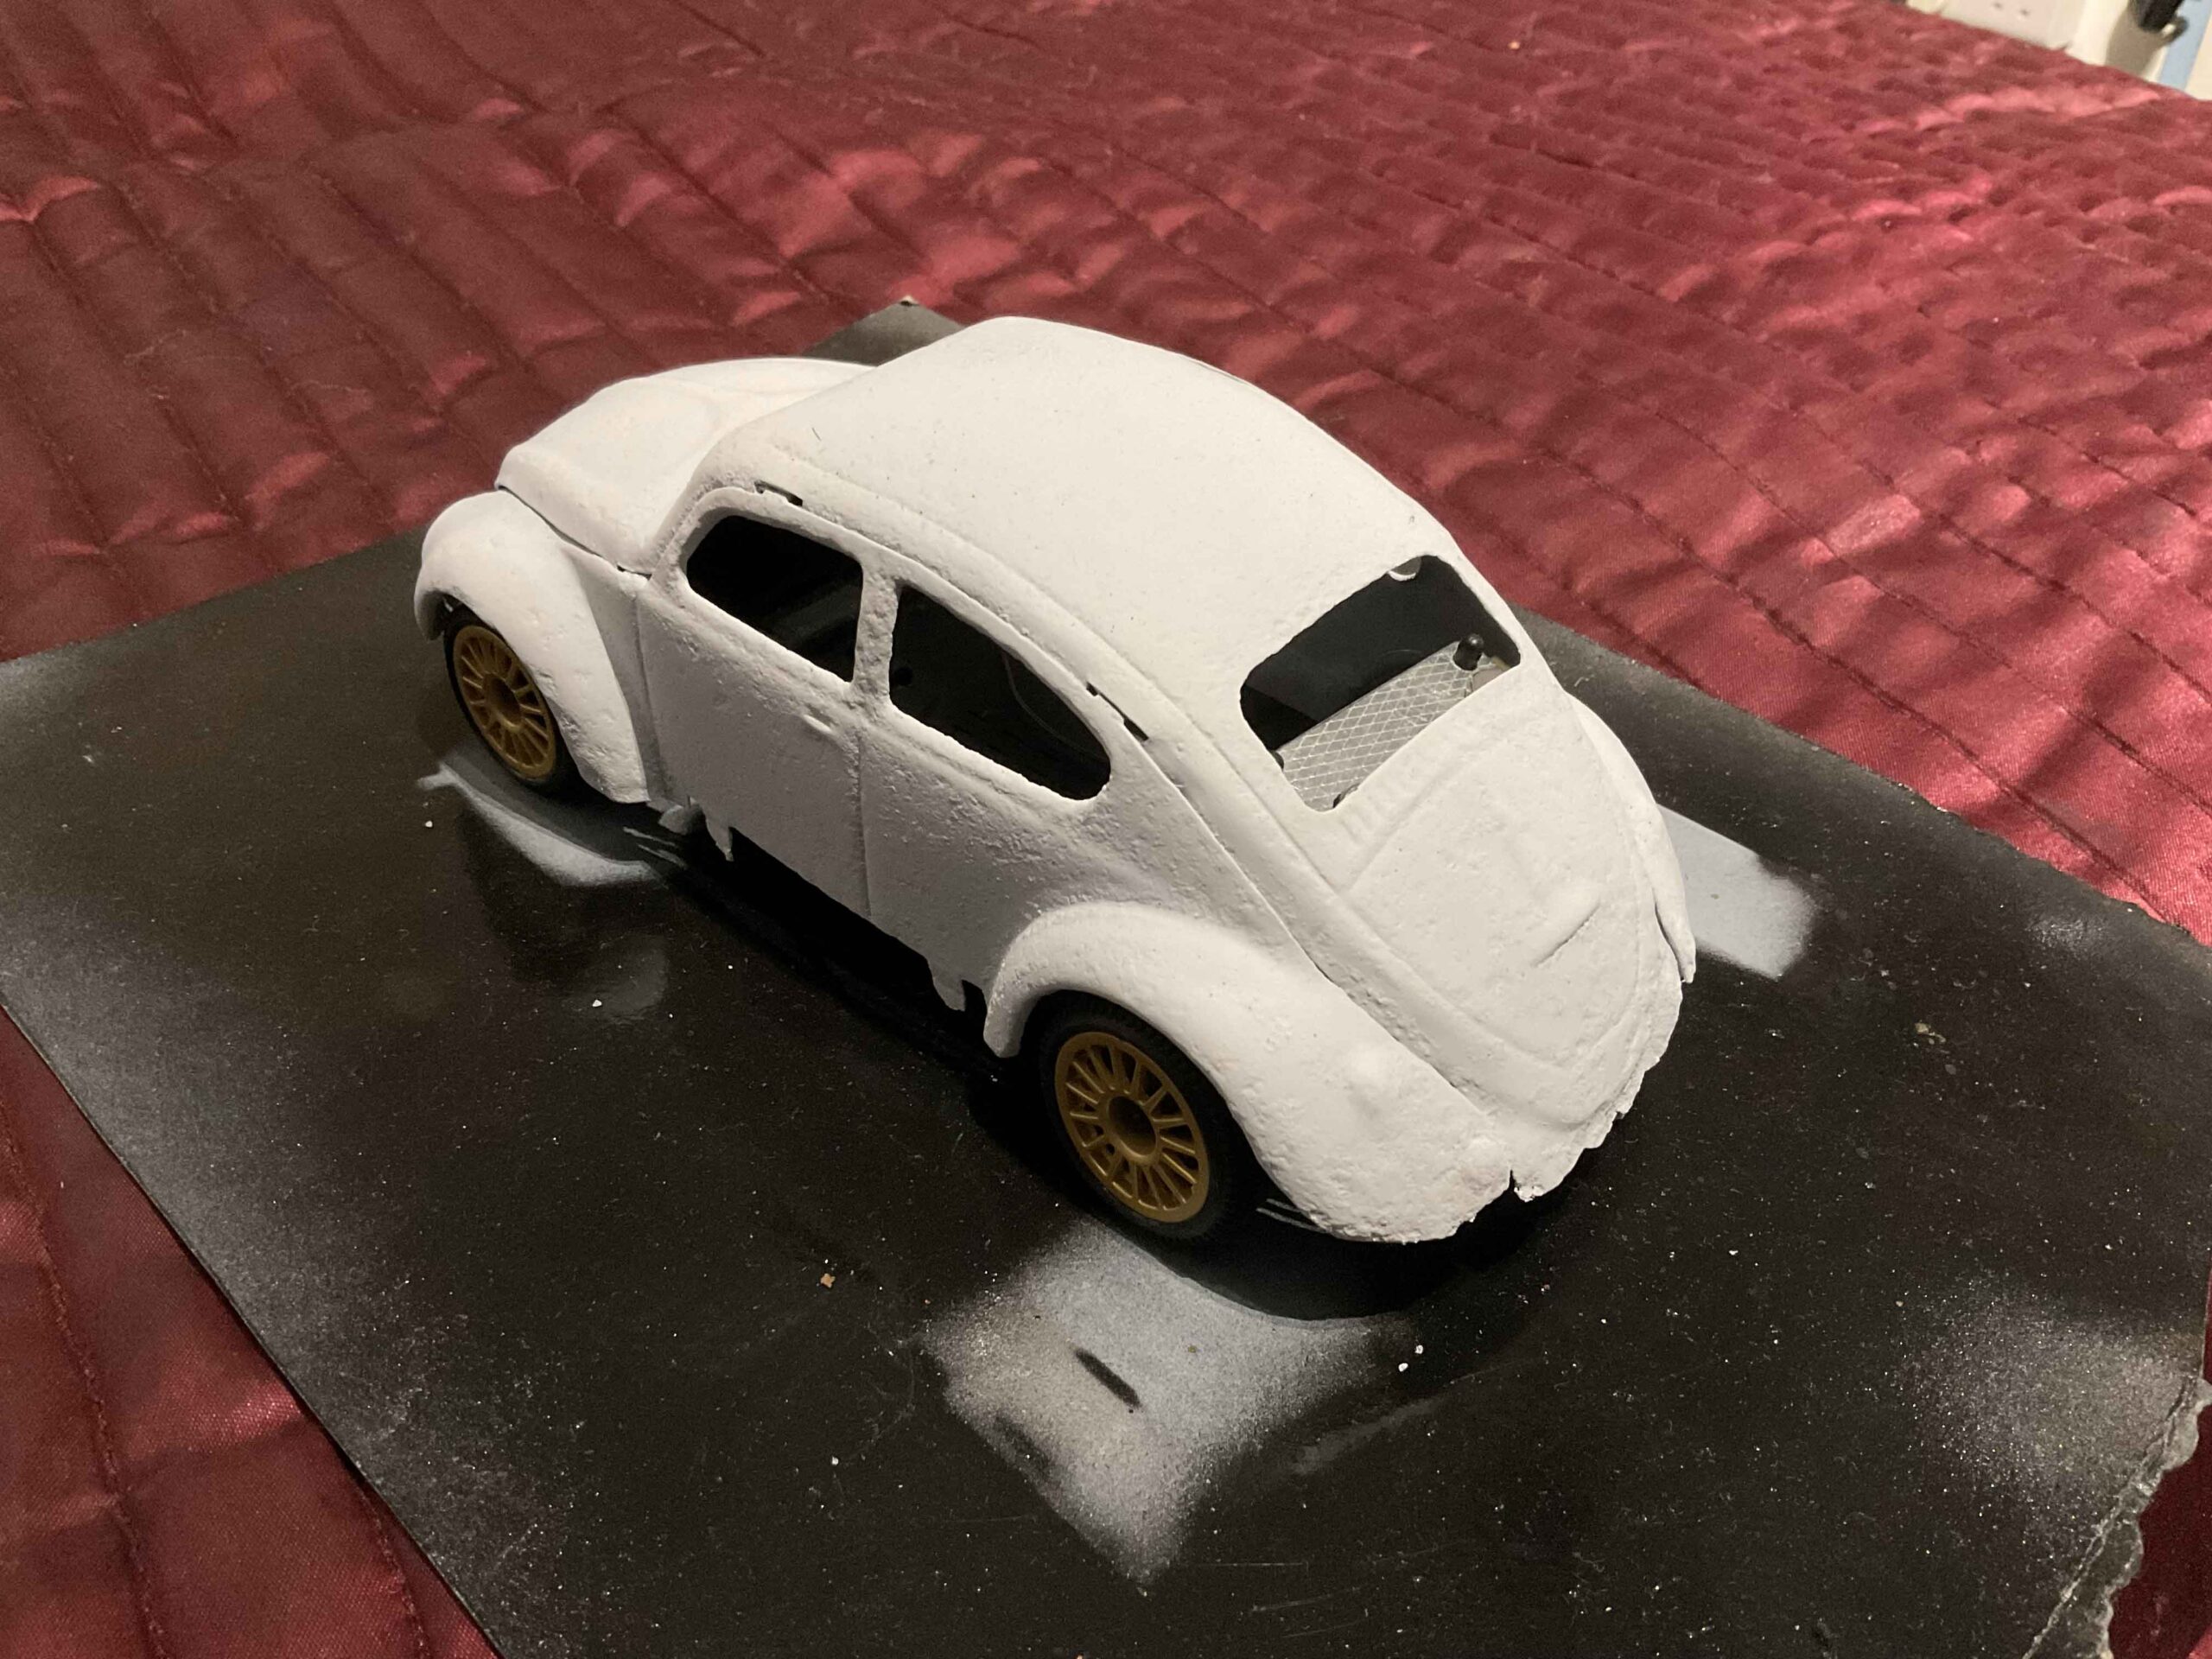
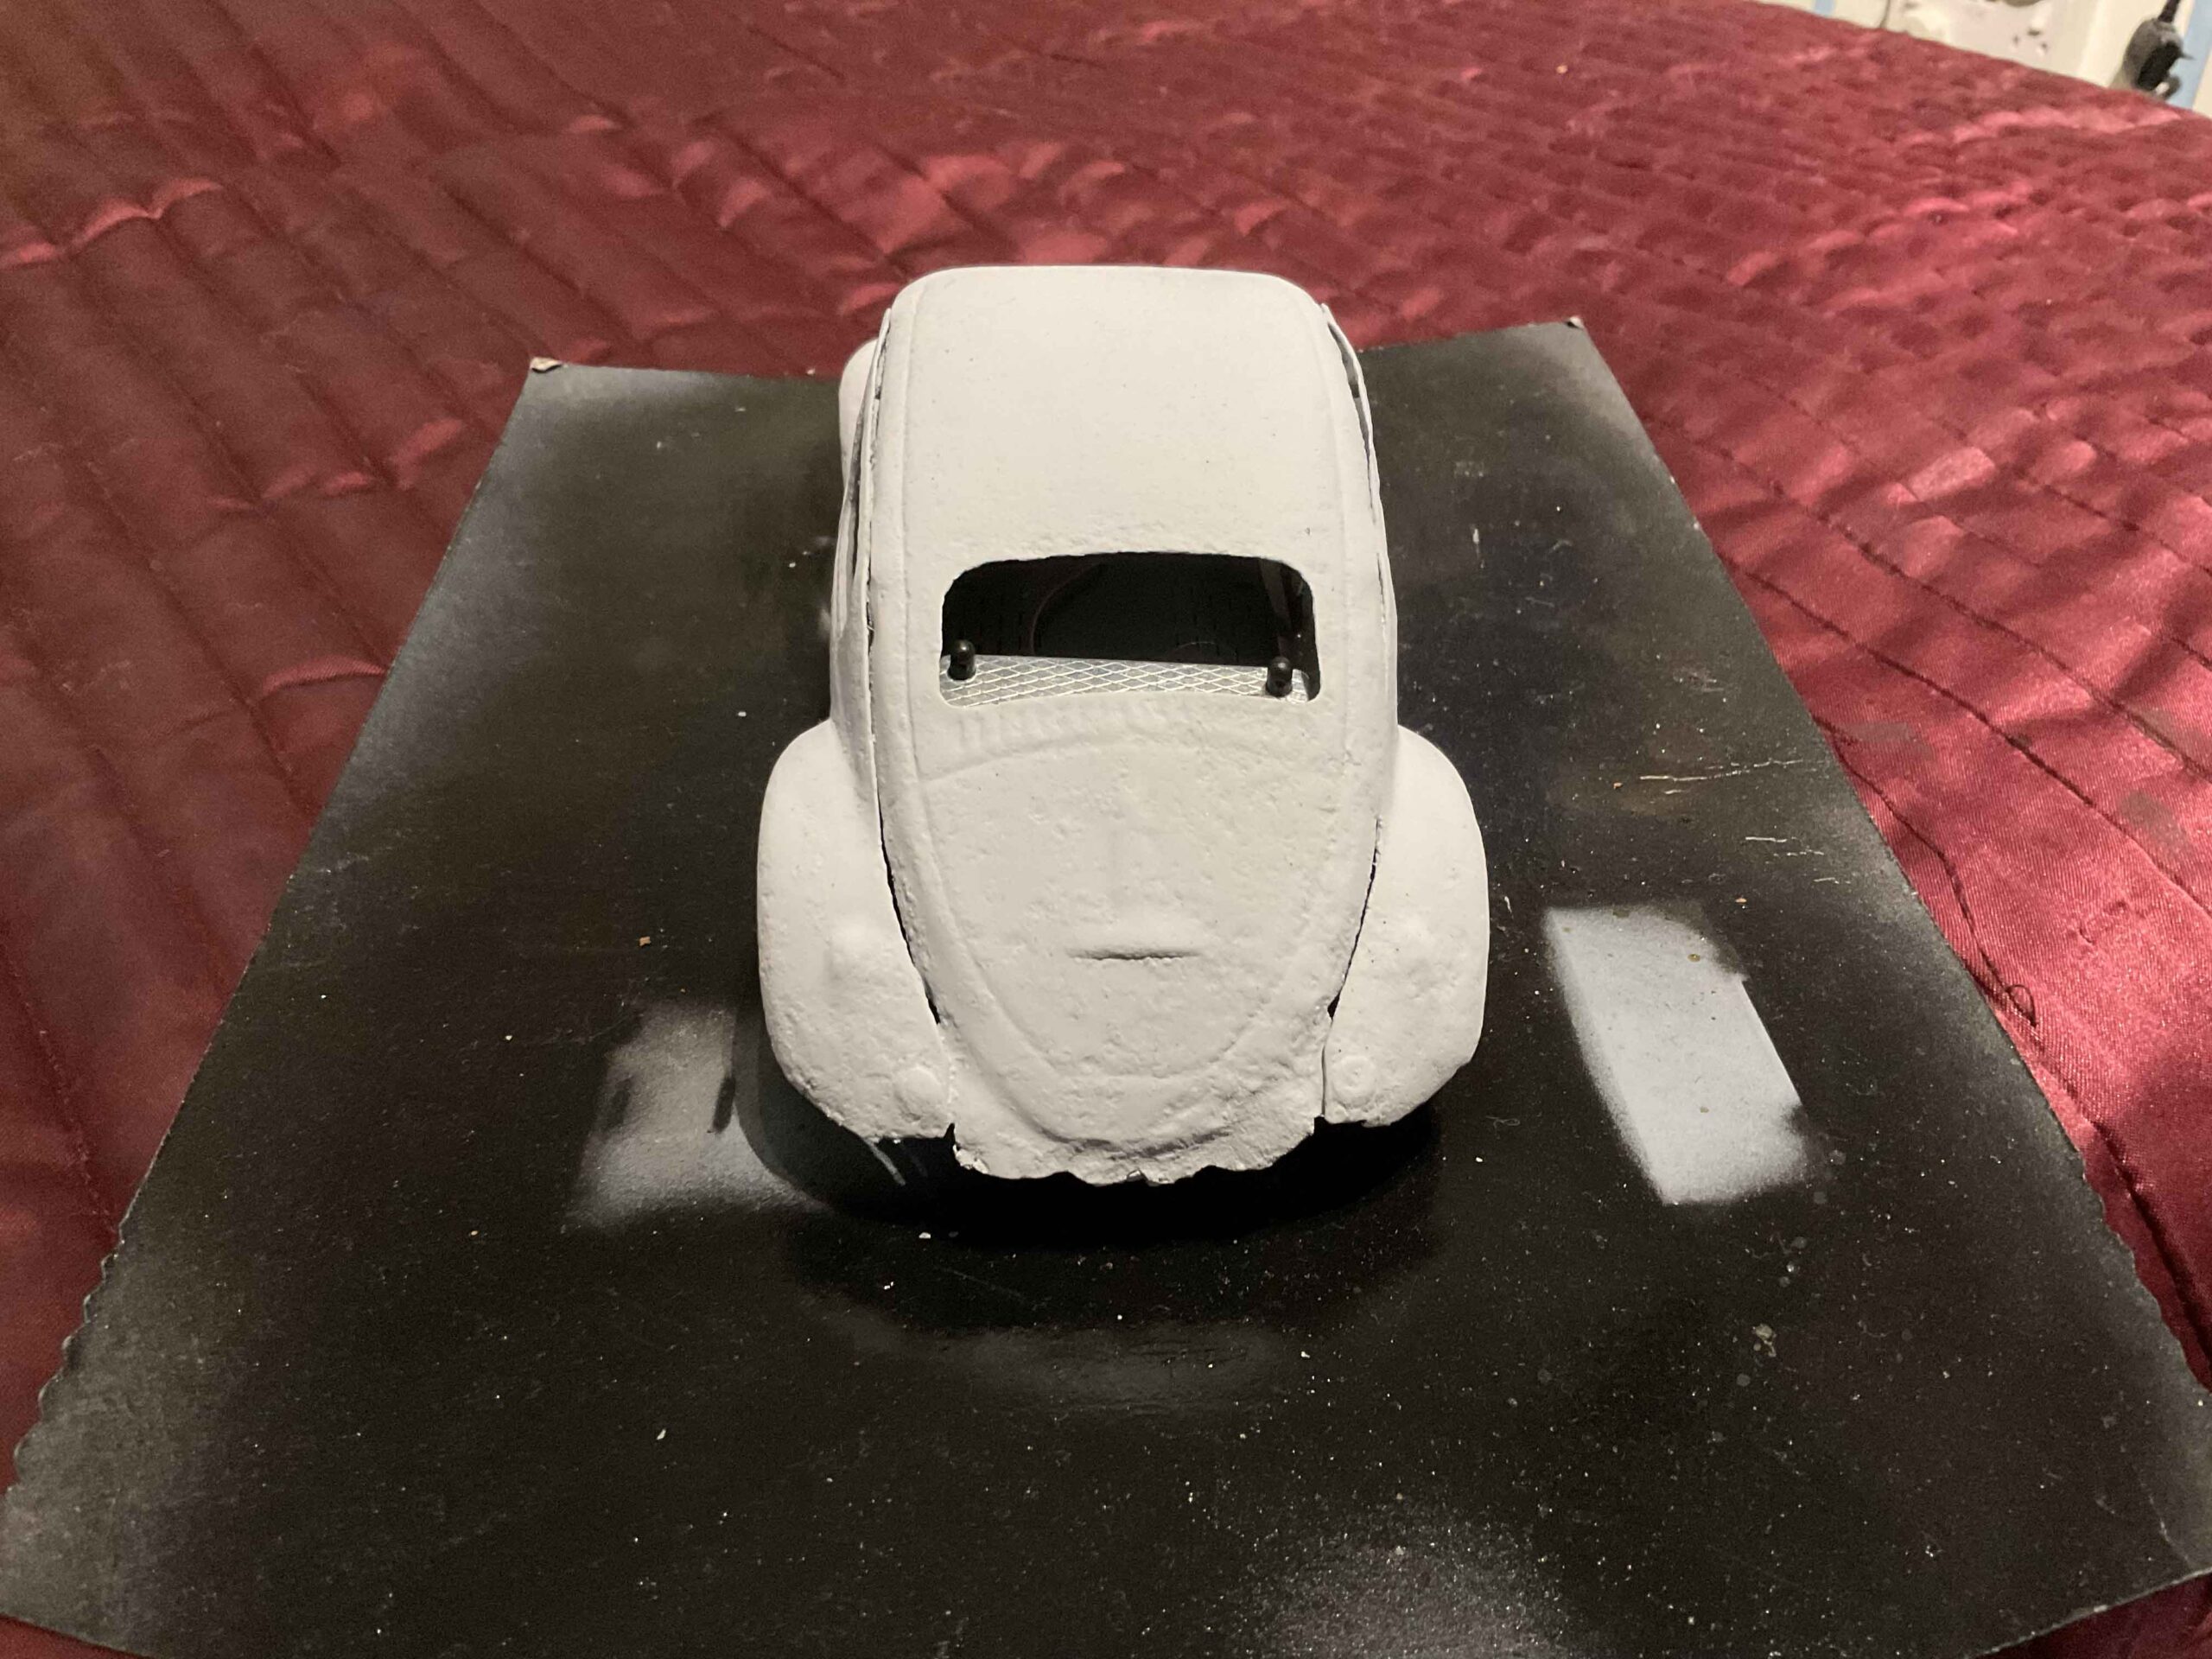
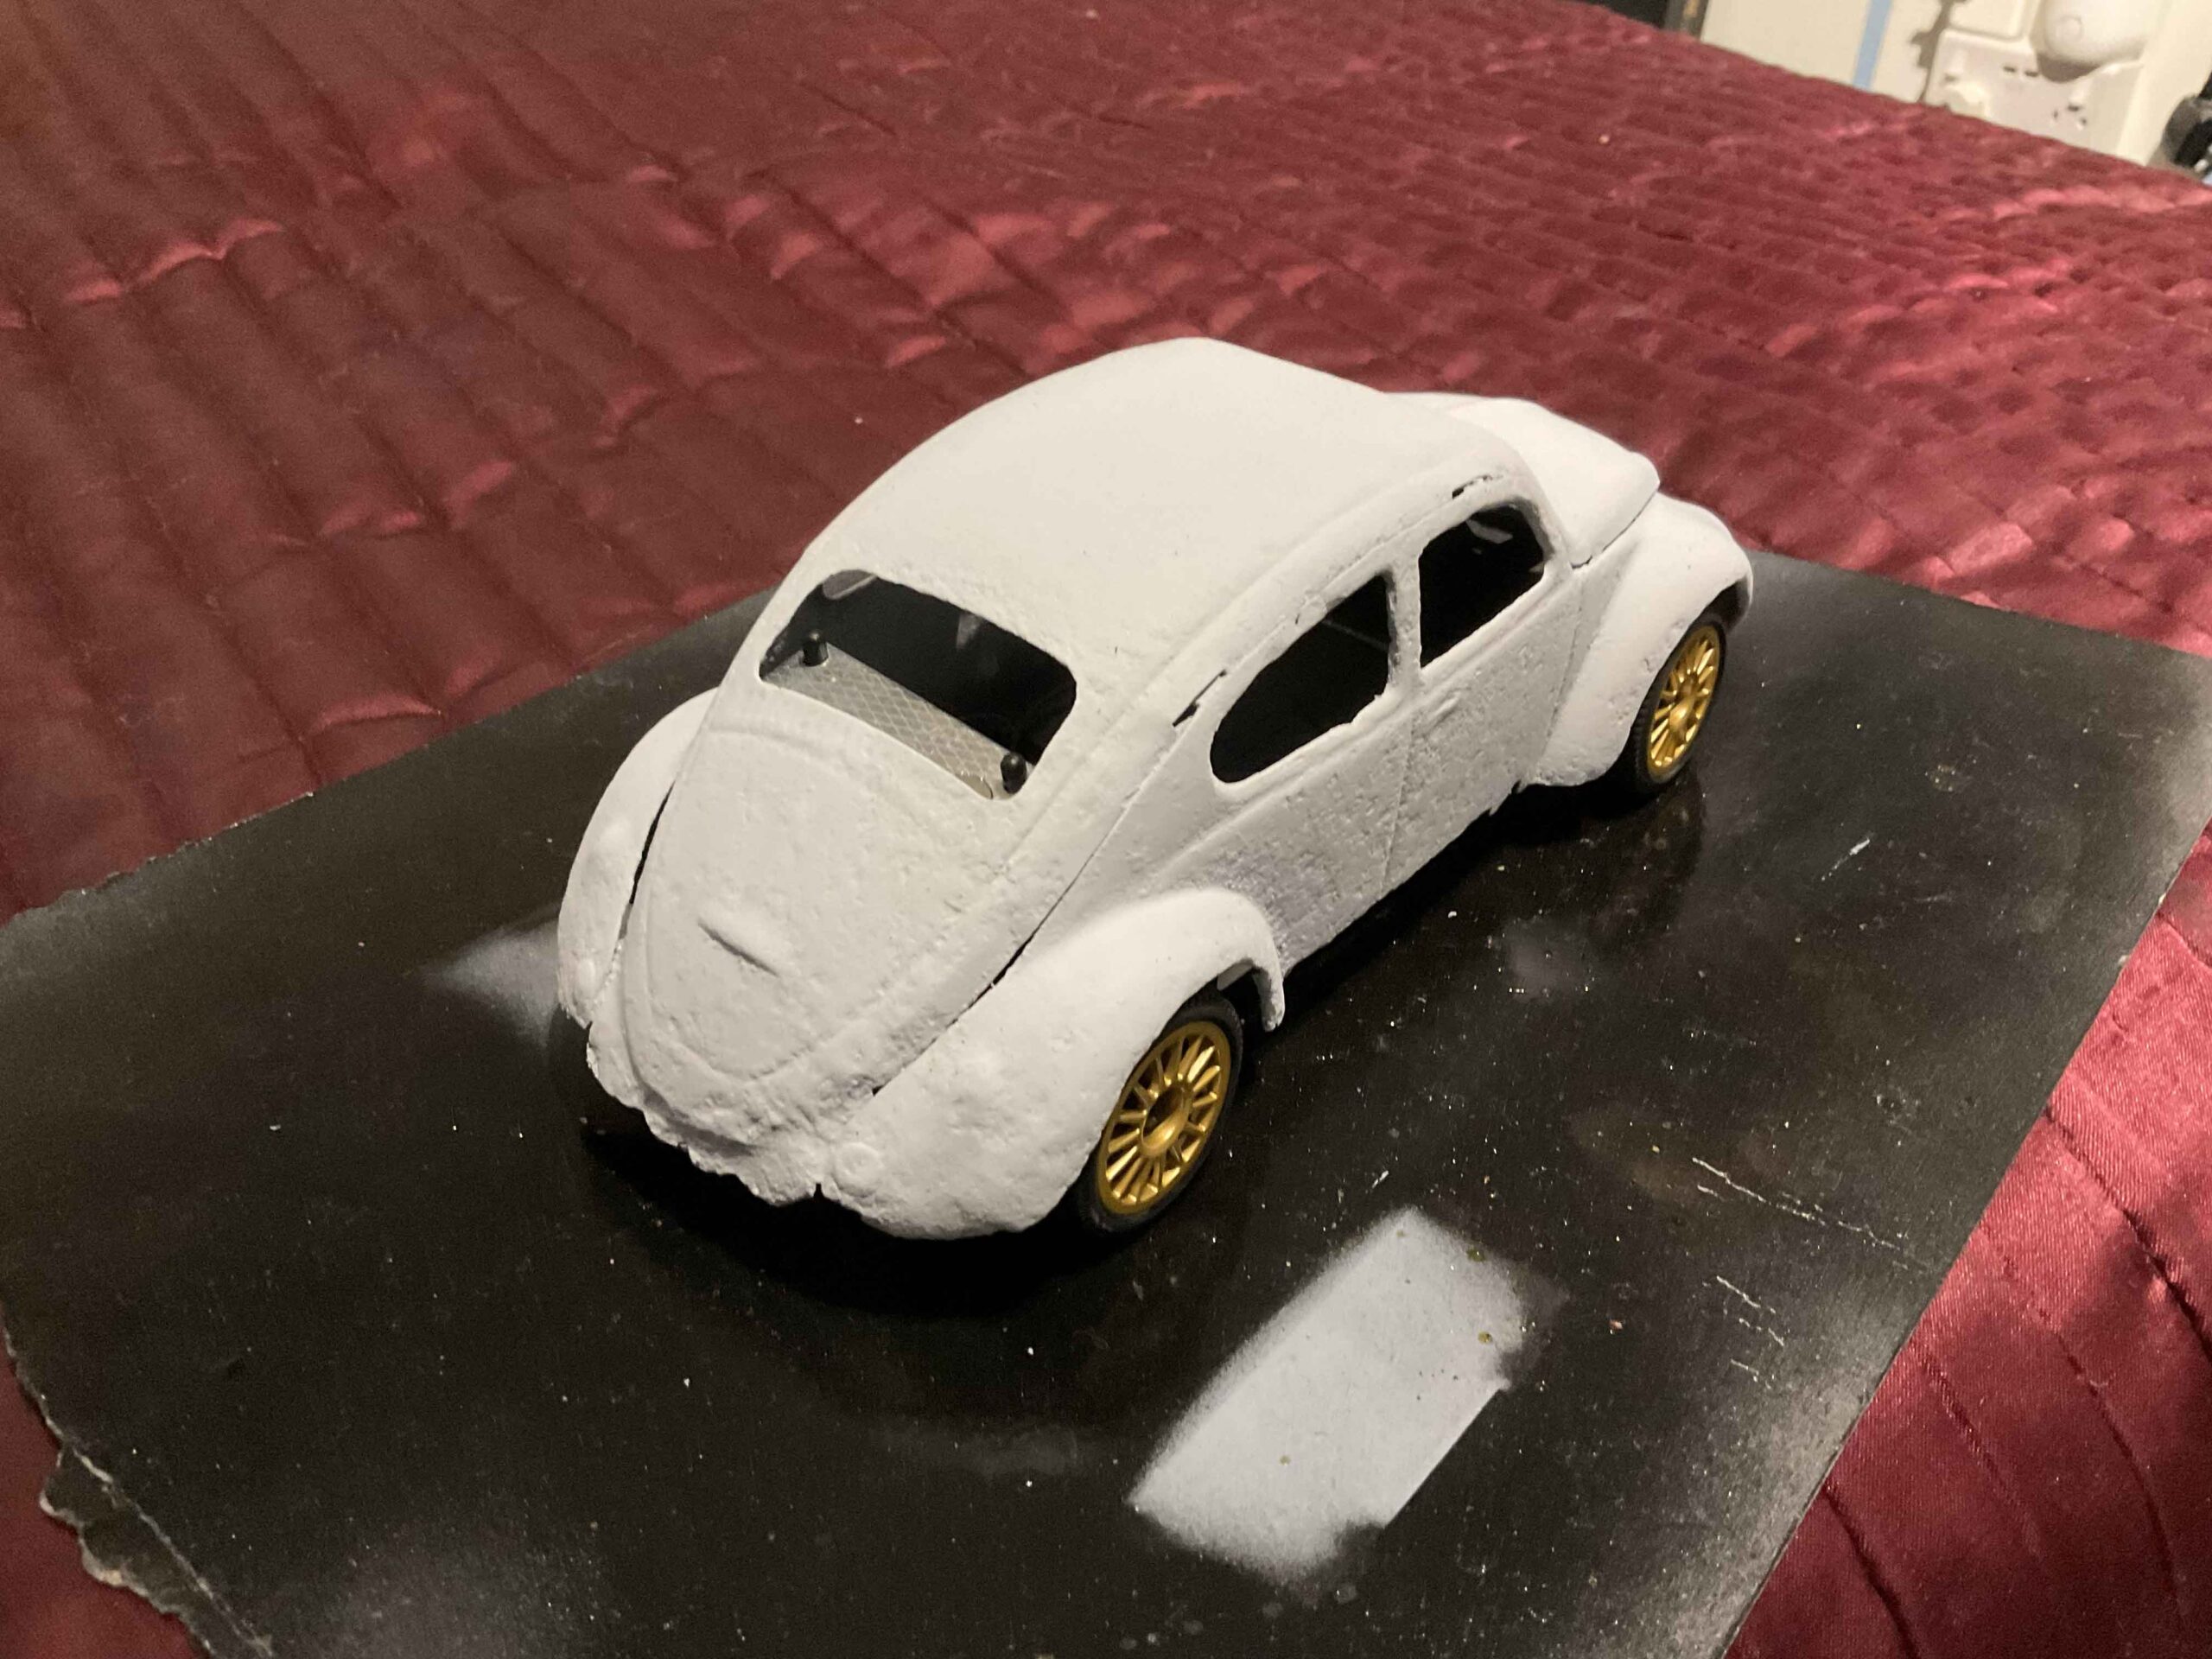
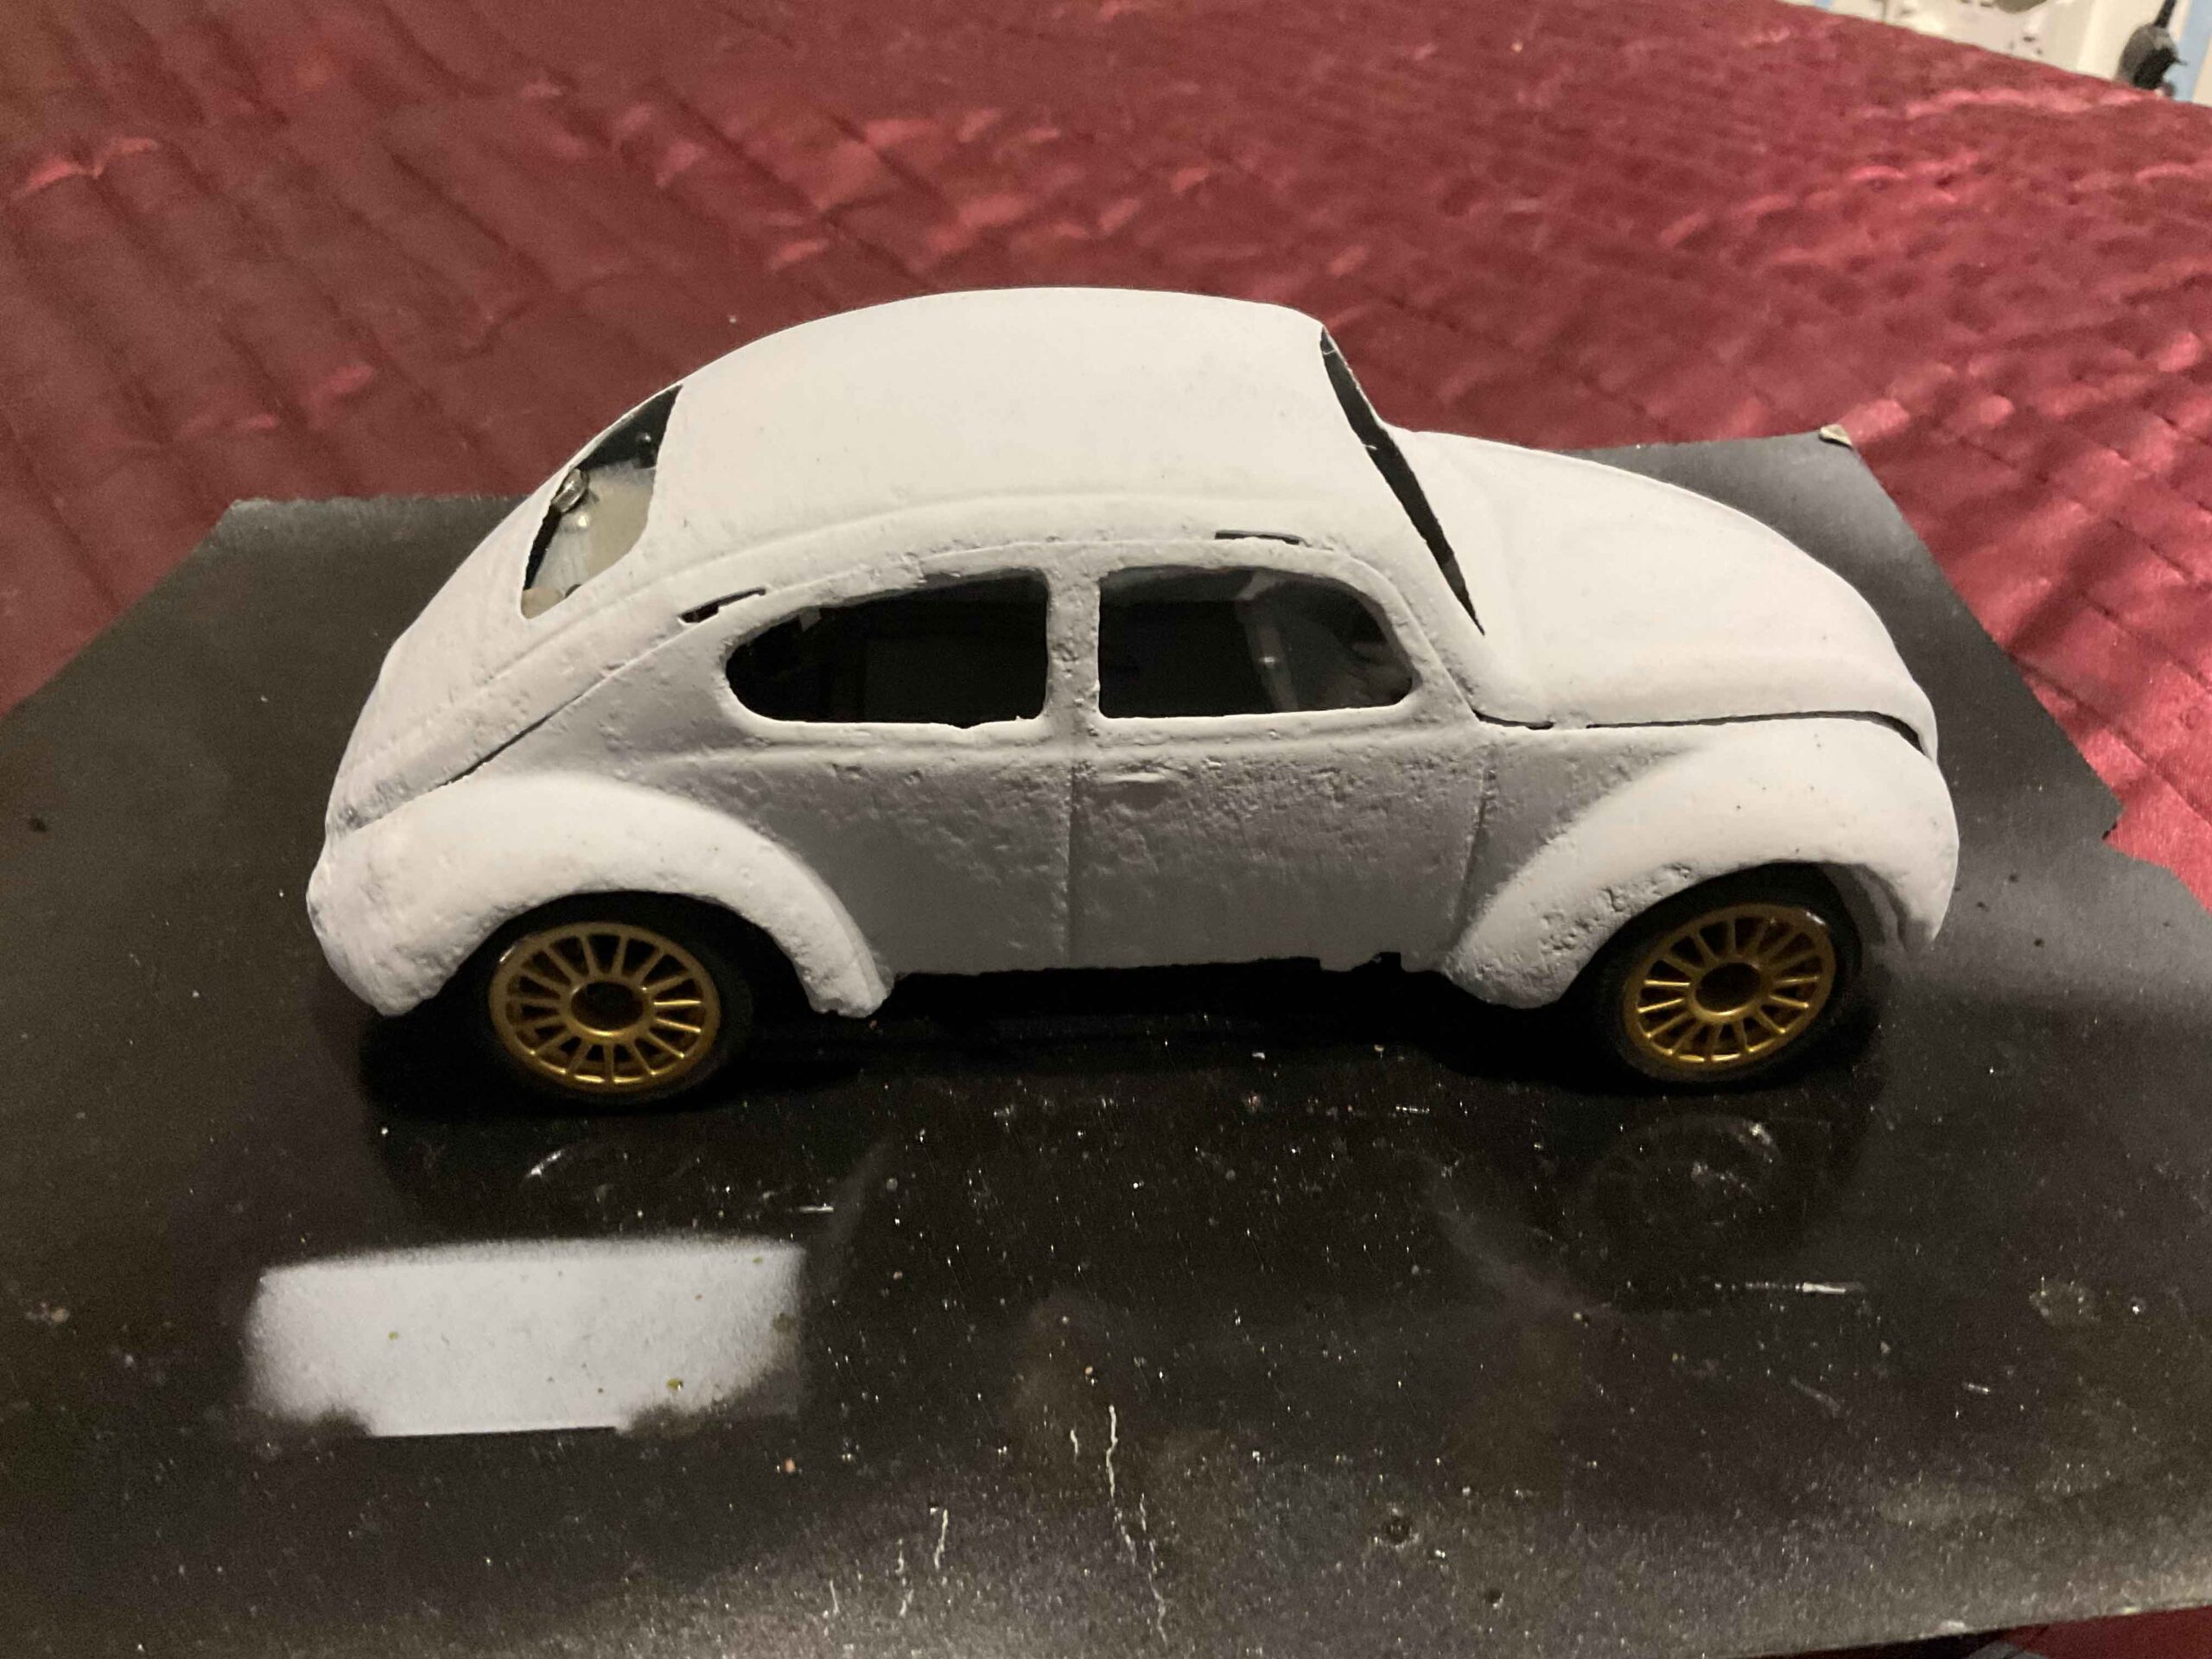
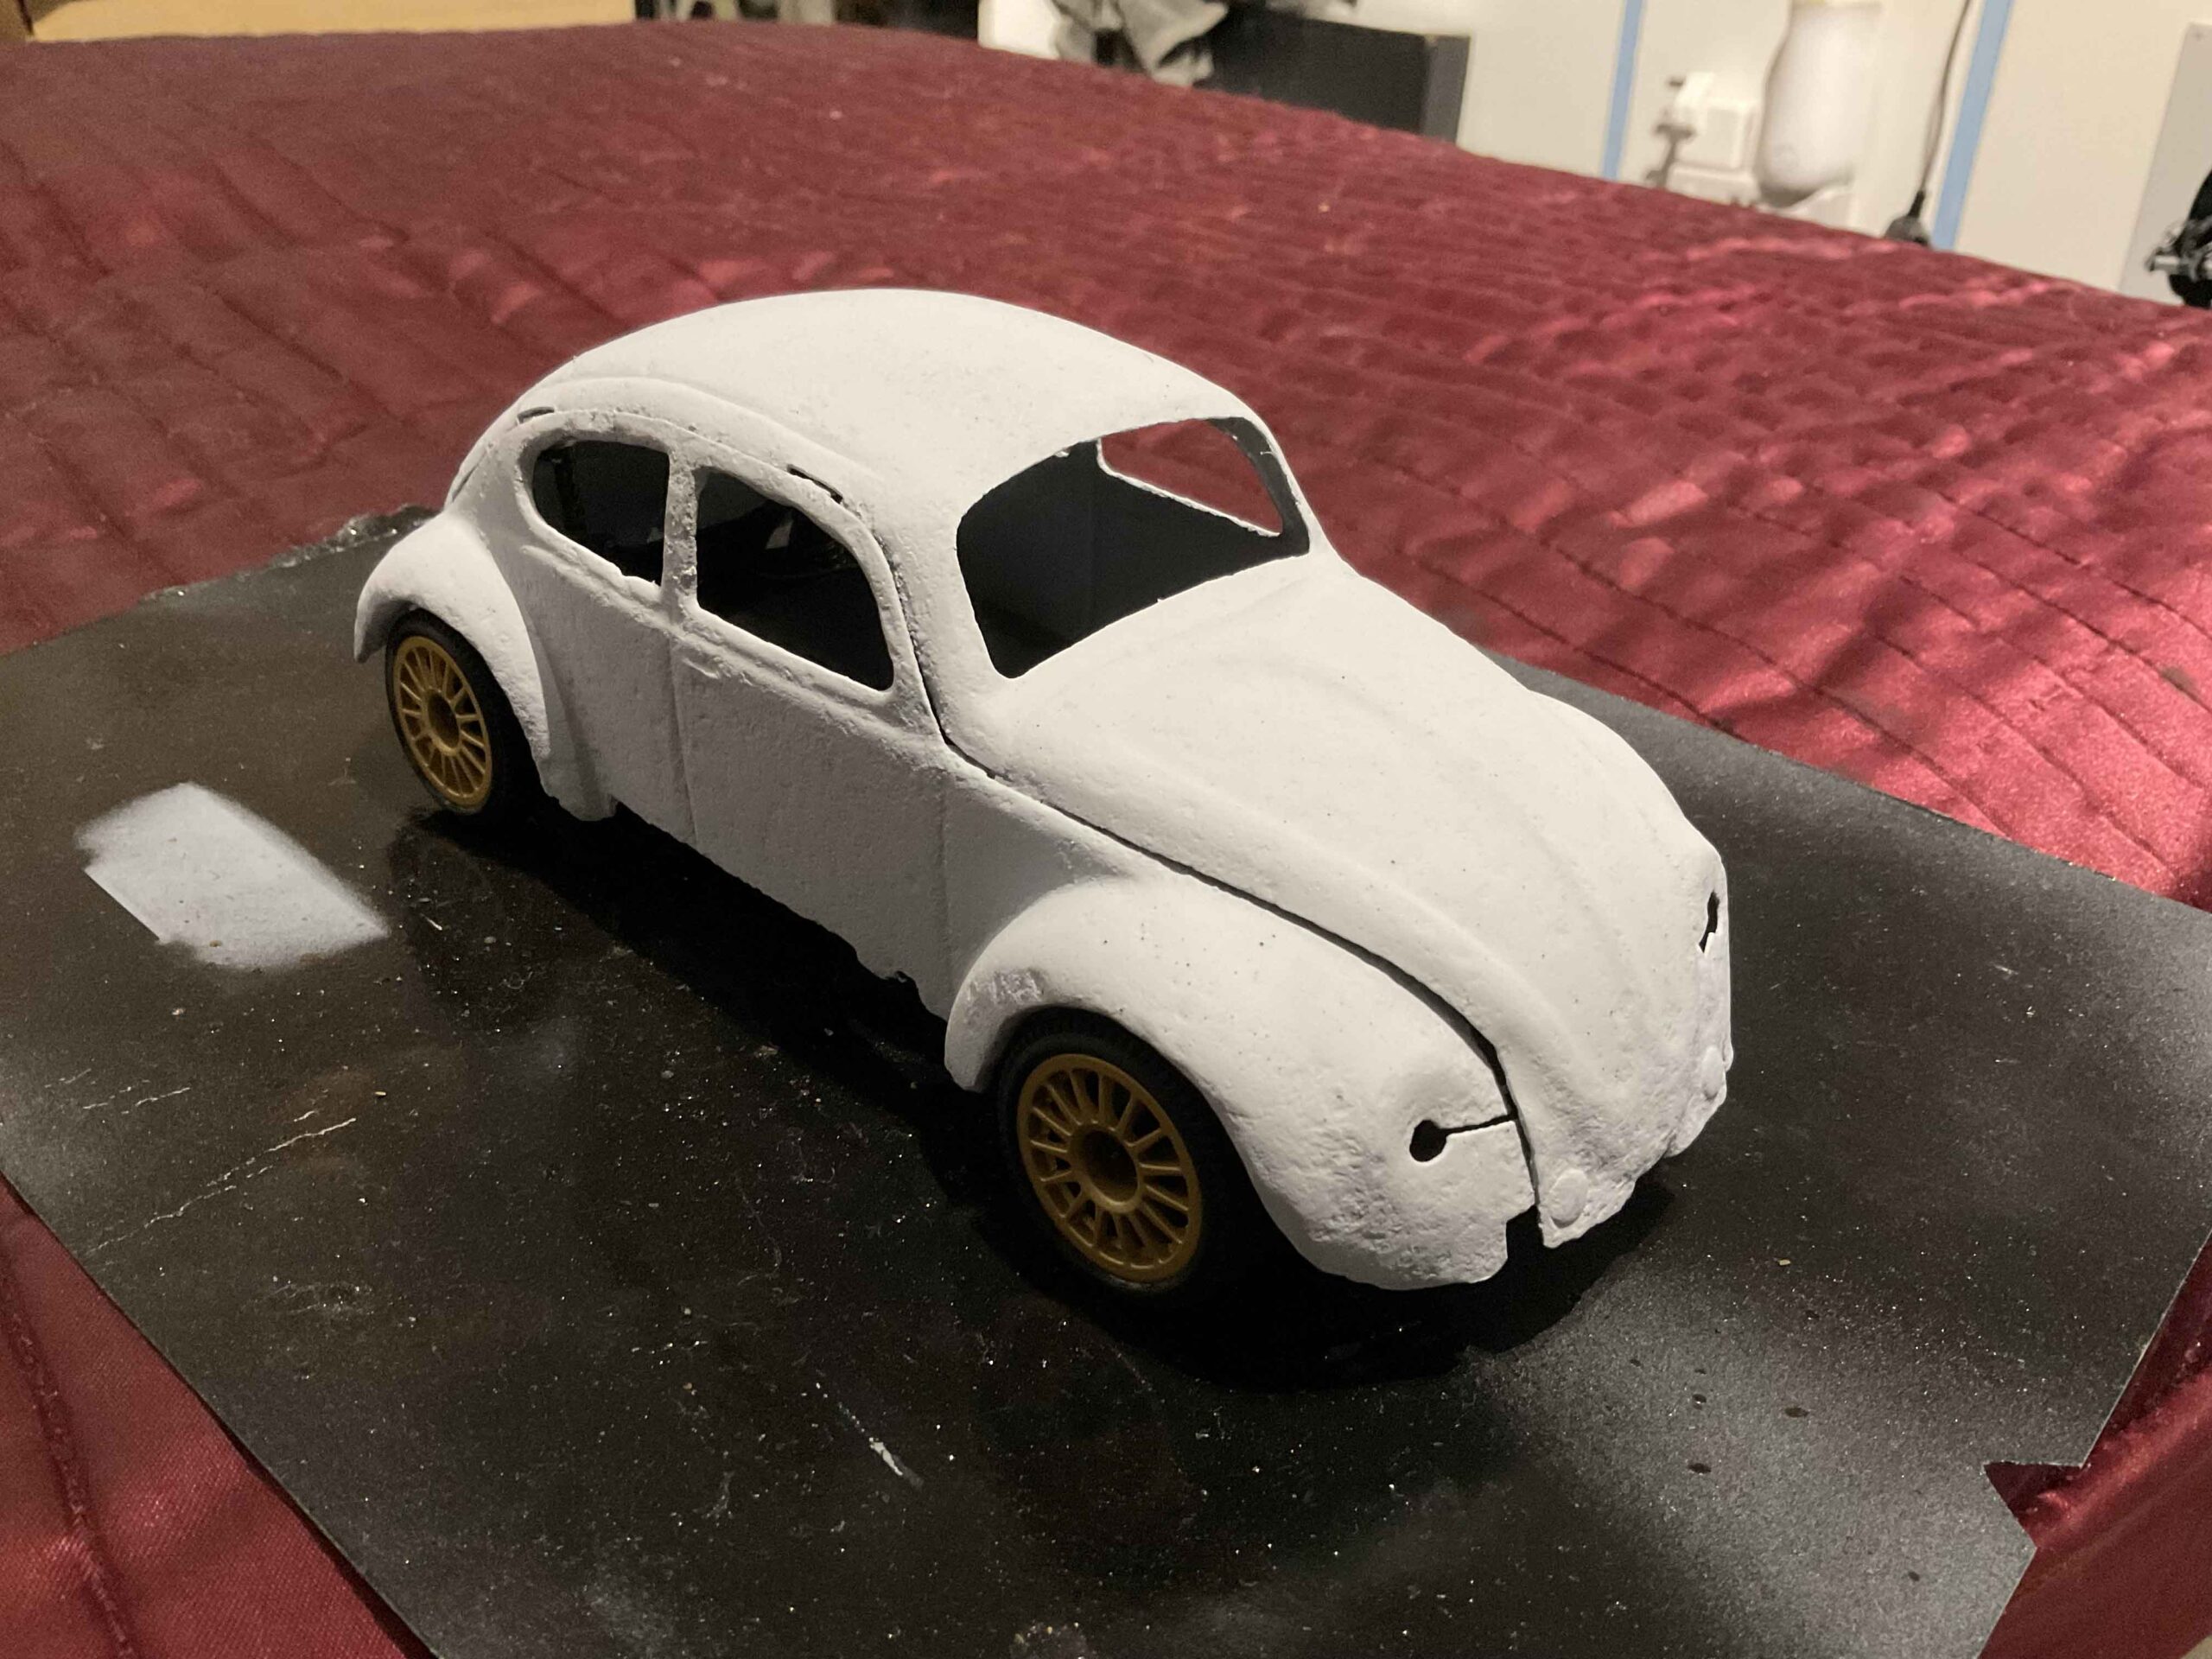
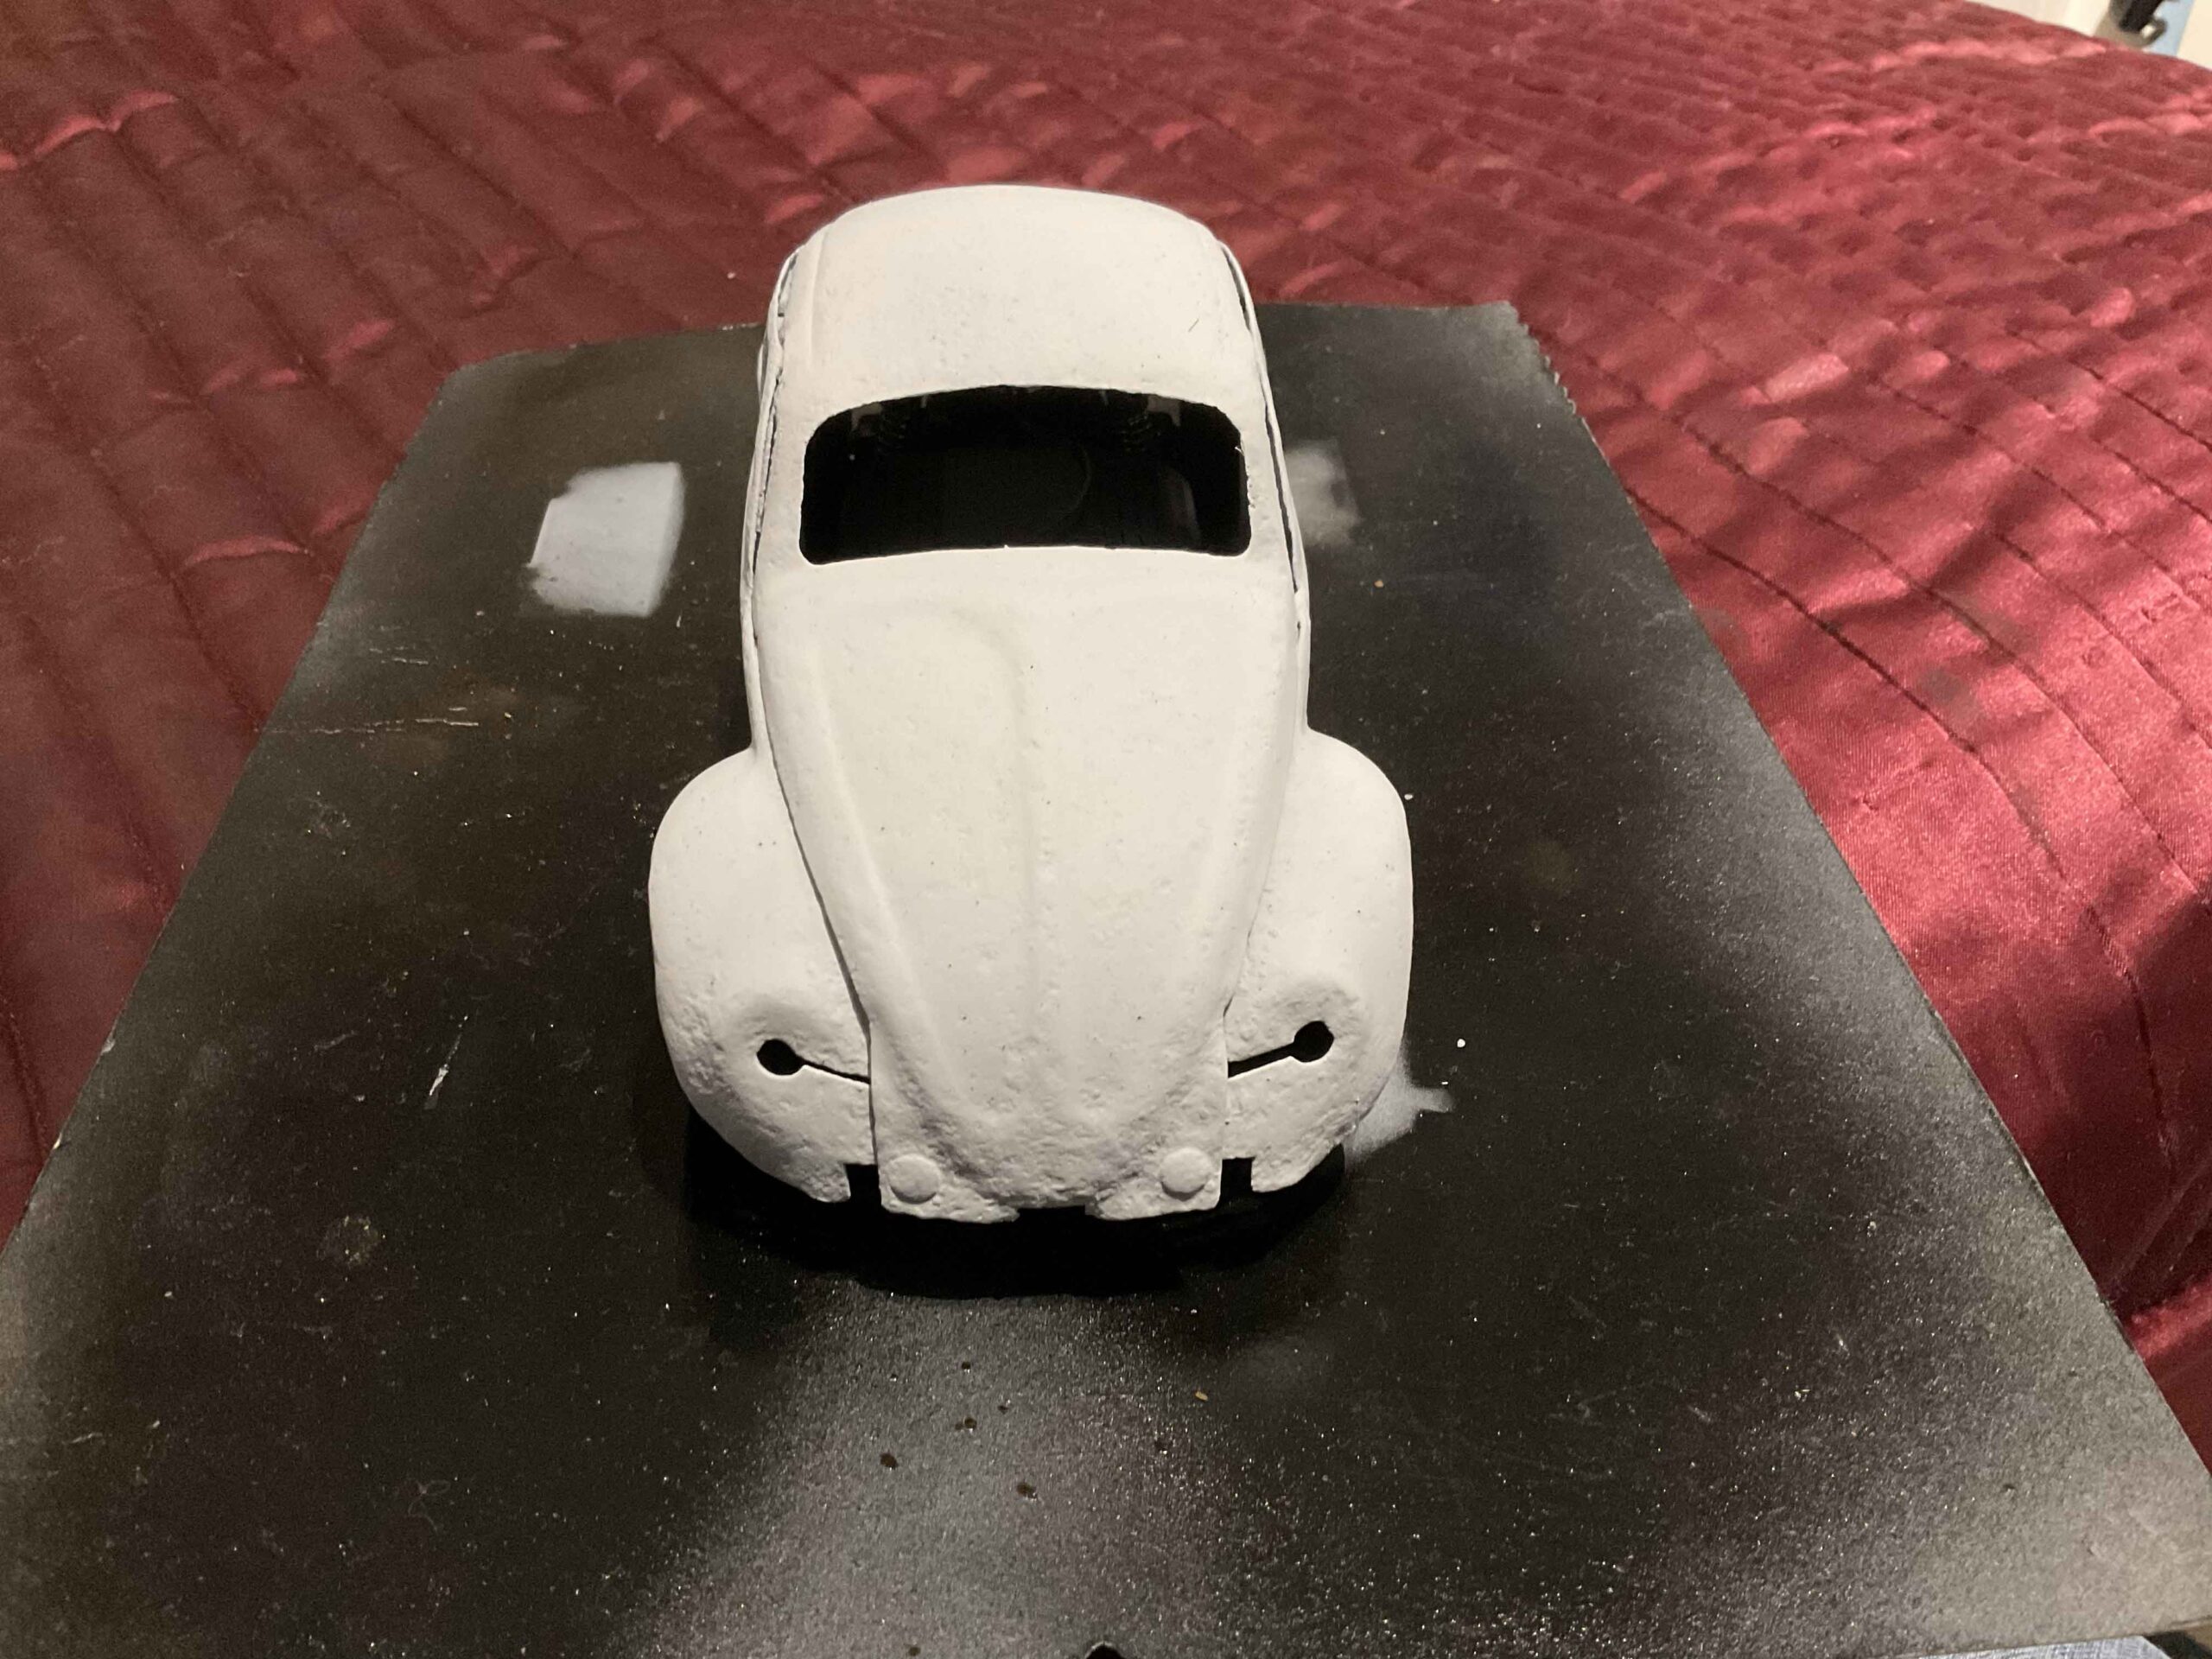
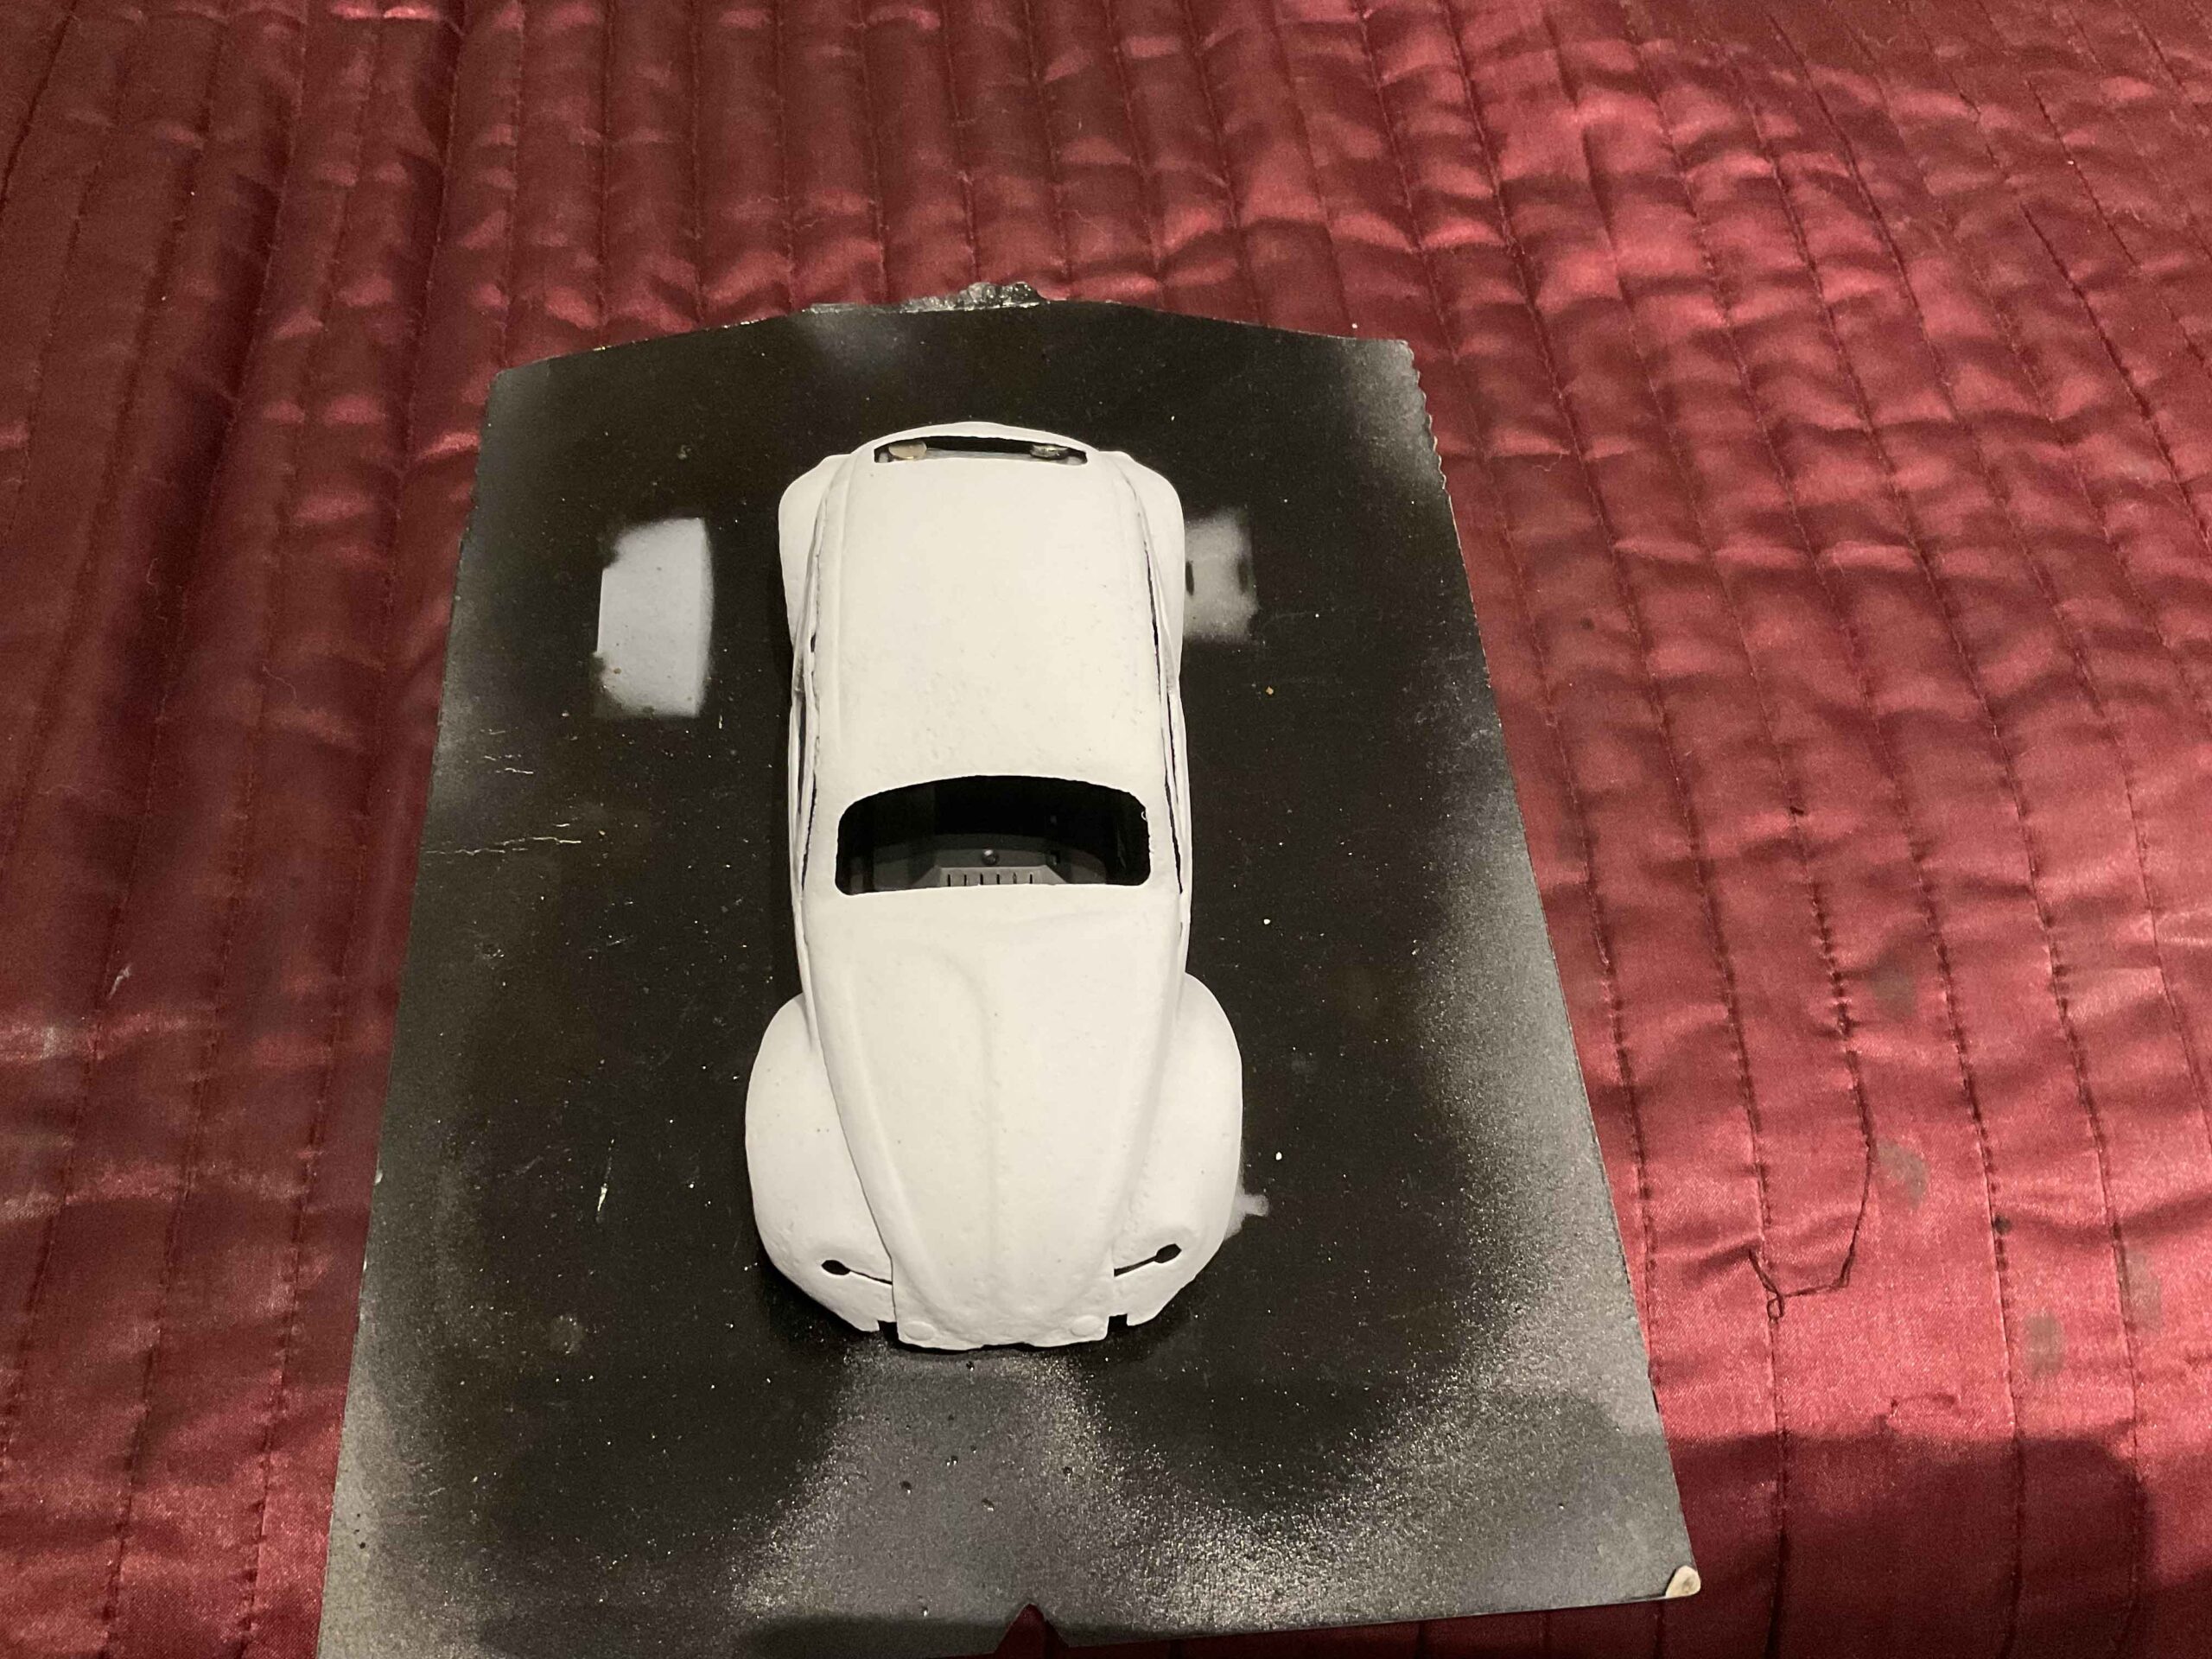
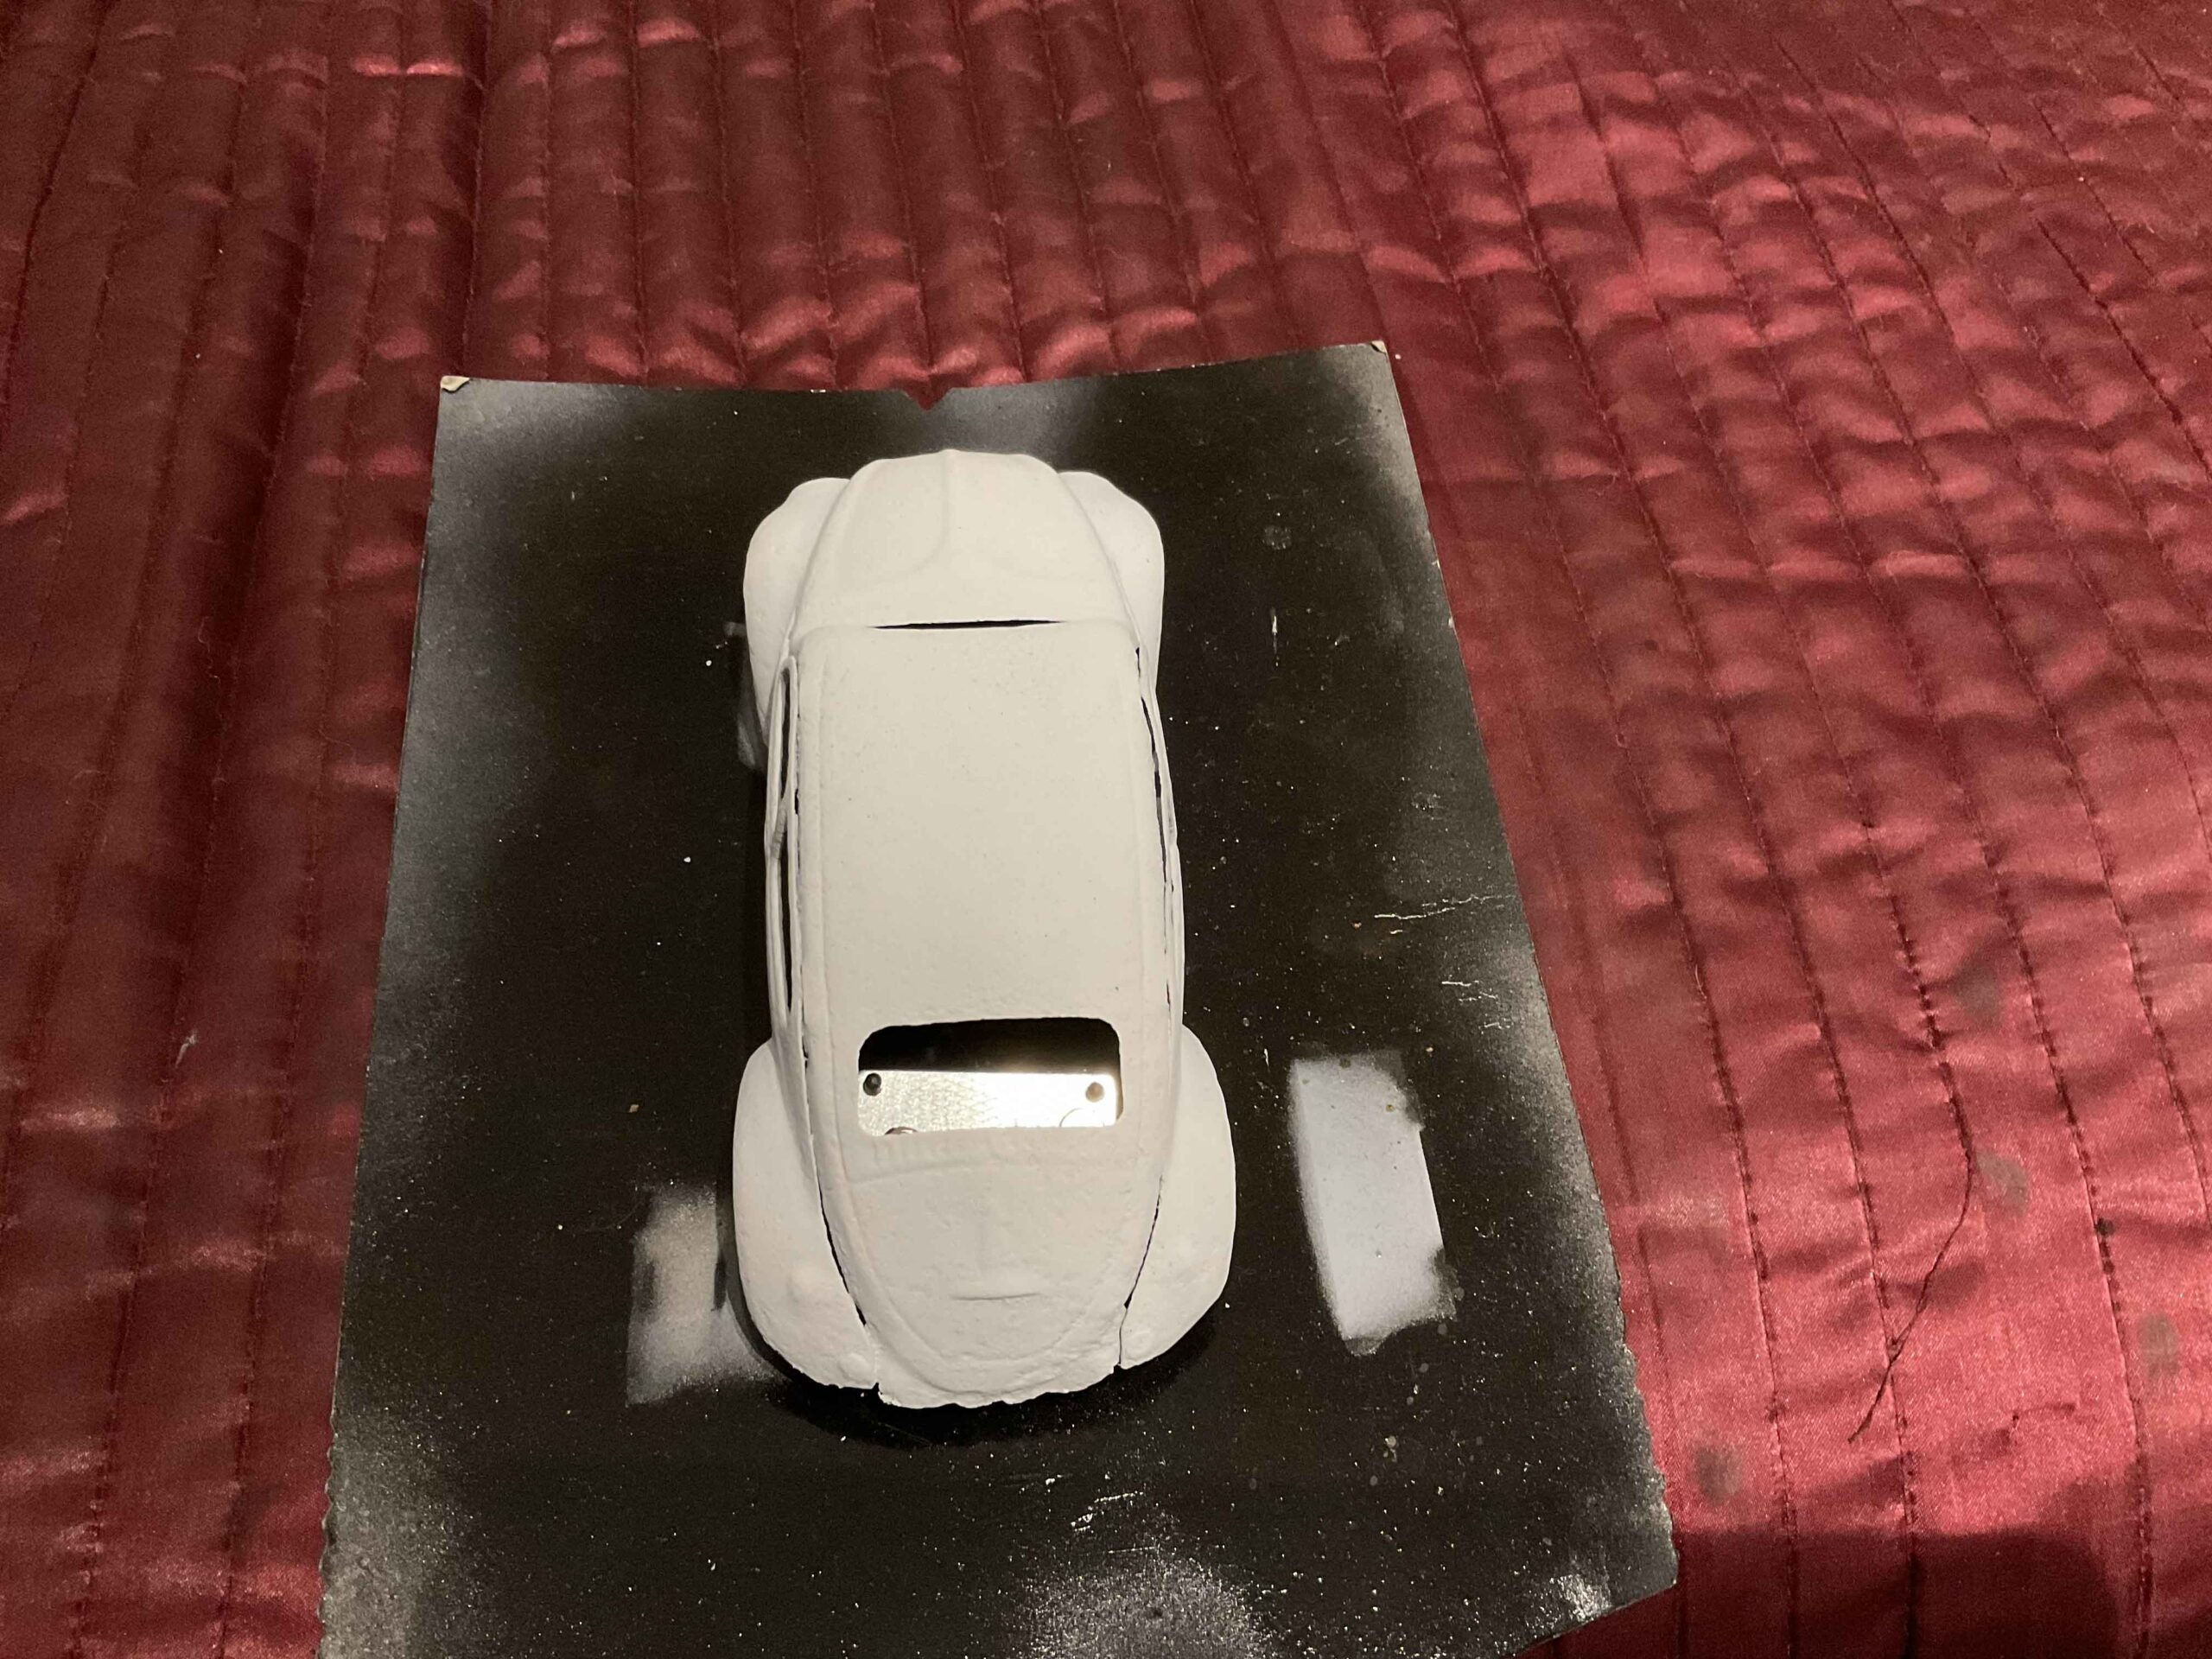
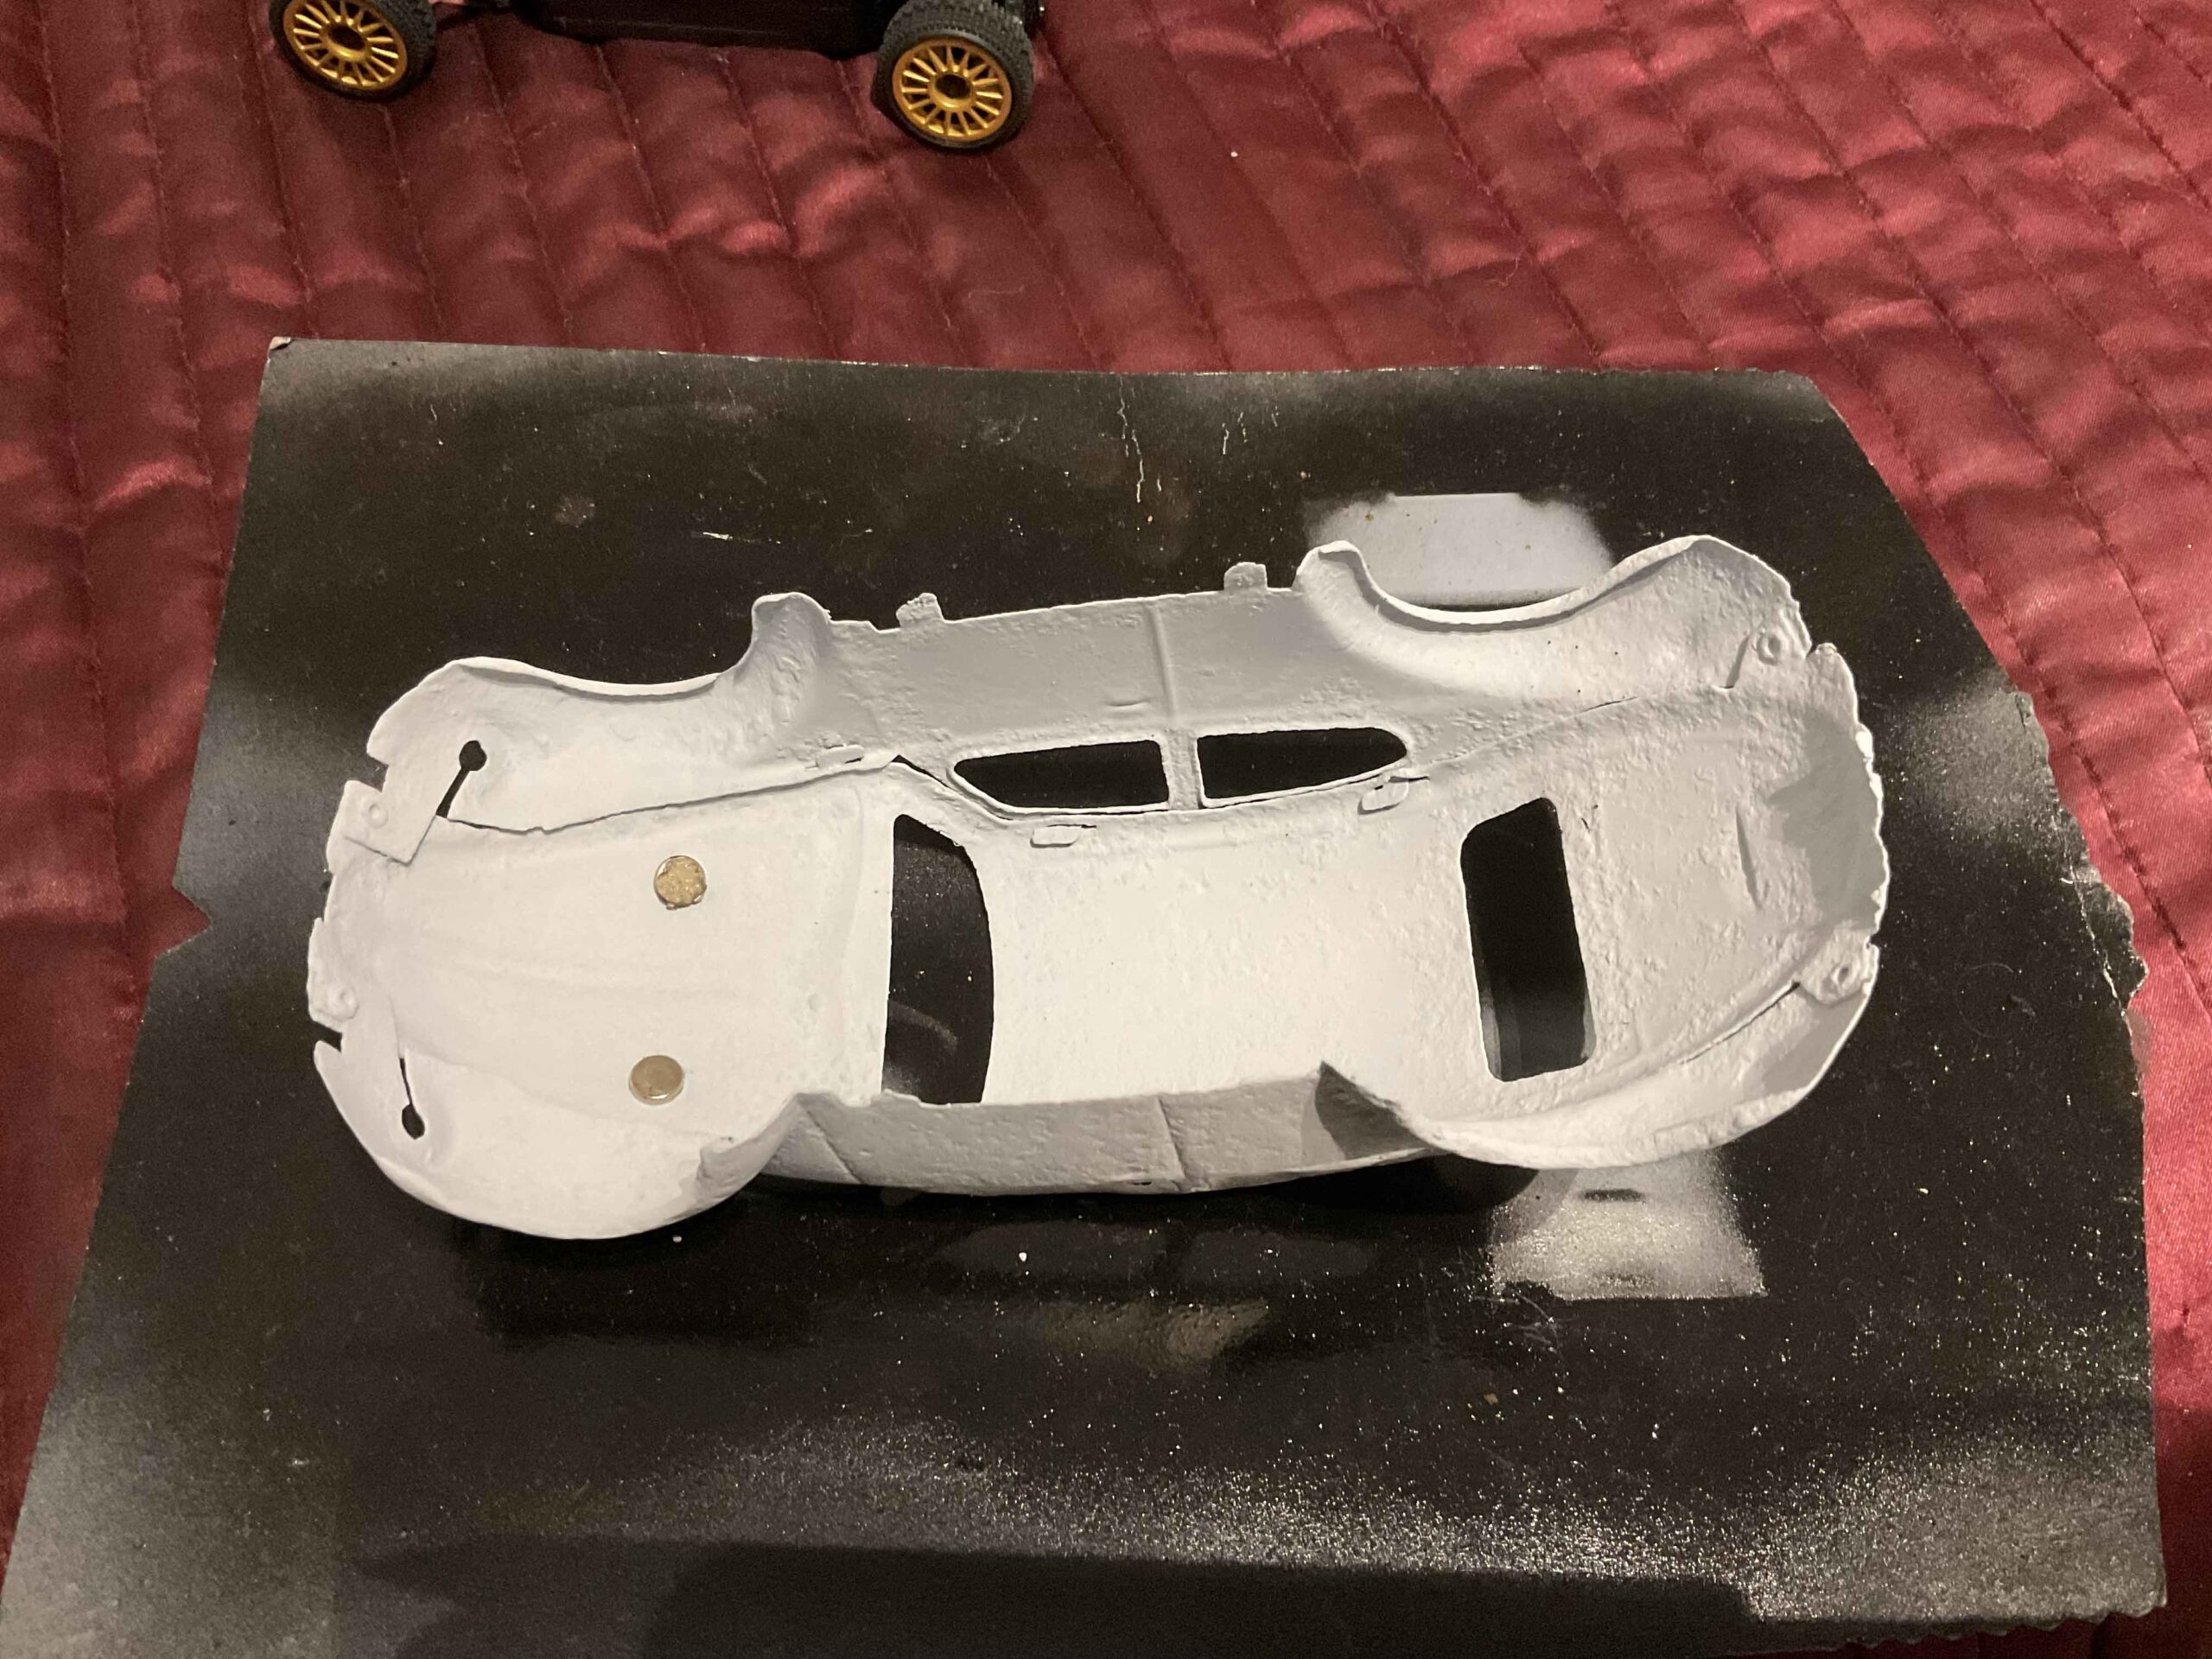
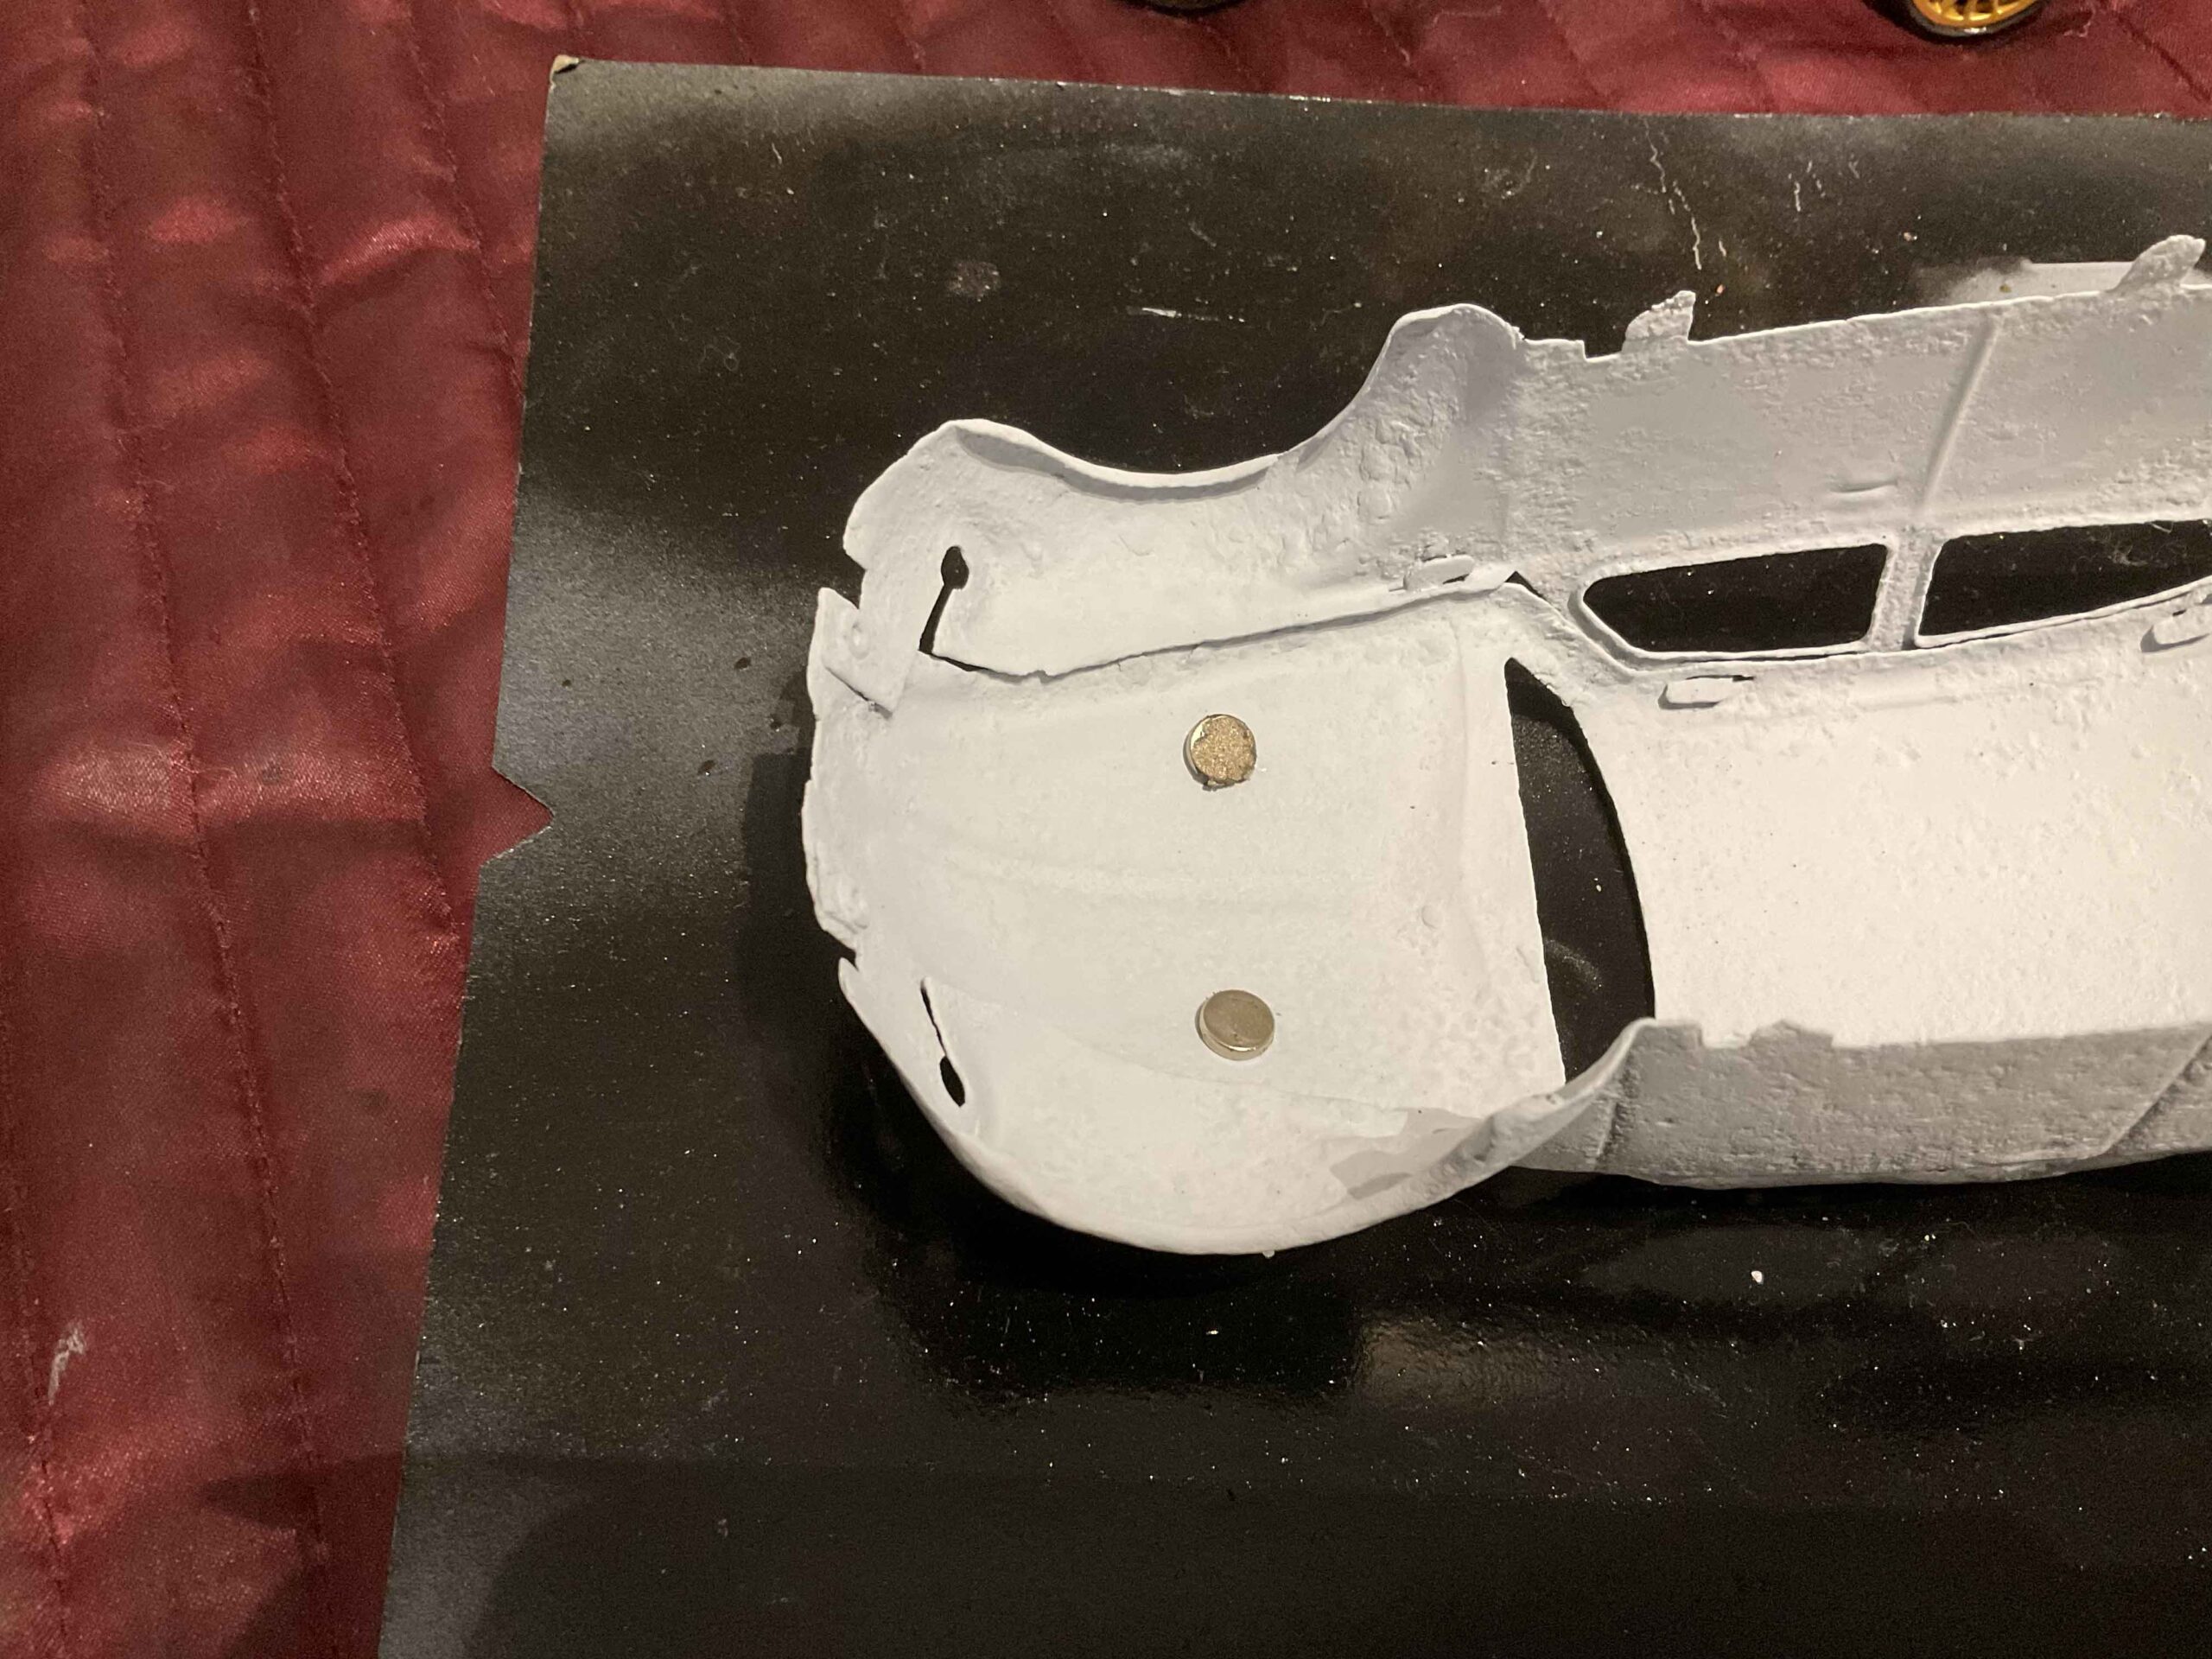
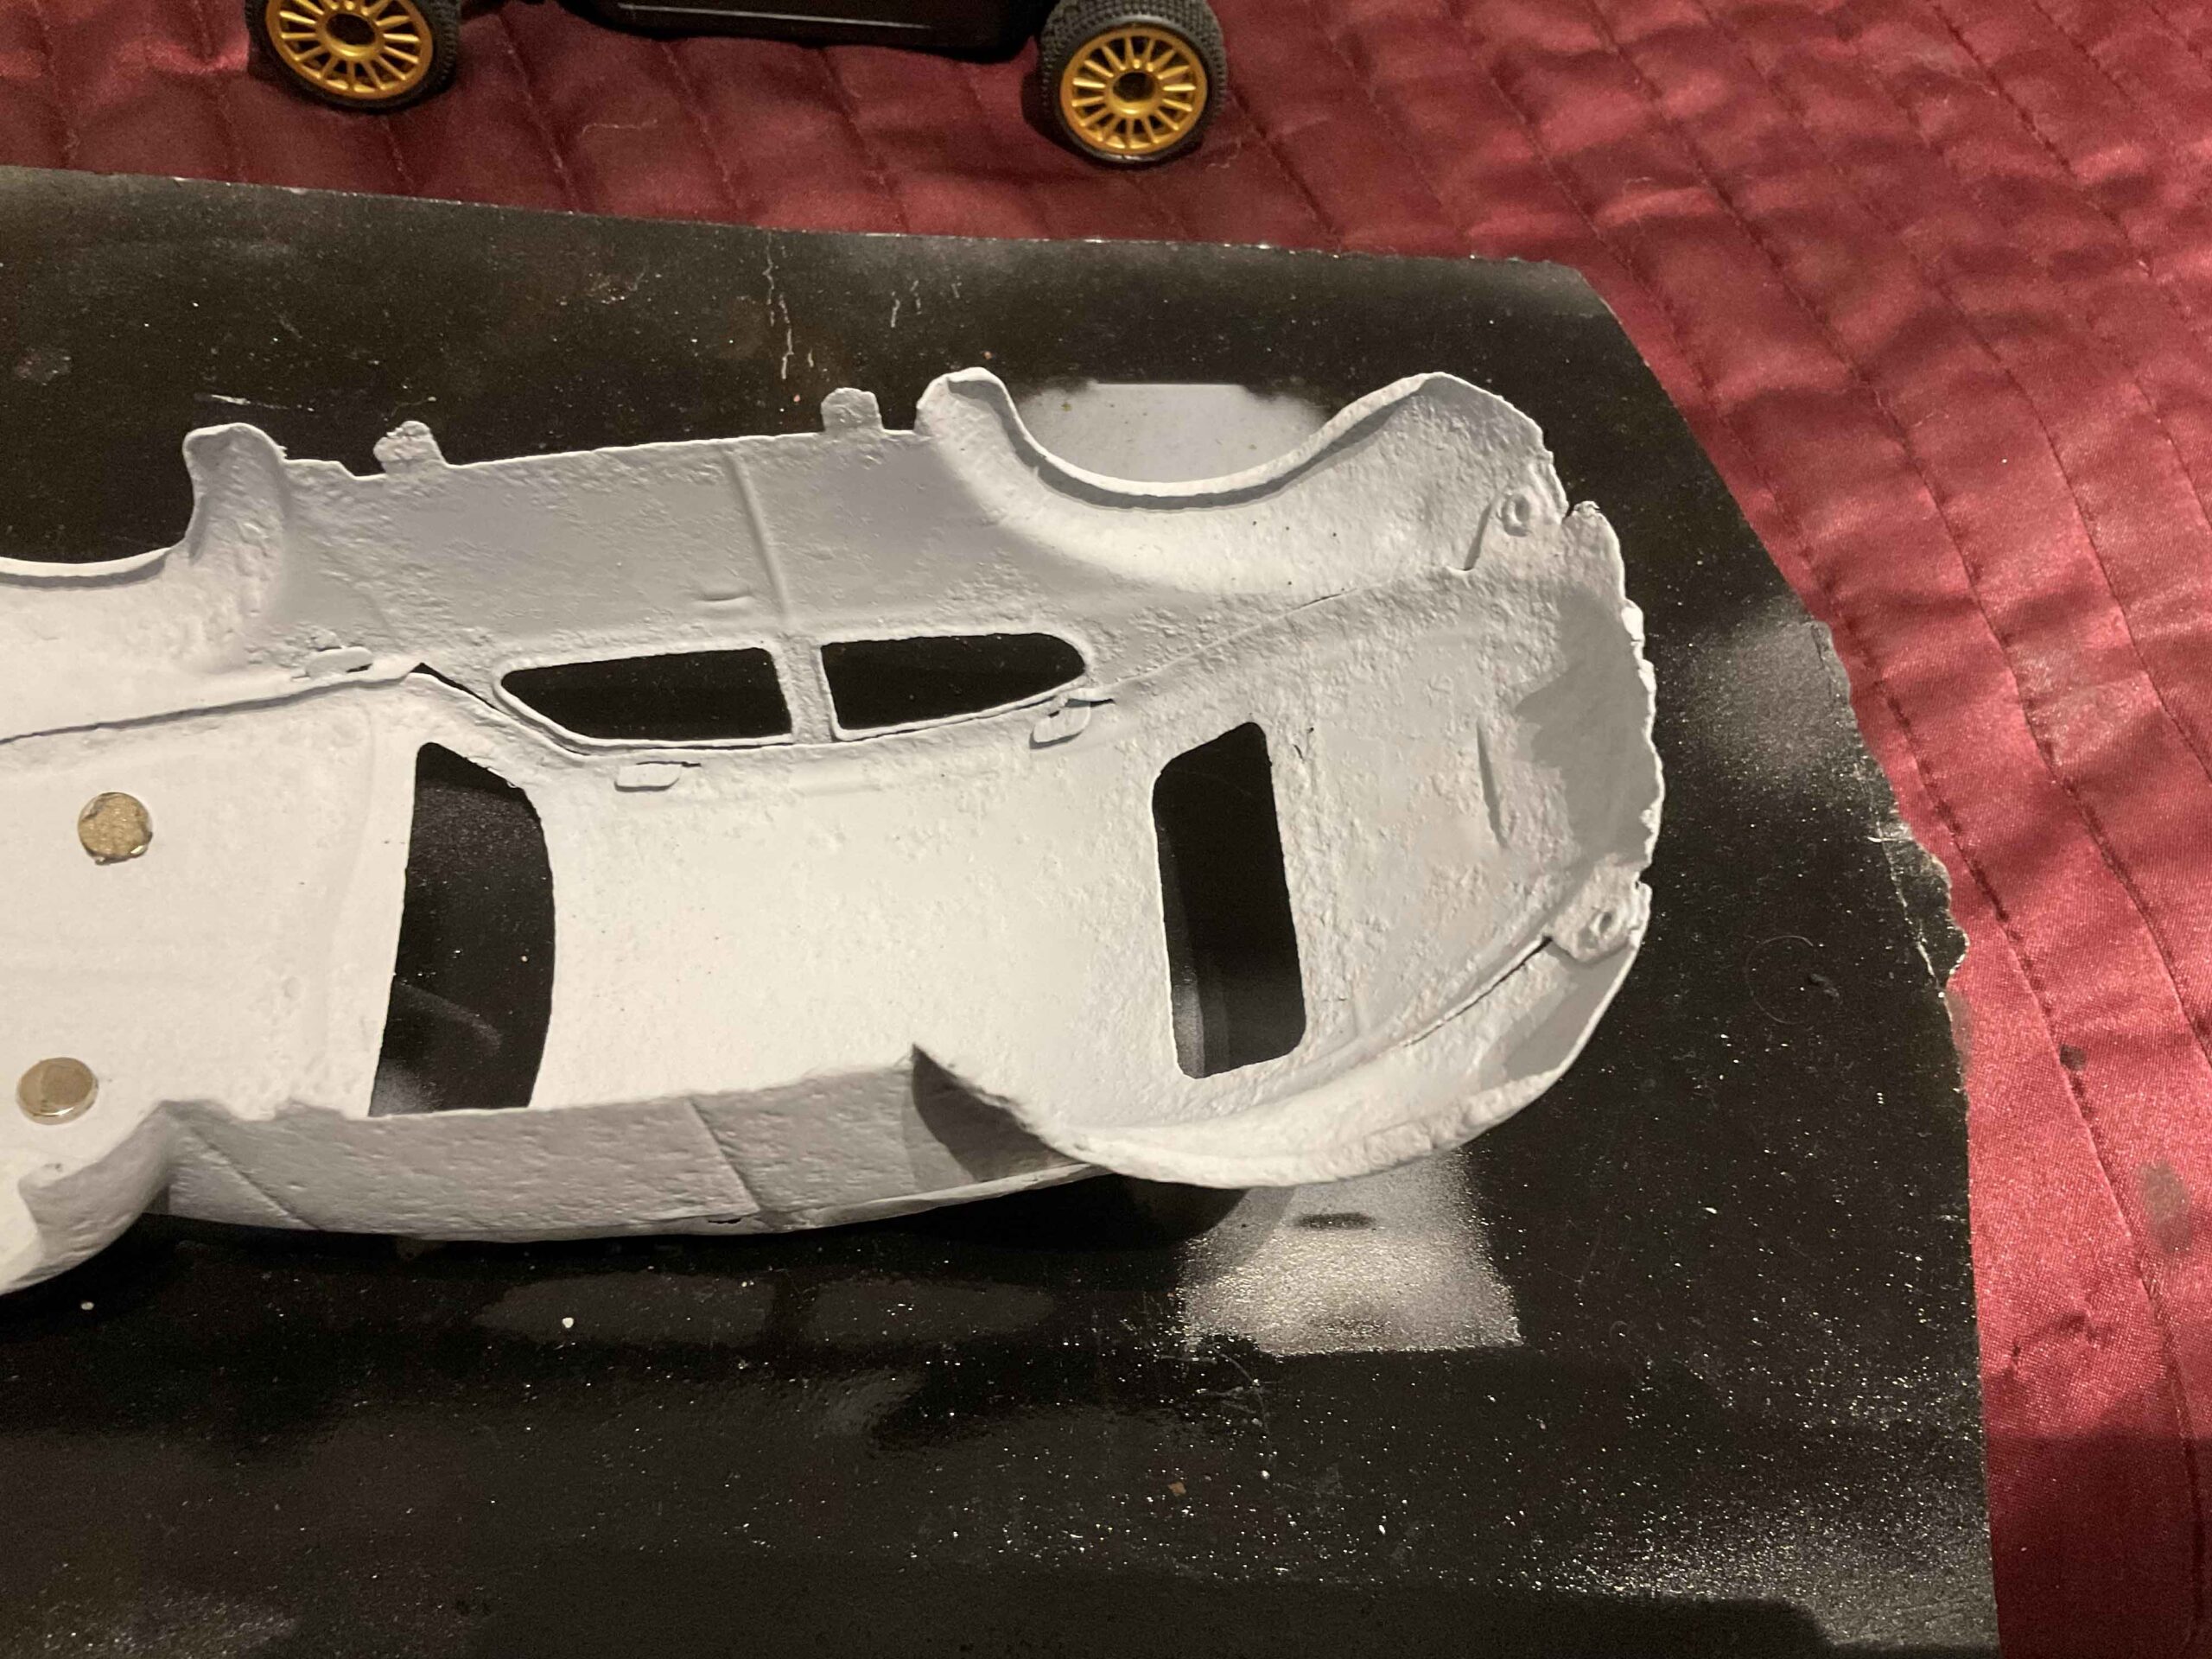
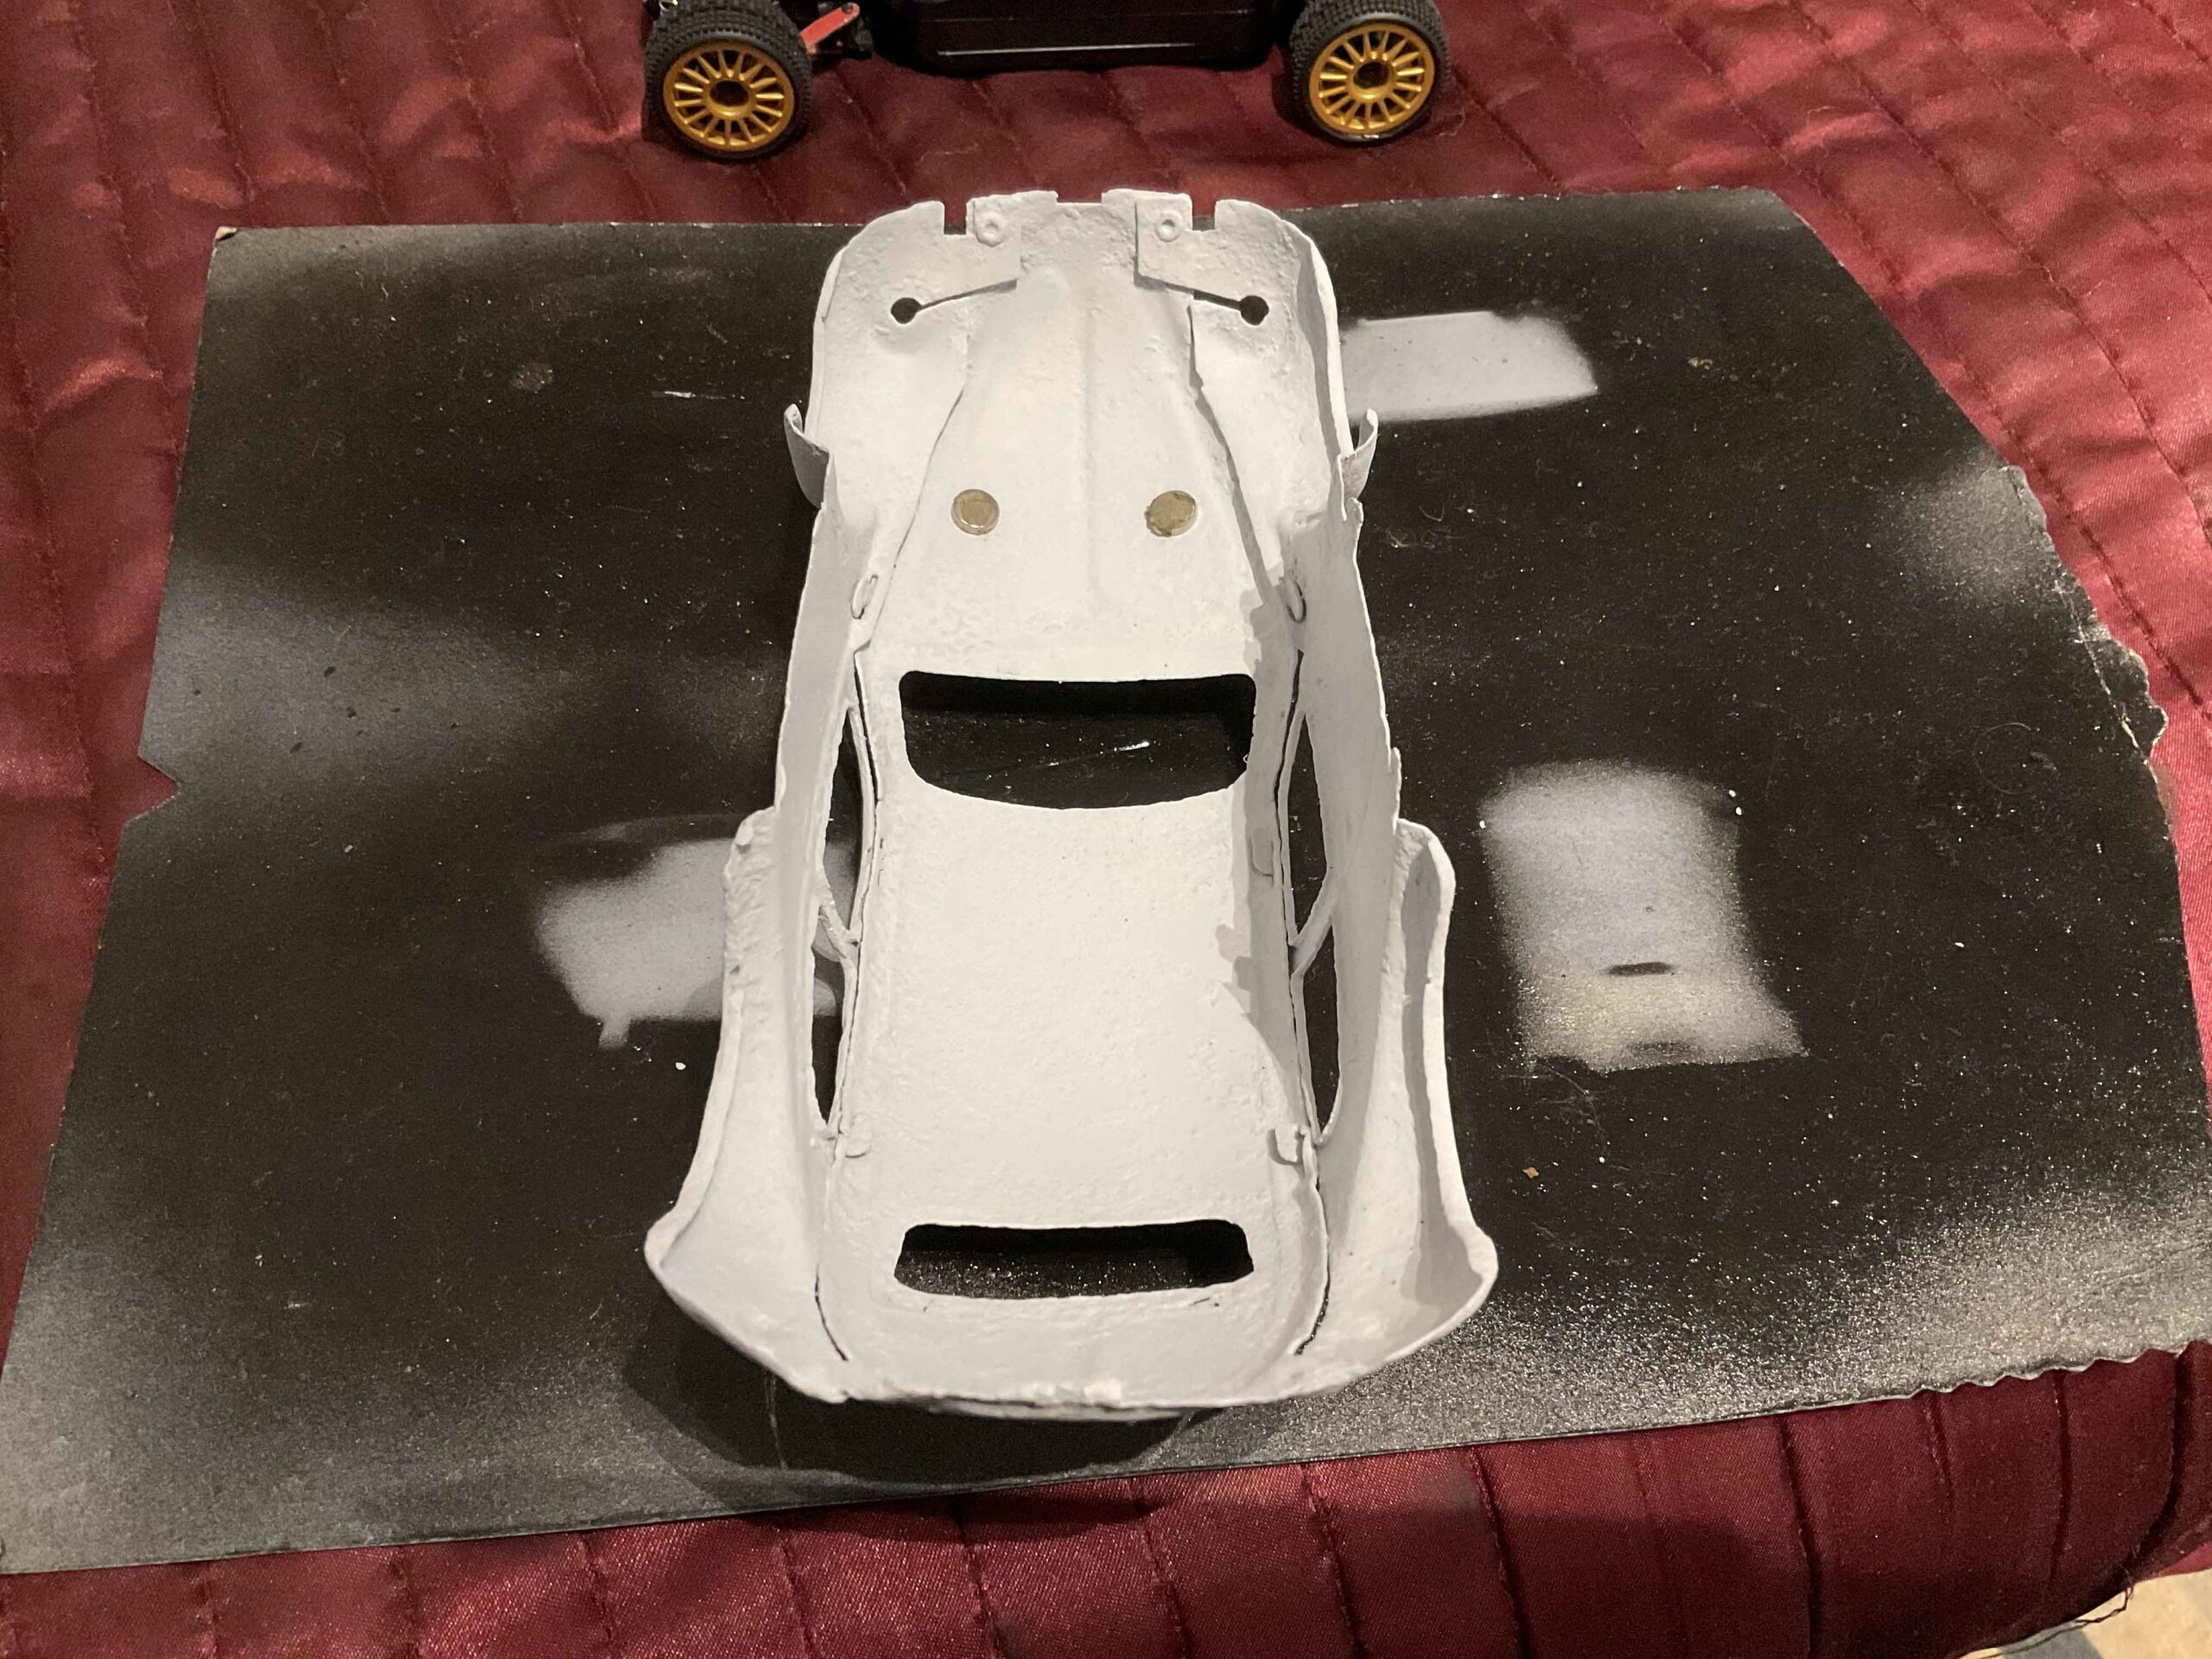
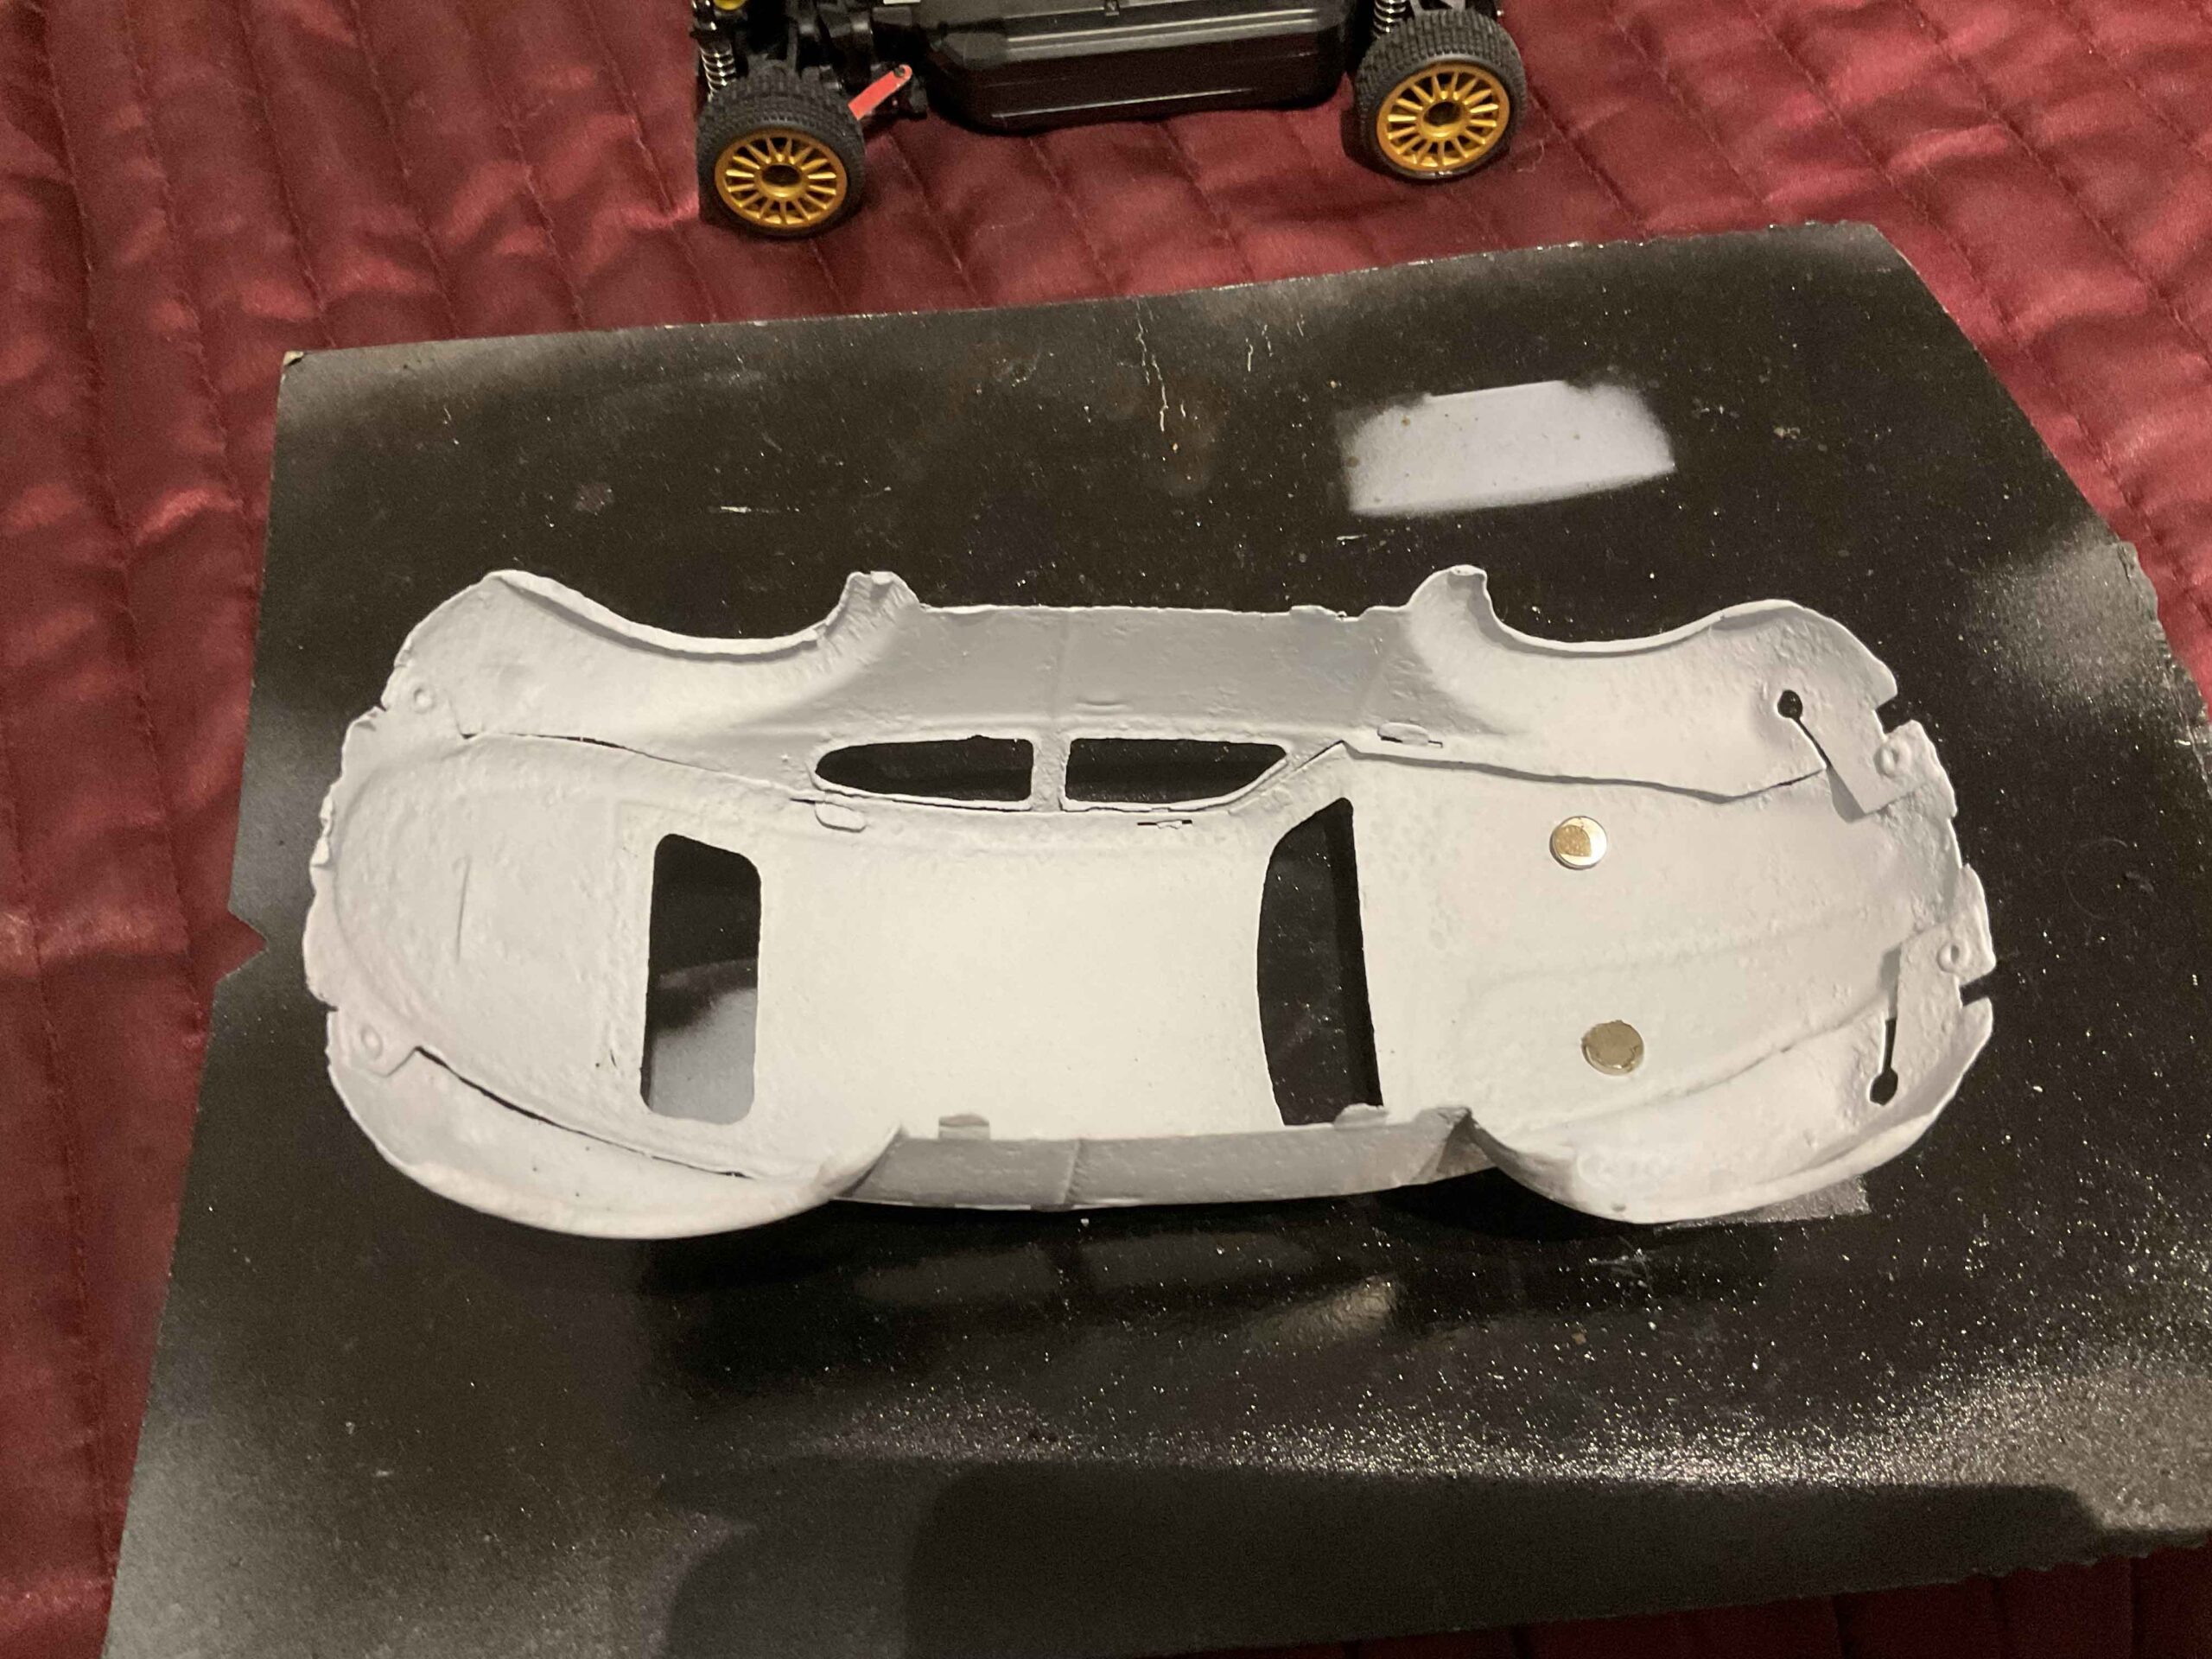
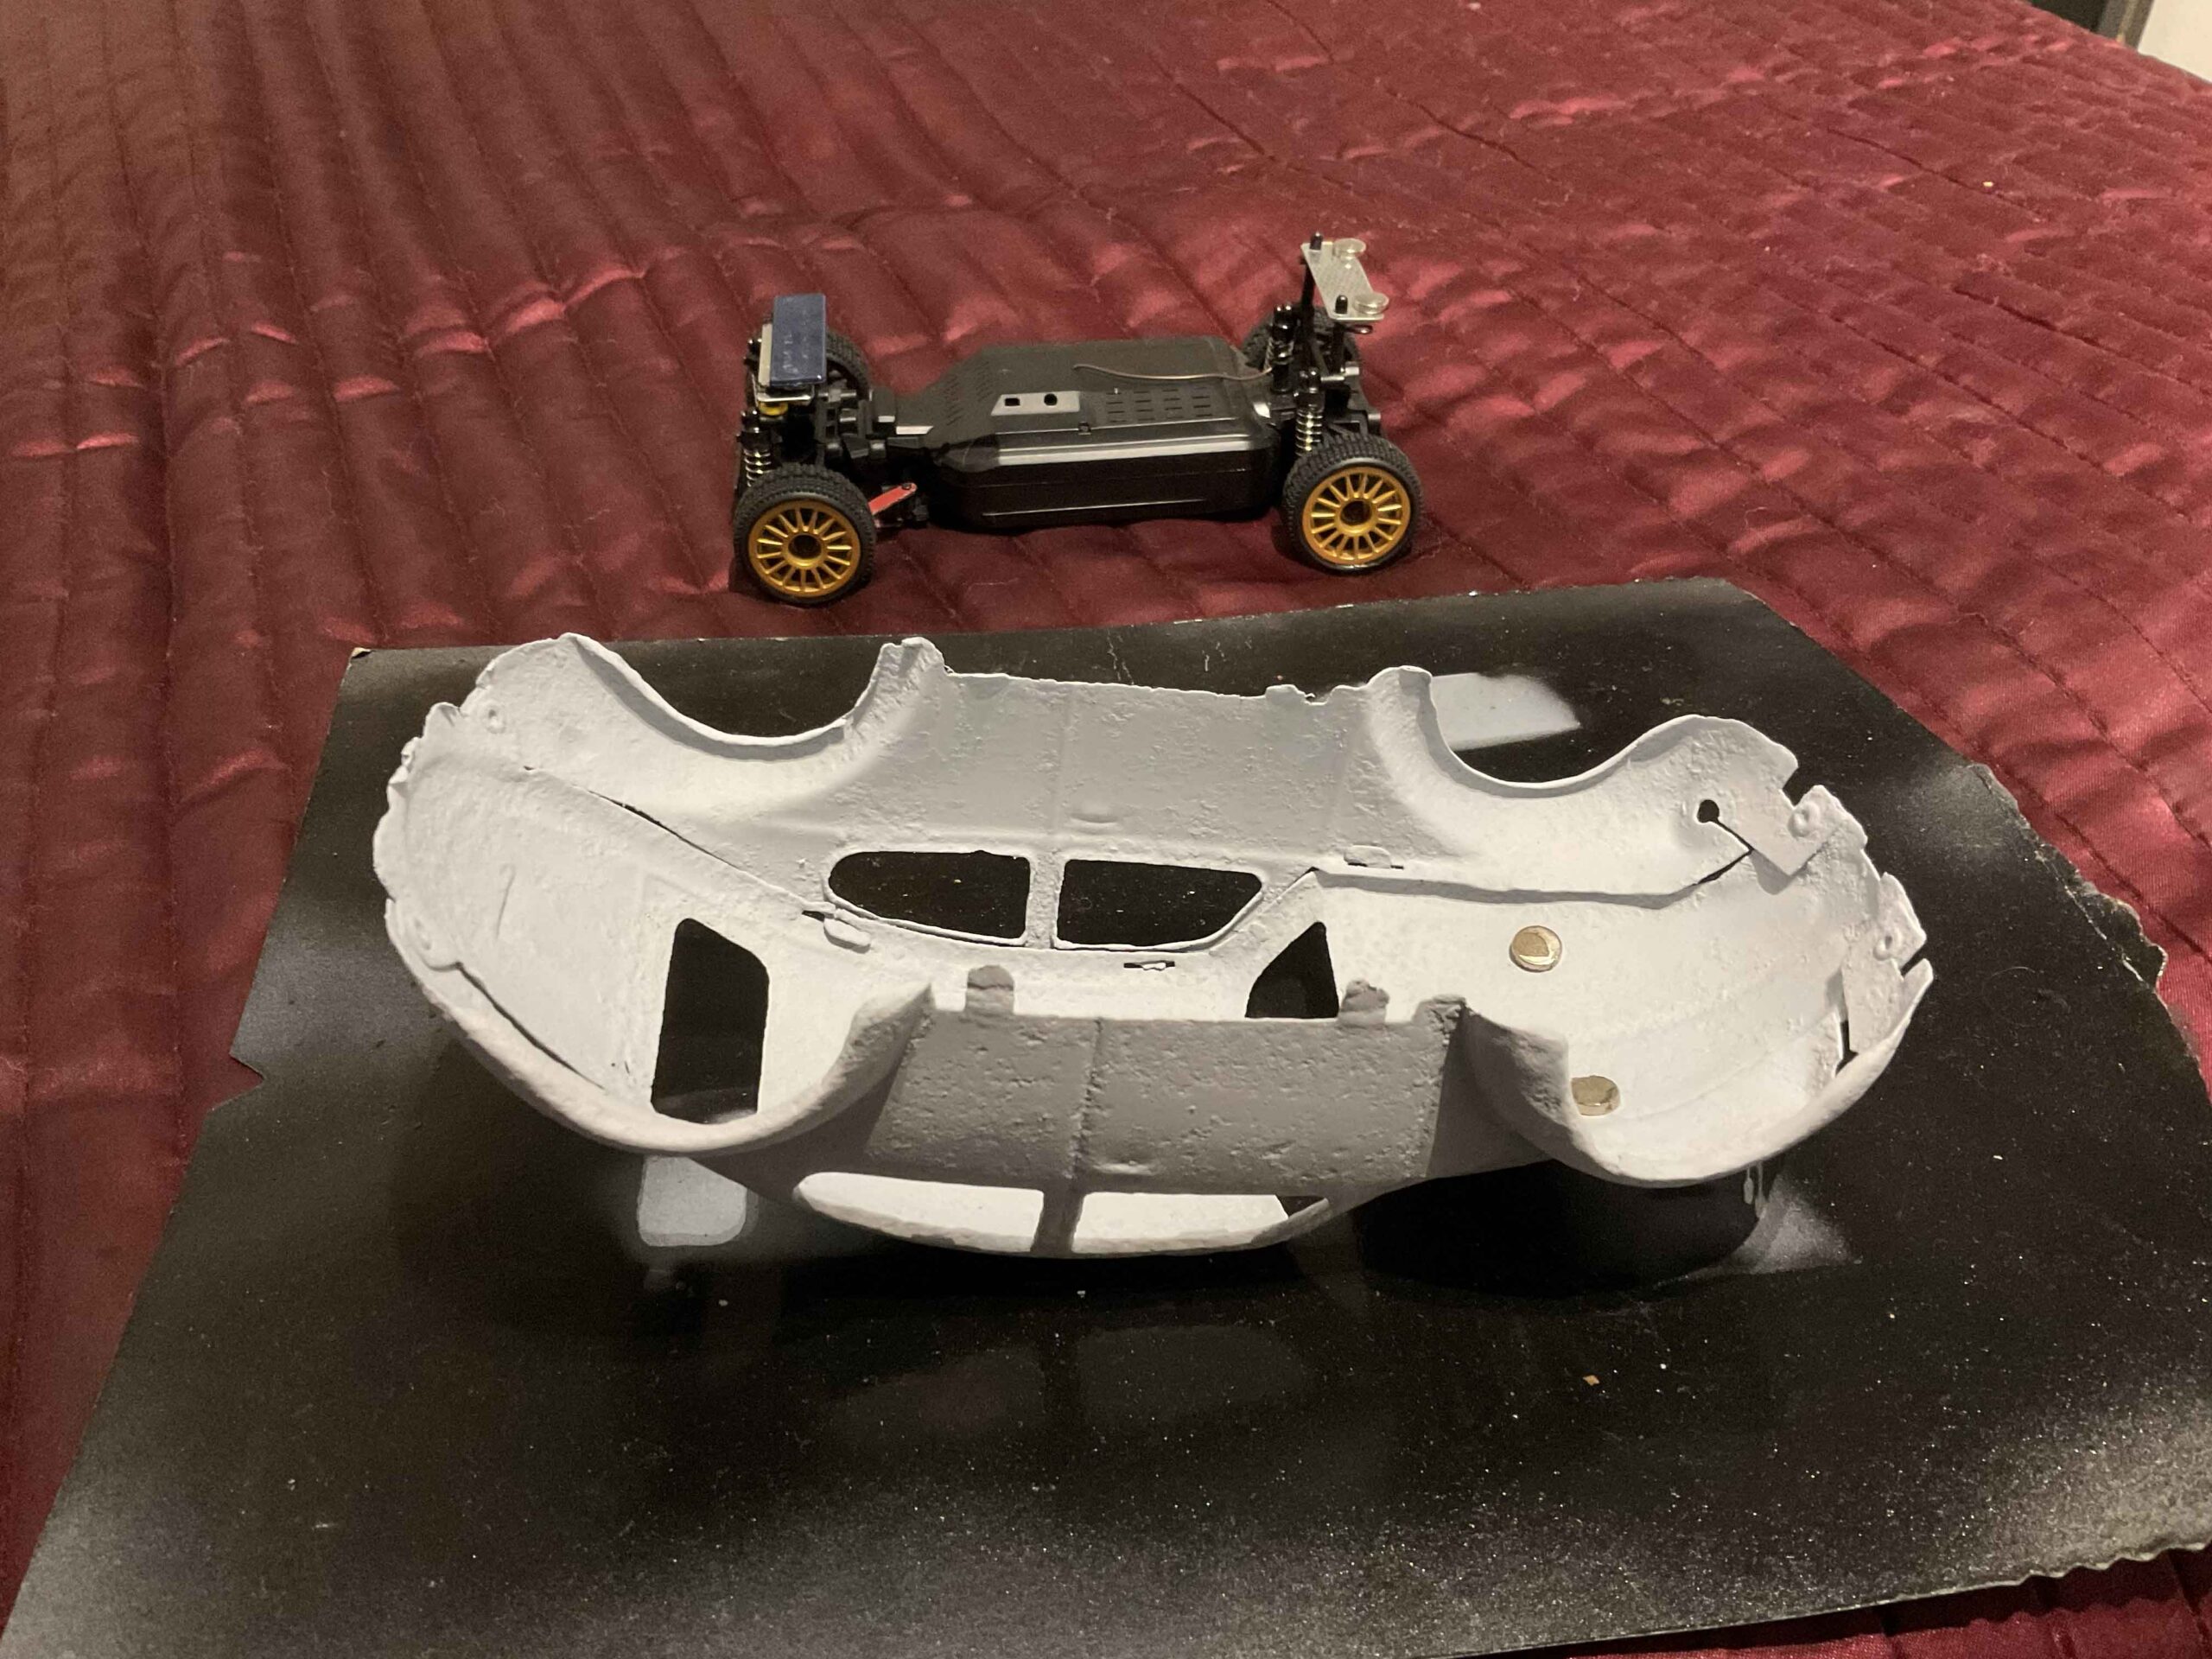
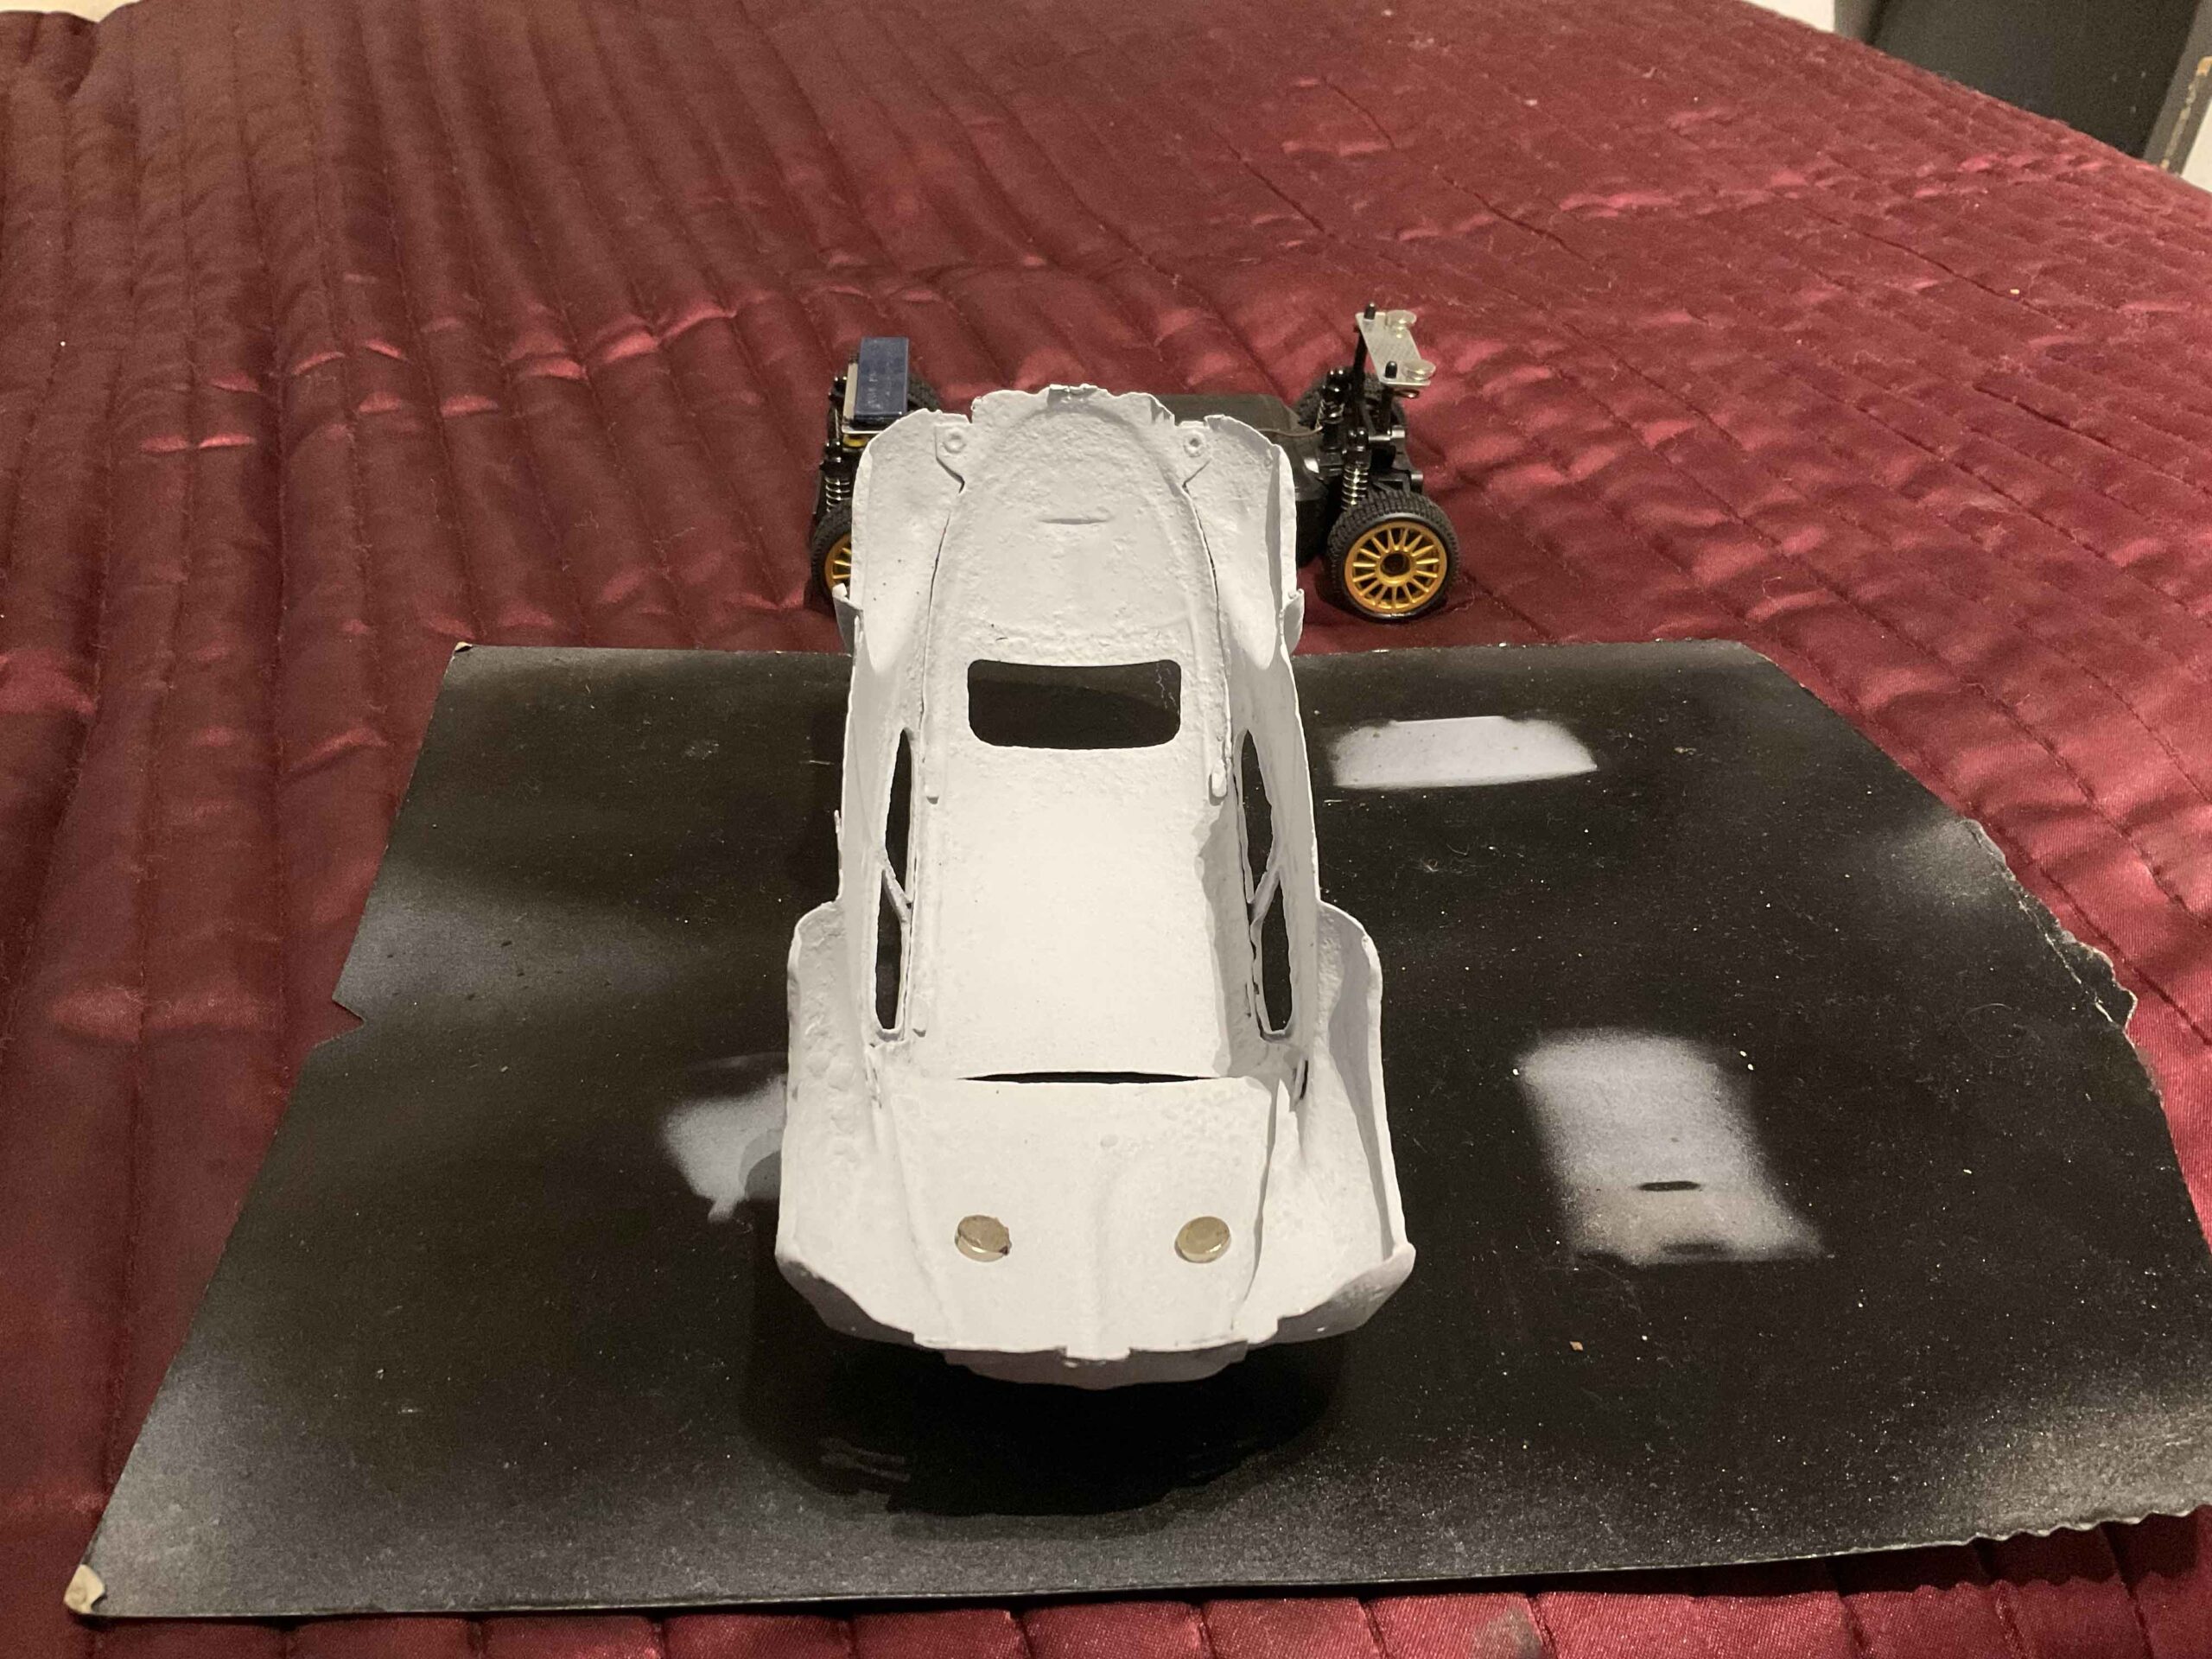
Stage 5. Top Coat. After the primer had dried it was time to apply top coat. I have chosen black as I want it to look like my Beetle. I applied several thin layers of paint, again starting with the inside then turning it over and painting the outside. I did end up putting a few finger marks on it after painting so I had to rub it down and re-paint. I think it looks better than the first time round. I left it at least a week before proceeding with the next step.
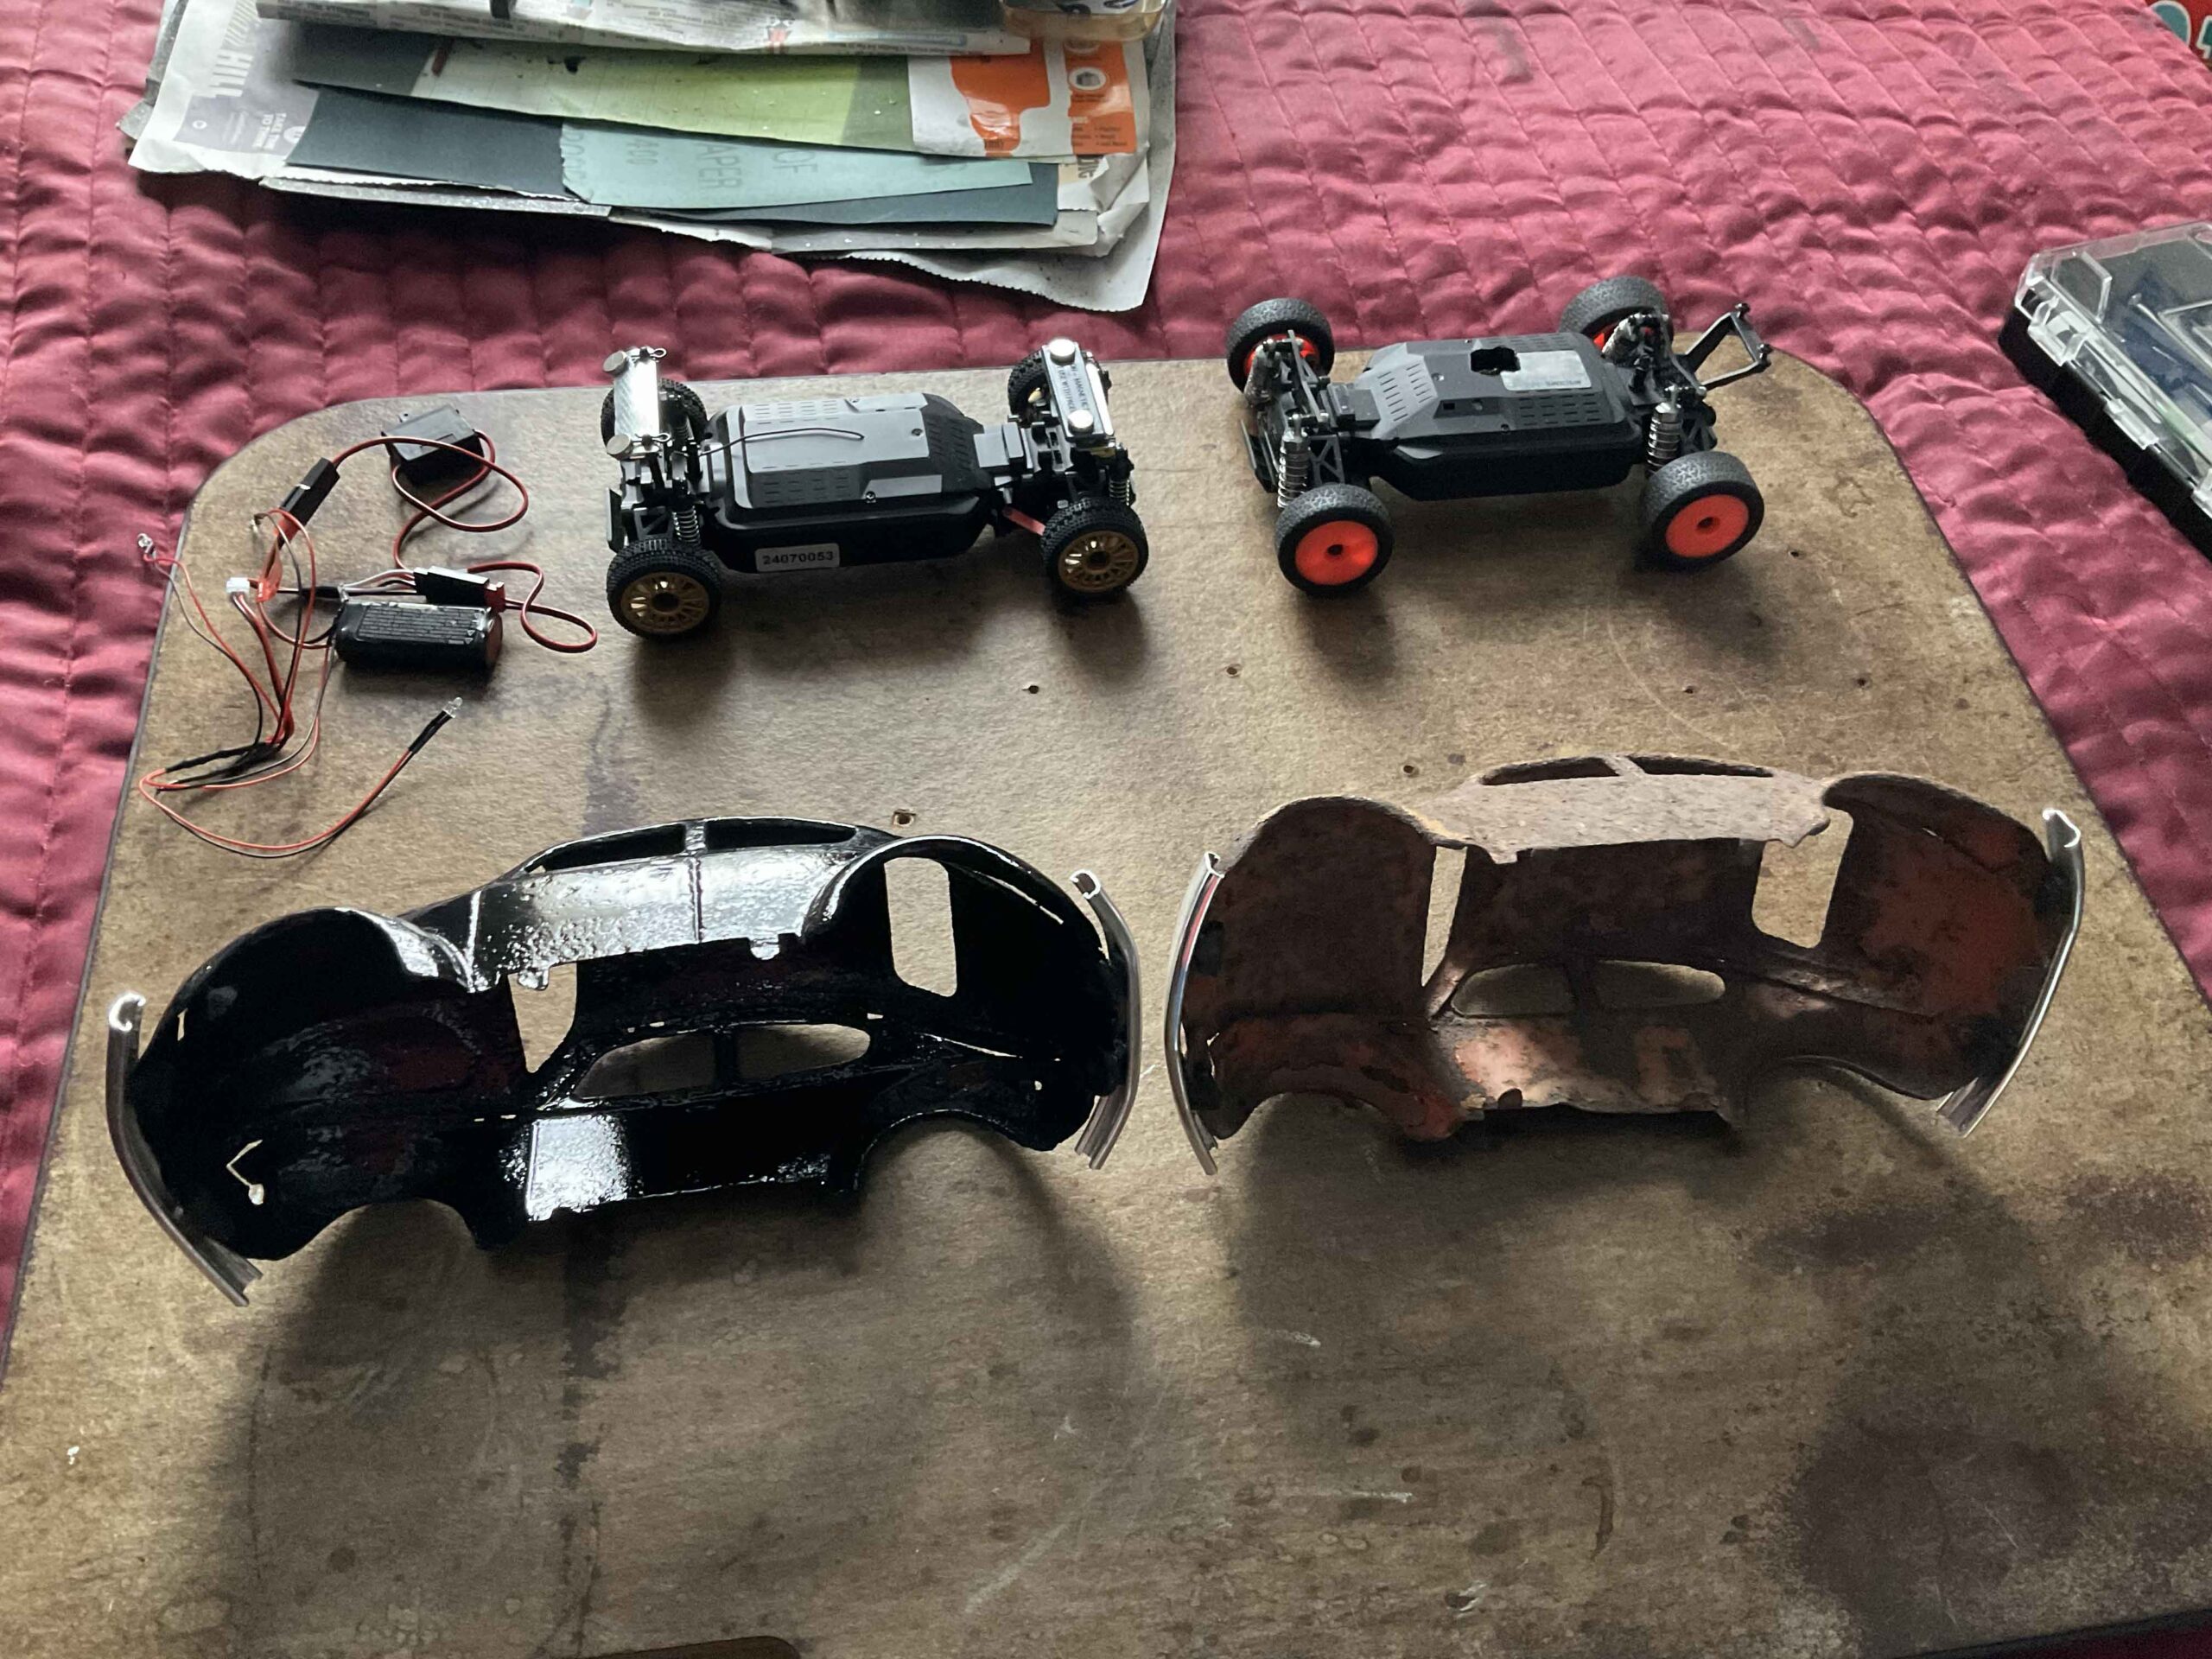
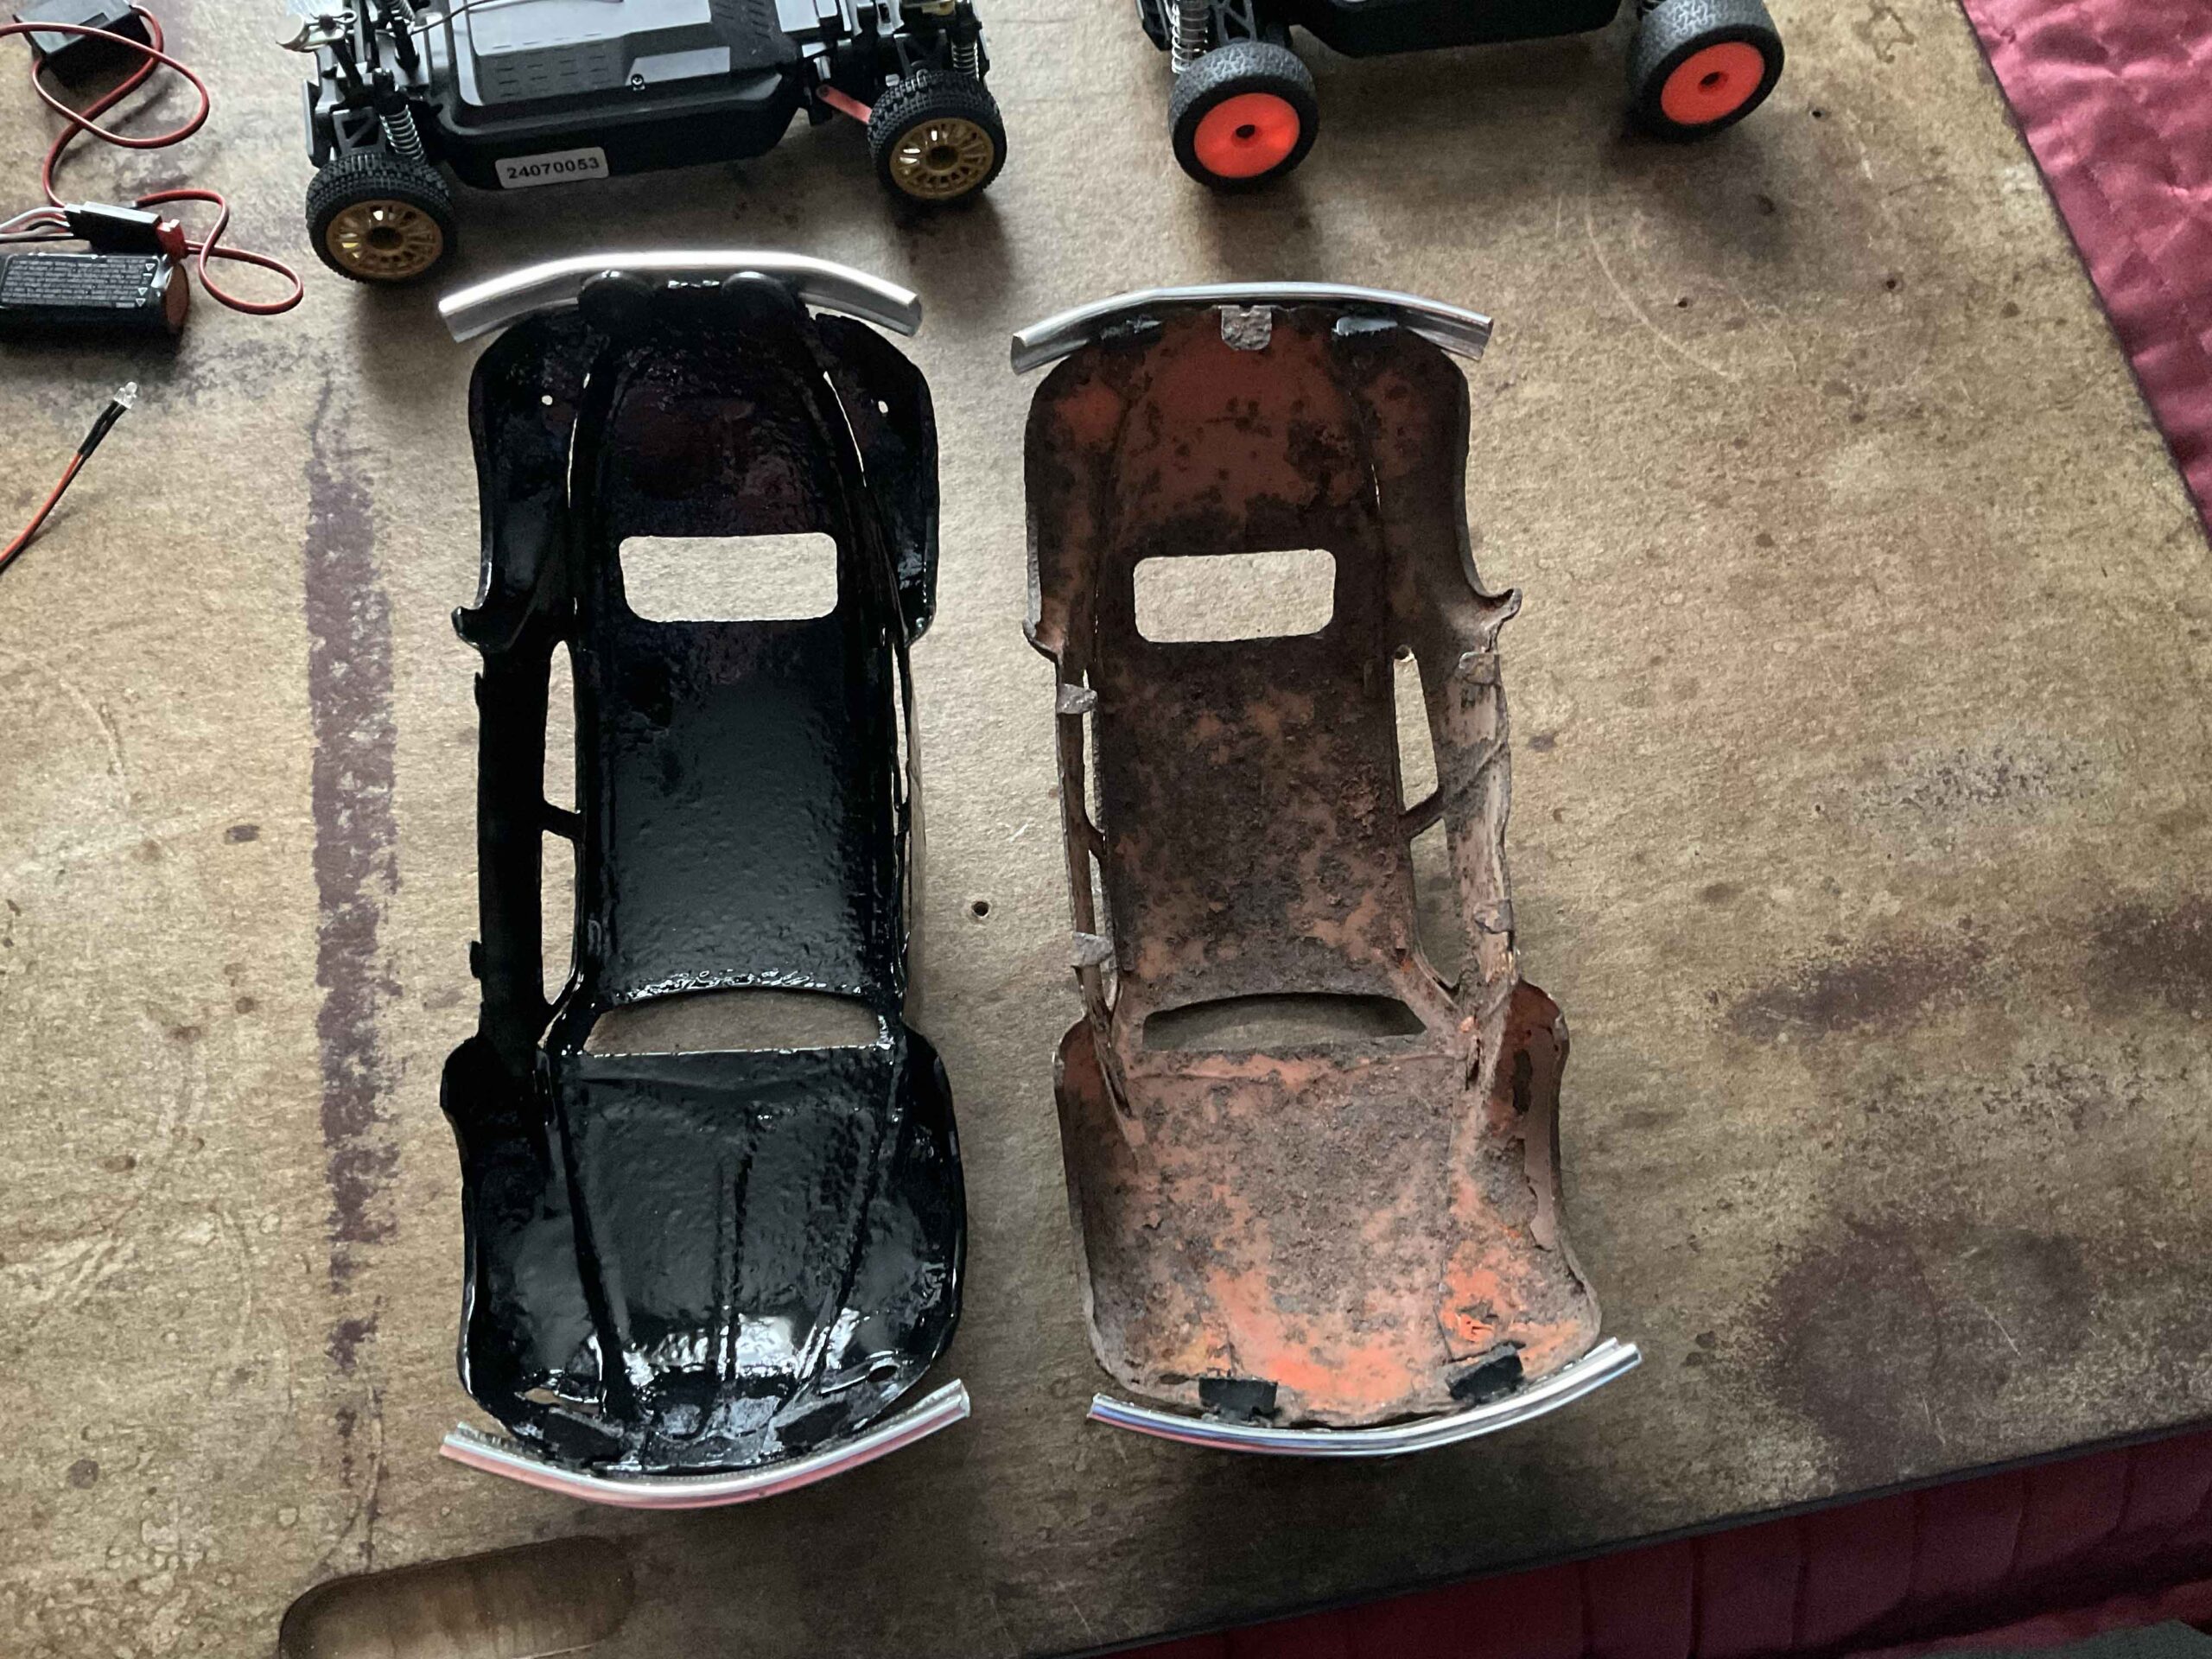
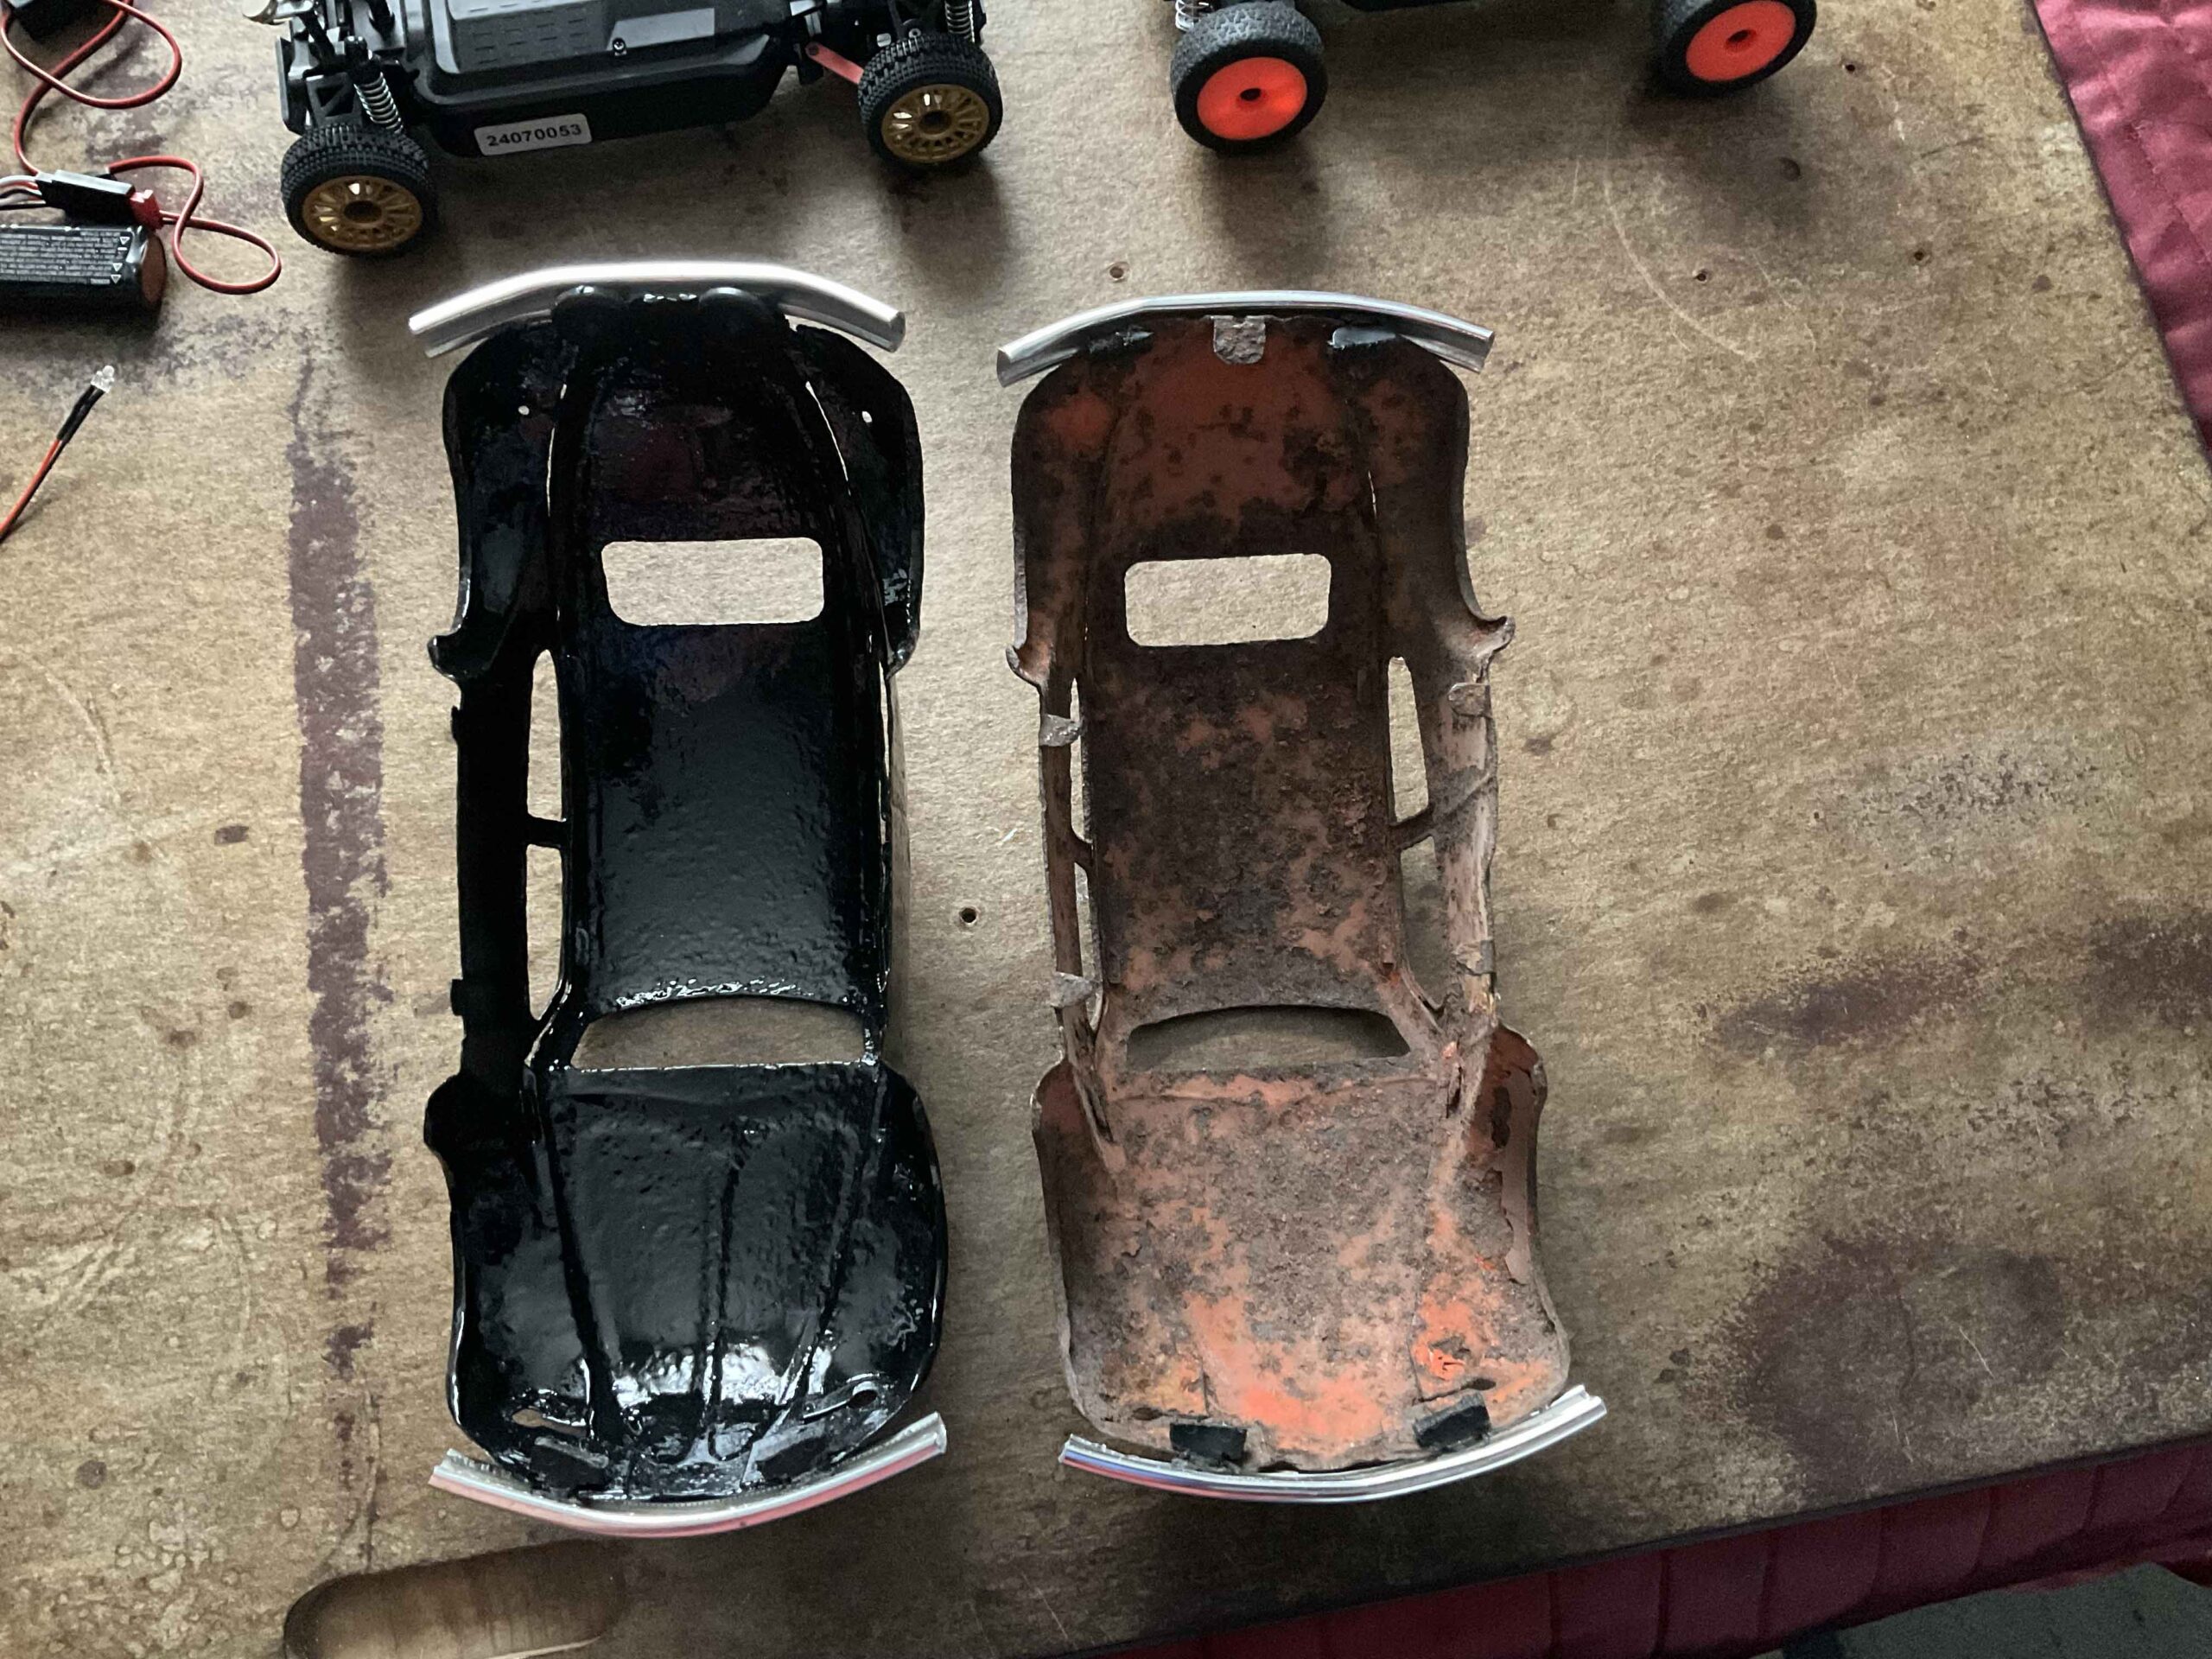
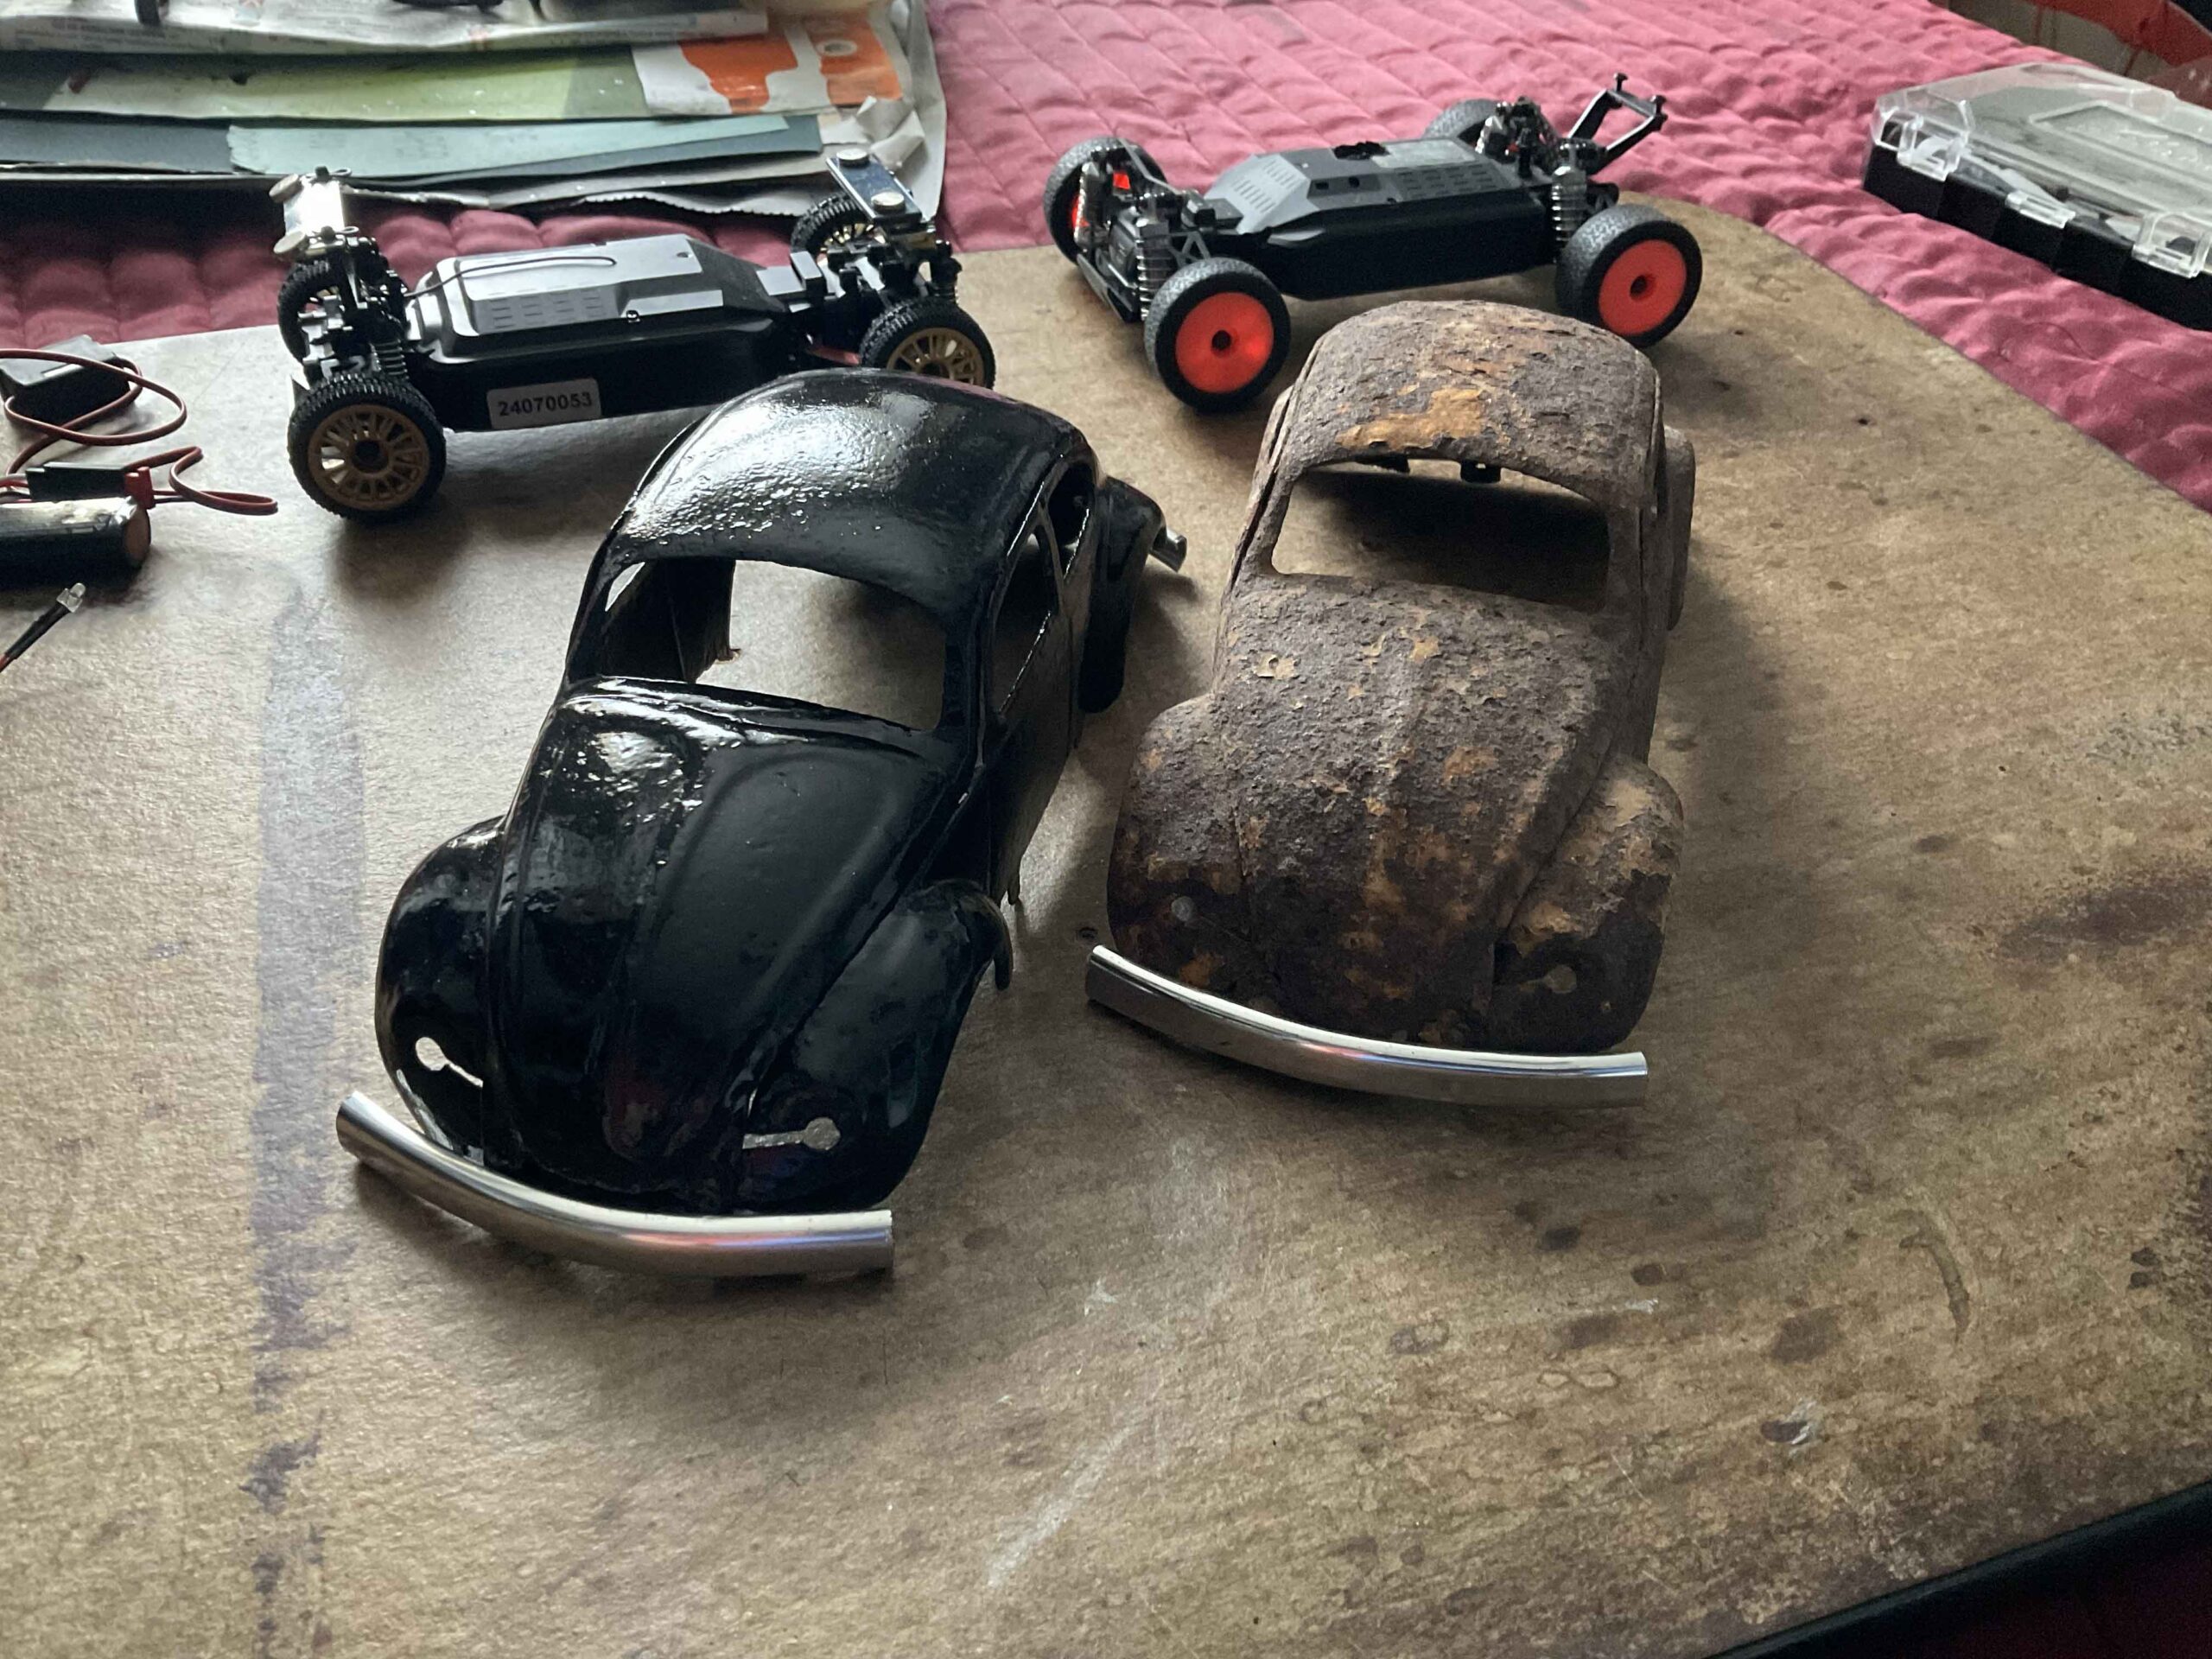
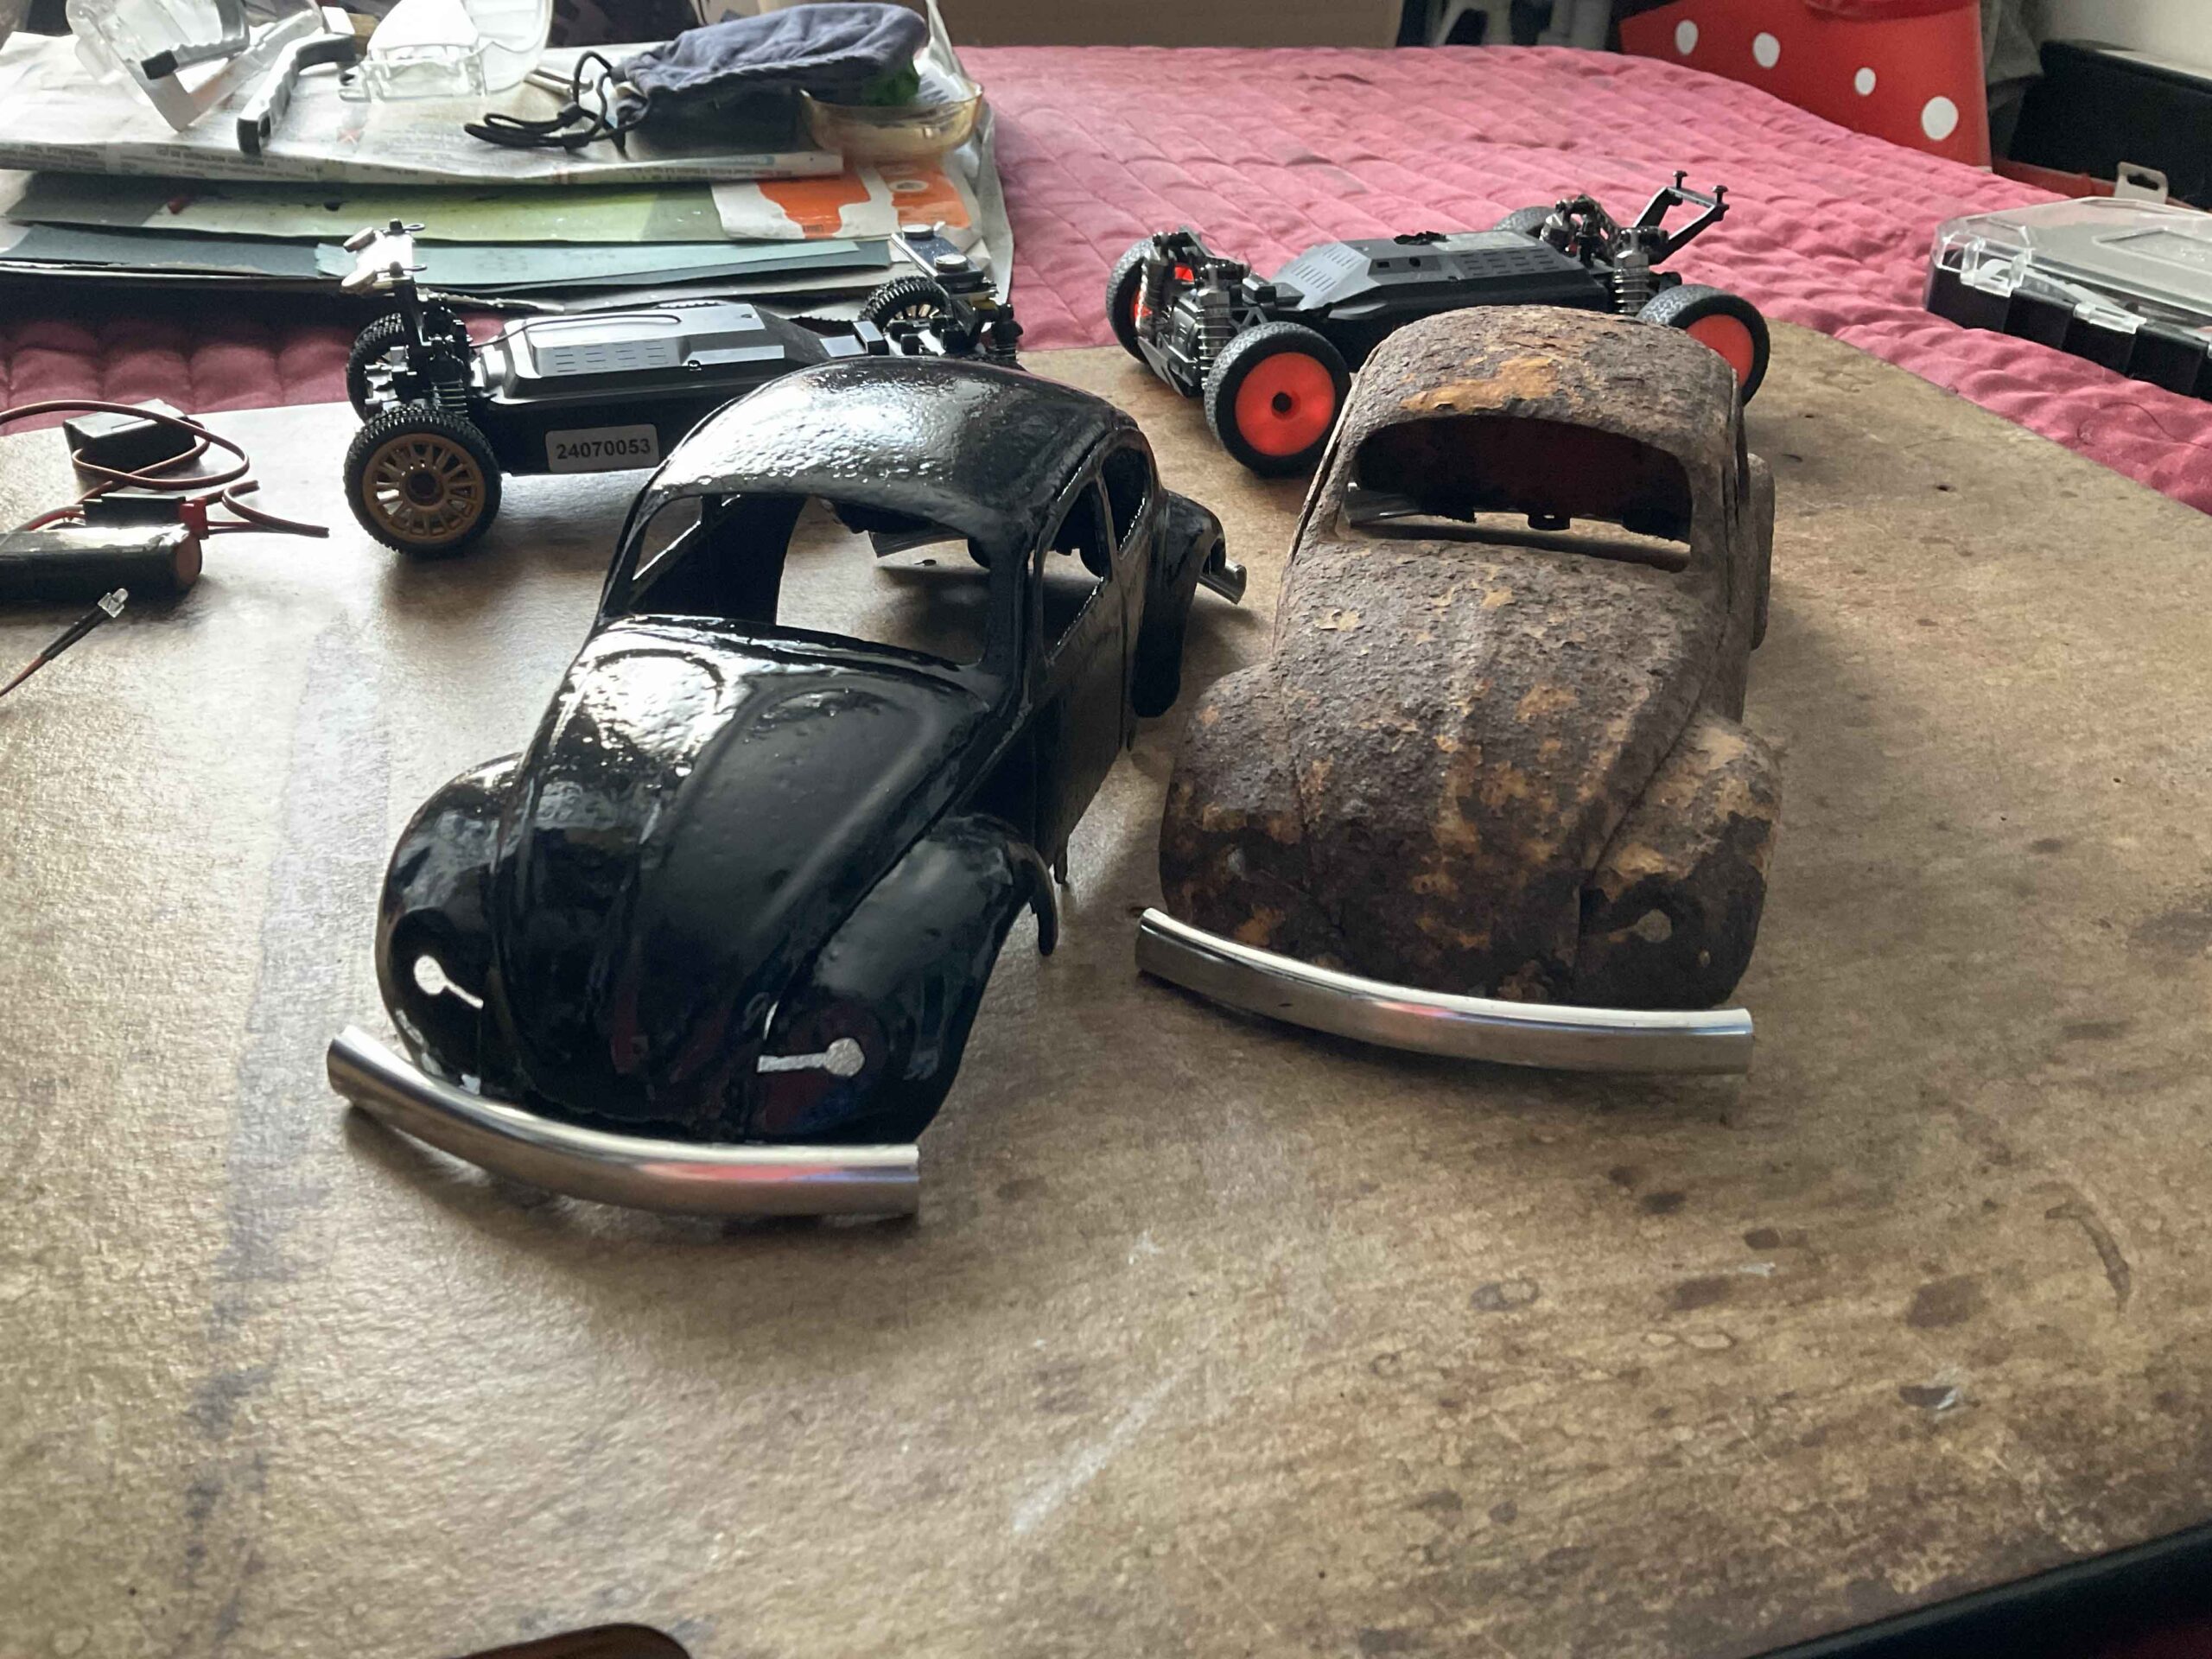
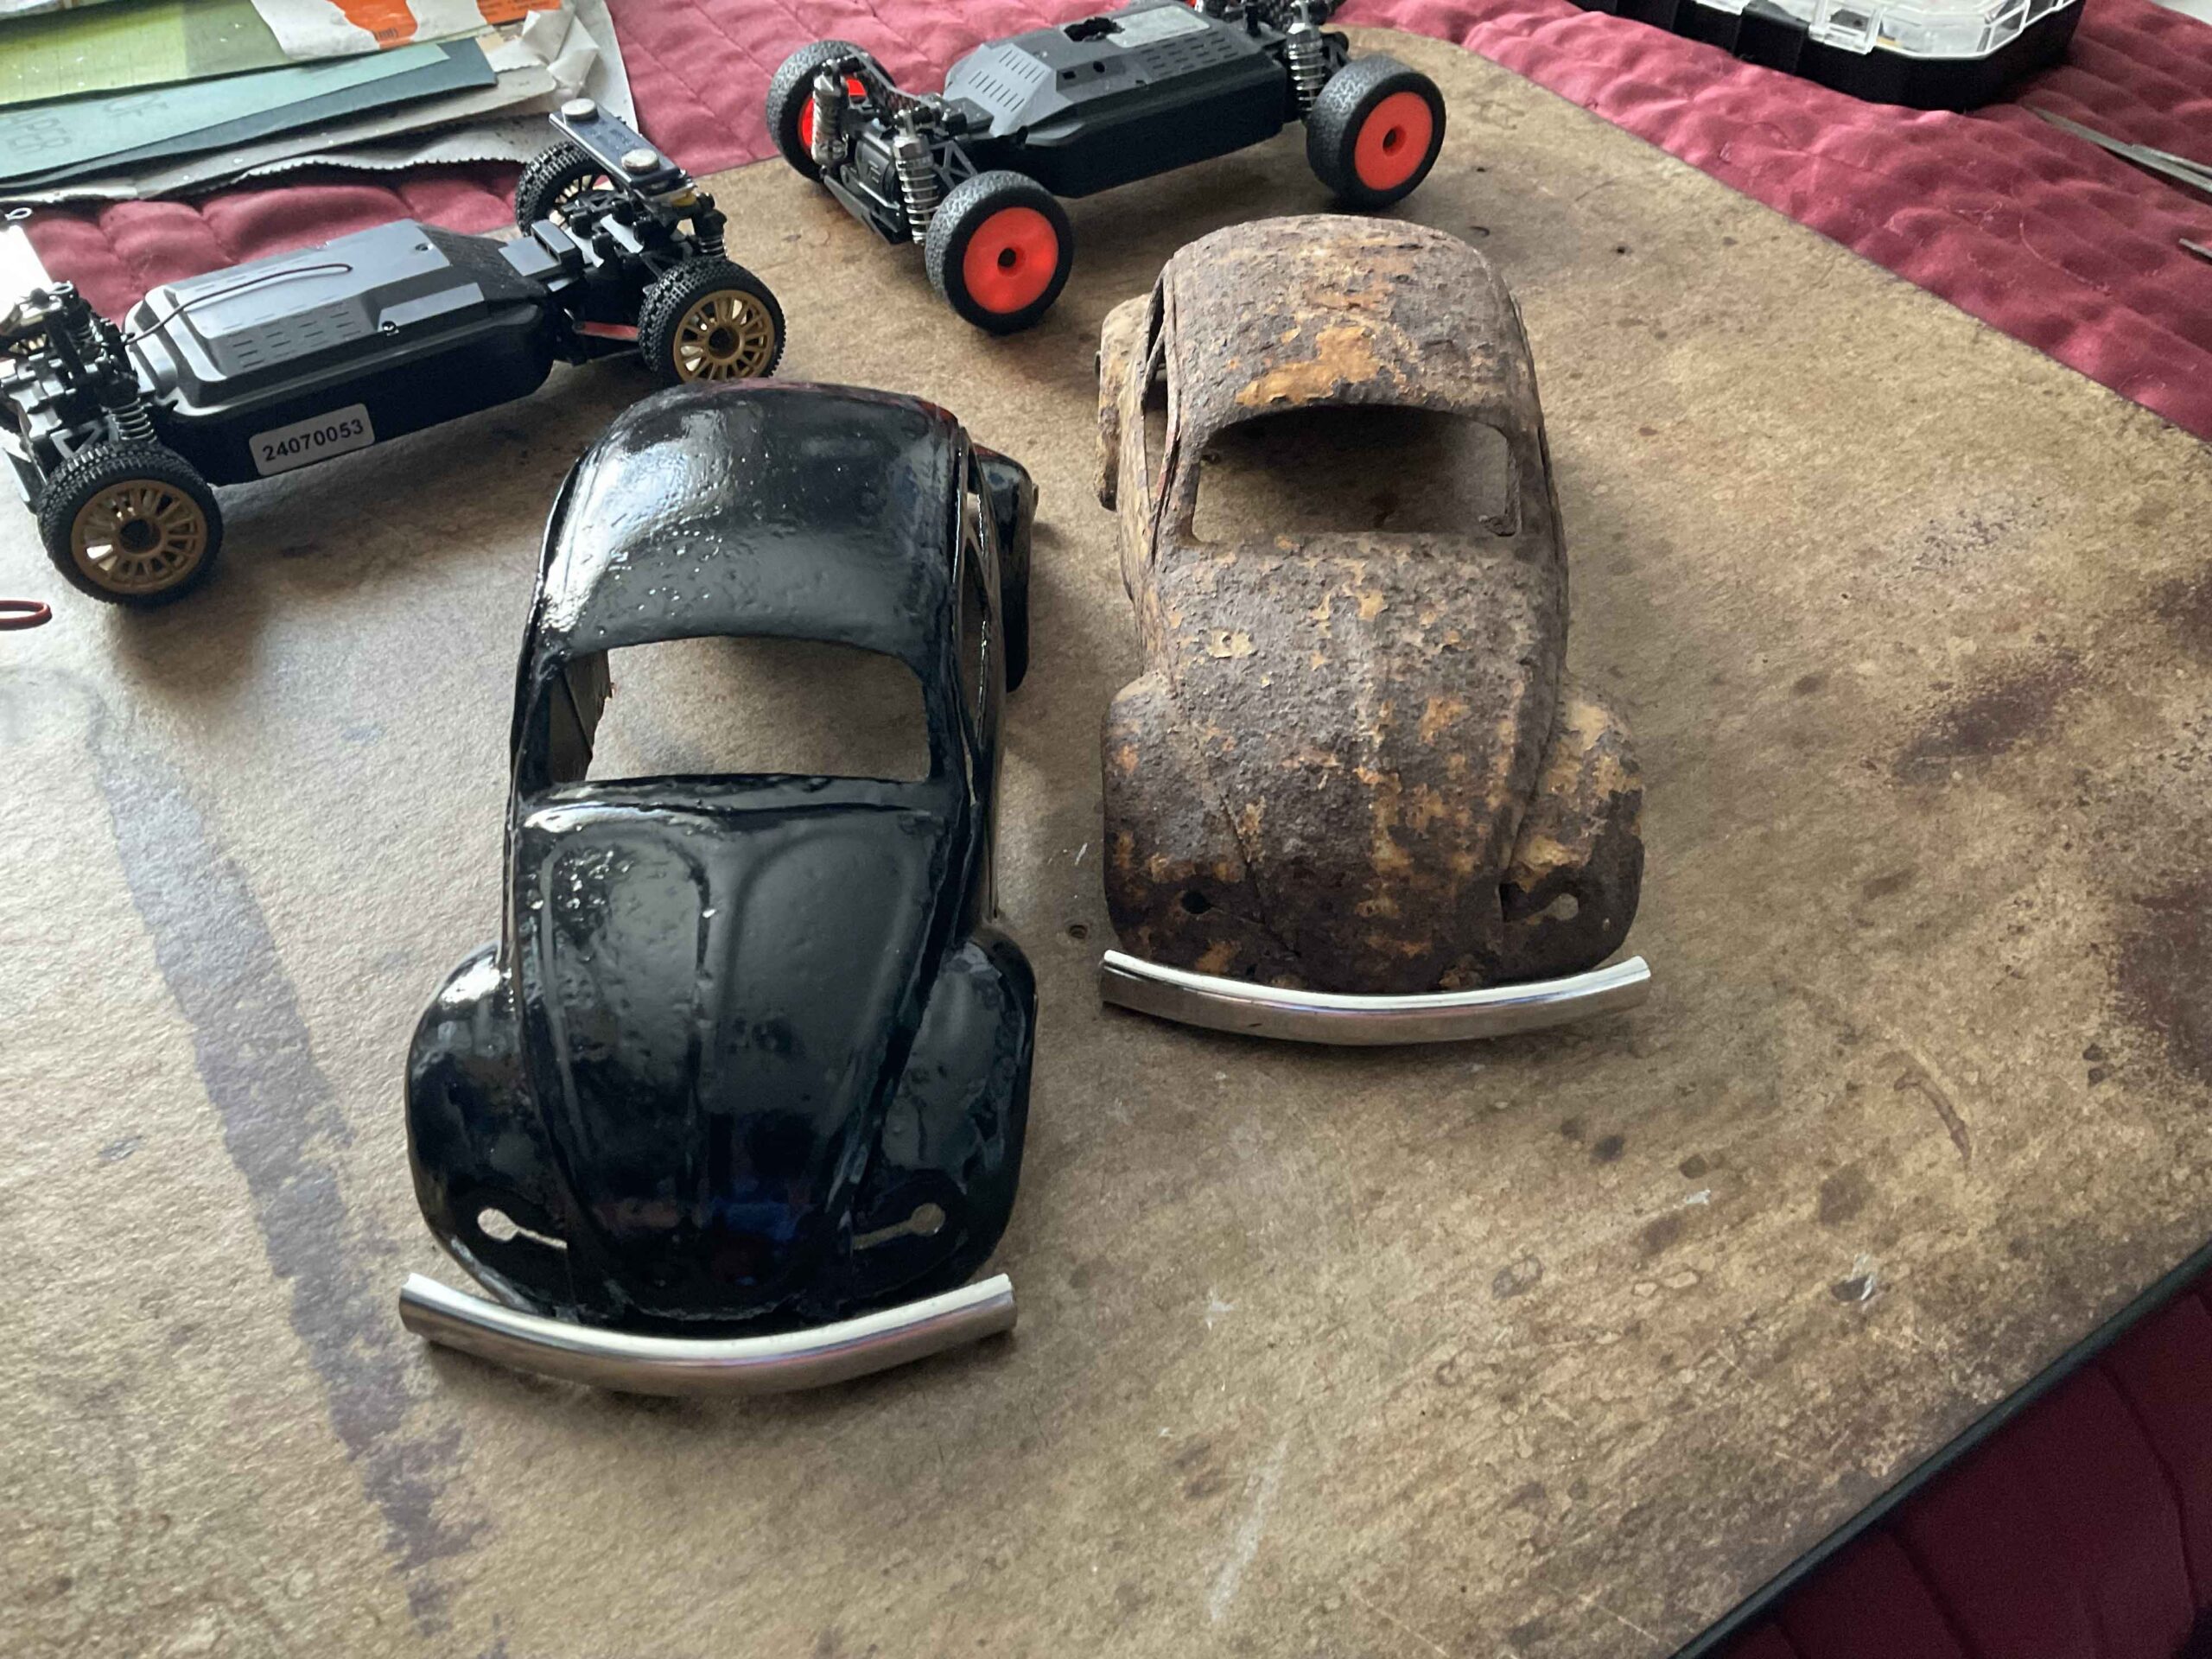
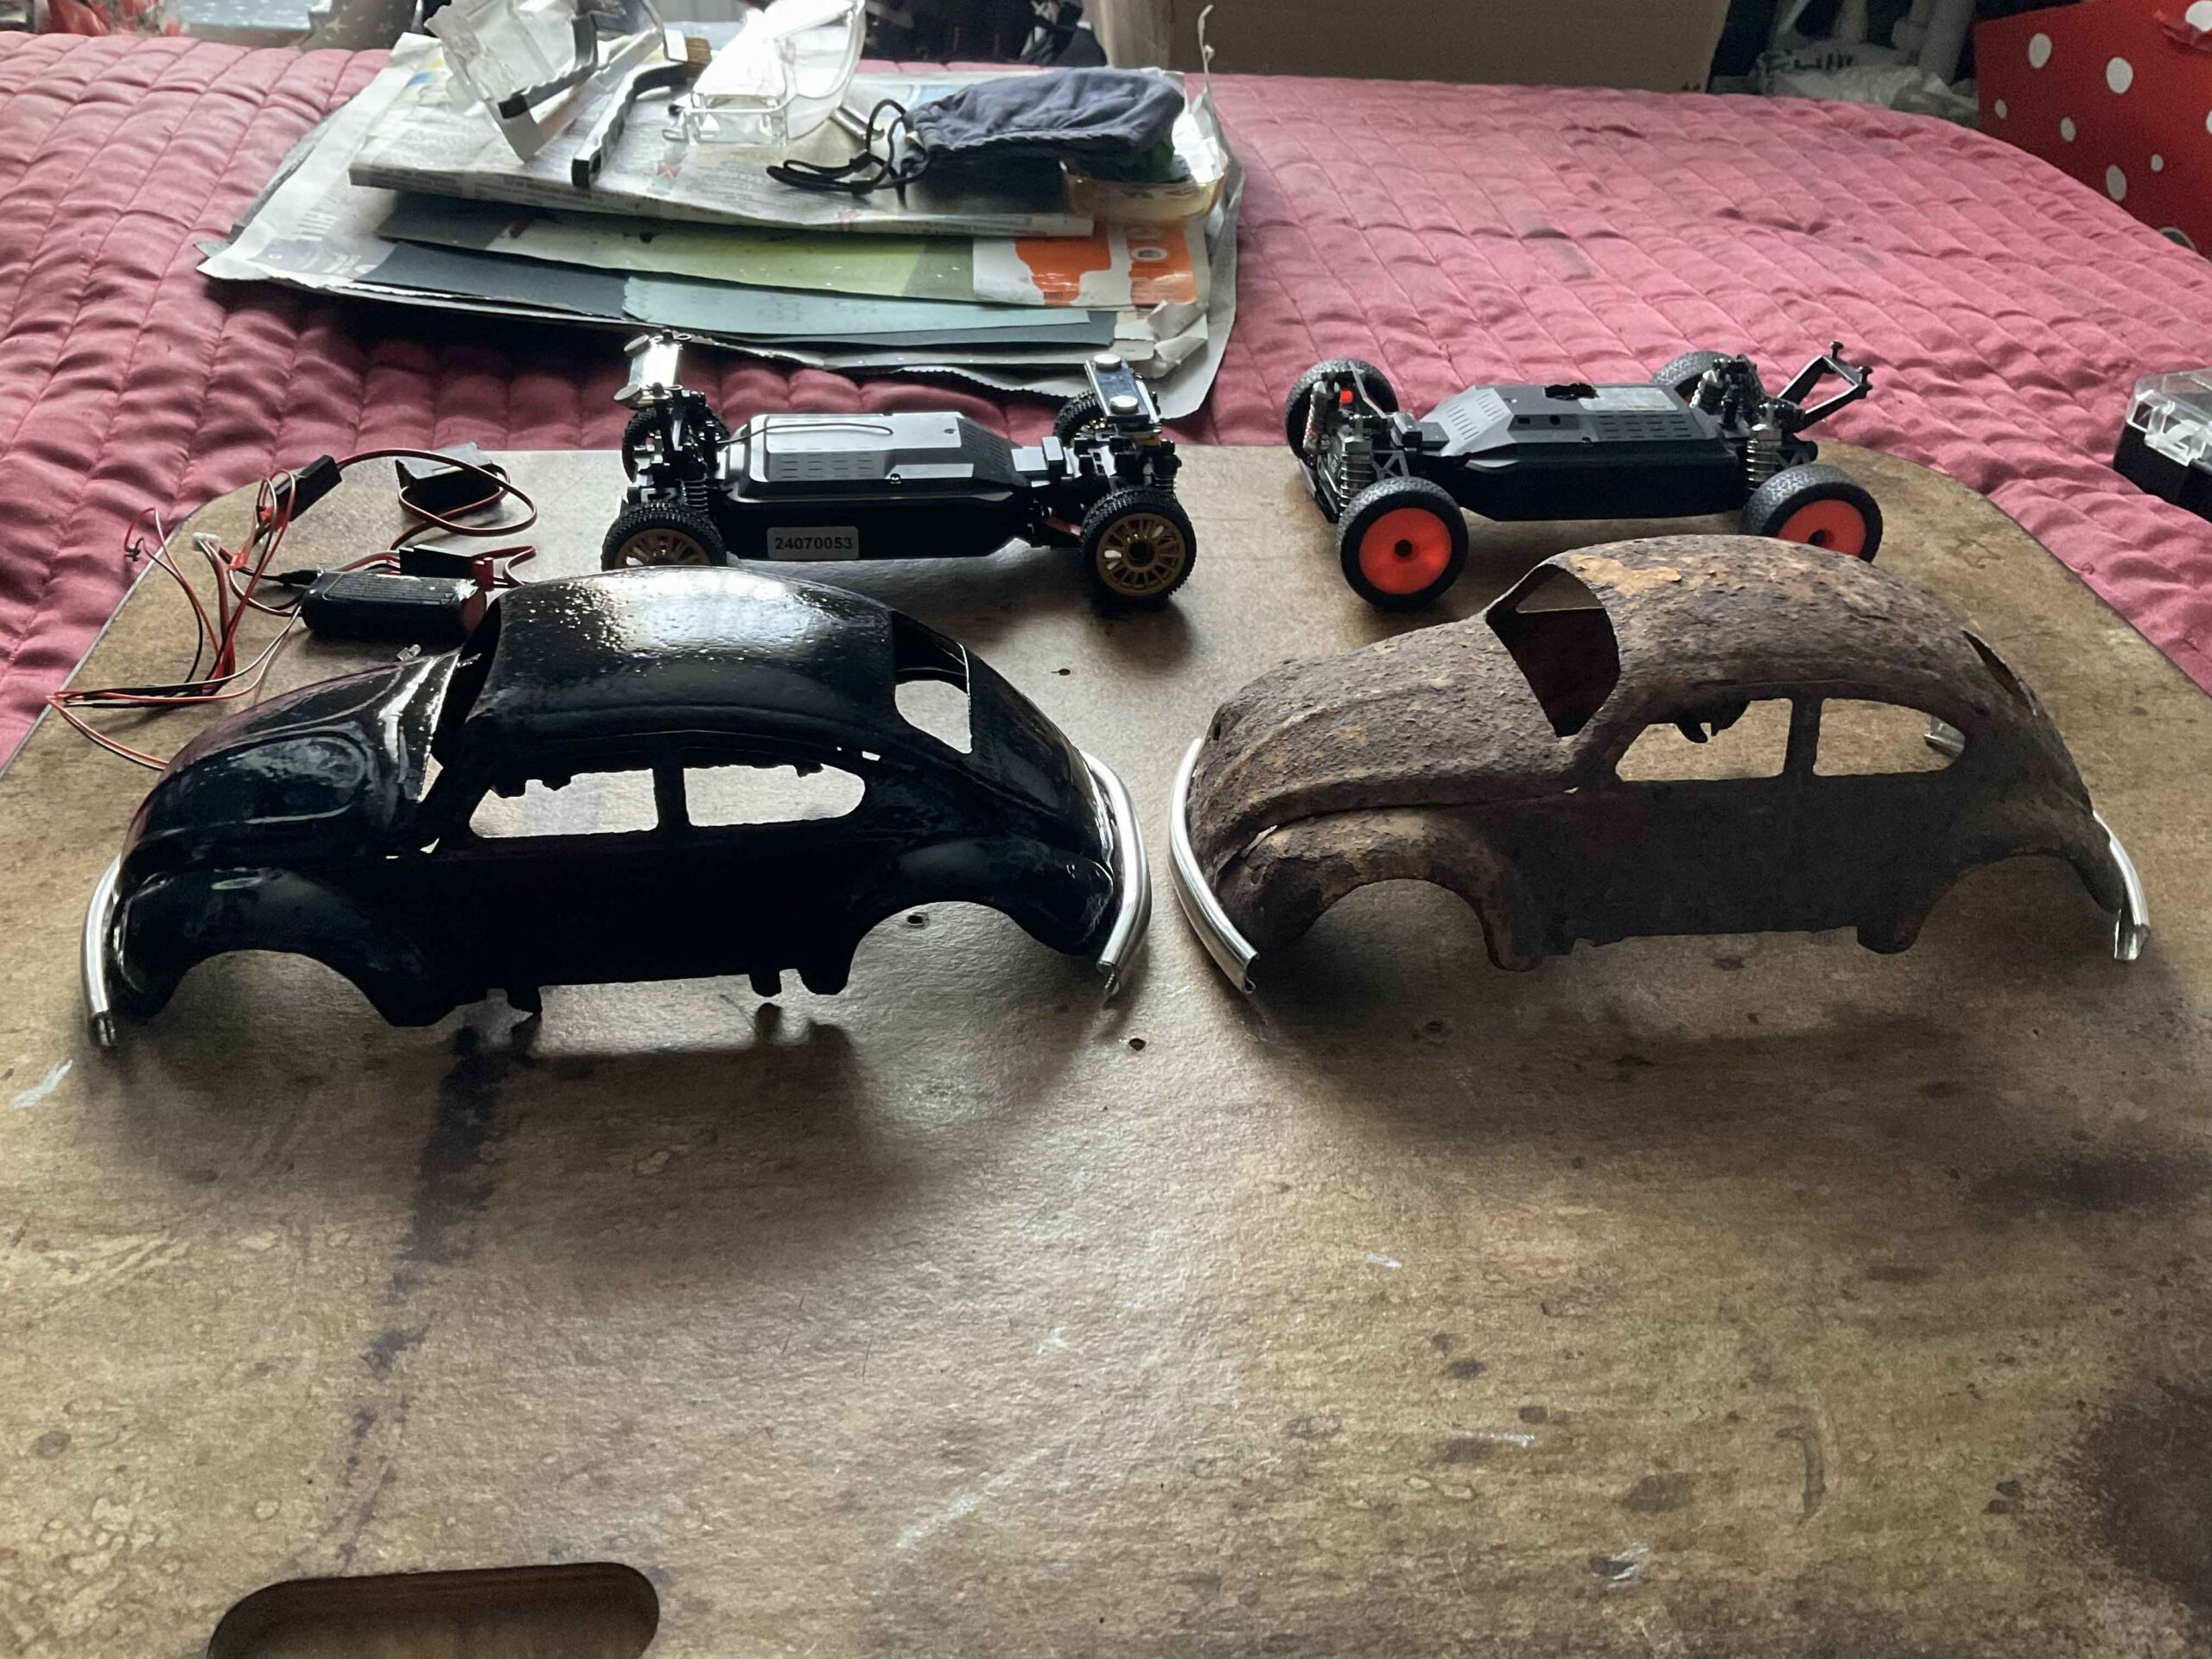
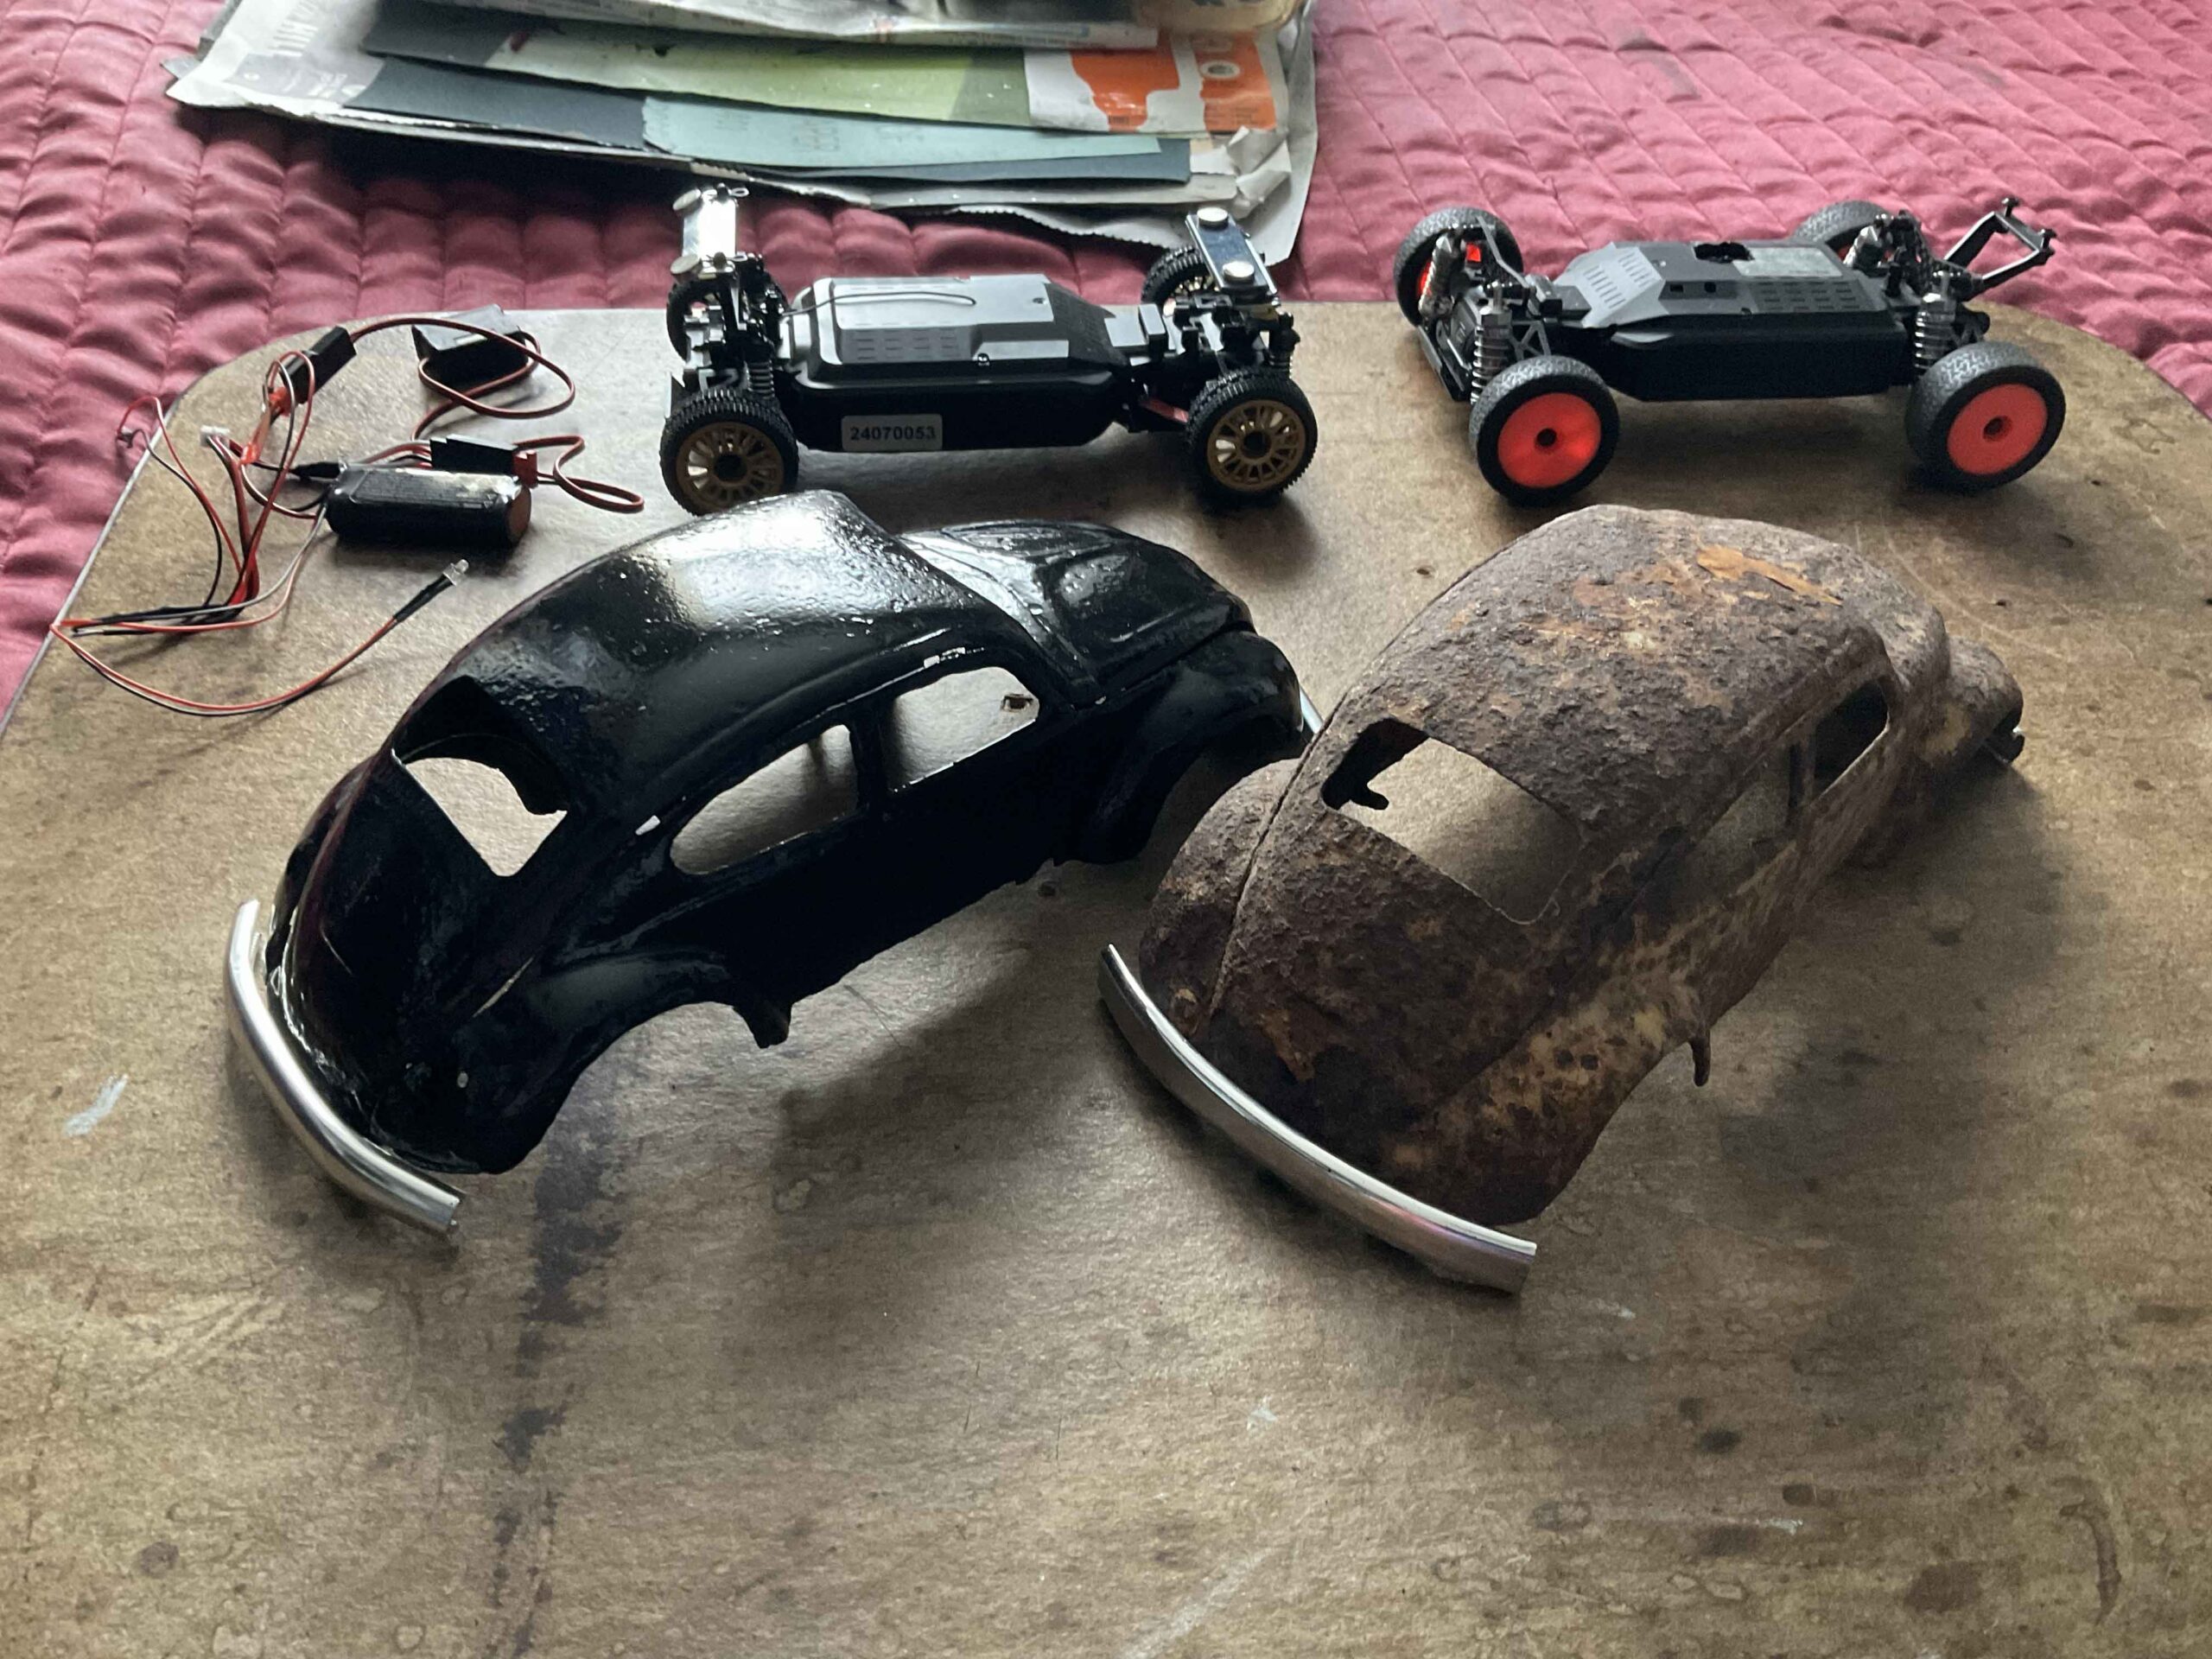
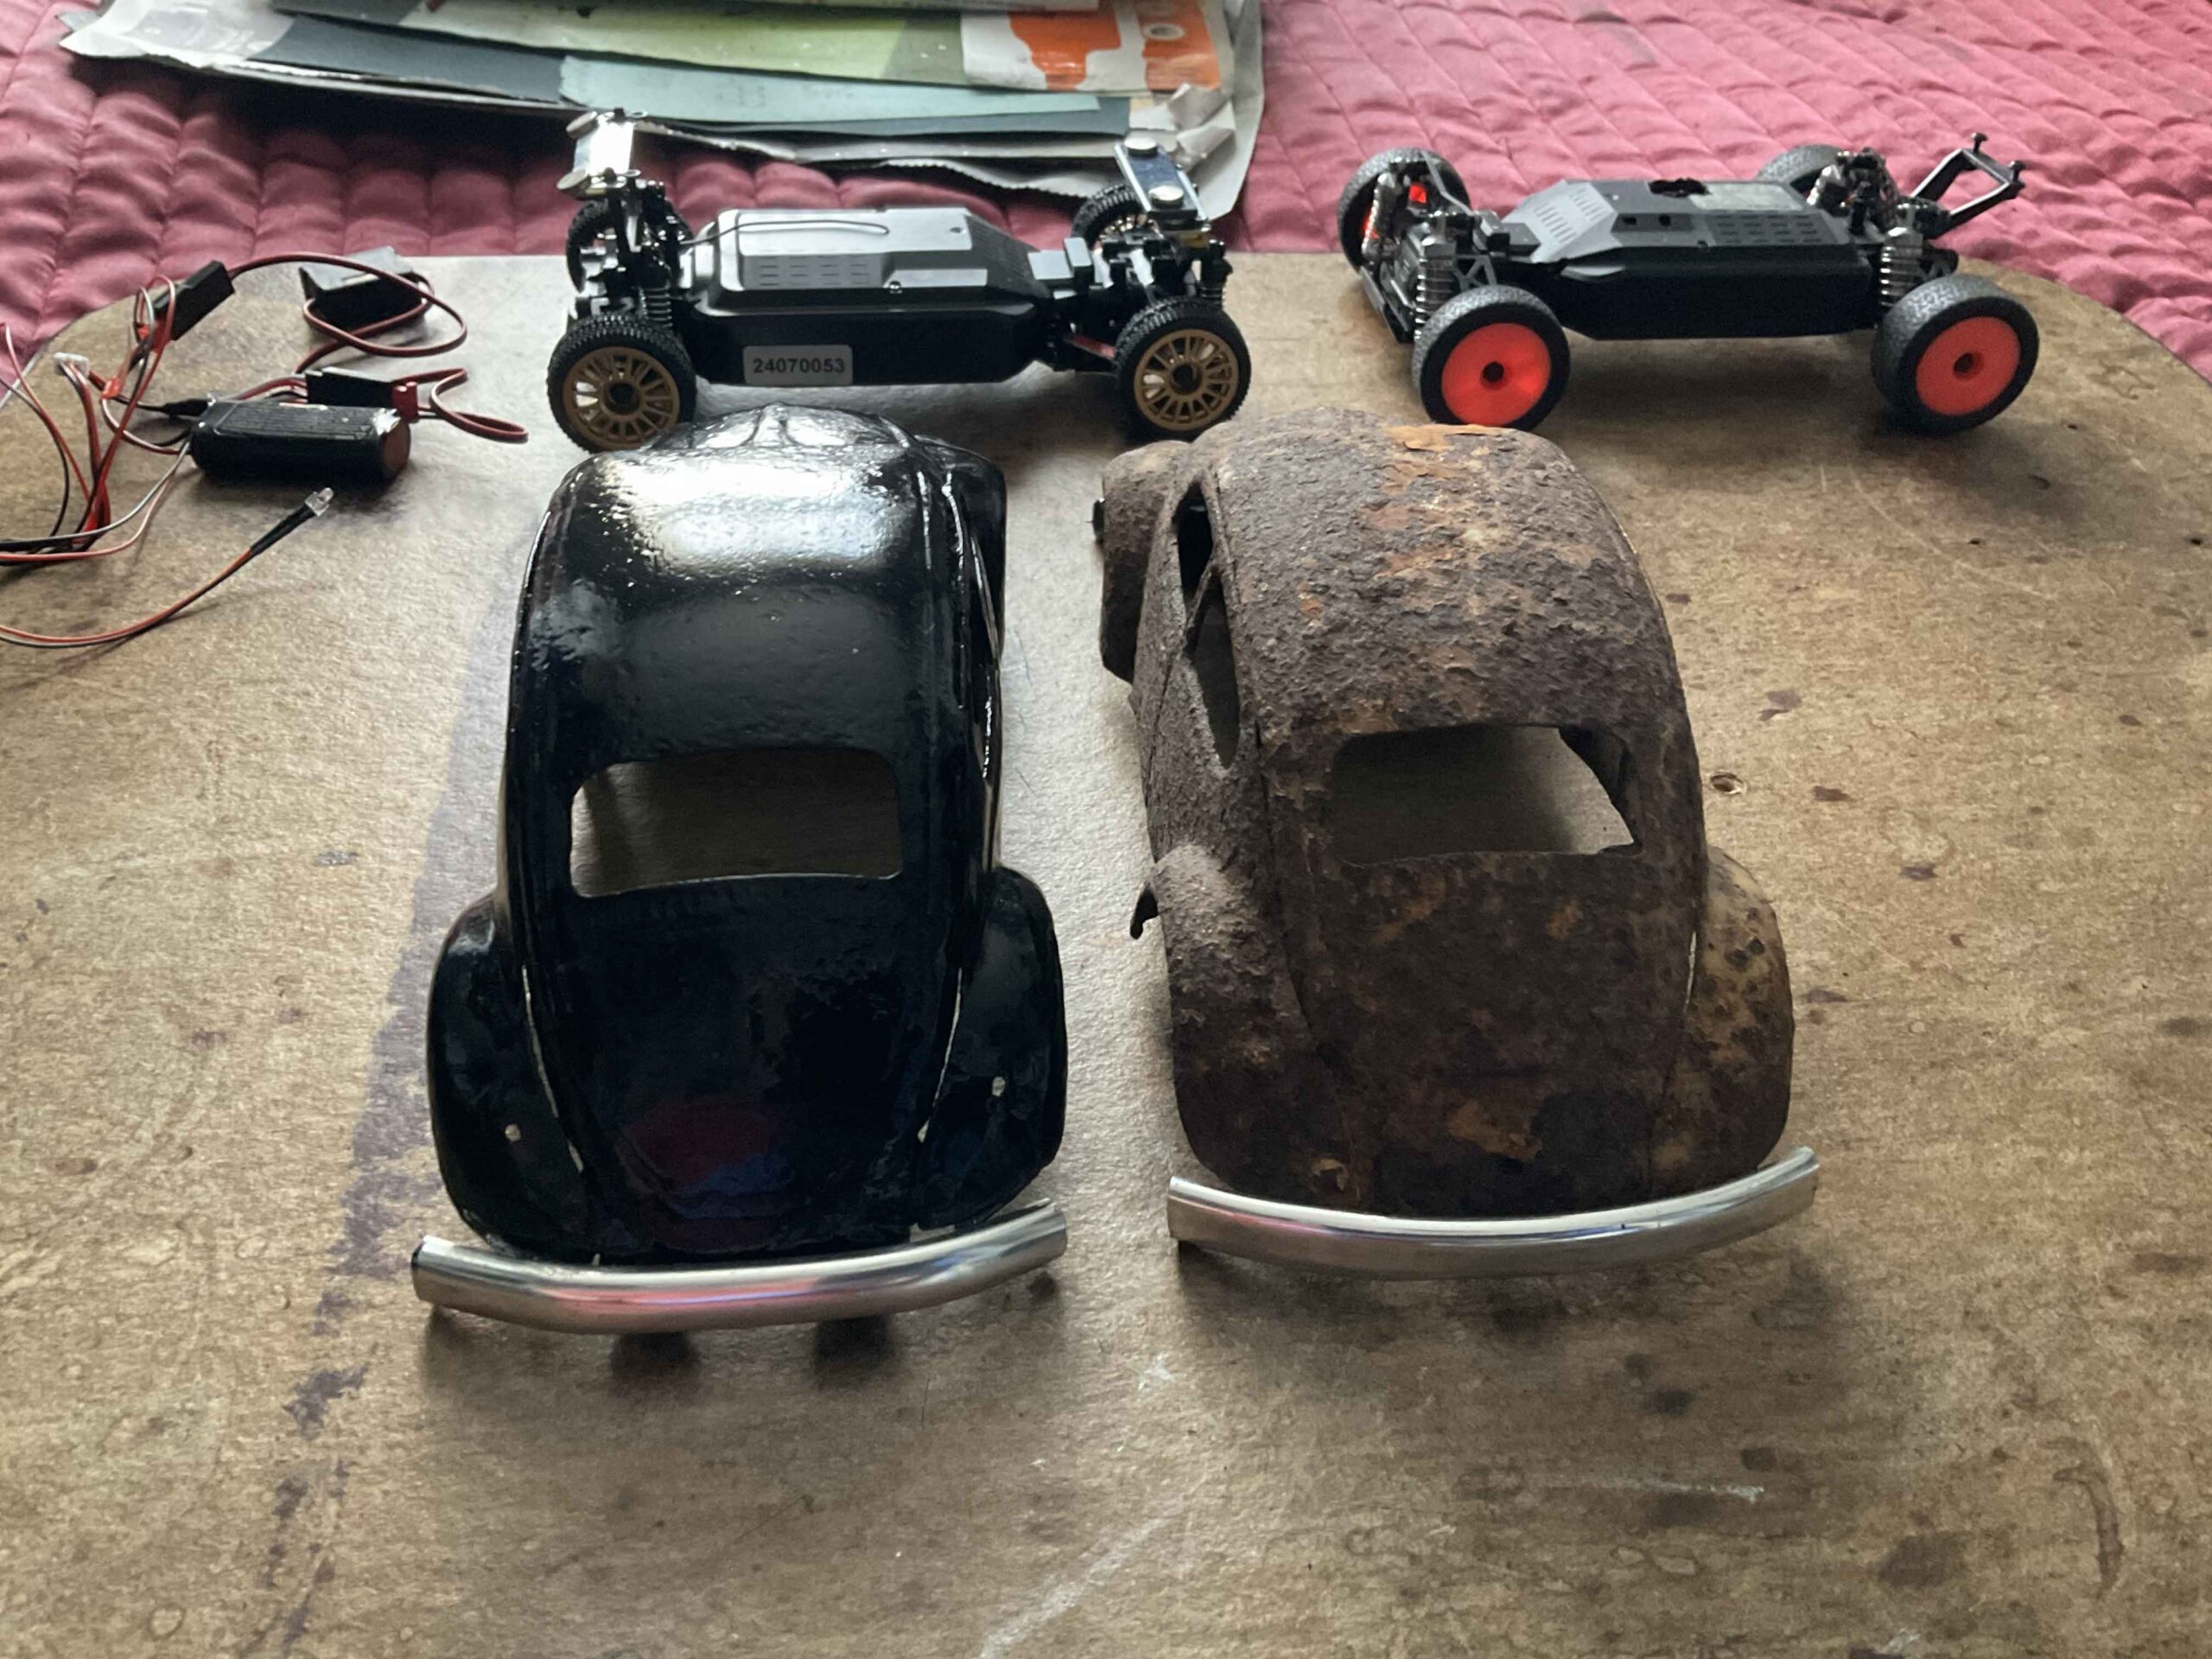
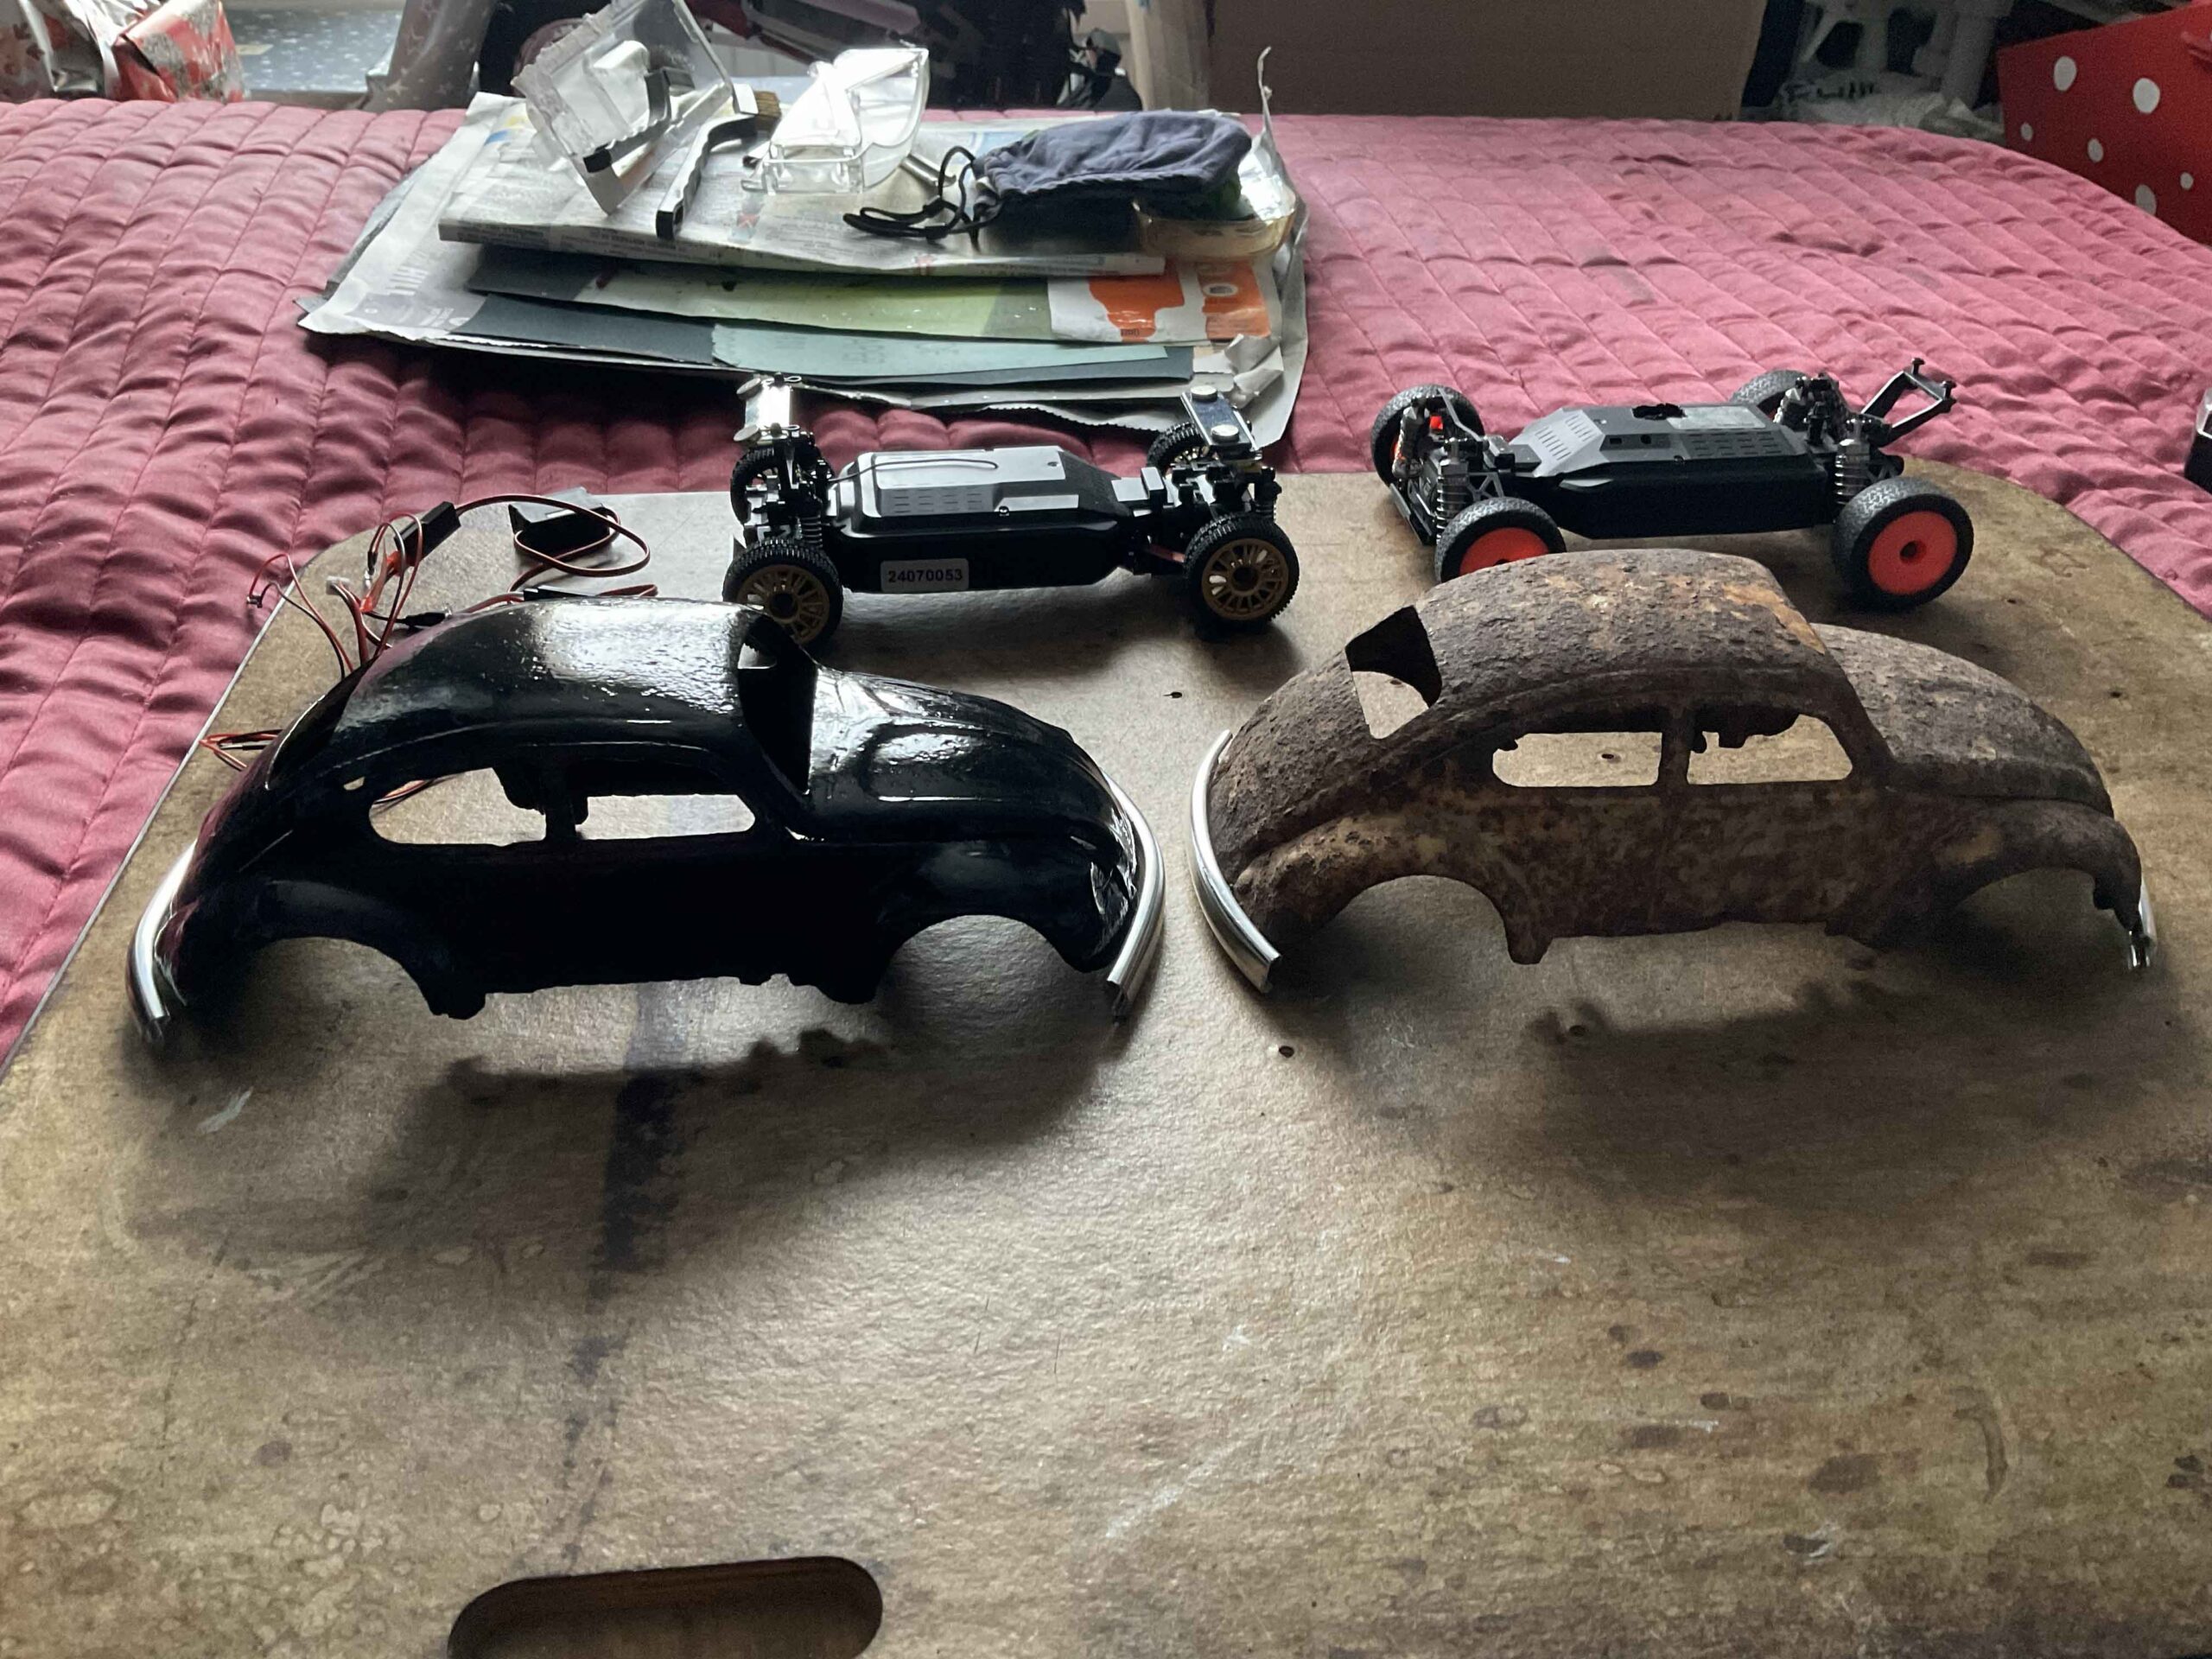
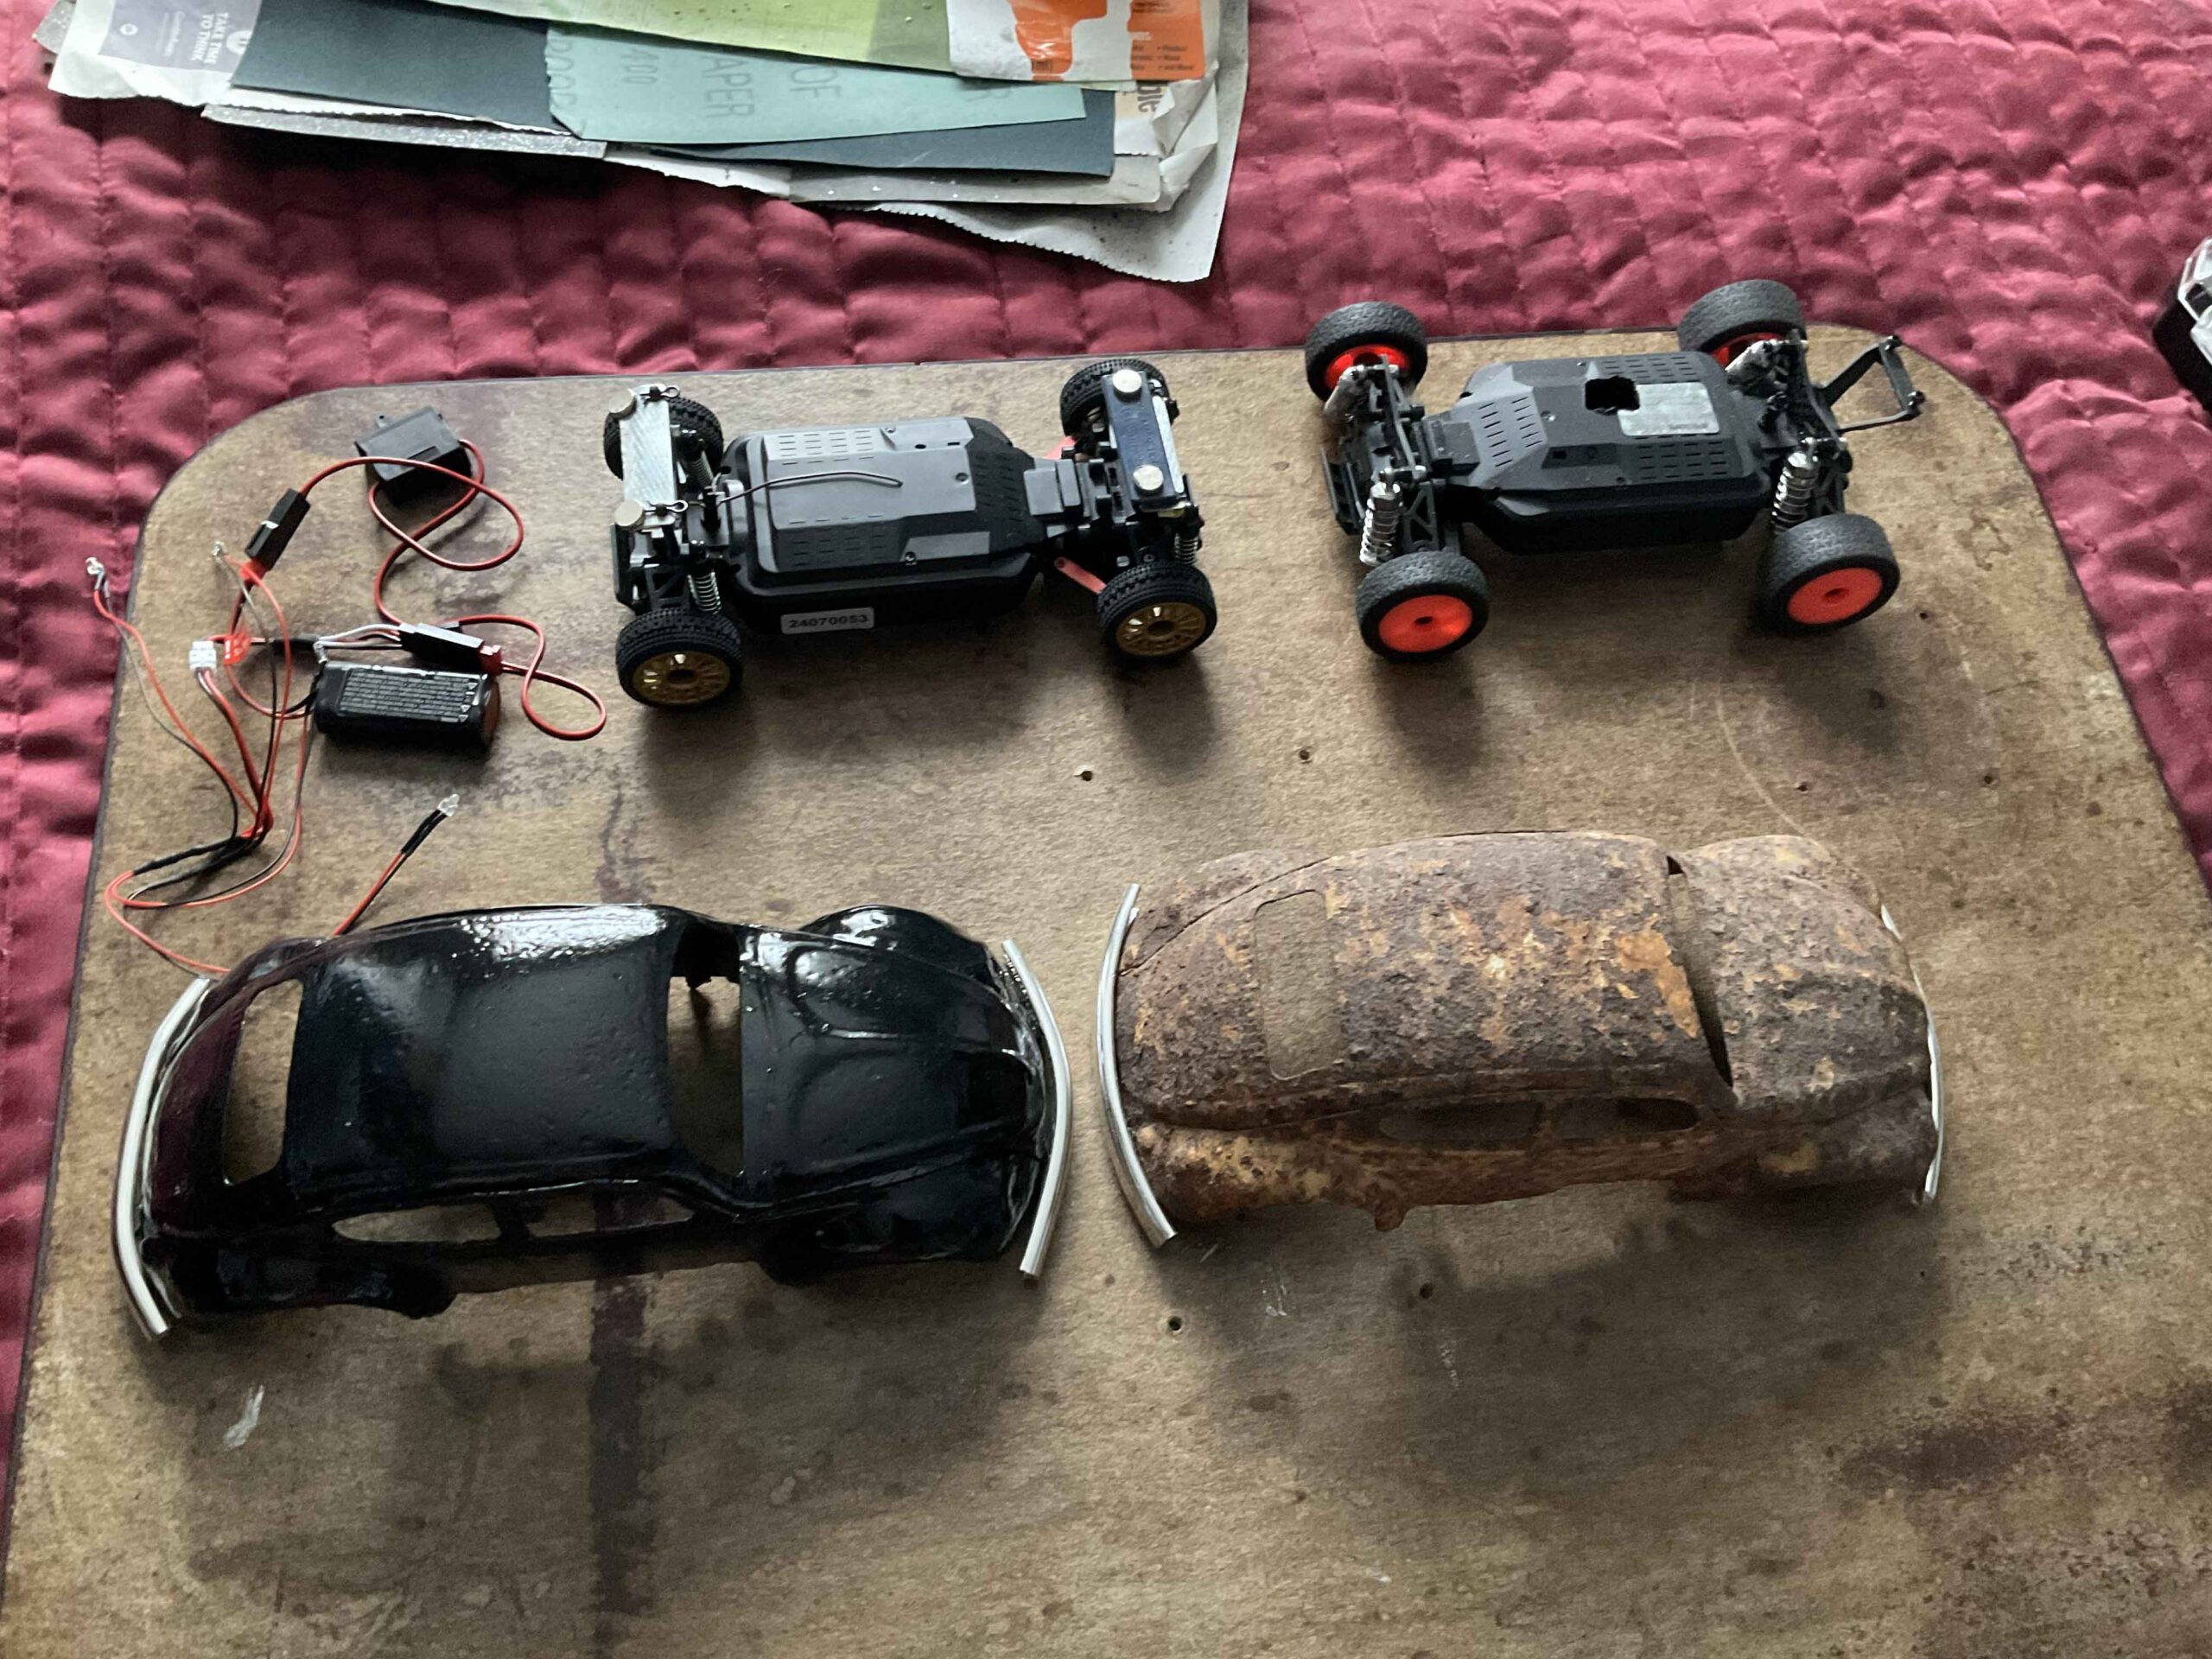
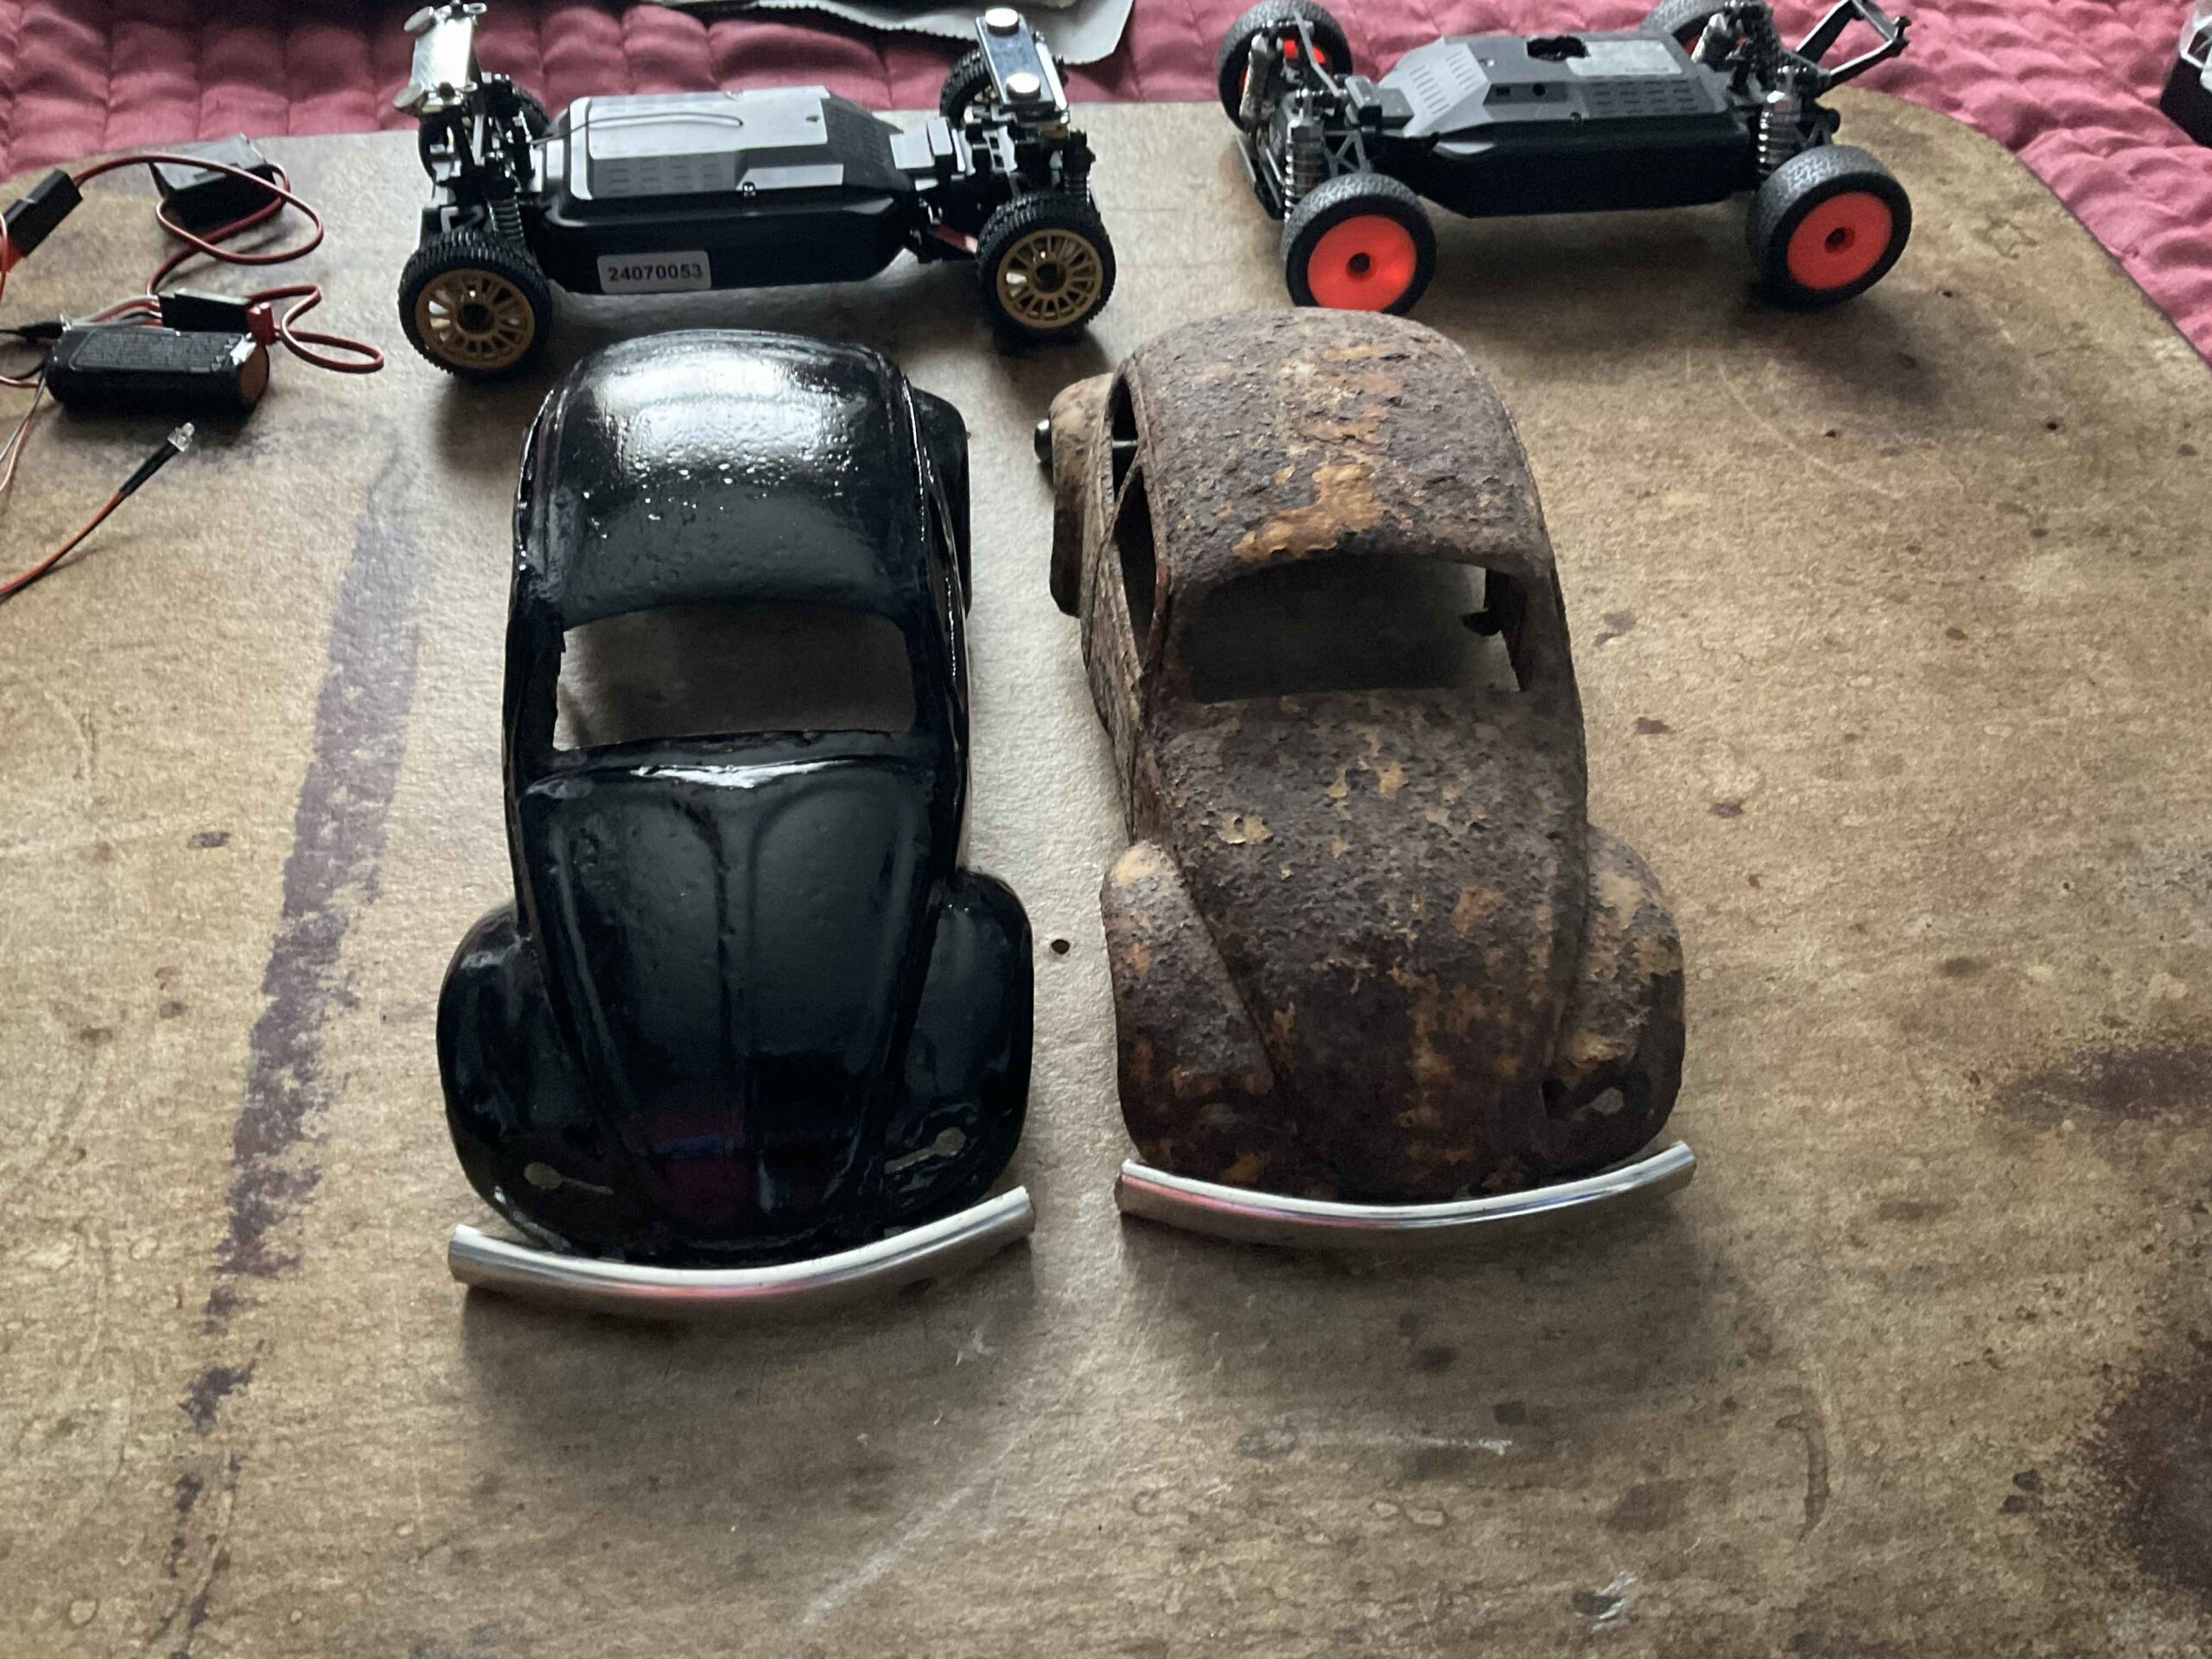
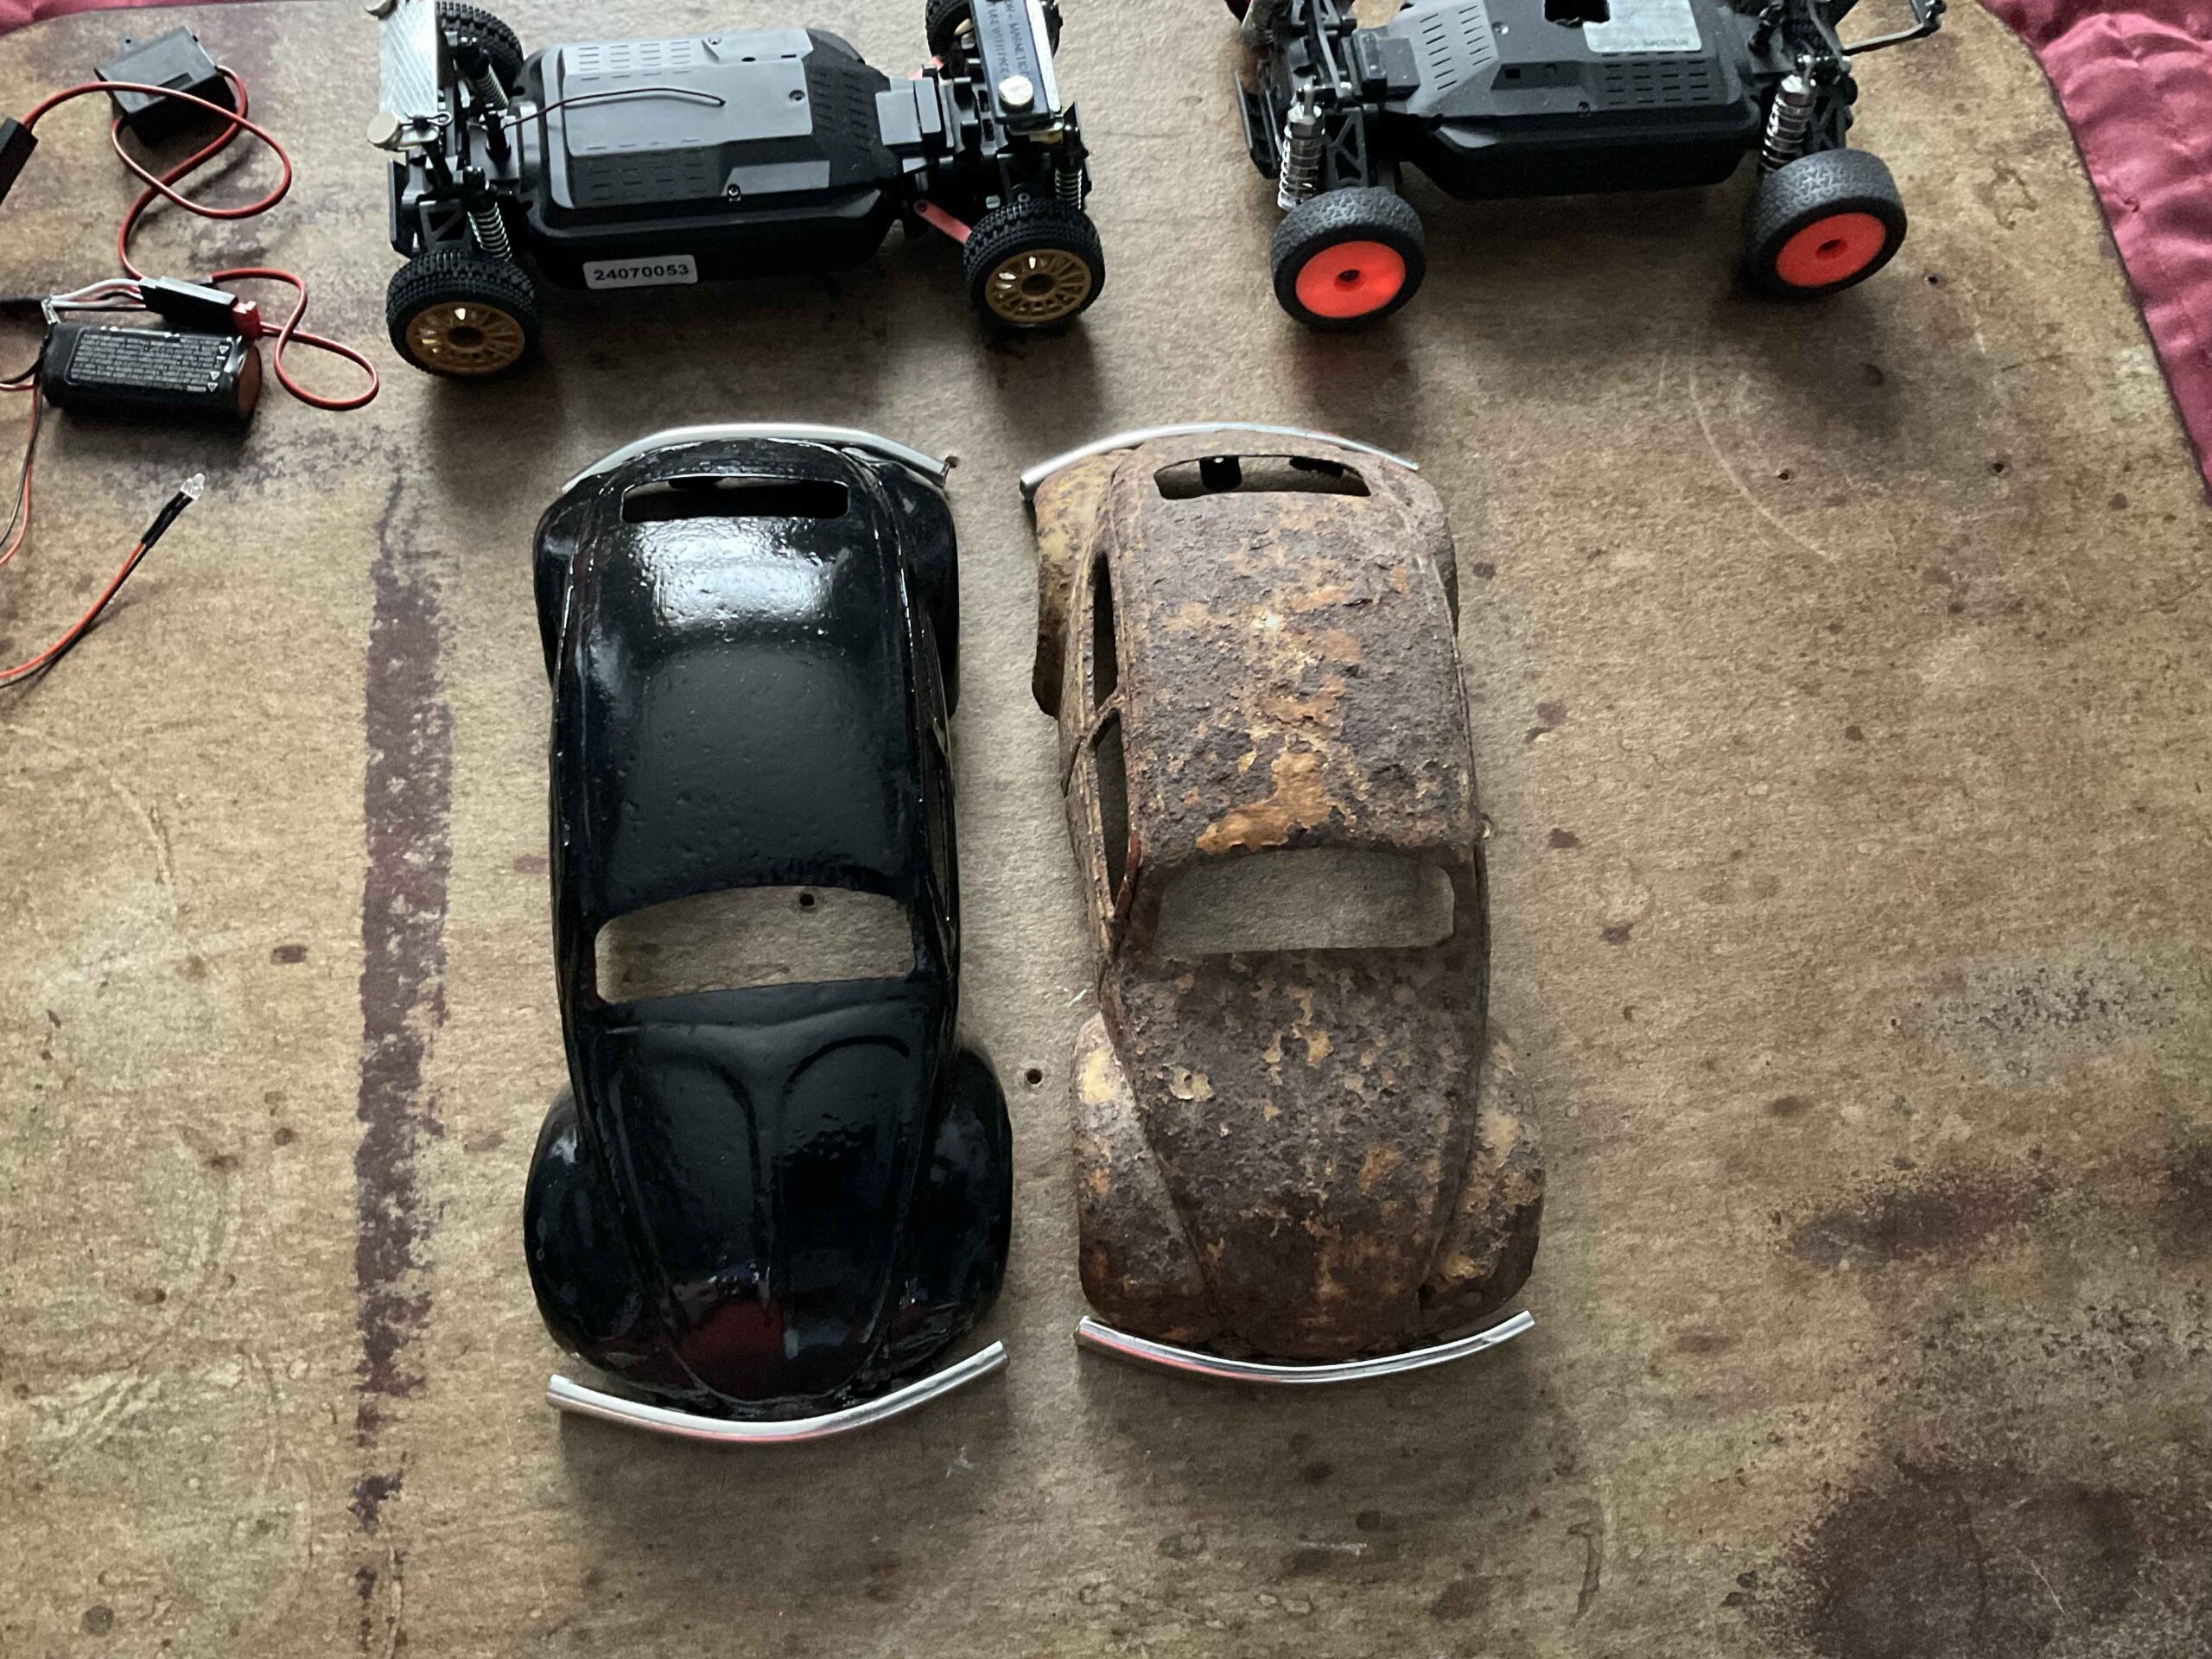
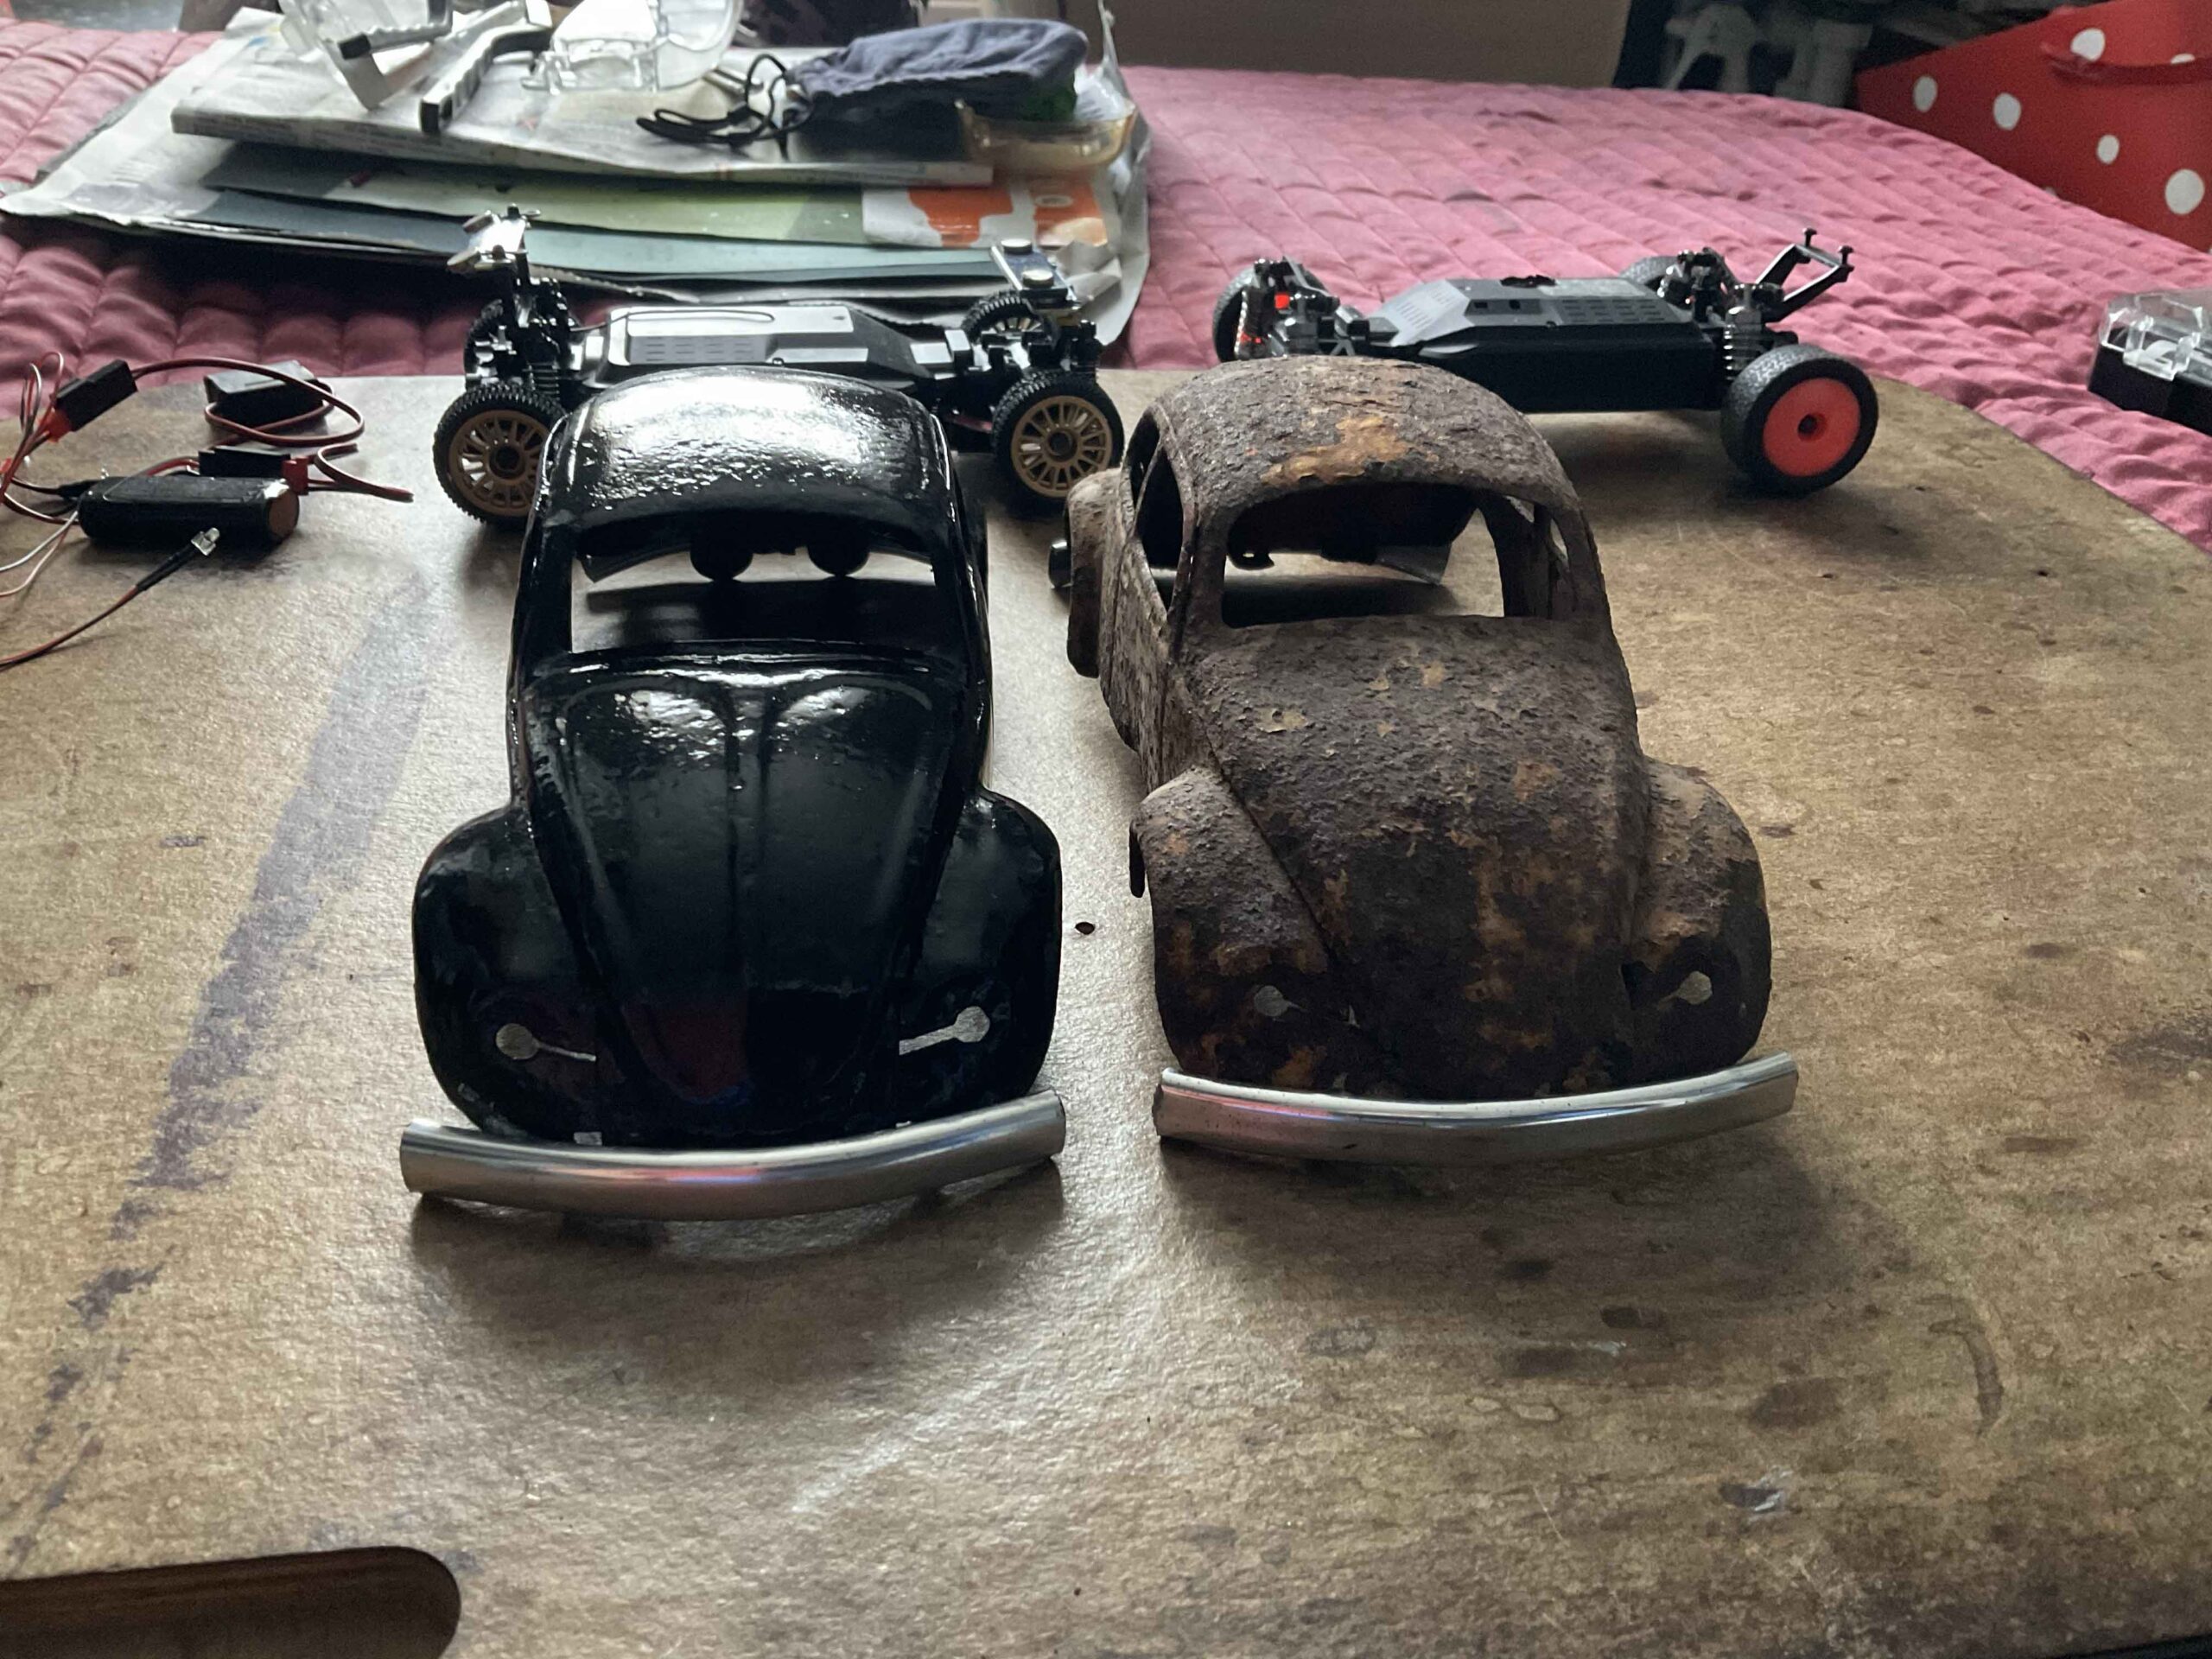
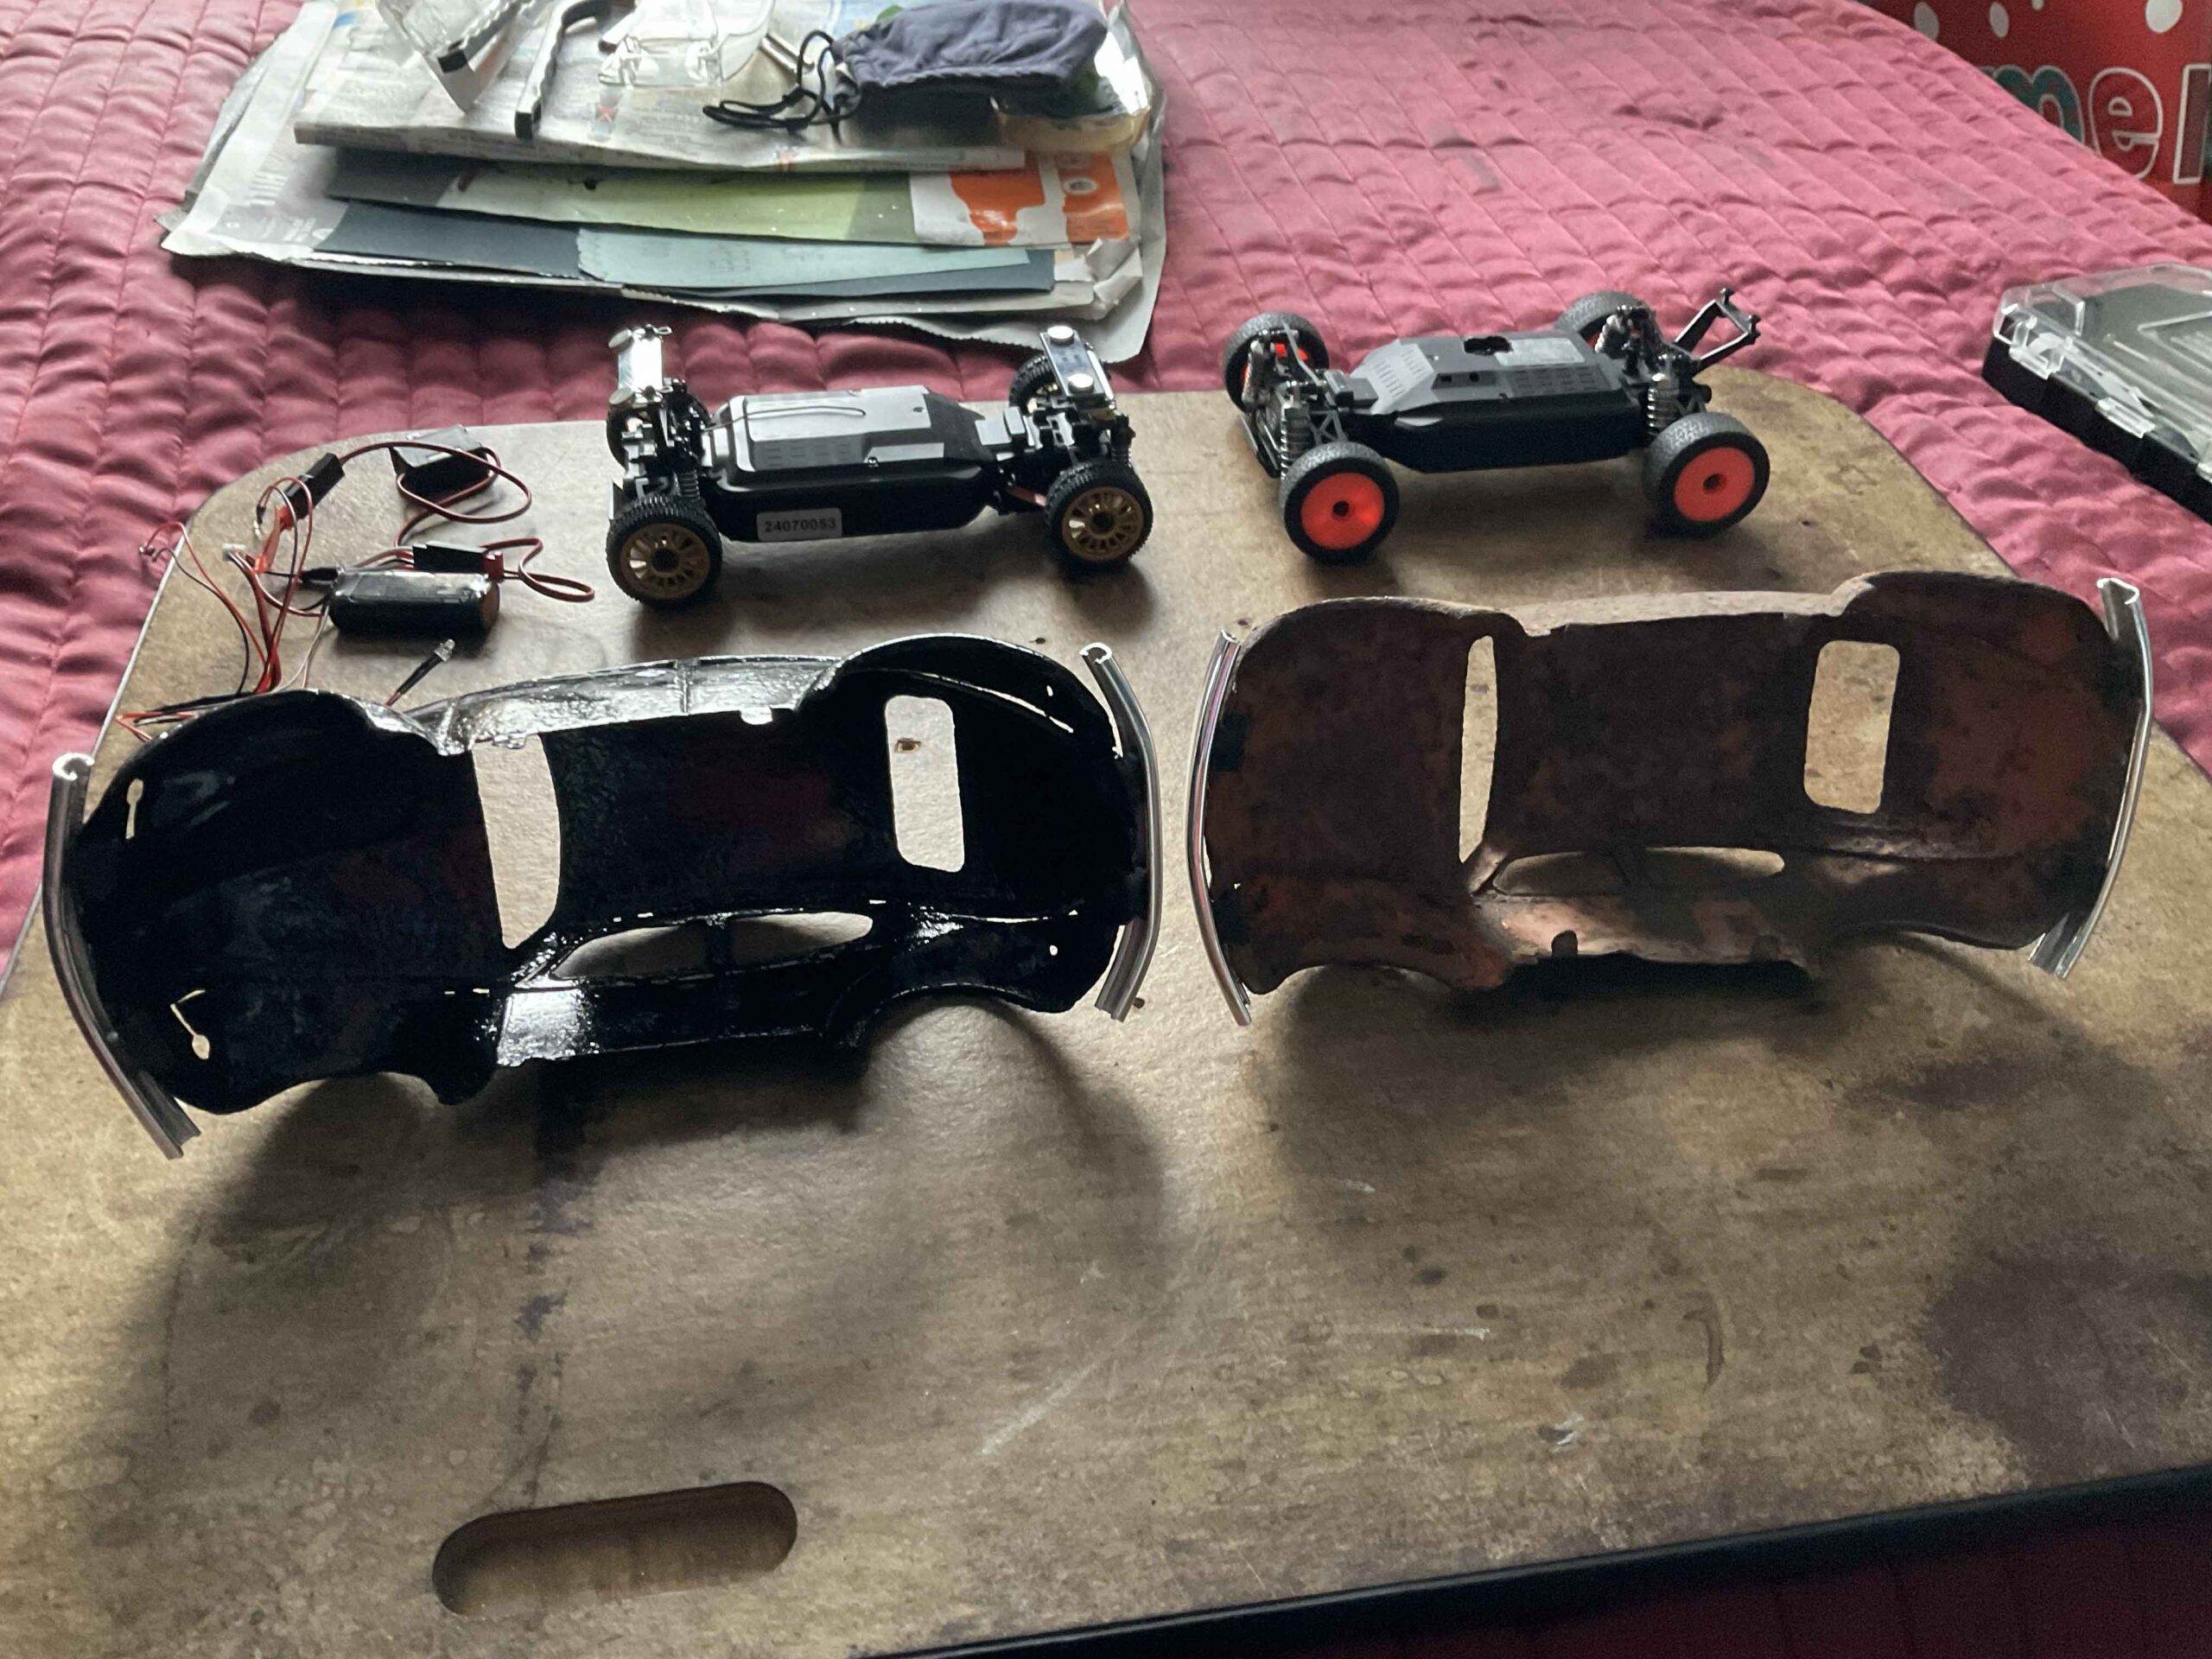
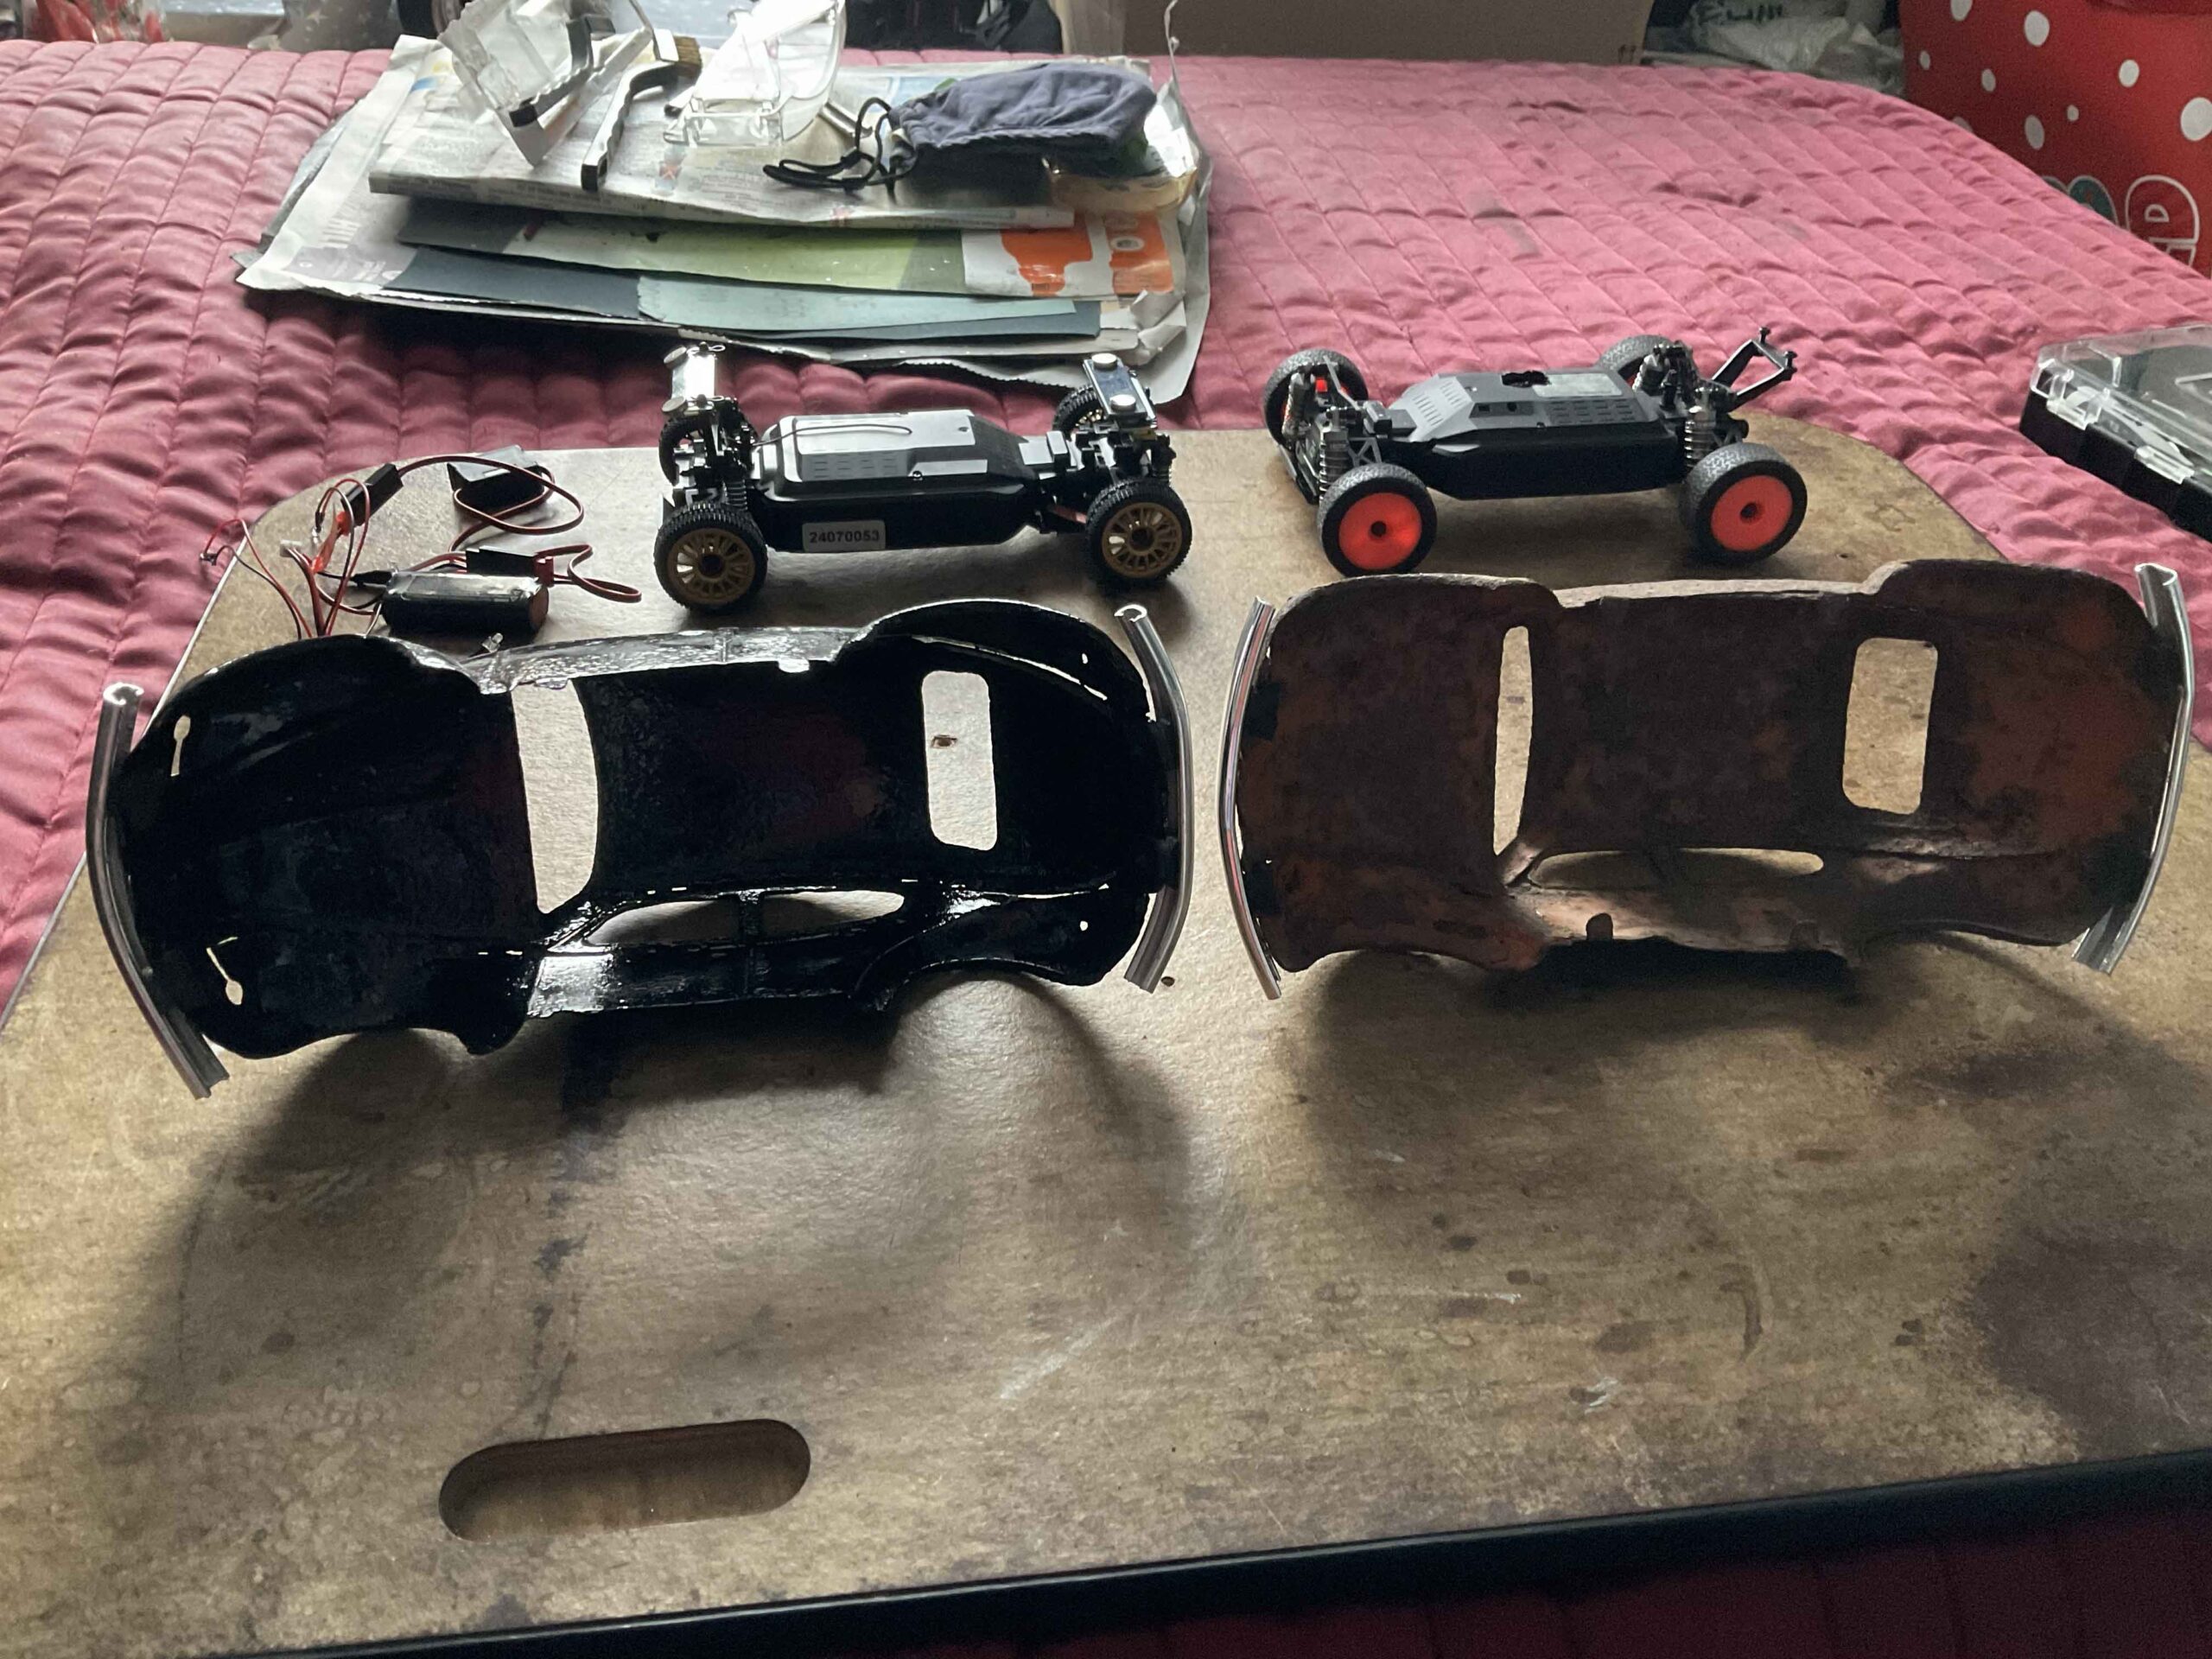
Stage 6. Final Touches. Now that the top coat has had time to harden I can start putting some windows in, attaching the lights and the bumpers. I used a laminated pouch to create the windows, first making a template and transferring this to the laminated pouch. The windows are attached with double sided sticky tape. Holes were cut into the bodyshell for the rear lights (I managed to find a set off ebay with smaller rear lights) and the front ones made slightly larger to accomodate the light holders. The lights are just push fit and the wires bent over to follow the contours of the body. The body is held on using magnets, I used some old name tags which used magnets and modified these to fit the chassis body mounts and the bodyshell. The bumpers are old bits of aluminium body trim and some plastic clips cut to size.

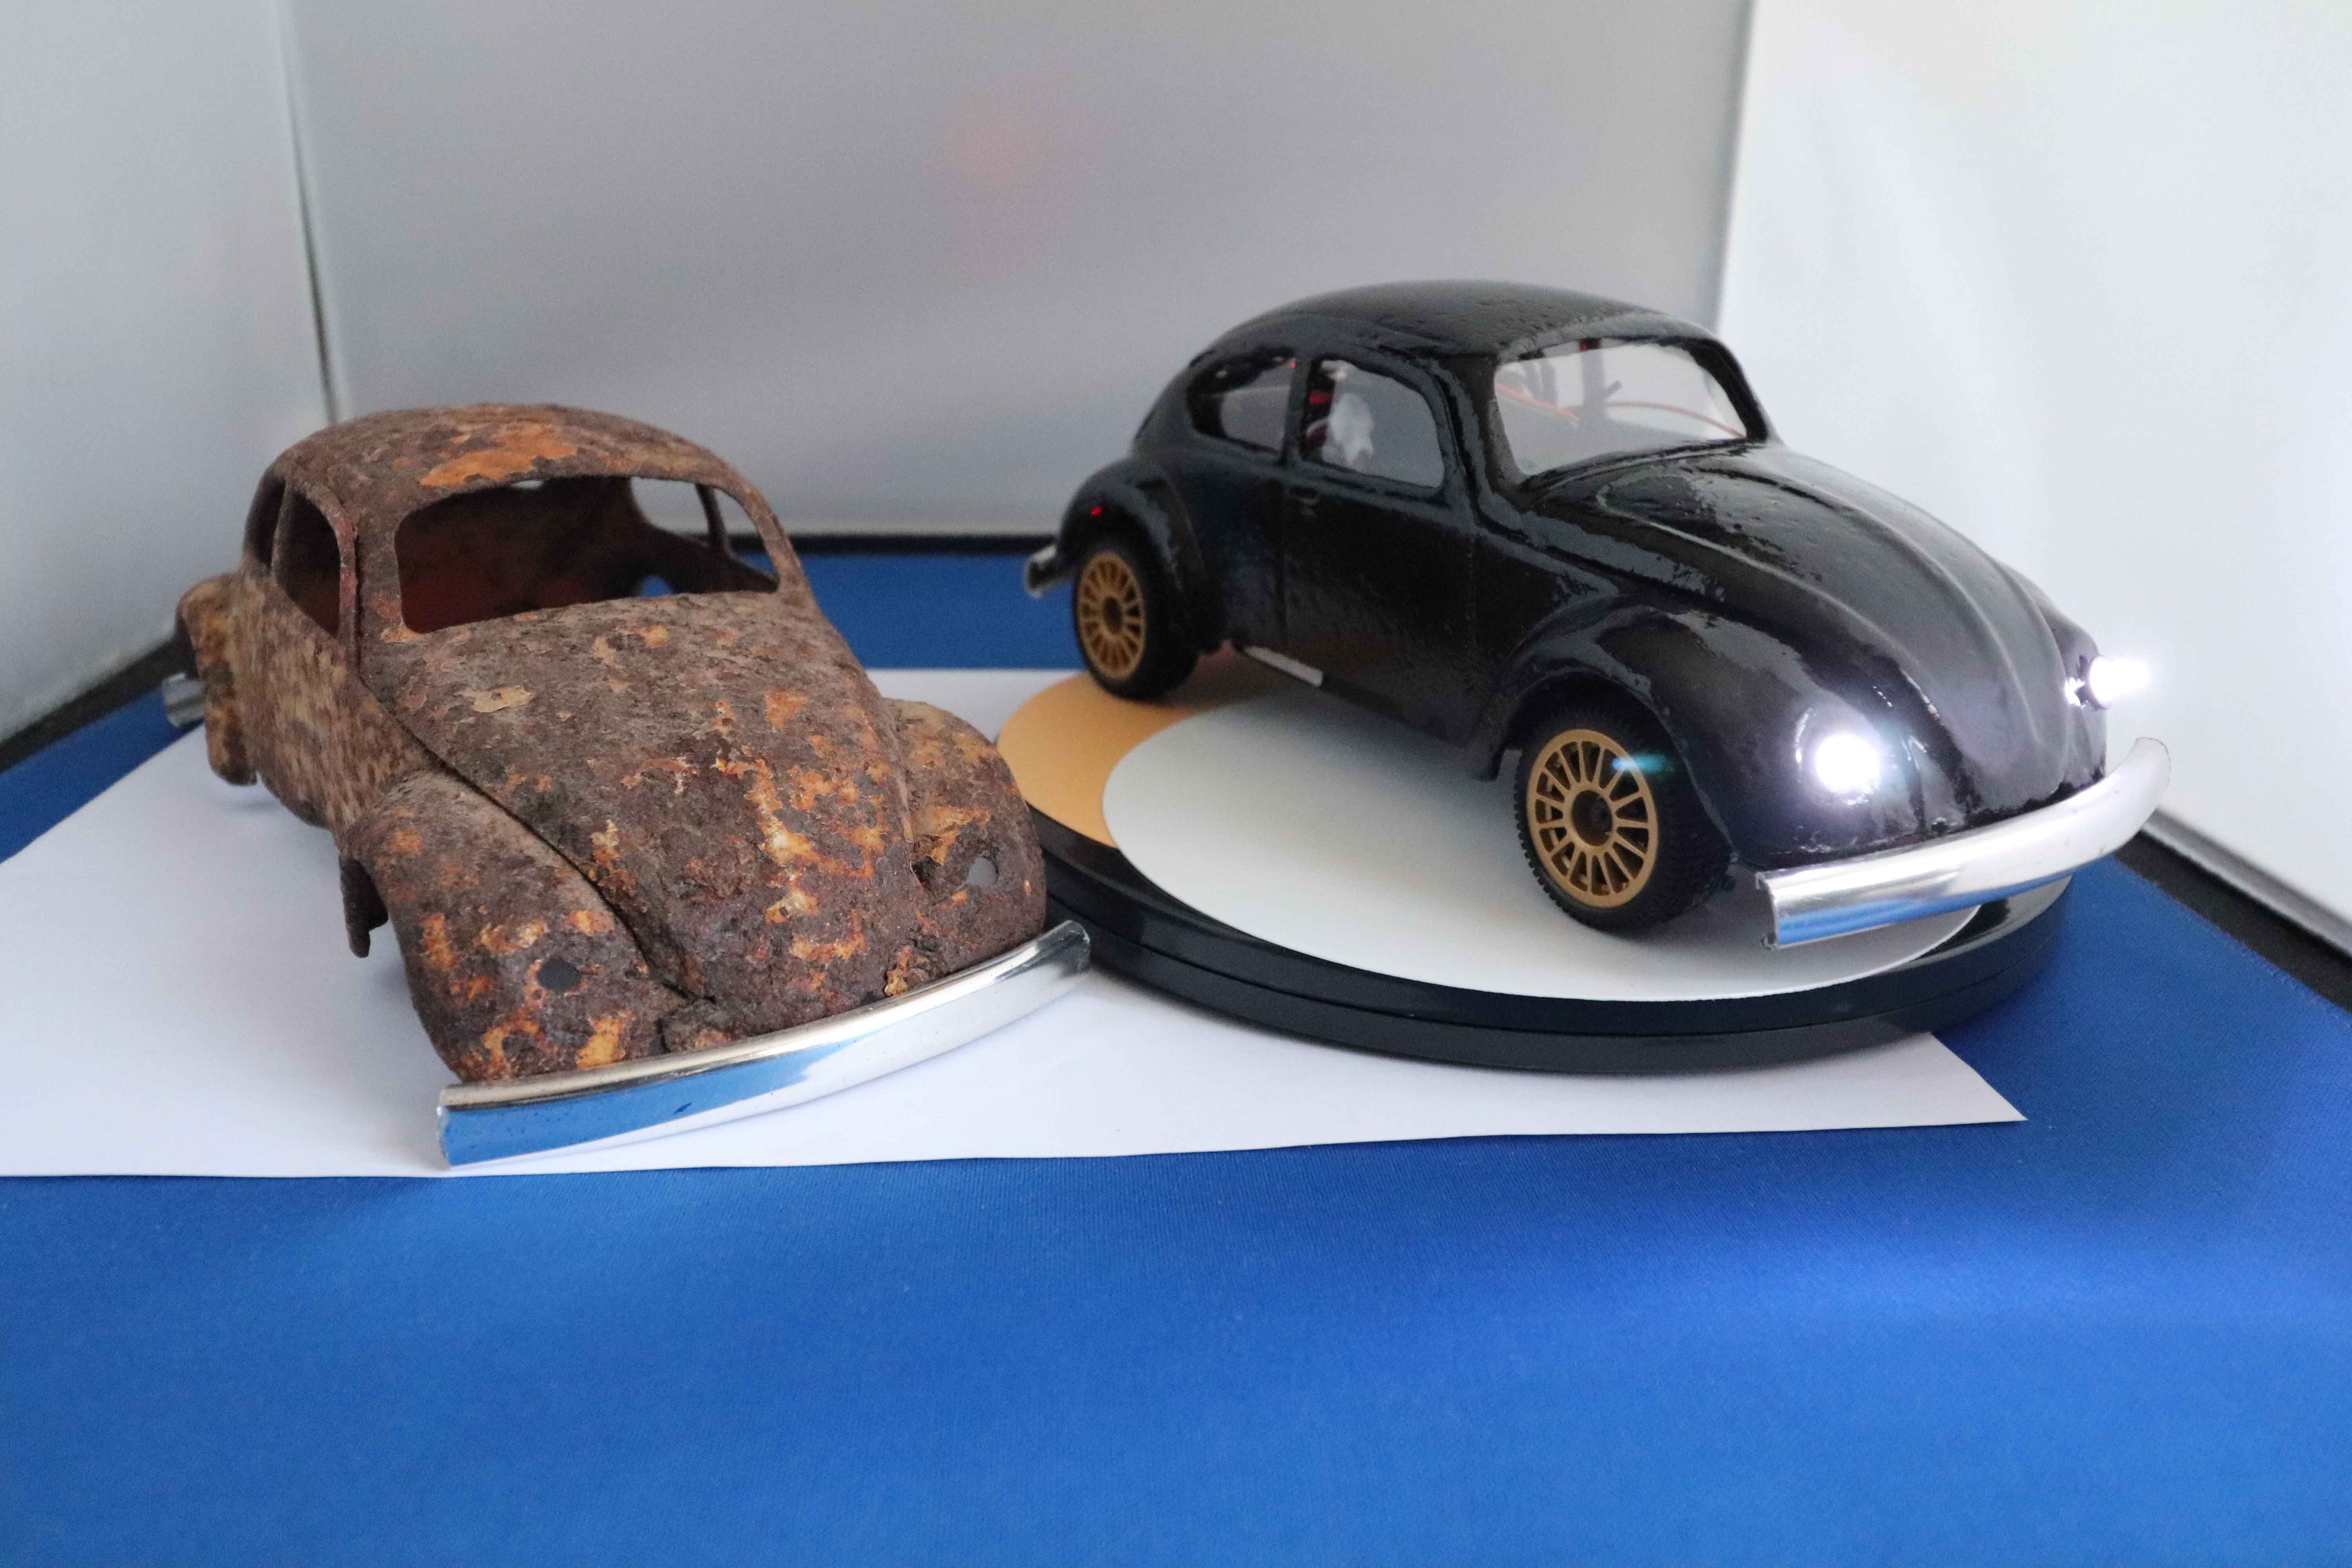


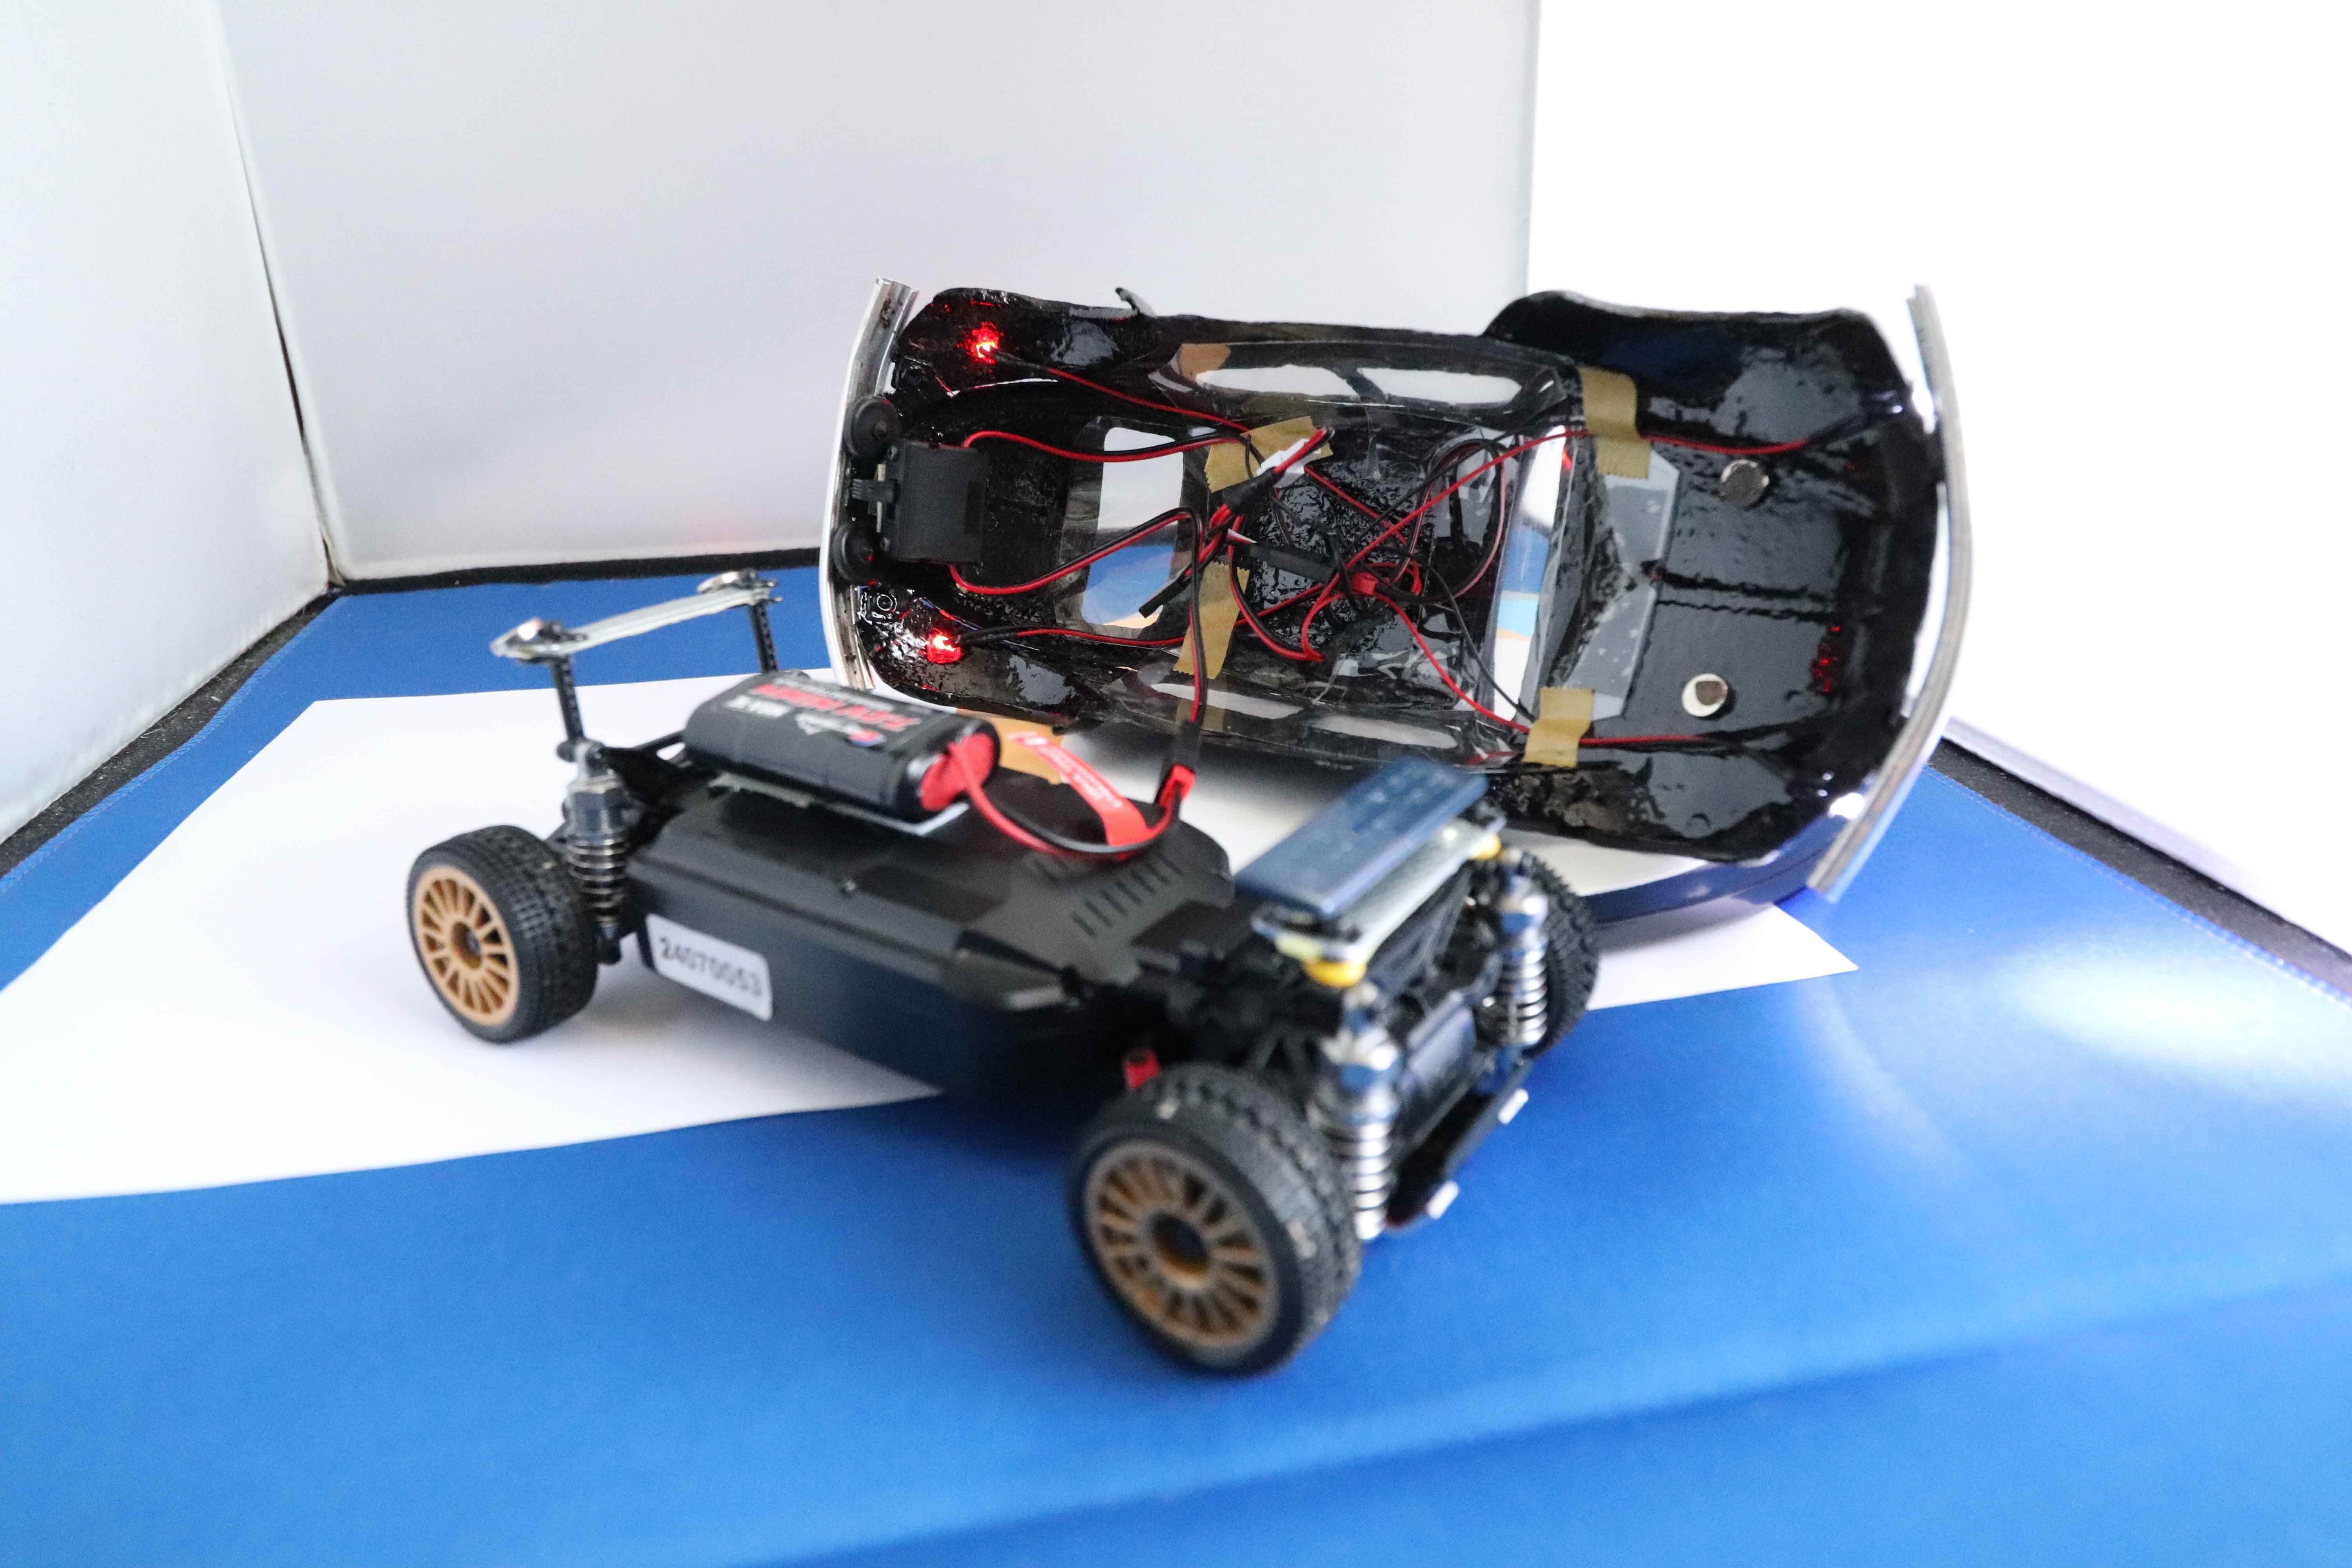
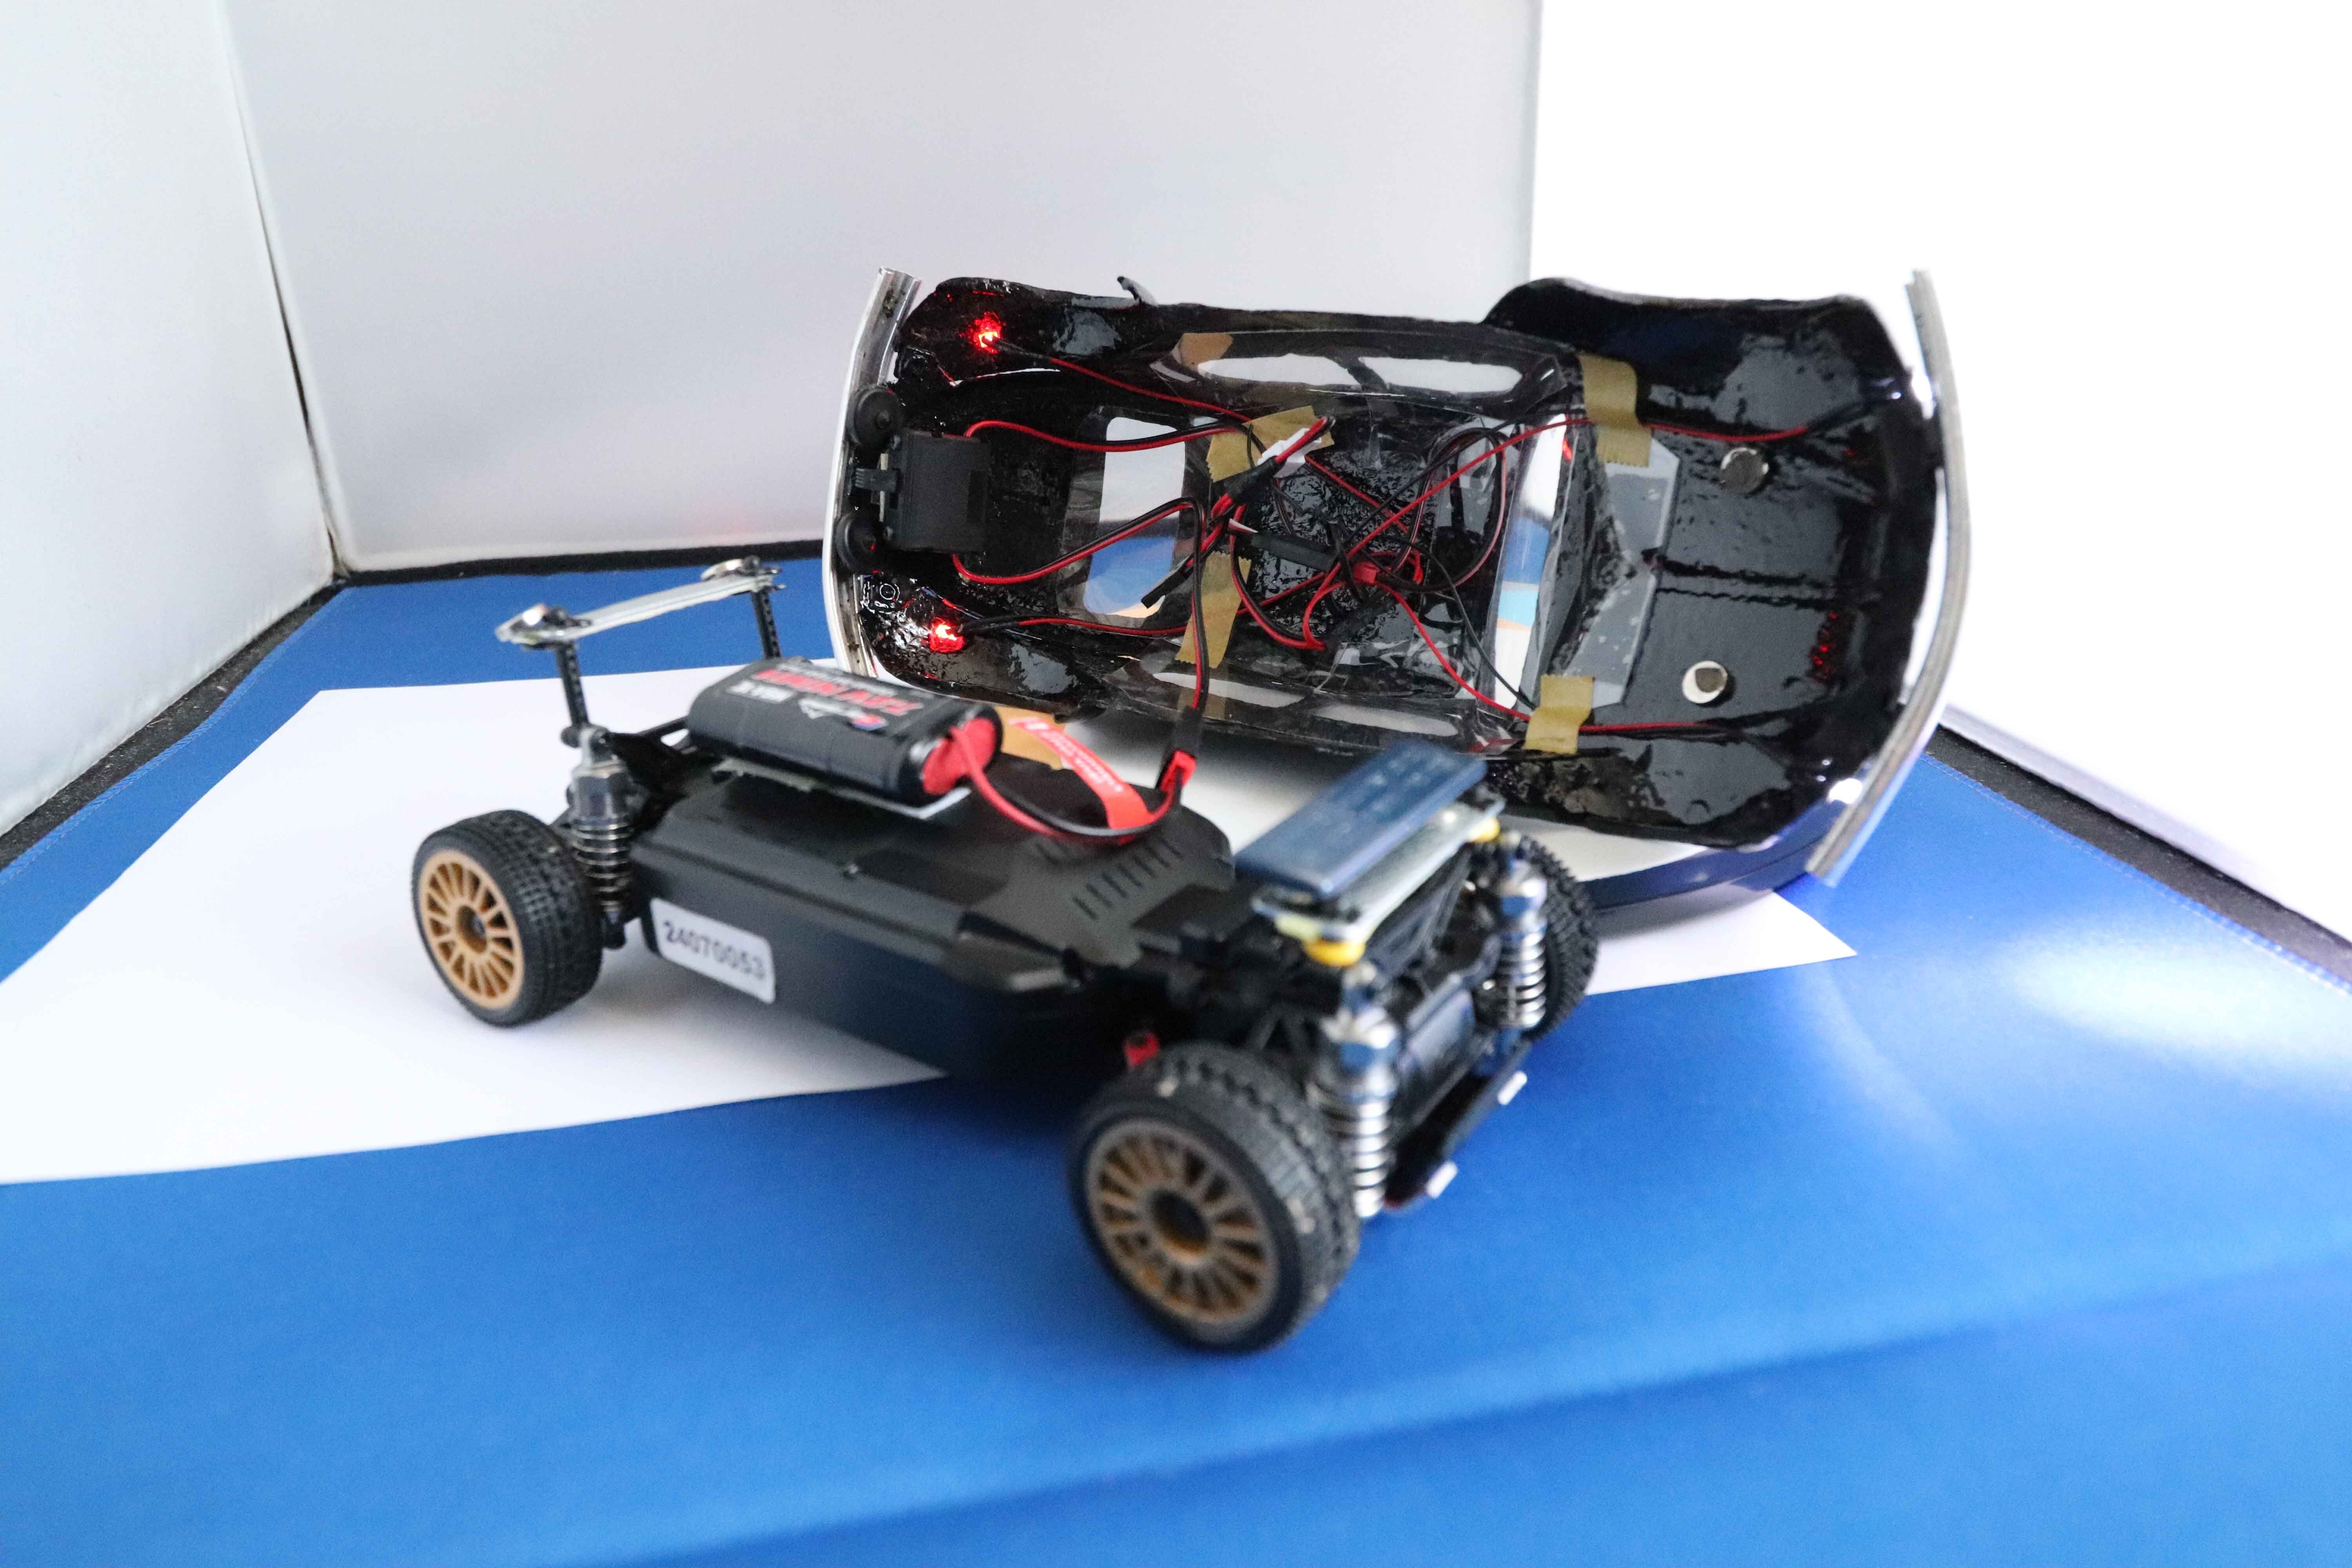
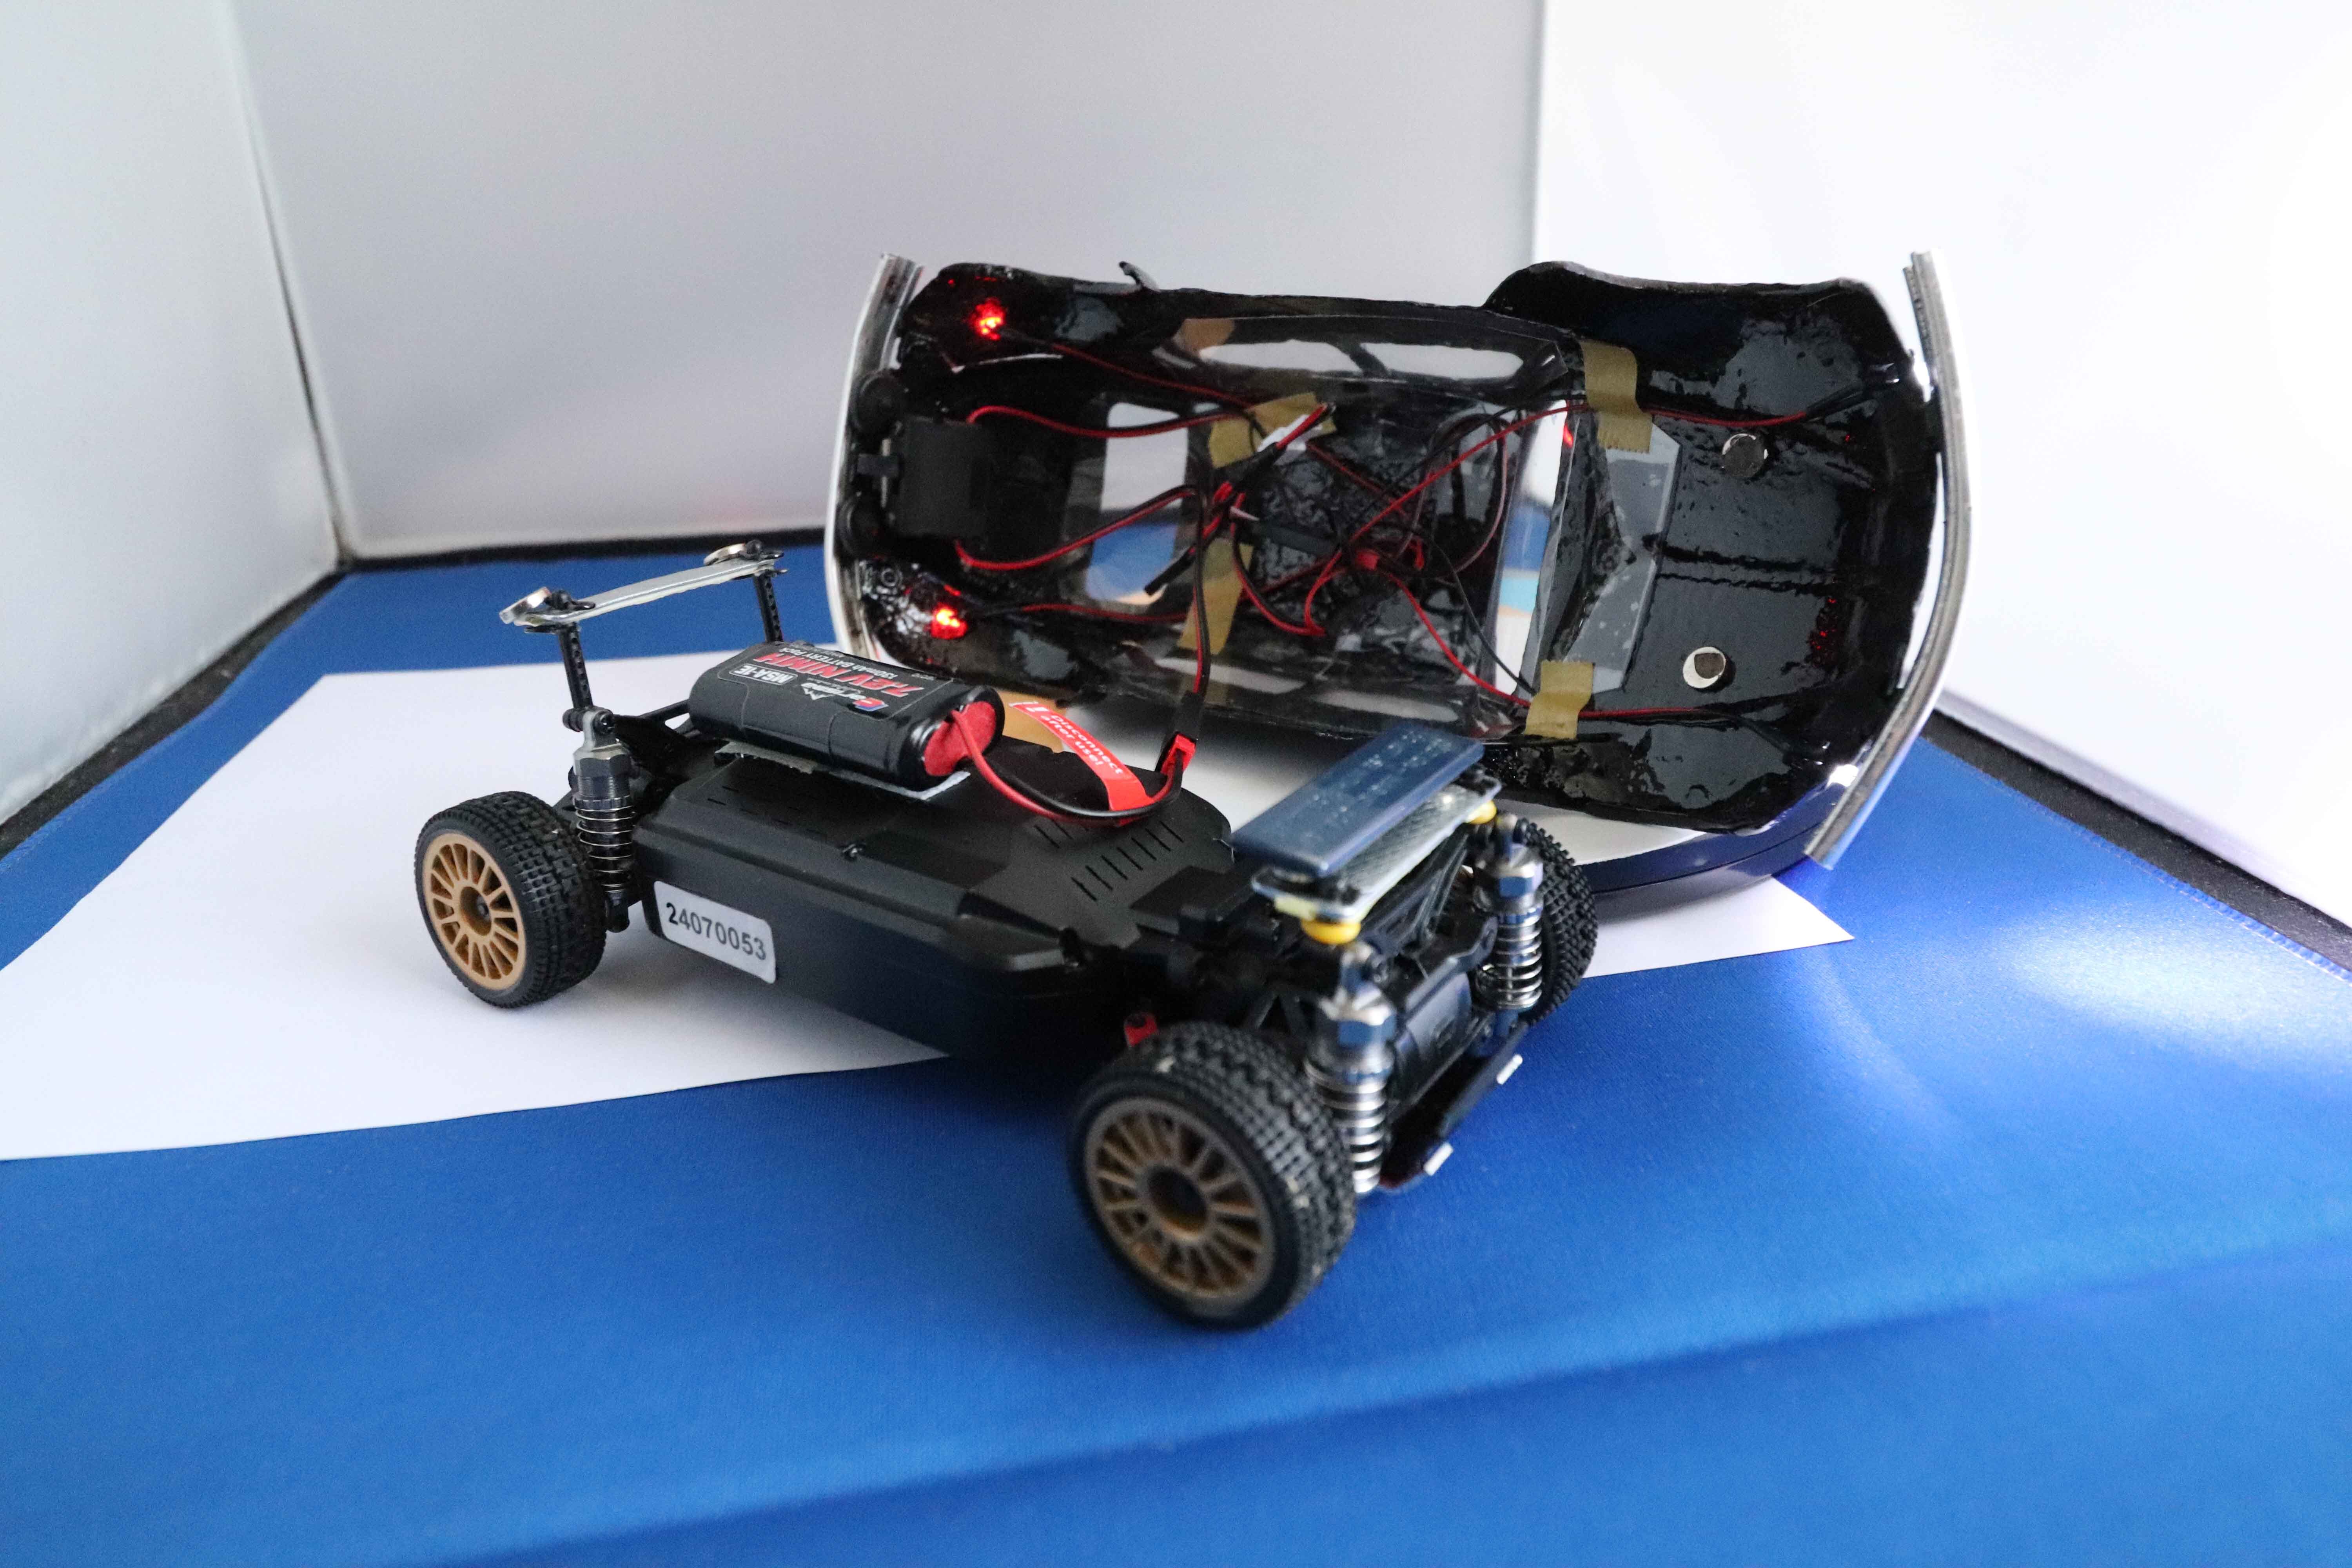

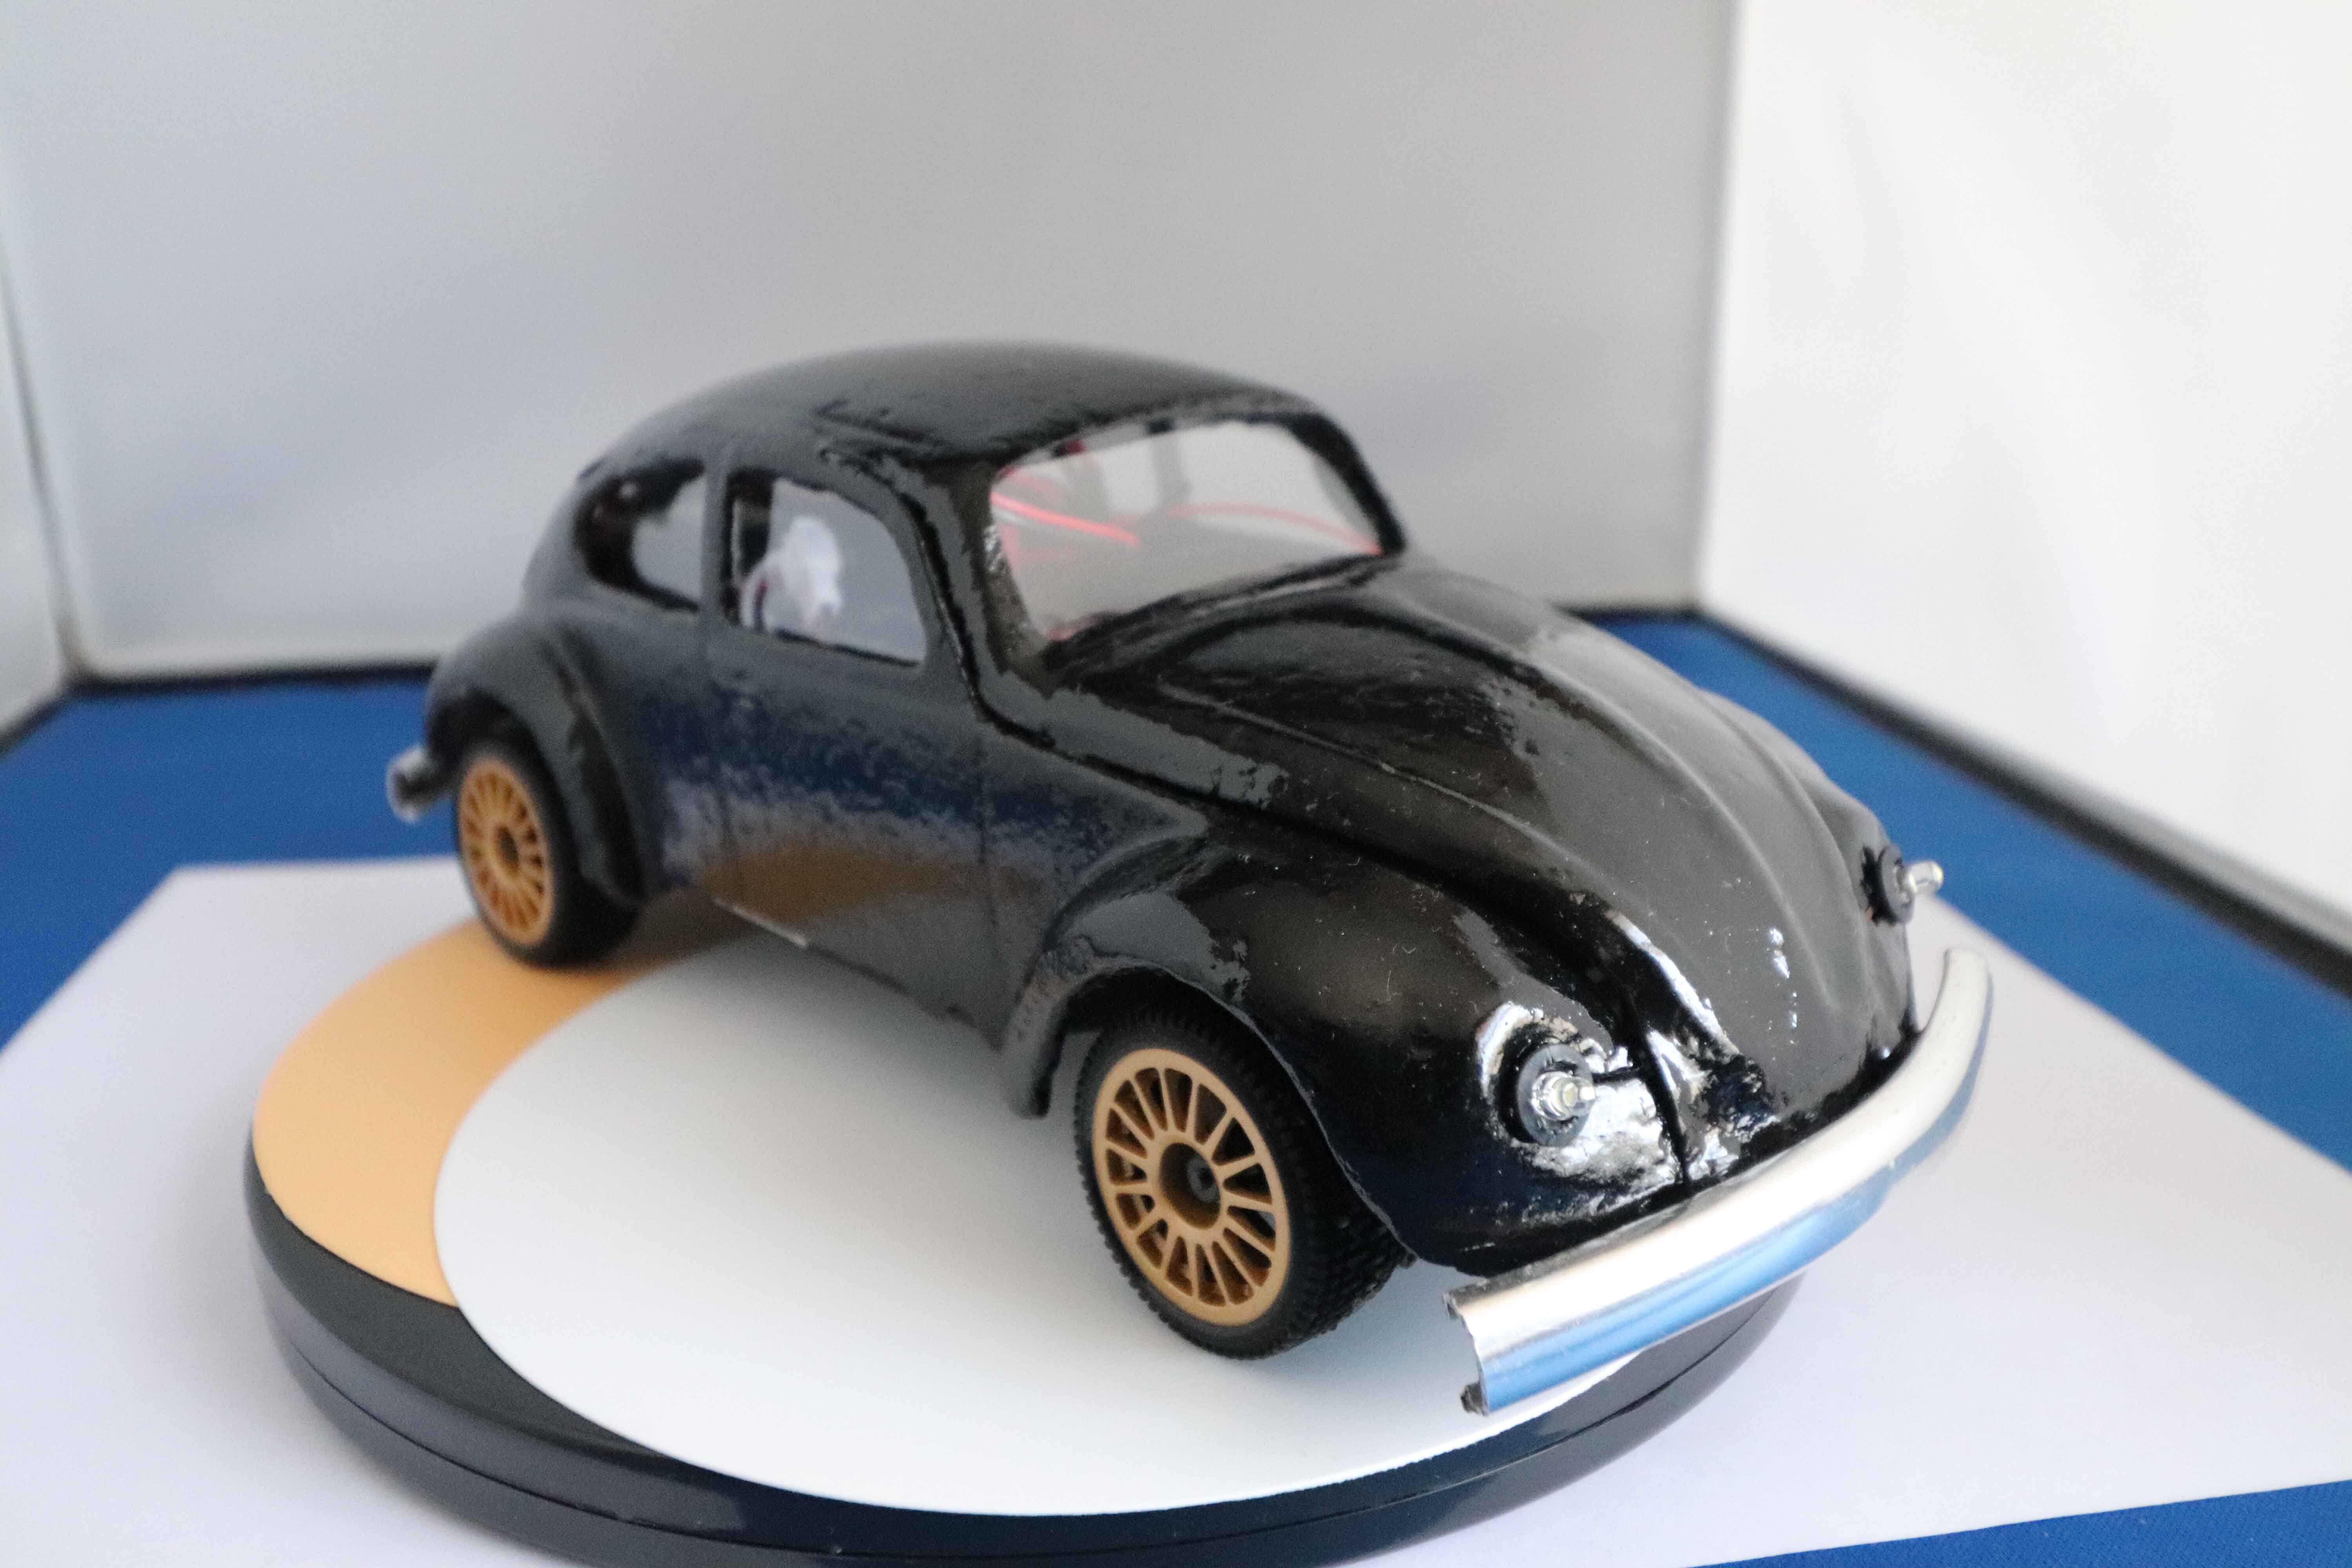
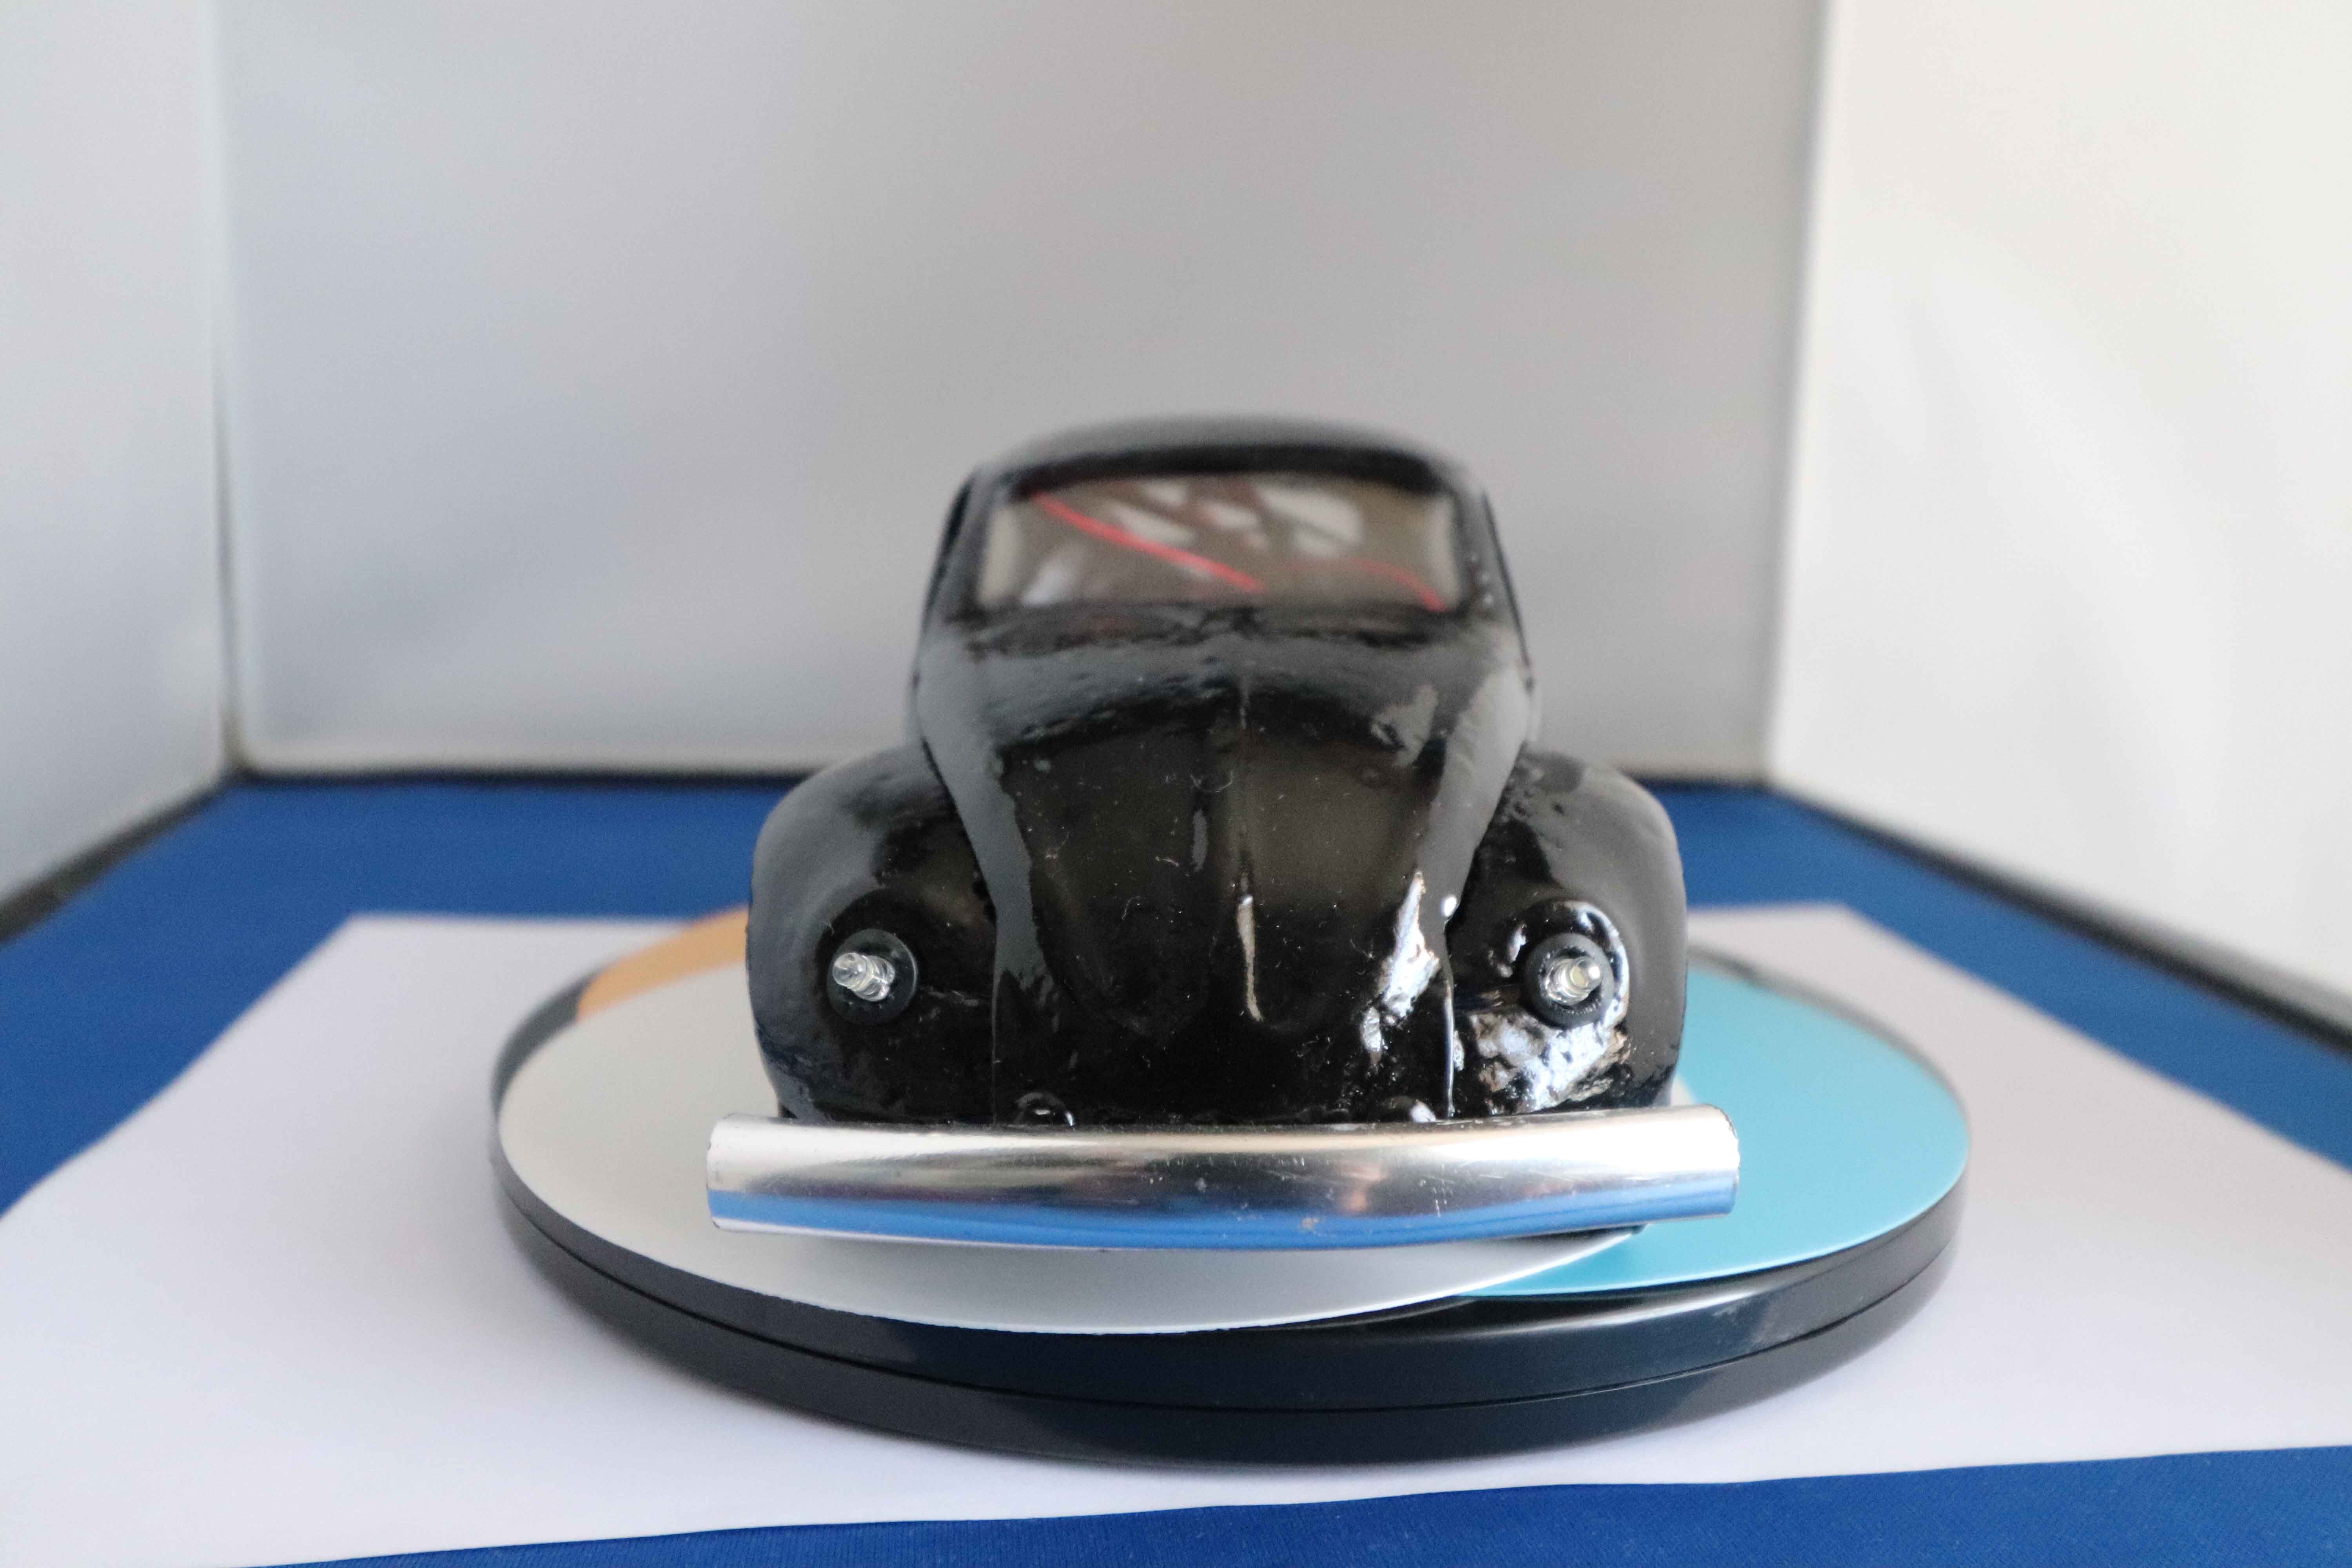
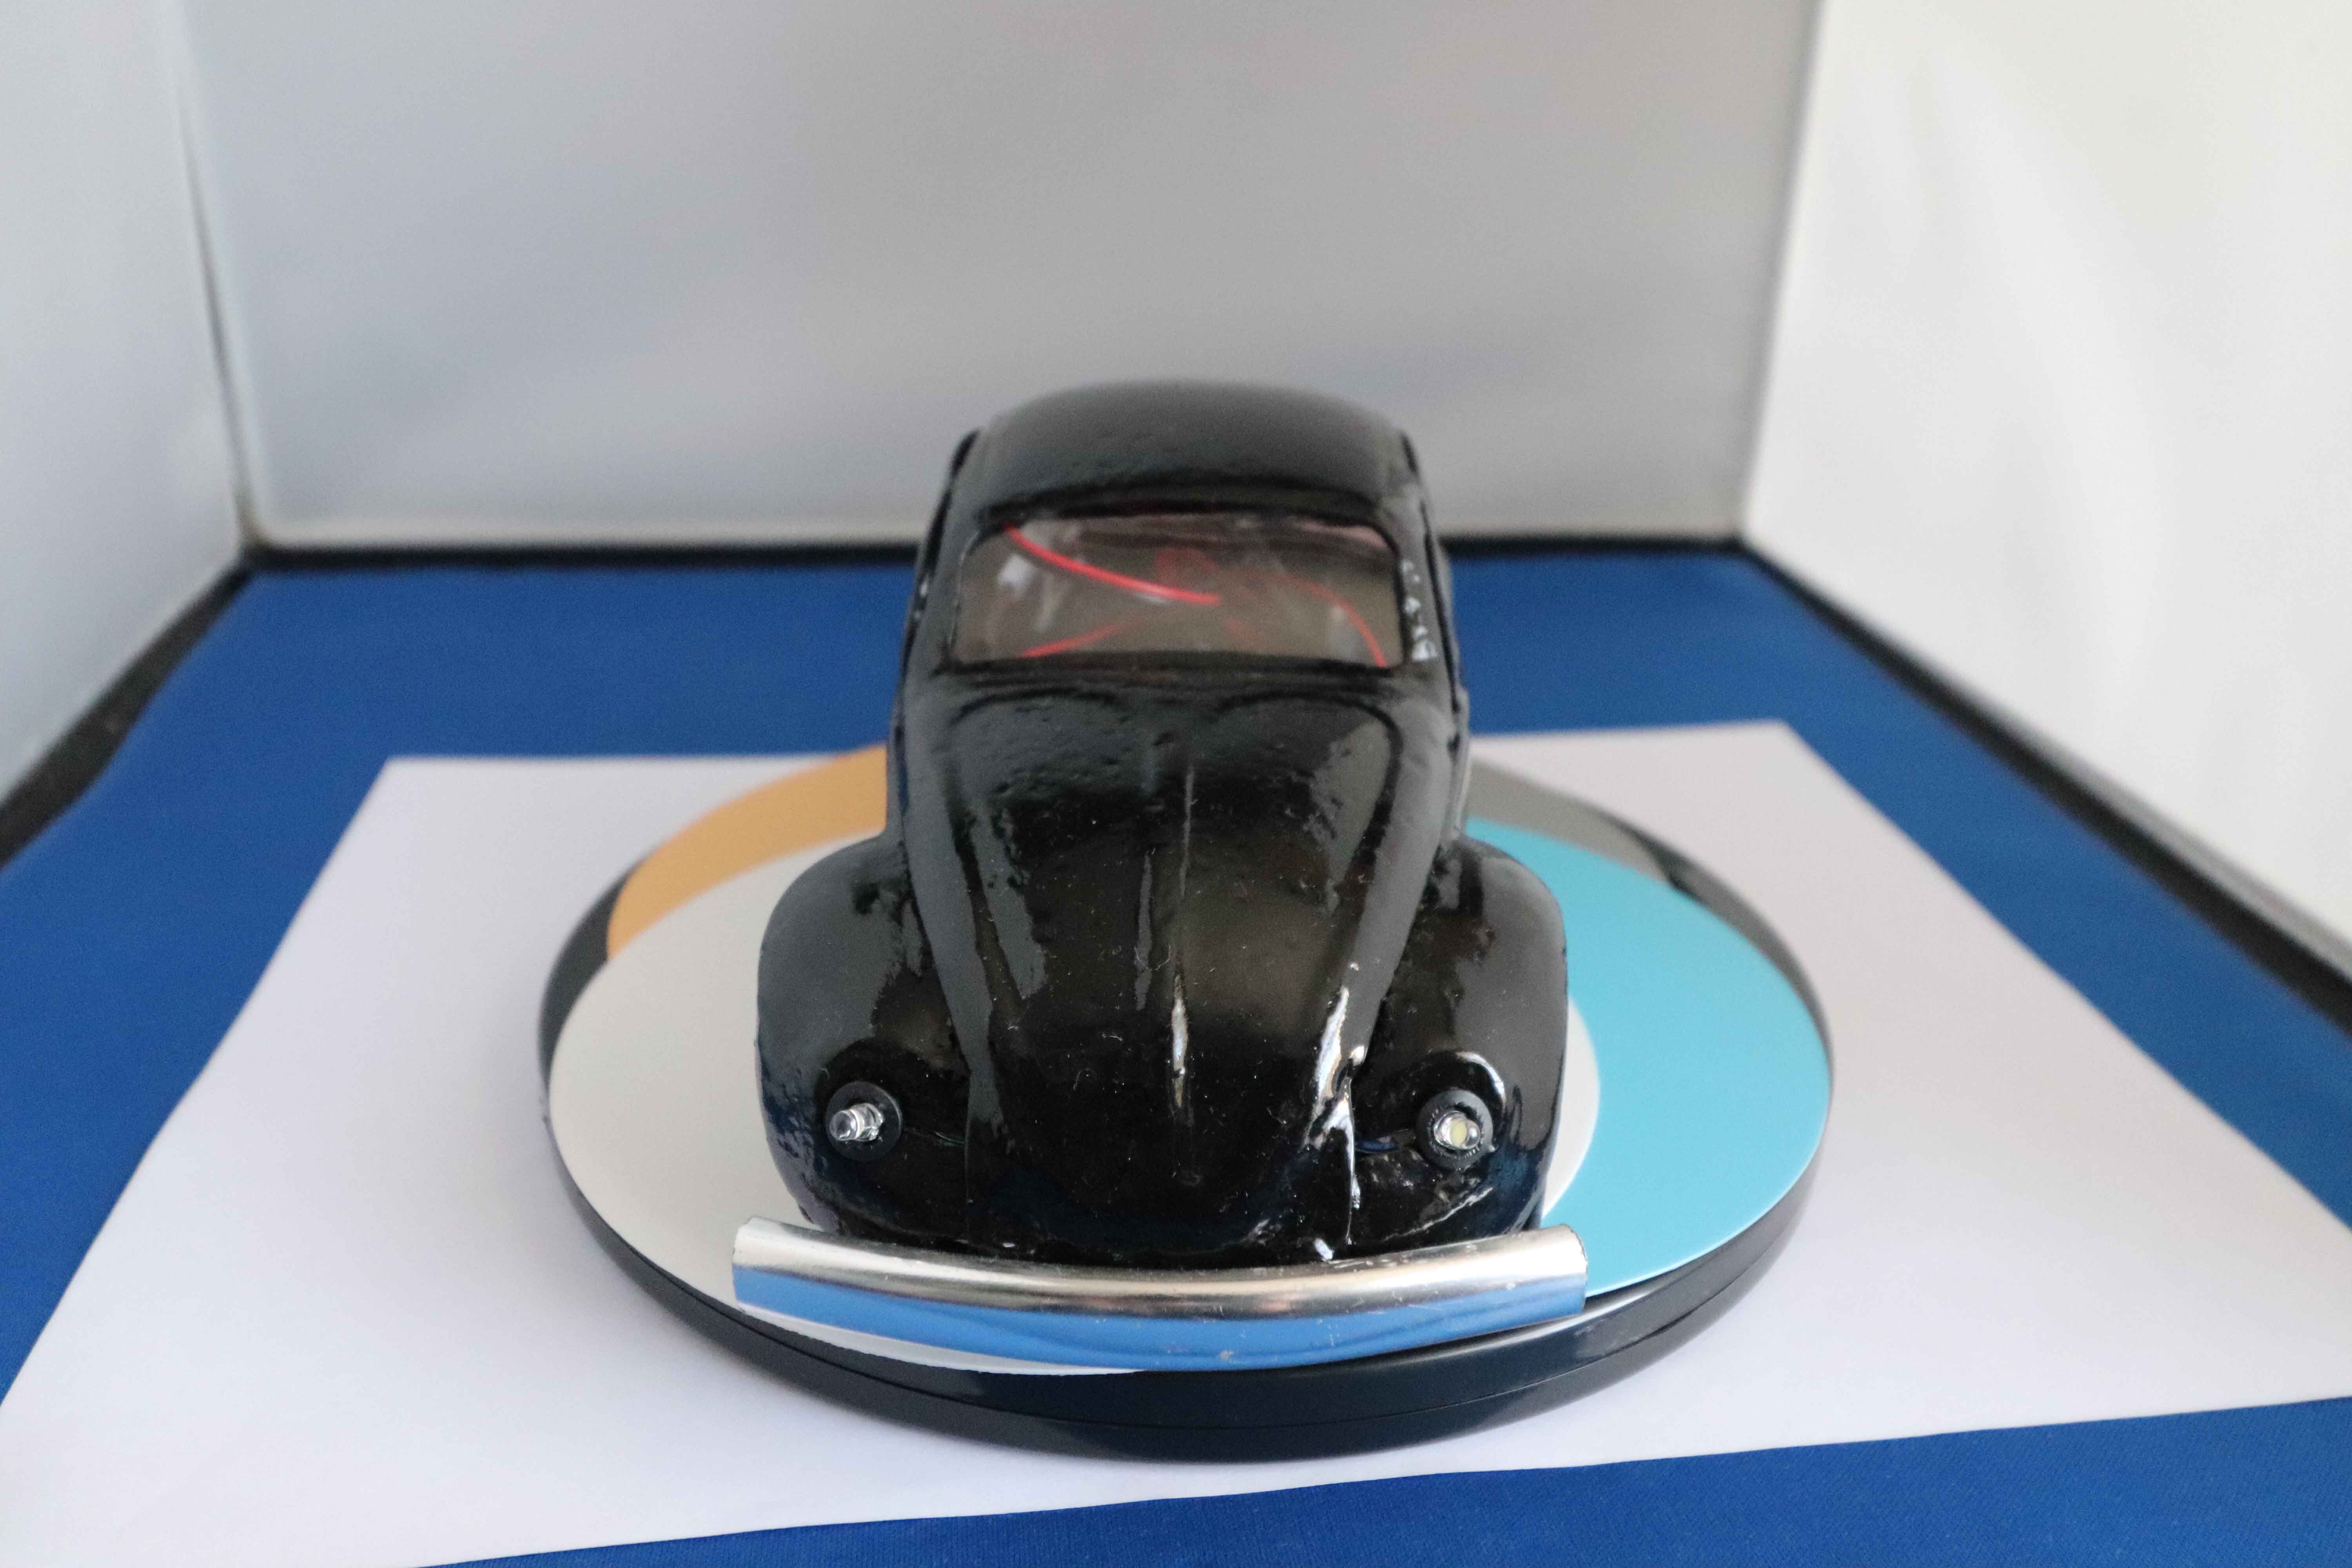
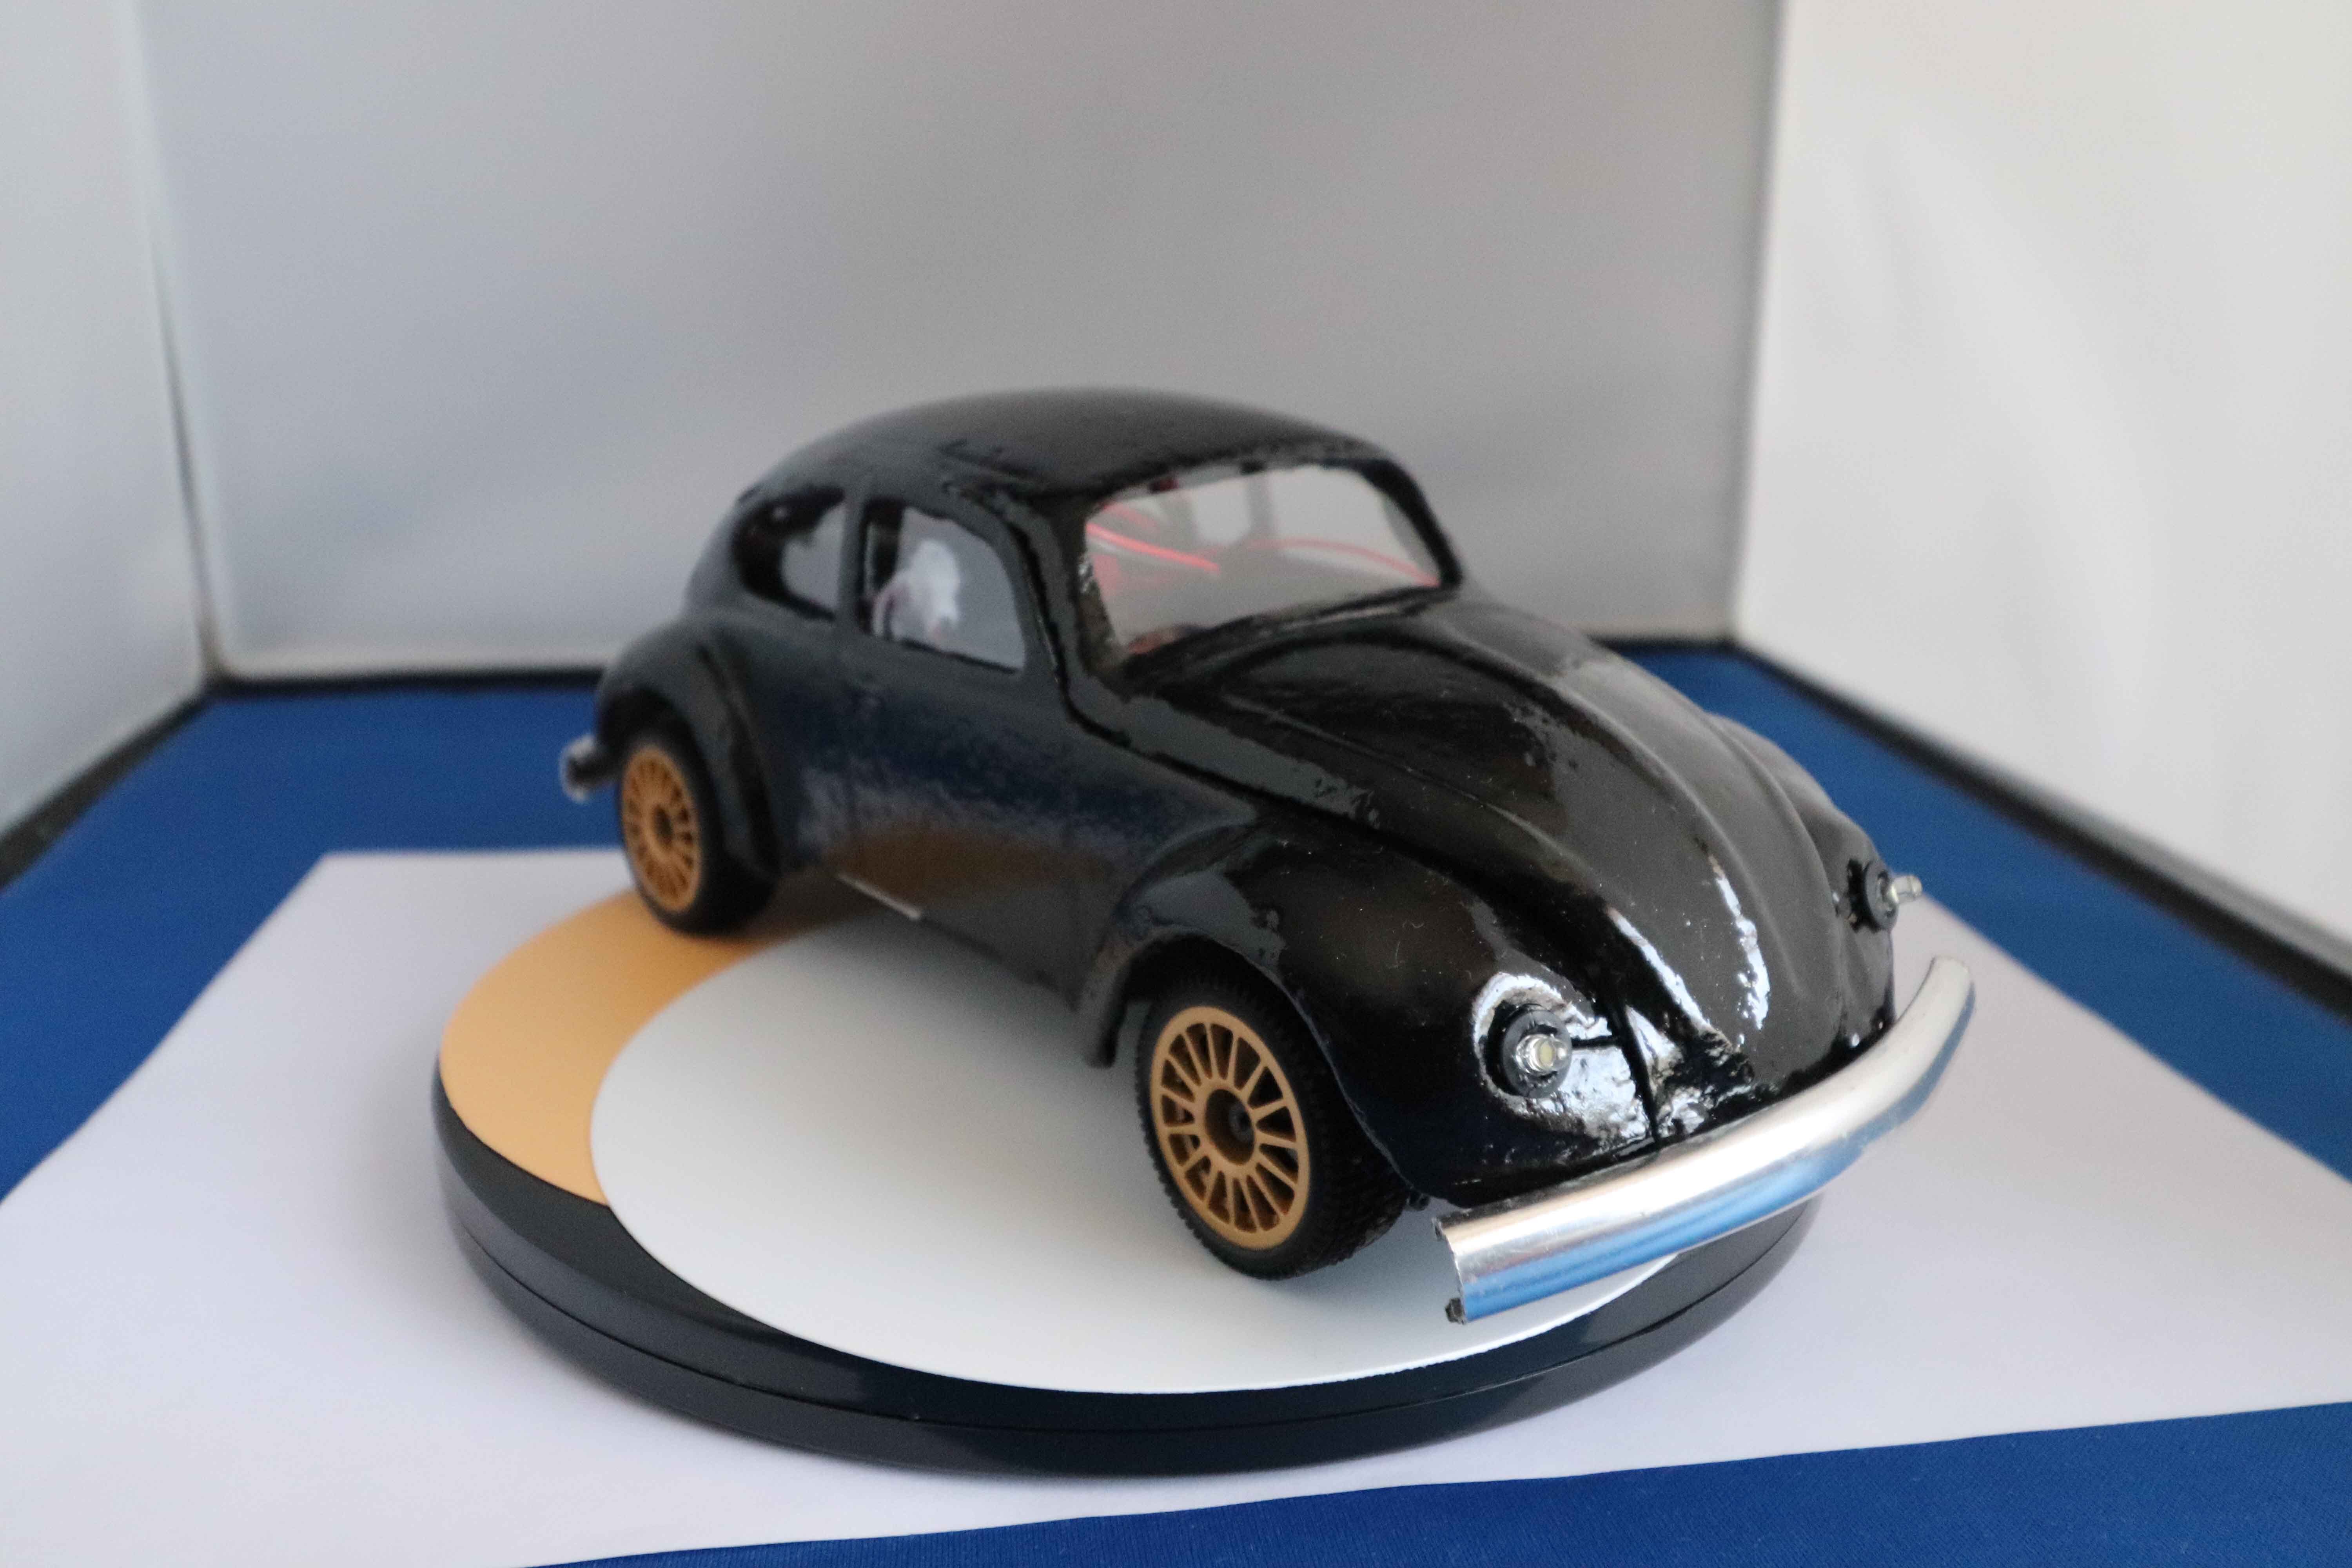
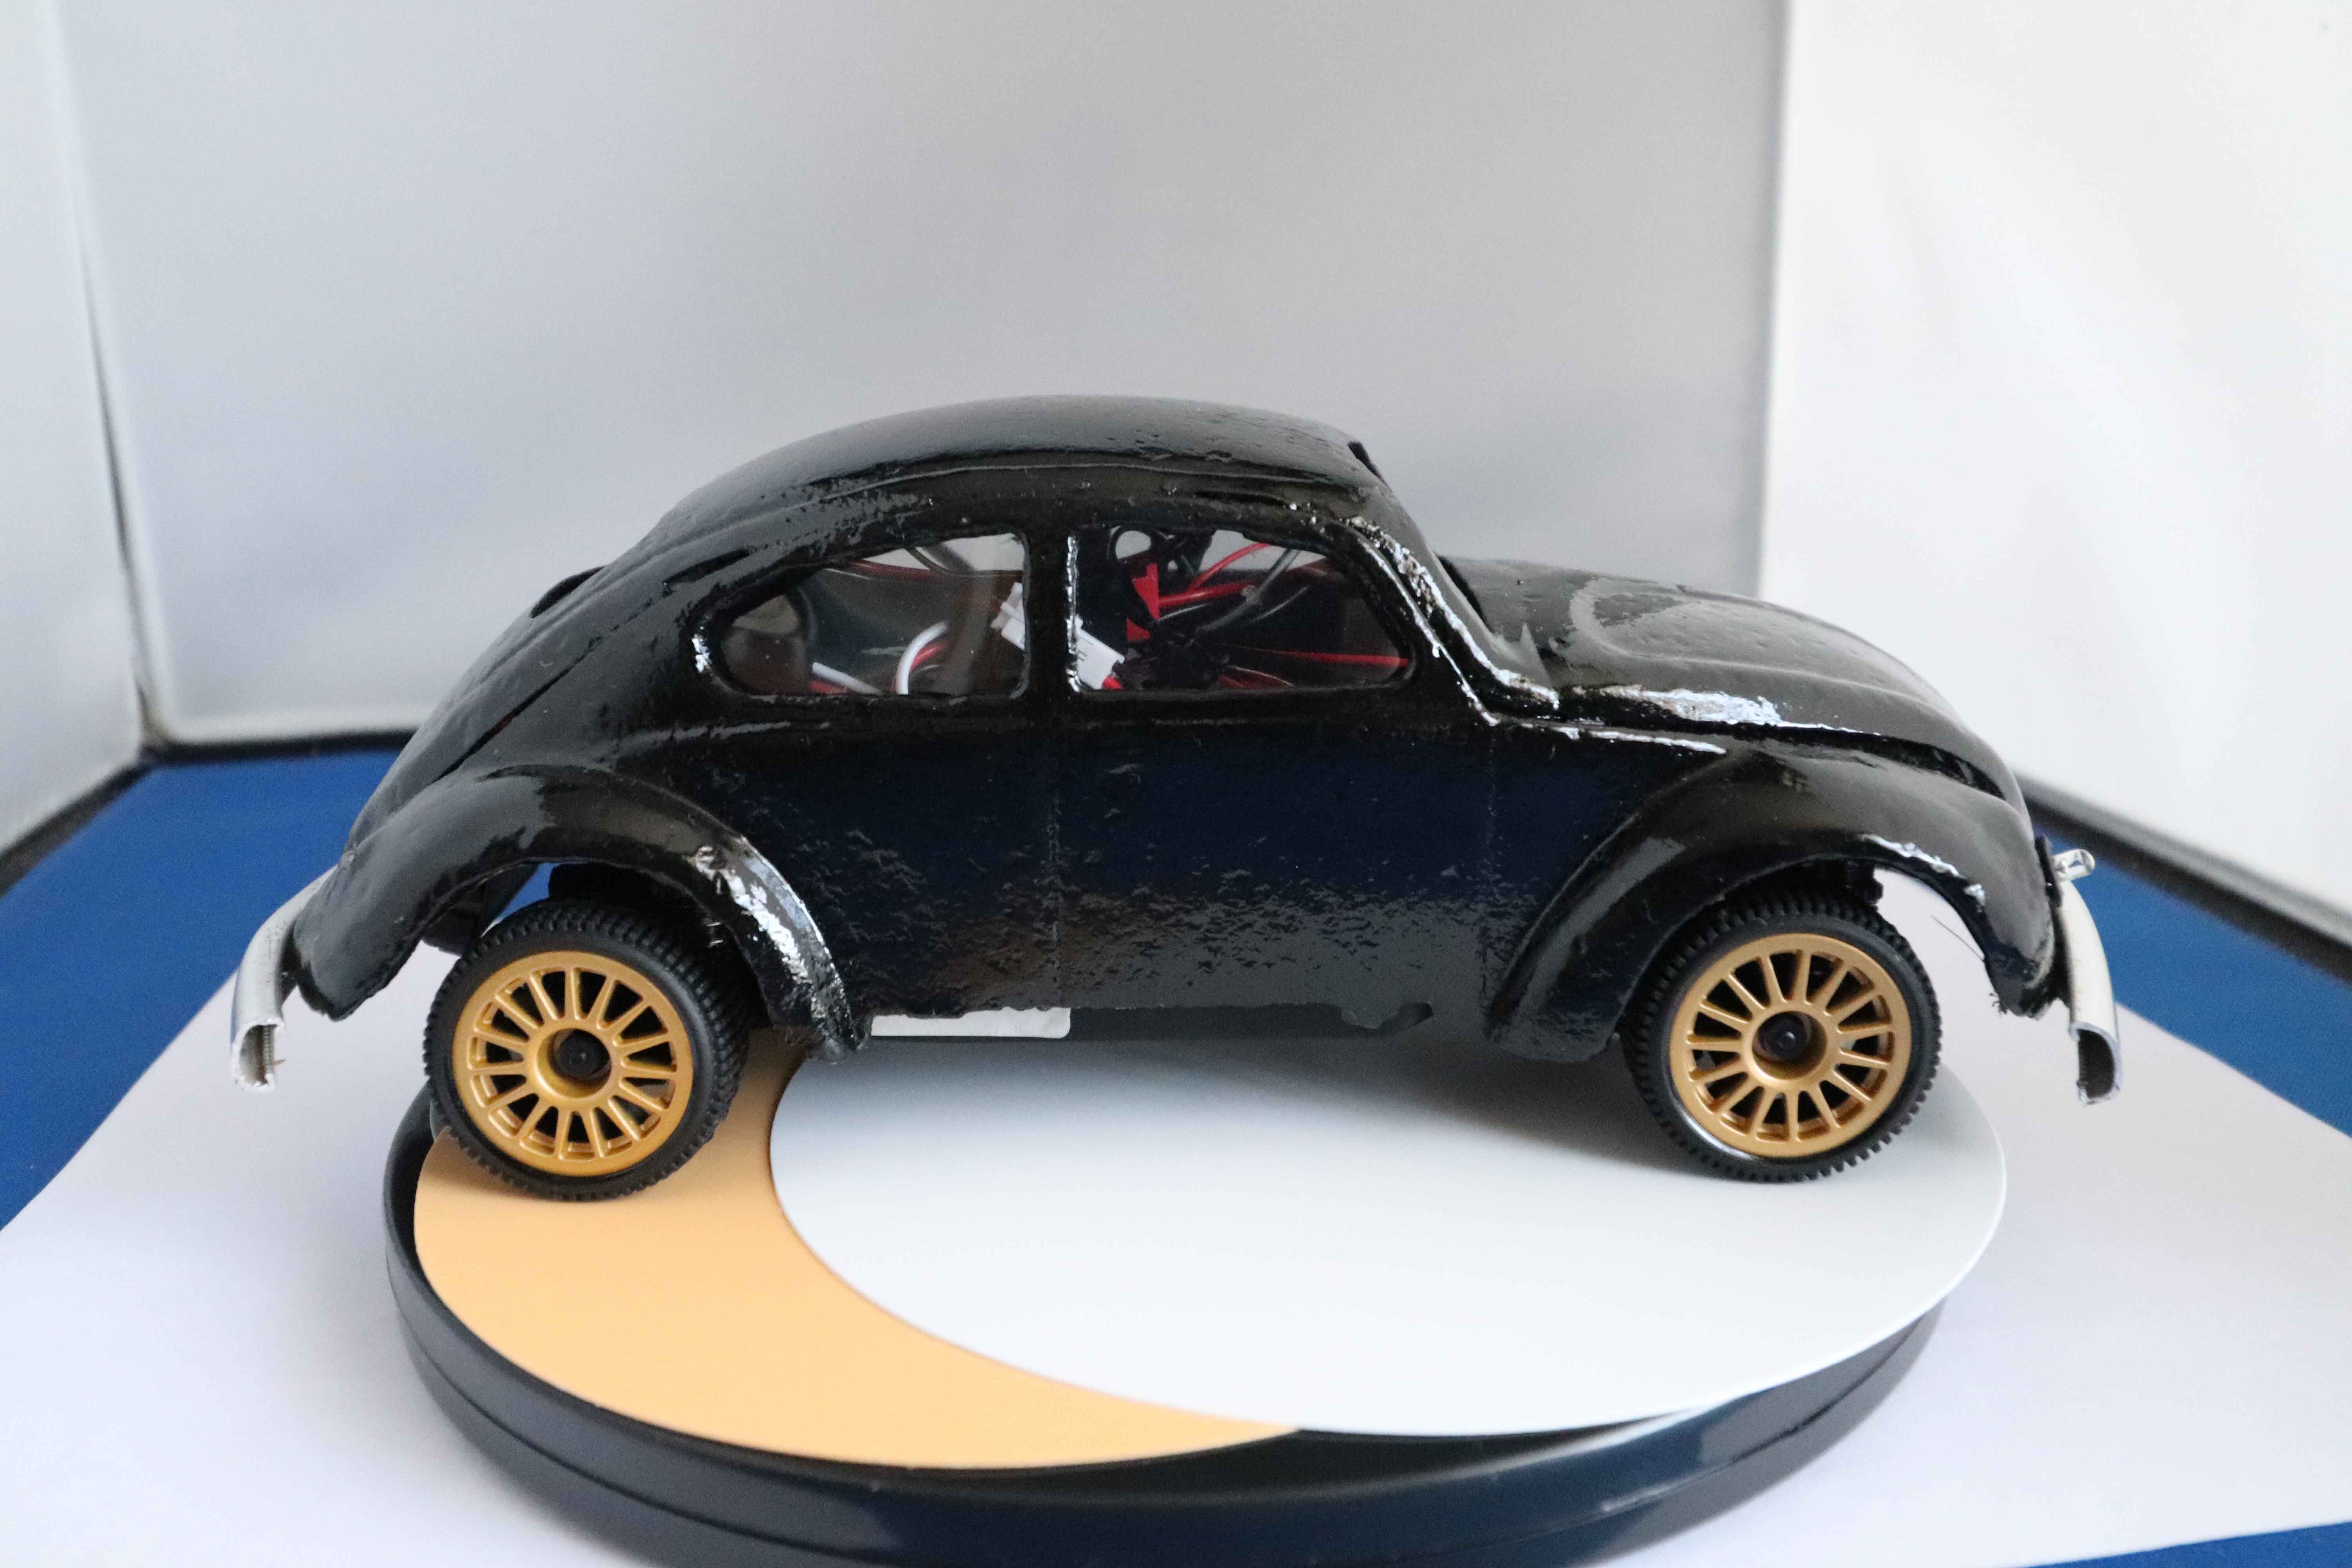
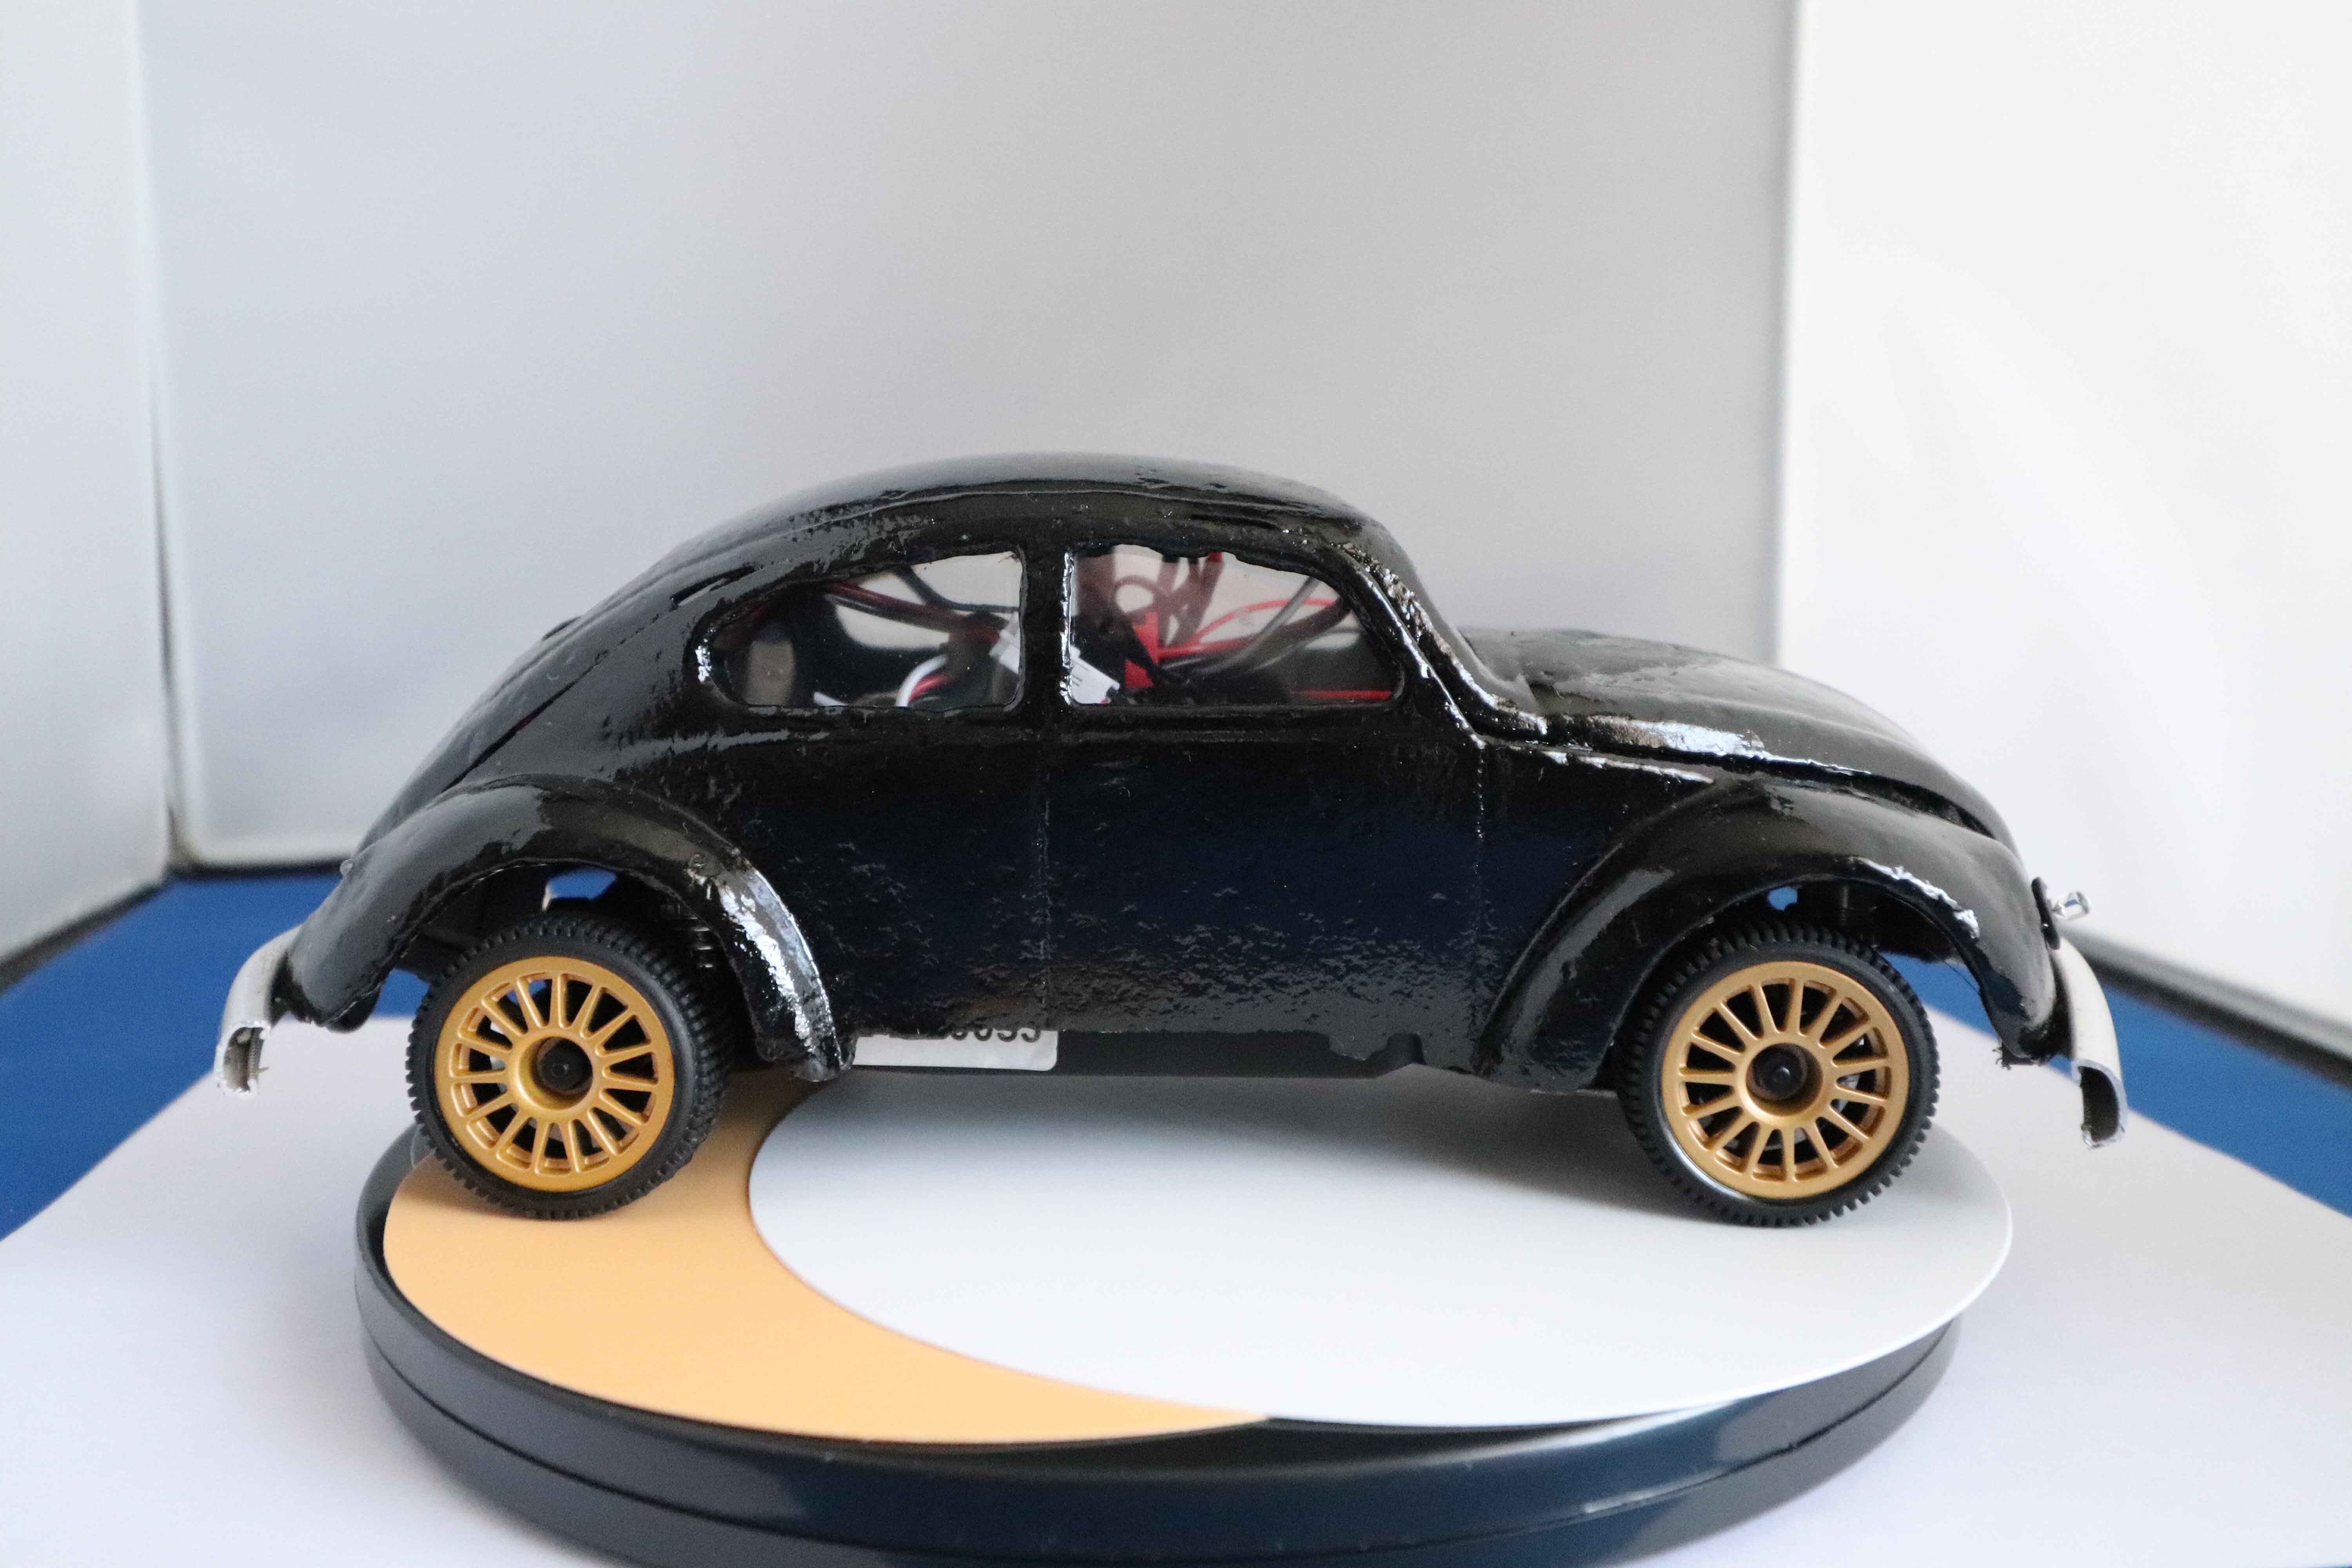
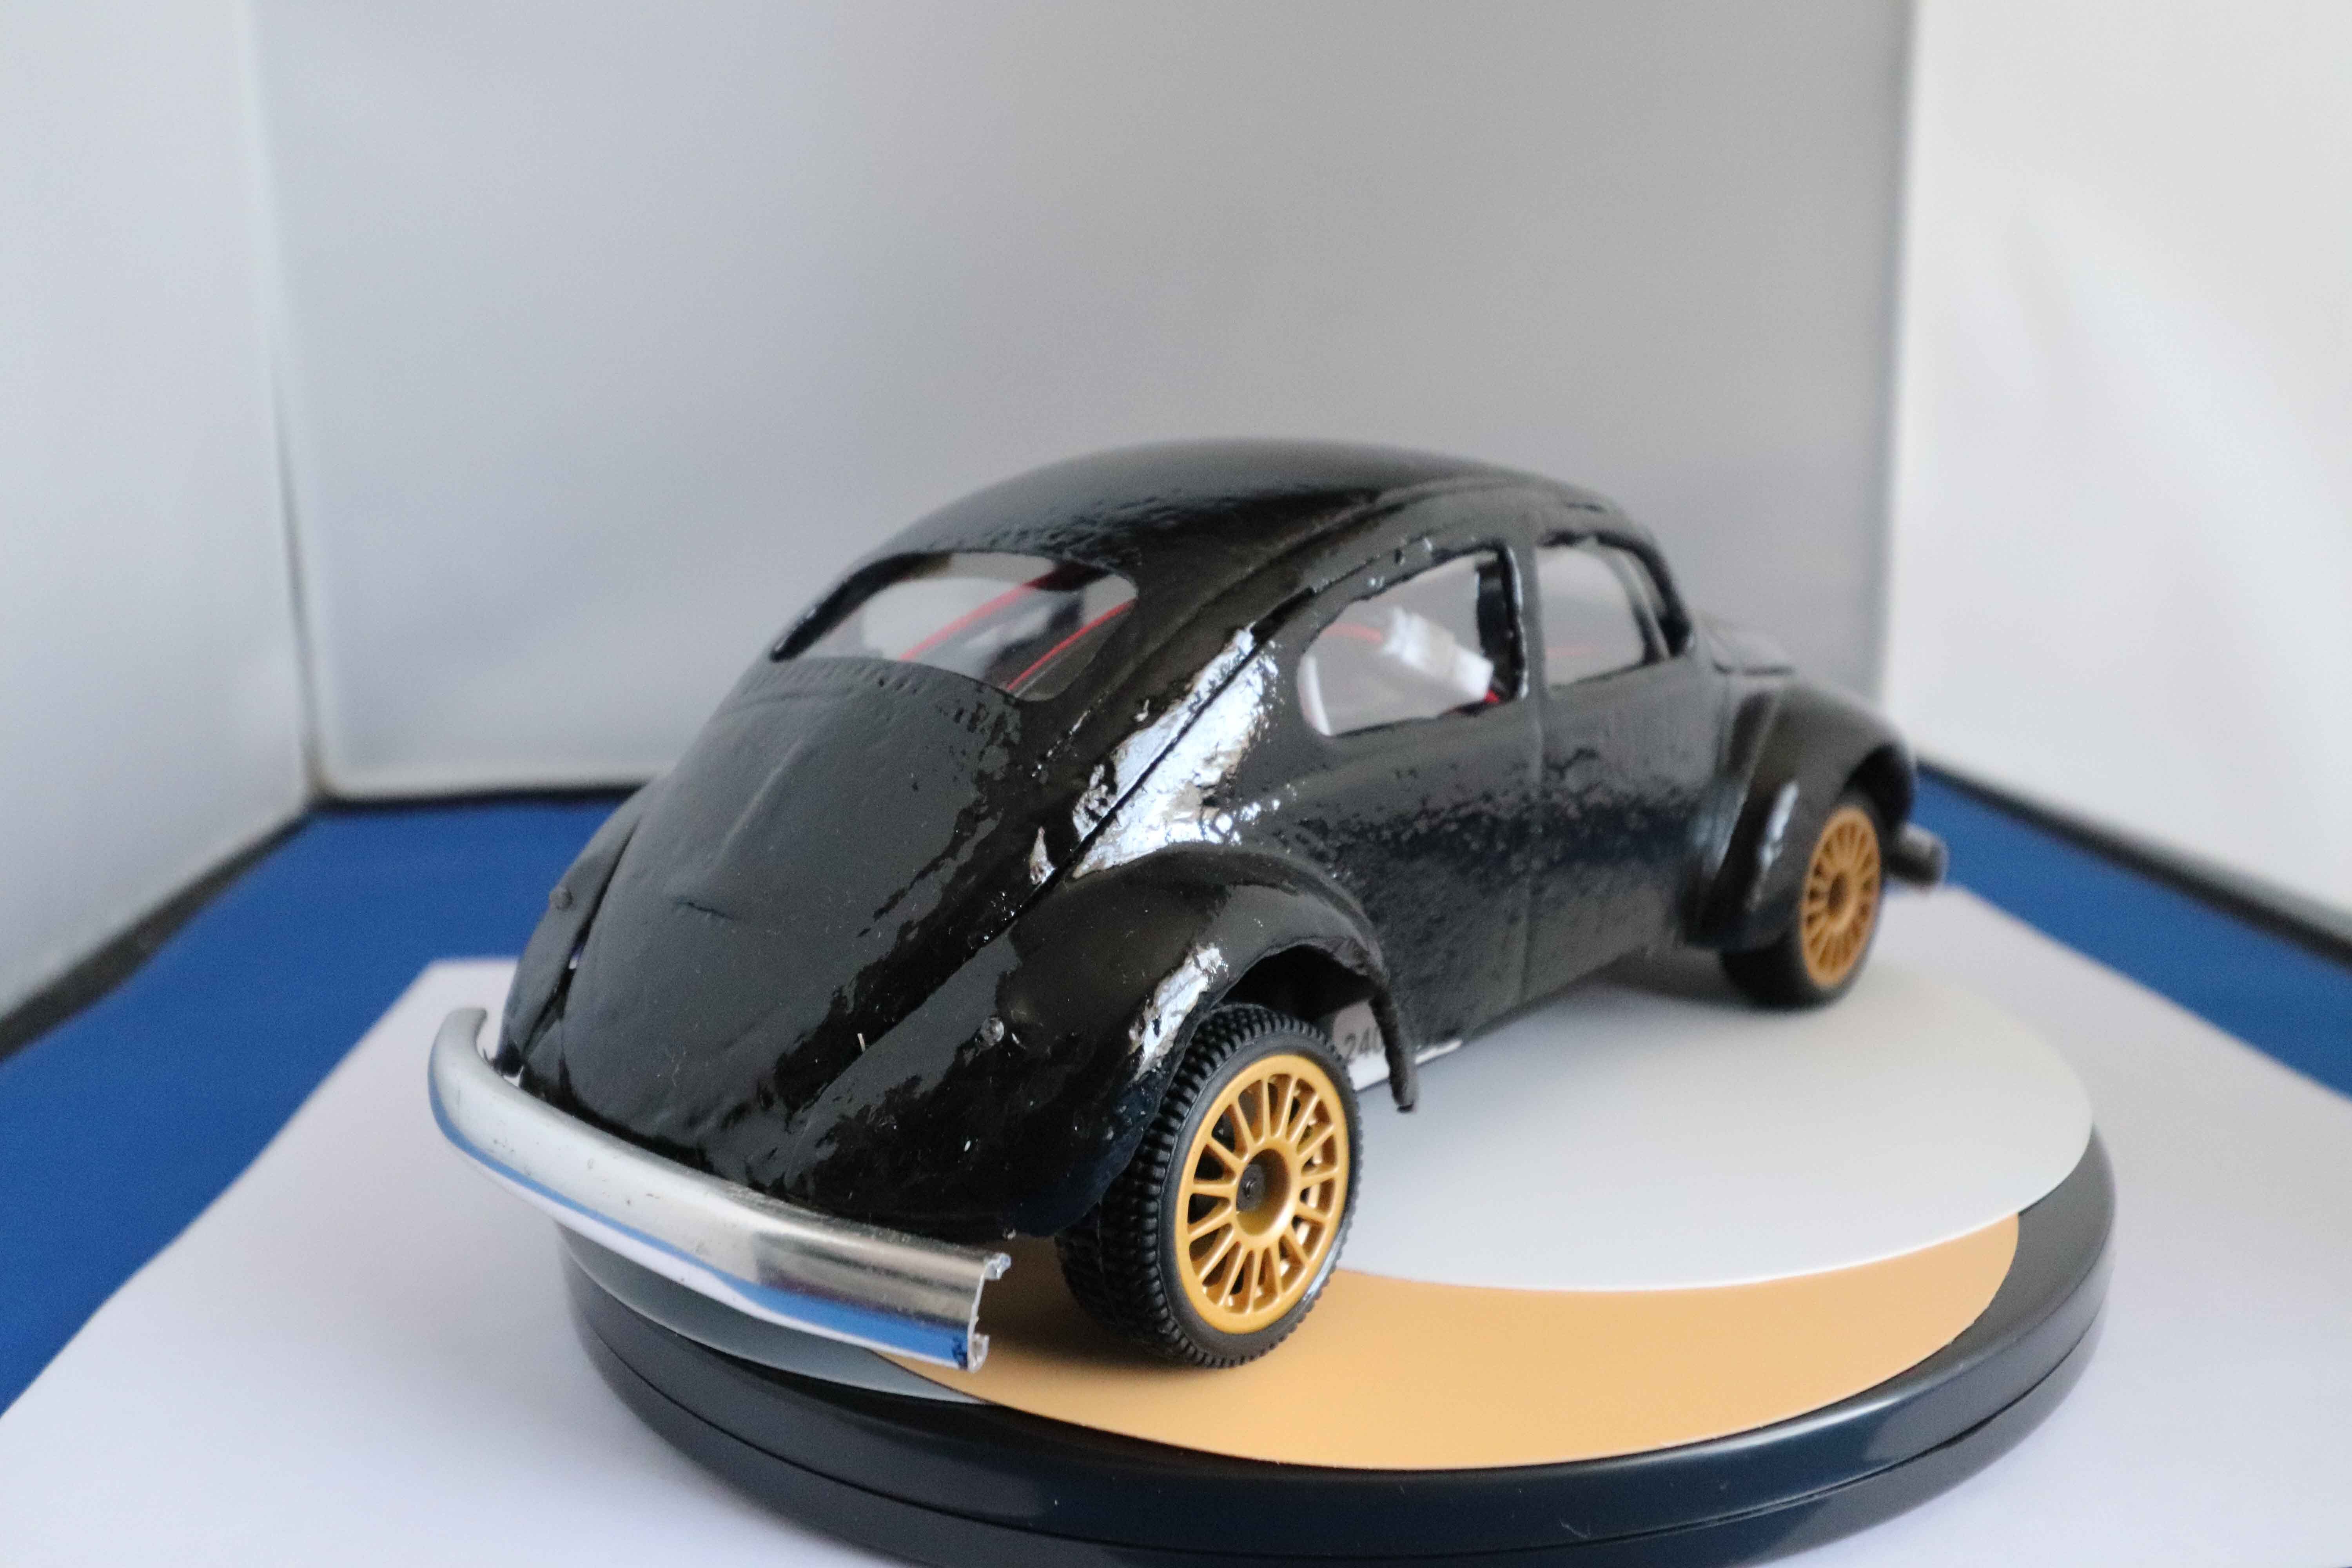
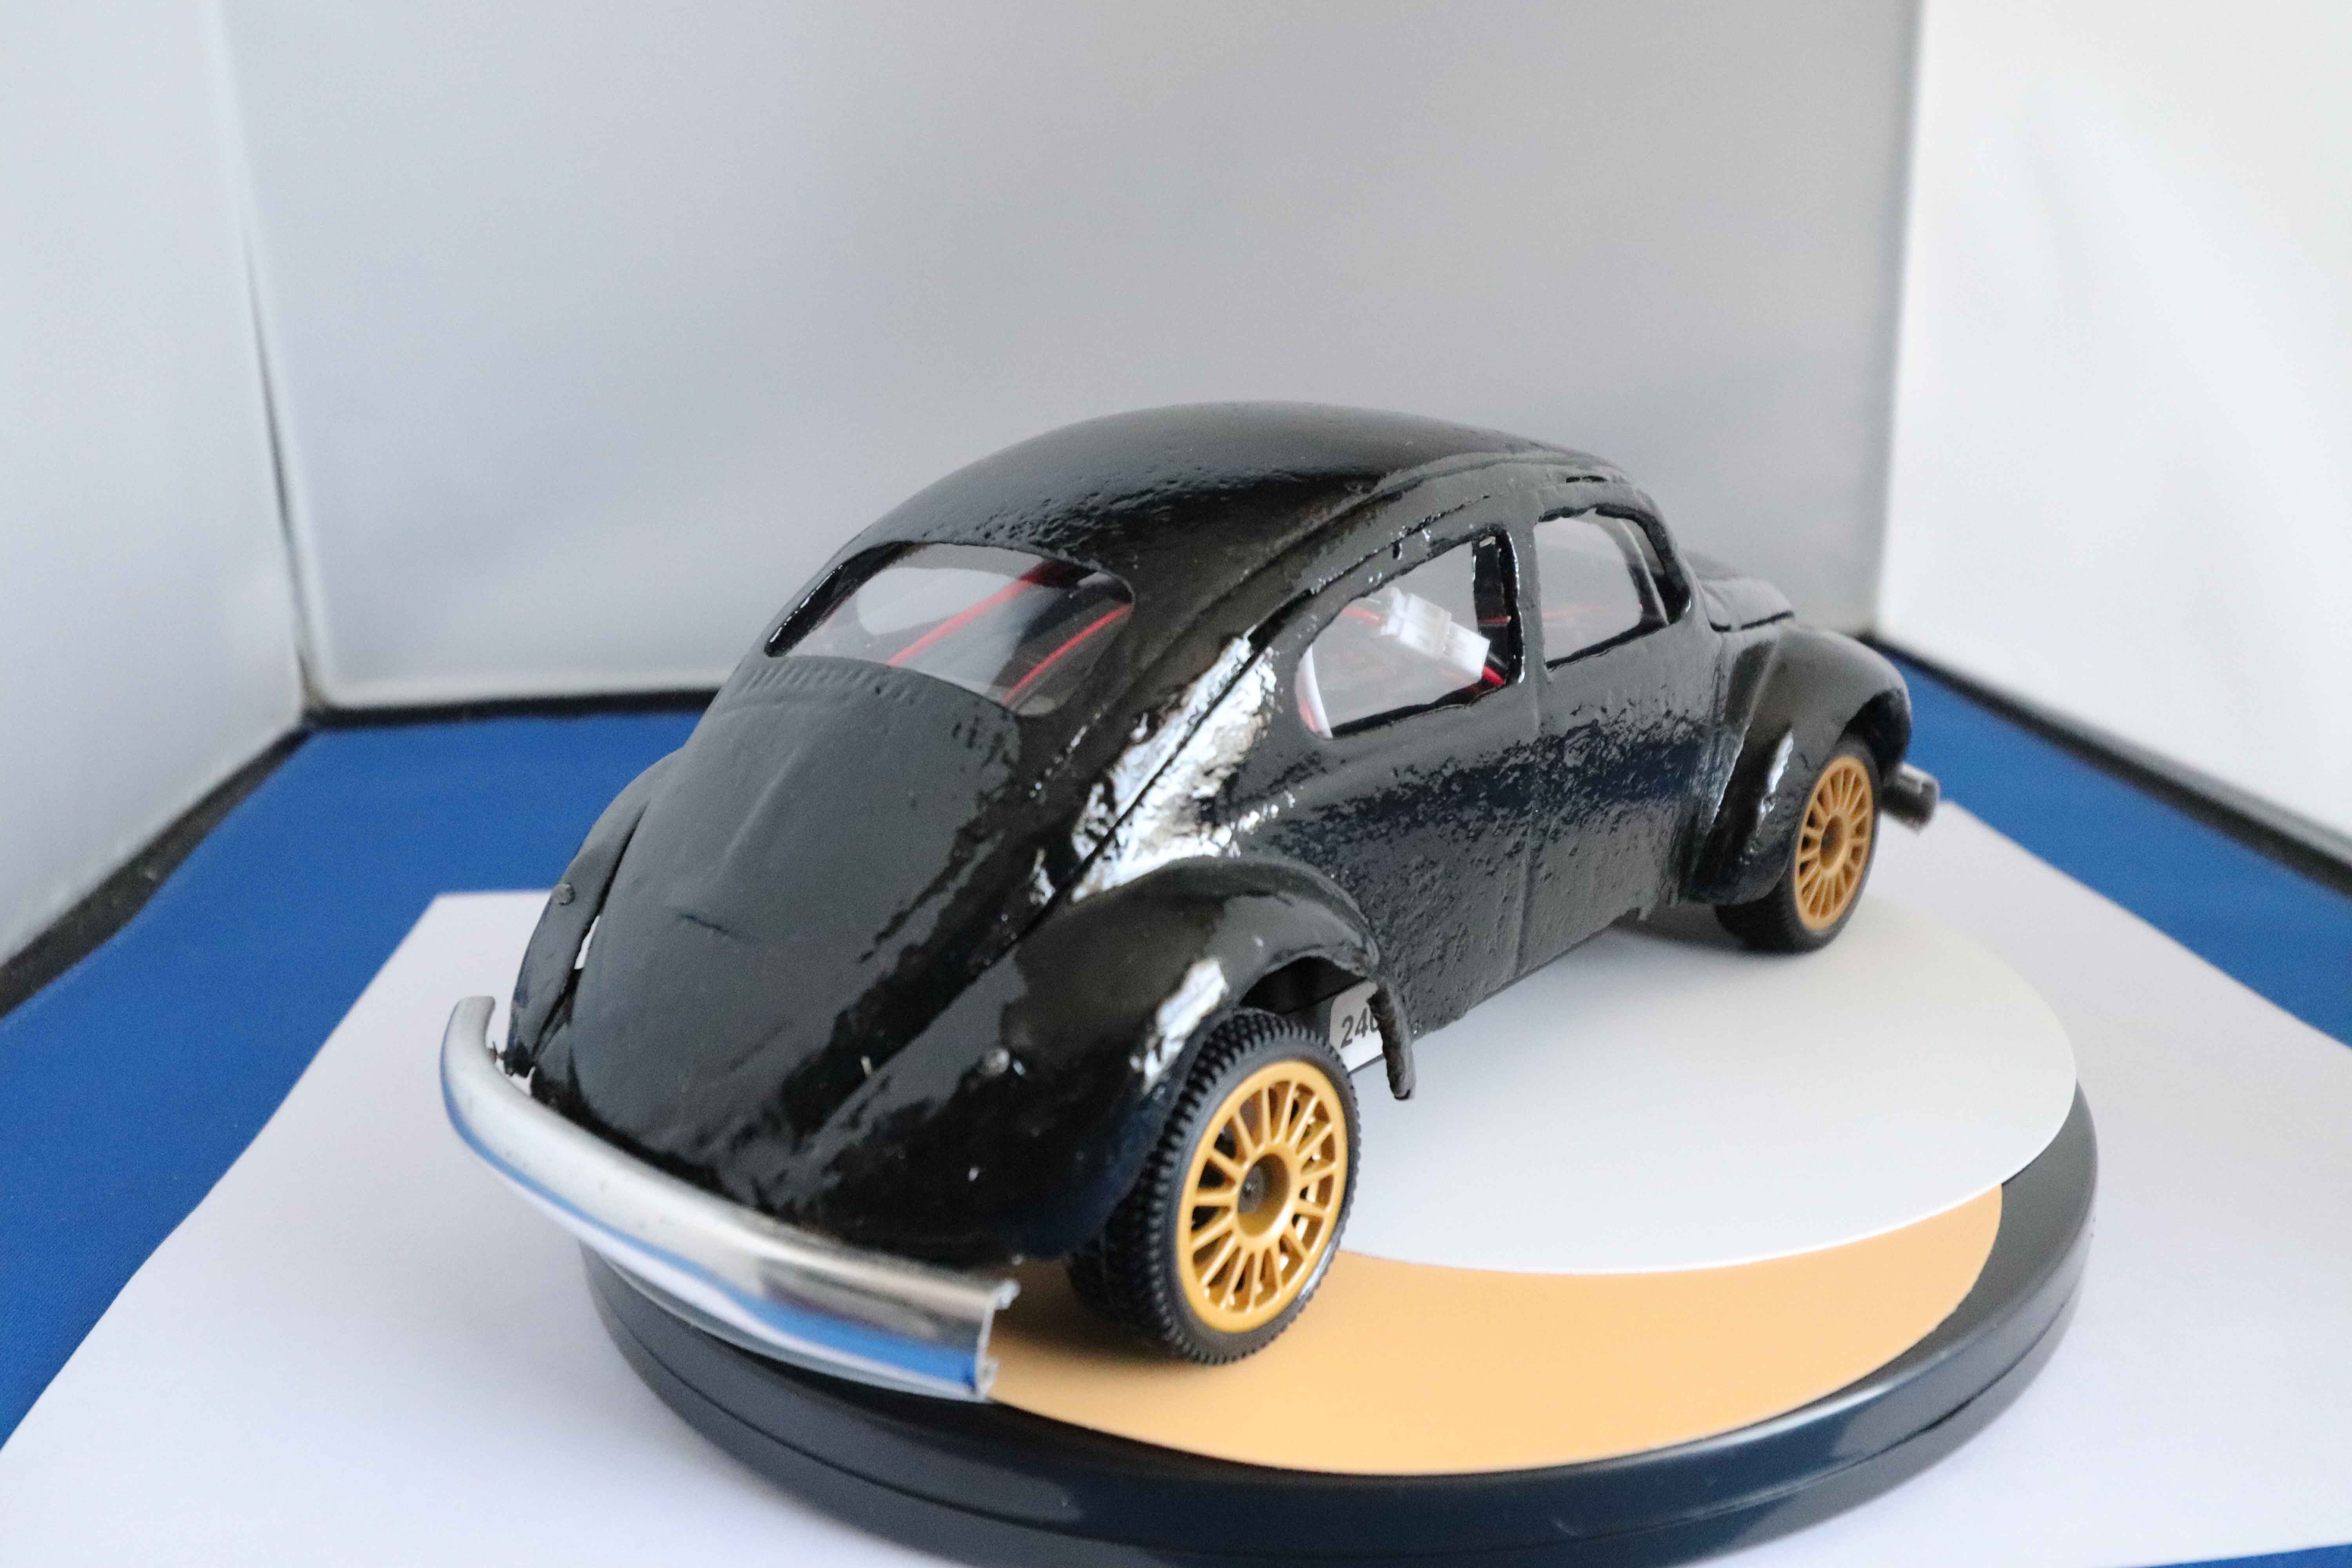
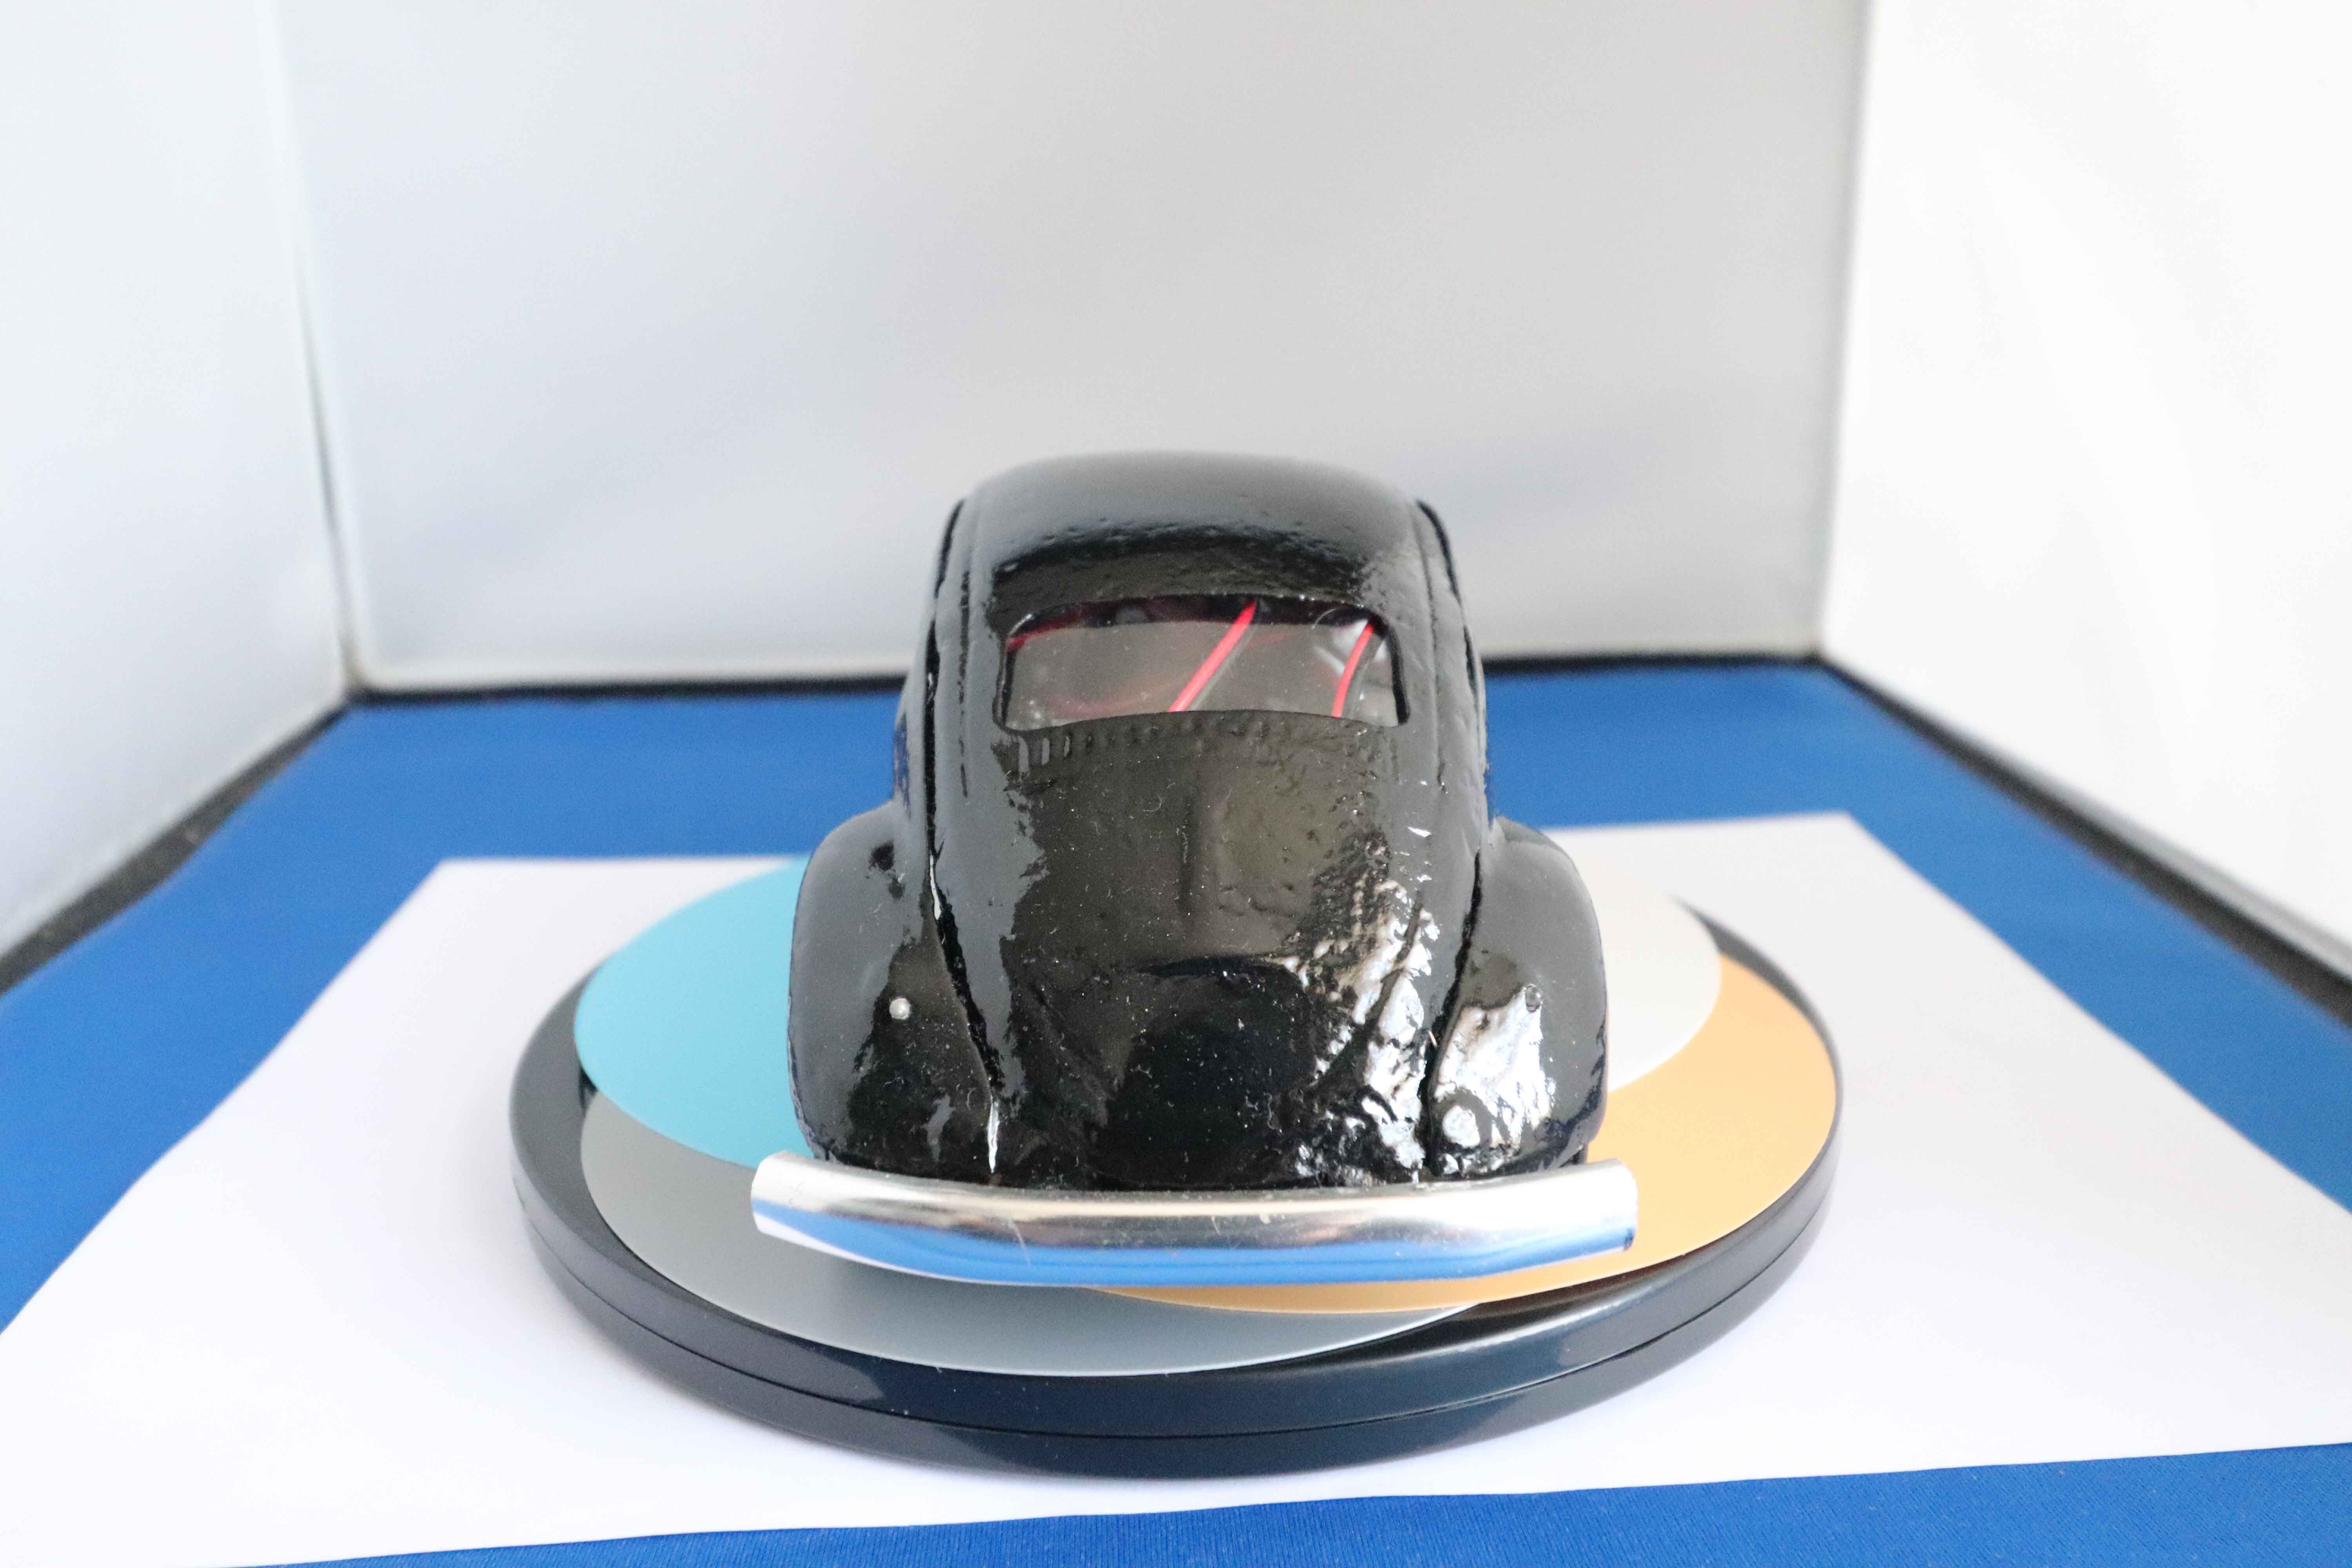
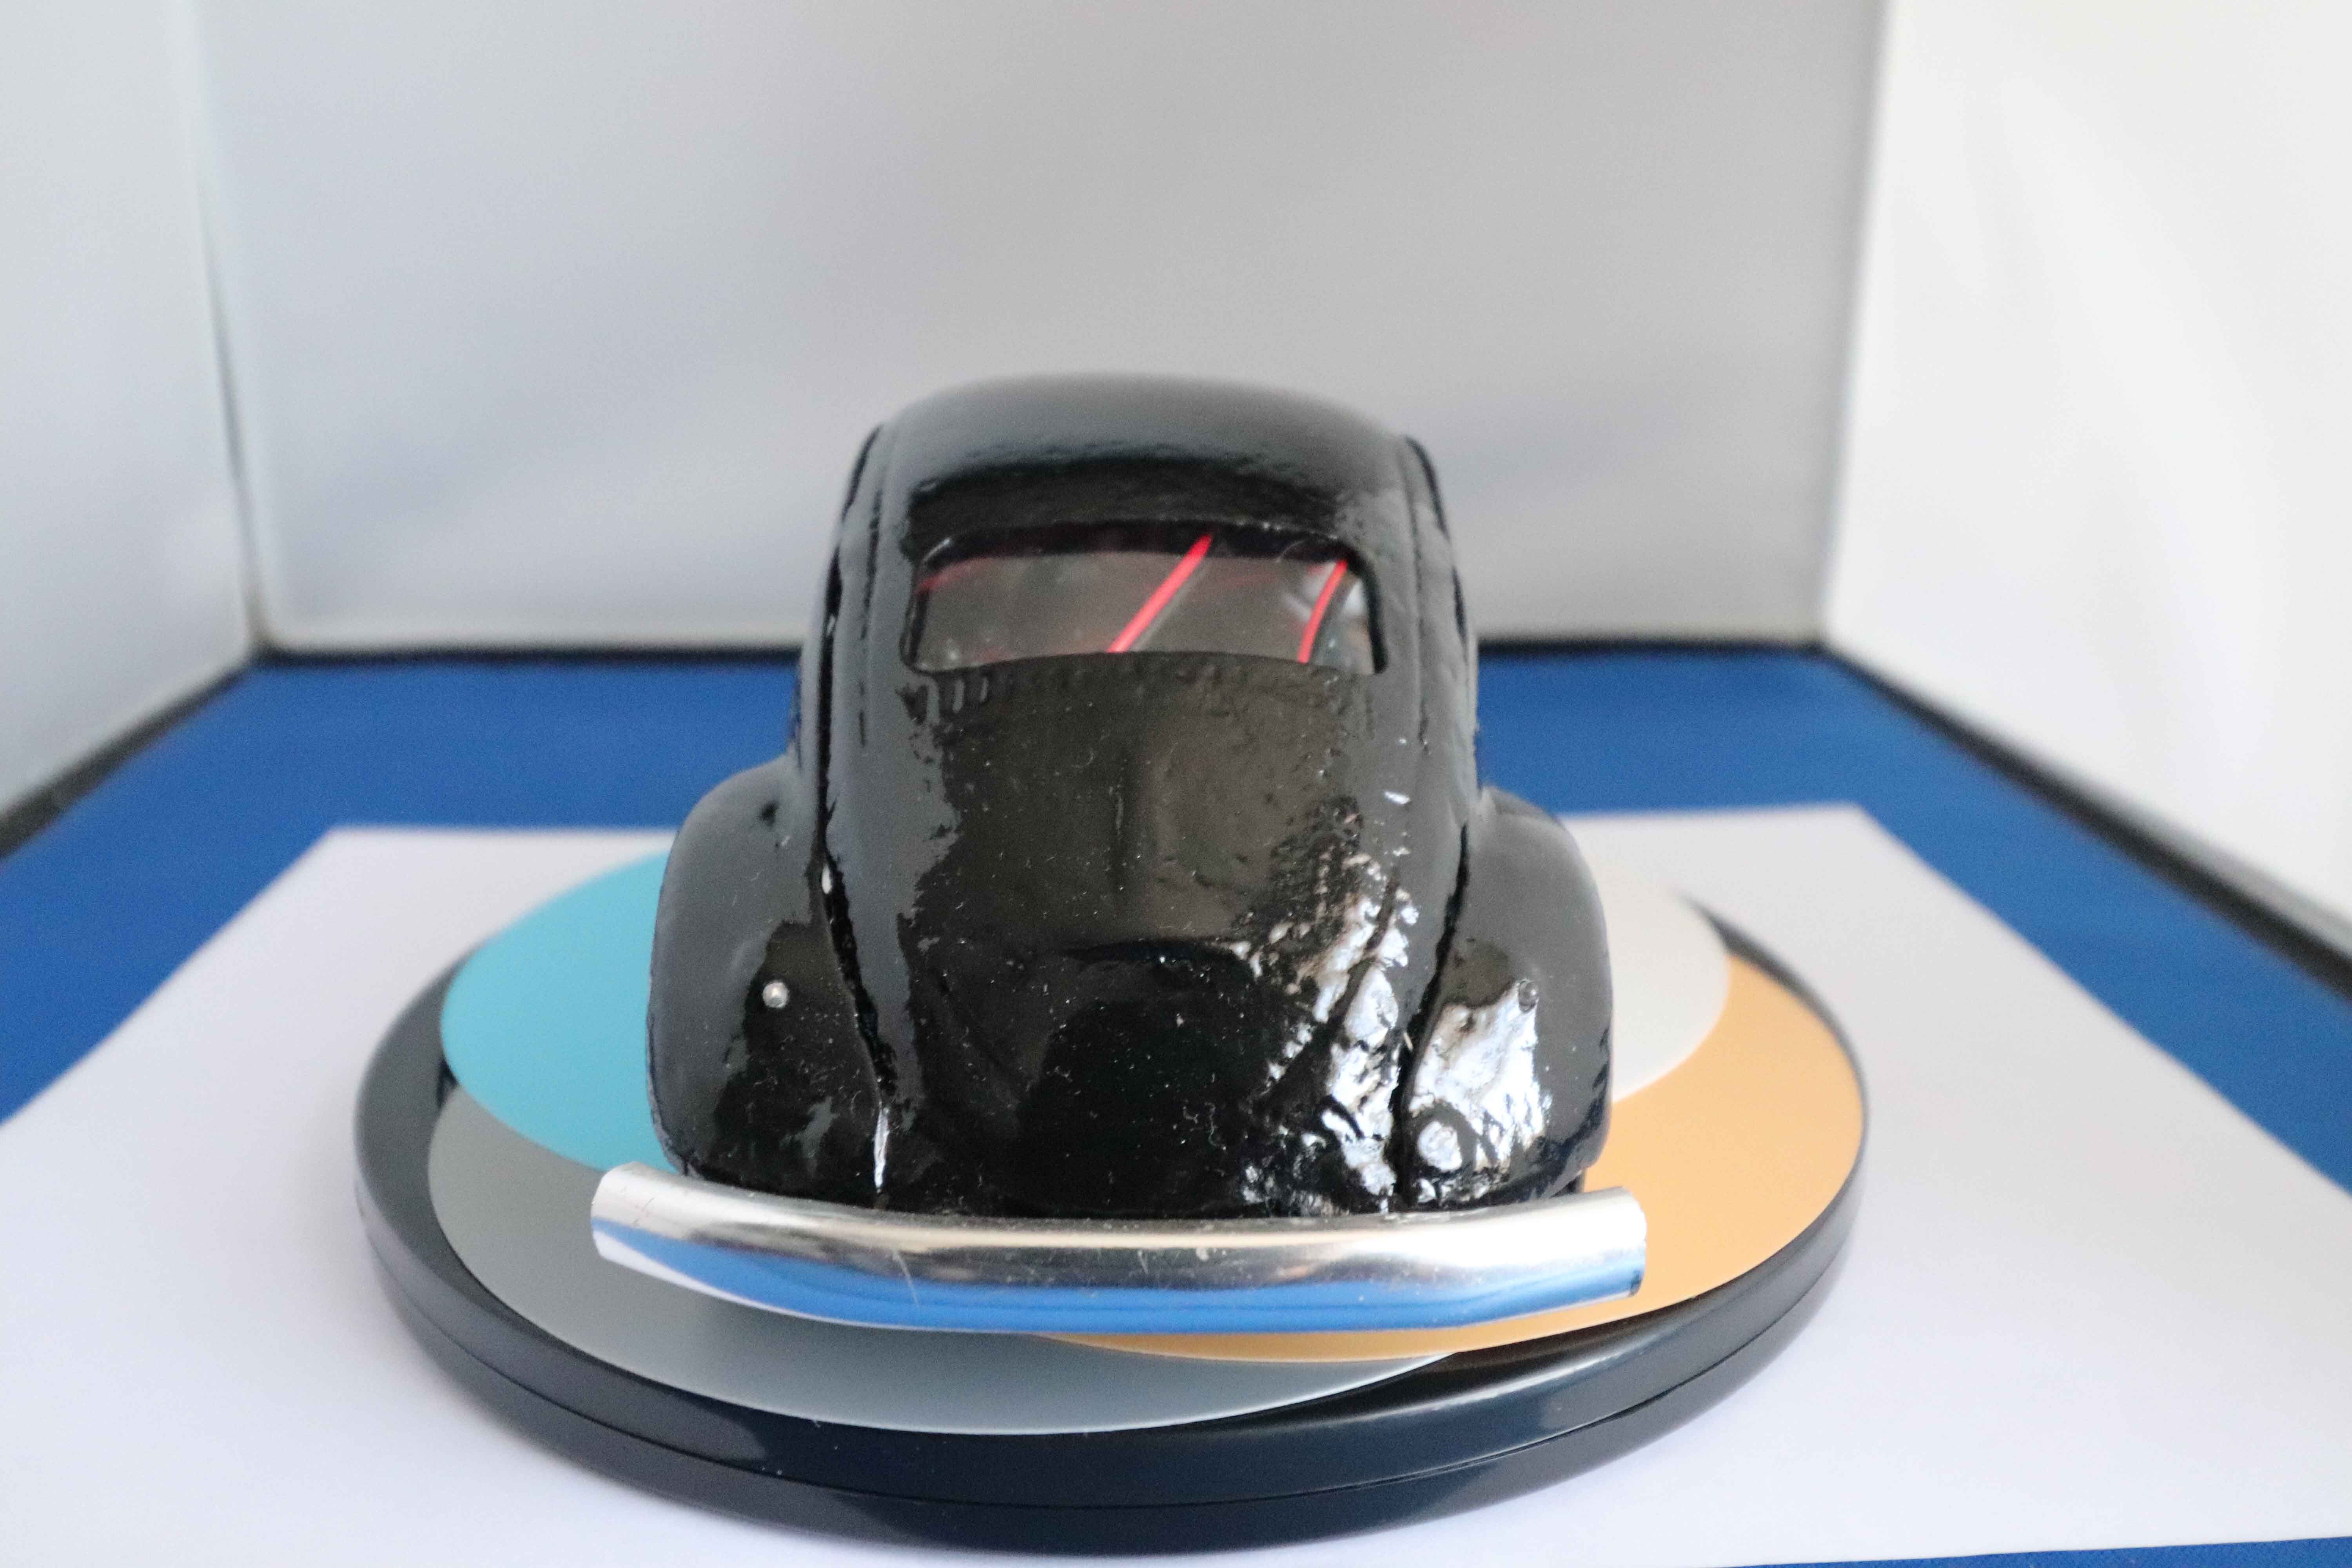
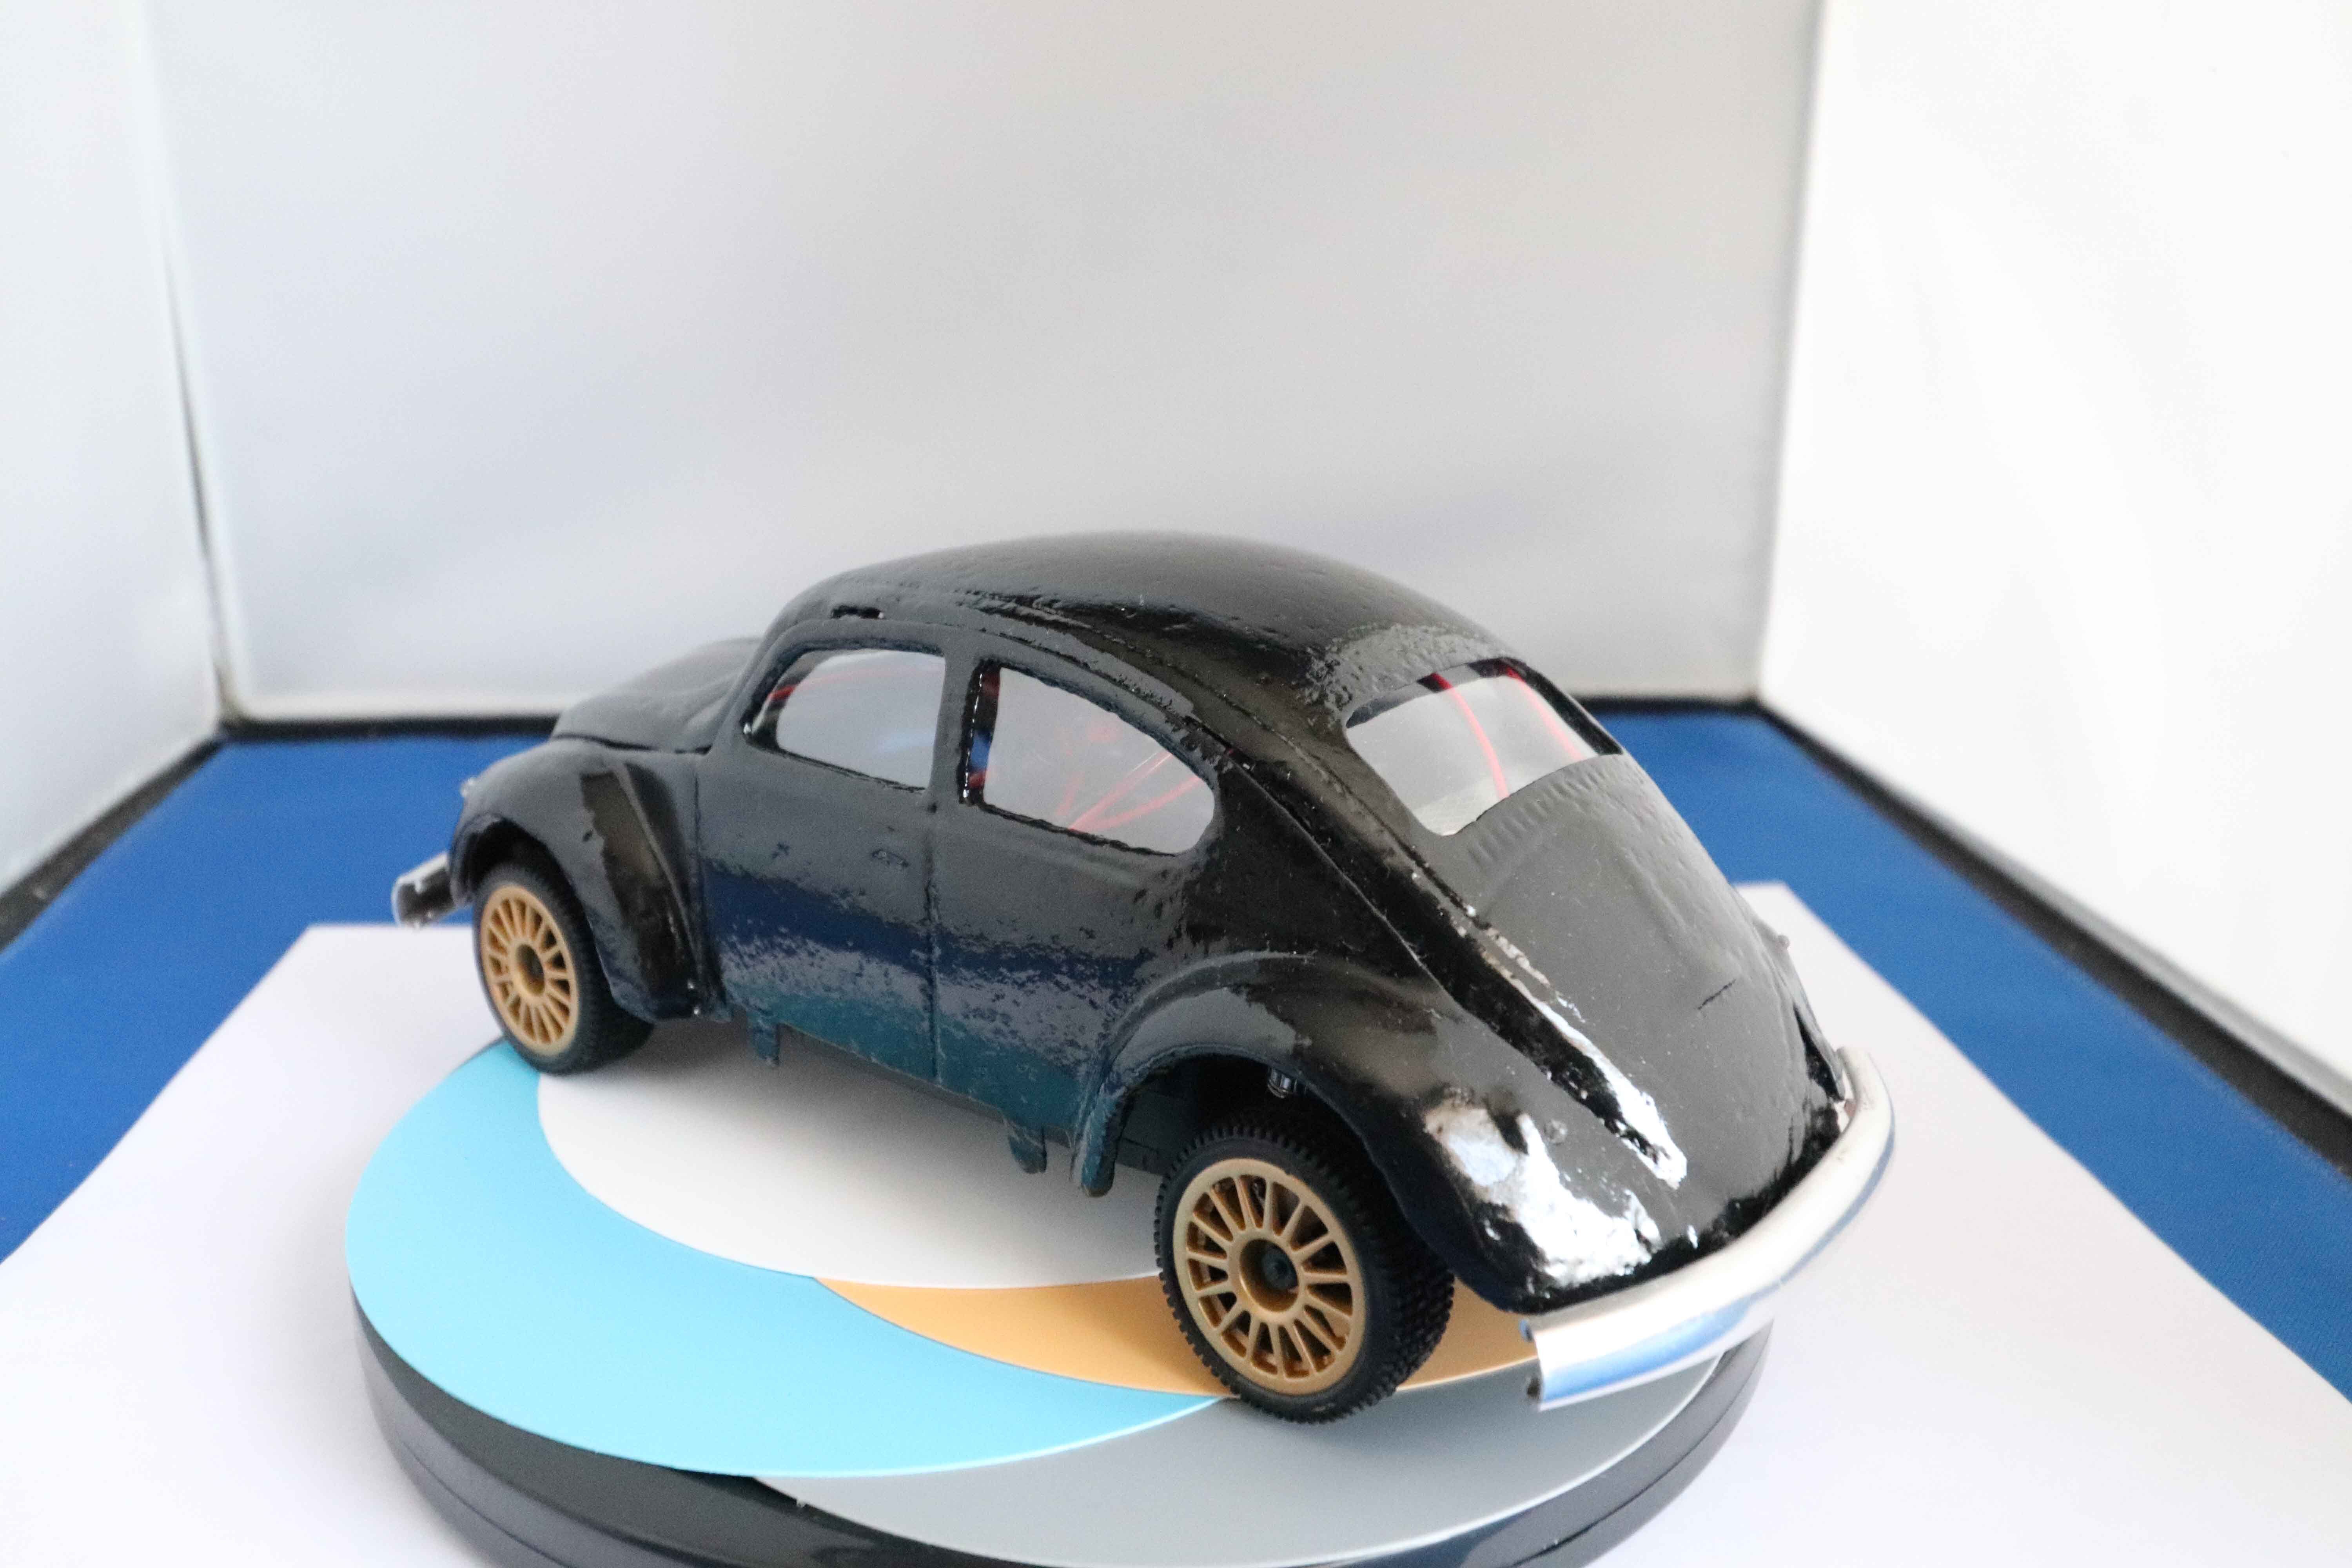
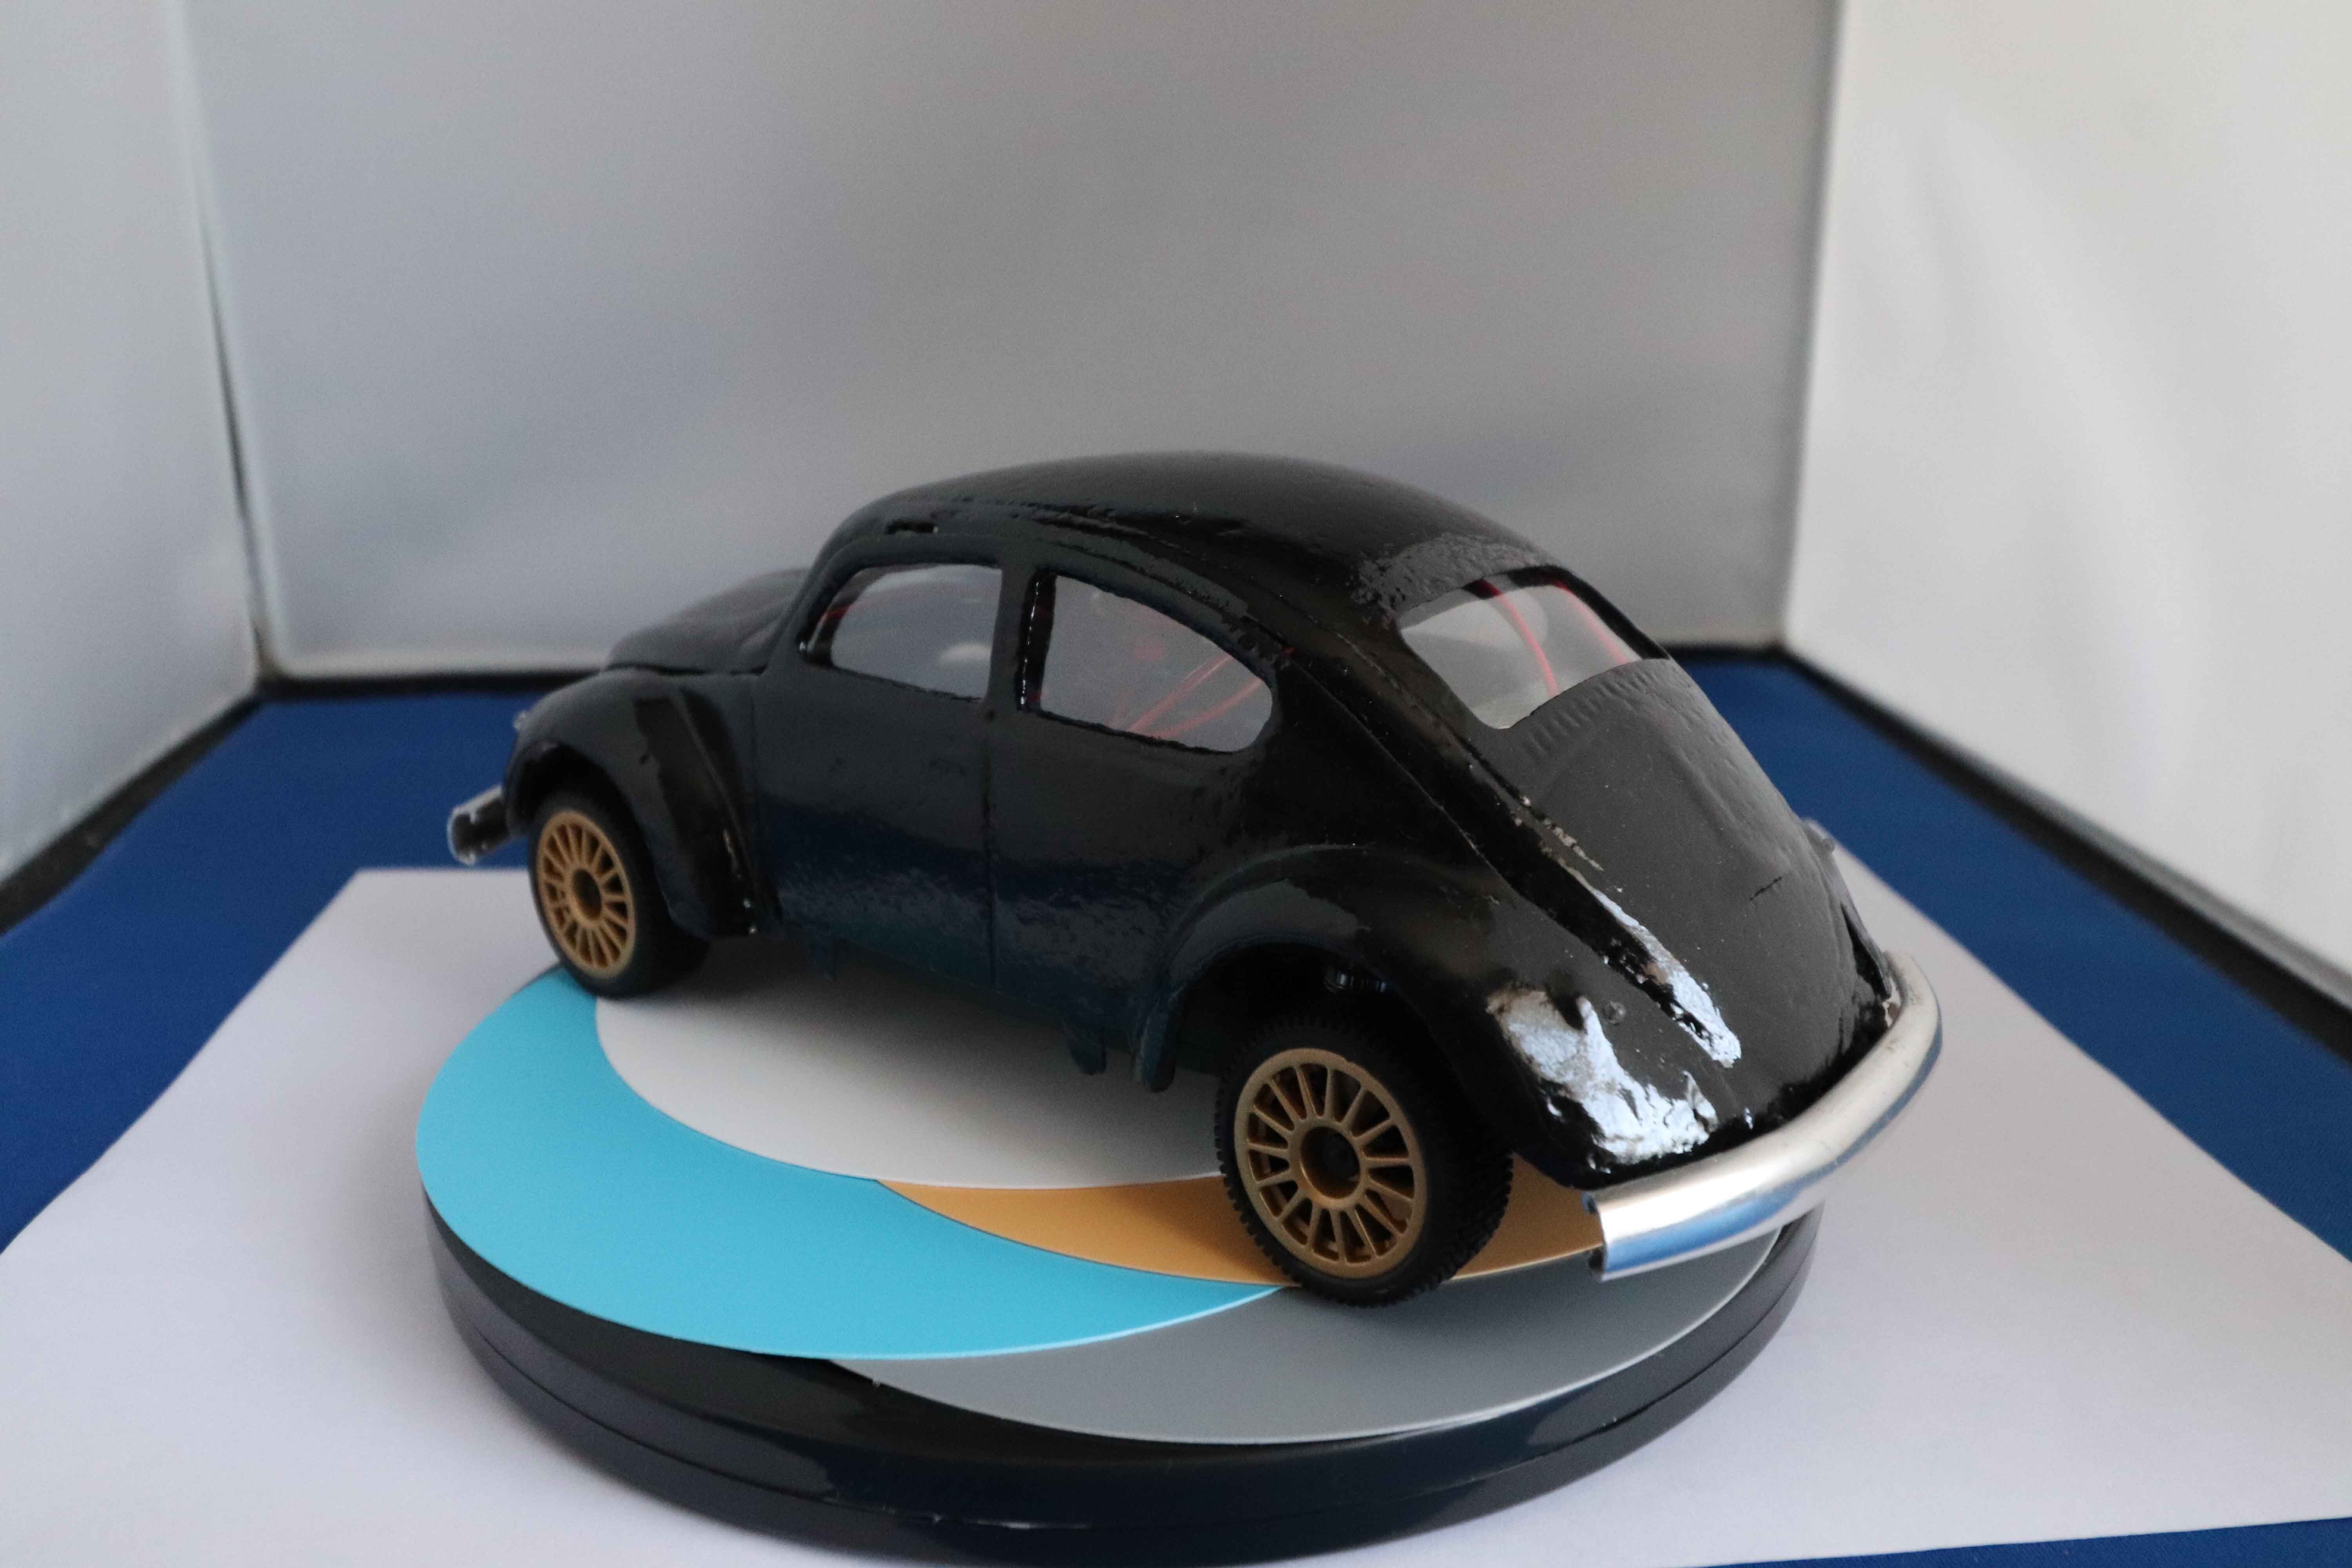
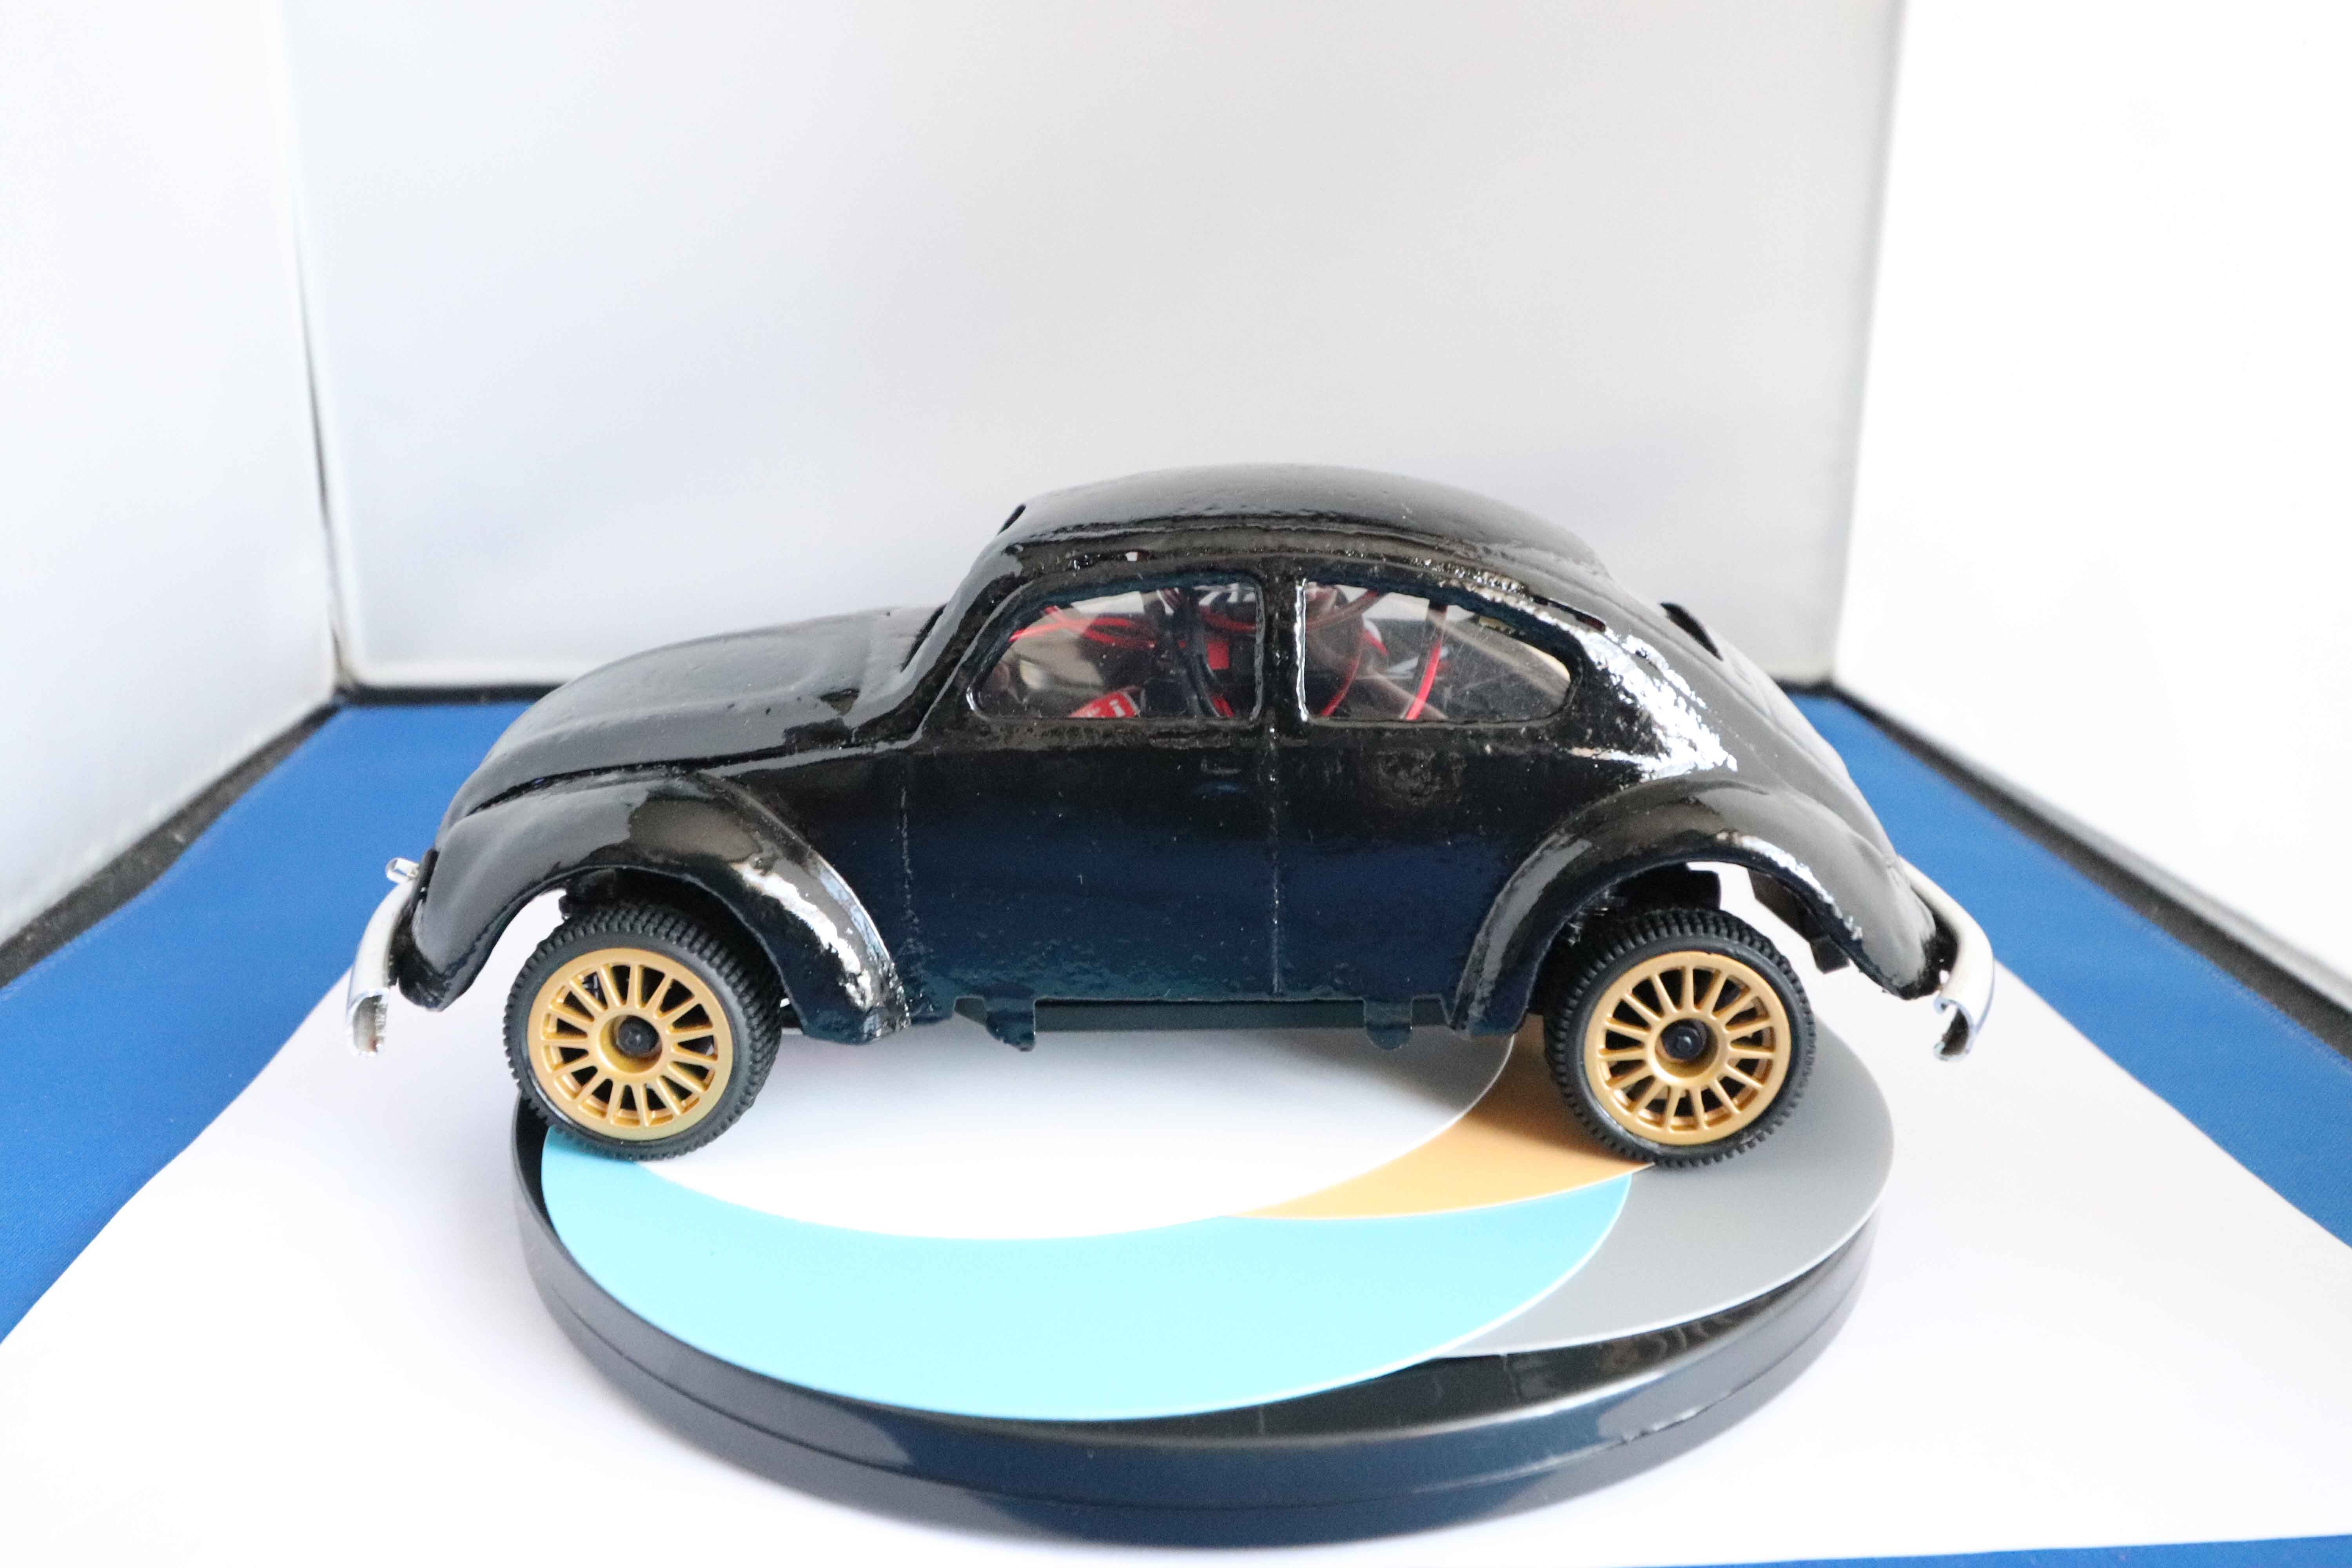
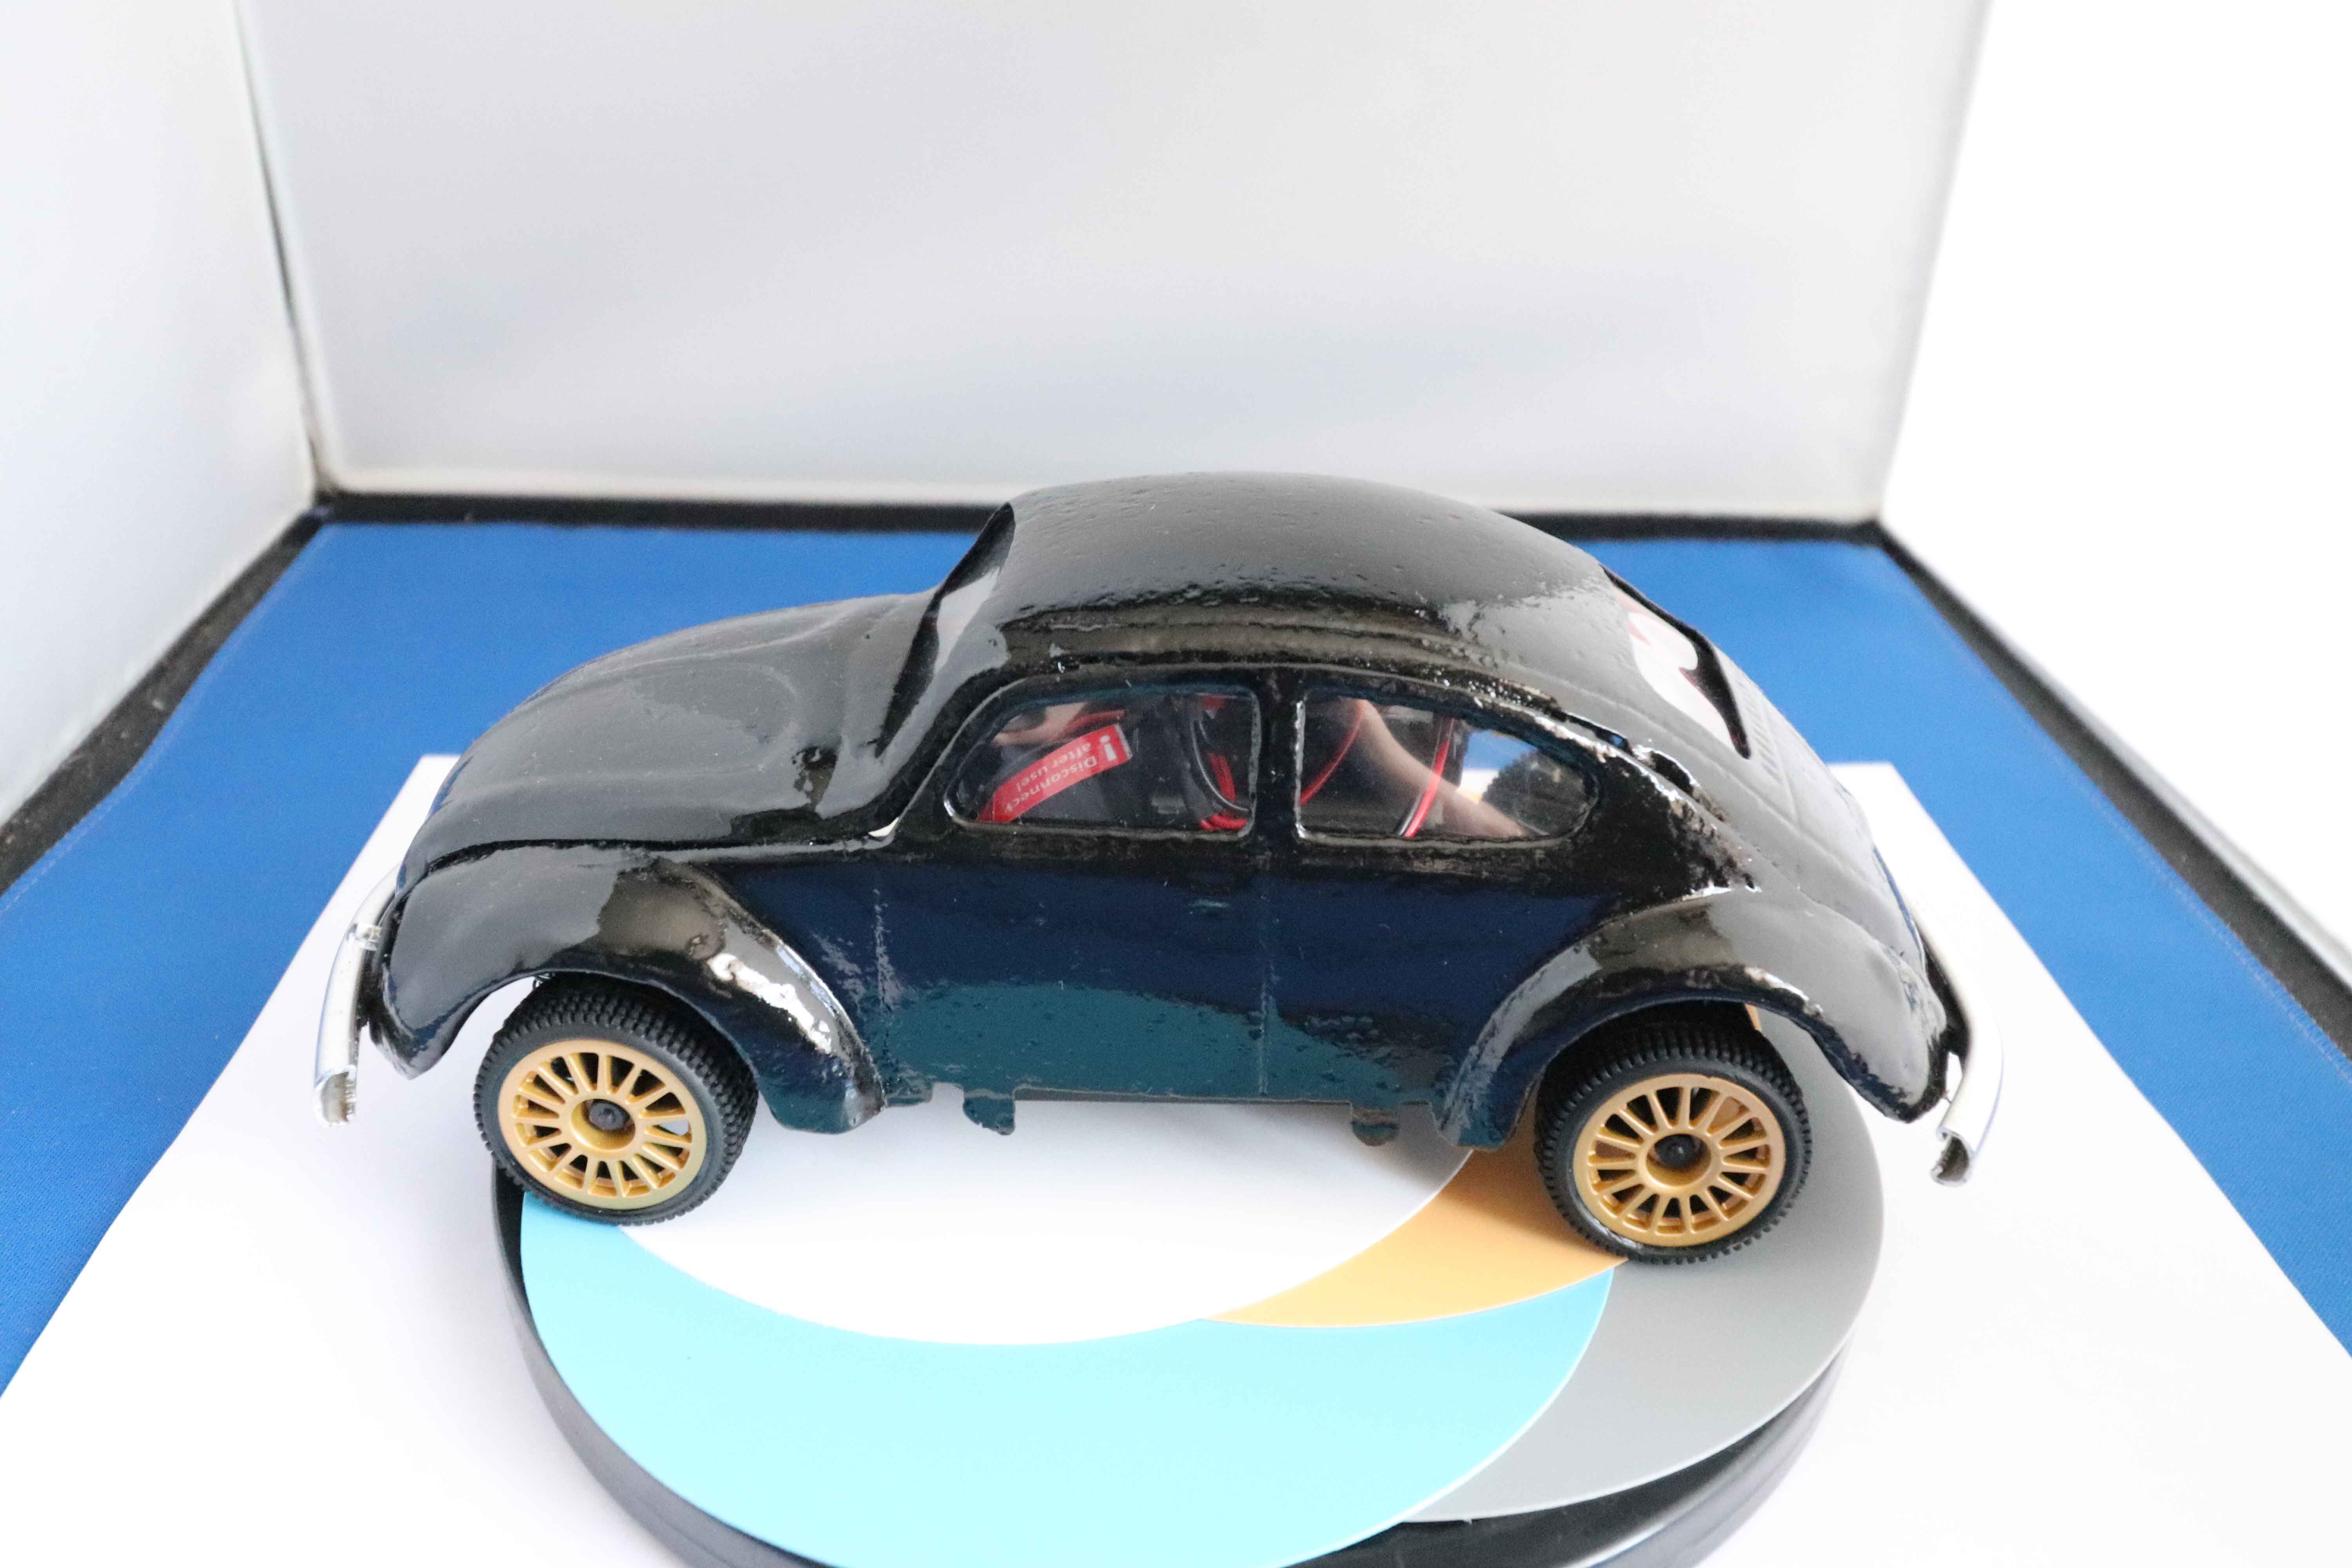
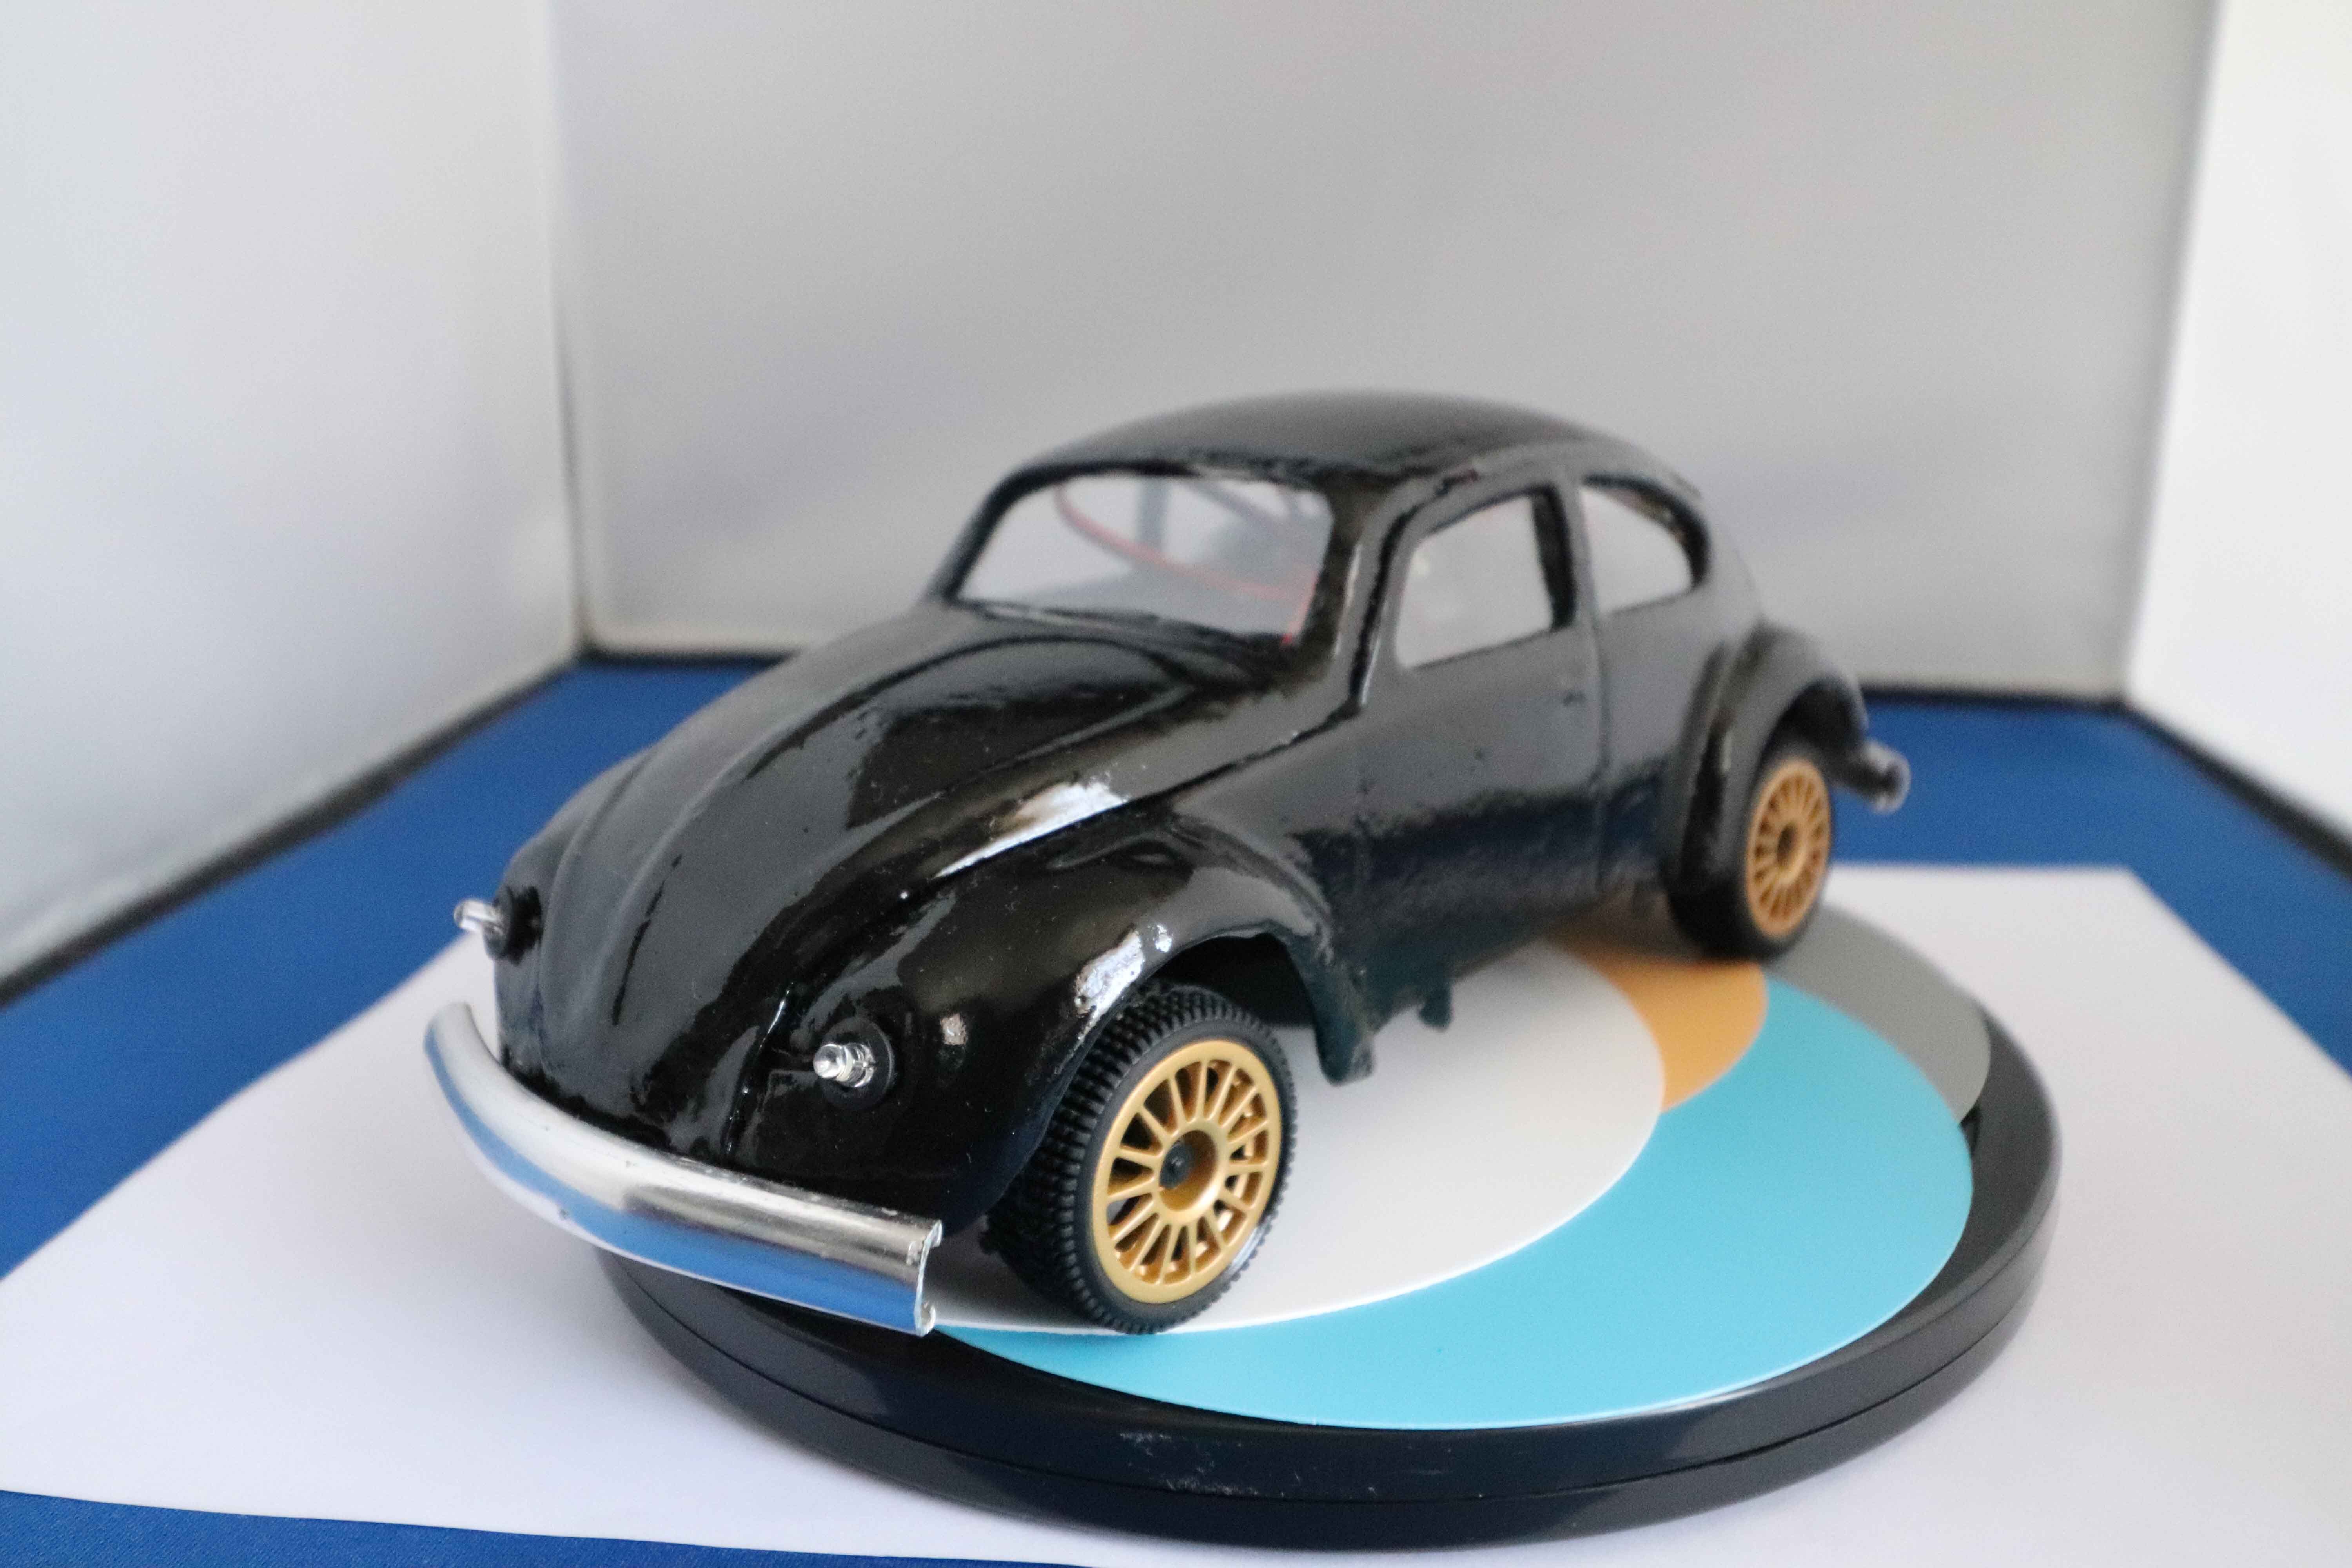
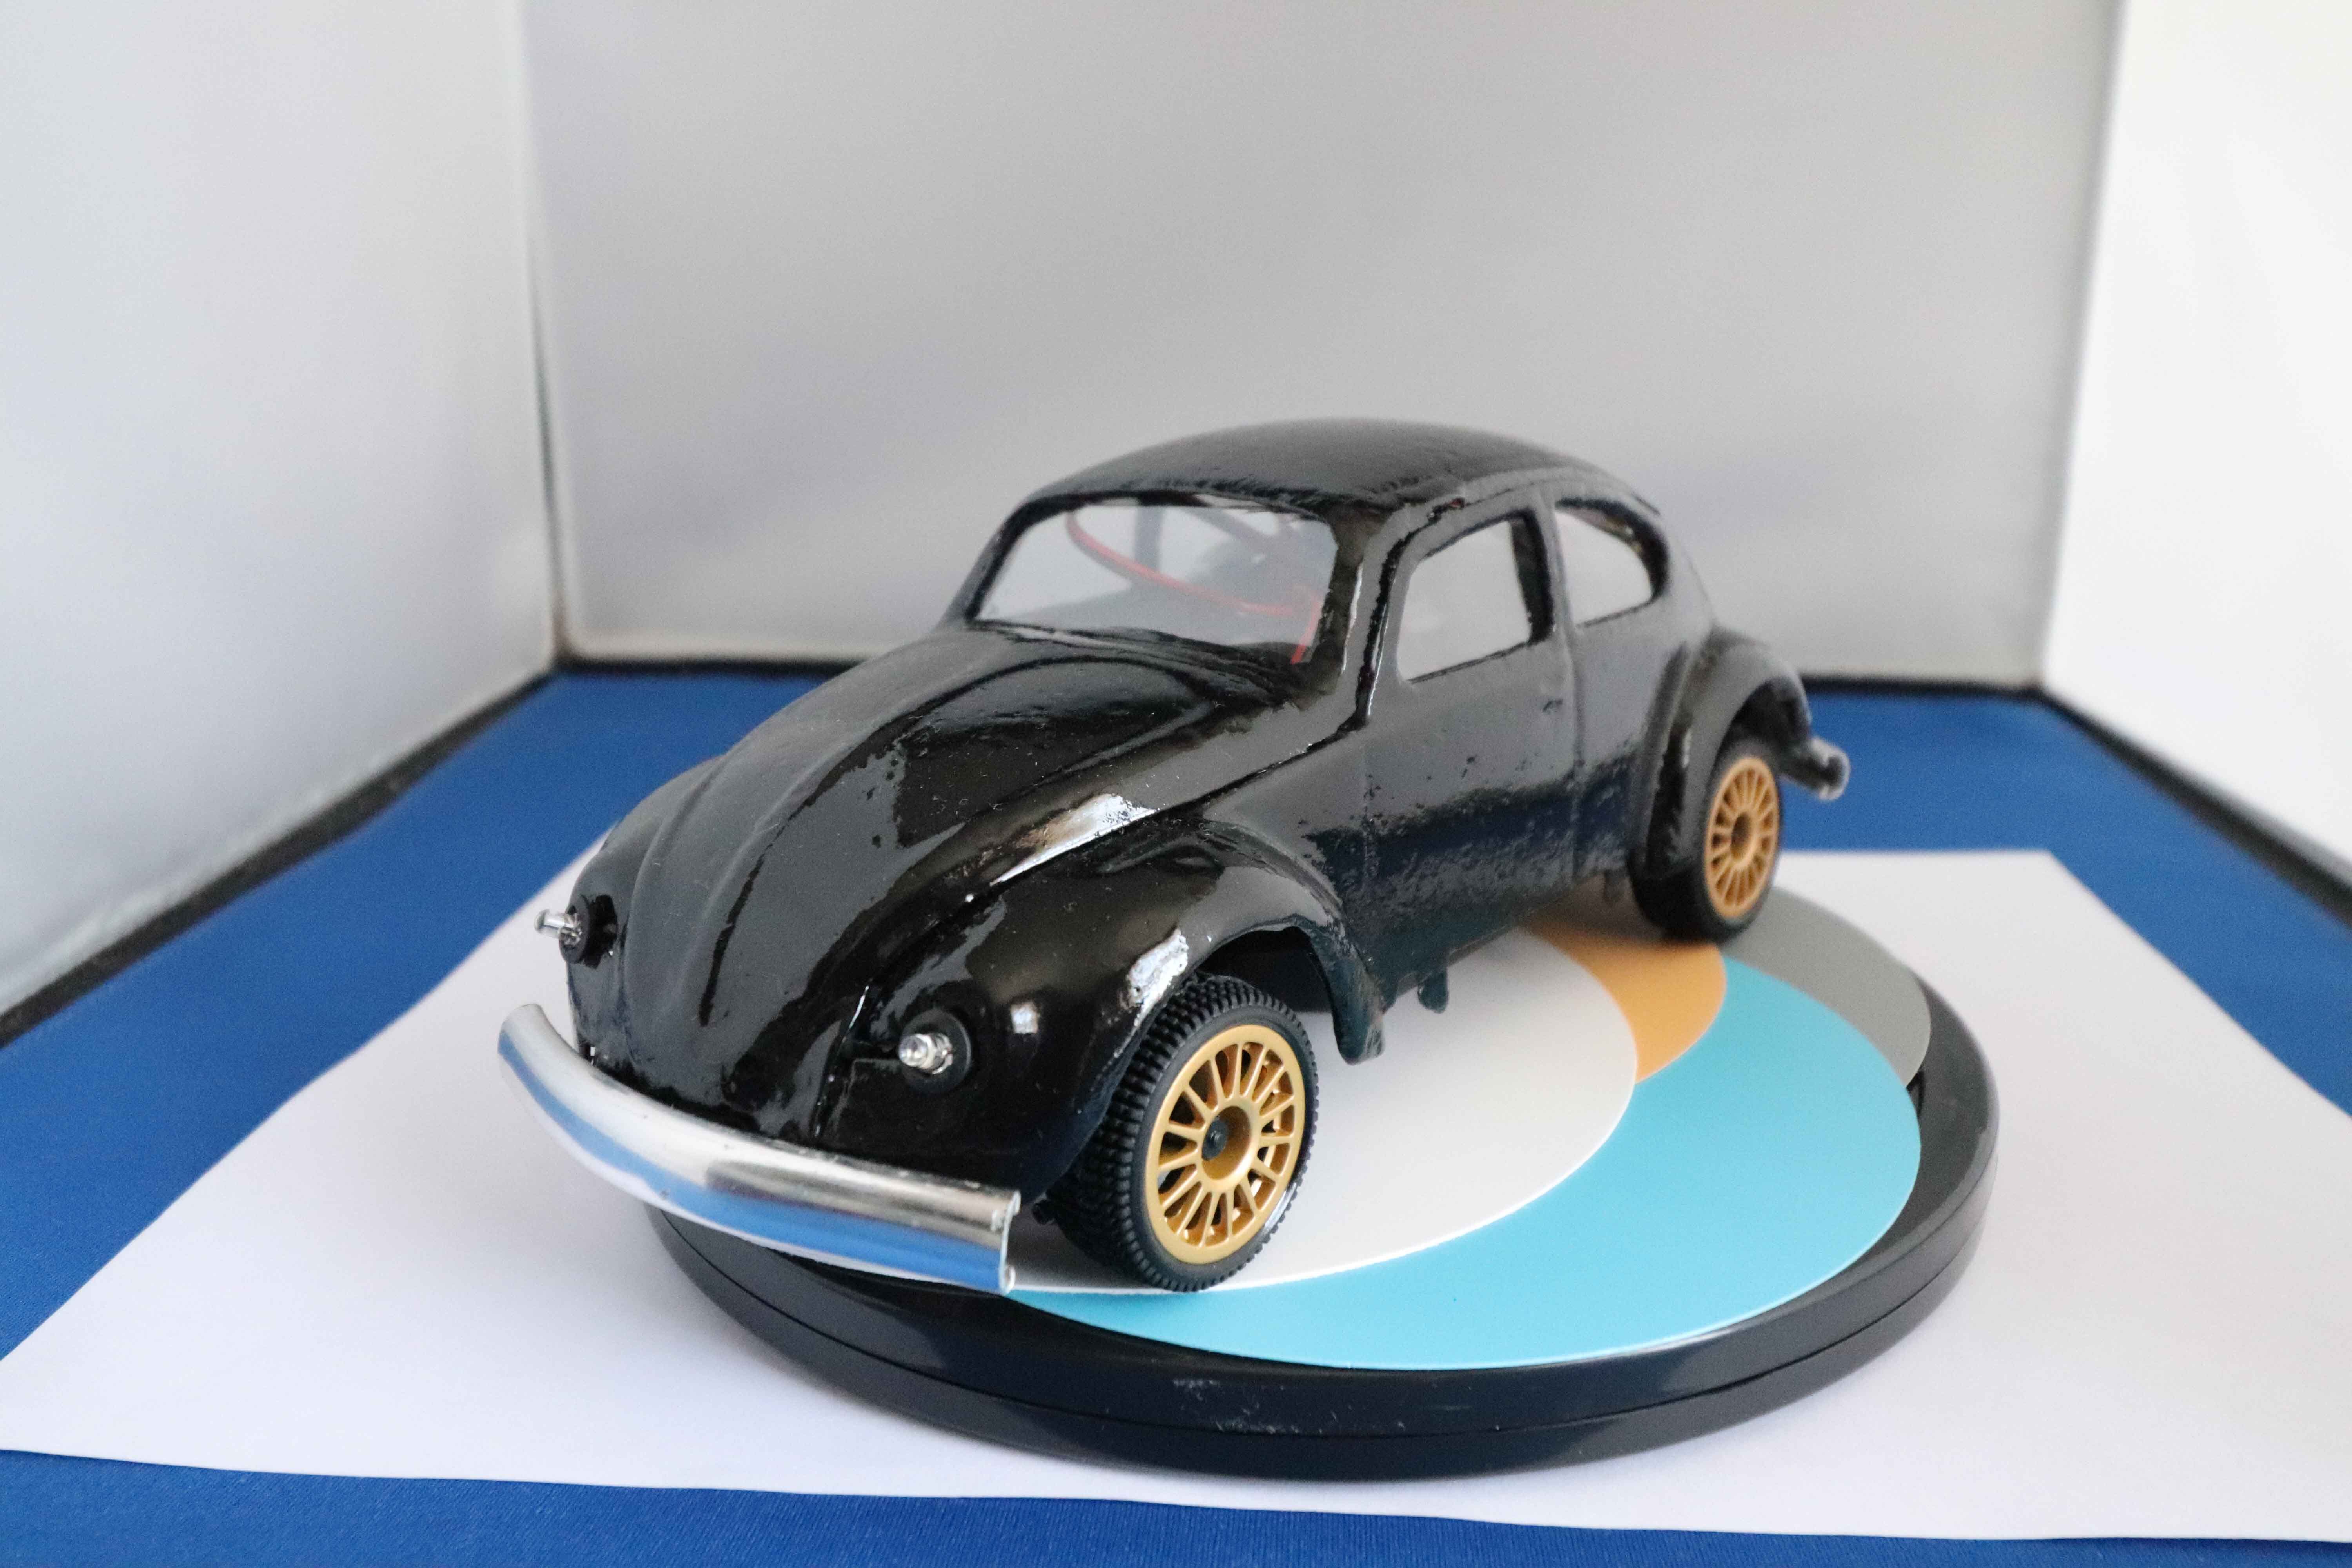

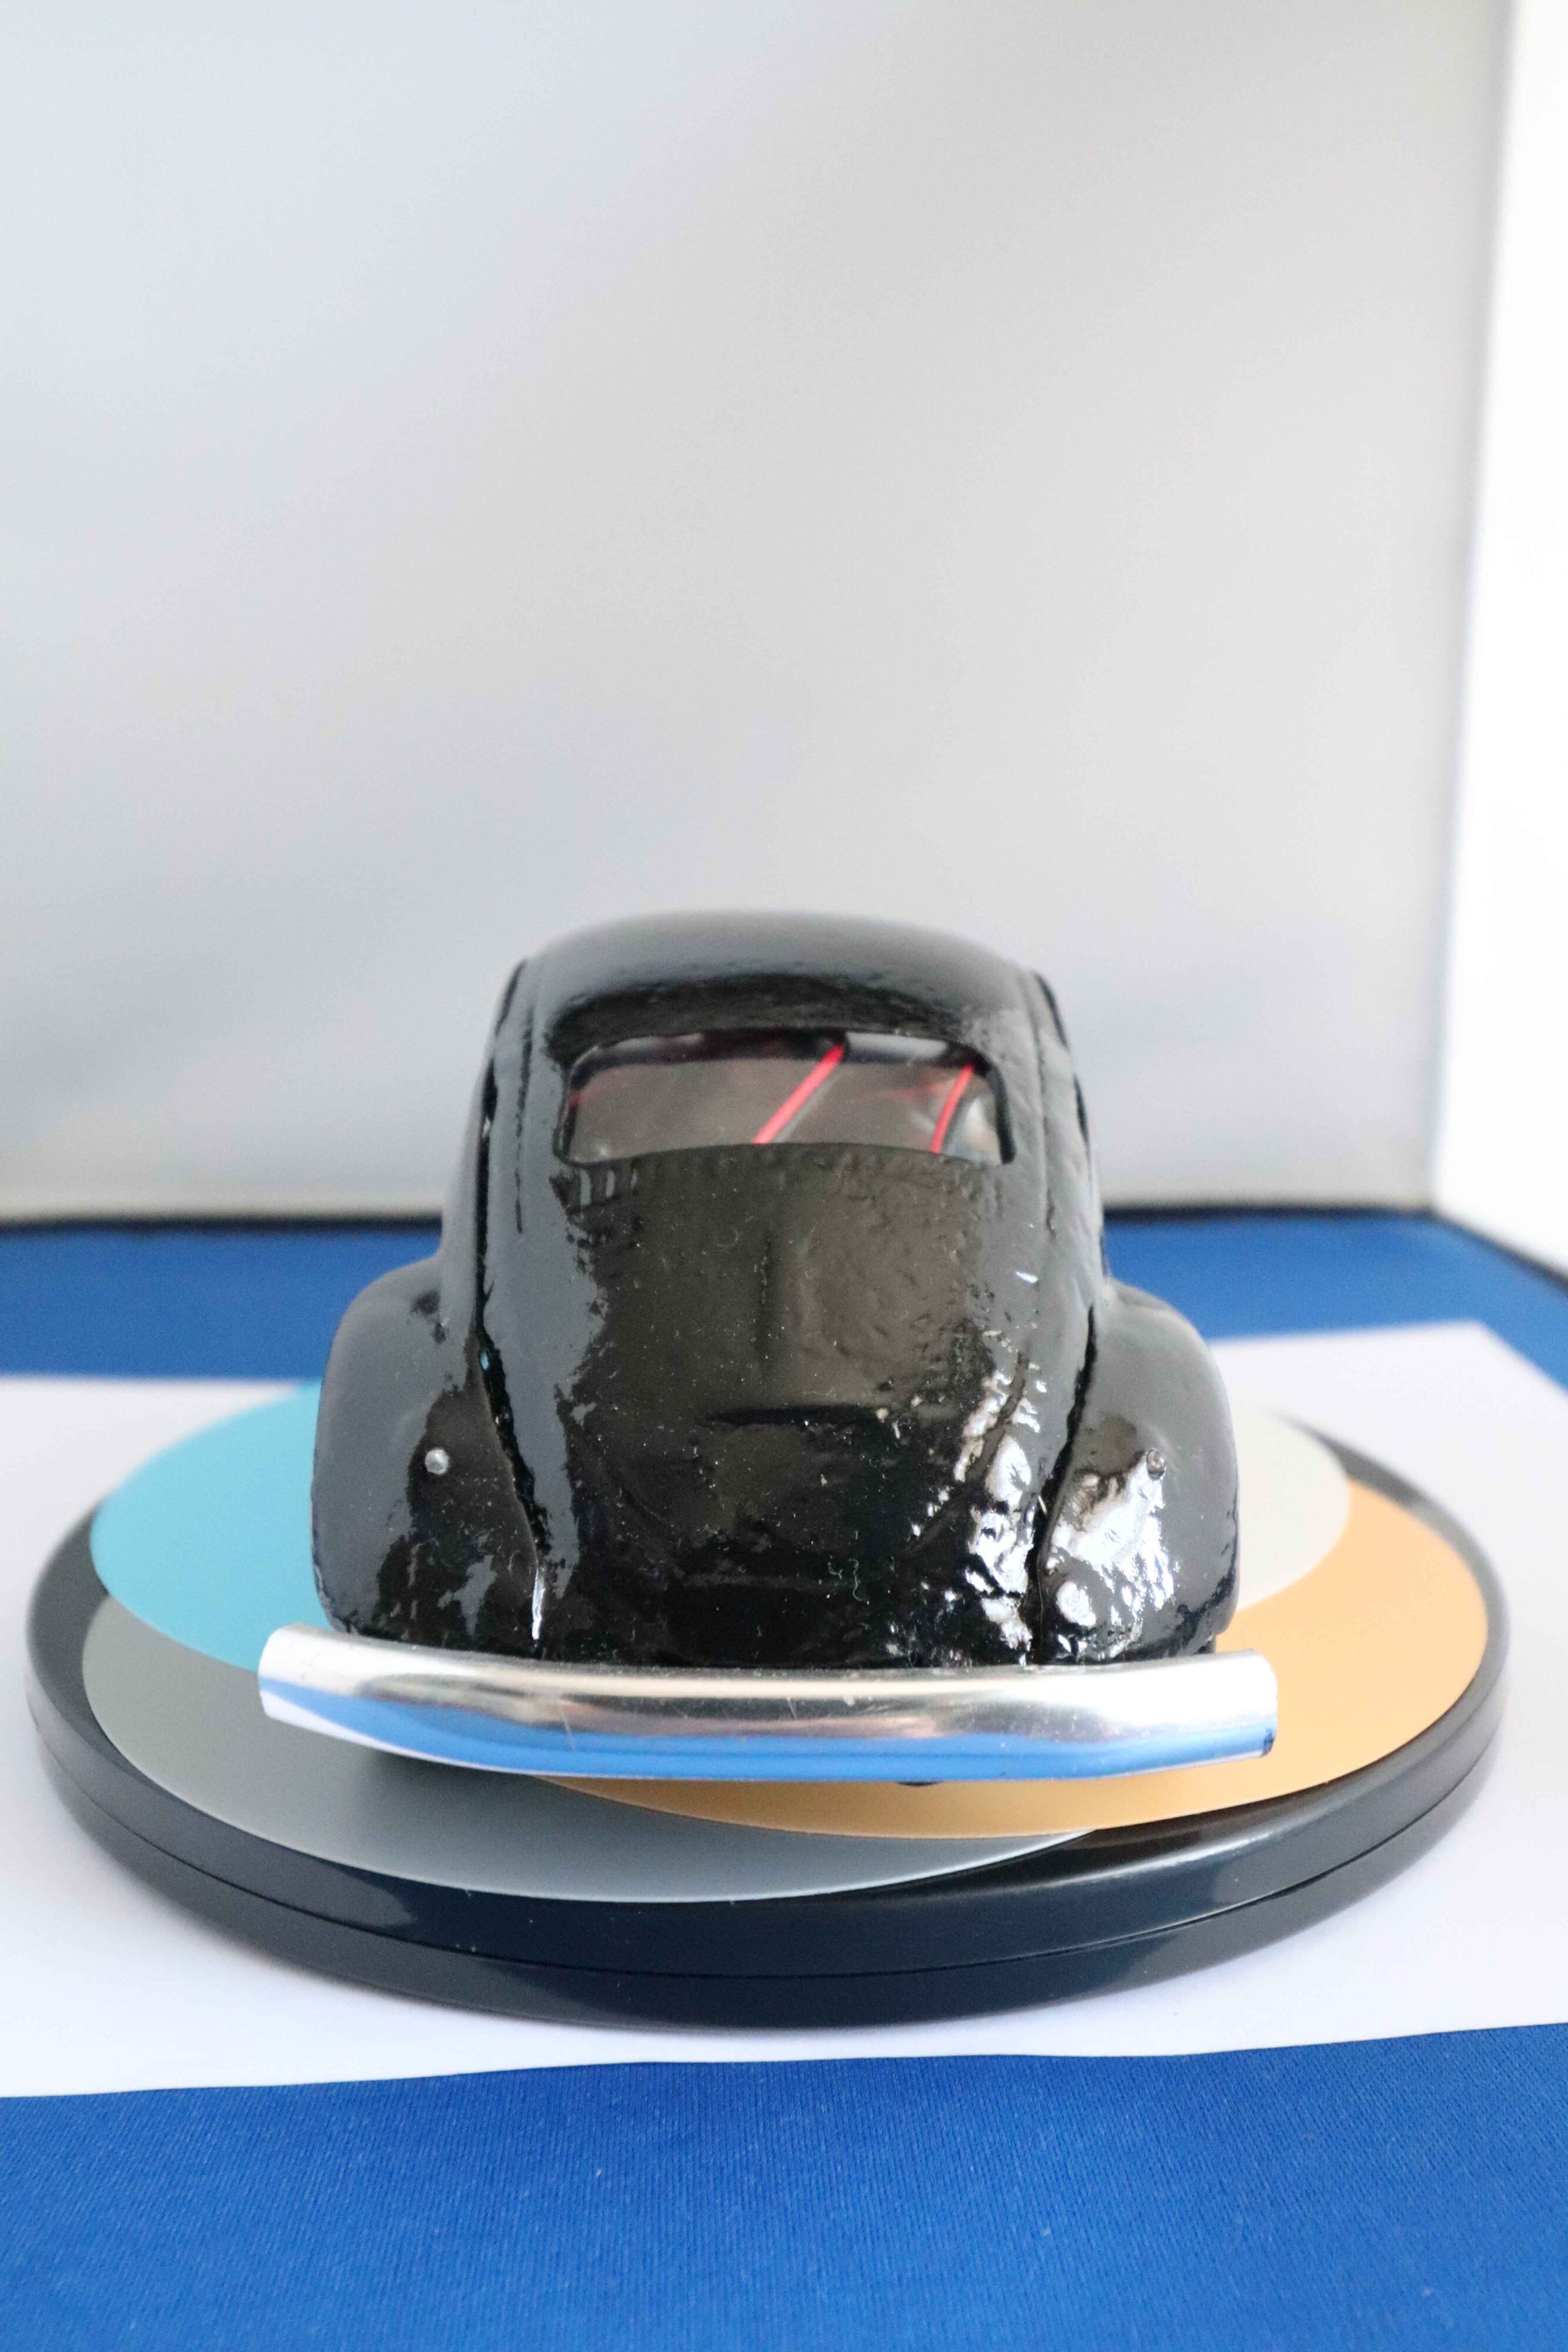

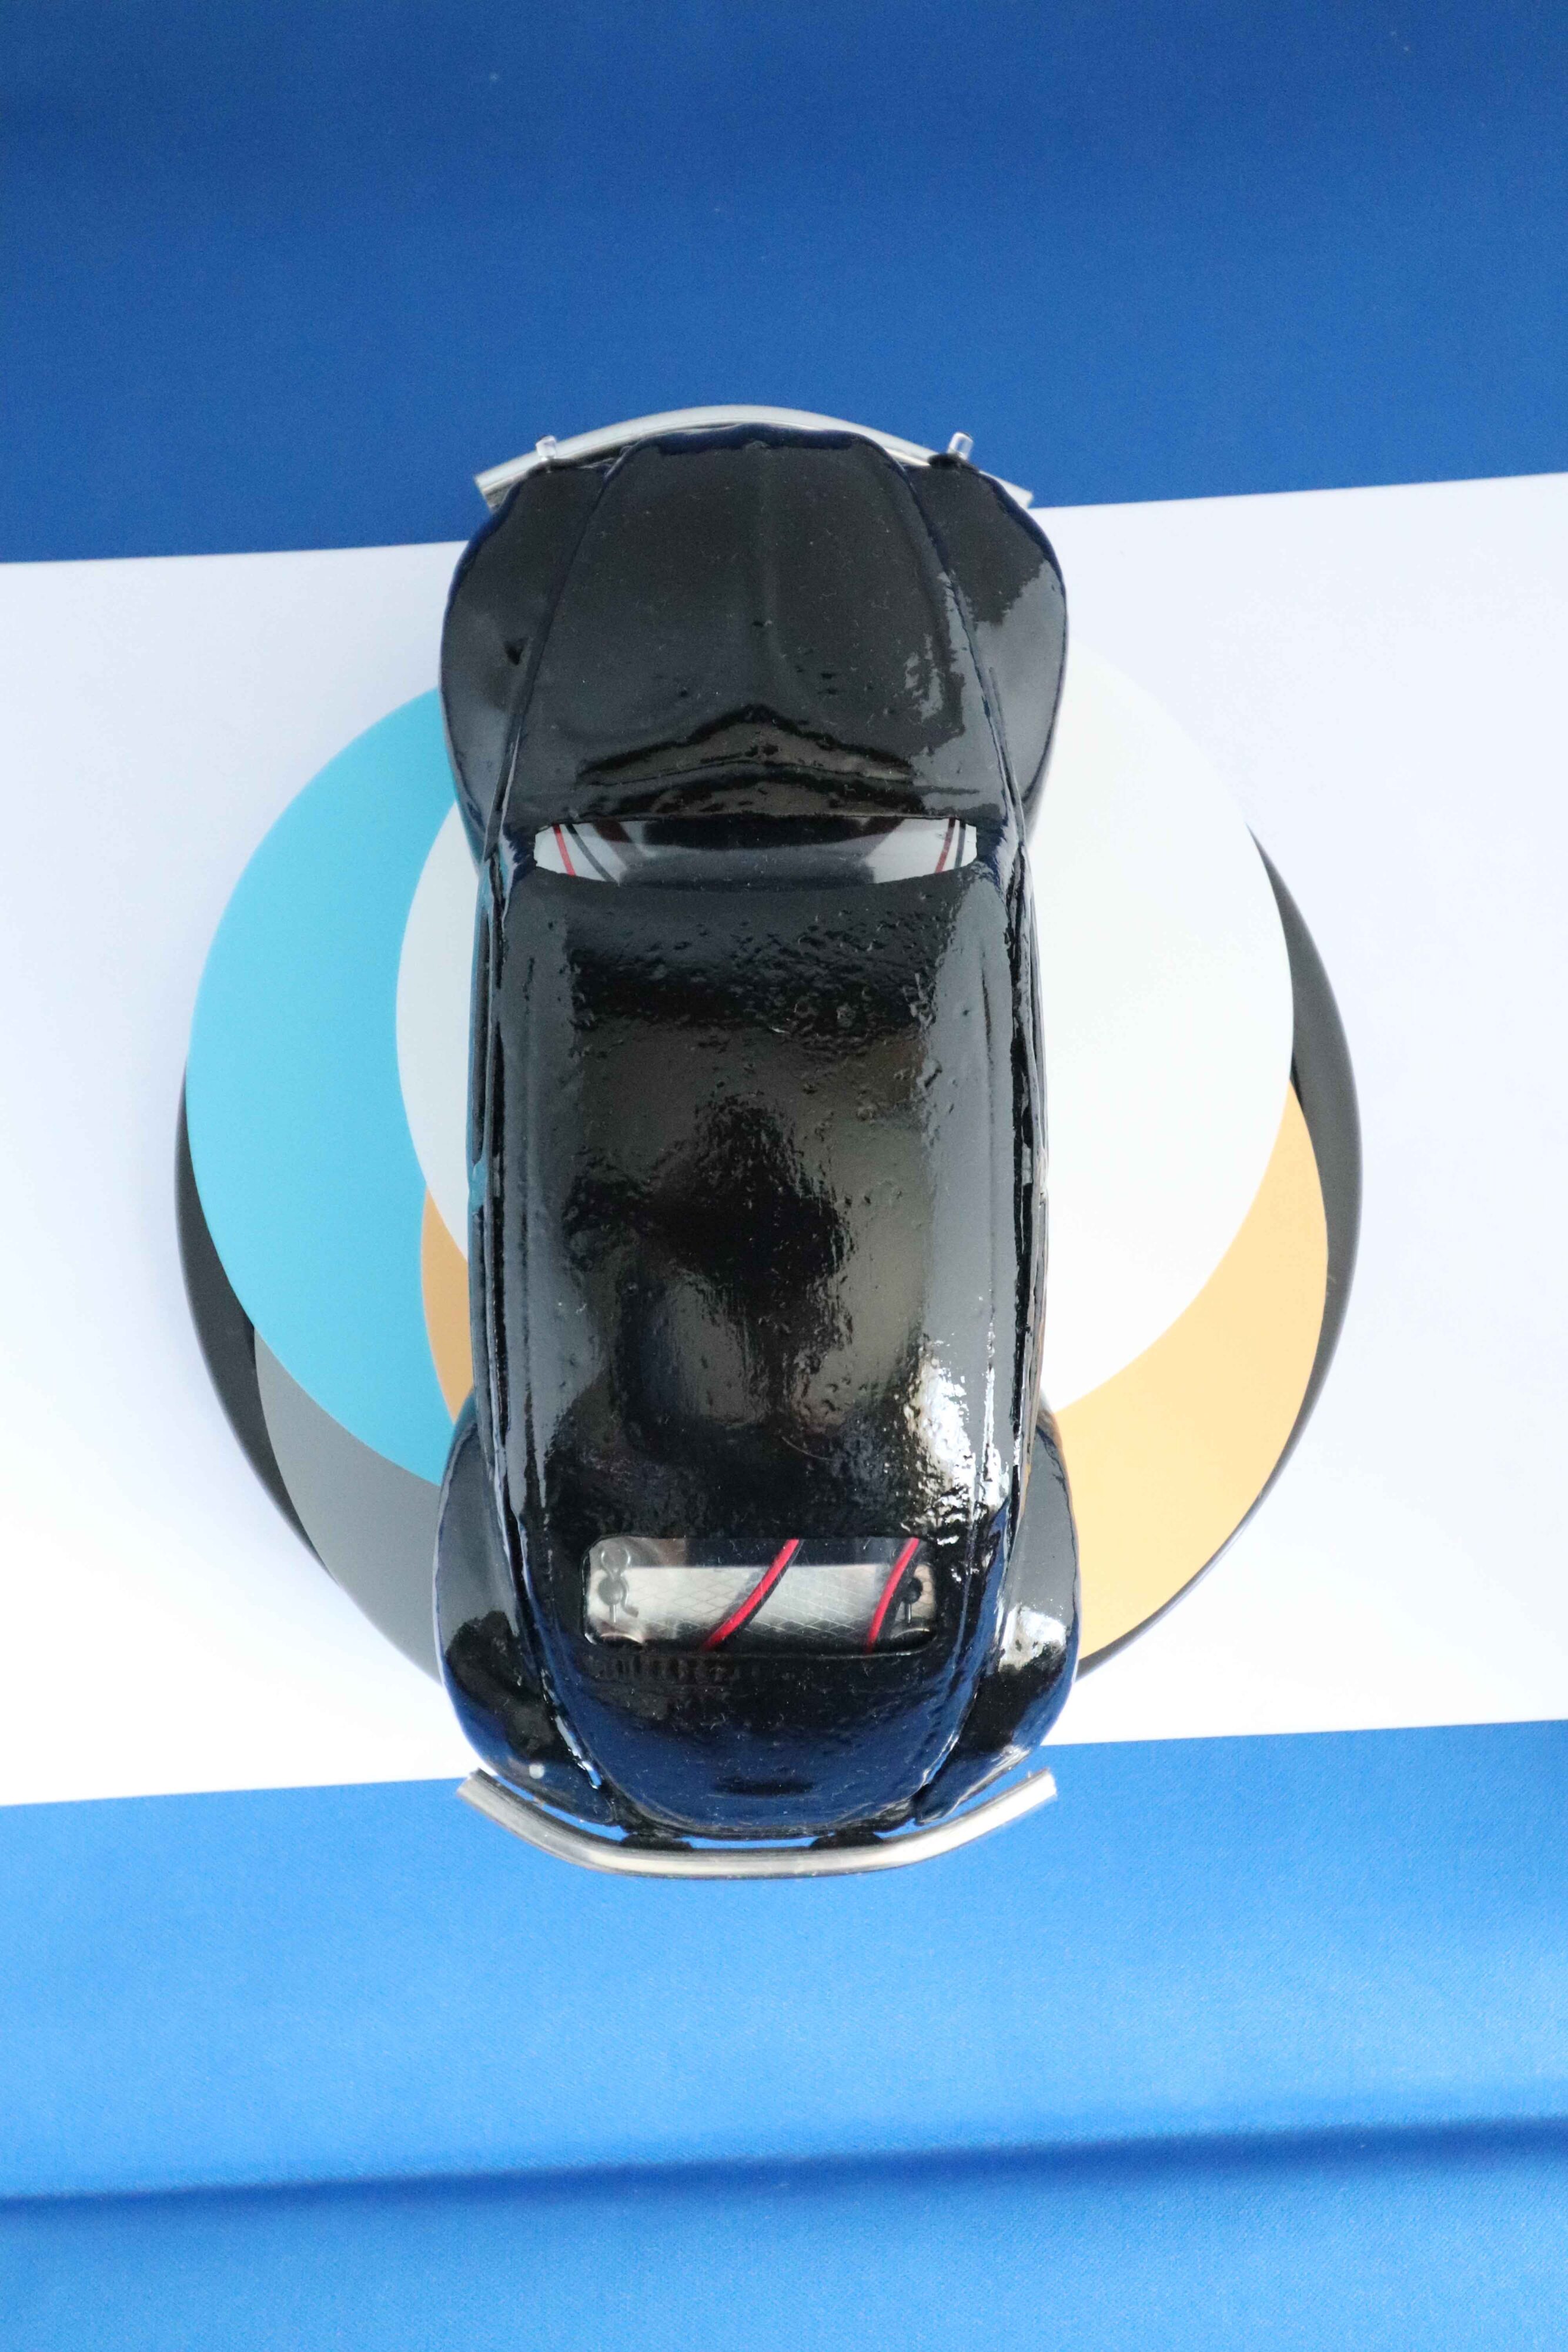
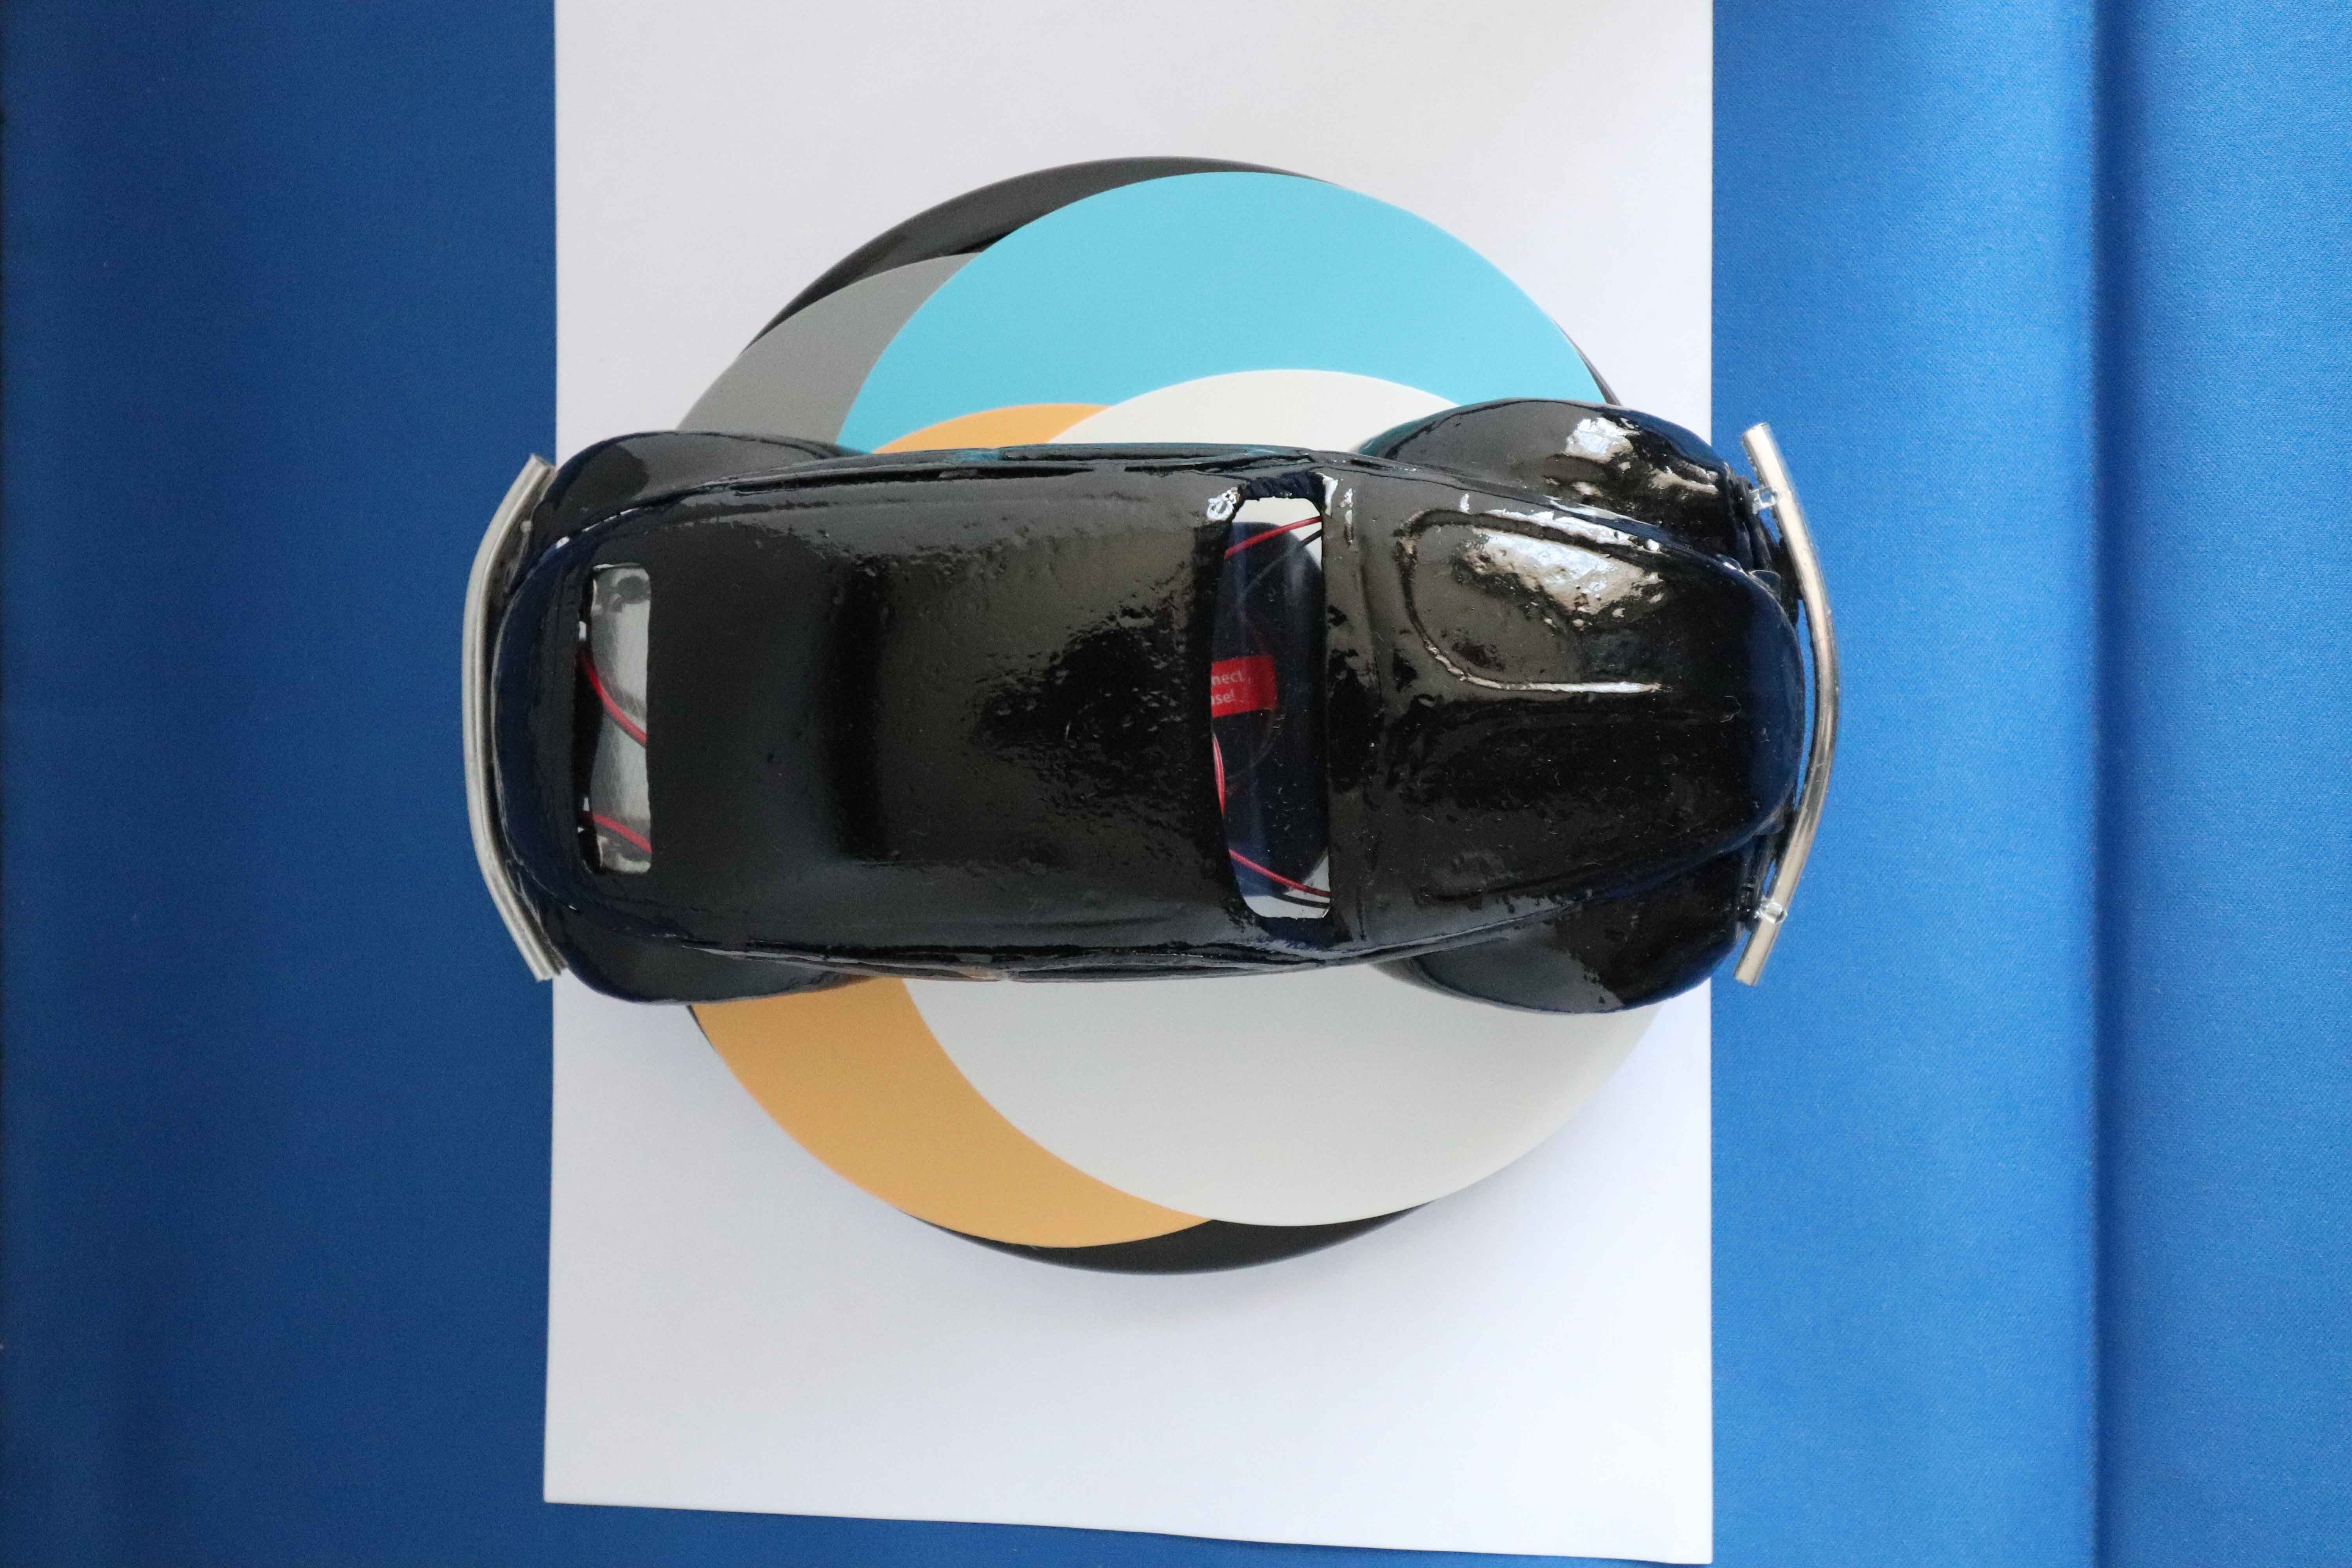


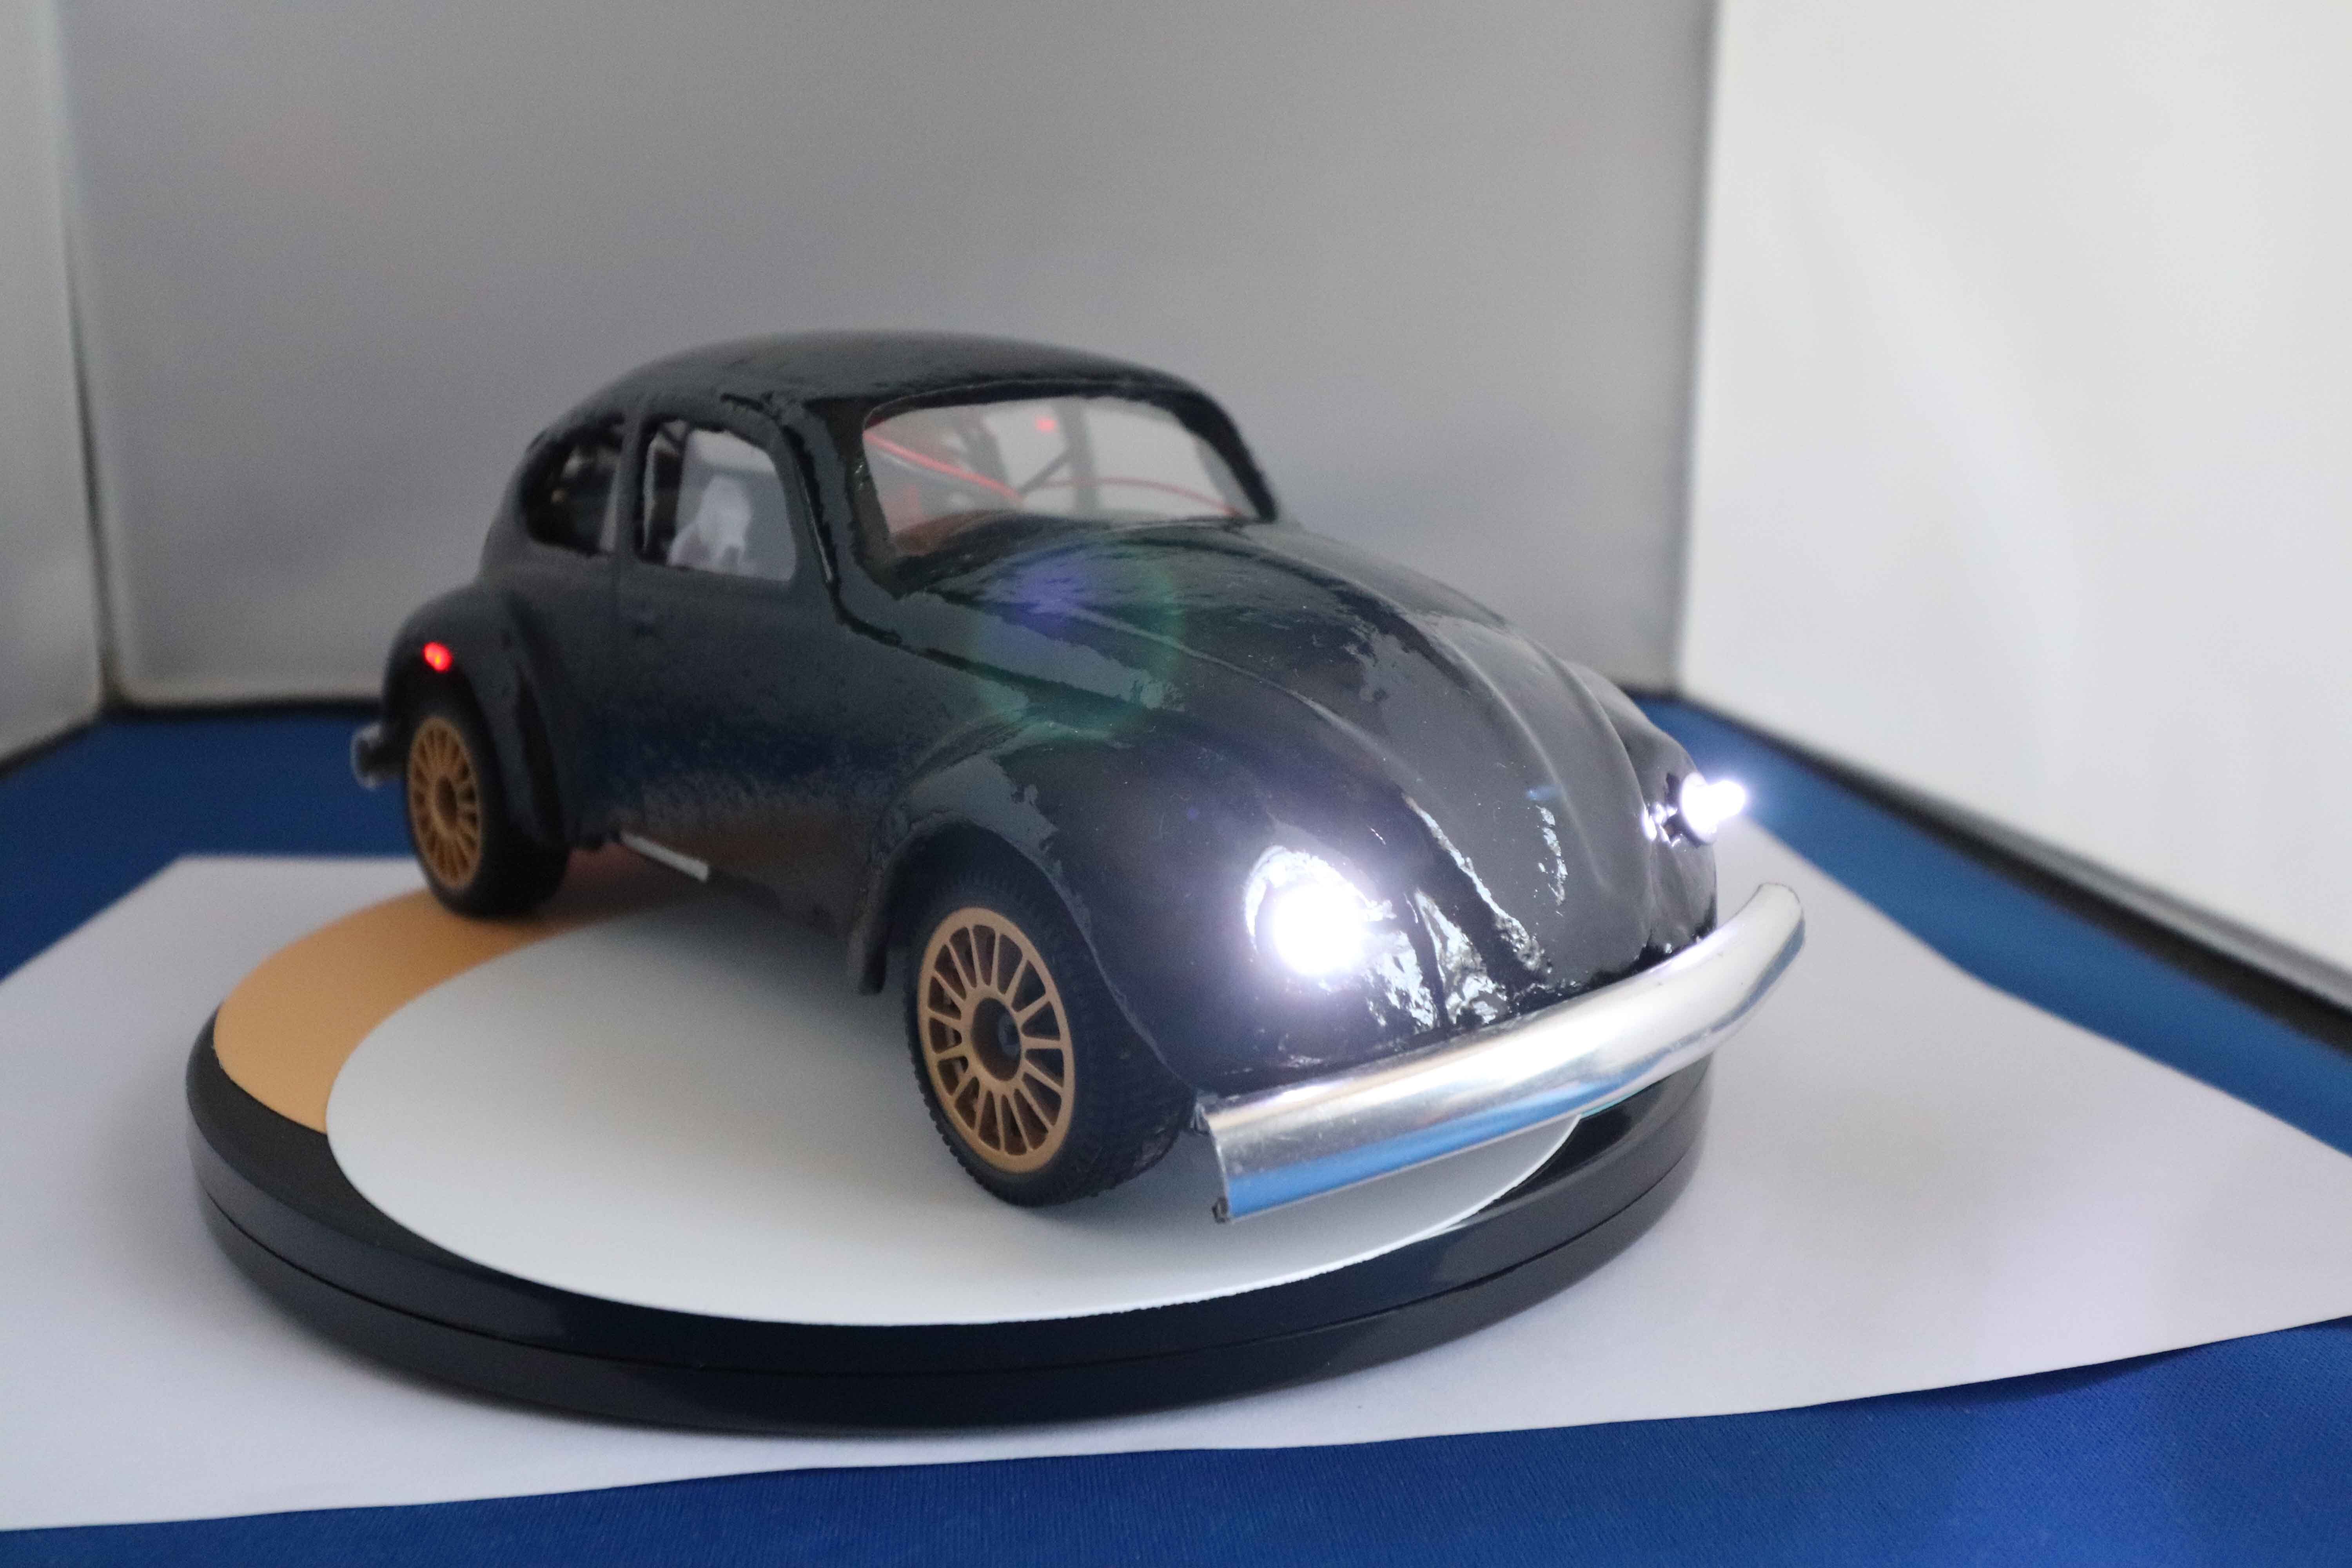
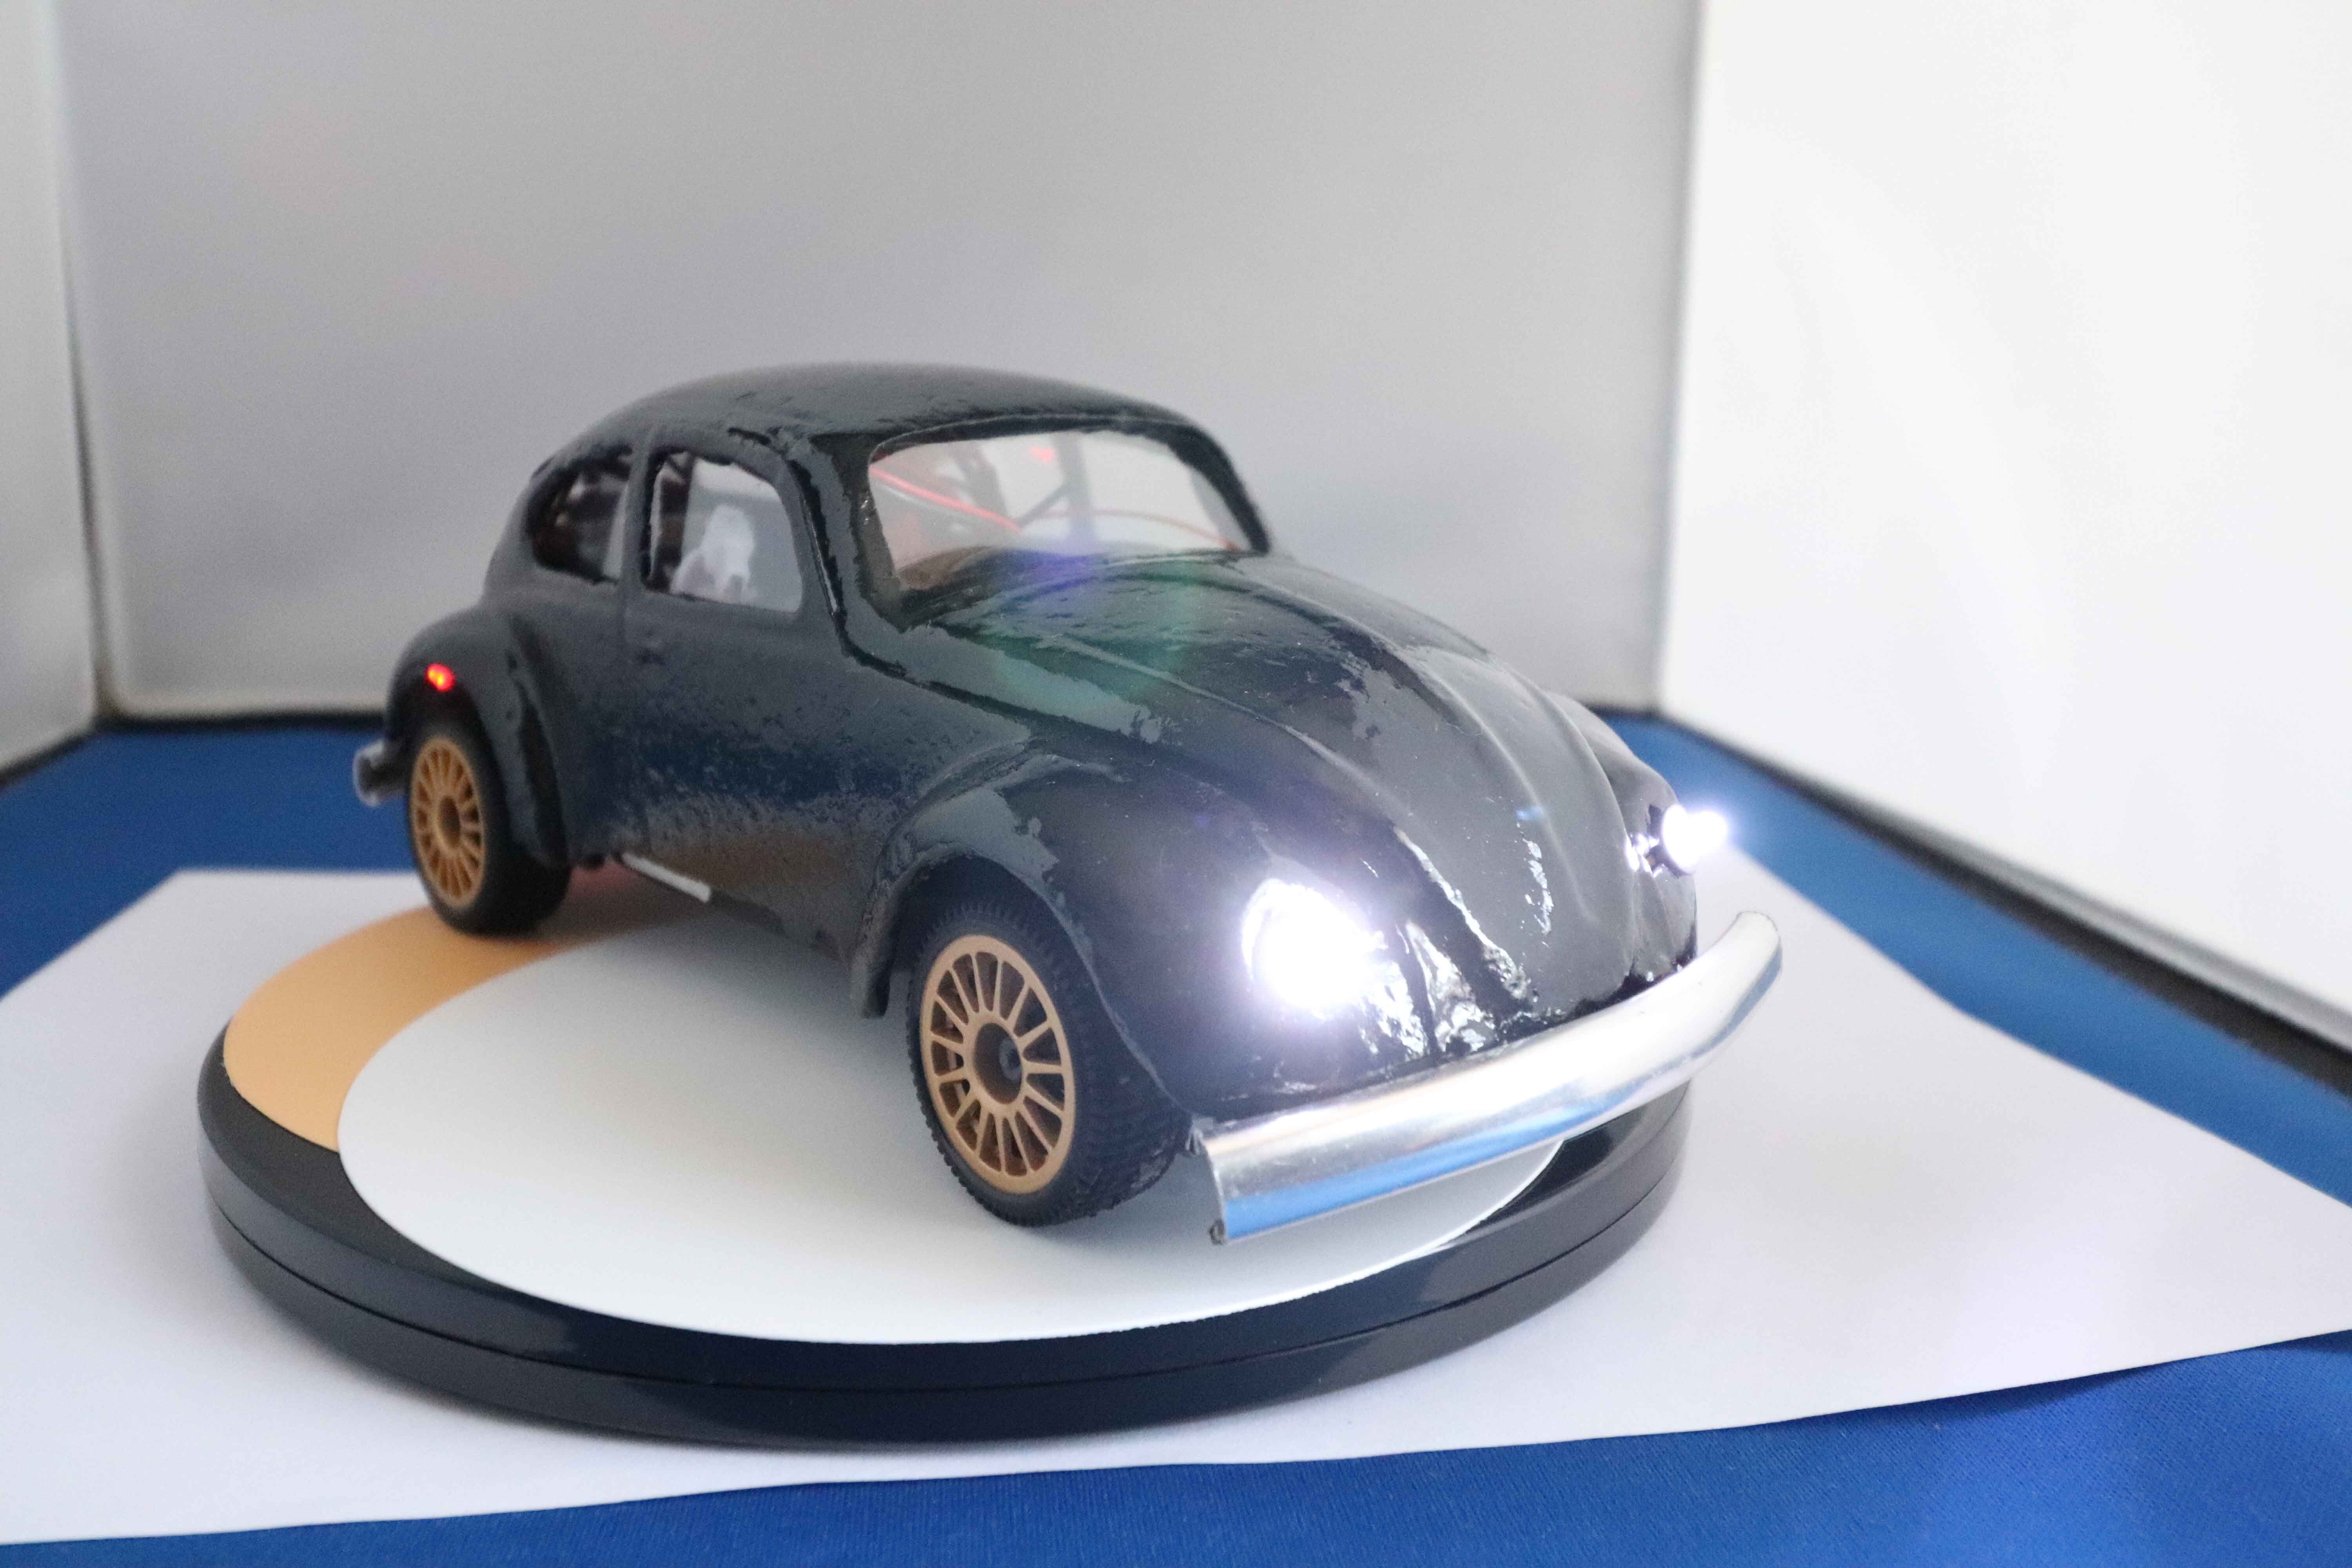
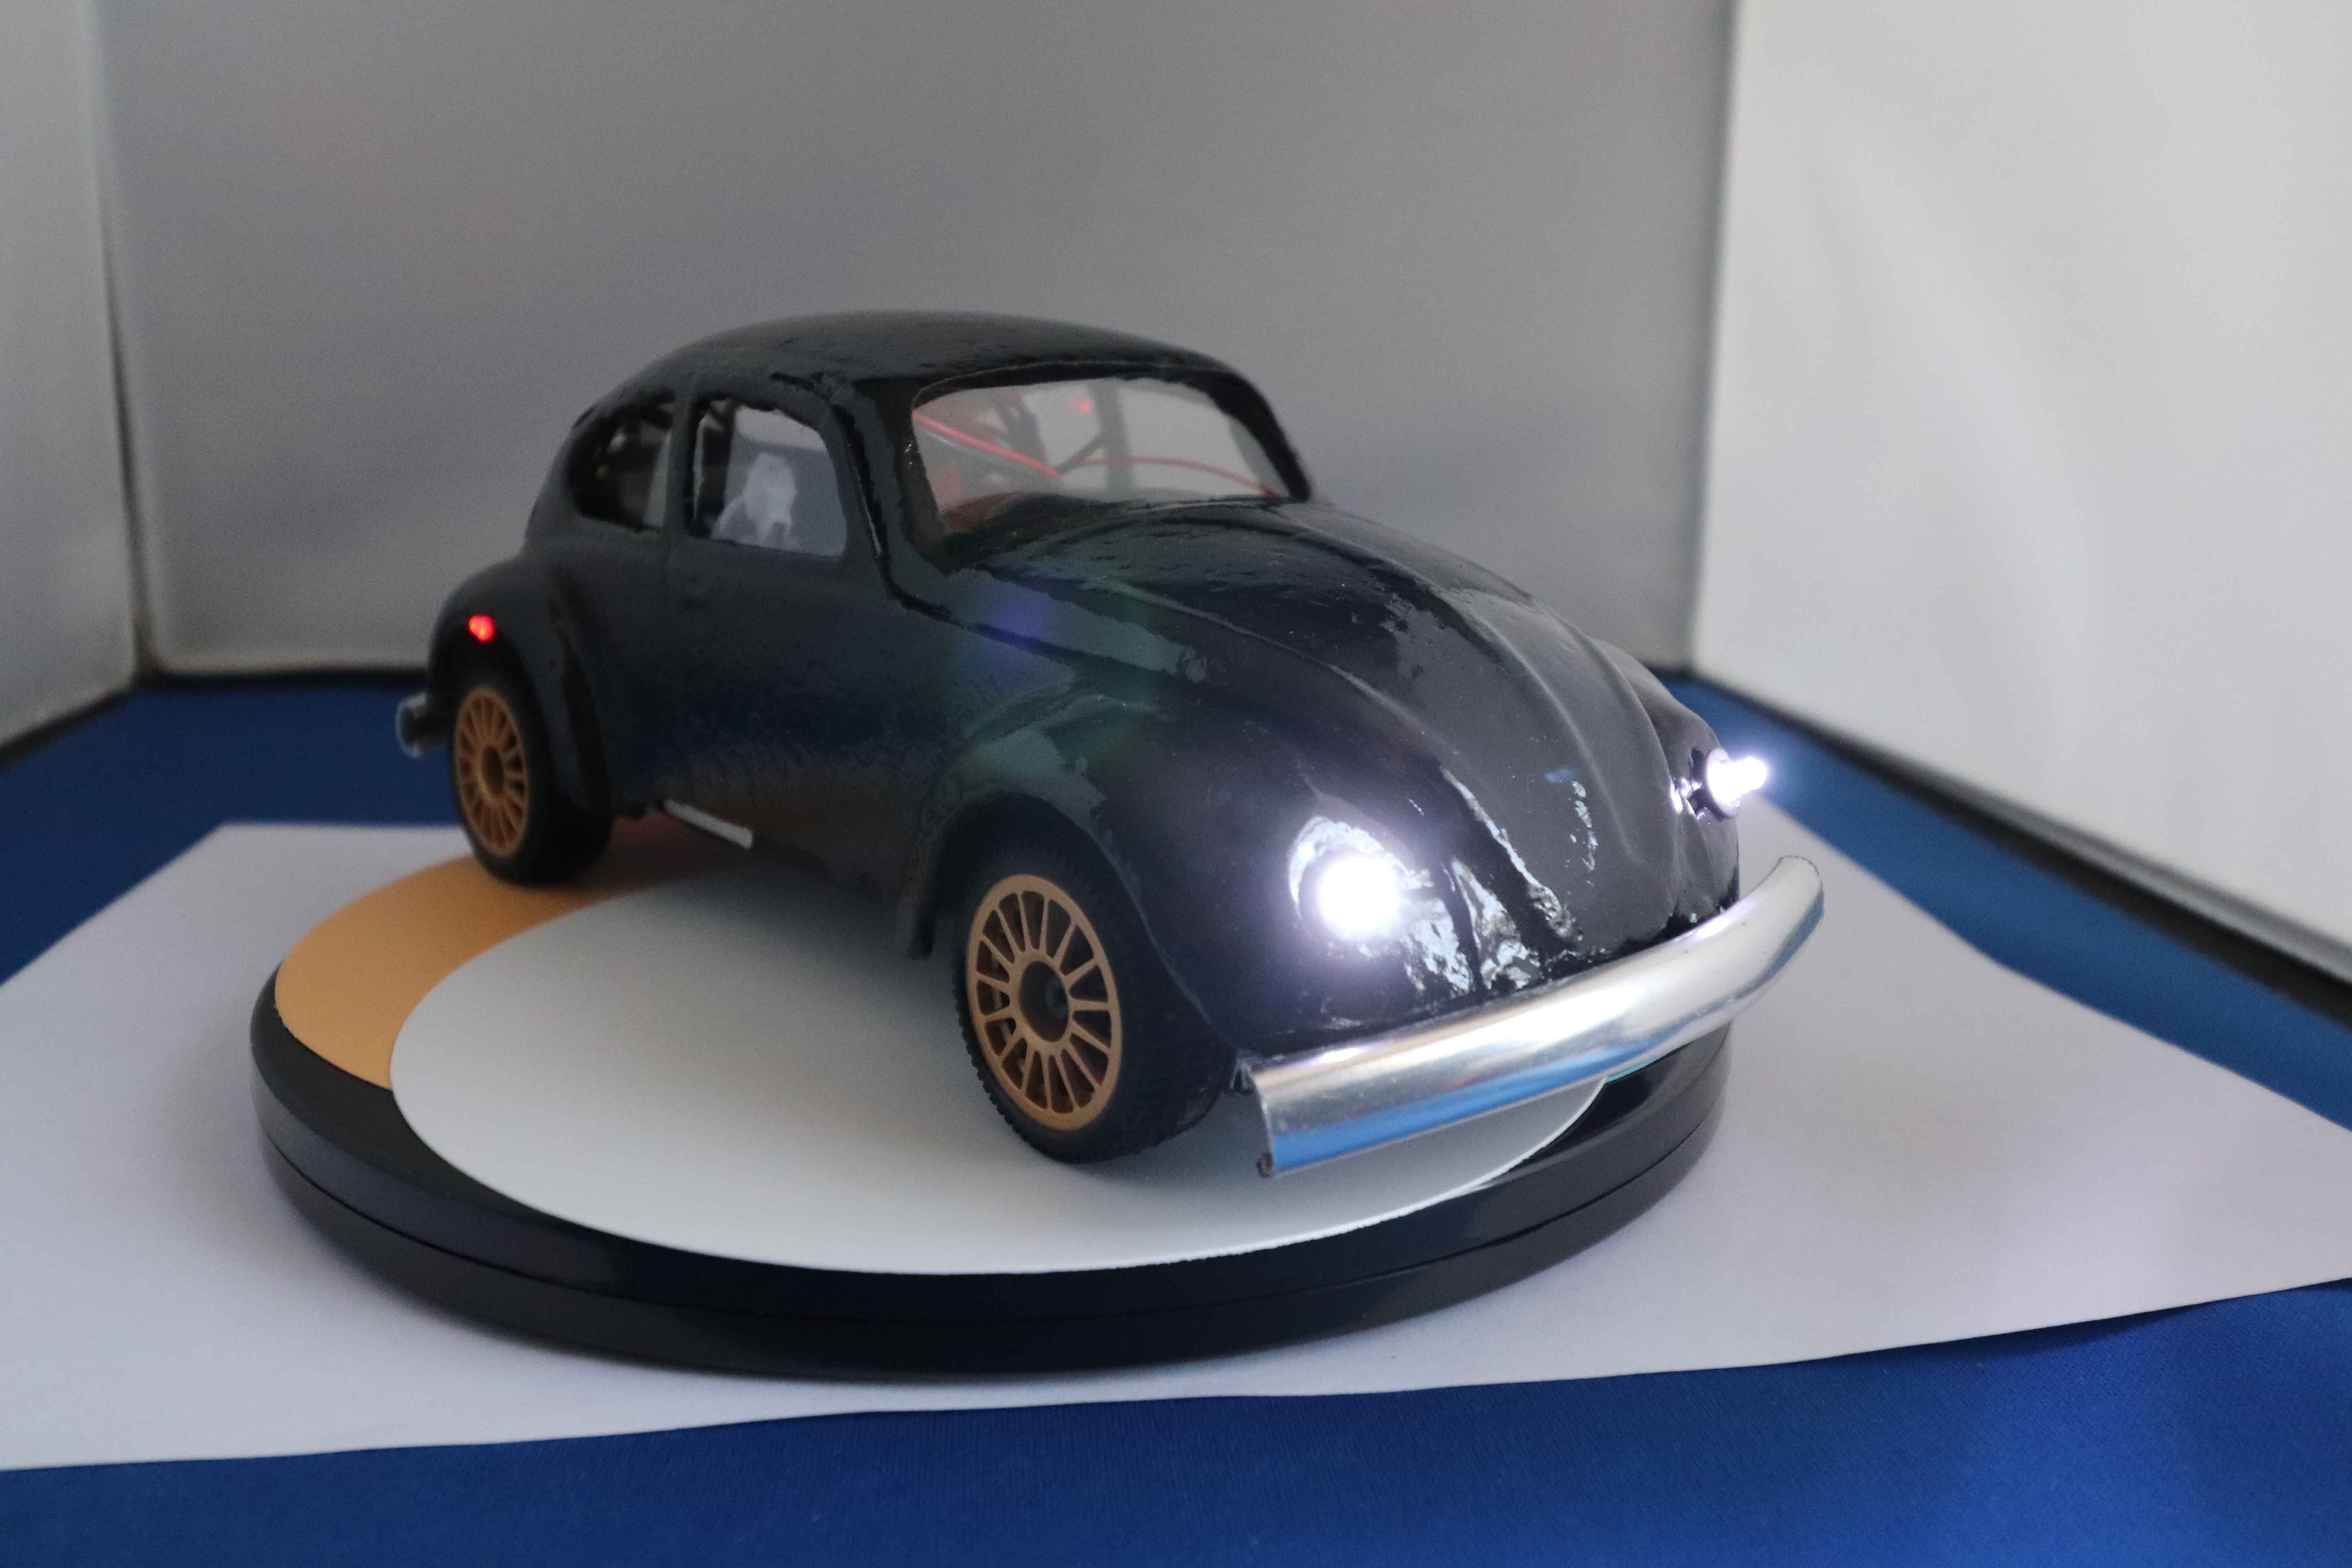
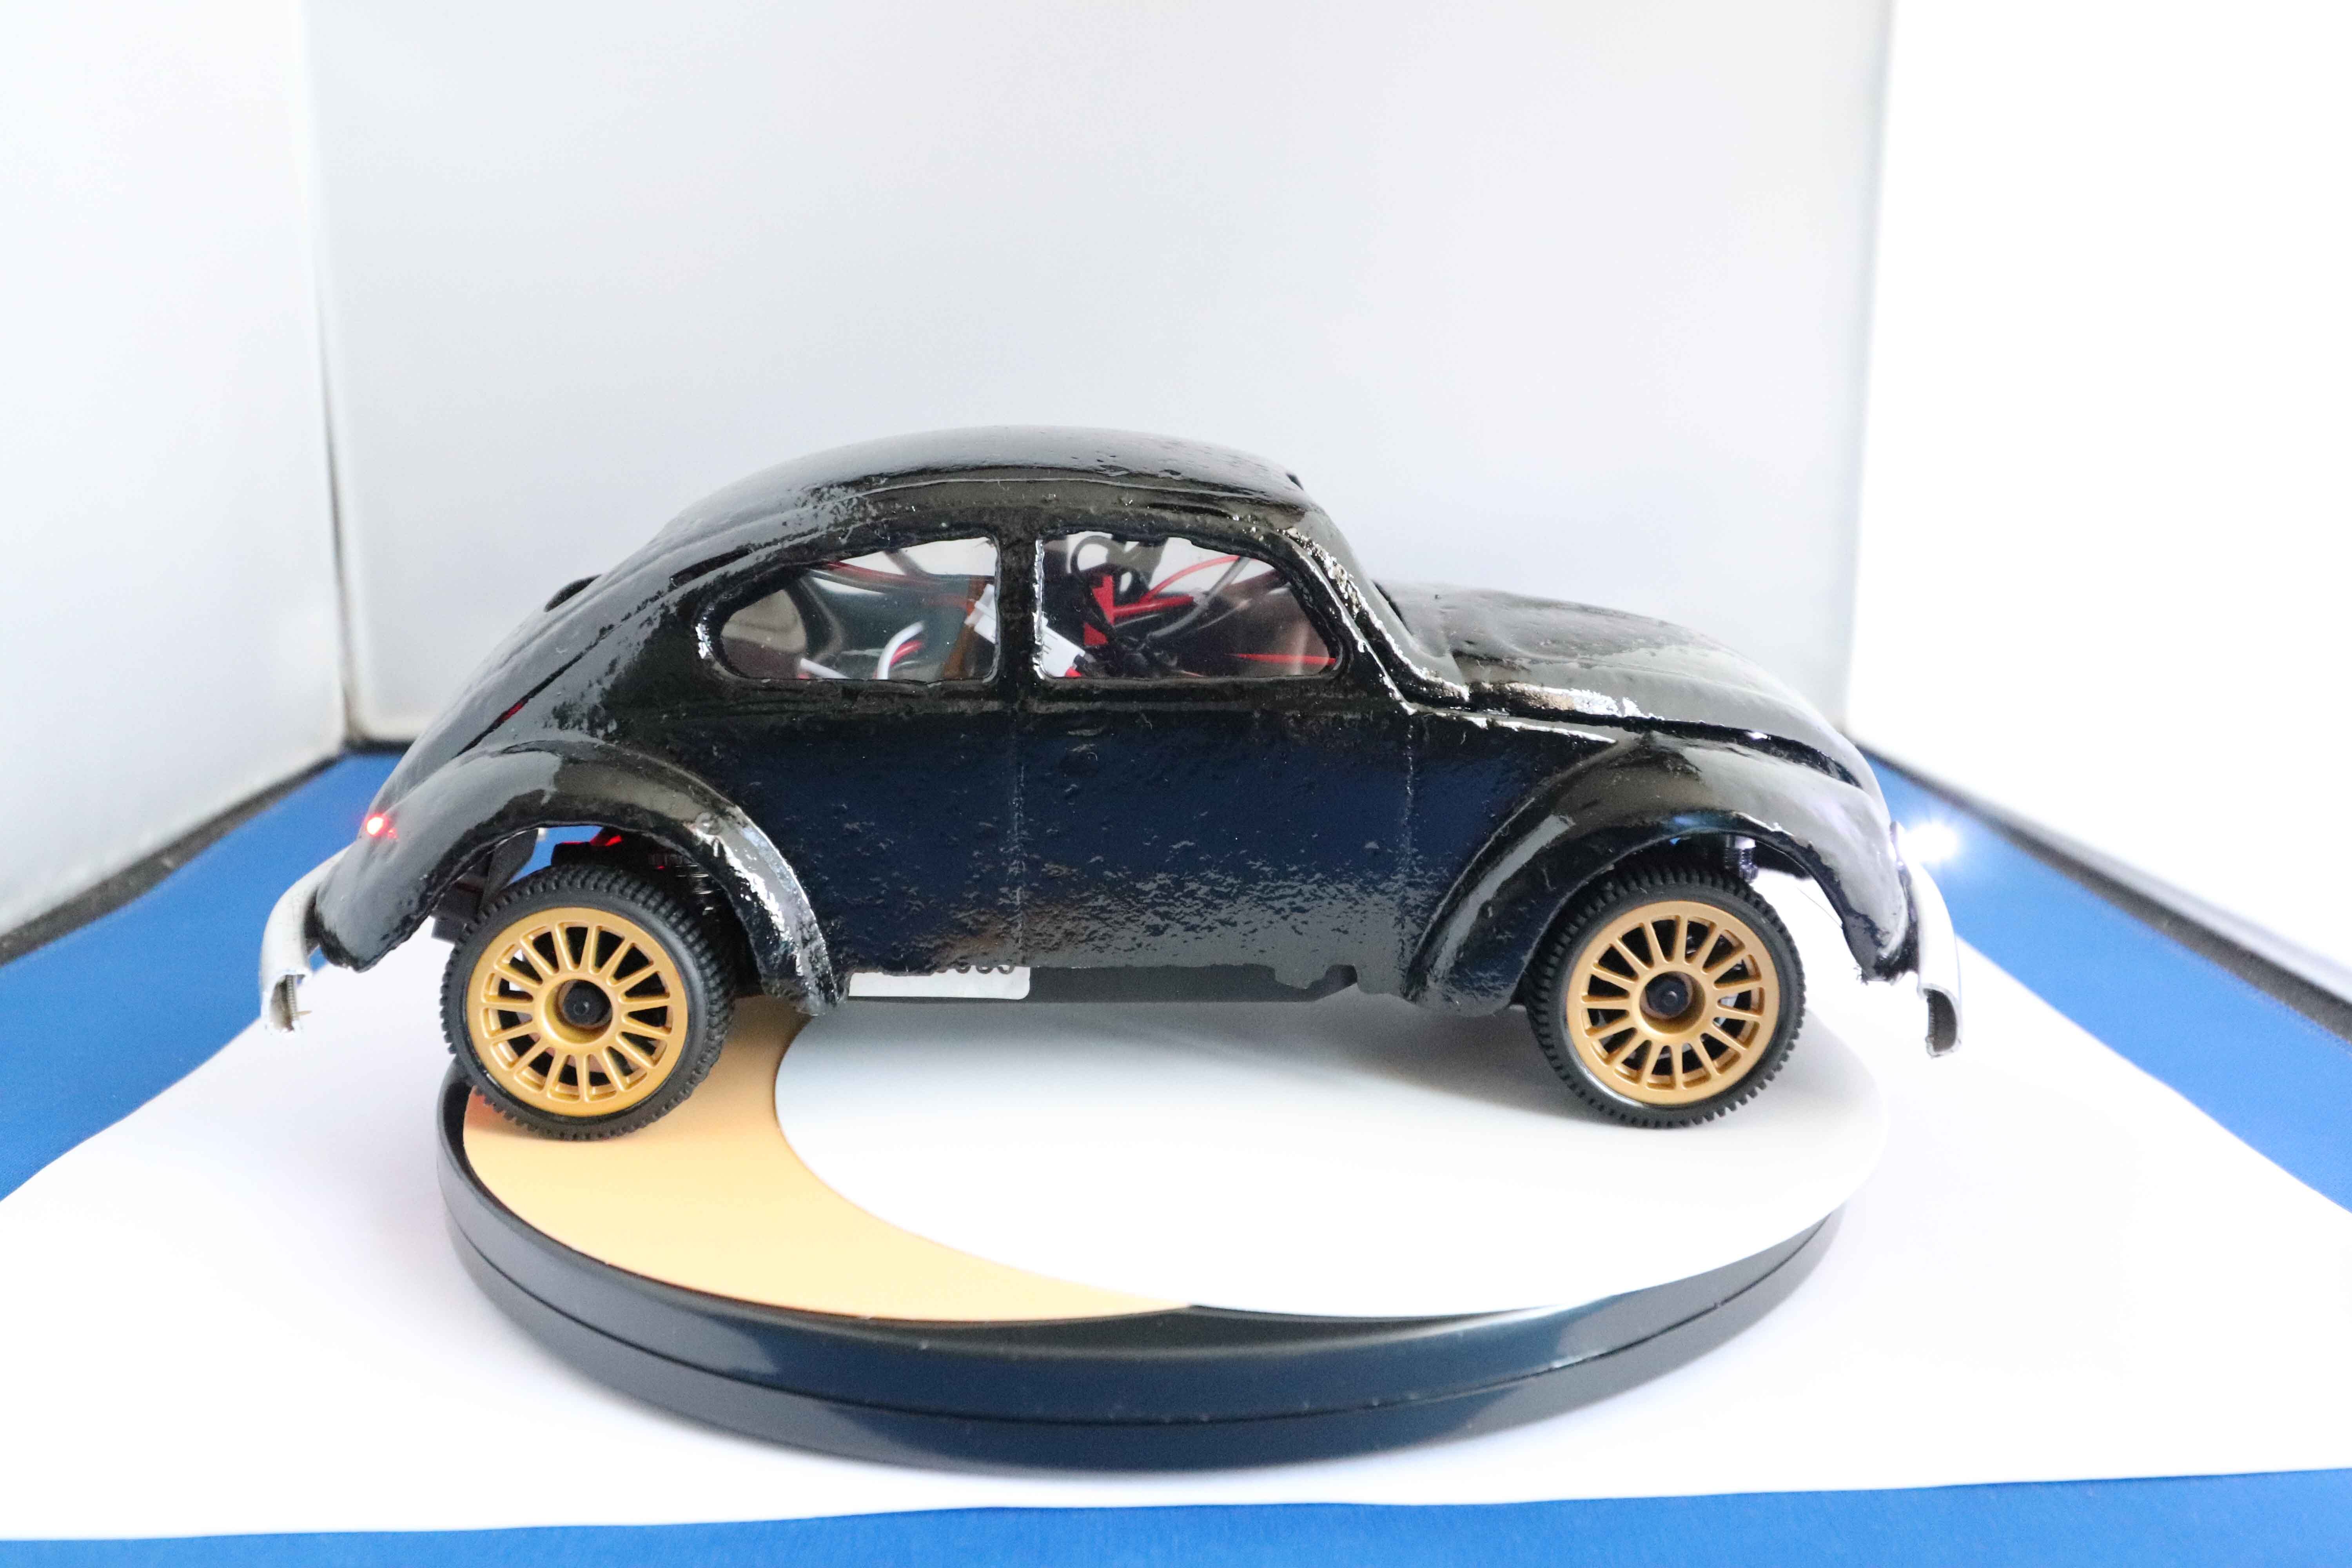
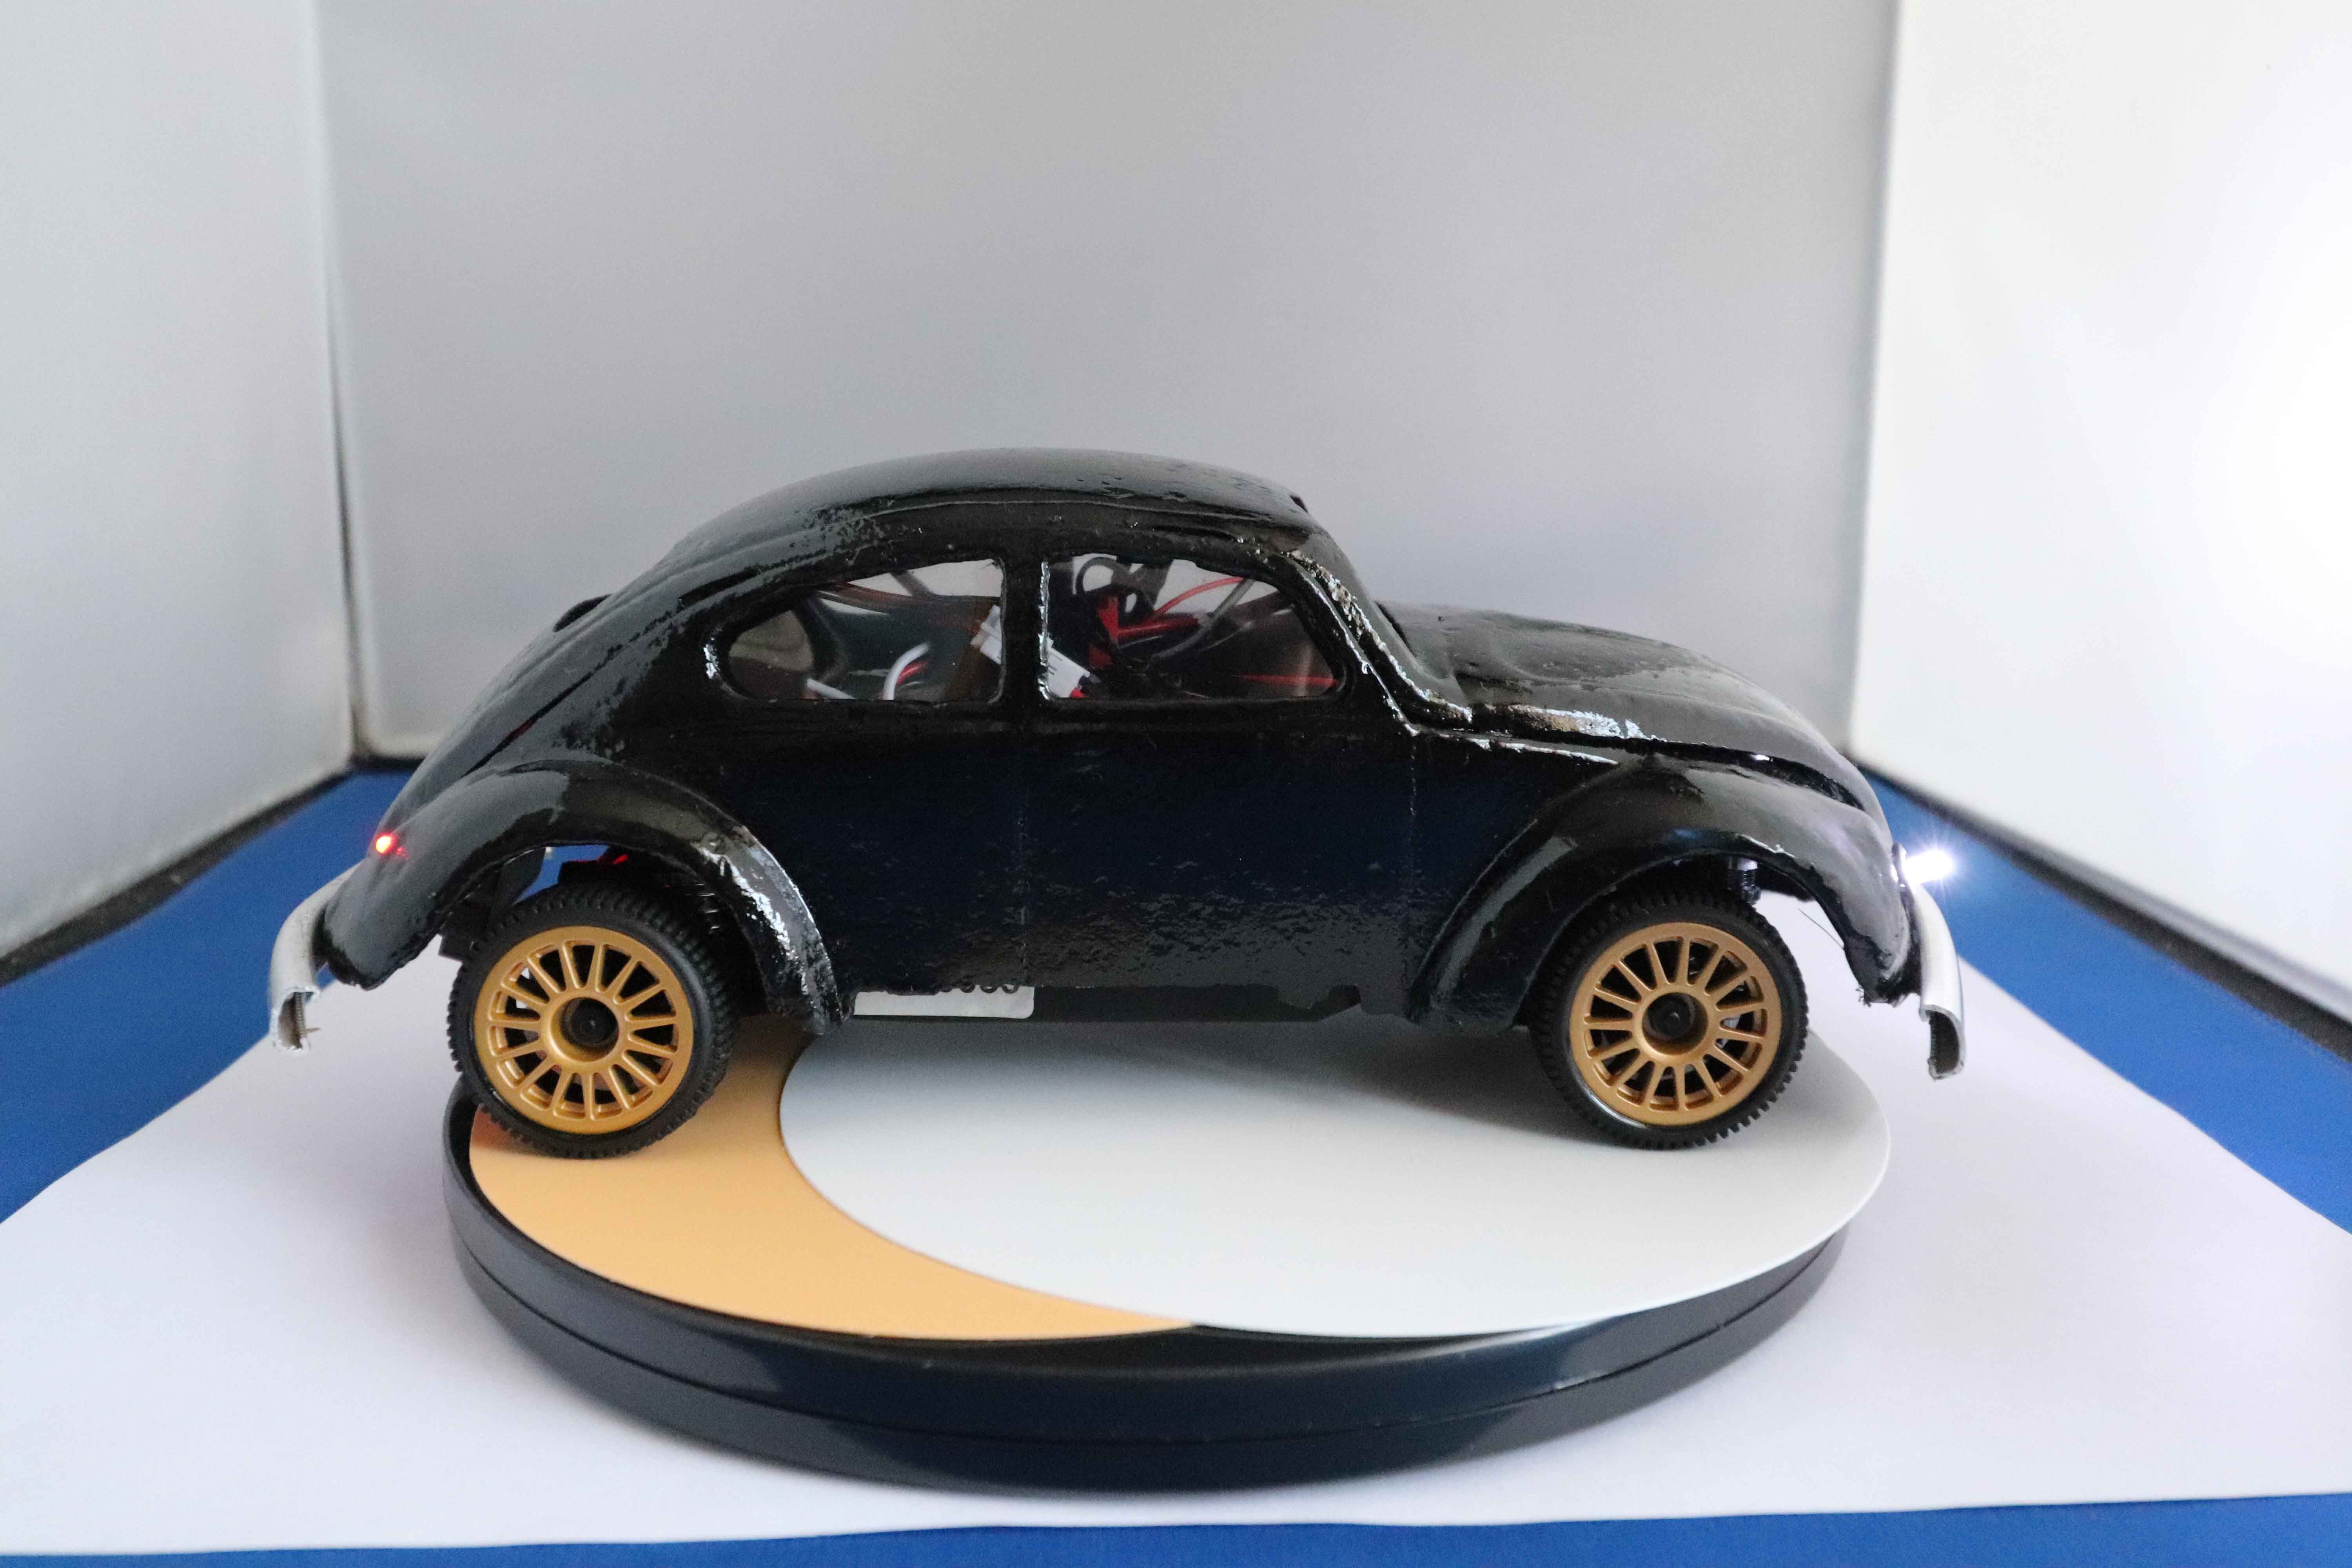
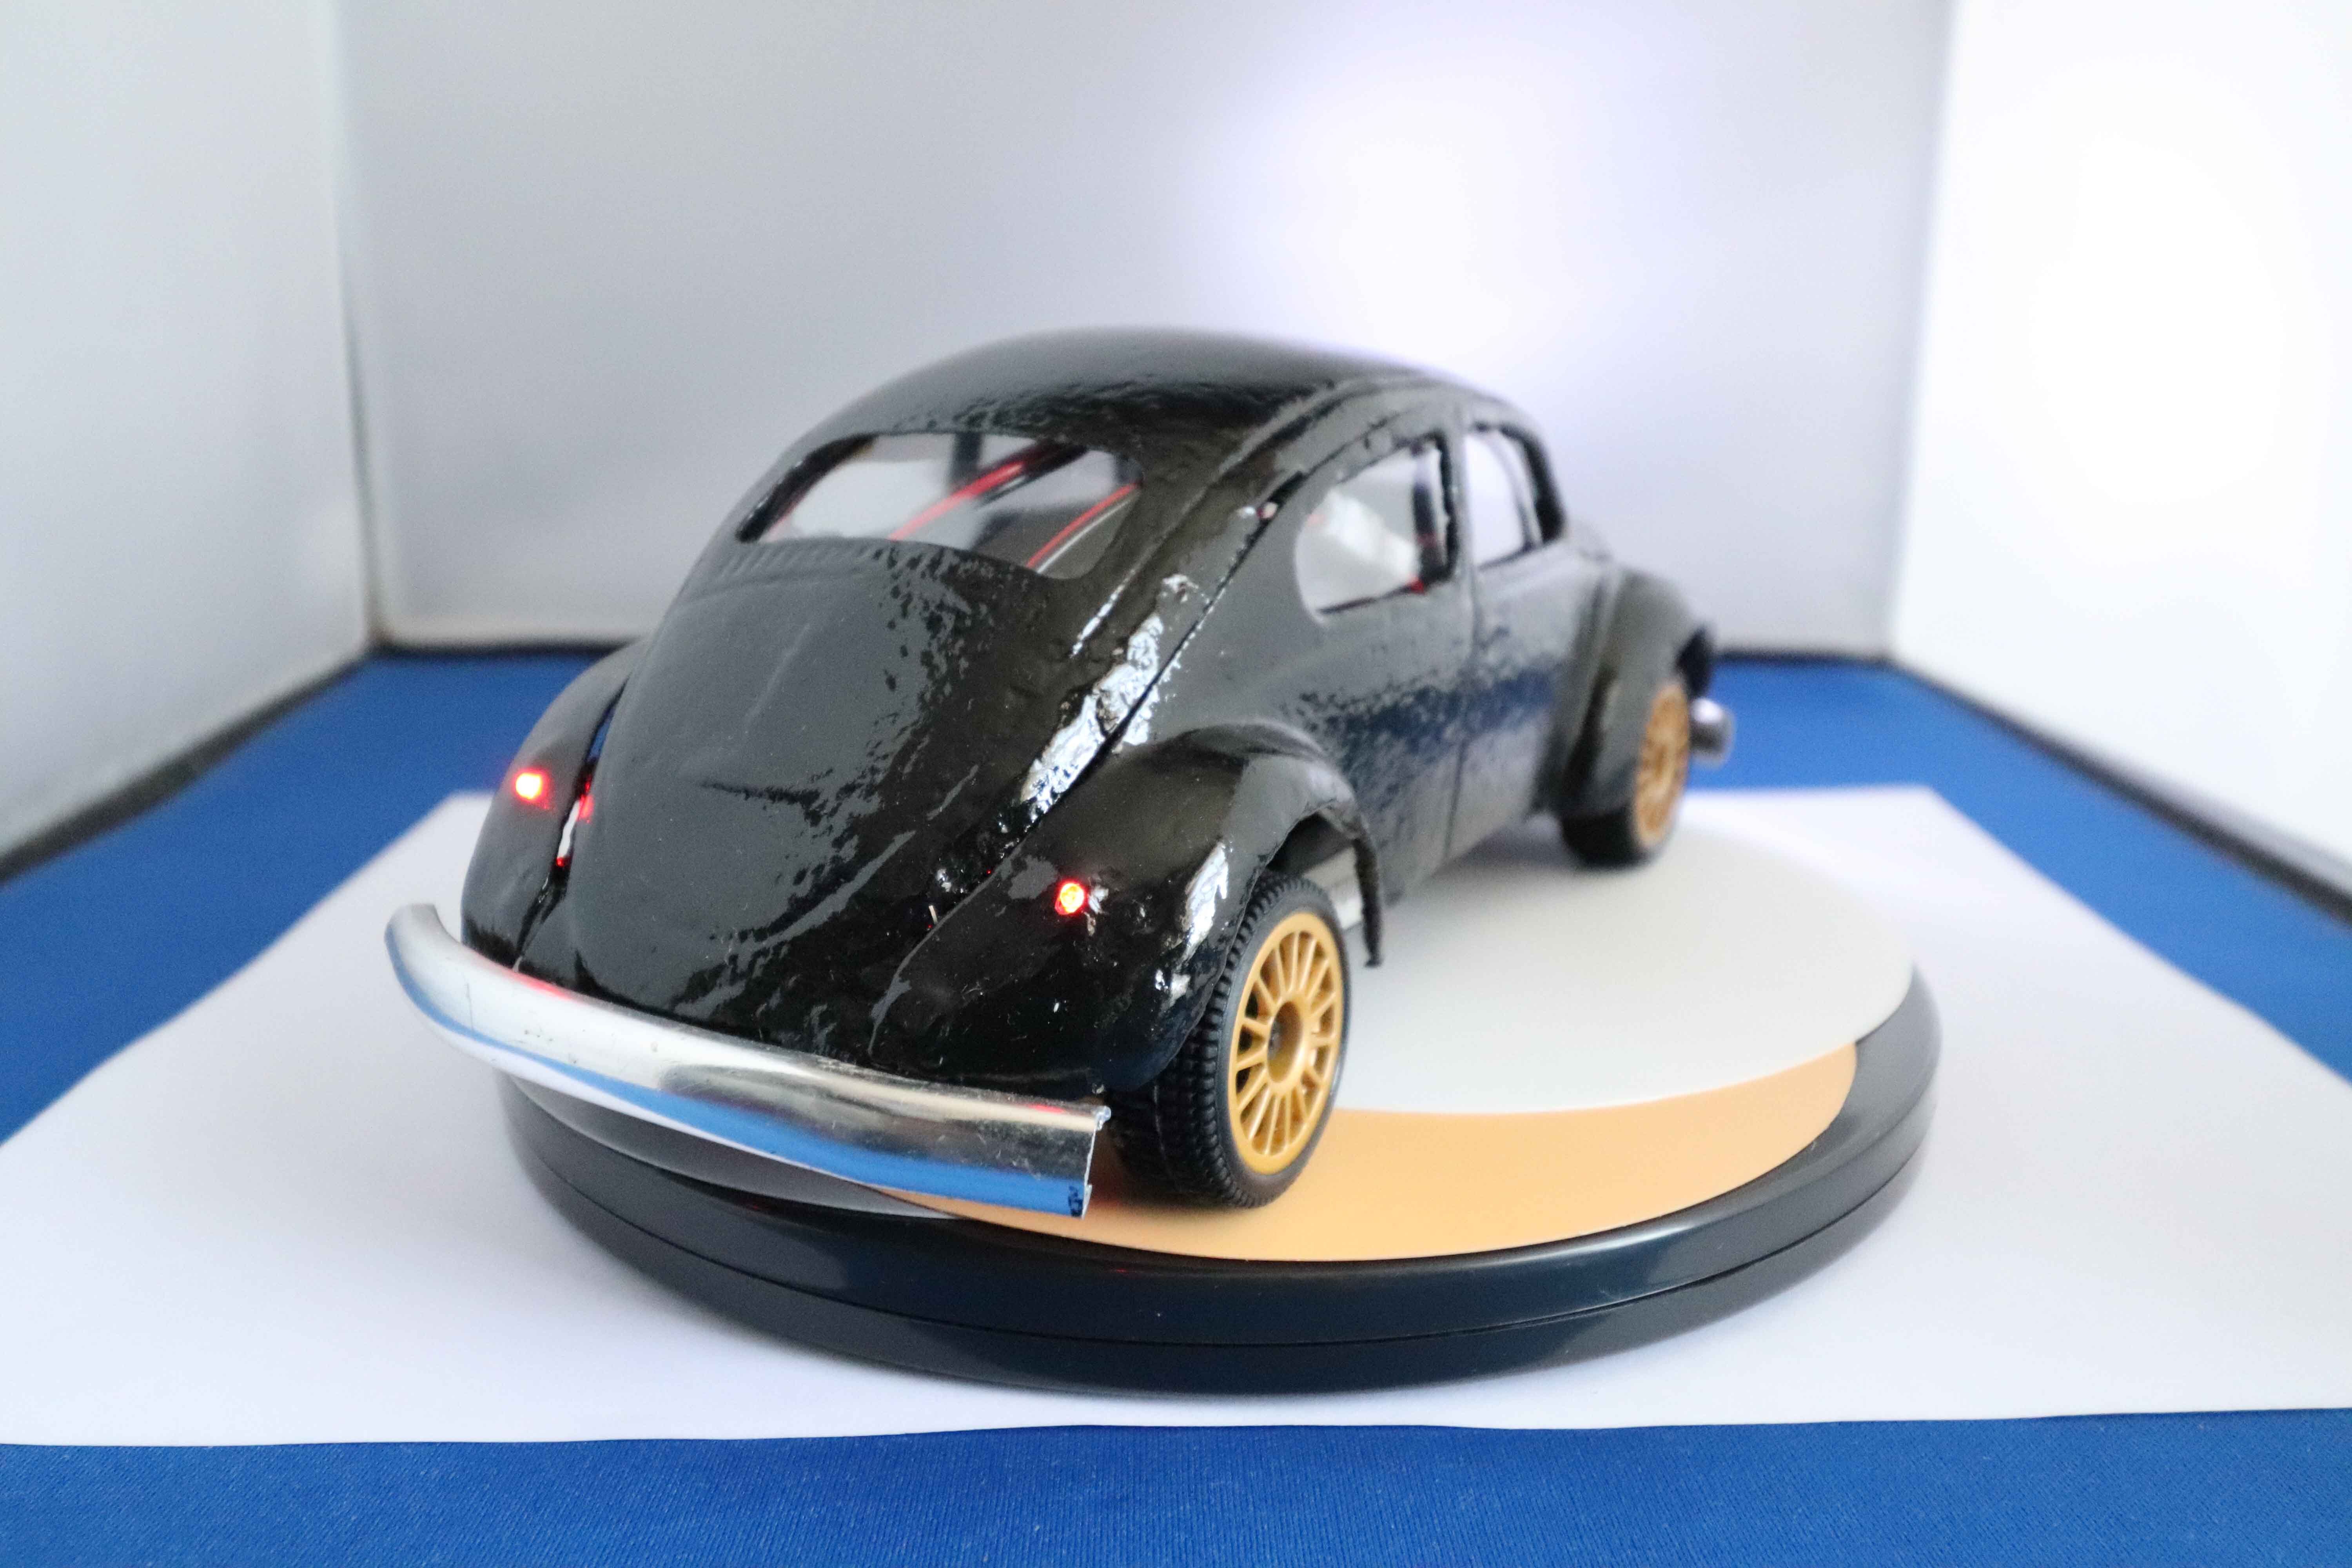
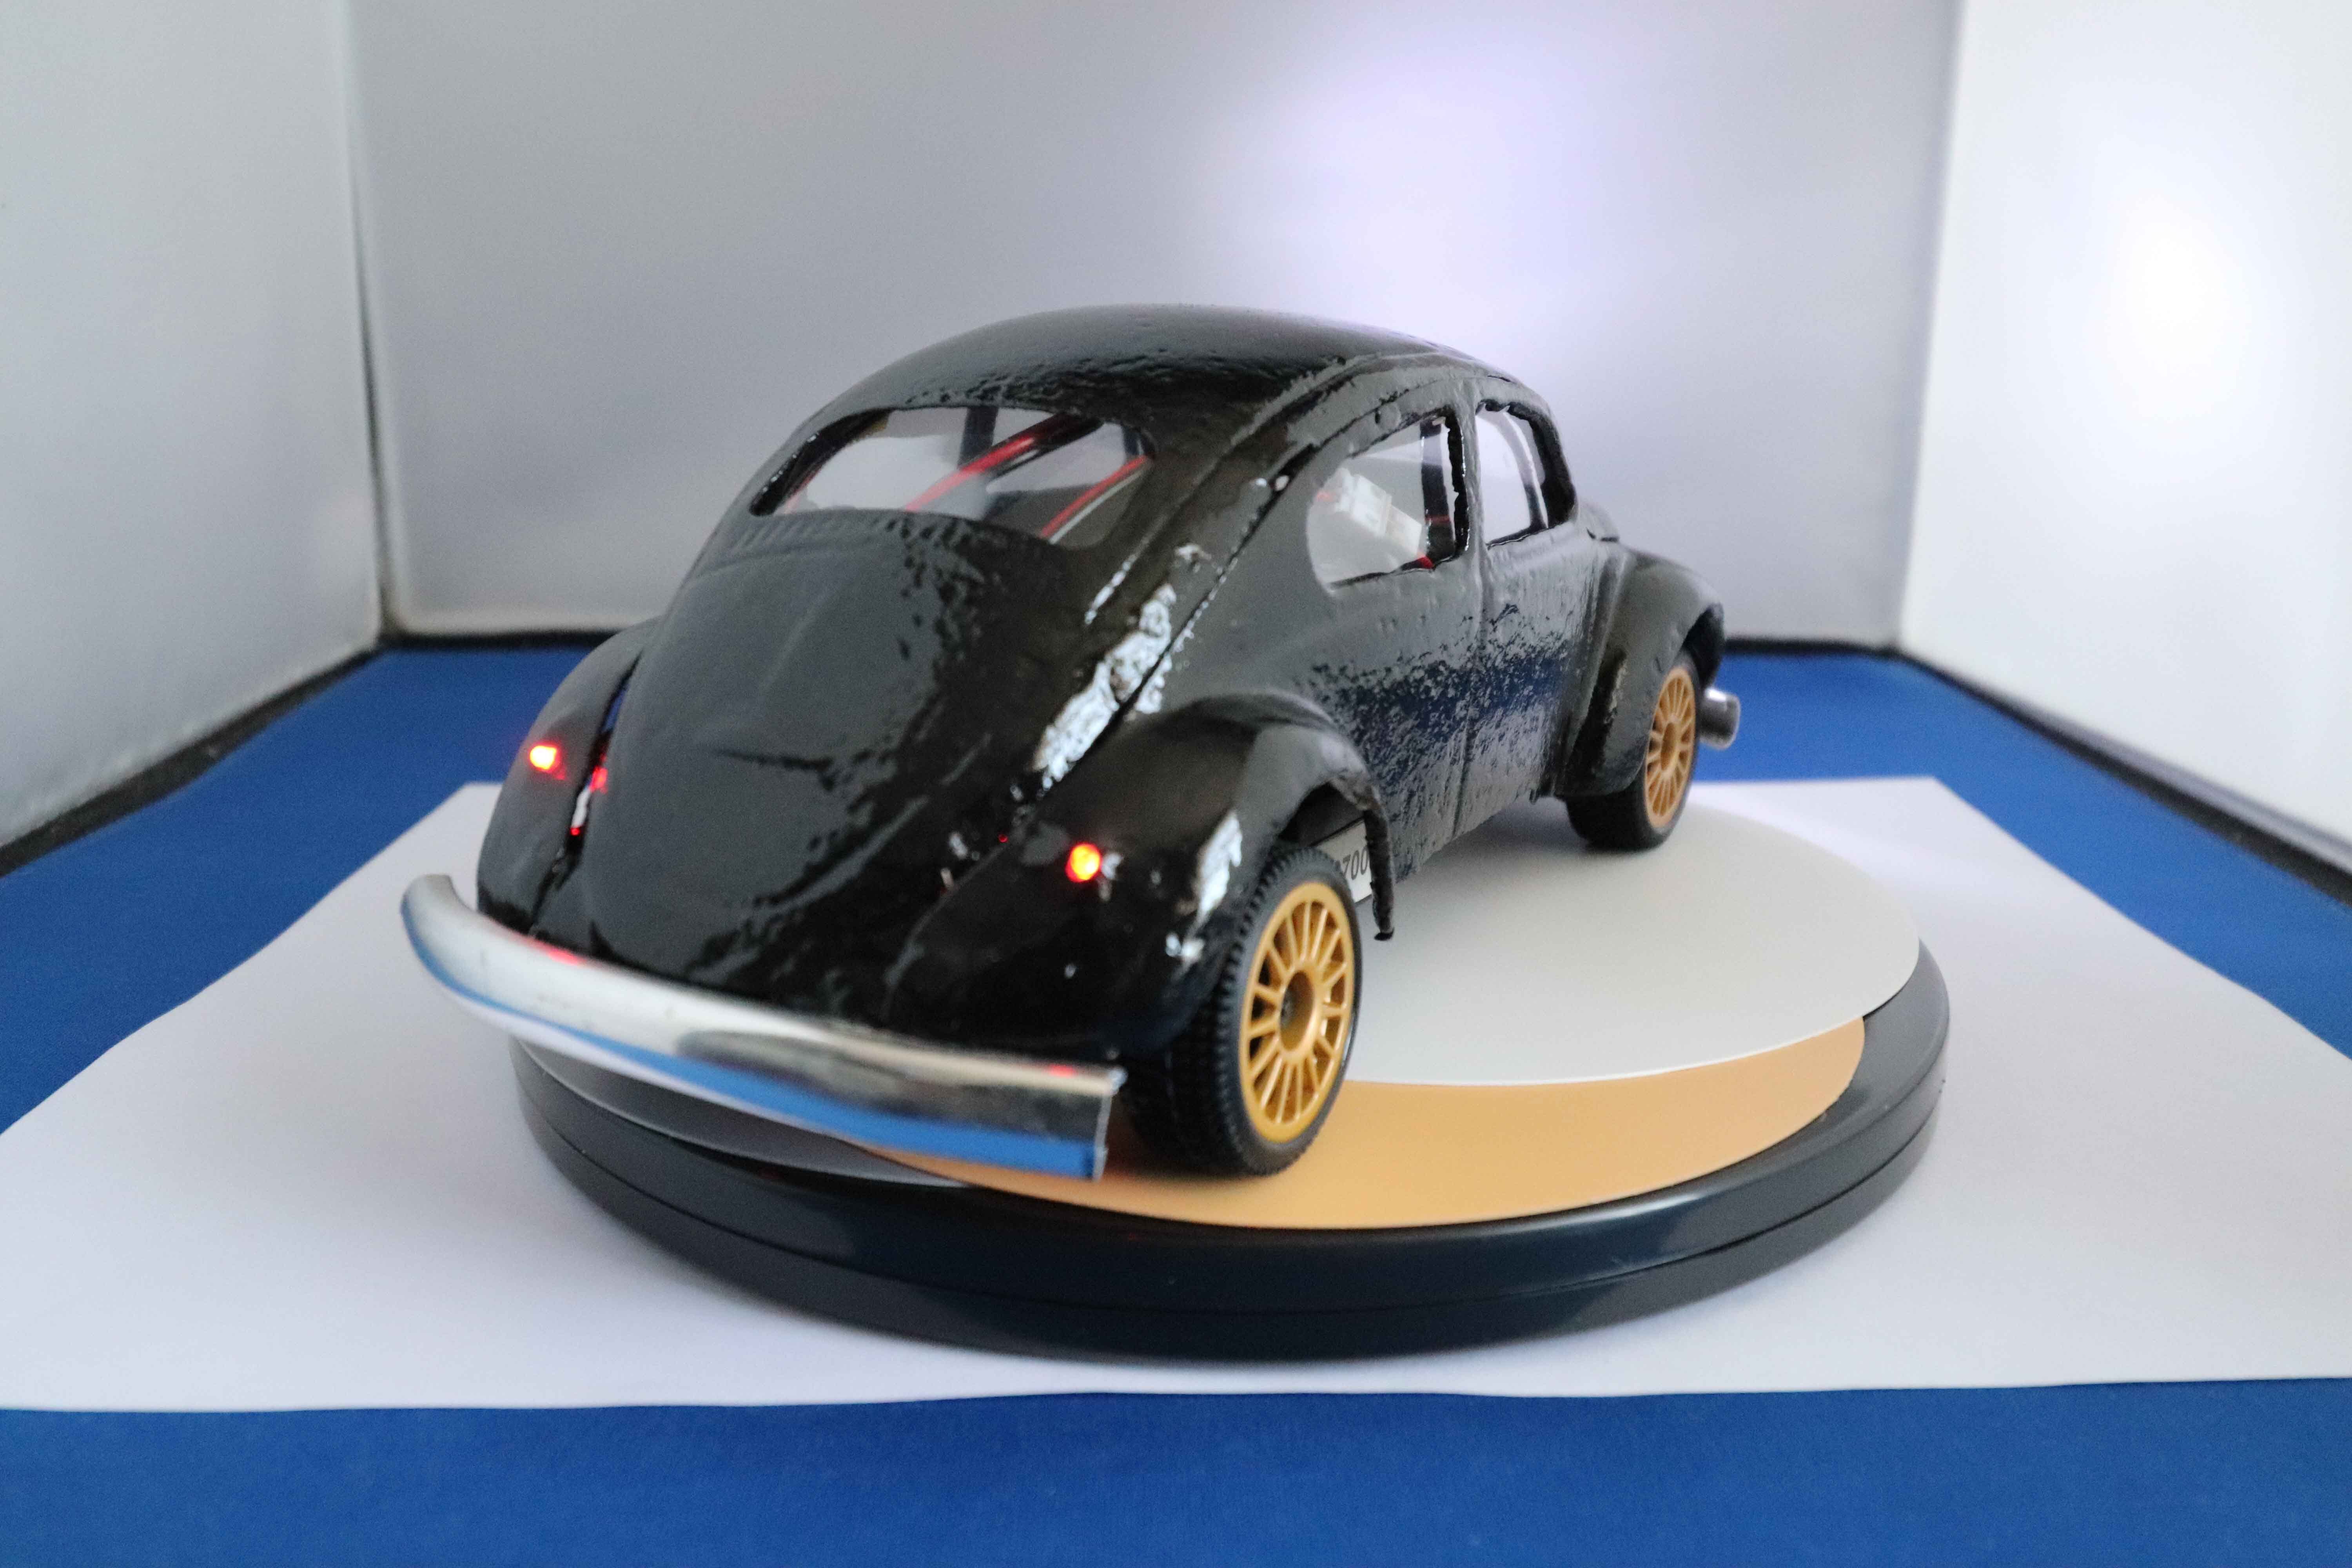
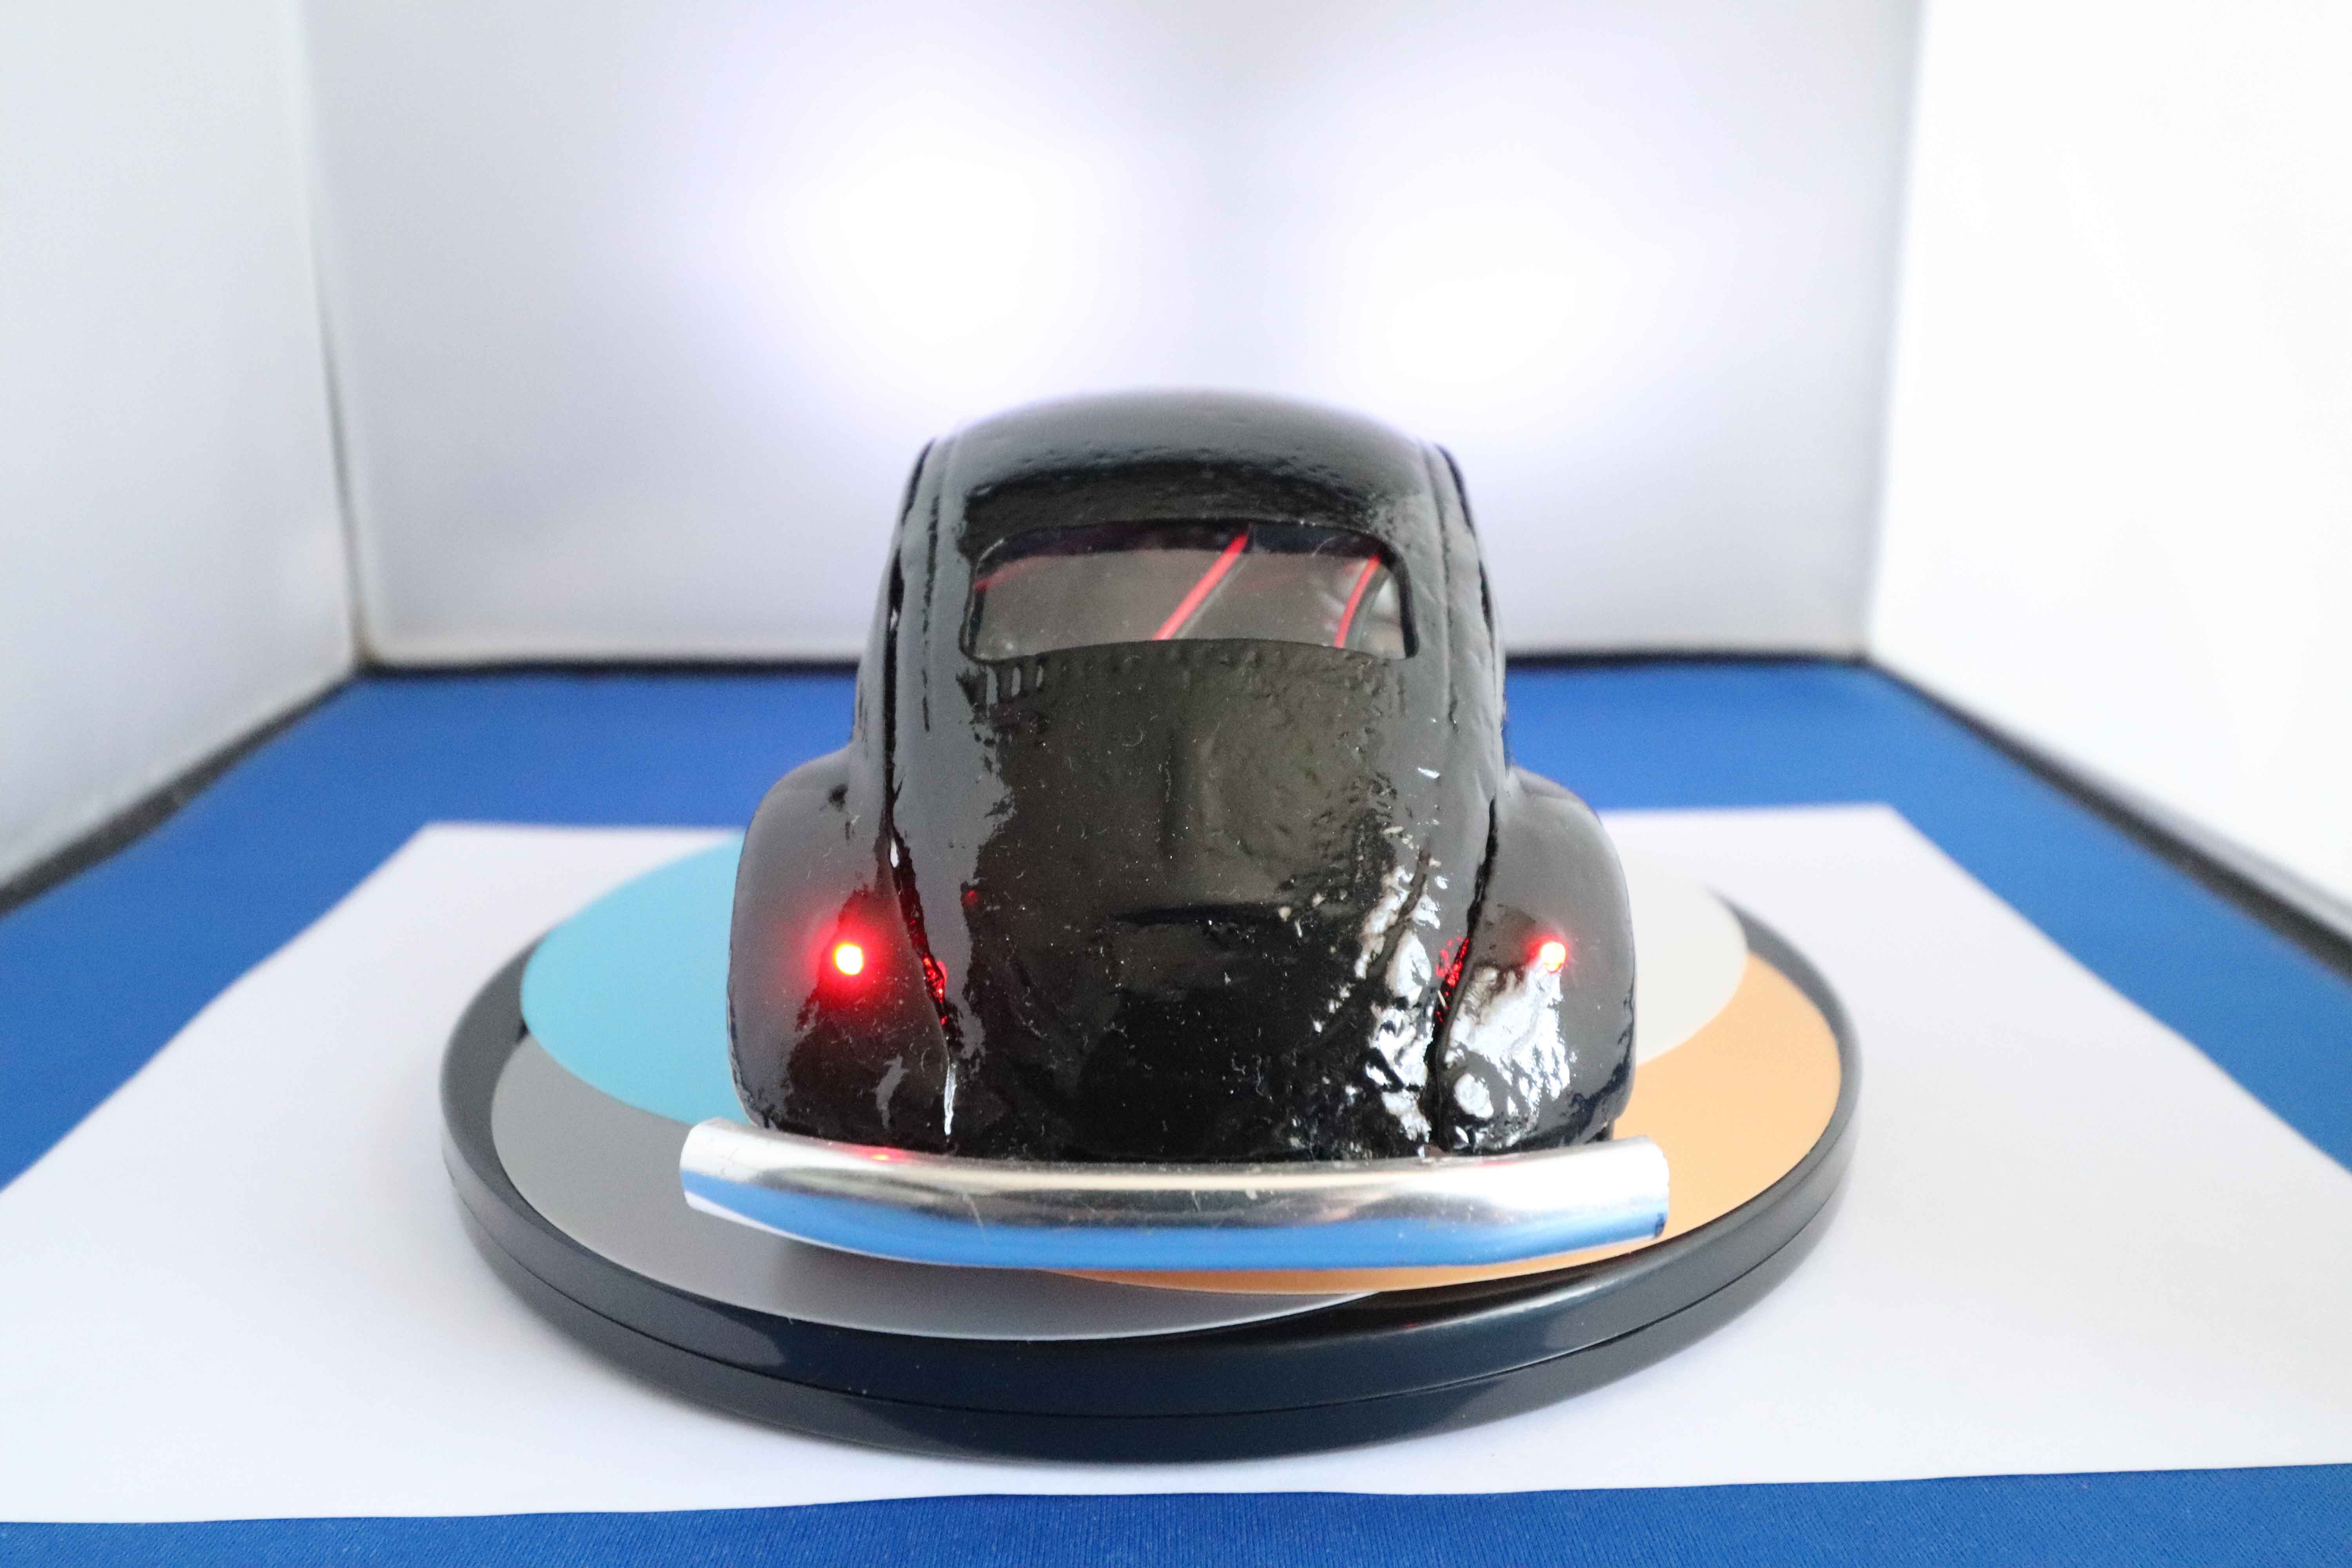
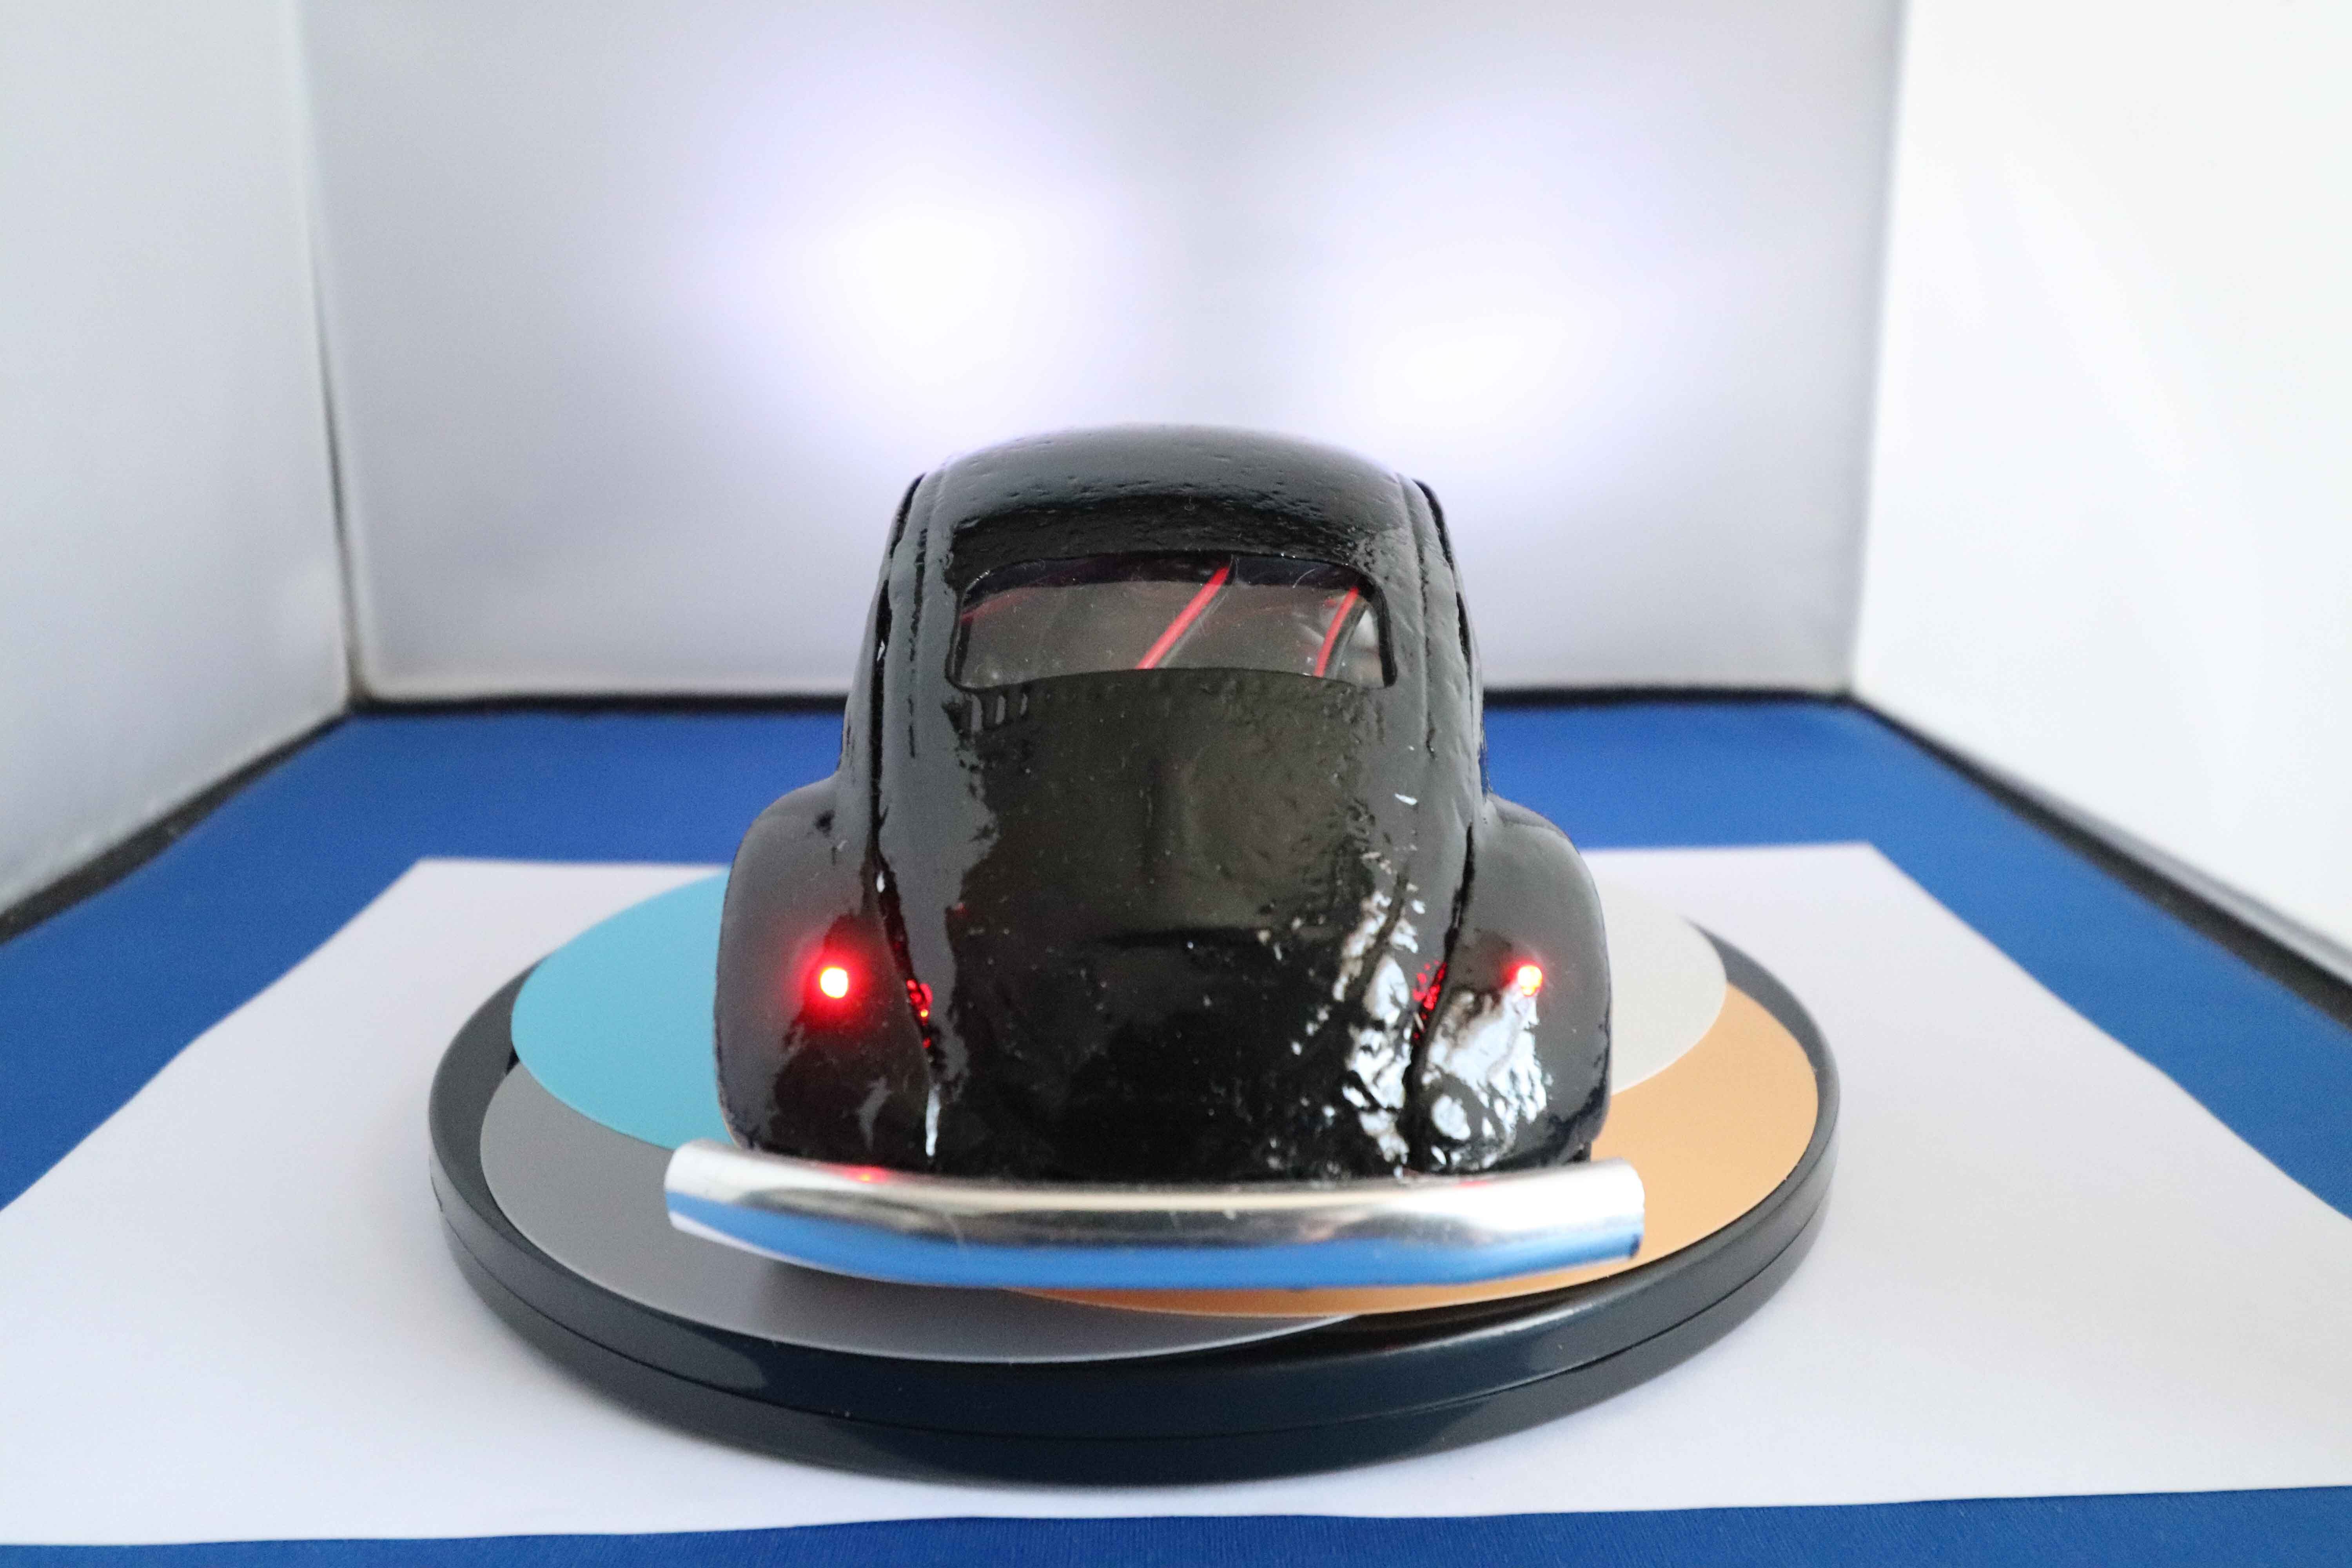


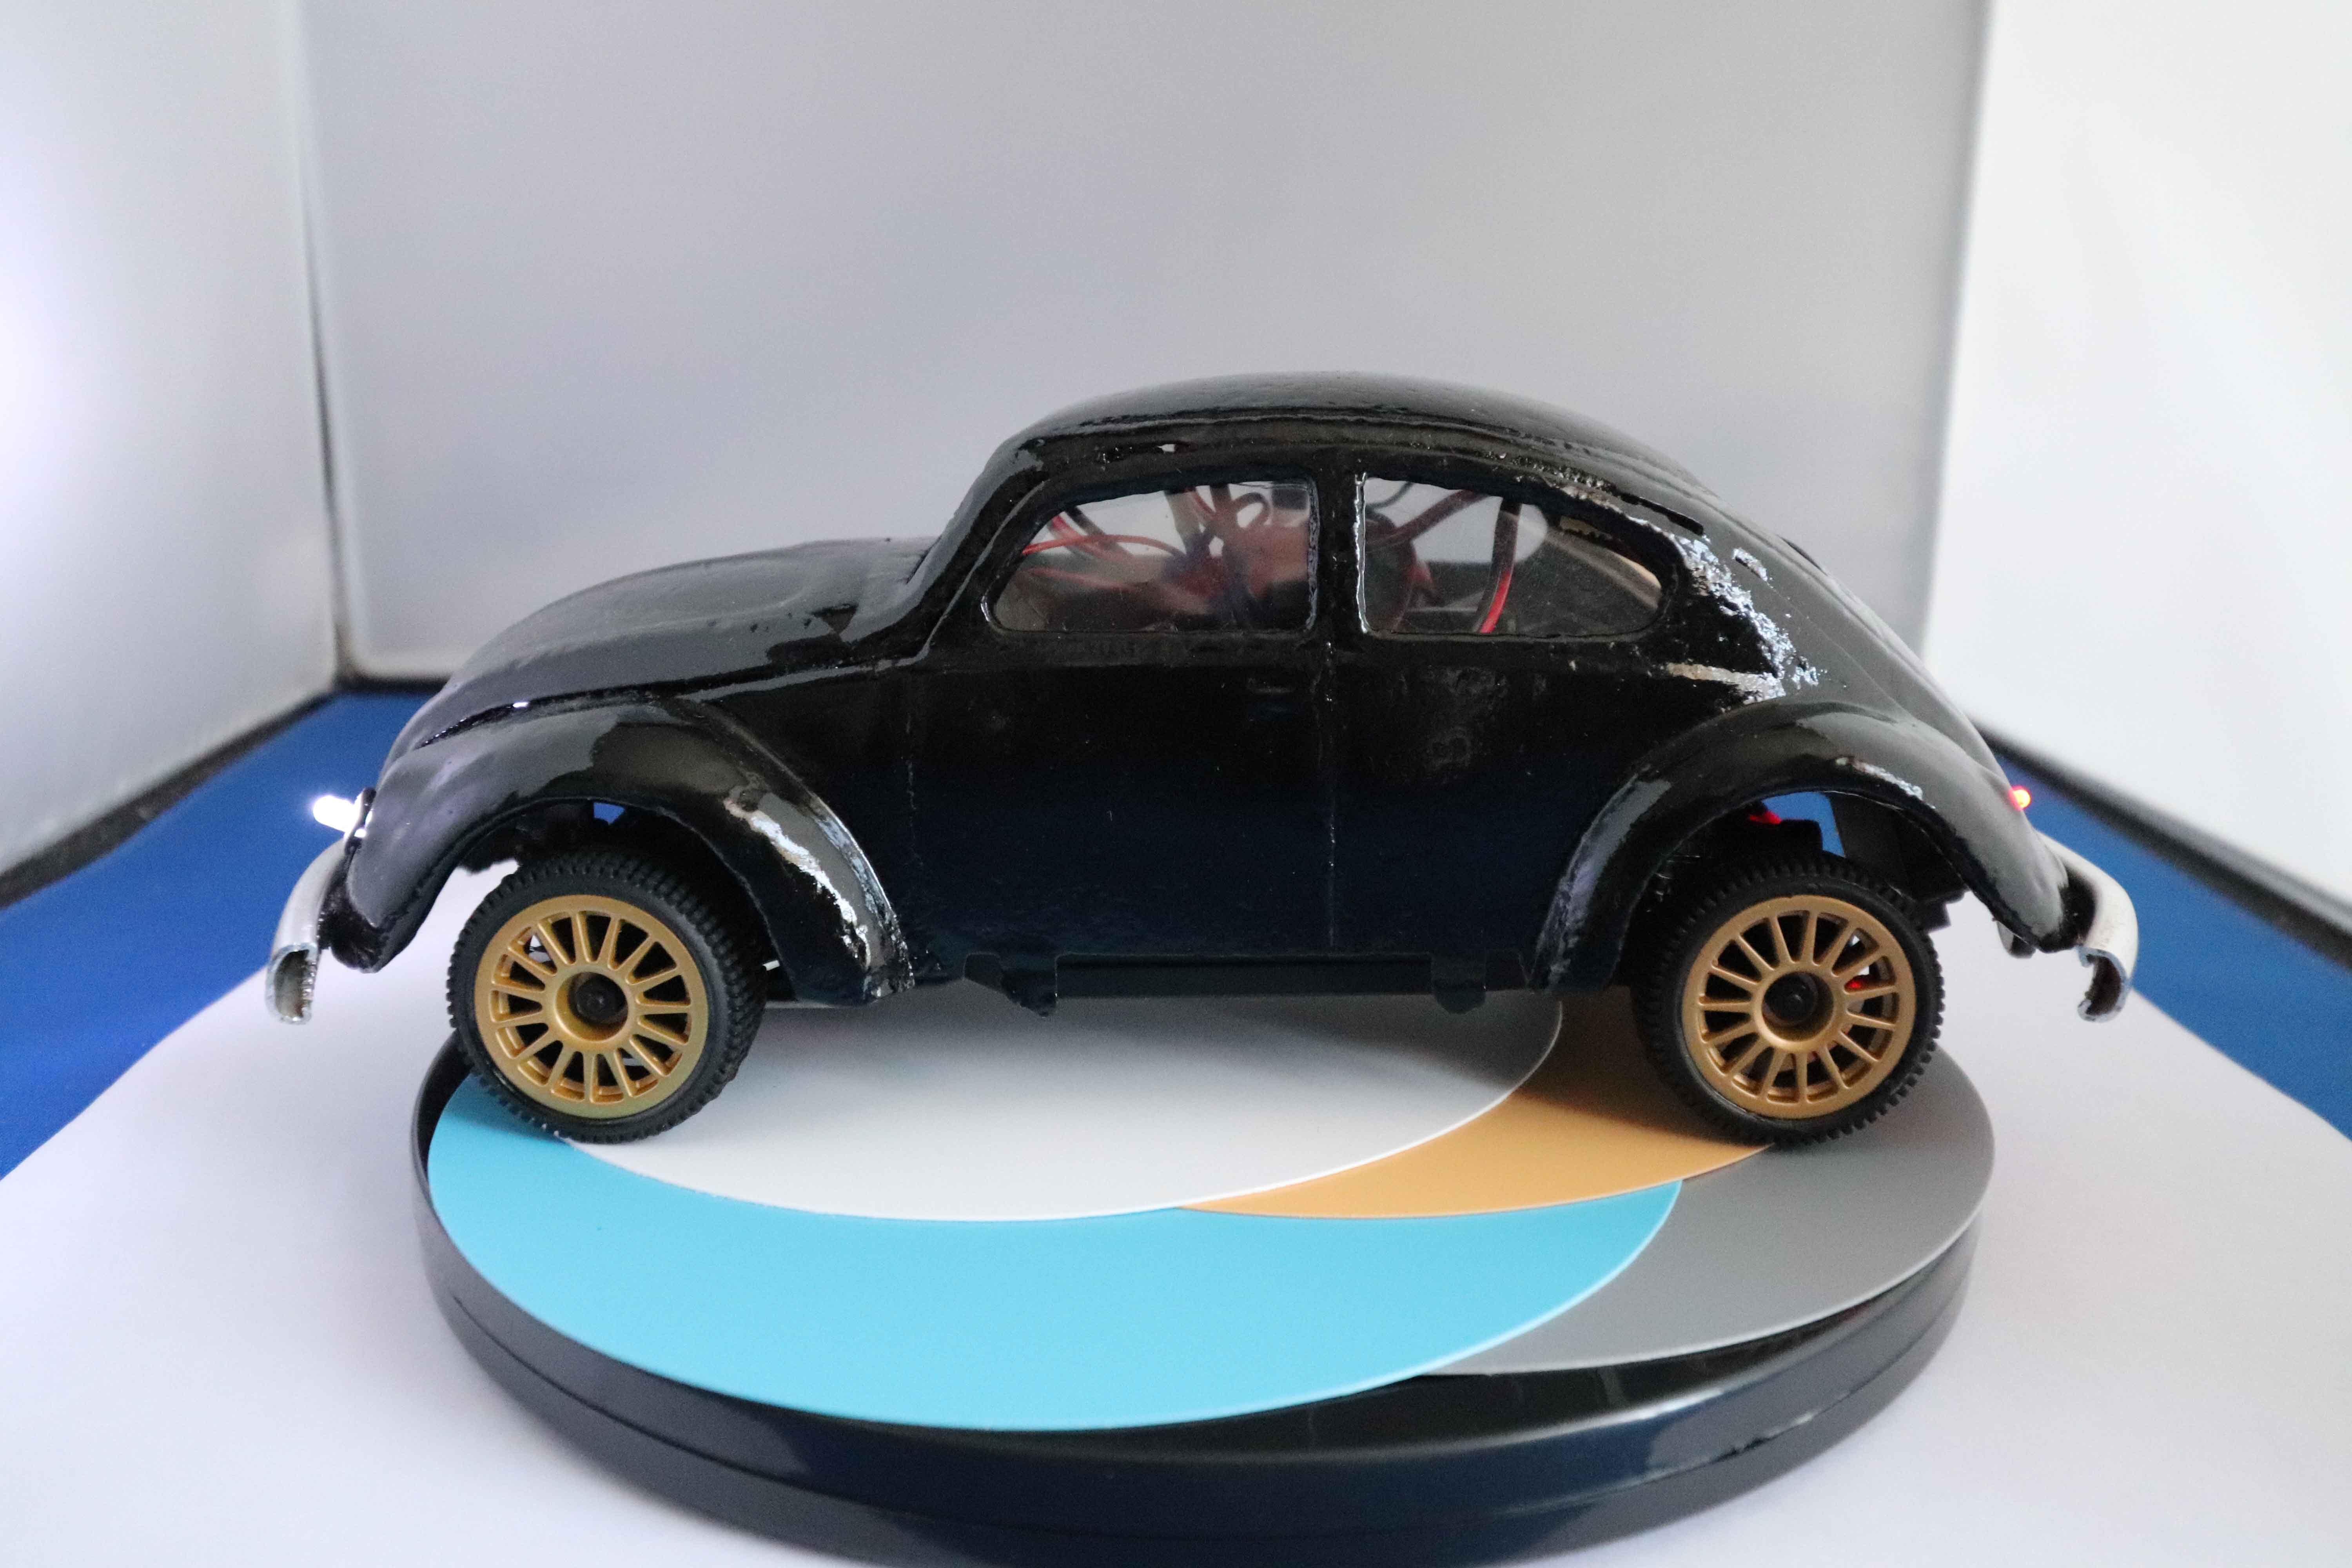
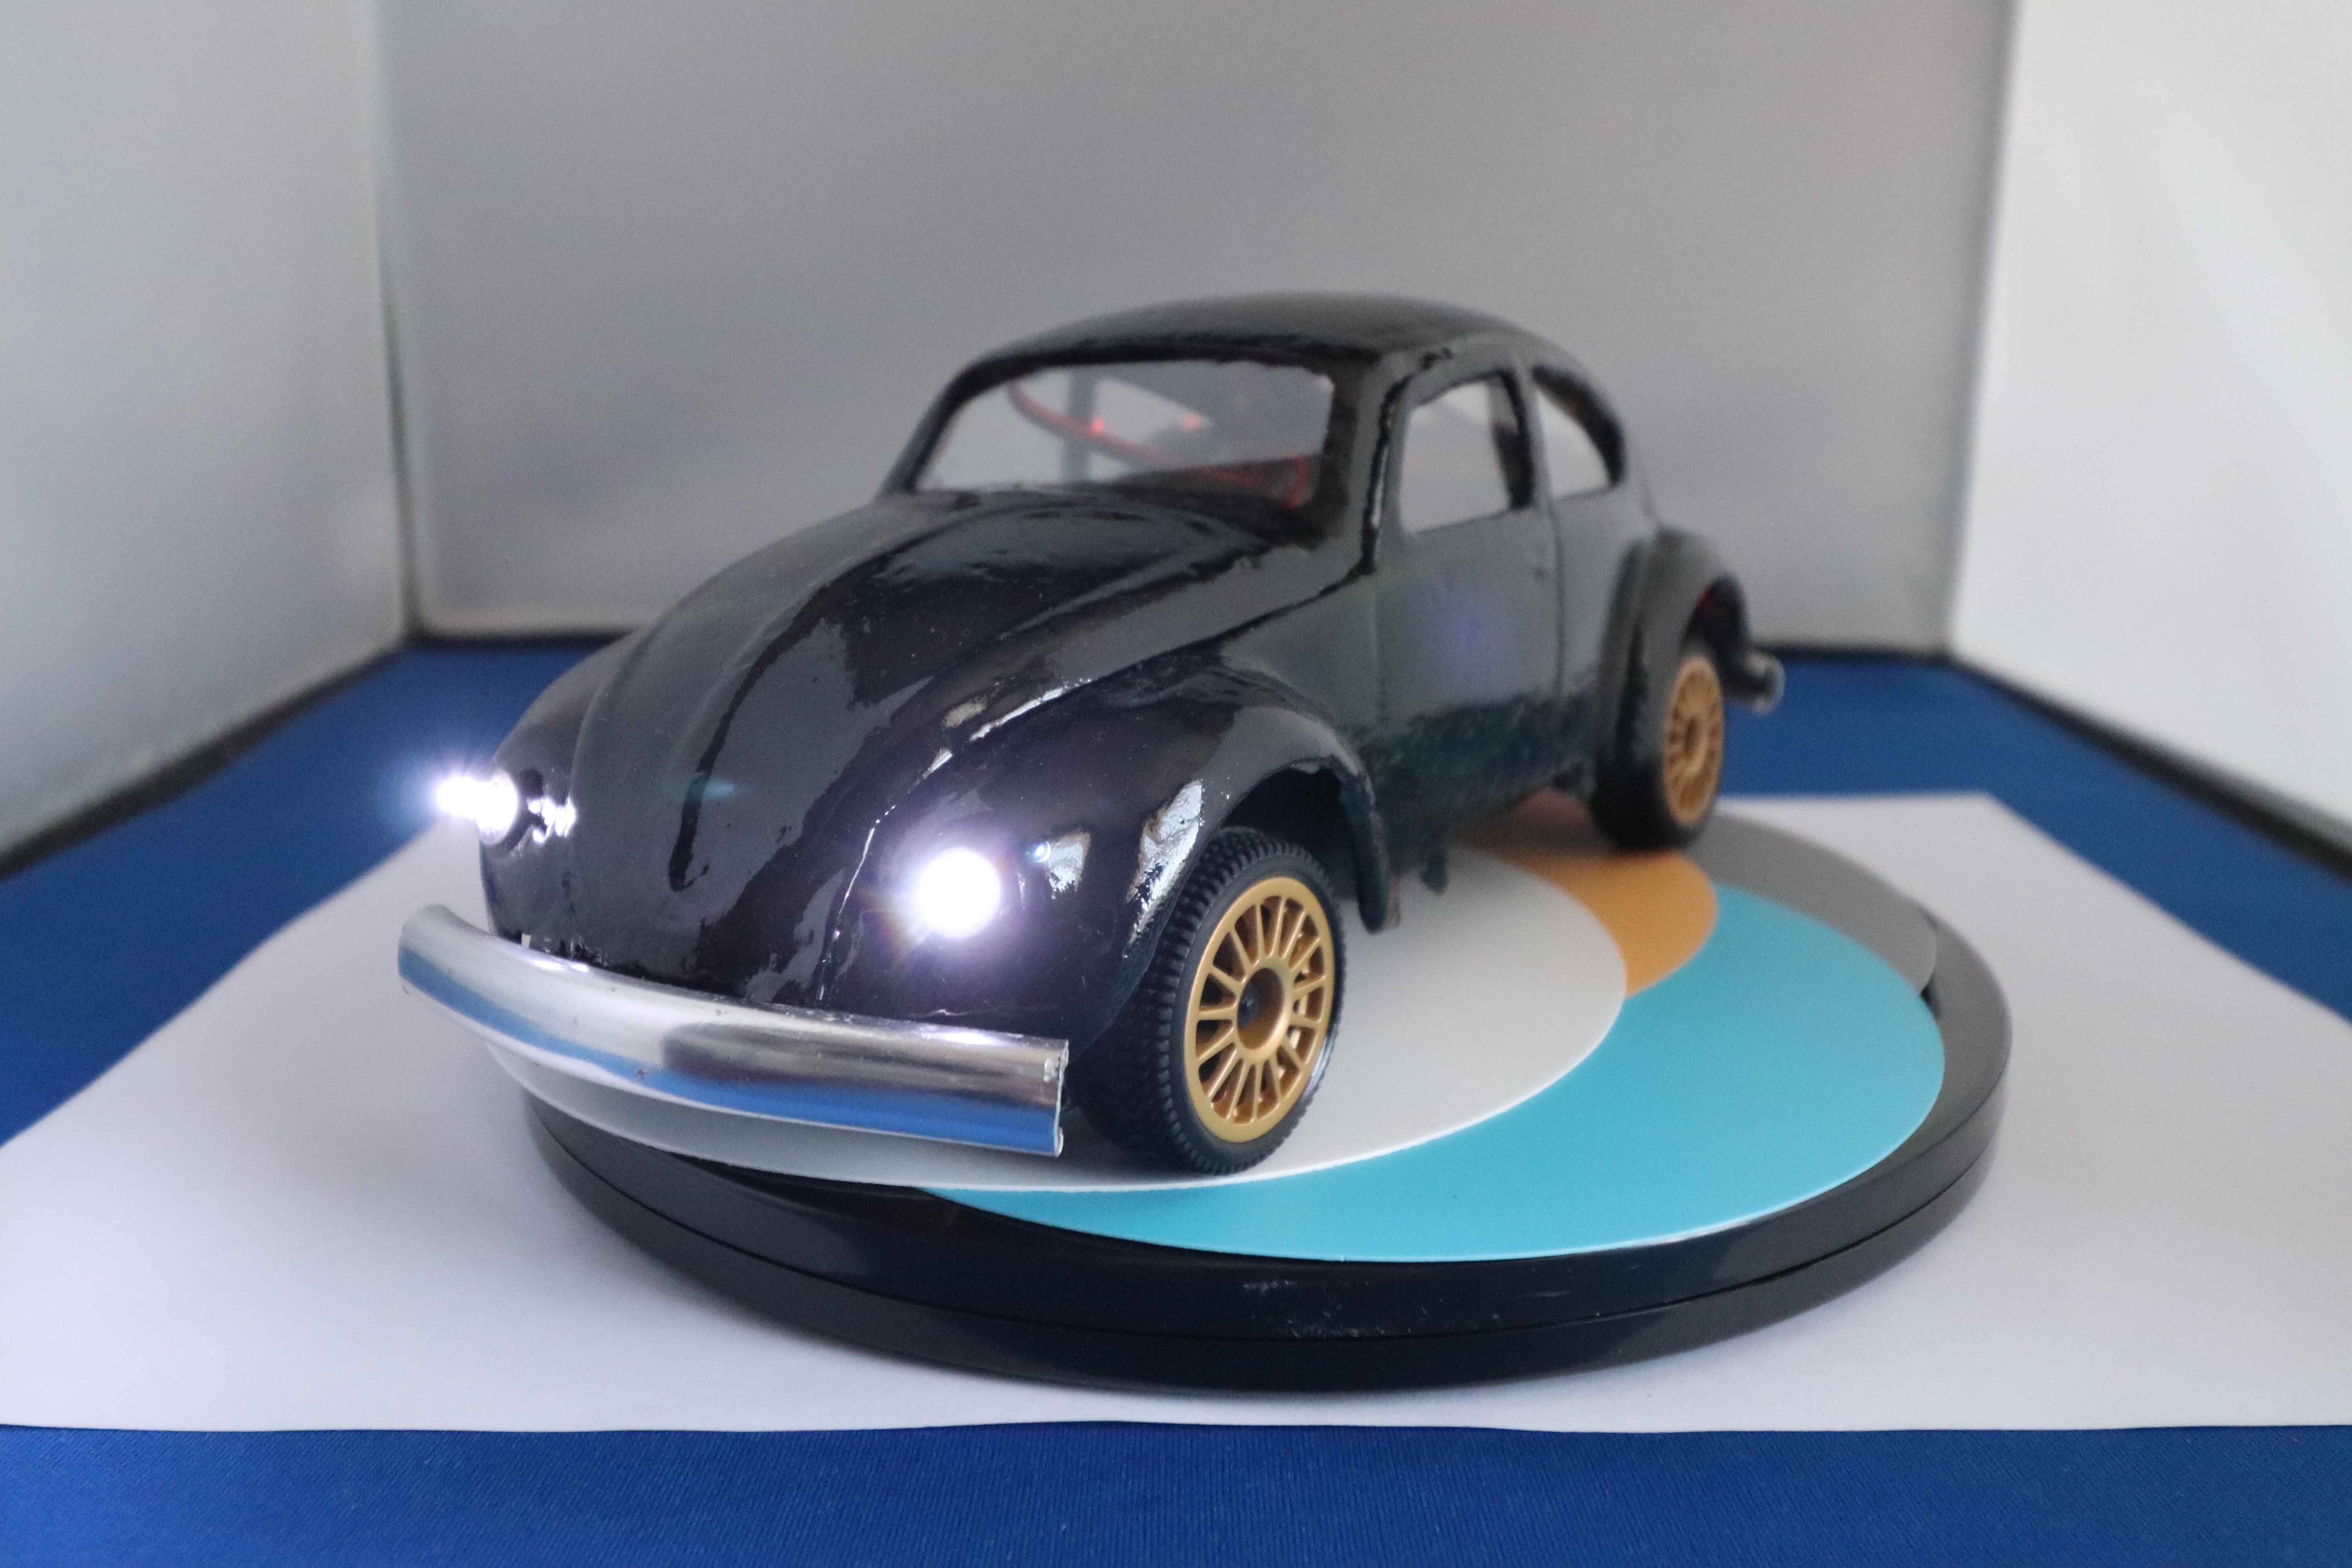
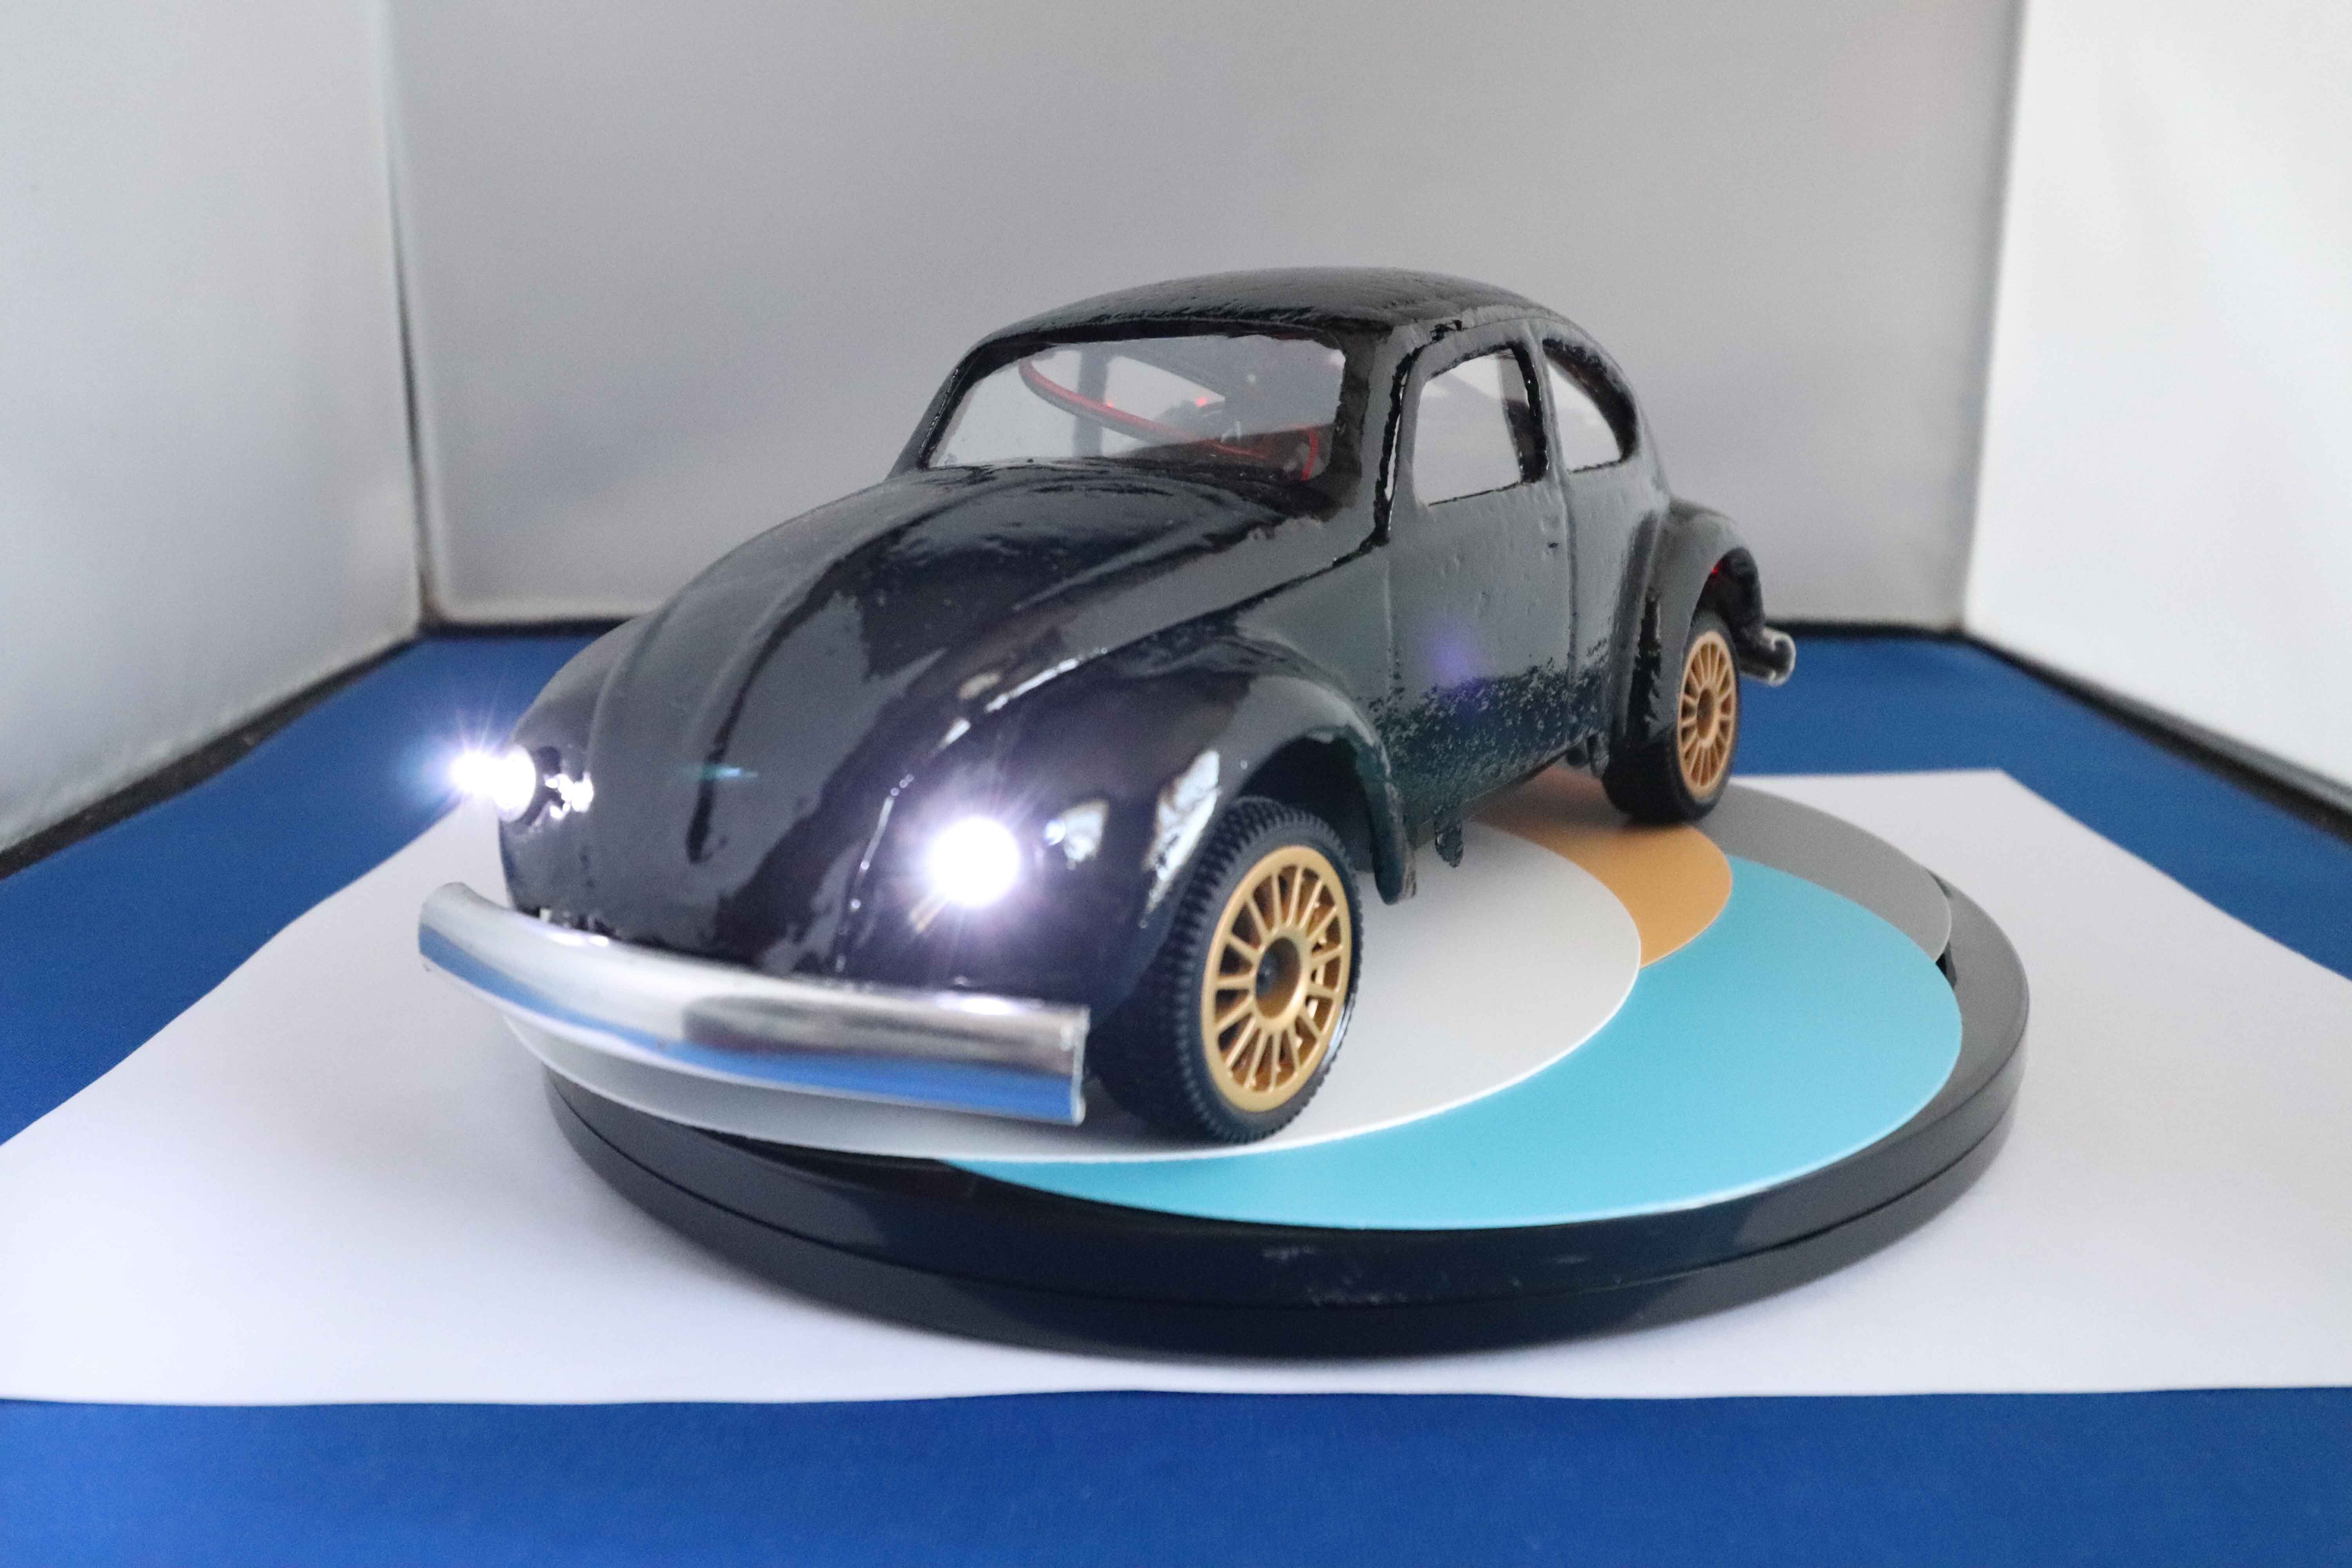
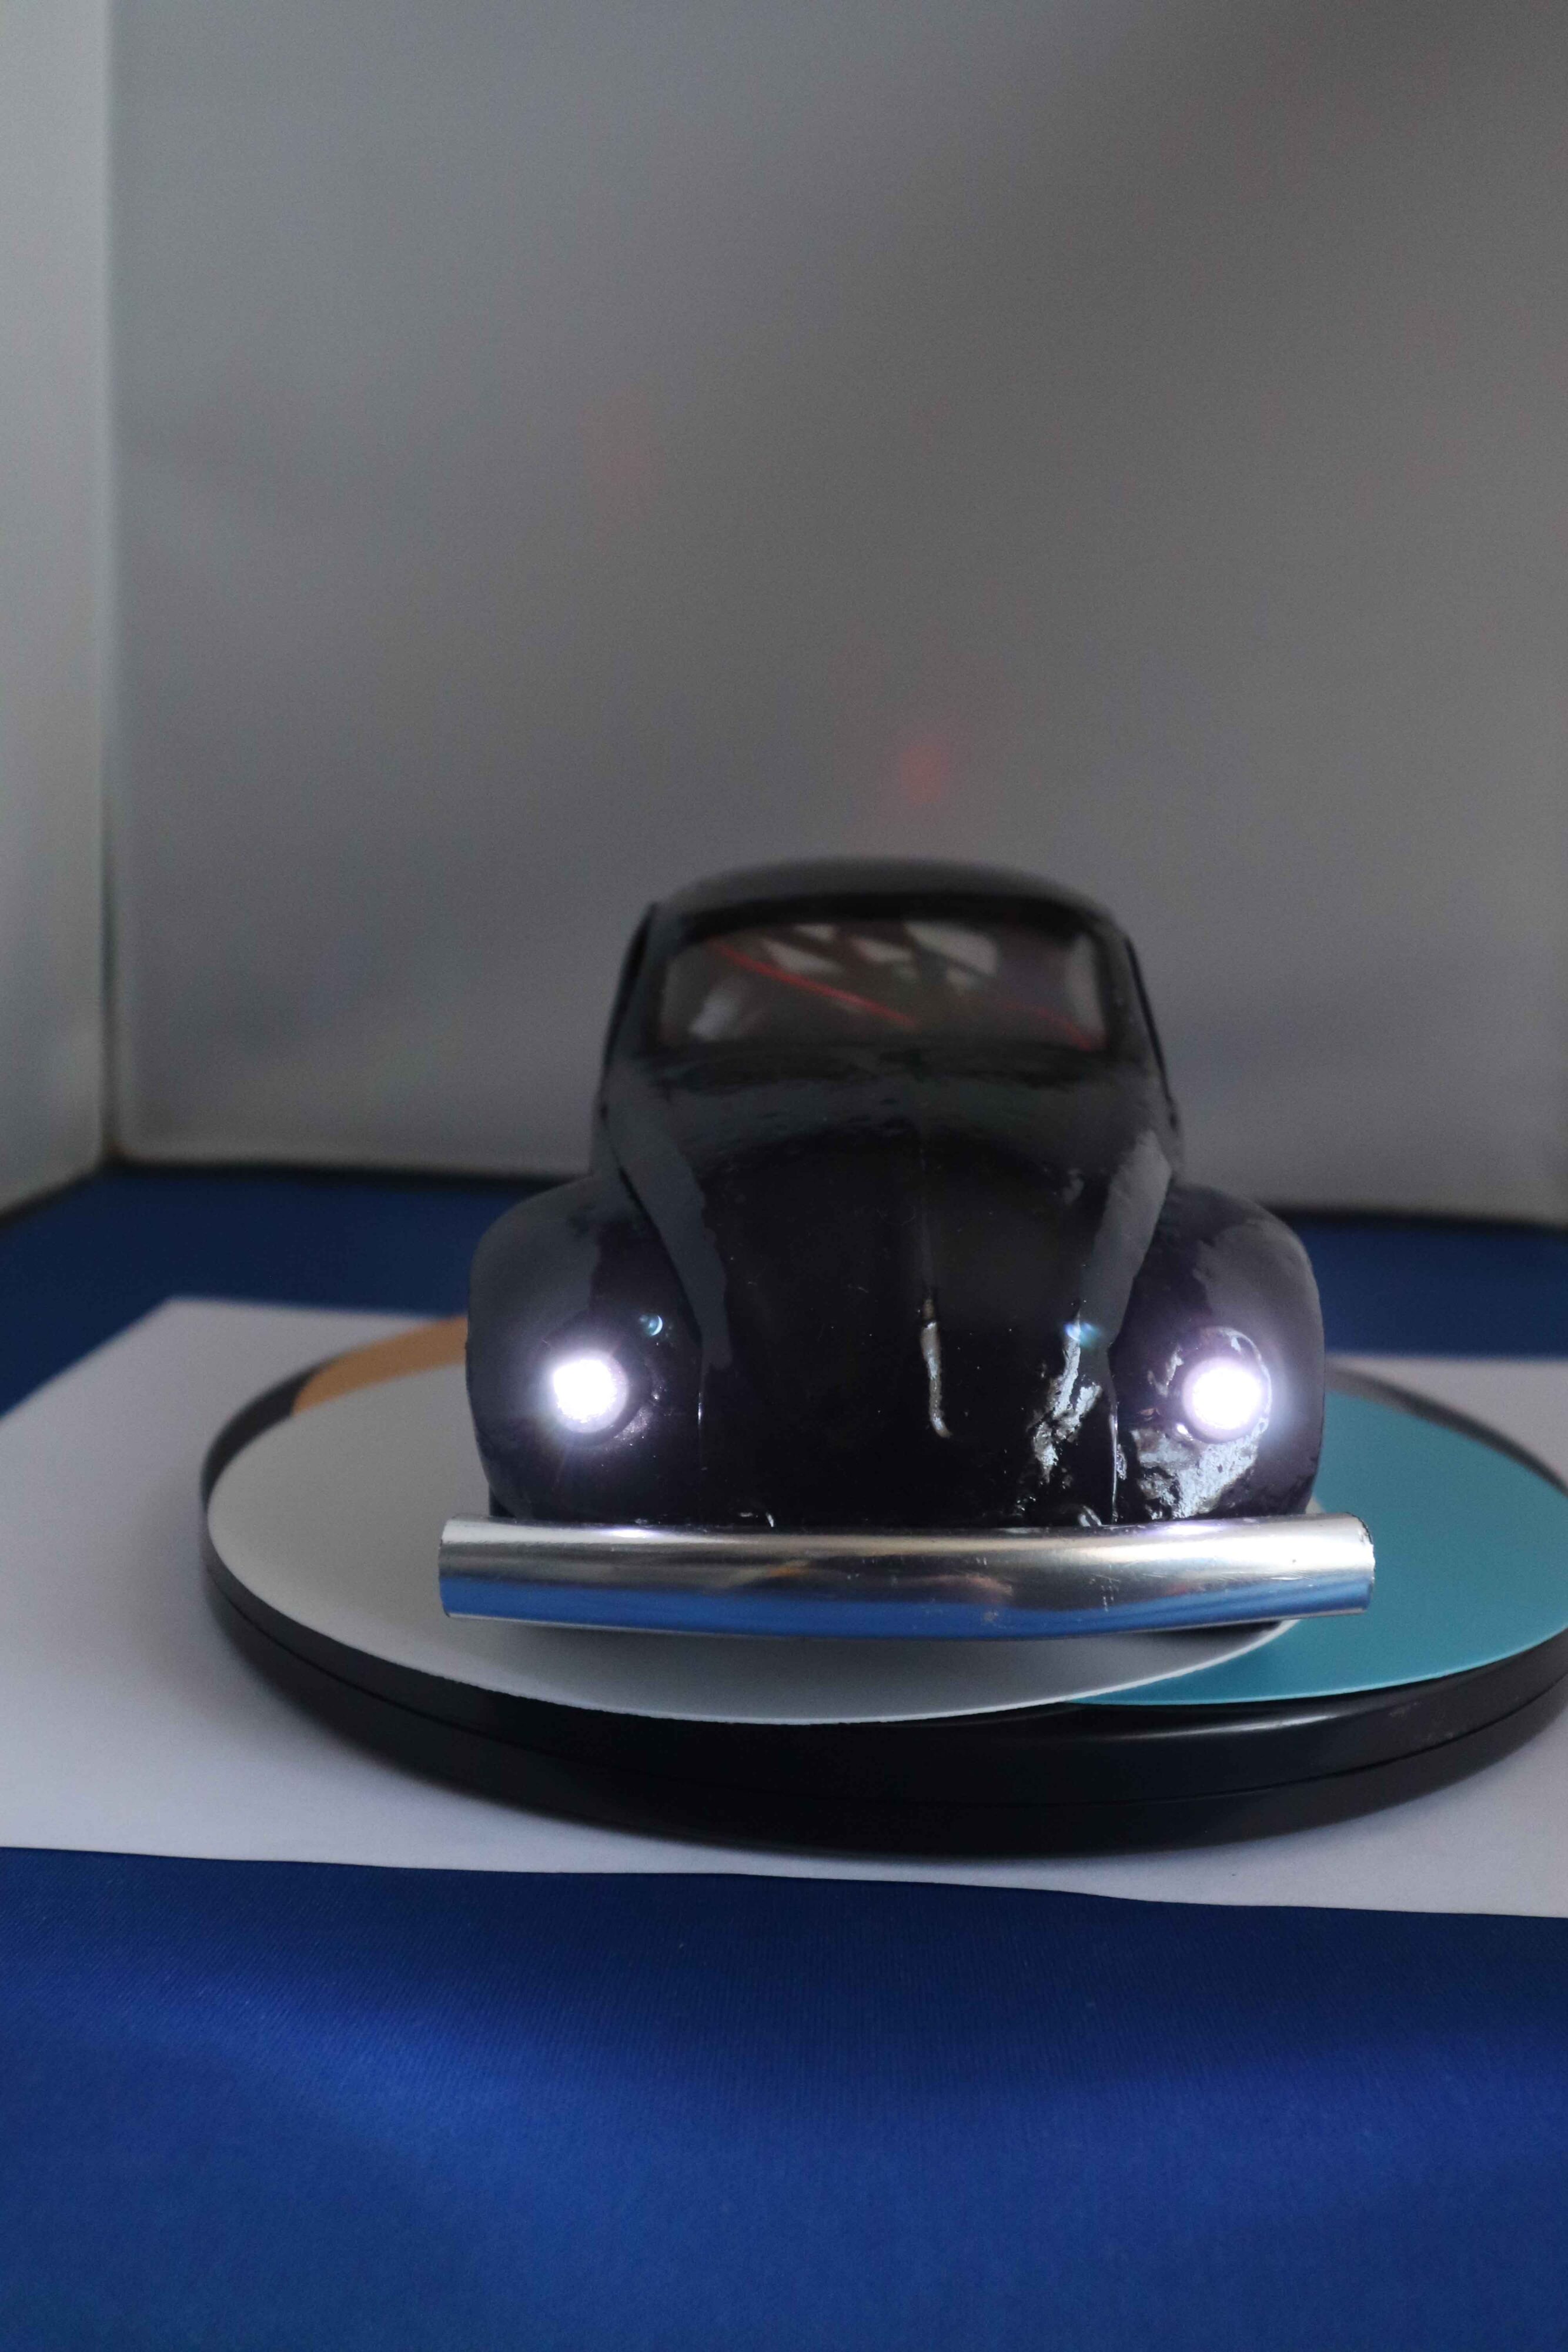


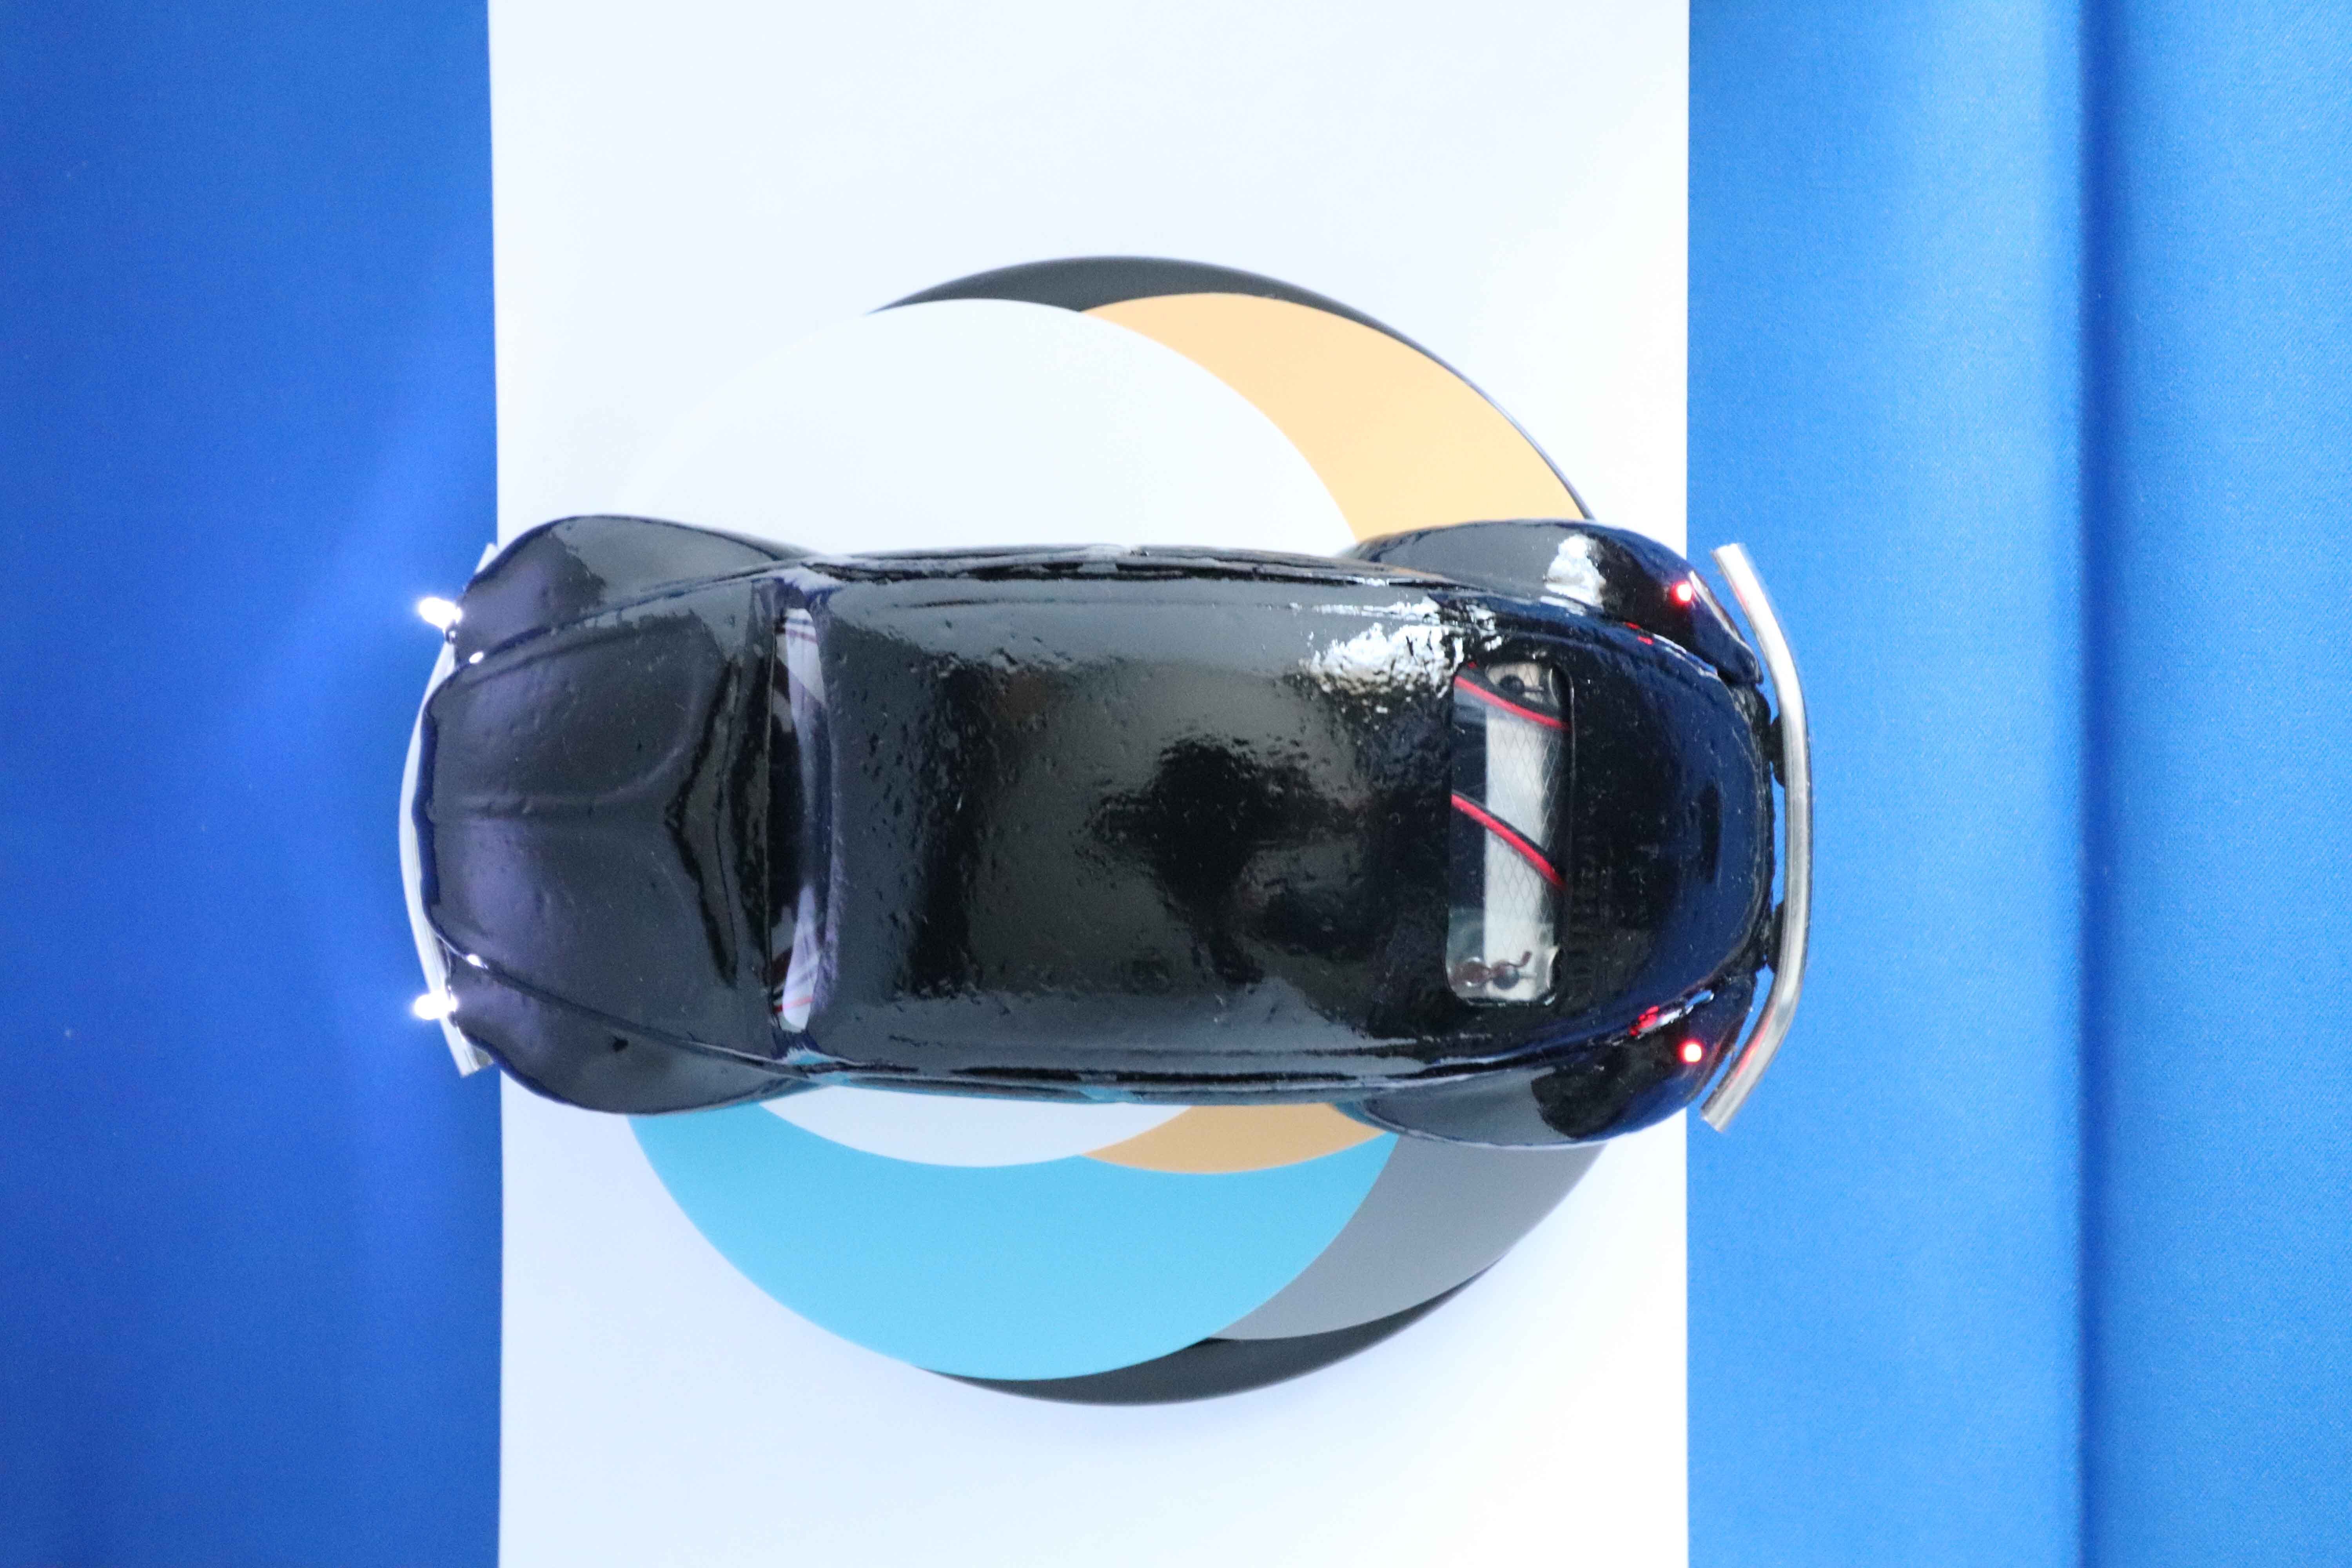
Stage 7. Complete. The first bodyshell is now complete and sits nicely on the chassis. I have given it a go and it works quite well.